 David Brown
The first two iterations of this project were based on packaging up an ATX motherboard and PCIe graphics card and using a separate ATX power supply.
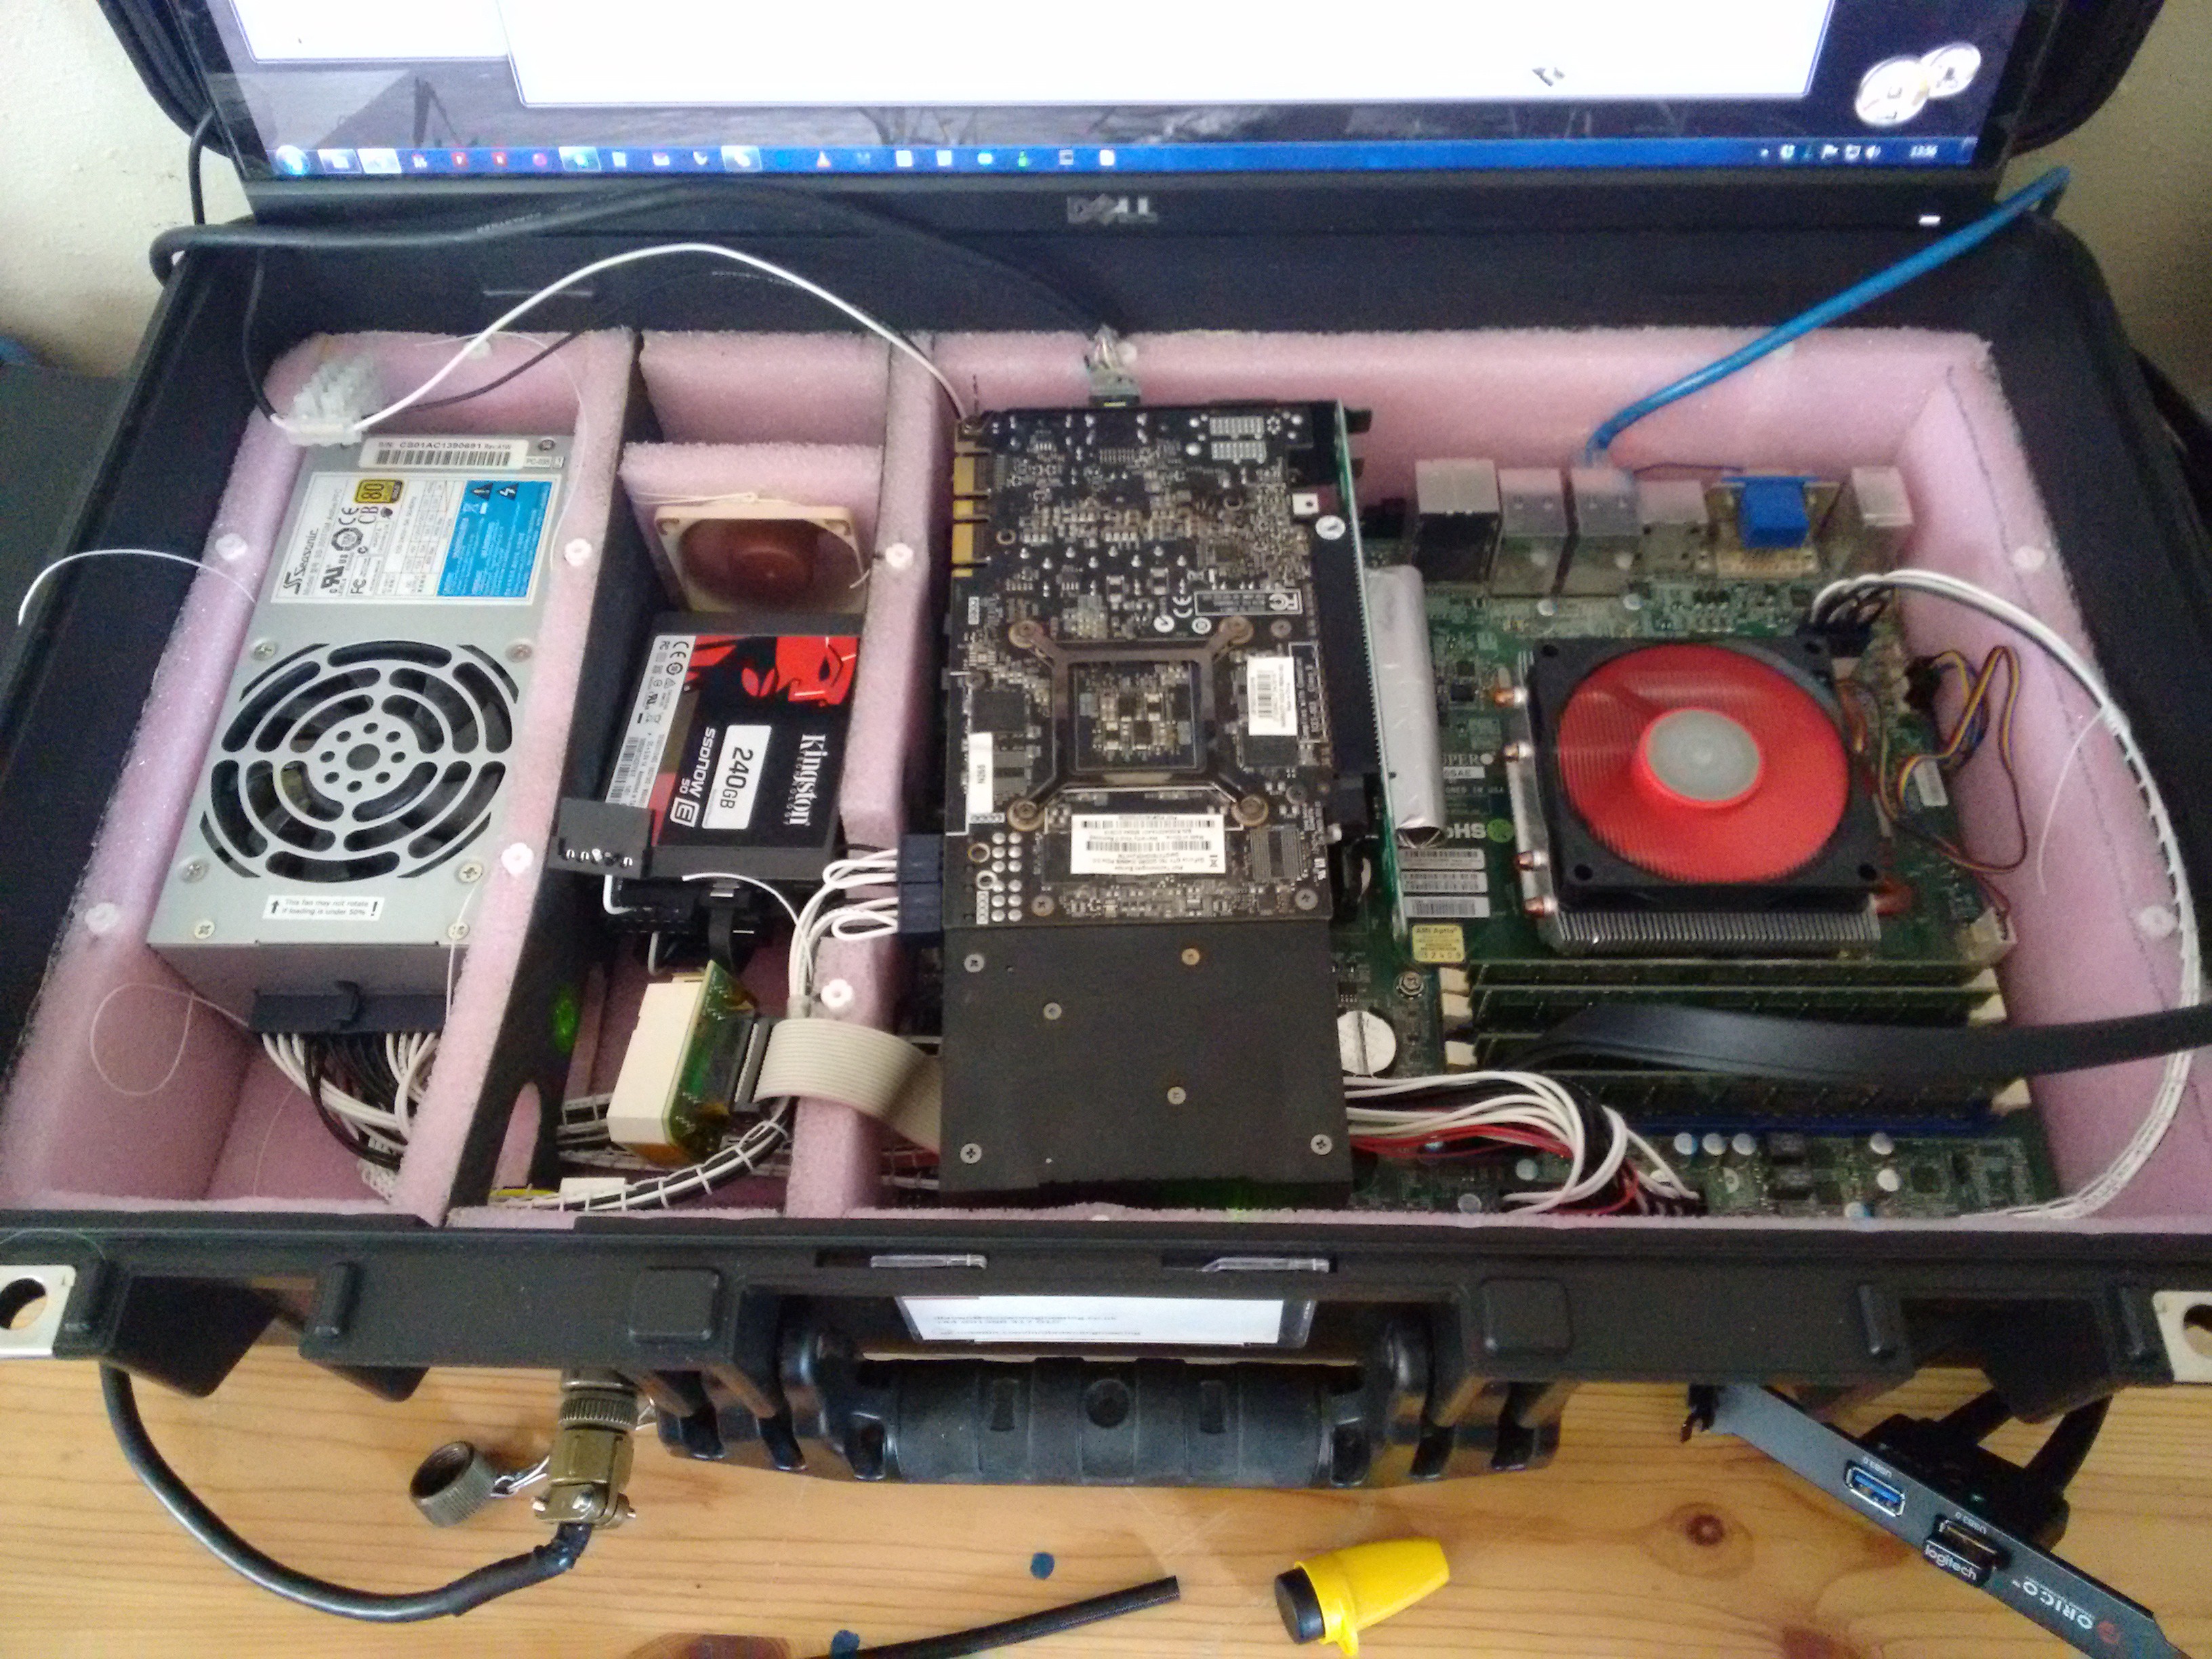
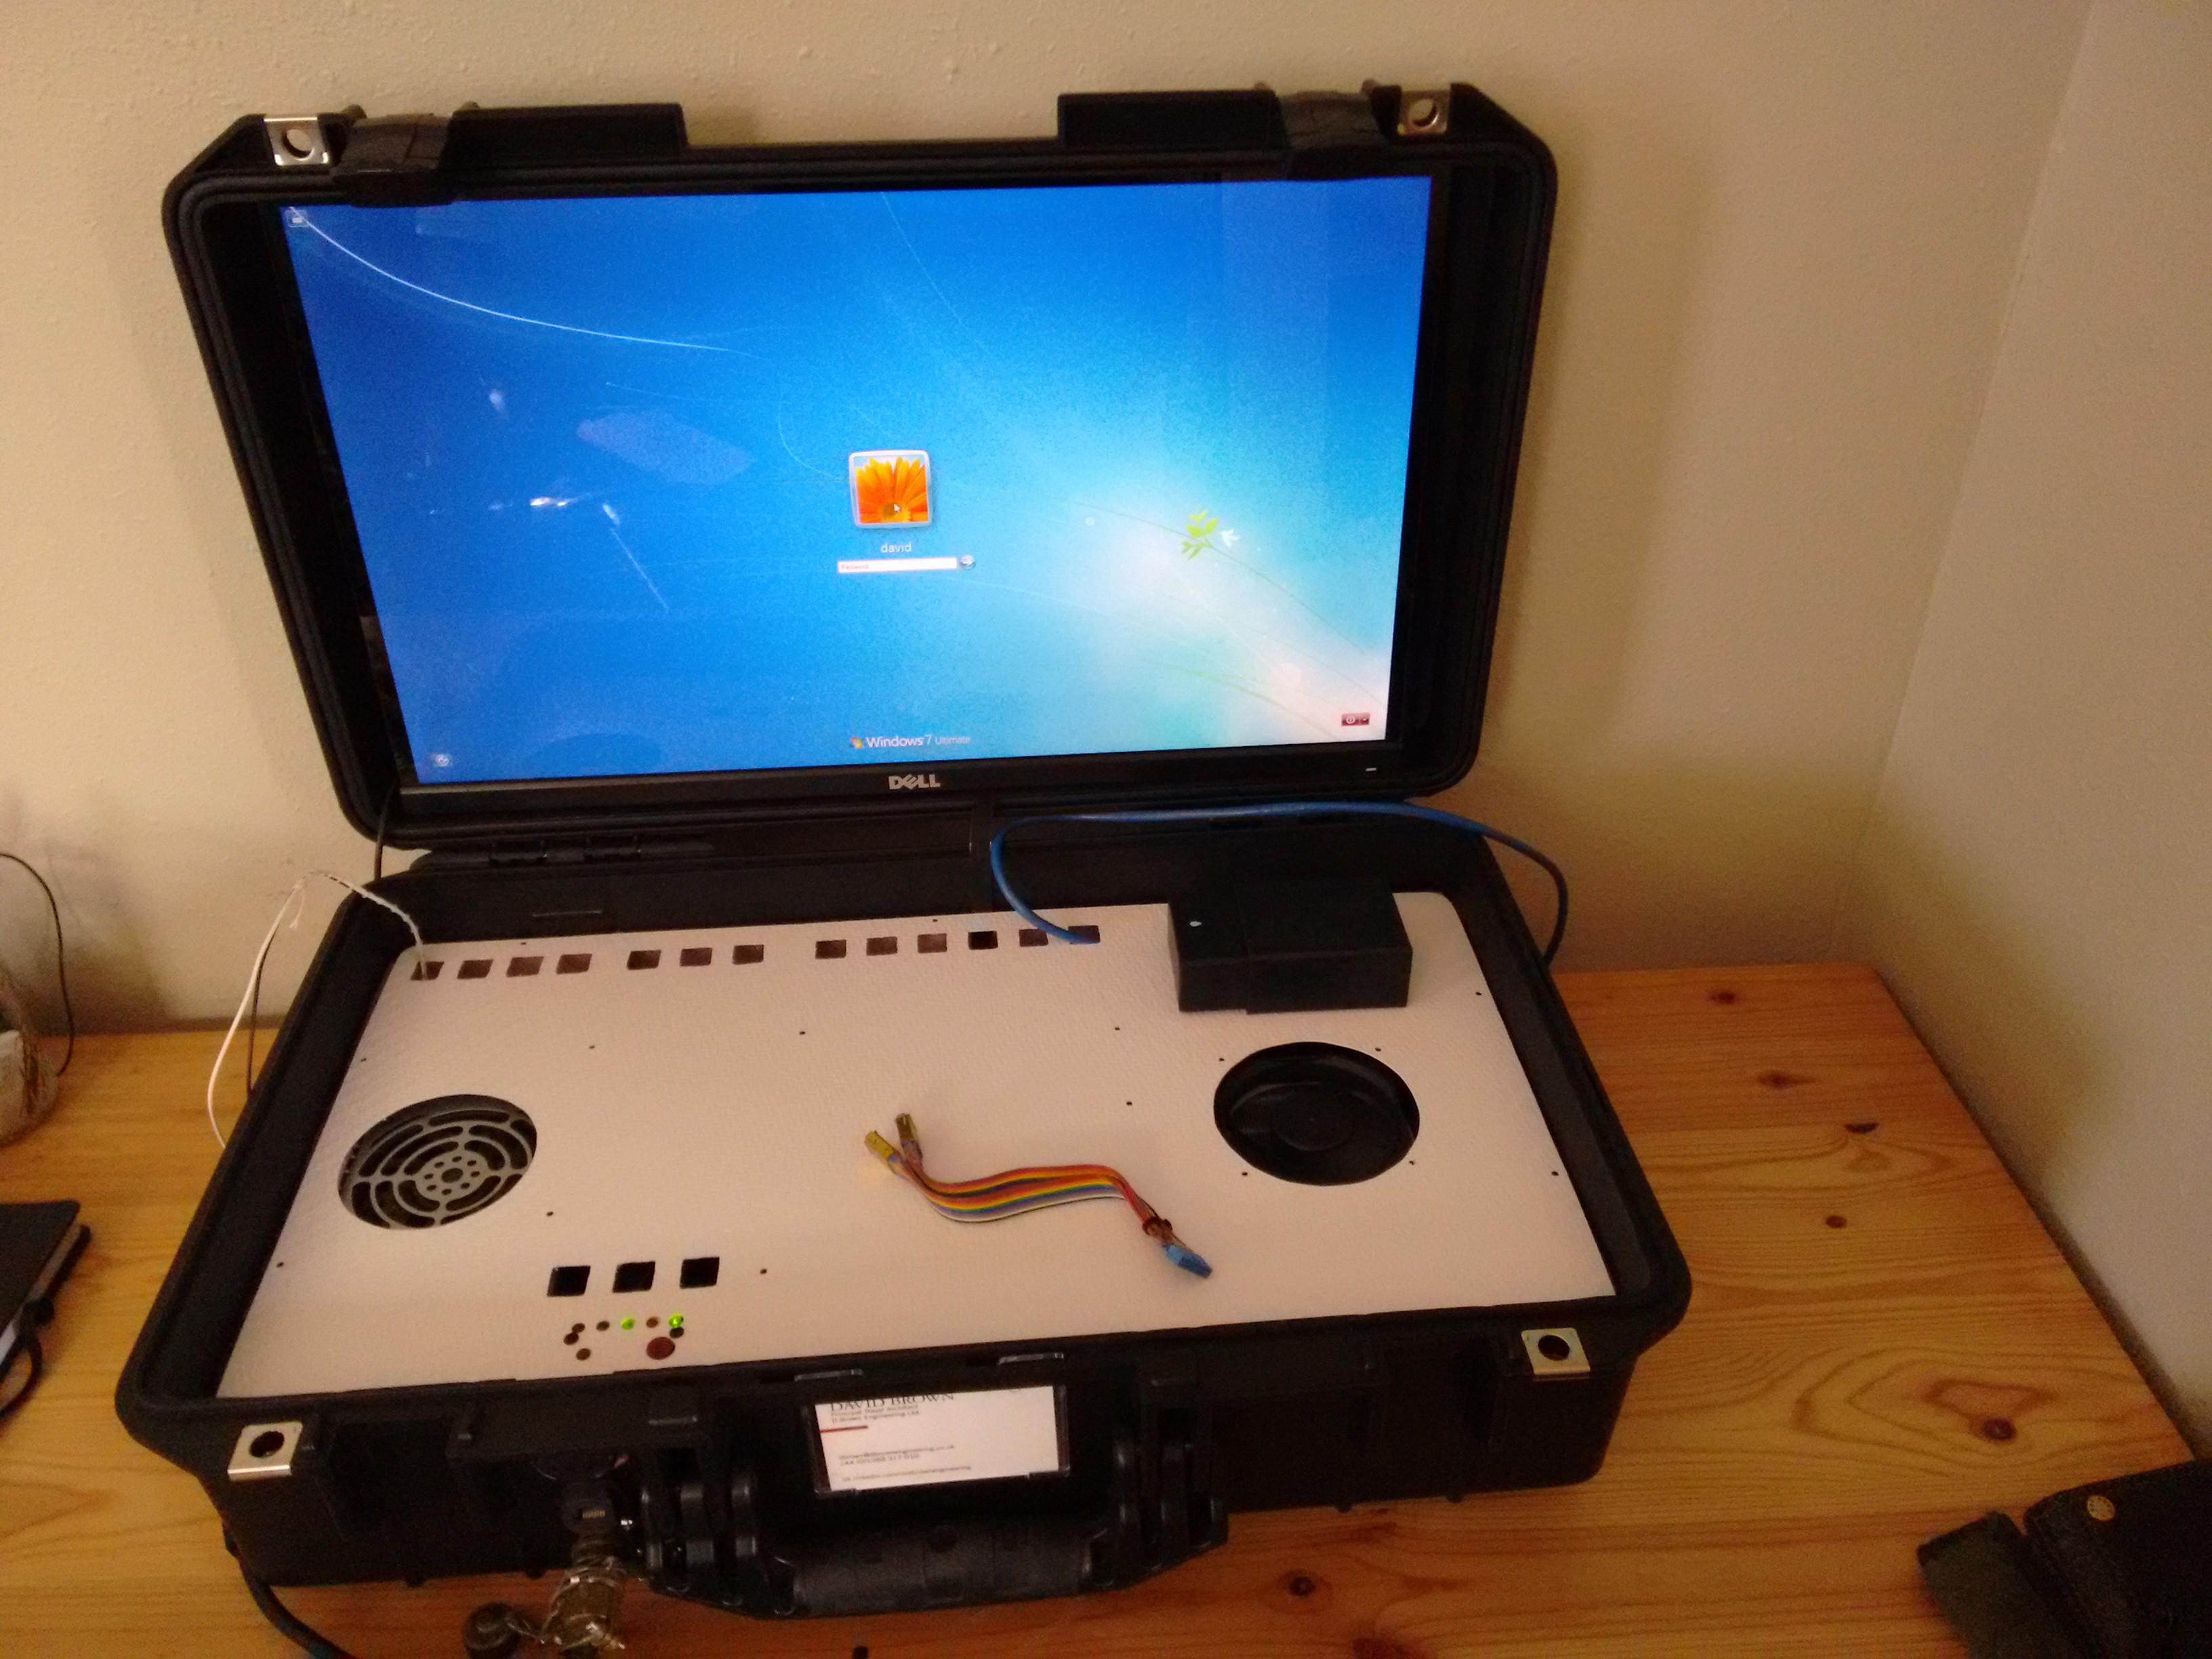
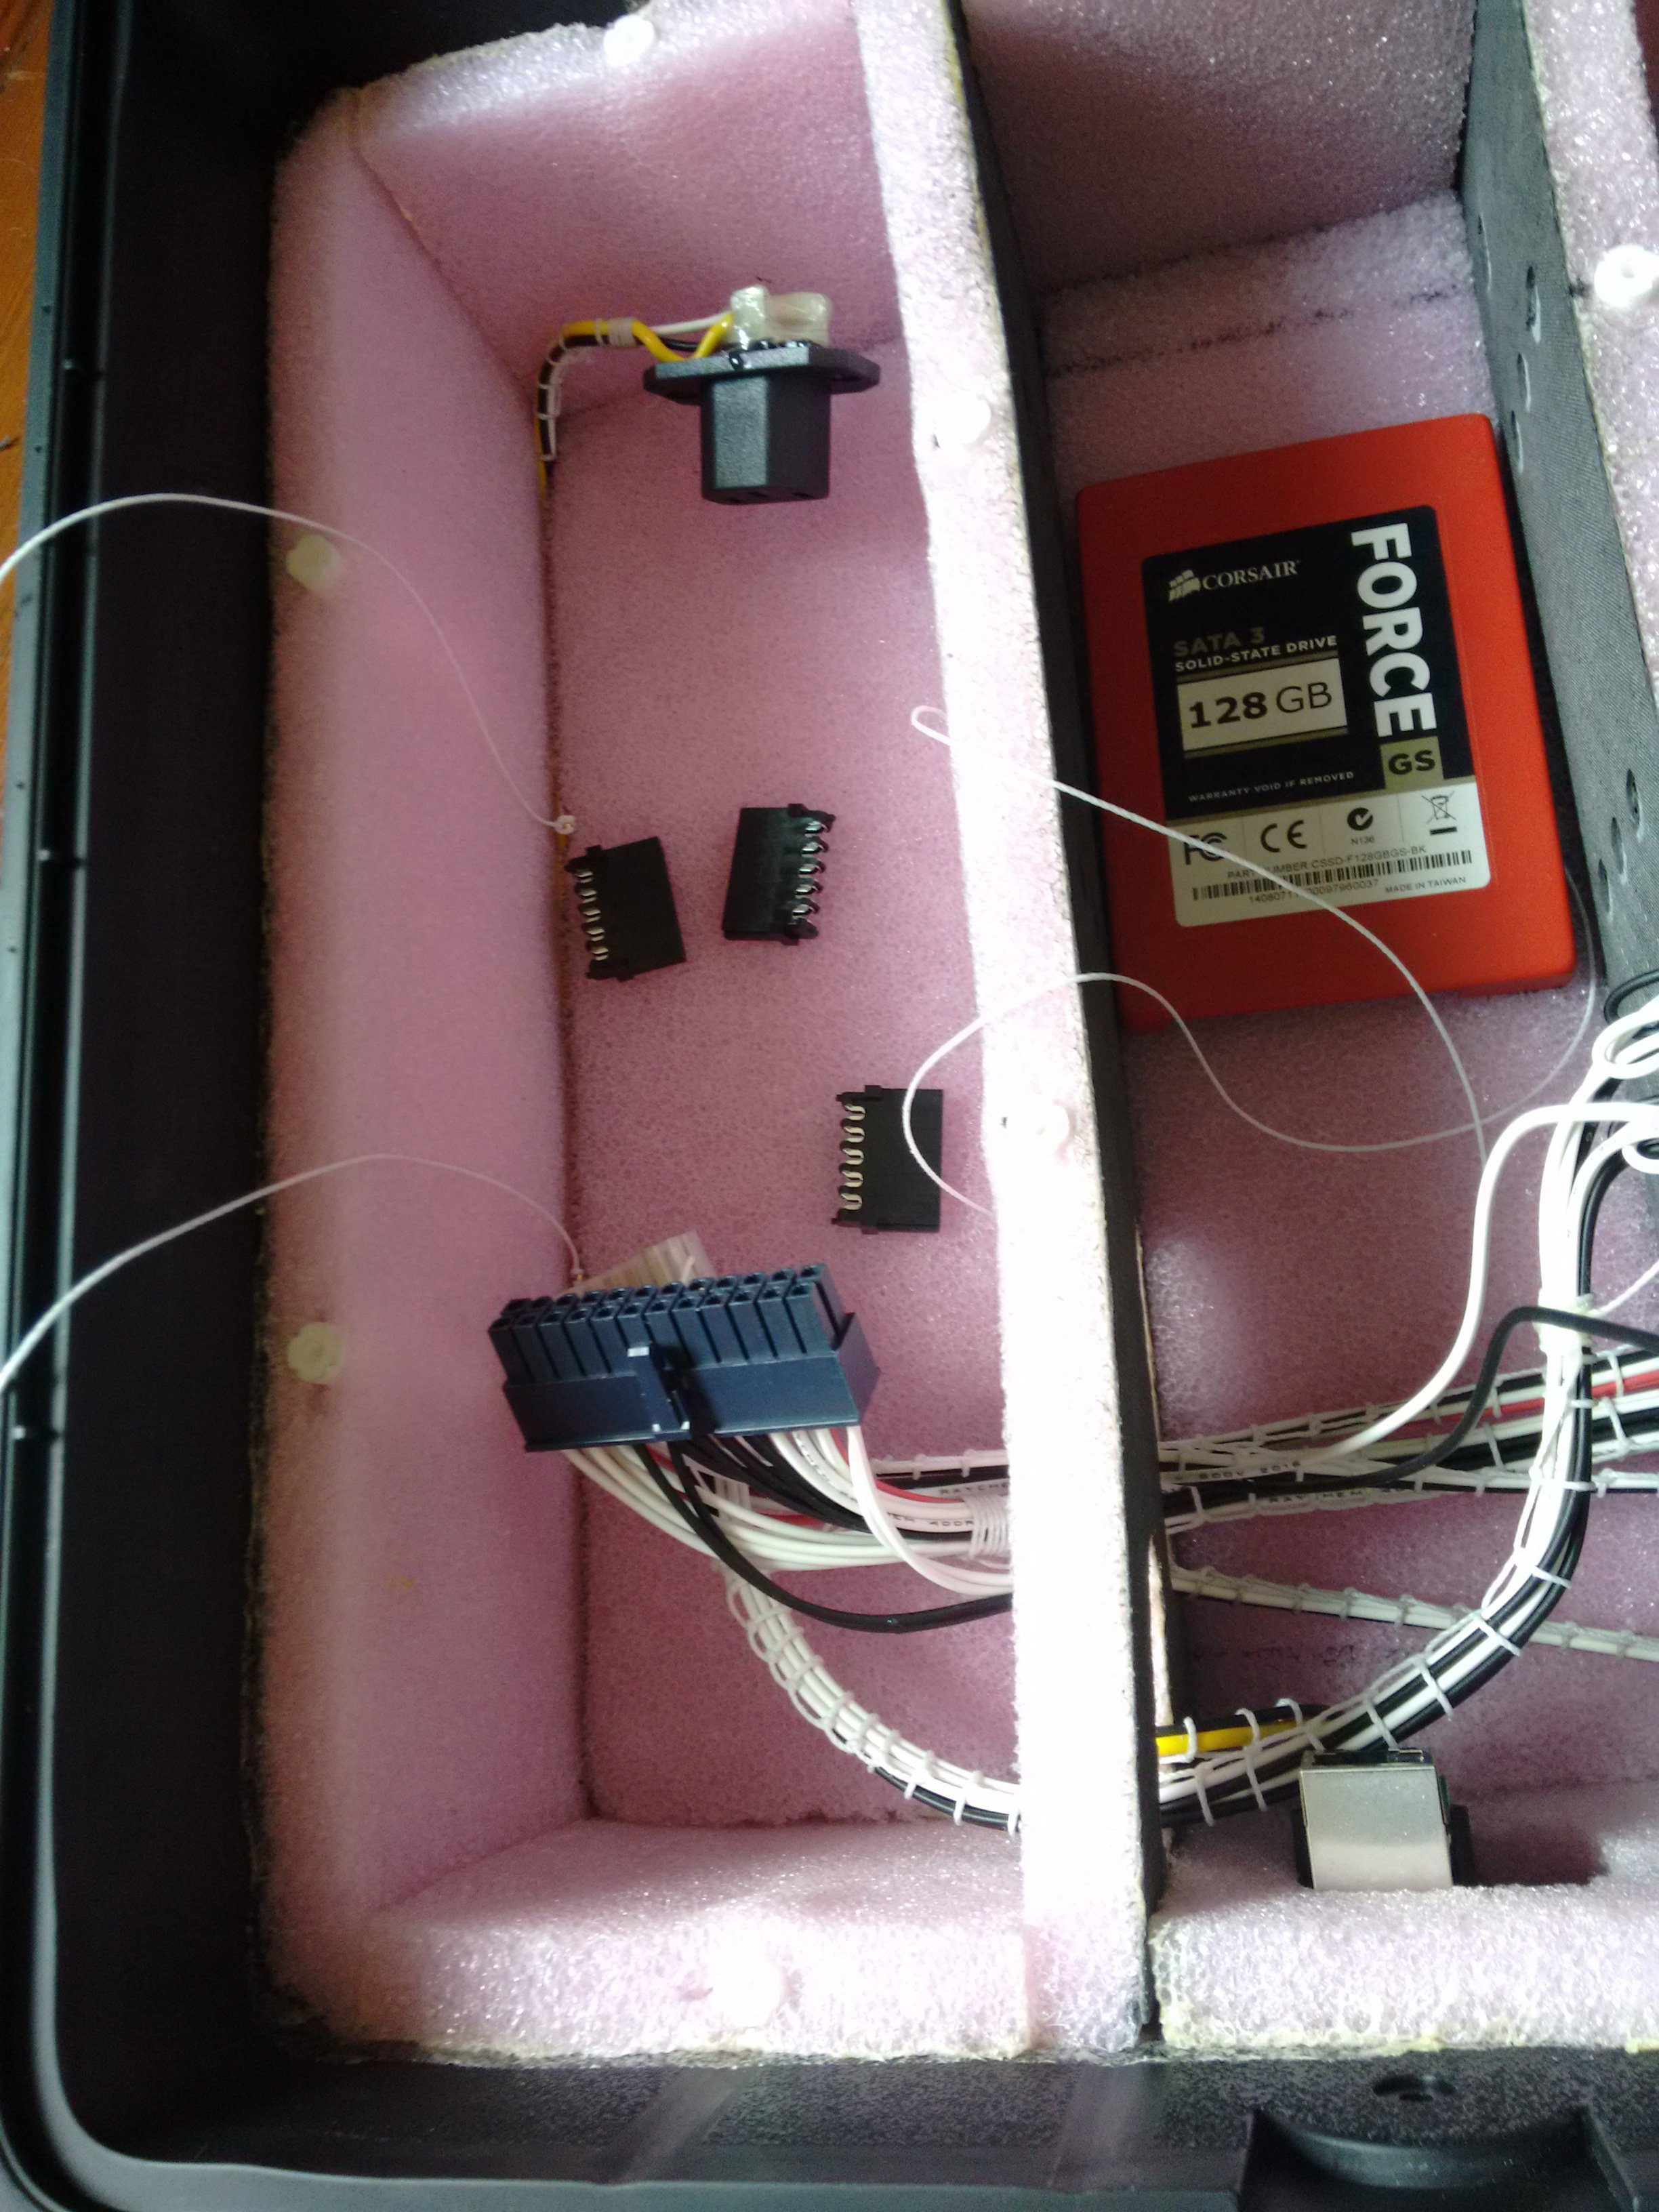
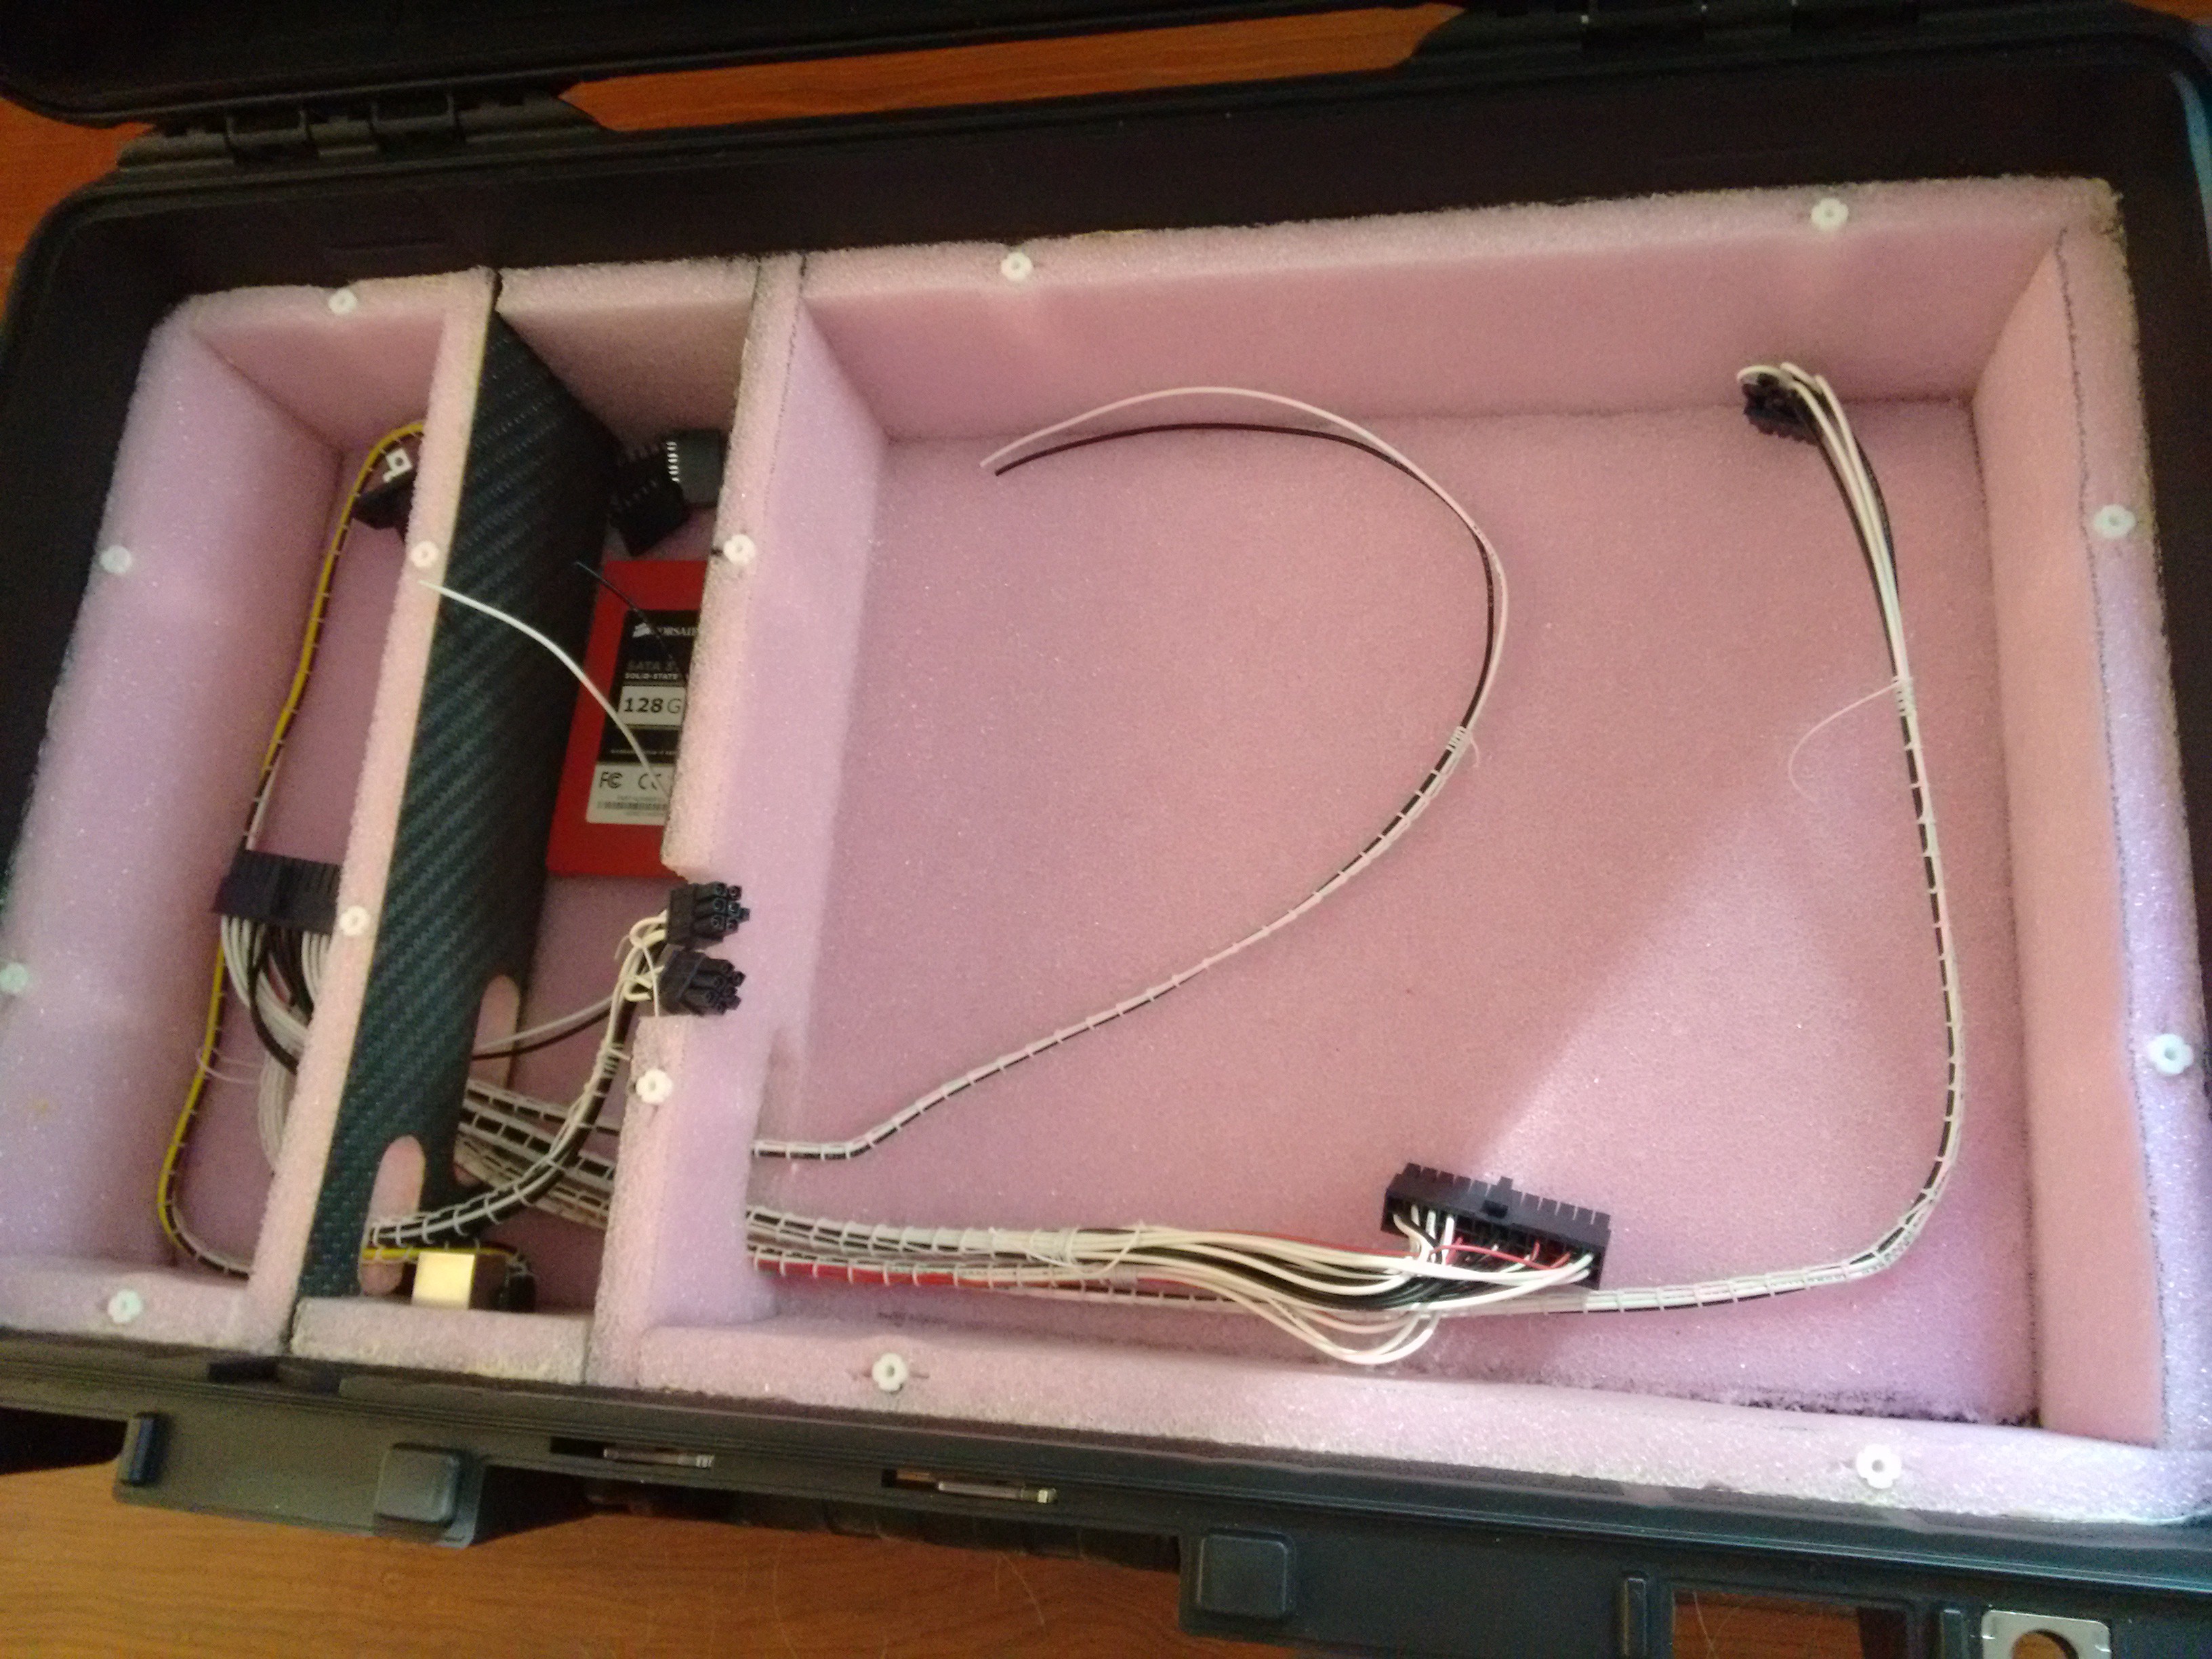
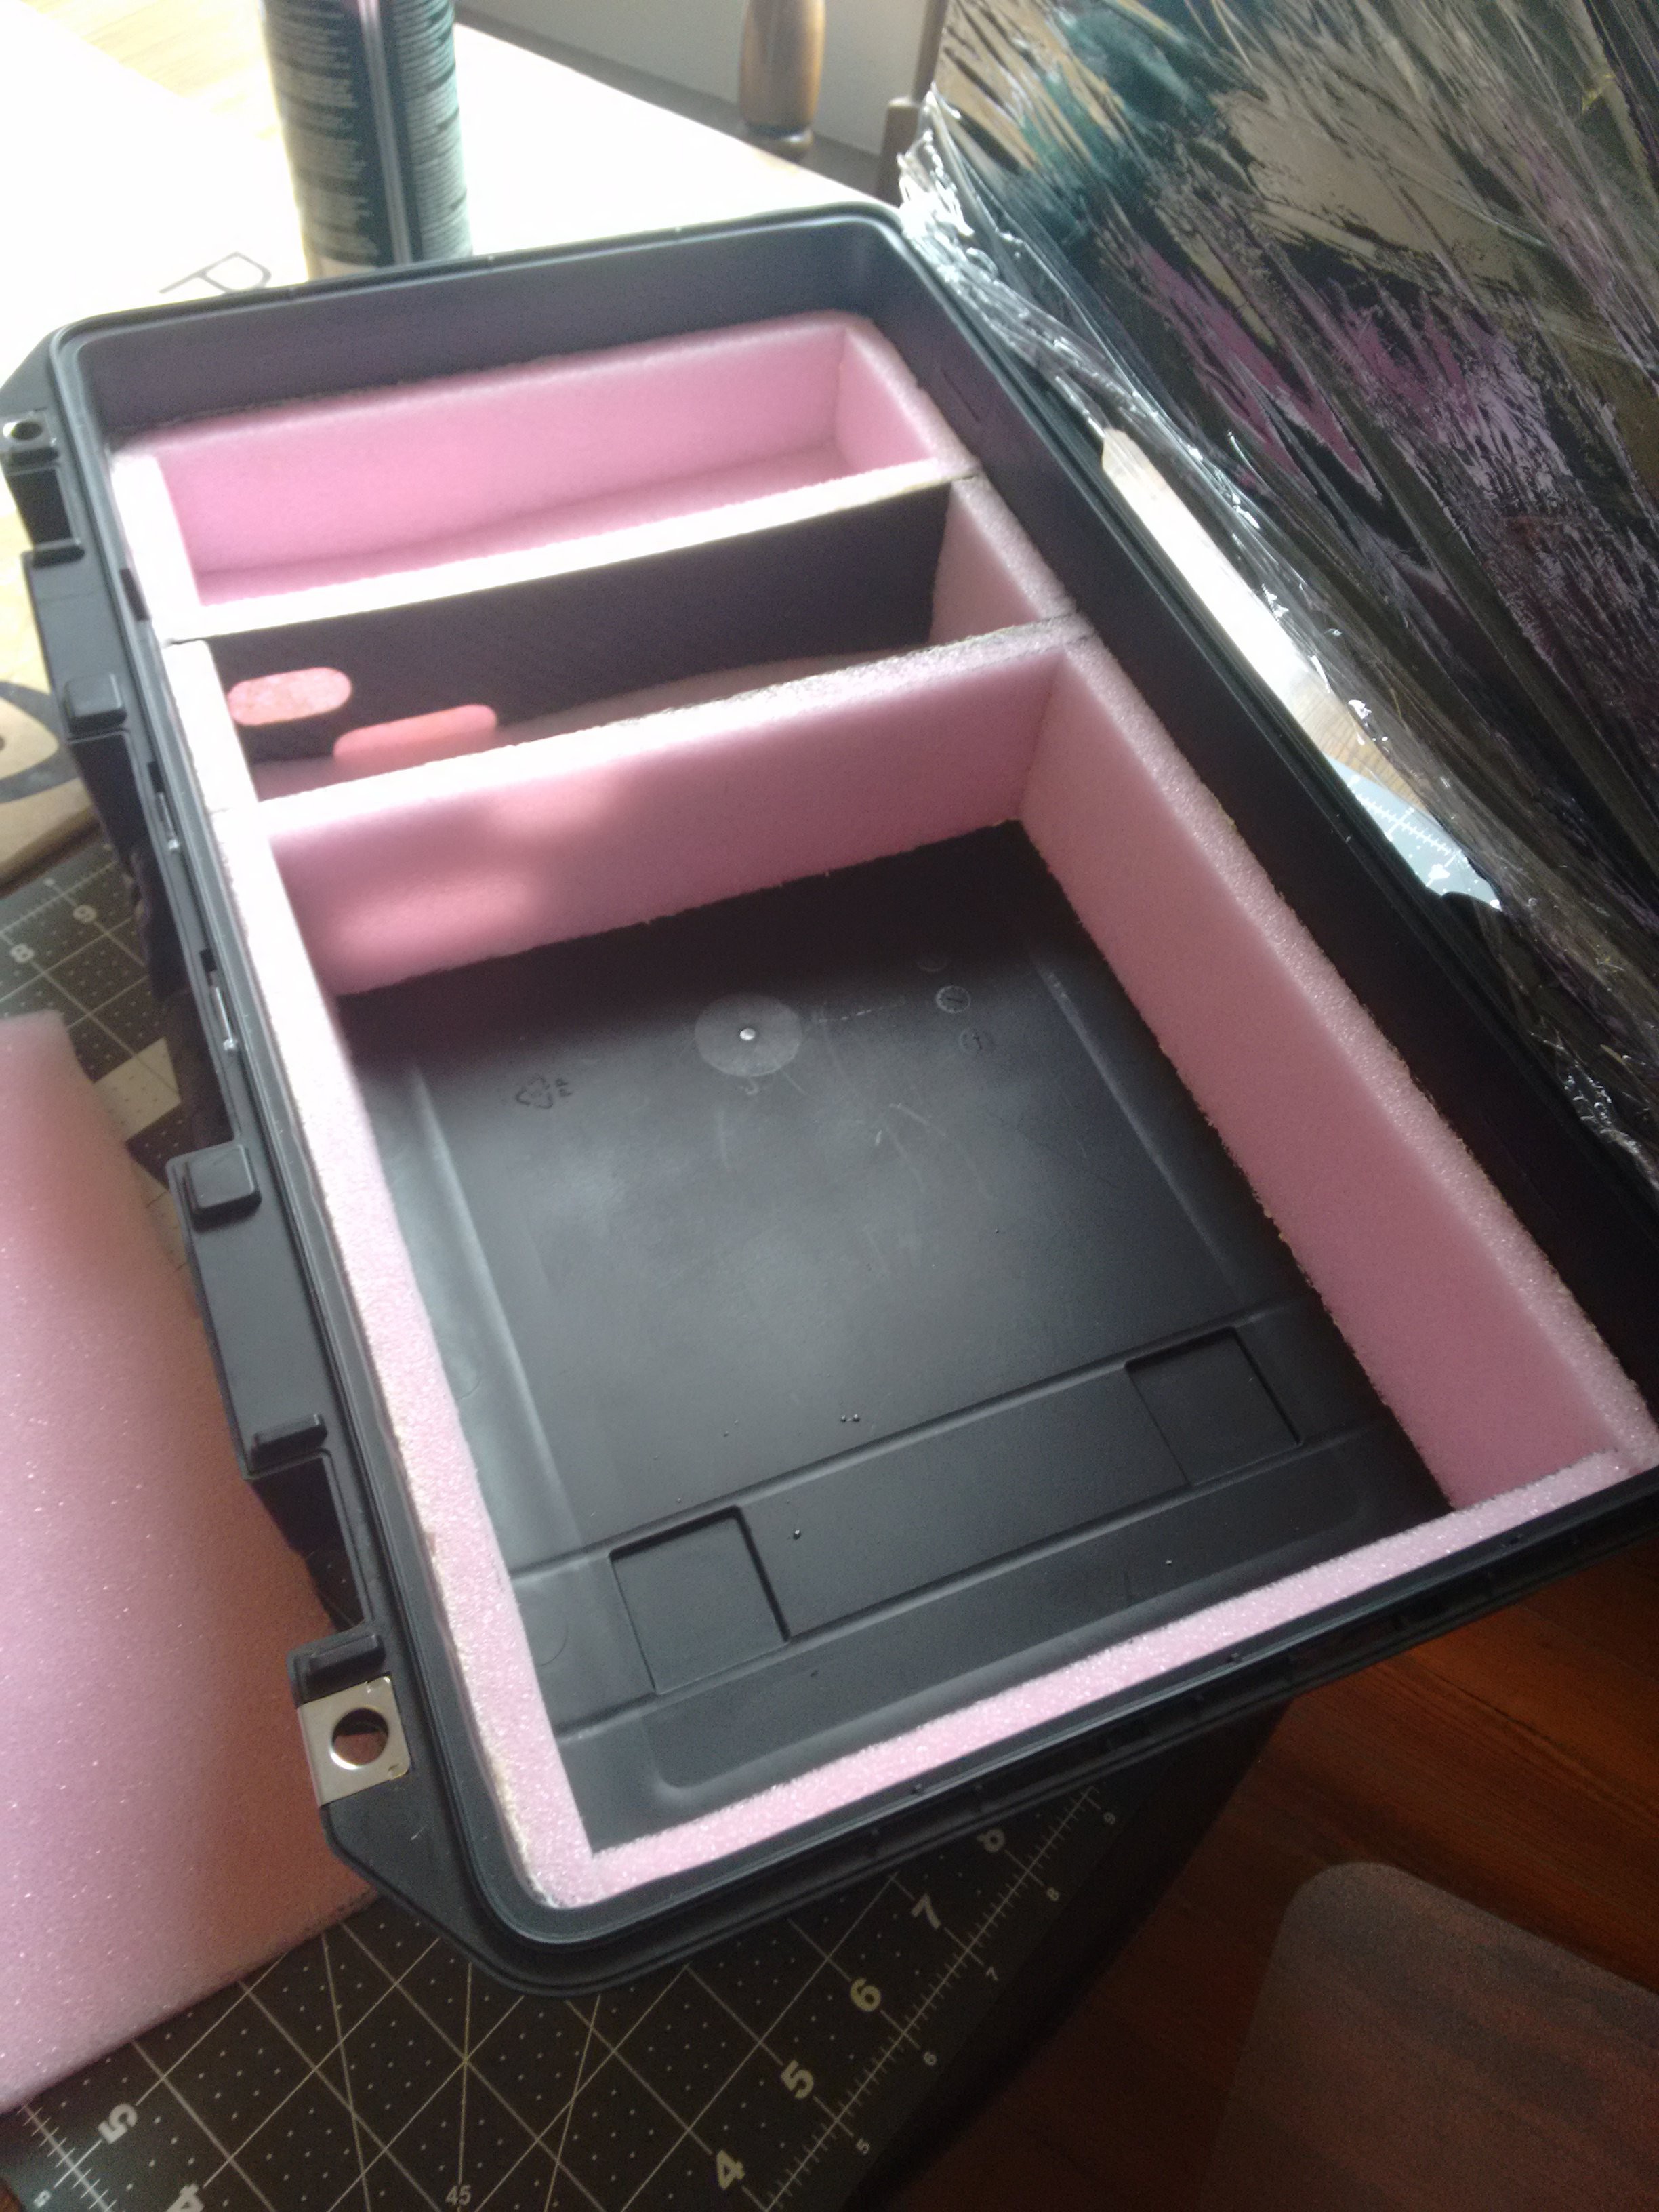
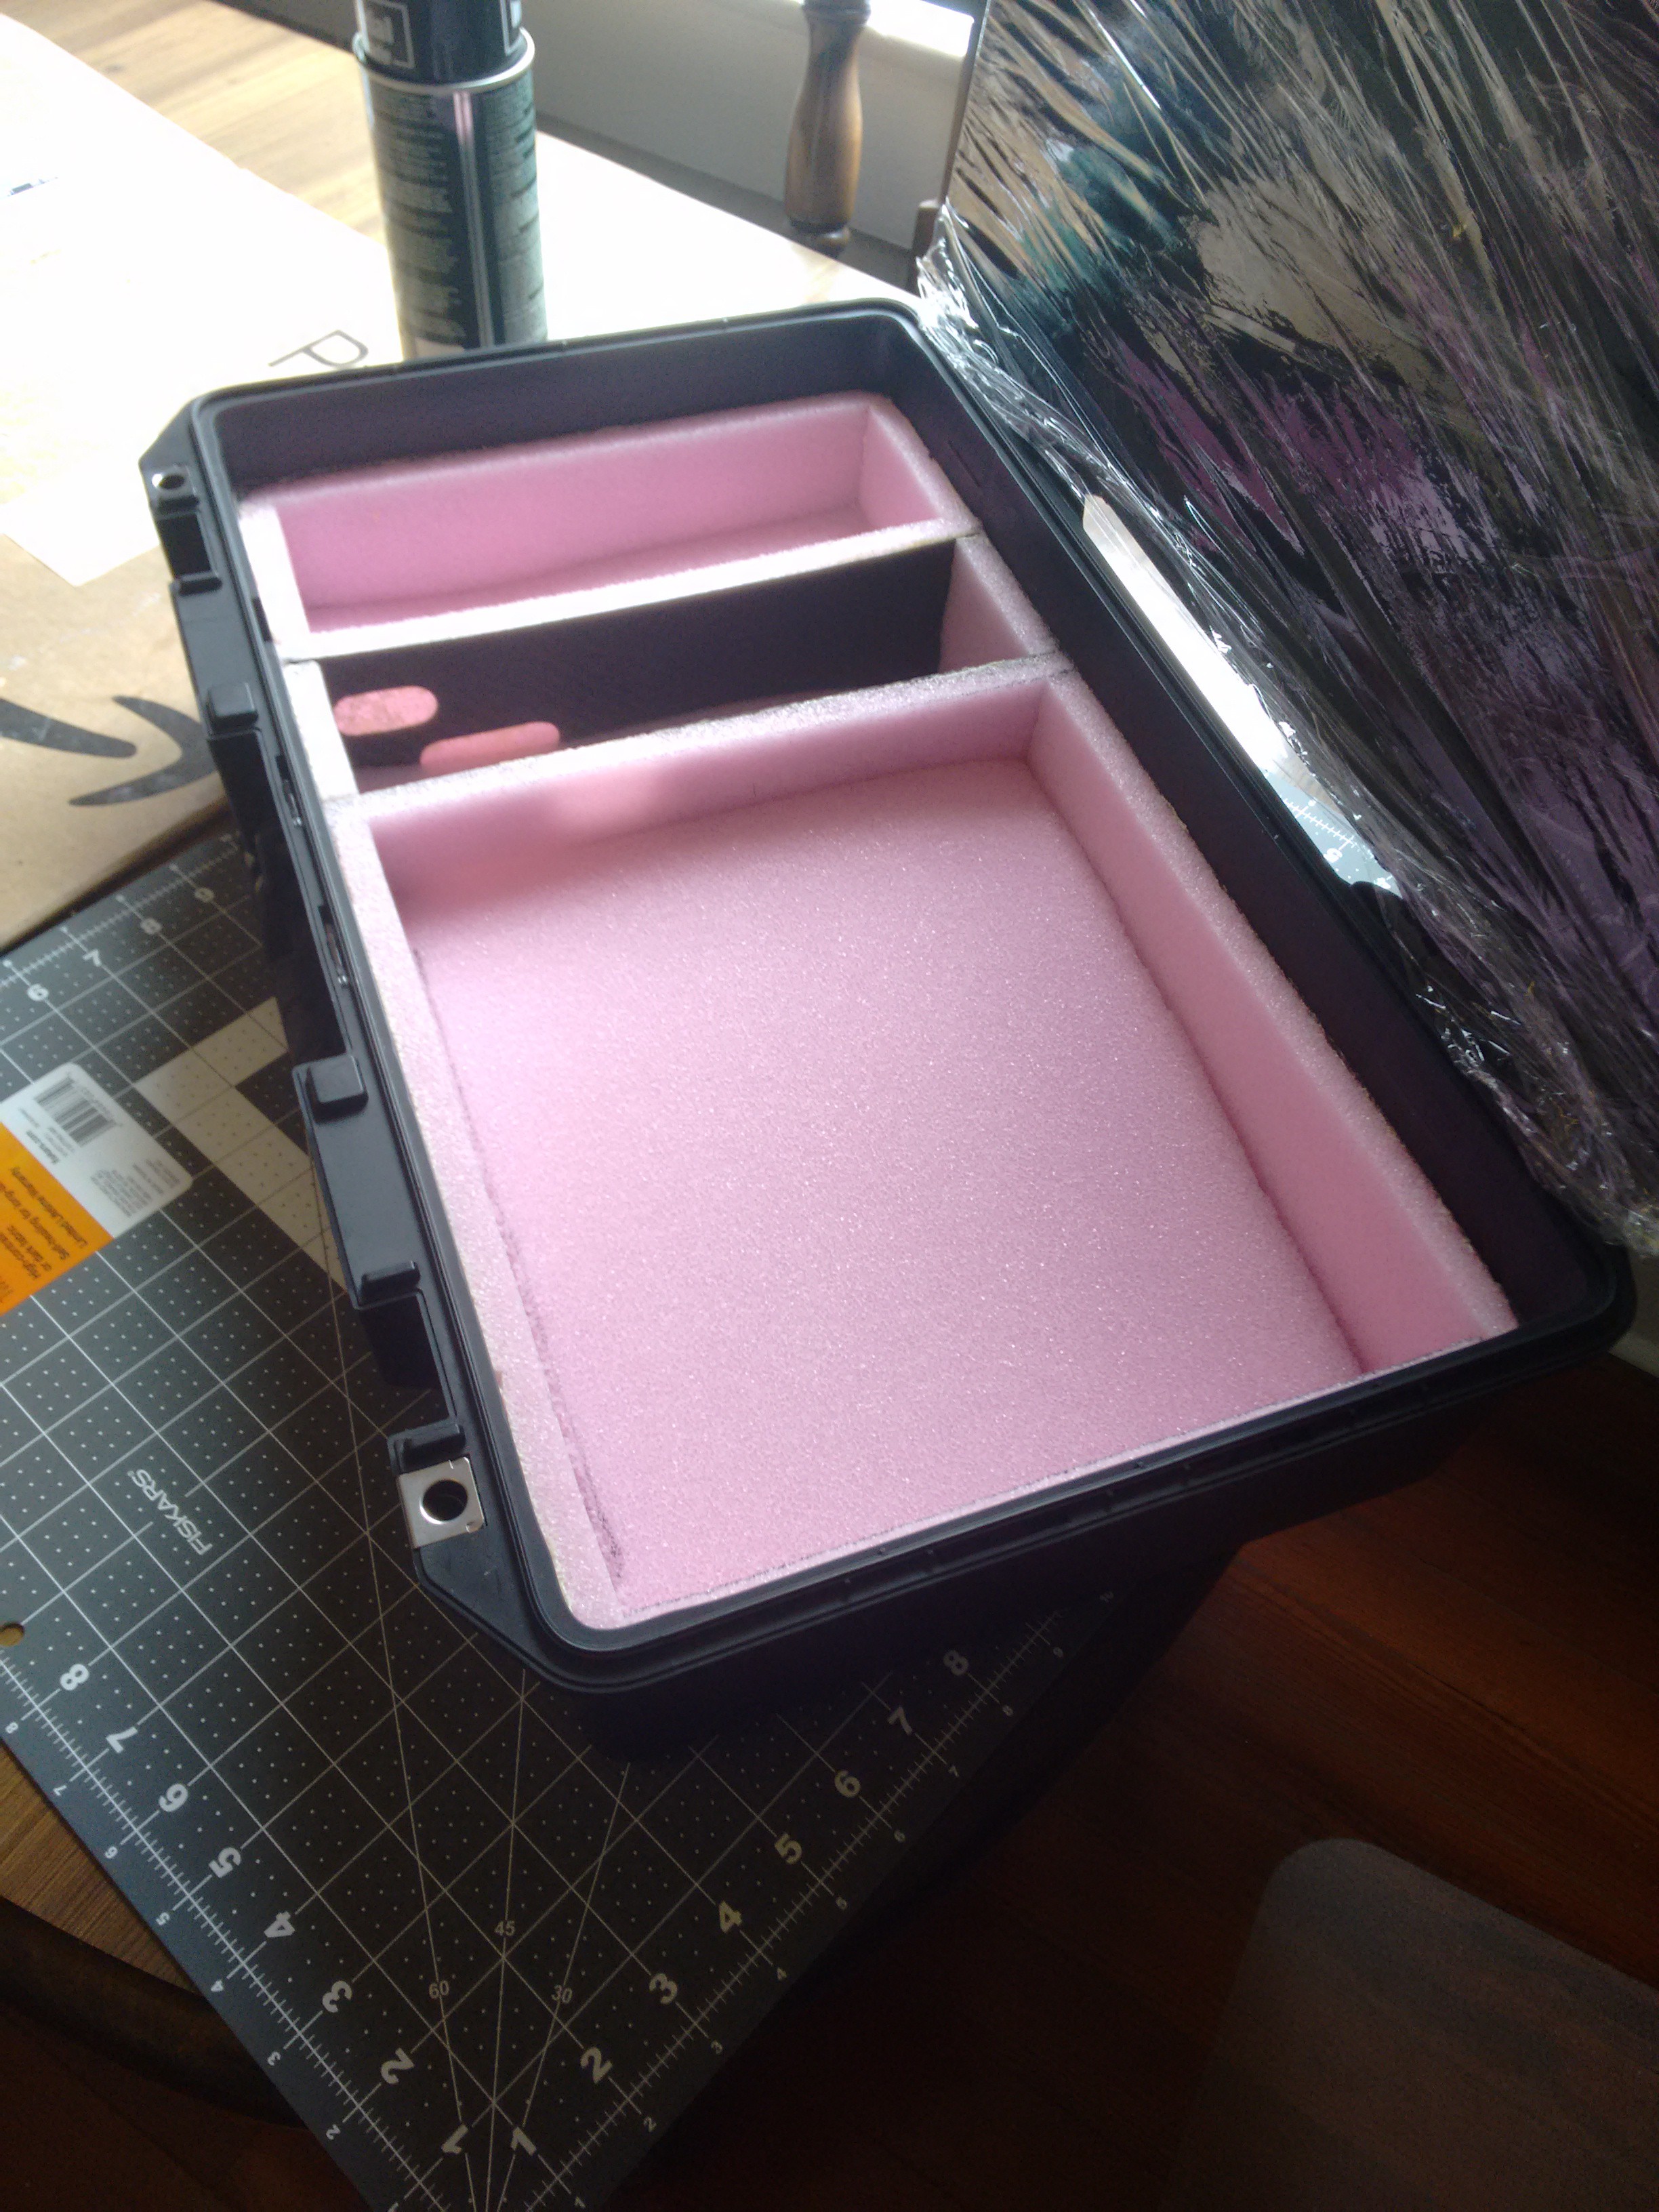
When the Pelican Air cases were released it was time to get to what I was aiming for from the start. A lugable, full ATX motherboard, good size GPU in a hand luggage sized case. Preferably with integrated monitor. The completed unit should be rated IP67 resistant, because of the selected power (Amphenol MS3102A 10SL-3P) and ethernet (Amphenol LTW, RCP-5SPFFH-SCU7001) sockets (by the handle).
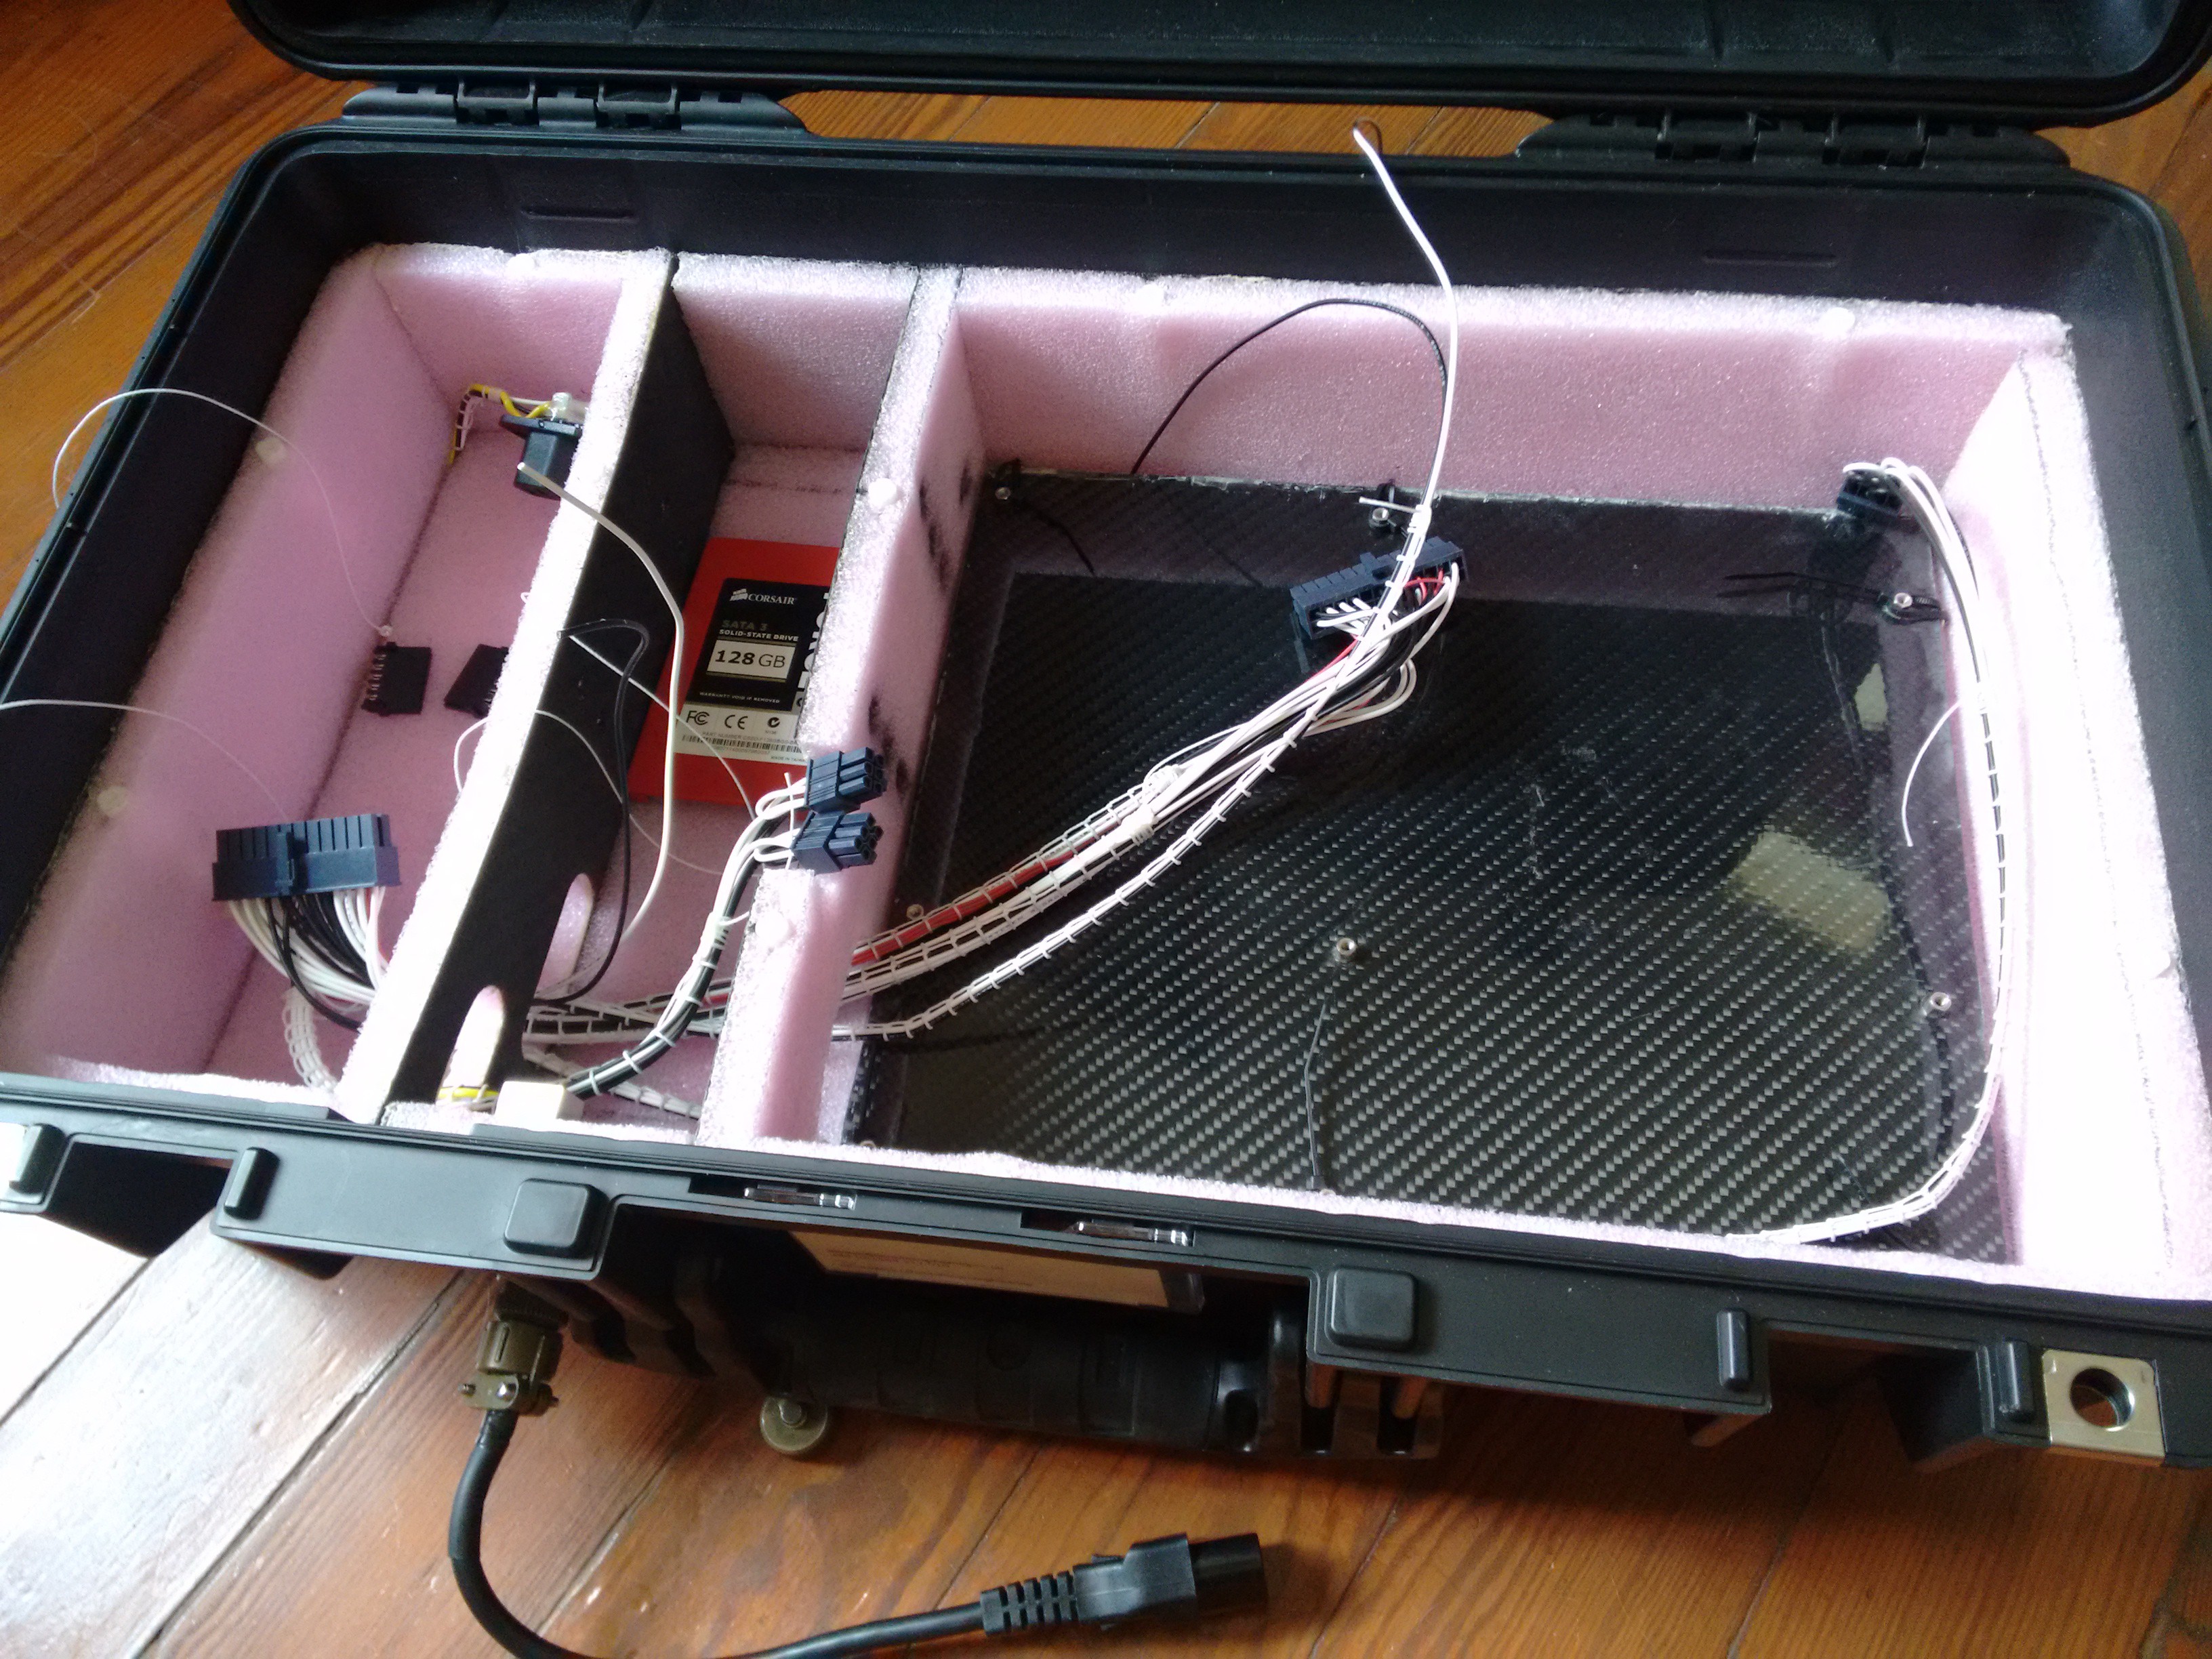
The key to this build is the Seasonic TFX 350W power supply, which provides sufficient power for running a reasonable Xeon CPU, reasonable GPU, couple of SSDs and 22" LED monitor.
- I still need to run the network line to the waterproof socket on the front
- Make a mounting bracket for the USB3.0 ports onto the lid / top plate (white)
- get the correct DC power plug for the monitor 12V
- secure the monitor when its in use and placed in the lid, when stored it will be placed on foam on the top plate (white painted carbon fiber sheet)
 BreeStephany
 darth_llamah
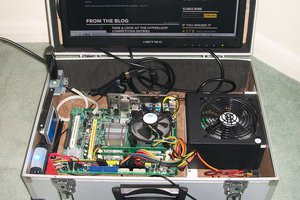
 David
David
 RW
RW