 Szabolcs Lőrincz
The goal of the project is to create a cheap, simple, open source, automated, 3D printed, connected, DIY model railway system. Here are the details about why can it be useful and how can it help the world.
THE STANDARD KIT
Since the project is more like a DIY kit with individual parts rather than one single product, I collected some basic parts into one theoretical product called "standard kit", to be able to compare the prices, and the components. The raw material cost of the kit is about 93 USD. (and almost half of that is the cost of the raspi) If that's not cheap for a starter model railway kit, I don't know what is. The components needed for the standard kit are listed below, and you can also view a detailed bill of materials in excel format here.
Contents of the standard kit:
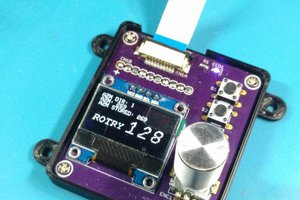
- 1x Master station (the one with the raspi and the power supply)
- 1x Normal station
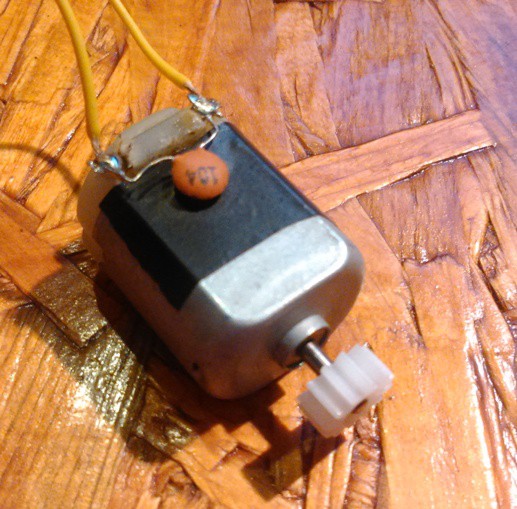
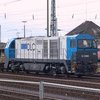
- 2x Train
- 1x Right switch


 CriptasticHacker
 Juan Sandubete
i am also very intrusted in train modles