 artist_edge
This project page describes the technical design and reasoning for implementation of a wireless system that includes transceiver points and a cluster of networked stage props that display complex lighting patterns.
0%
0%
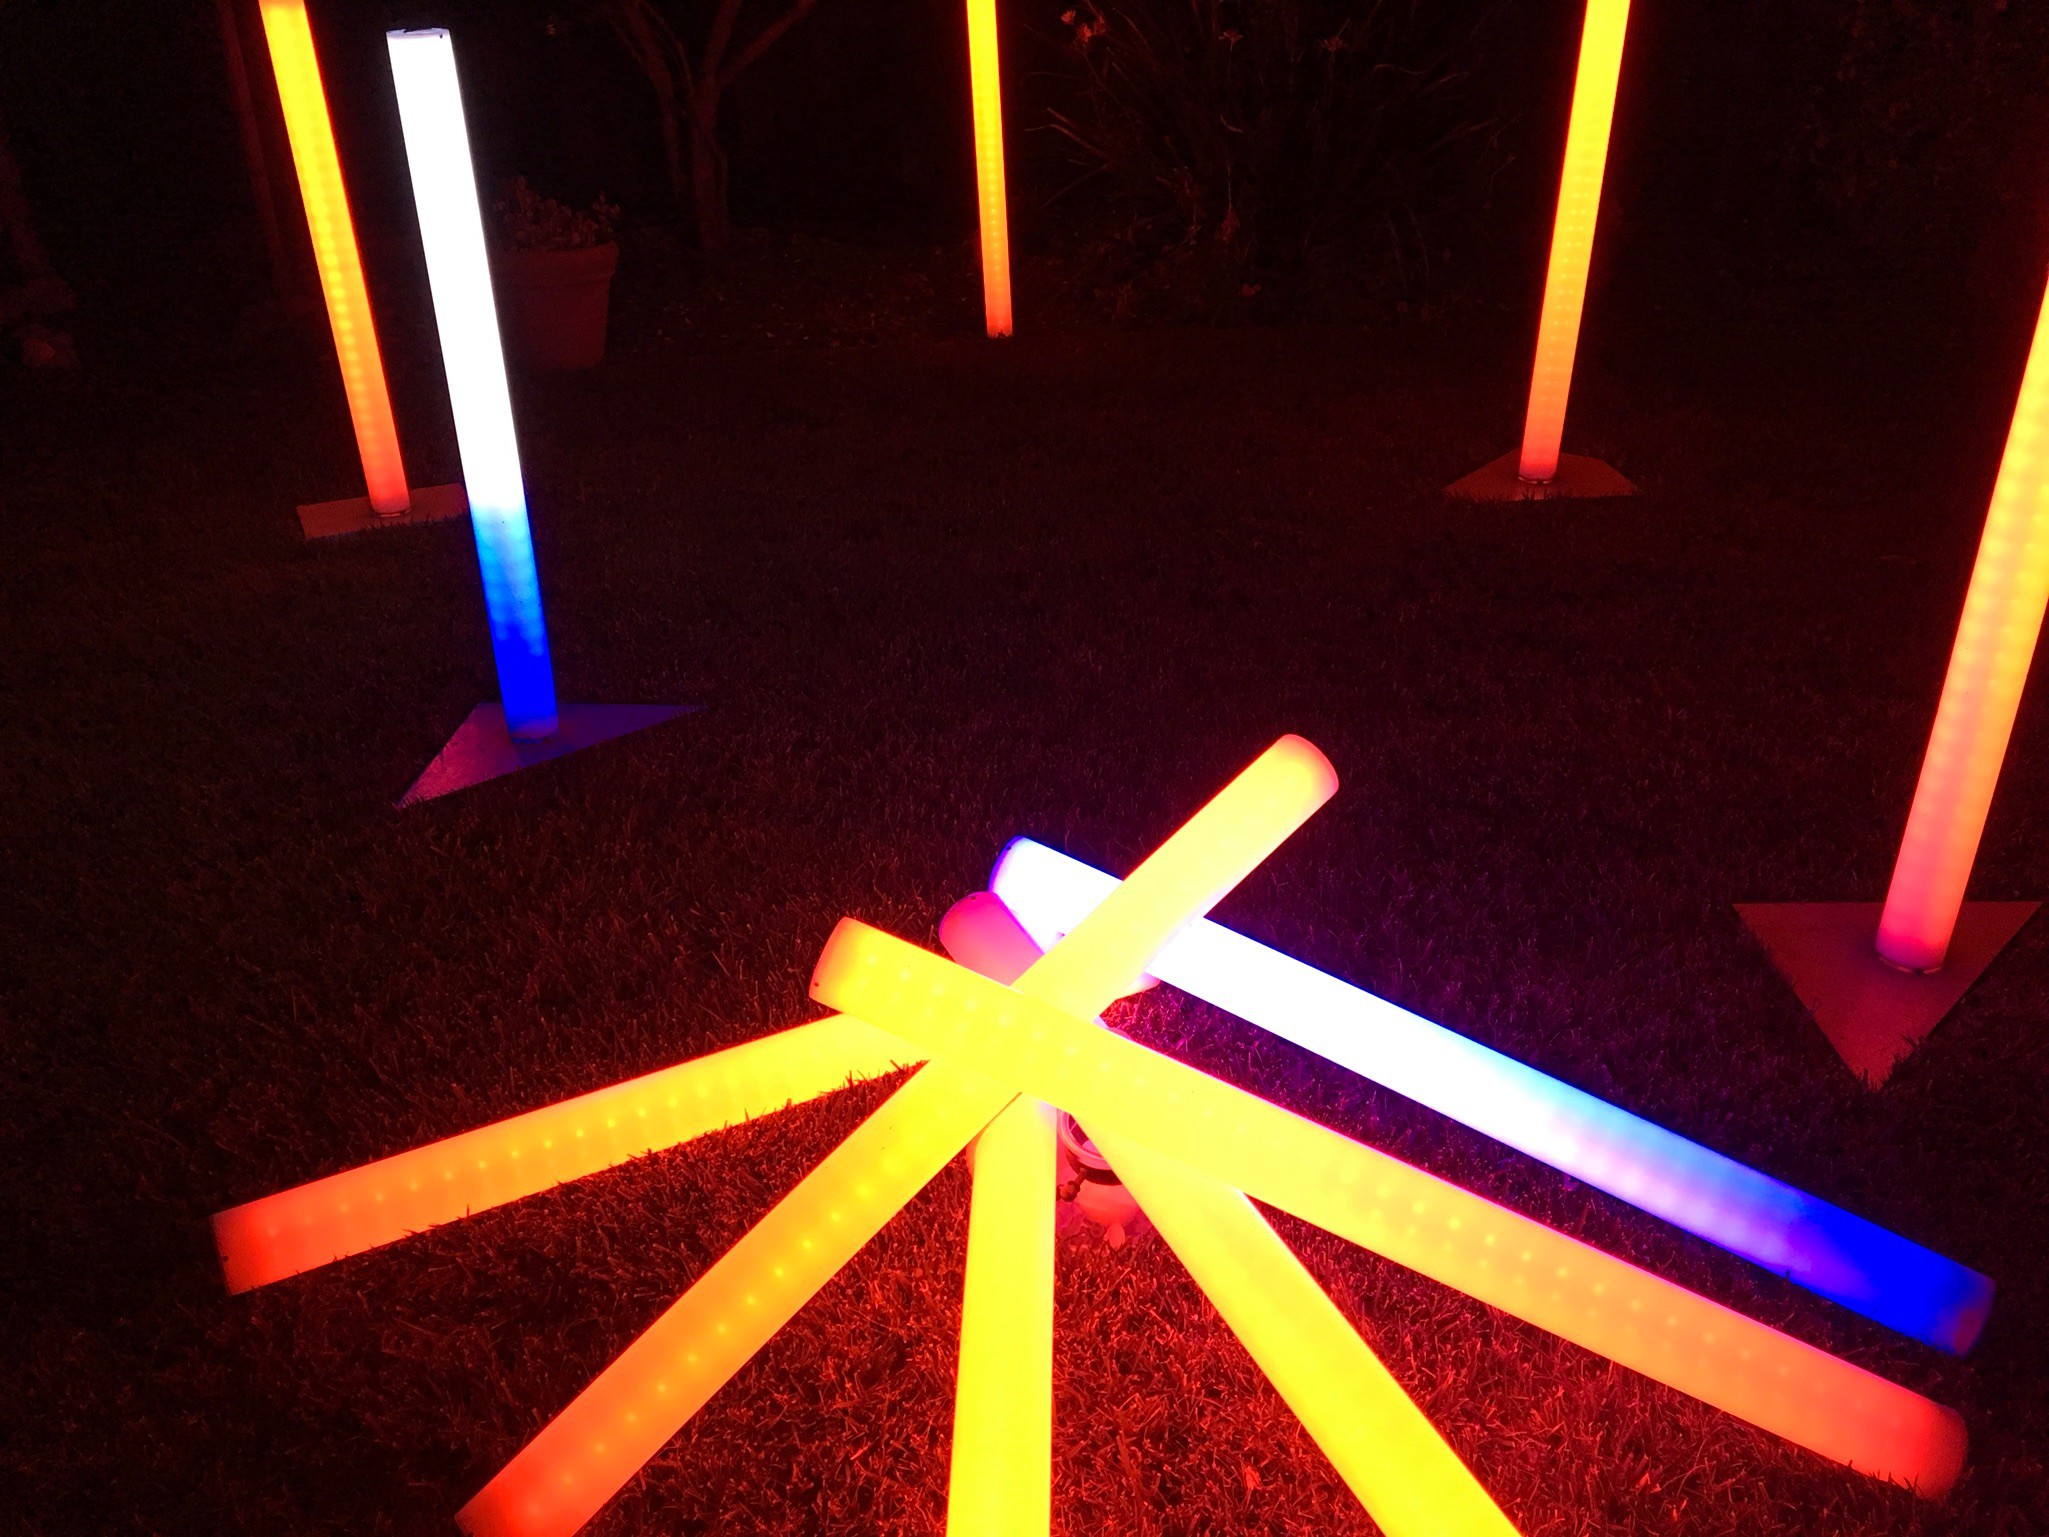
Programmable Light Props for Theatrics
Music-Synchronized light sticks that work in difficult RF environments like theaters for intense artistic applications.
Become a Hackaday.io member
Already have an account? Log in.
Just one more thing
To make the experience fit your profile, pick a username and tell us what interests you.
Pick an awesome username
hackaday.io/
Your profile's URL: hackaday.io/username. Max 25 alphanumeric characters.
Pick a few interests
Projects that share your interests
People that share your interests


 Vivien Henry
 mkdxdx
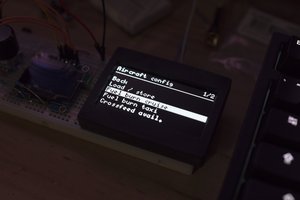
 Stephen Holdaway
 AKA
AKA