 Wing Tang Wong
Components:
- Laser cut Acrylic sheet (via ponoko)
- 1/4-20 Hex Nuts (Home Depot)
- 1/4-20 3" or 4" long bolts (Home Depot)
- 1/4" washers (Home Depot)
- 3/8-16 Hex Nuts (Home Depot)
- Super Glue (lots of super glue)
Step #1: Designing the board.
So, I was inspired by the PlatyPod type boards. I was originally made aware of them via their recent kickstarter for their PlatyPod Ultra. I was super excited, but then wondered, "is this something I would actually use?" So instead of backing the project and waiting and seeing if it would be something I would use, I decided to make a protoype of one and see if it was something I would actually use or find useful. Plus... gave me a chance to design and make something.
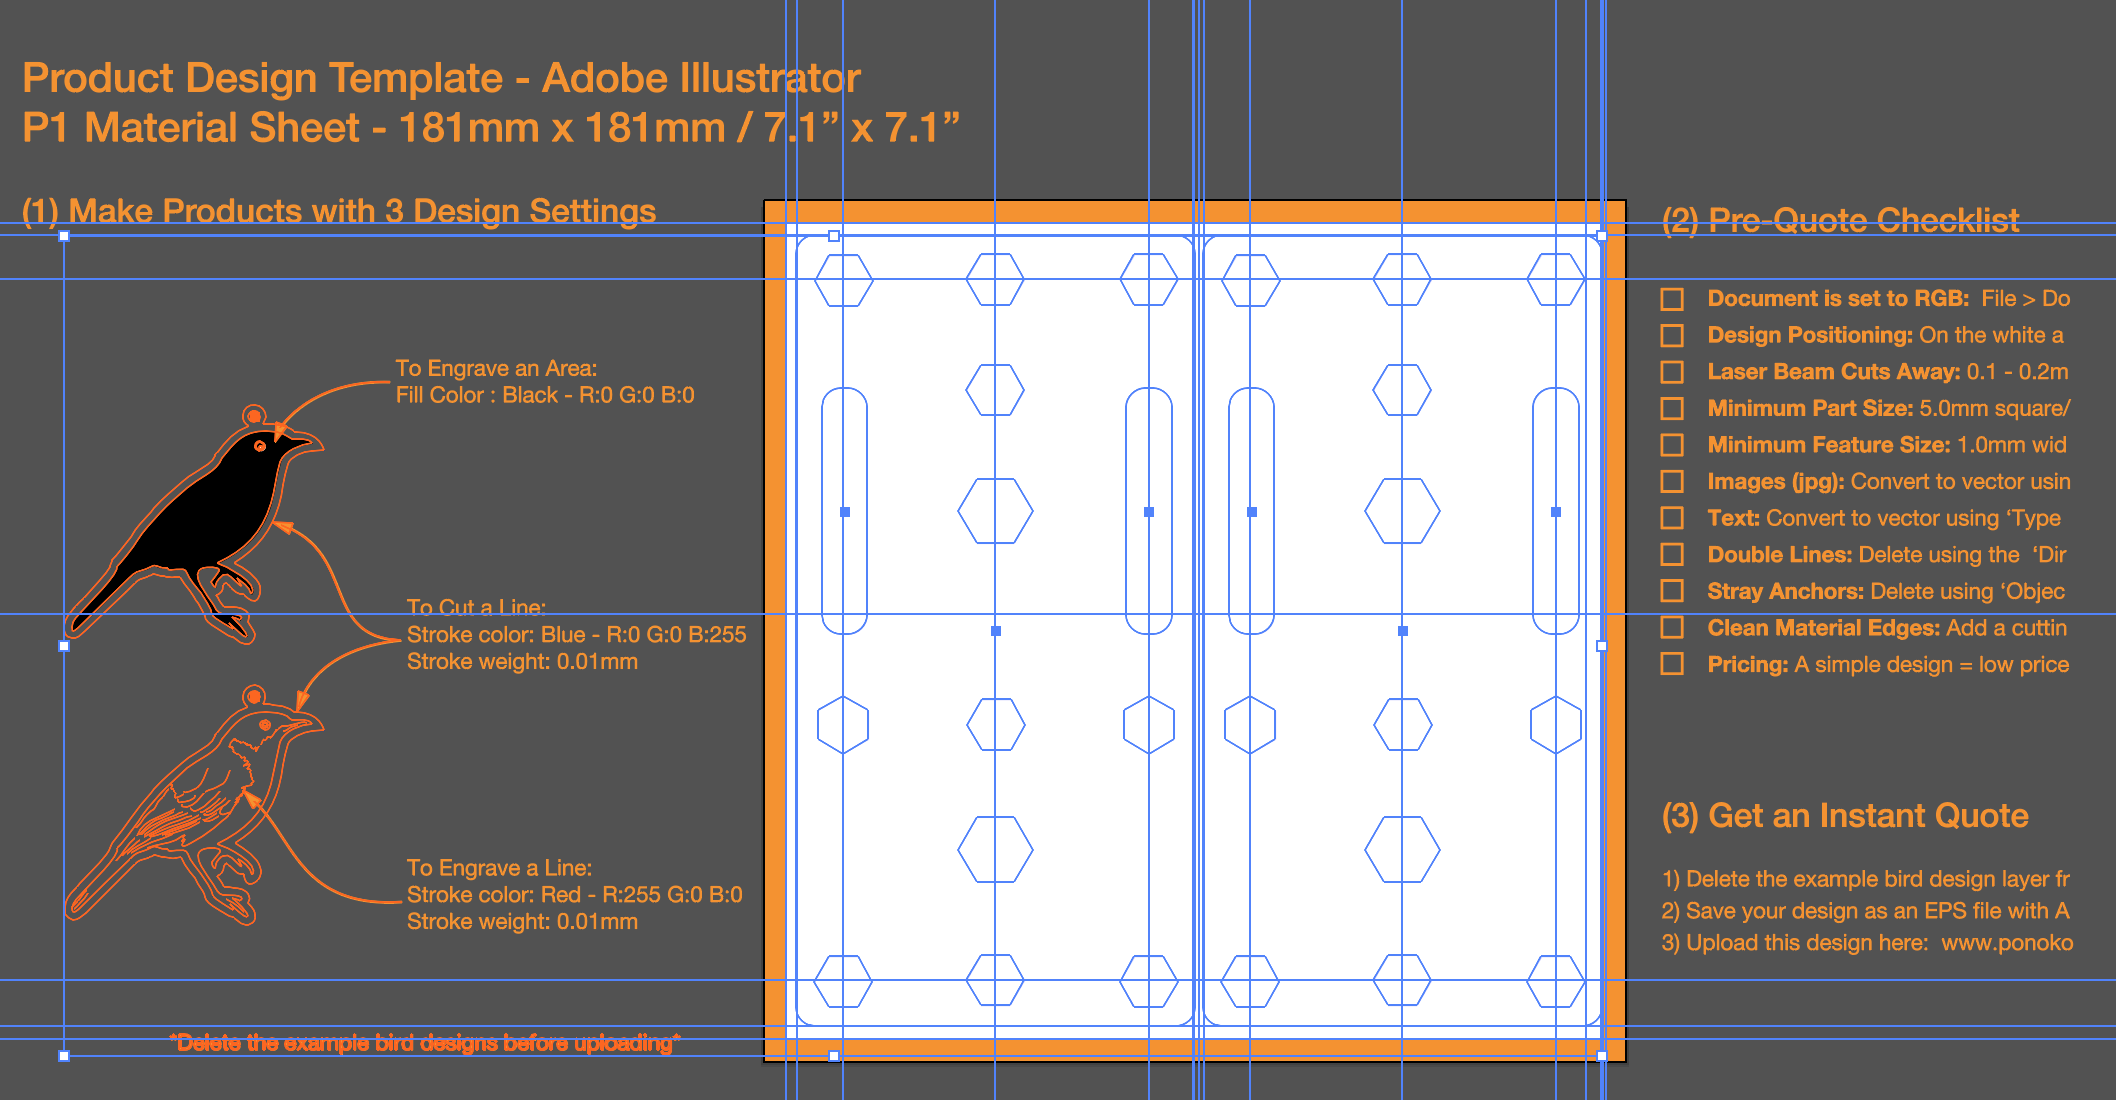
I used Adobe Illustrator and a 181mmx181mm template from Ponoko to design the board. I used 5.6mm thick red acrylic... because I thought it would match my camera bags, which contained a good deal of red. Plus Sony cameras tend to have a touch of orange/red, so I thought it blended well. Turns out most of the hex nuts I had were just shy of 5.6mm, so they would fit in the board thickness just fine.
I realized I could fit two boards so designed it with two boards in mind.
I added 1/4-20 hex nut openings in the corners and various edge midpoints to facilitate flexible "leg" placement. I added in alternating 1/4-20 and 3/8-16 hex nut holes along the centerline so I could use either bolt type to secure a tripod head, flash unit, etc. I added rounded openings for 2" wide straps. The outer corners of the board are likewise rounded. I kept the rectangular shape since it made sense to minimize sharp corners.

In total, from upload/order to arrive at my front door, it took about 4 days. Woot.
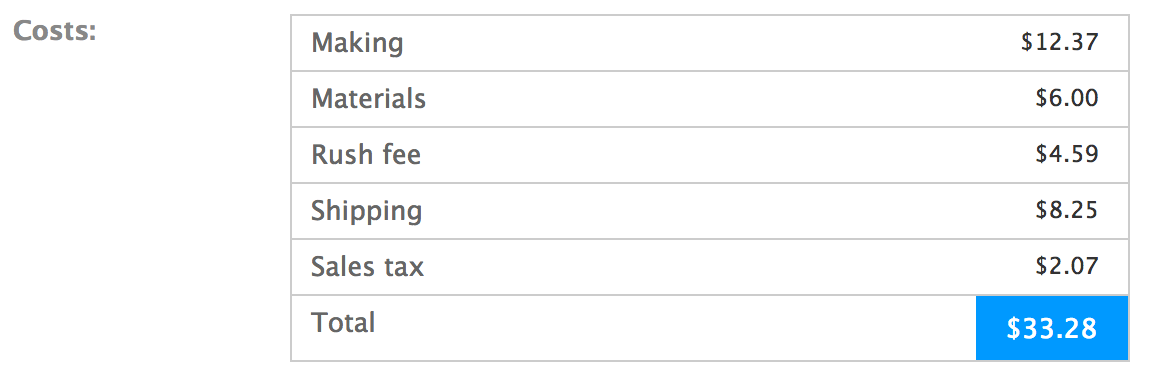
Cost of materials/etc from Ponoko for the cut board and this is how it arrived...
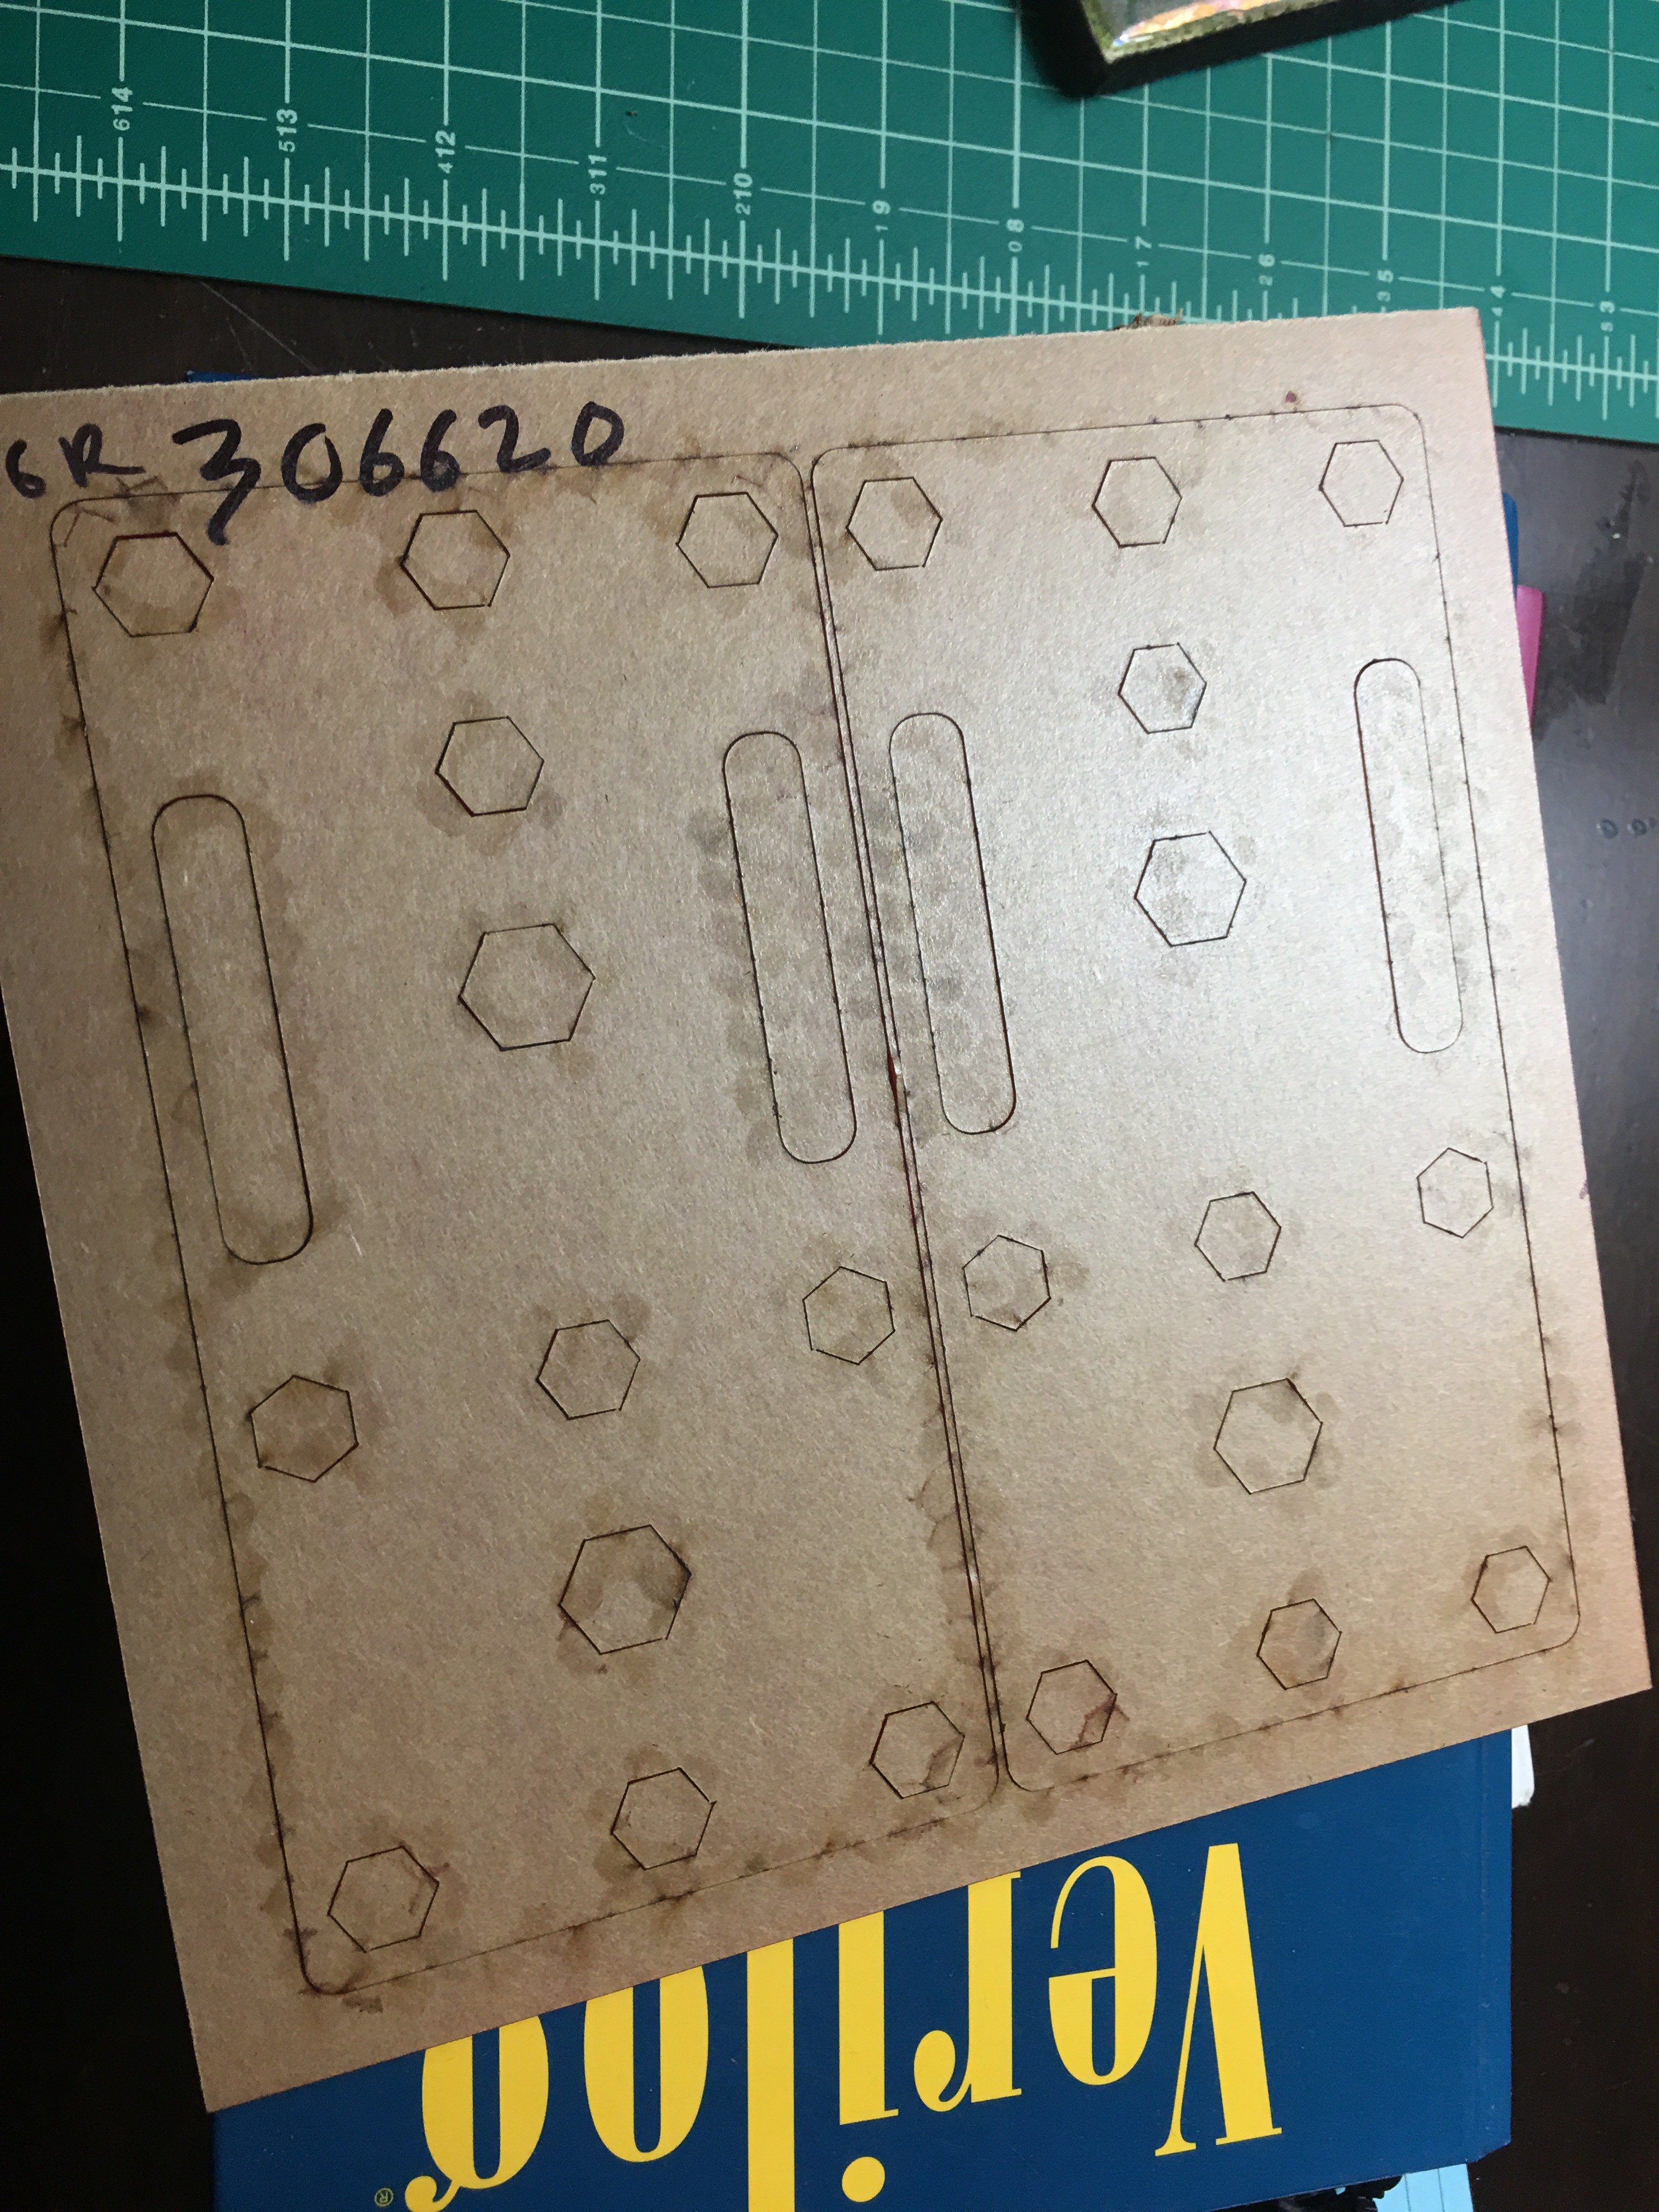
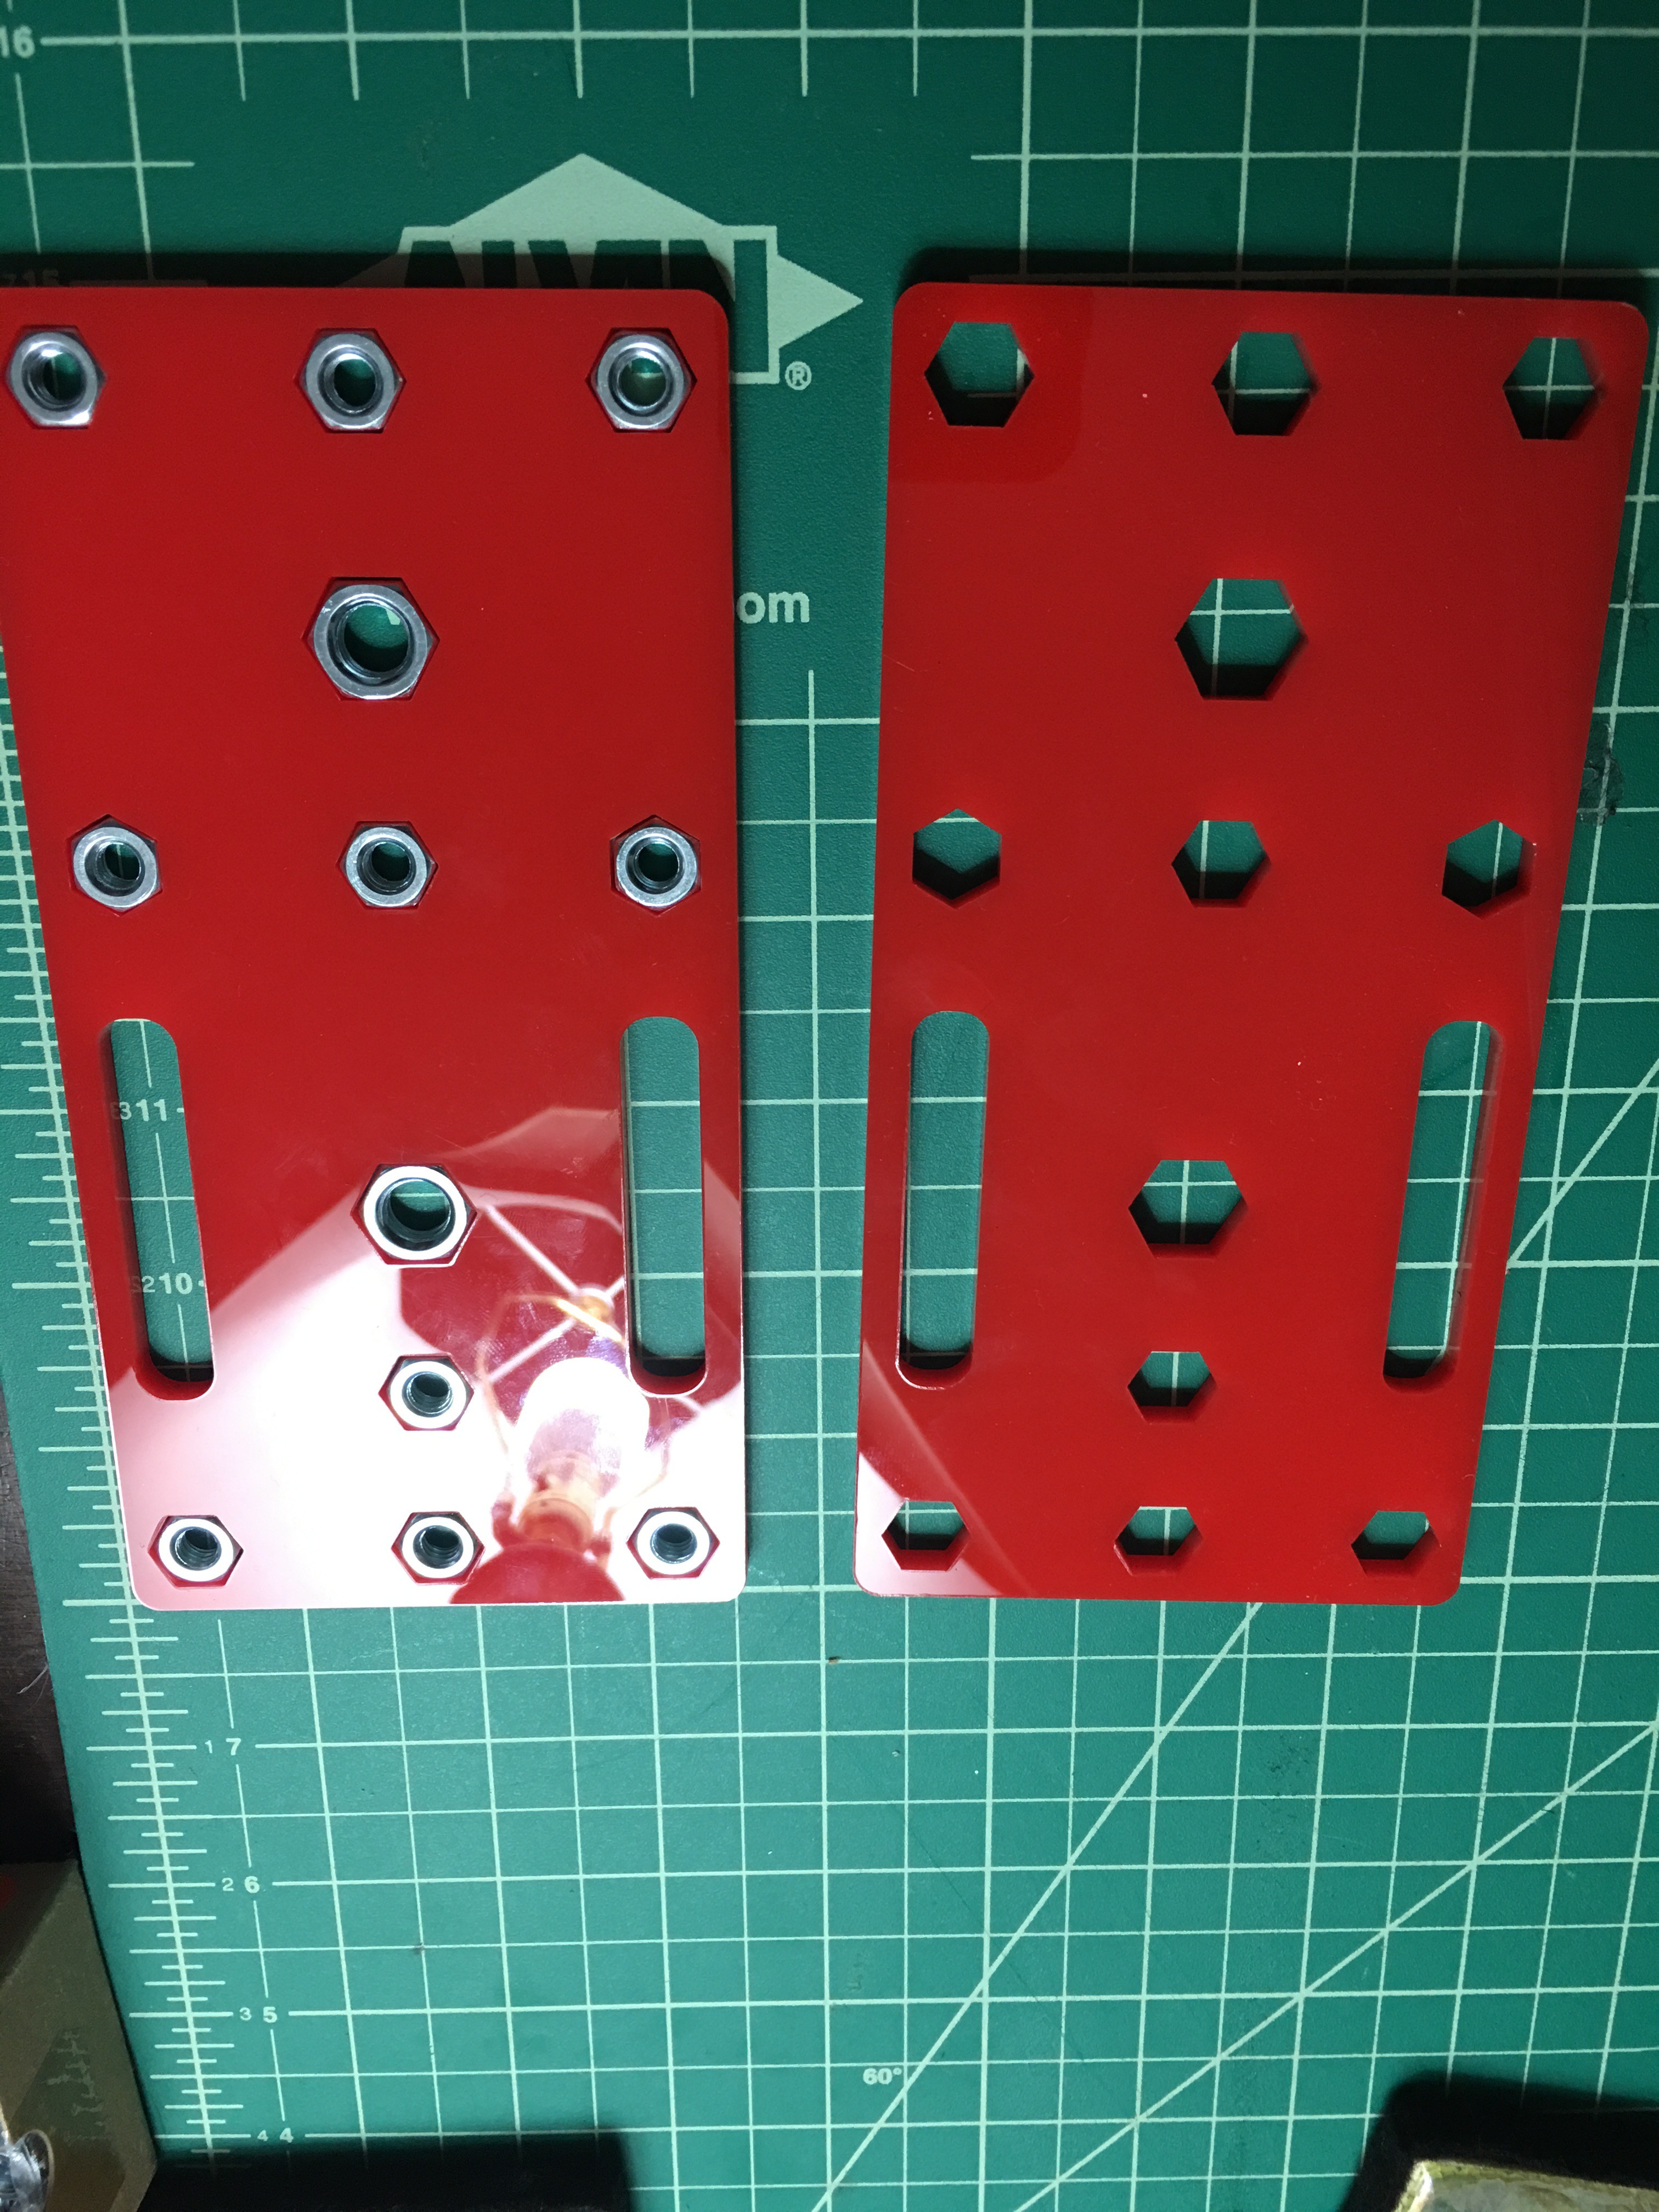
Sliced and diced. Covered with protective sheet on both sides and one side has a strong adhesive sticker to hold everything in place, so no lost bits! I ended up with a whole mess of little red hexagon tiles. :)
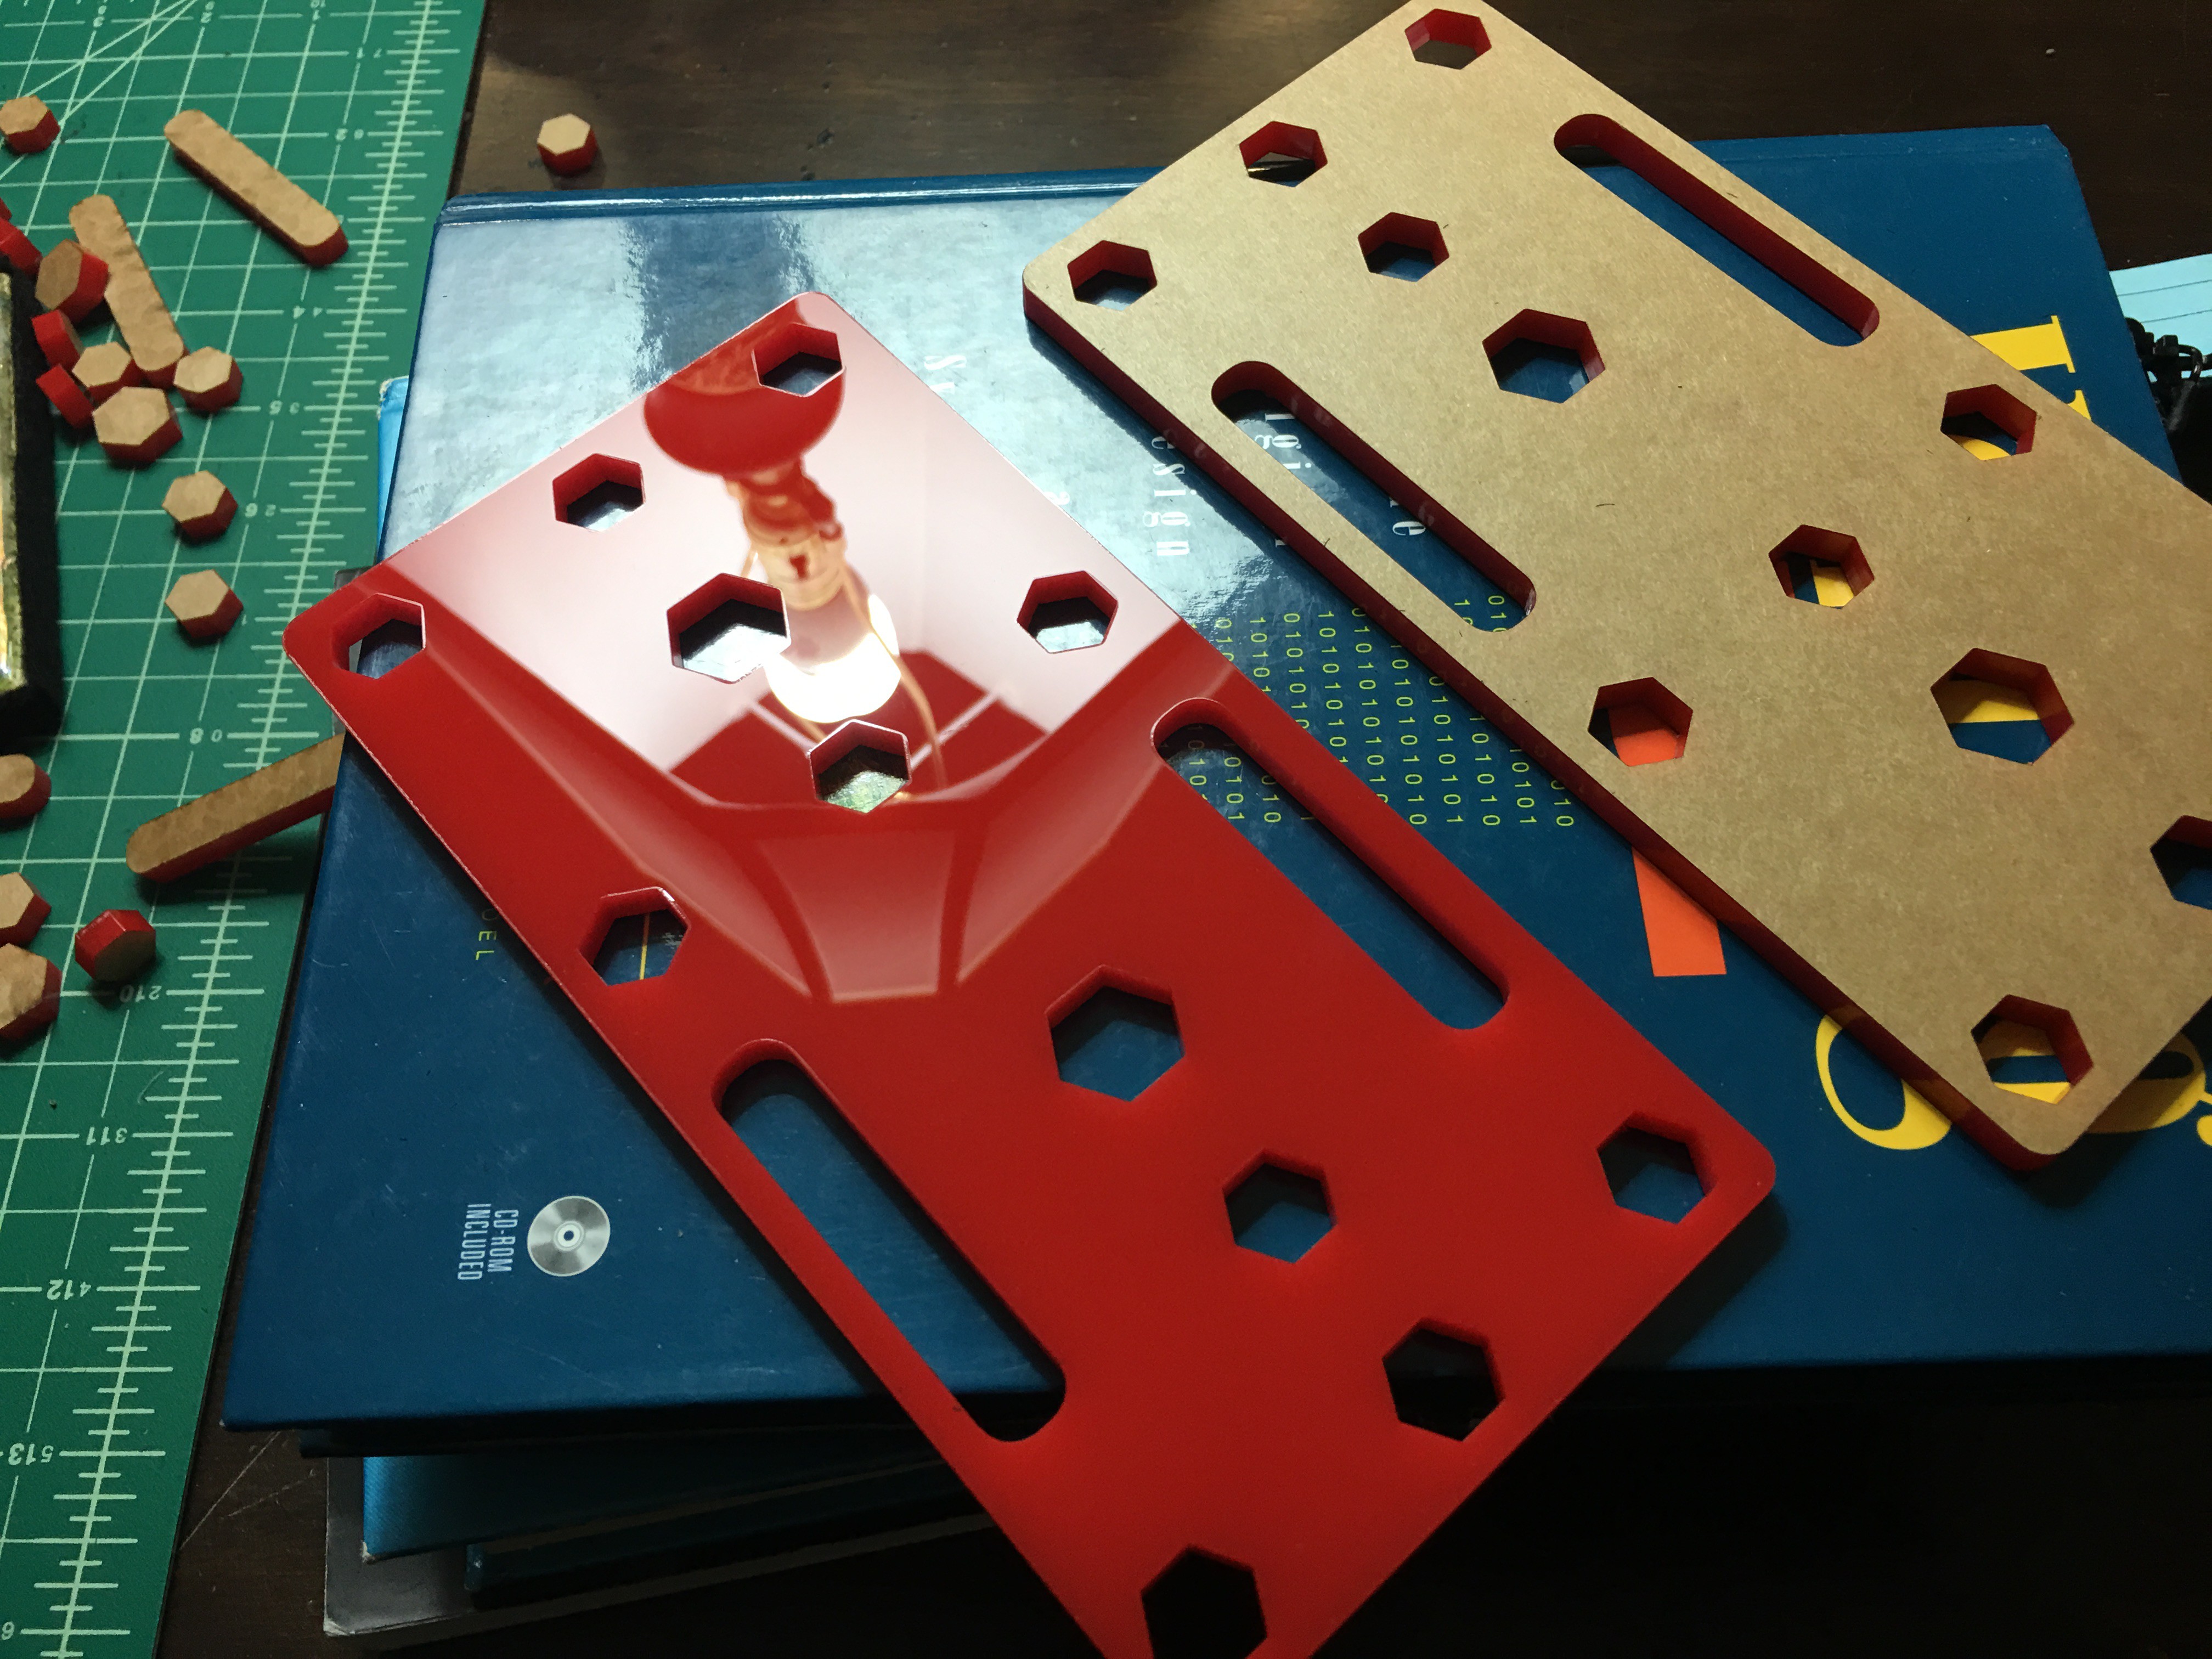
After everything was split out, I ended up with two sweet looking red boards:
Then... the next step was to get the hex nuts in place. When I did the hex dimensions, I opted for the maximum rated dimension for the nuts, so I figured, if the openings were a bit too big, I could shim. But if they were too small, it would be a mess.
The nuts fit with just a tiny air gap for both the 1/4-20 and the 3/8-16. WOOT!
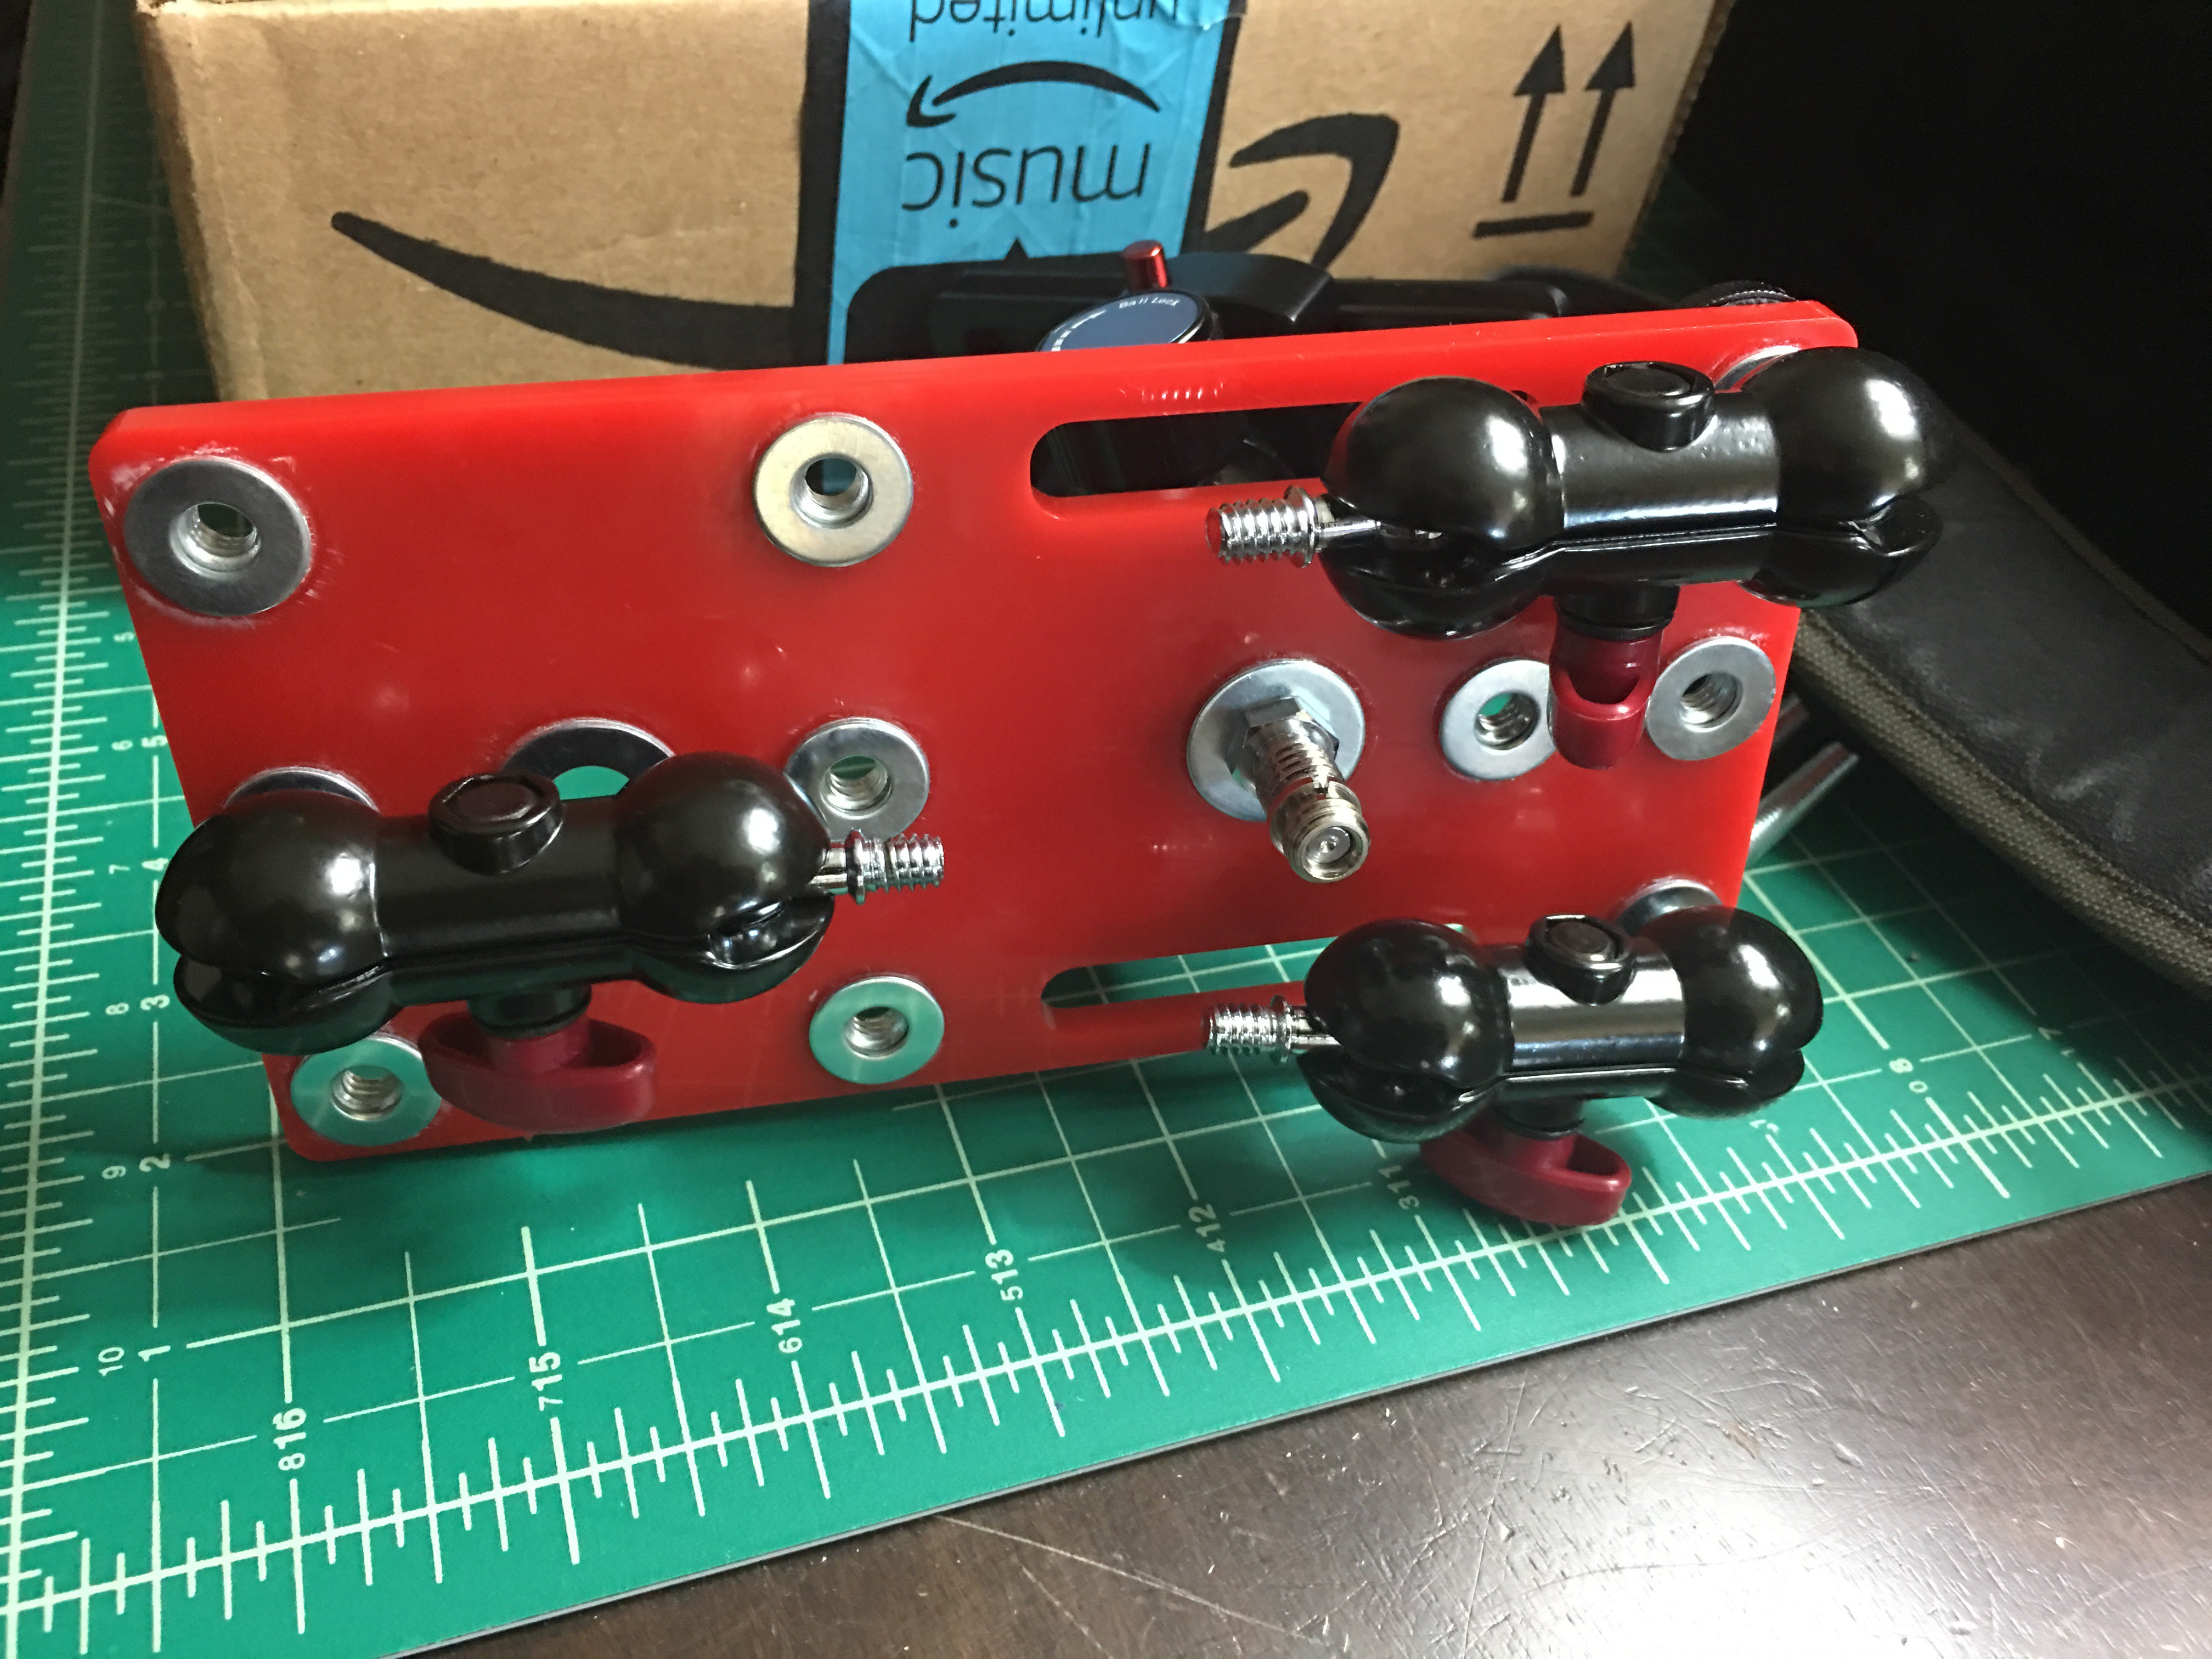
Yes... the image is upside down. No... I'm not going to fix it.
I used loctite super glue(liquid) so that it would flow between the spaces. I would glue one side, then the other. I would then follow up with a reinforcement washer on one side with a nice thick ring of glue. The other side is left bare so I could have the mount point flush.
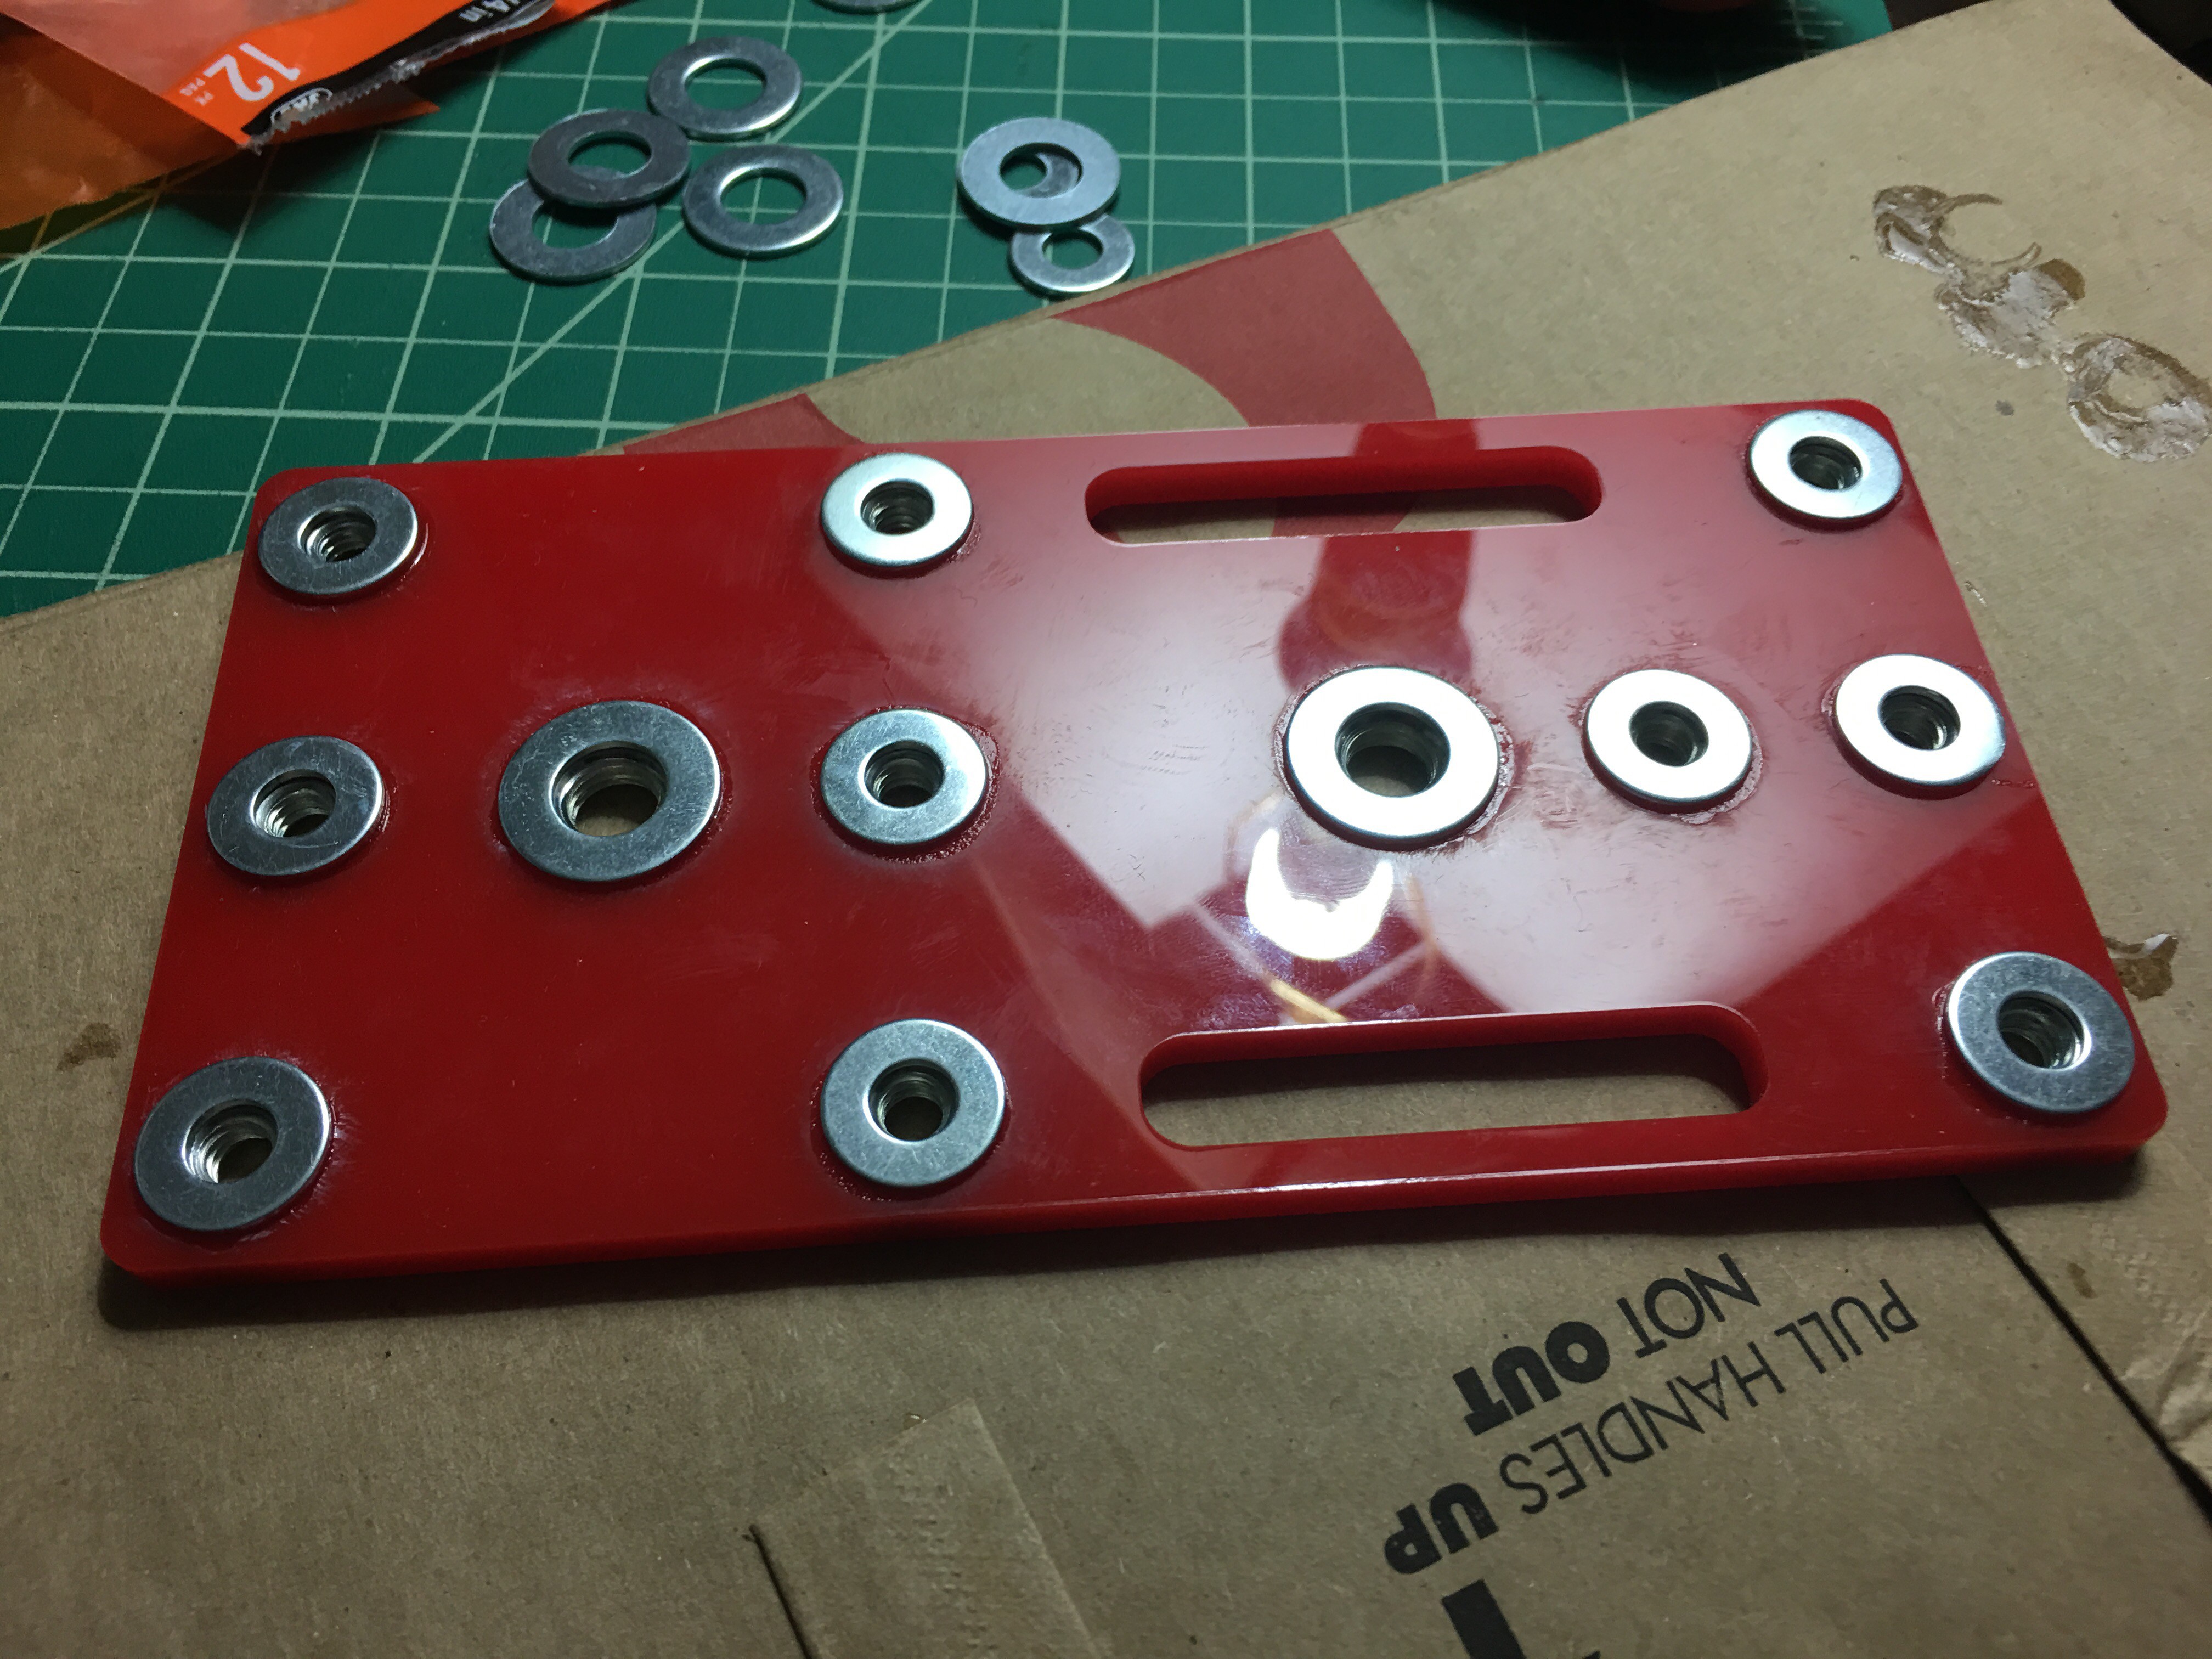
I let it cure overnight. Some light wiping/rubbing of the acrylic cleared up the super glue haze.
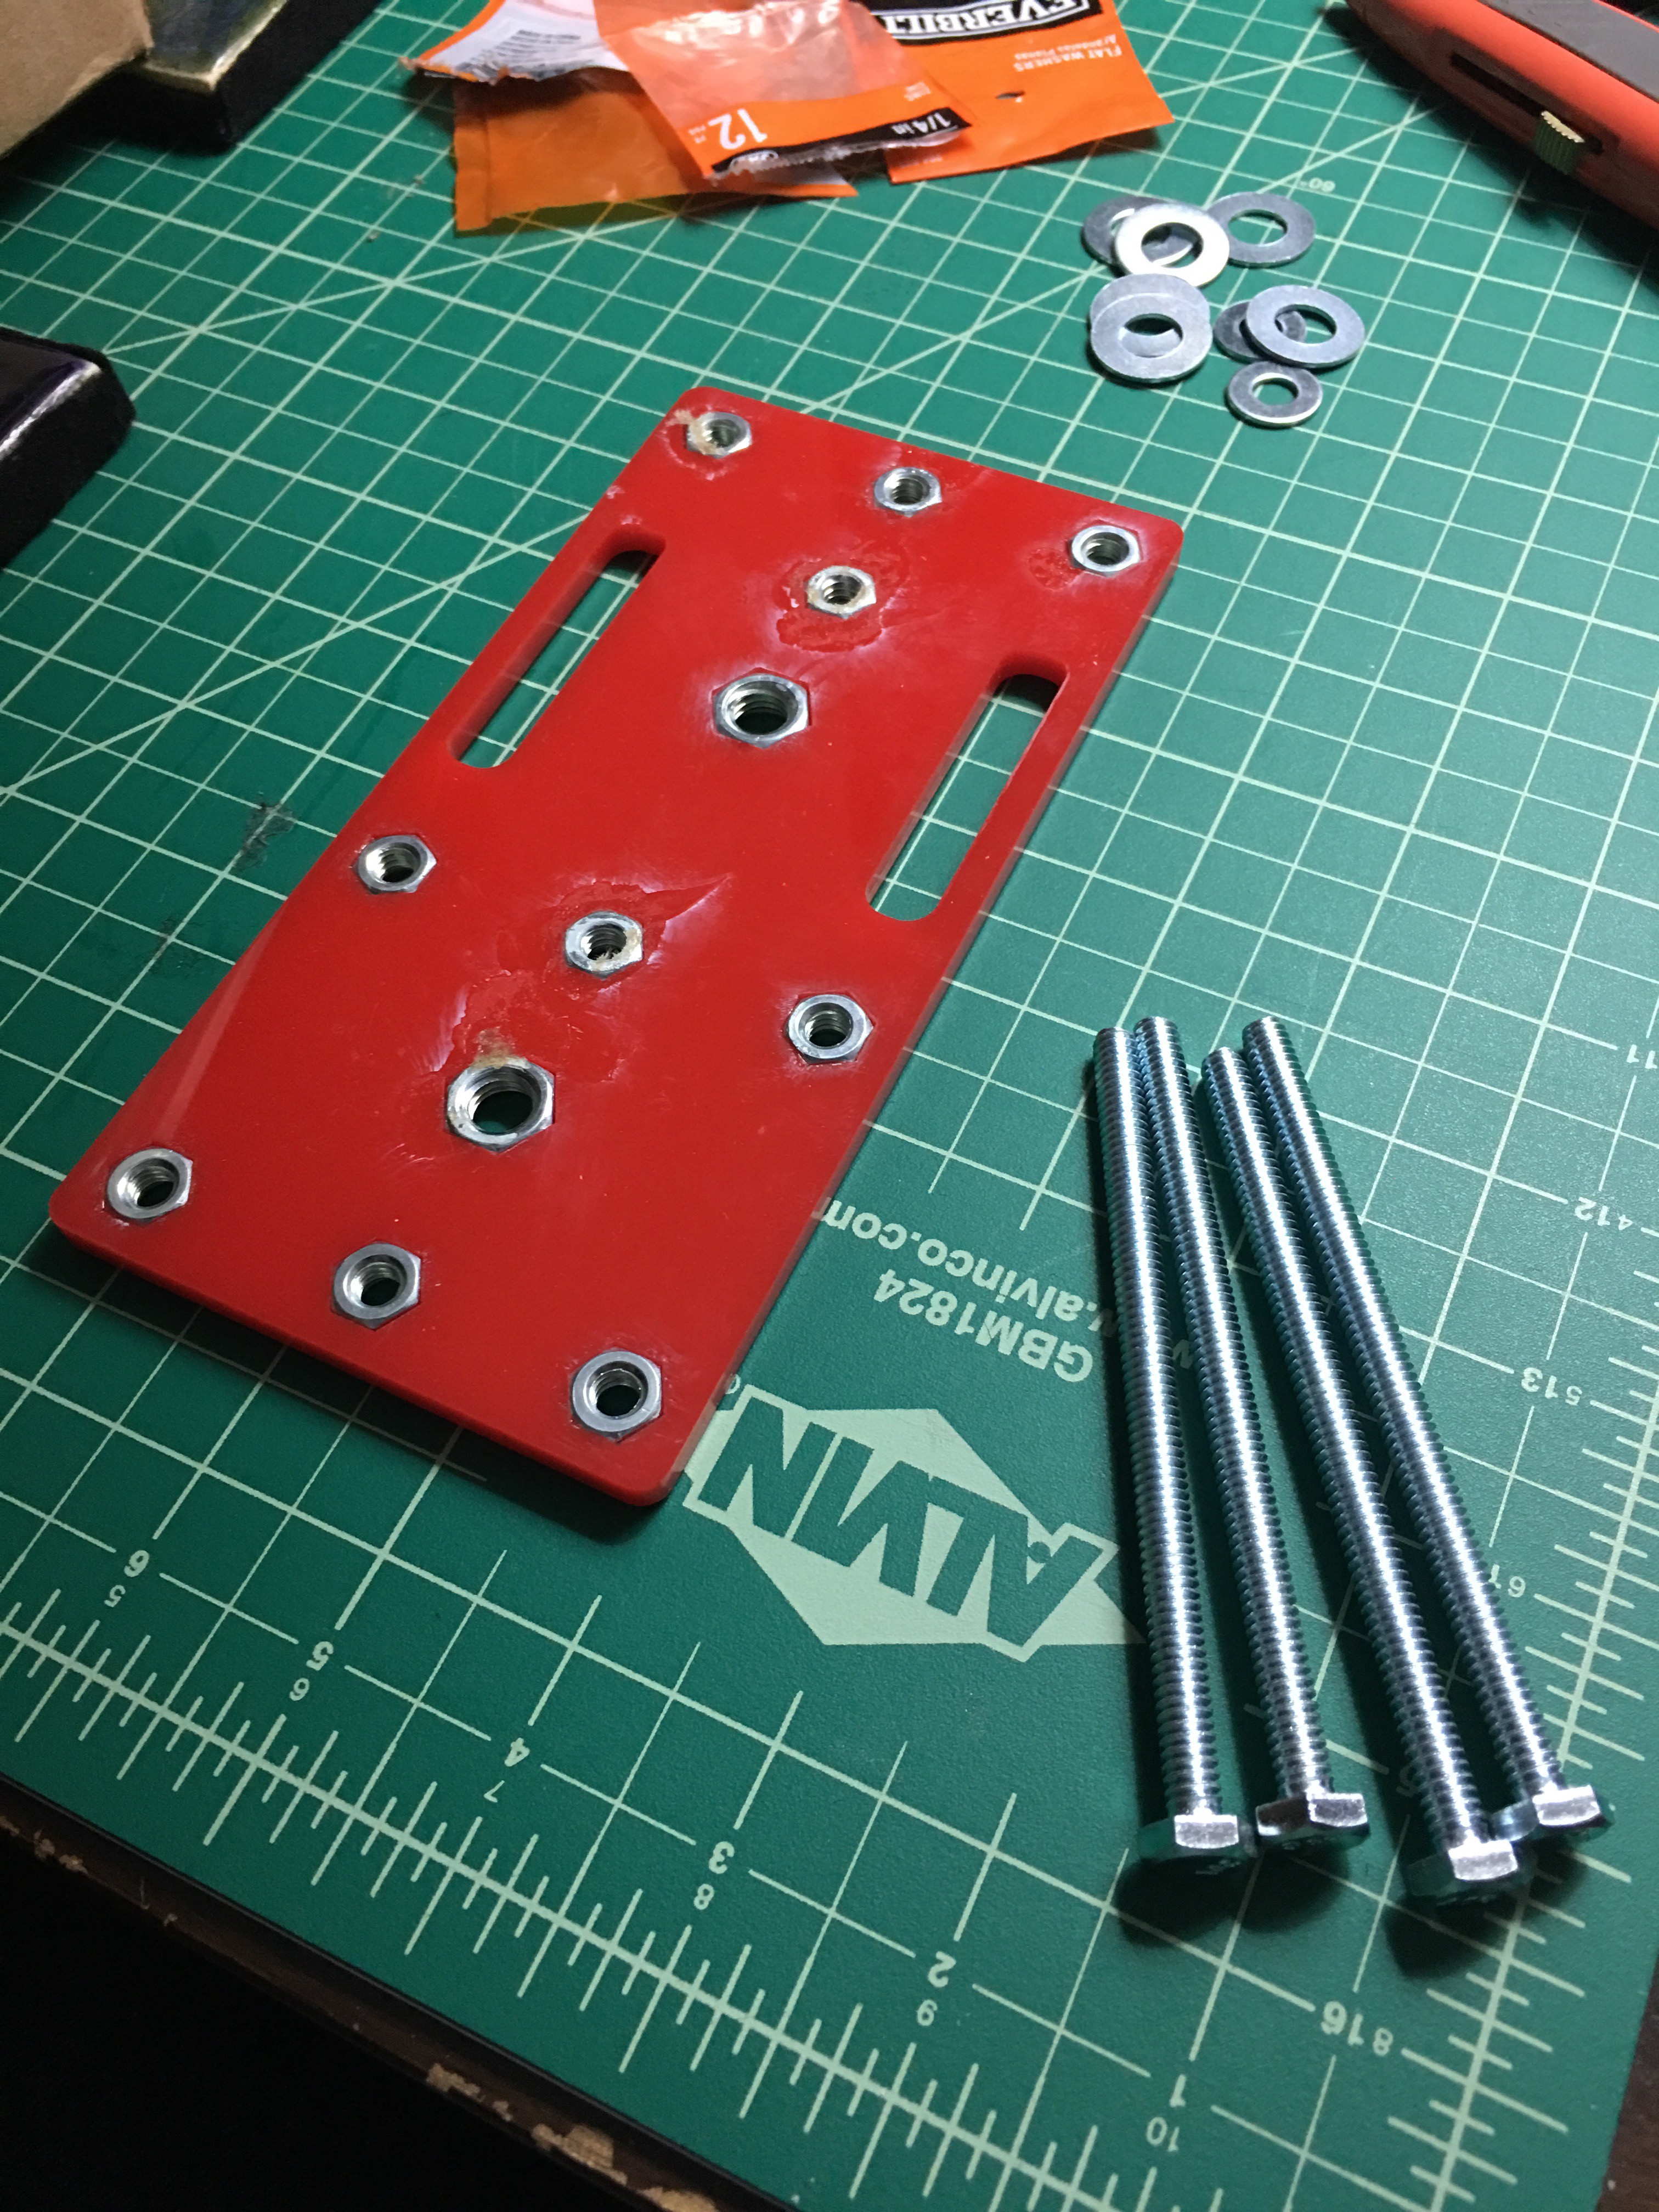
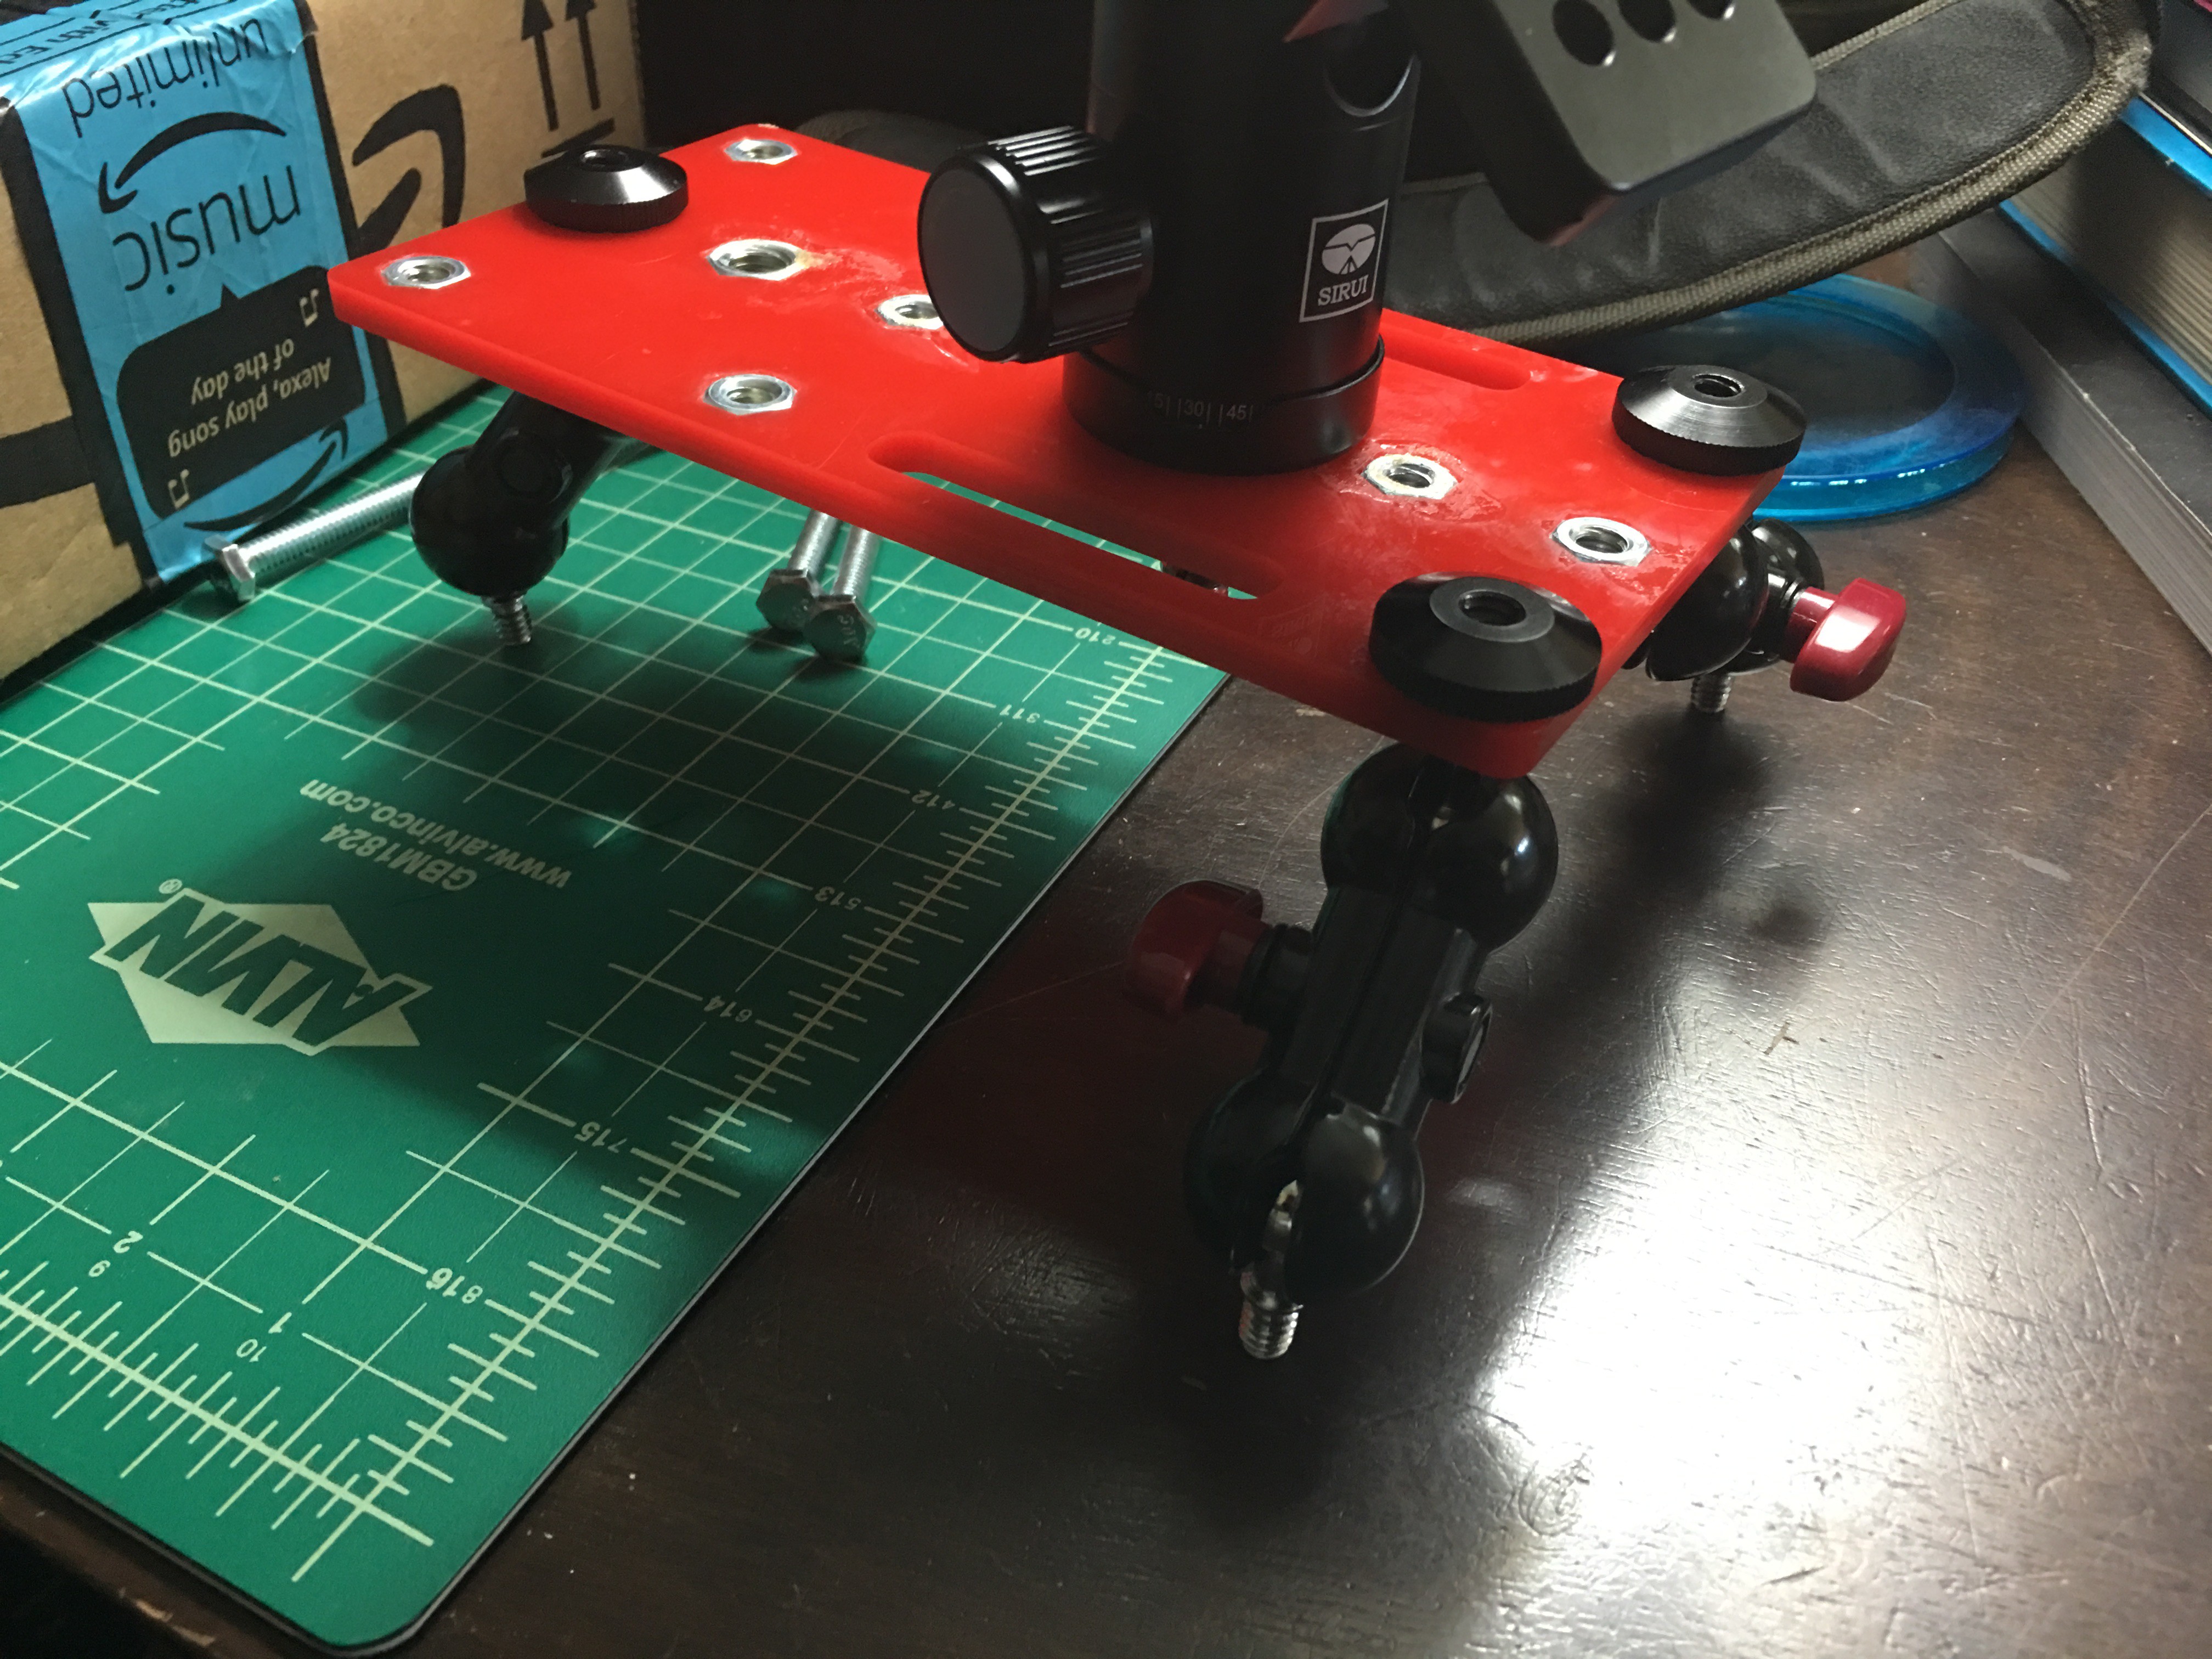
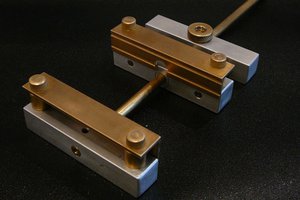
Here it is on the flip side with the haze and the 4 x 4" 1/4-20 bolts that would serve as legs. Note, the threads on these bolts and nuts are "coarse" threads so there is ALOT of spacing and the legs will wobble. Using a "fine" thread bolt/nut pairing would result in MUCH sturdier leg setup and with no wobble. As would using a longer nut setup.
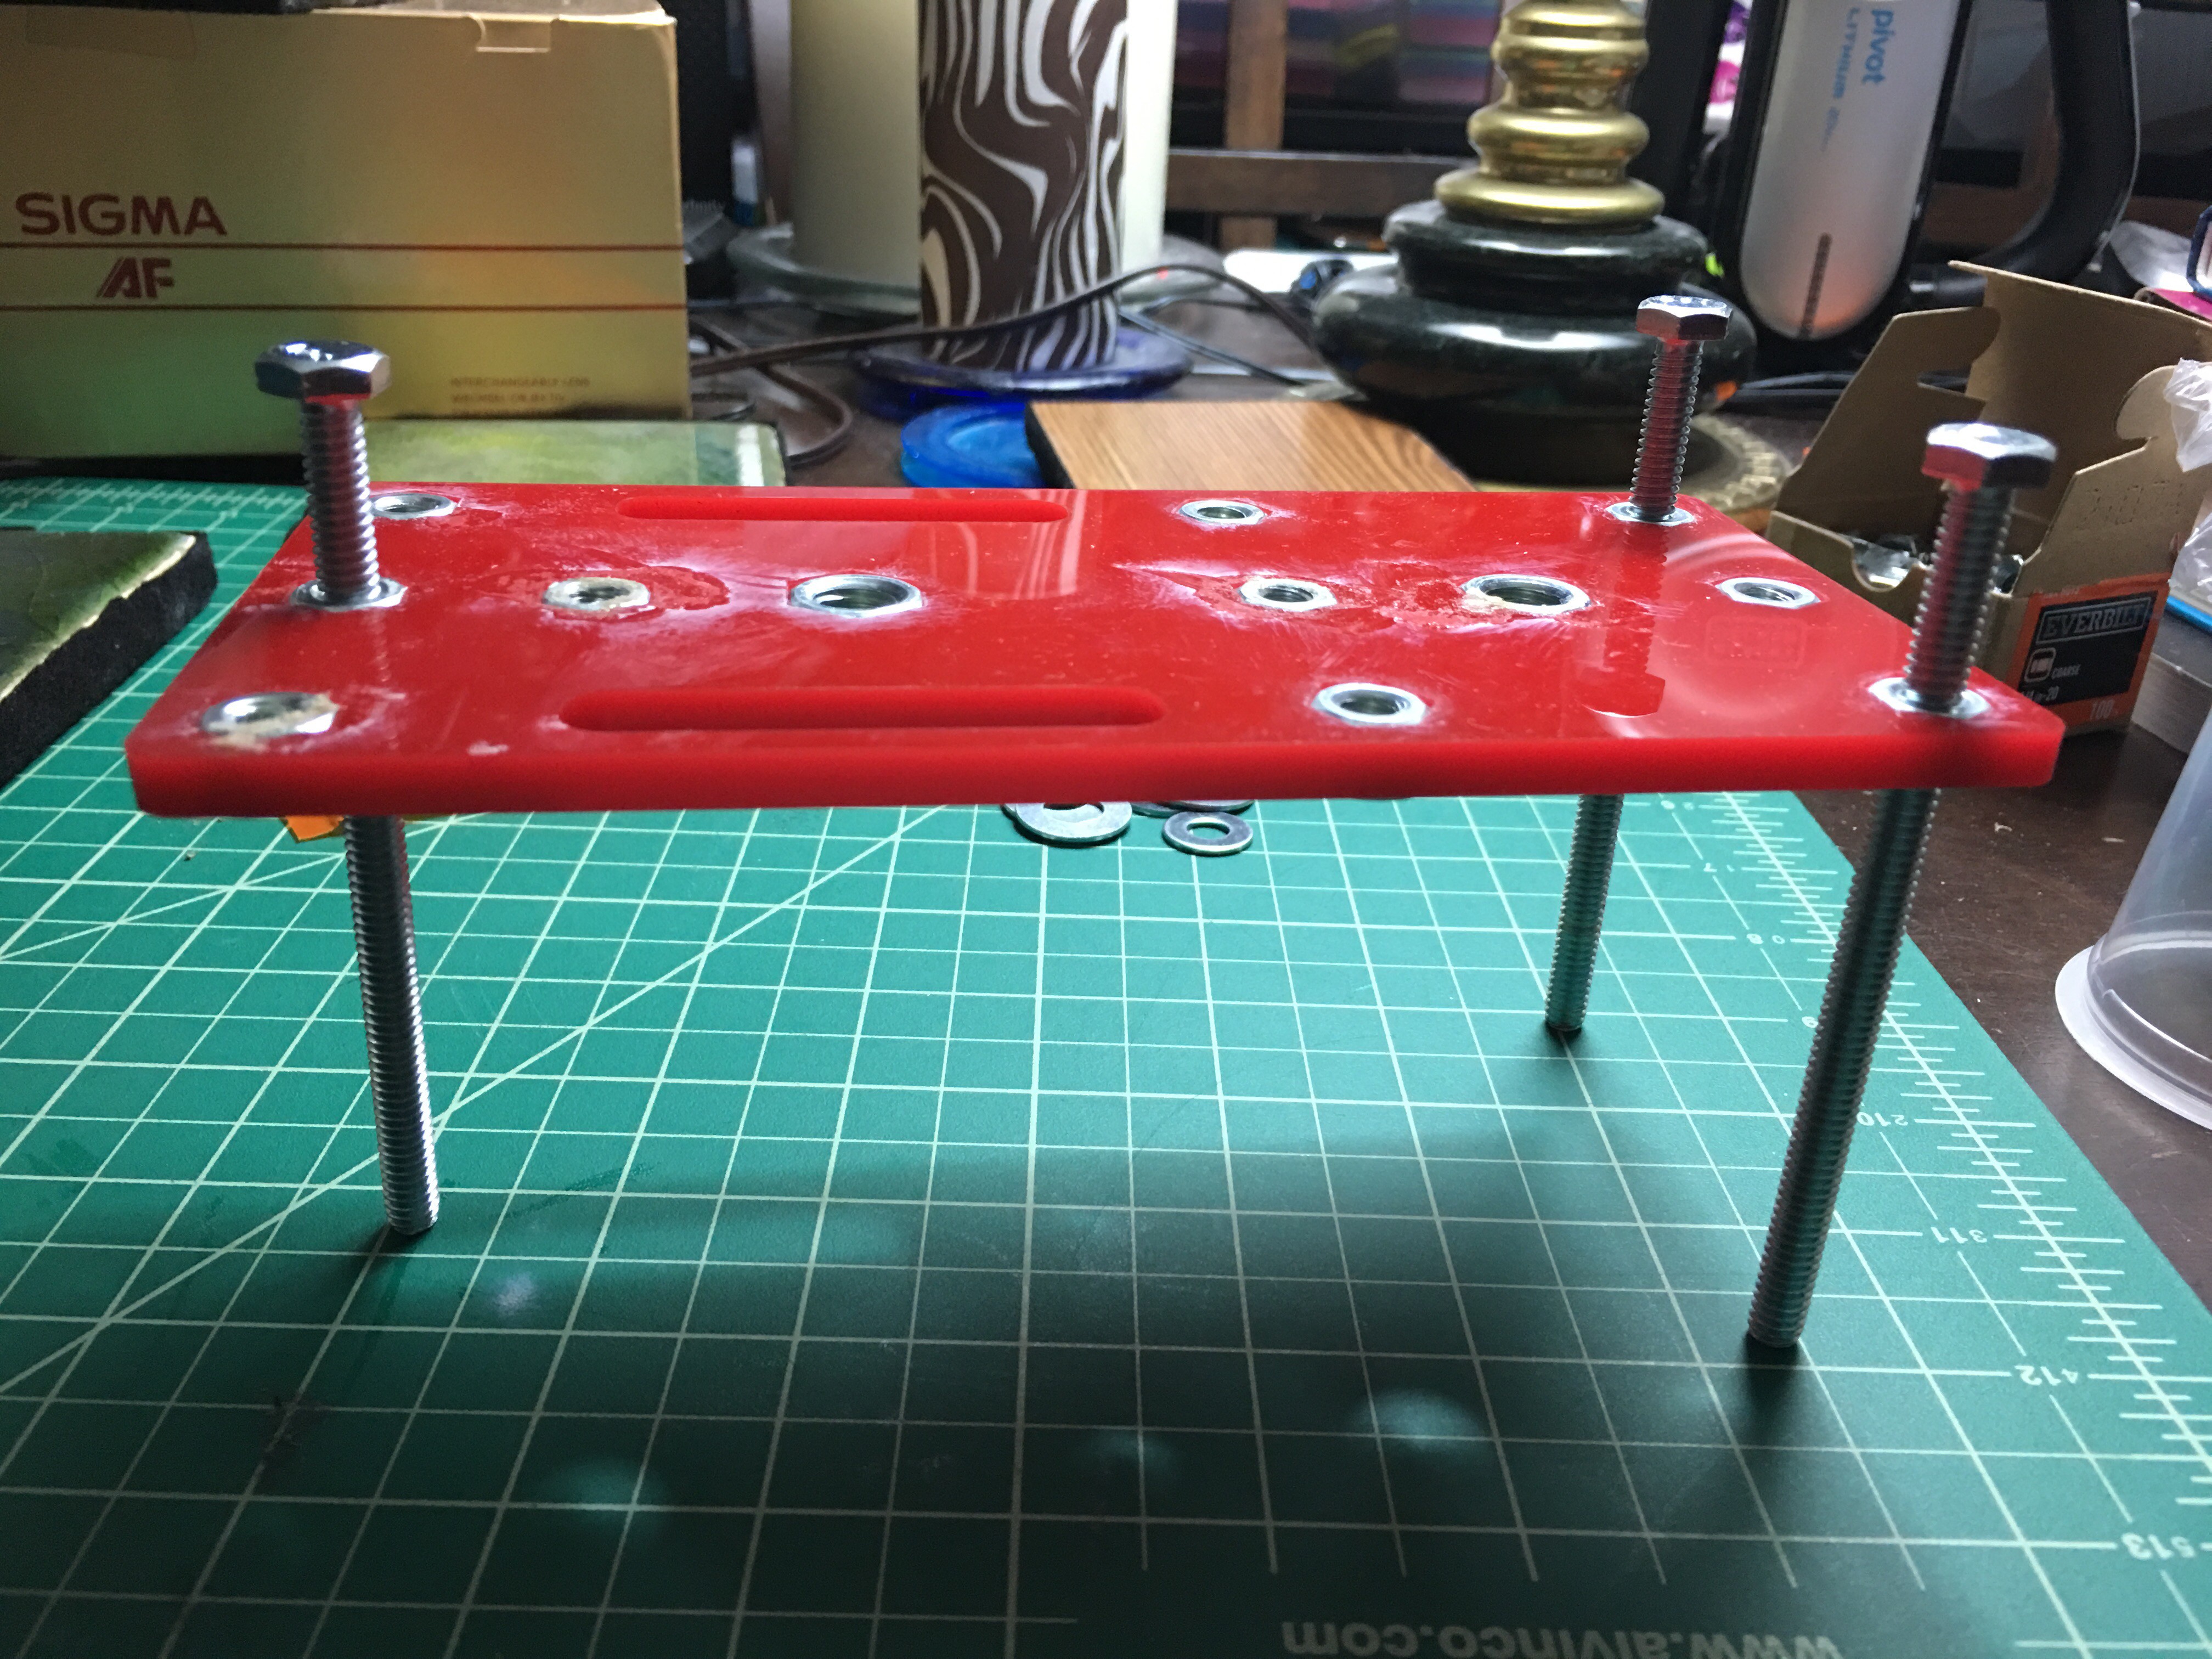
Here it is with 3 legs. It can use any number of legs that suits one's needs. You can even use shorter legs or longer legs. Just bear in mind, it will take a long while to get the leg to the right height. Also, it would be advisable to wrap the hex head in something like Sugru to provide a soft rubber head to use as a "foot".
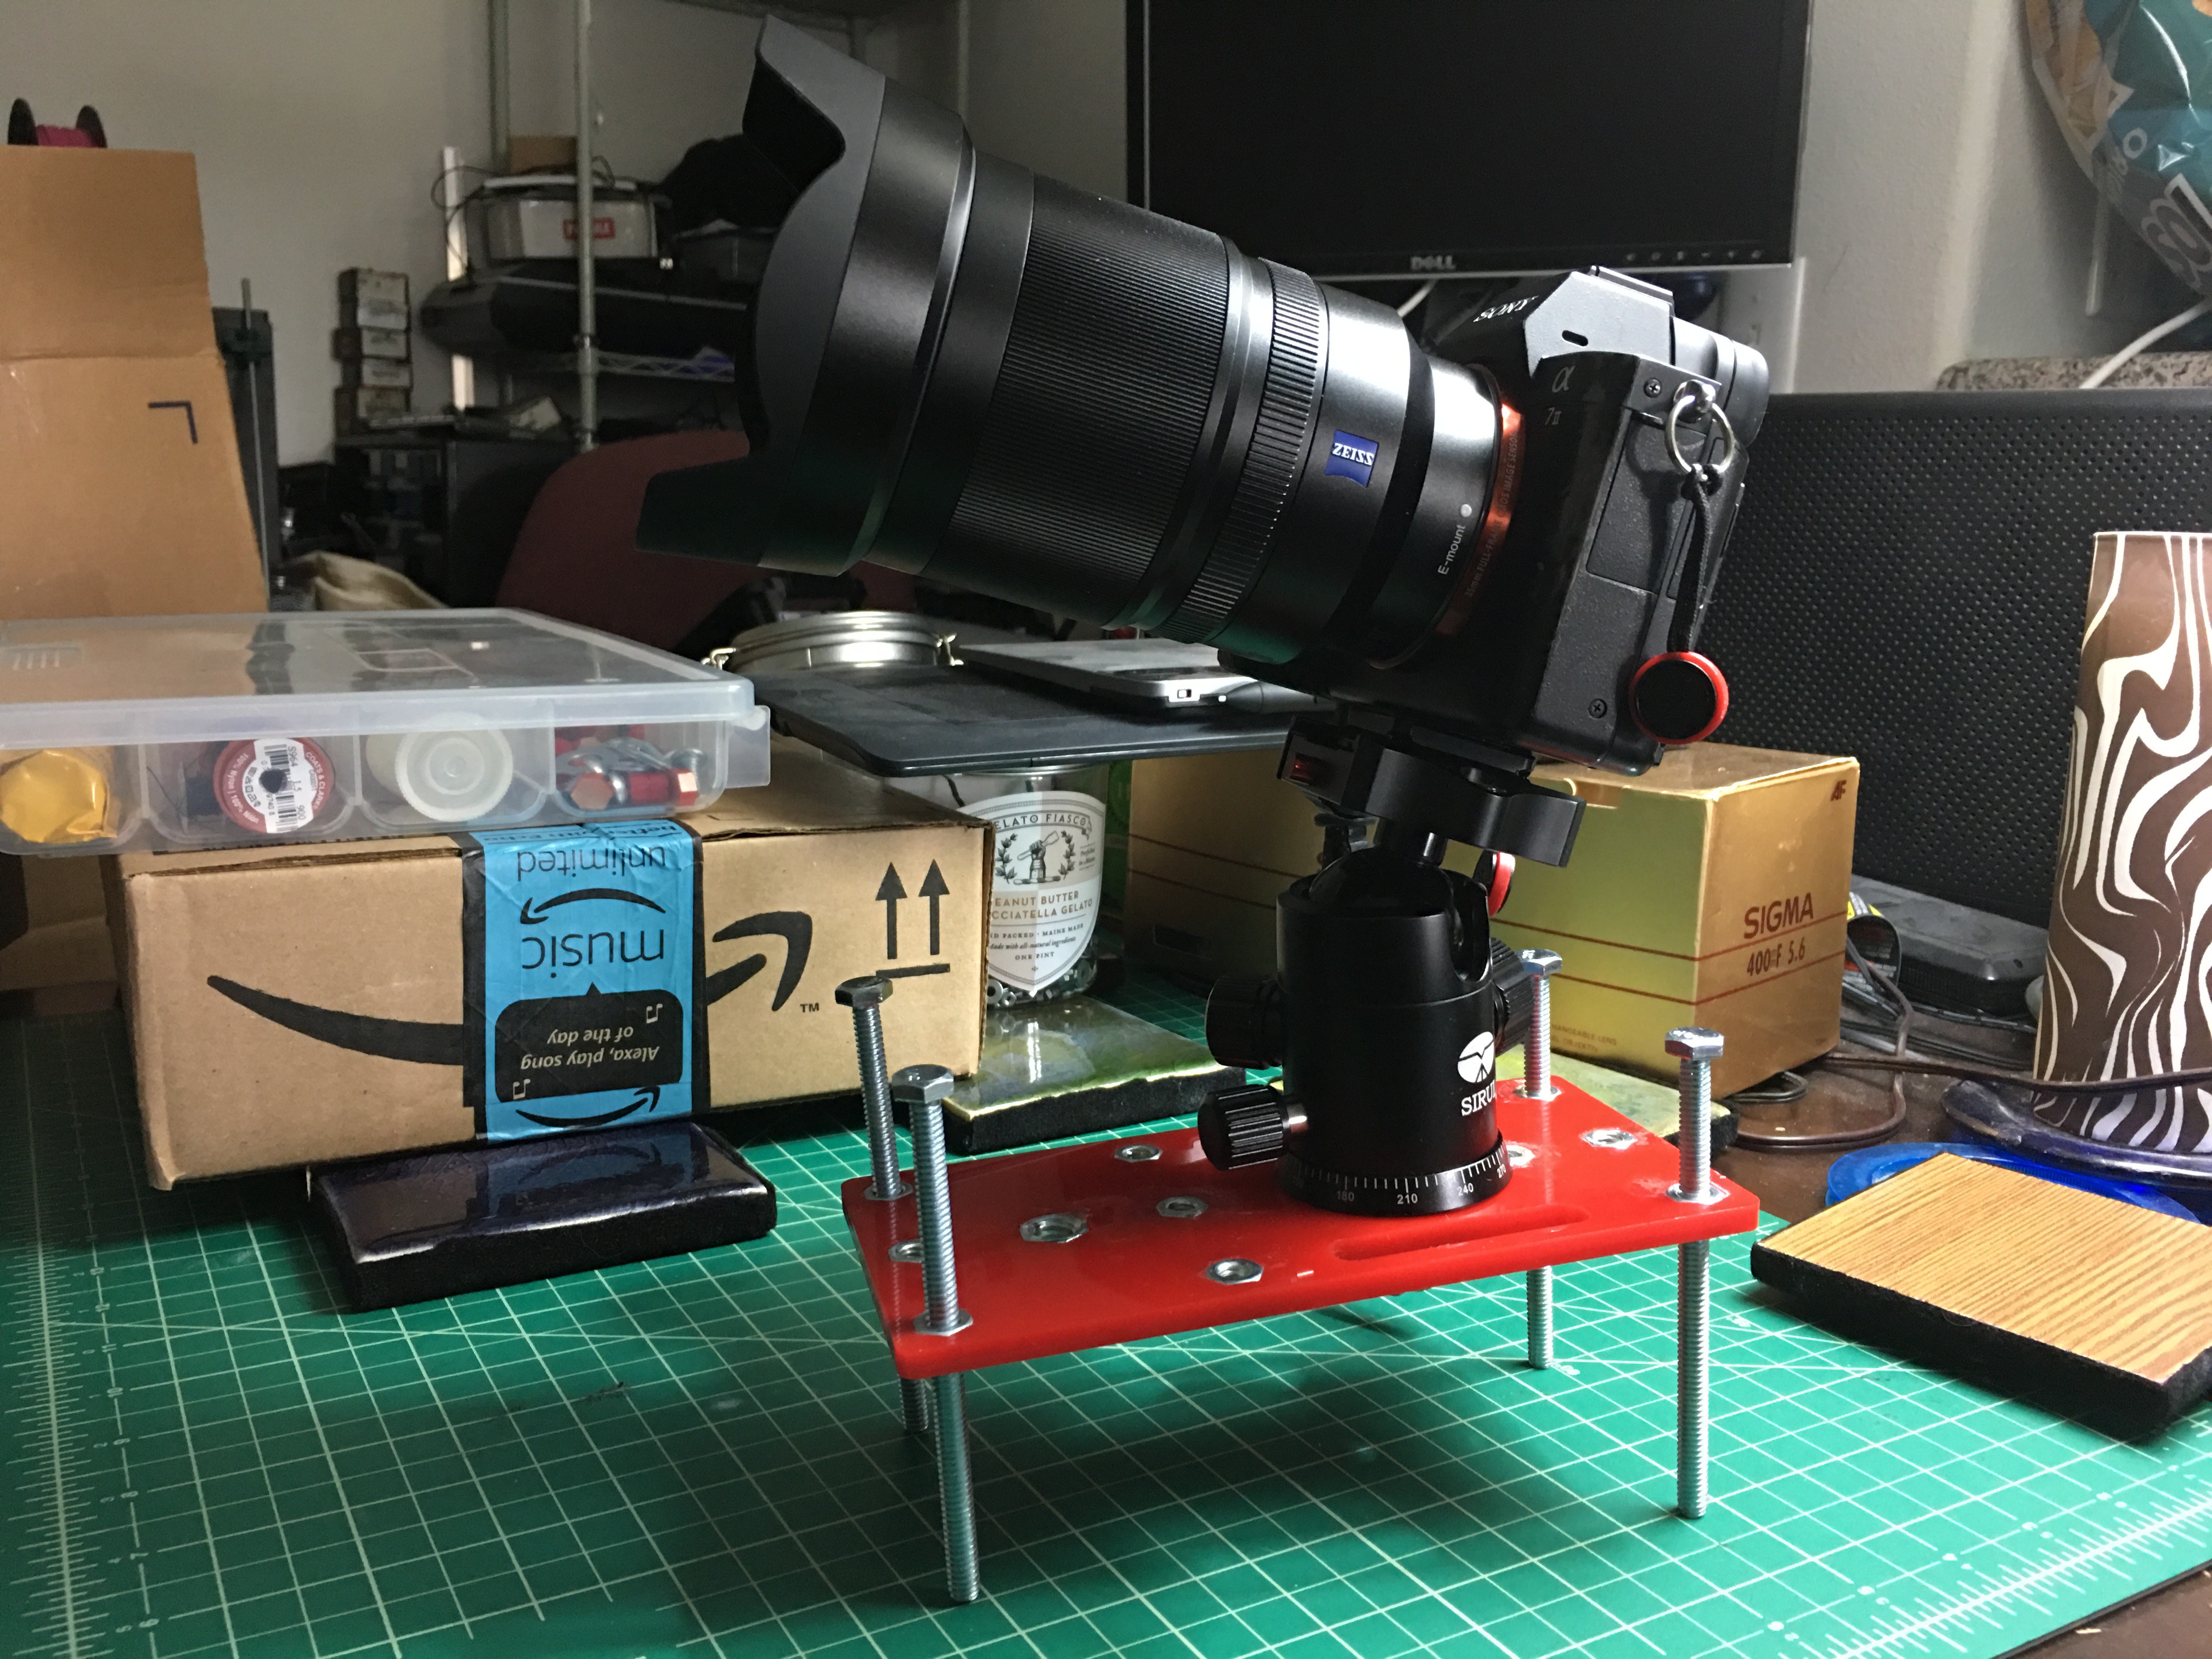
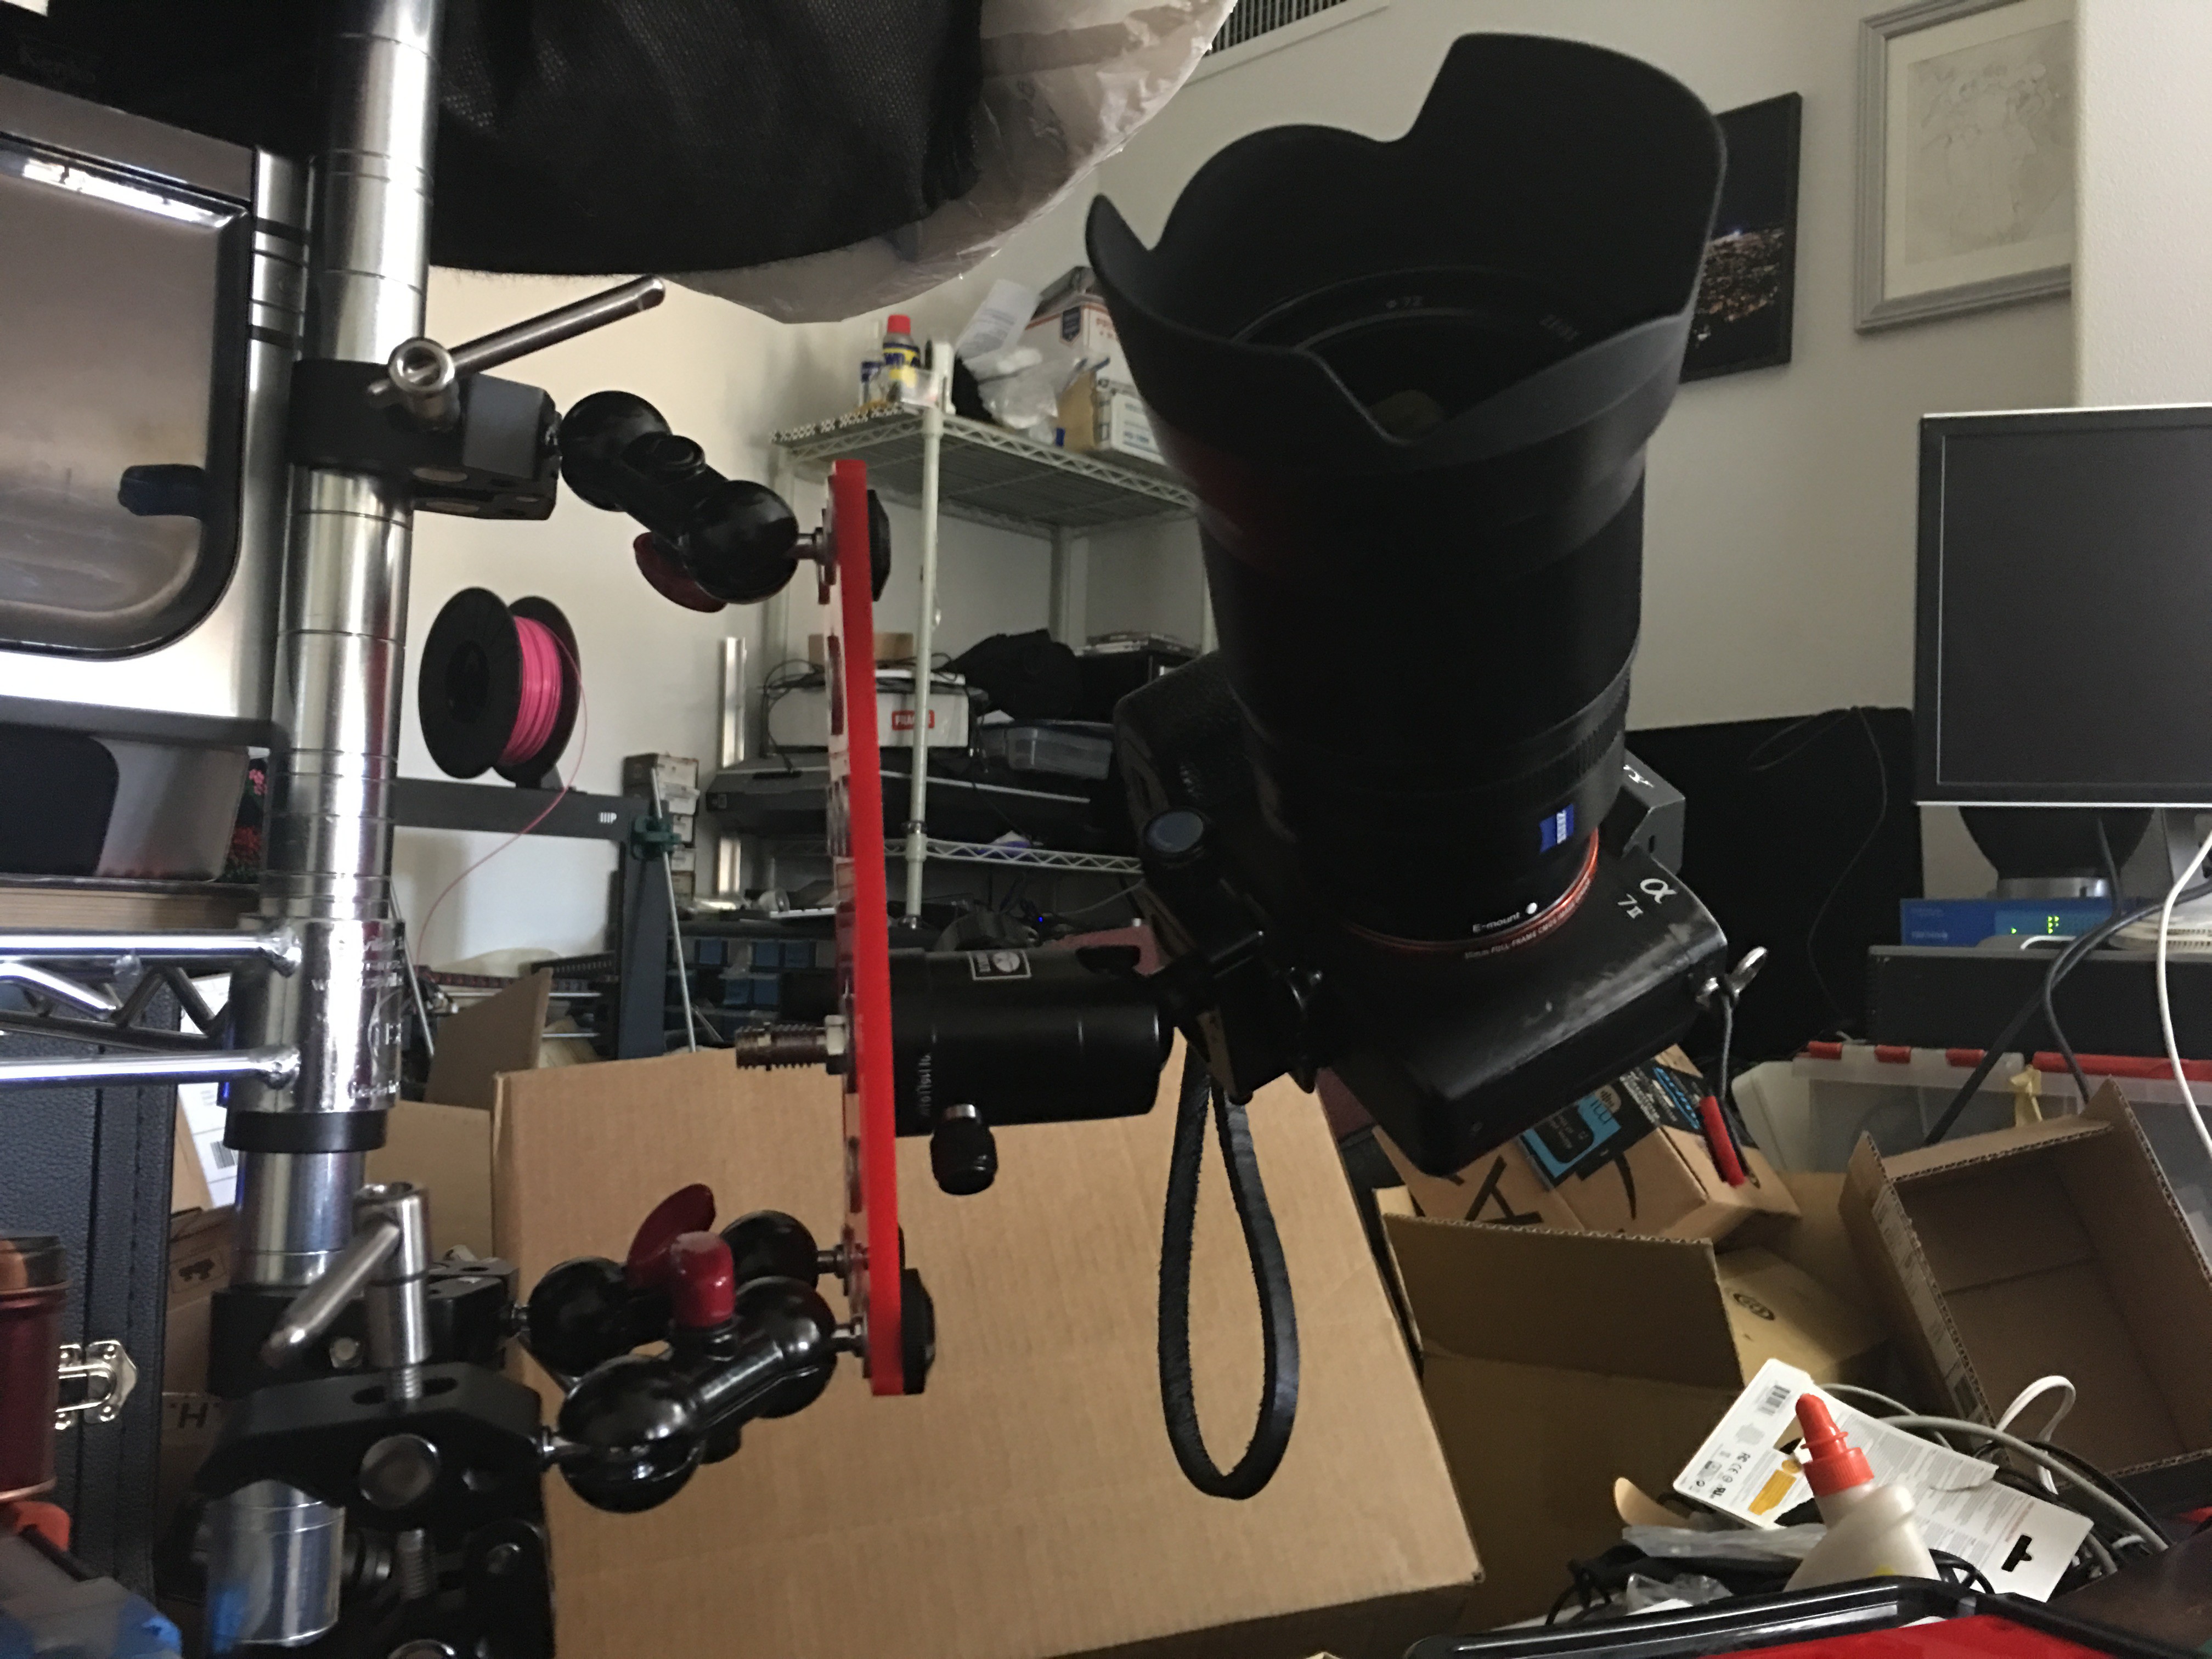
So here it is with 4 legs, a 20mm ball head installed on one of the central nuts. A Sony Alpha A7ii with 35/1.4 lens on it. It actually balances quite well and can be tilted in a variety of ways, which would make this a very versatile tool..... however...
What I Don't Like About This Concept....
- The bolt legs take a LONG time to get installed and adjusted to the right height/length. The longer the leg, the more versatile, but also the more time required.
- The plate itself IS flat and makes for easy...

 Martijn
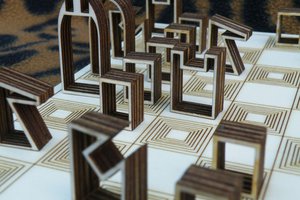
 Mark Langford
 Nicholas Amrich
 Quinn Silverleaf