Matthew Gorr
Introduction
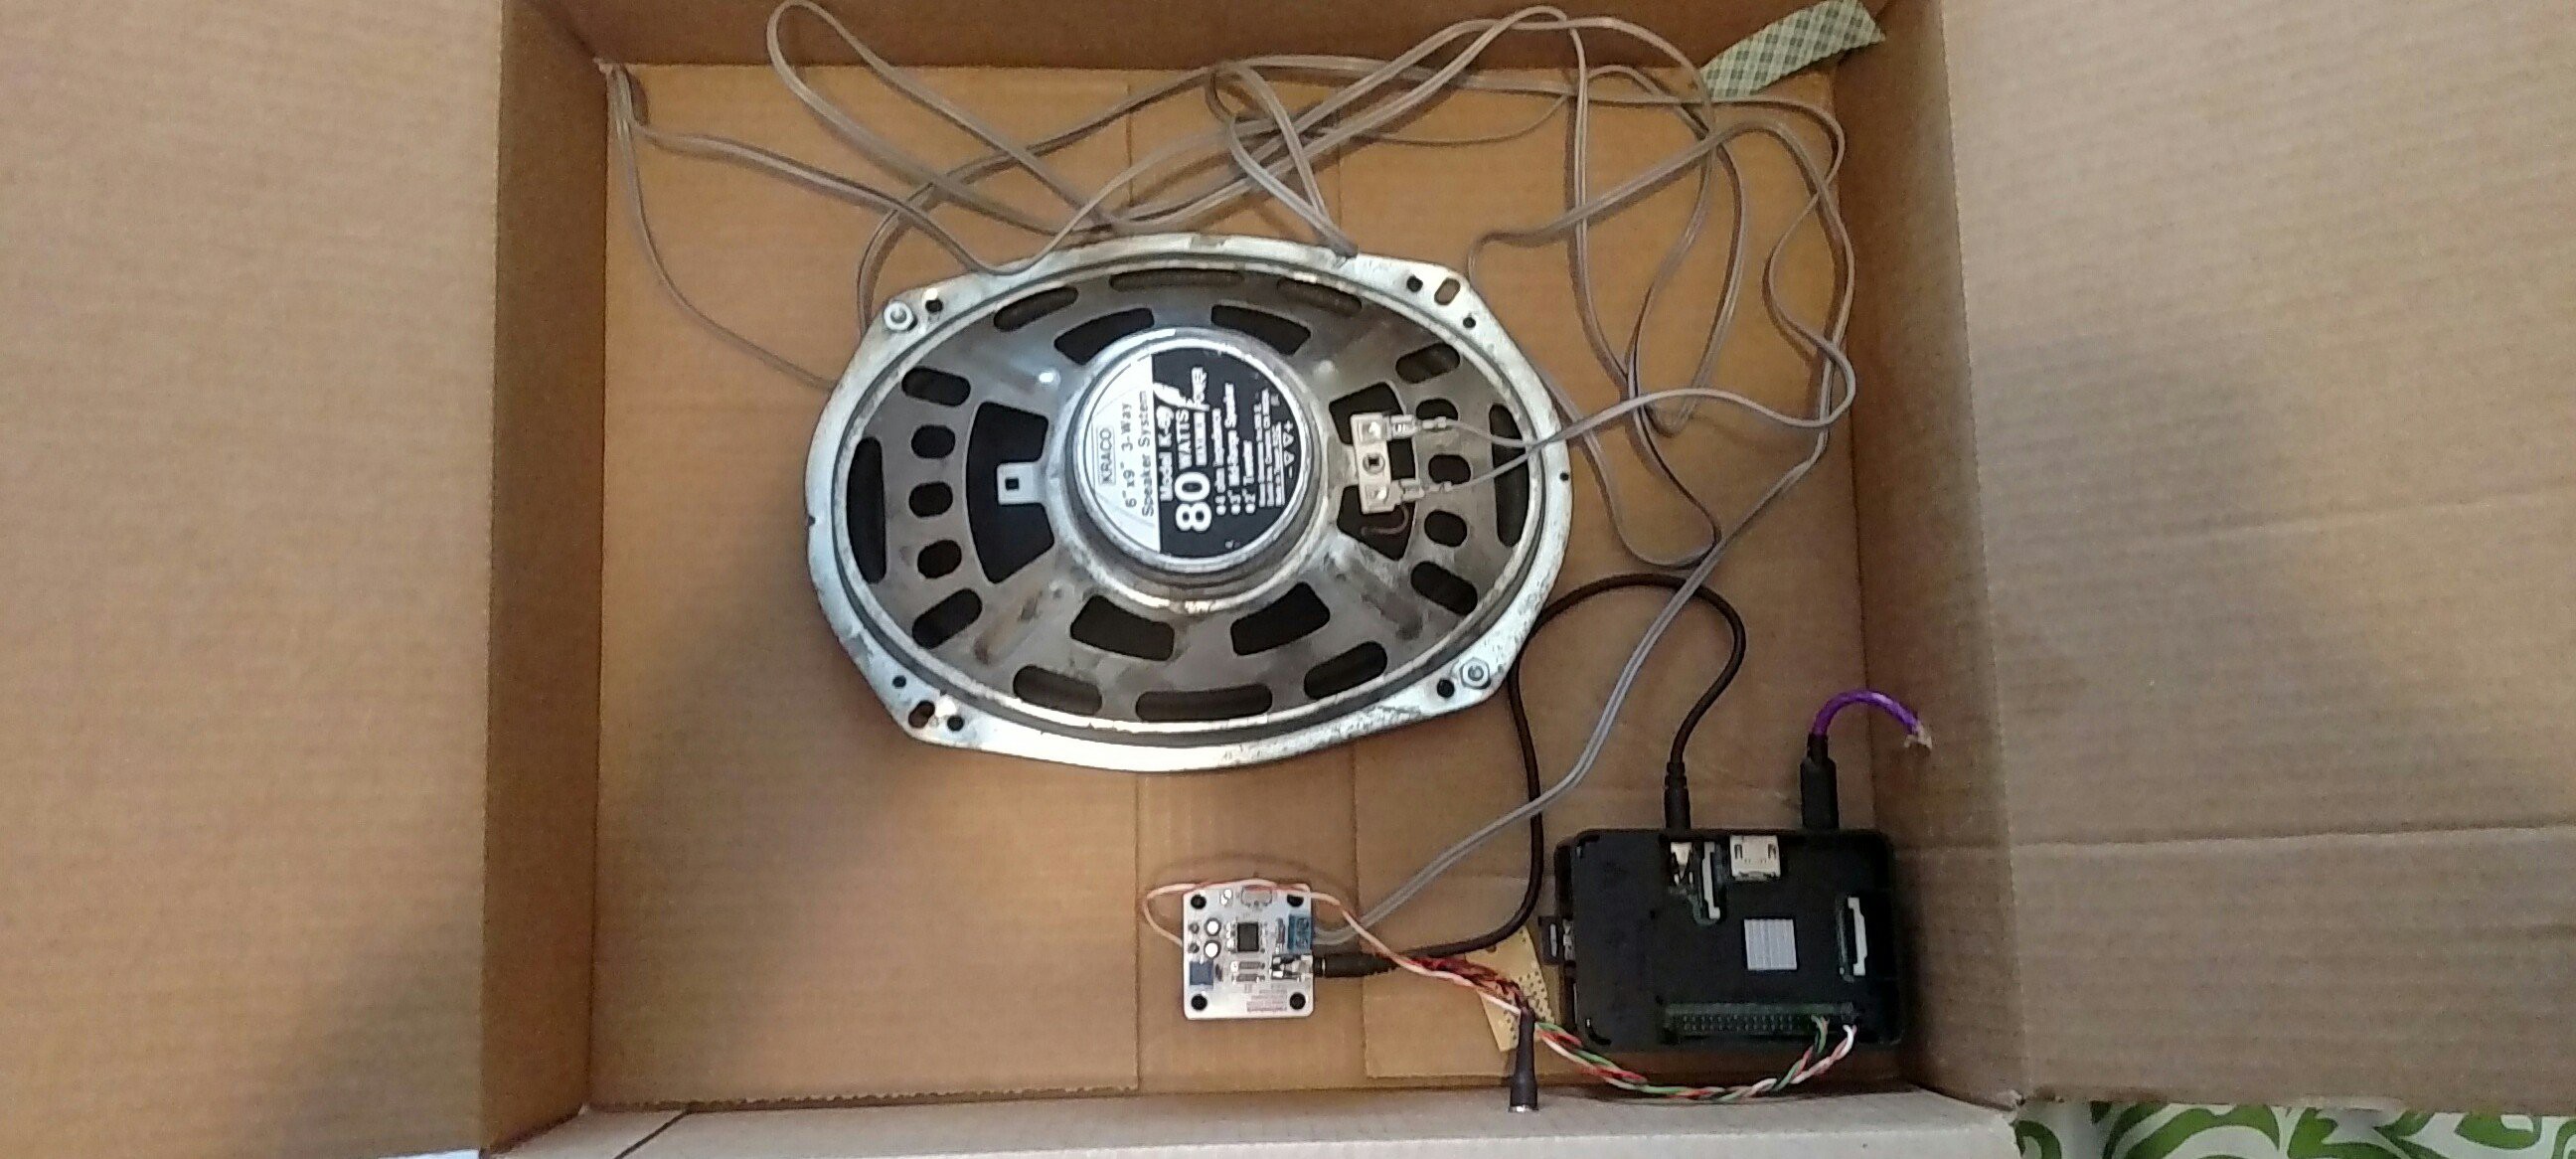
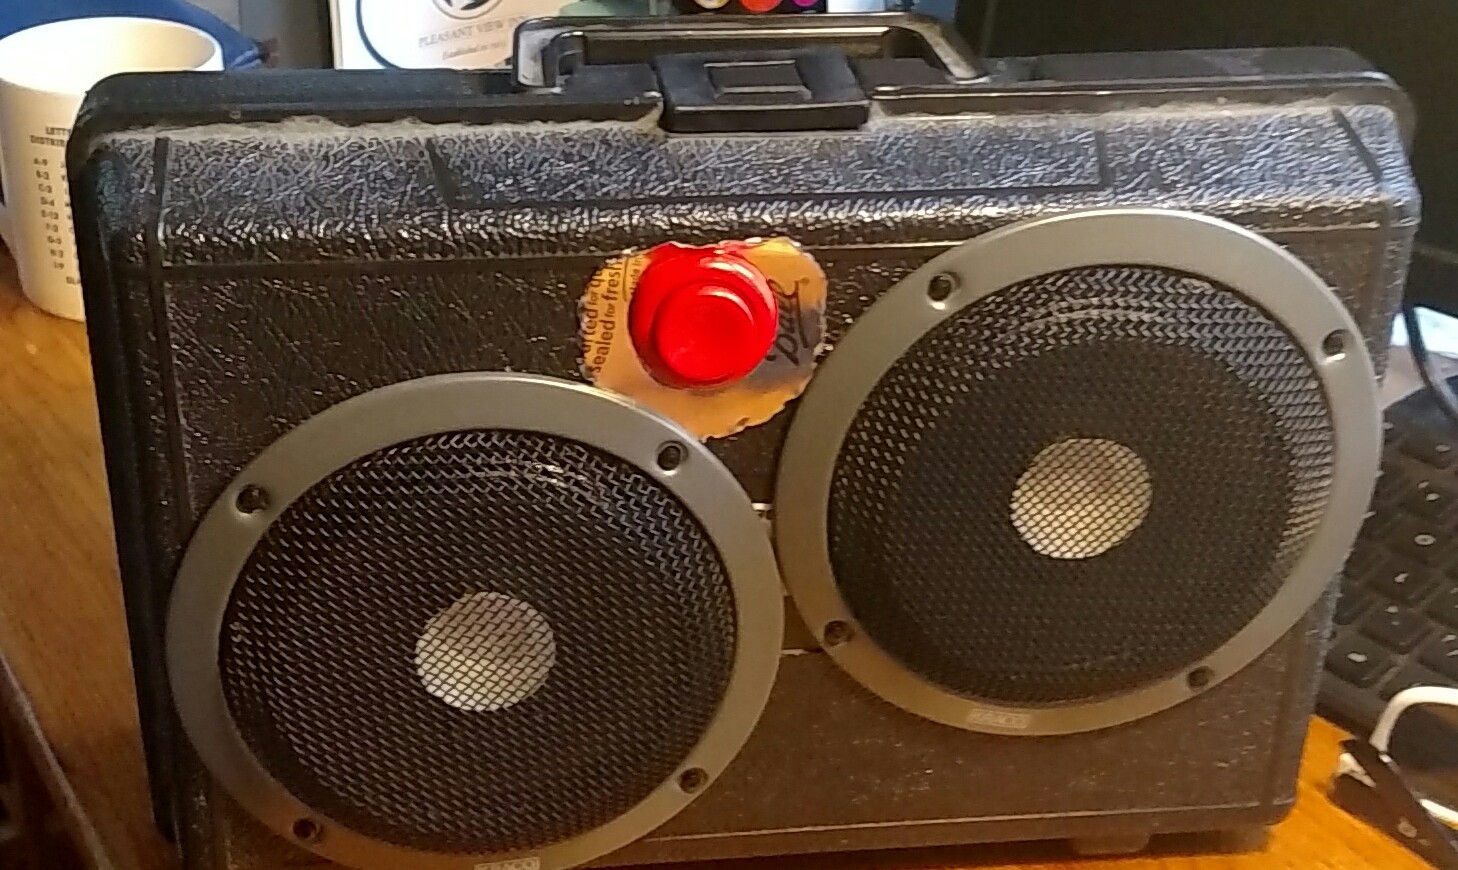
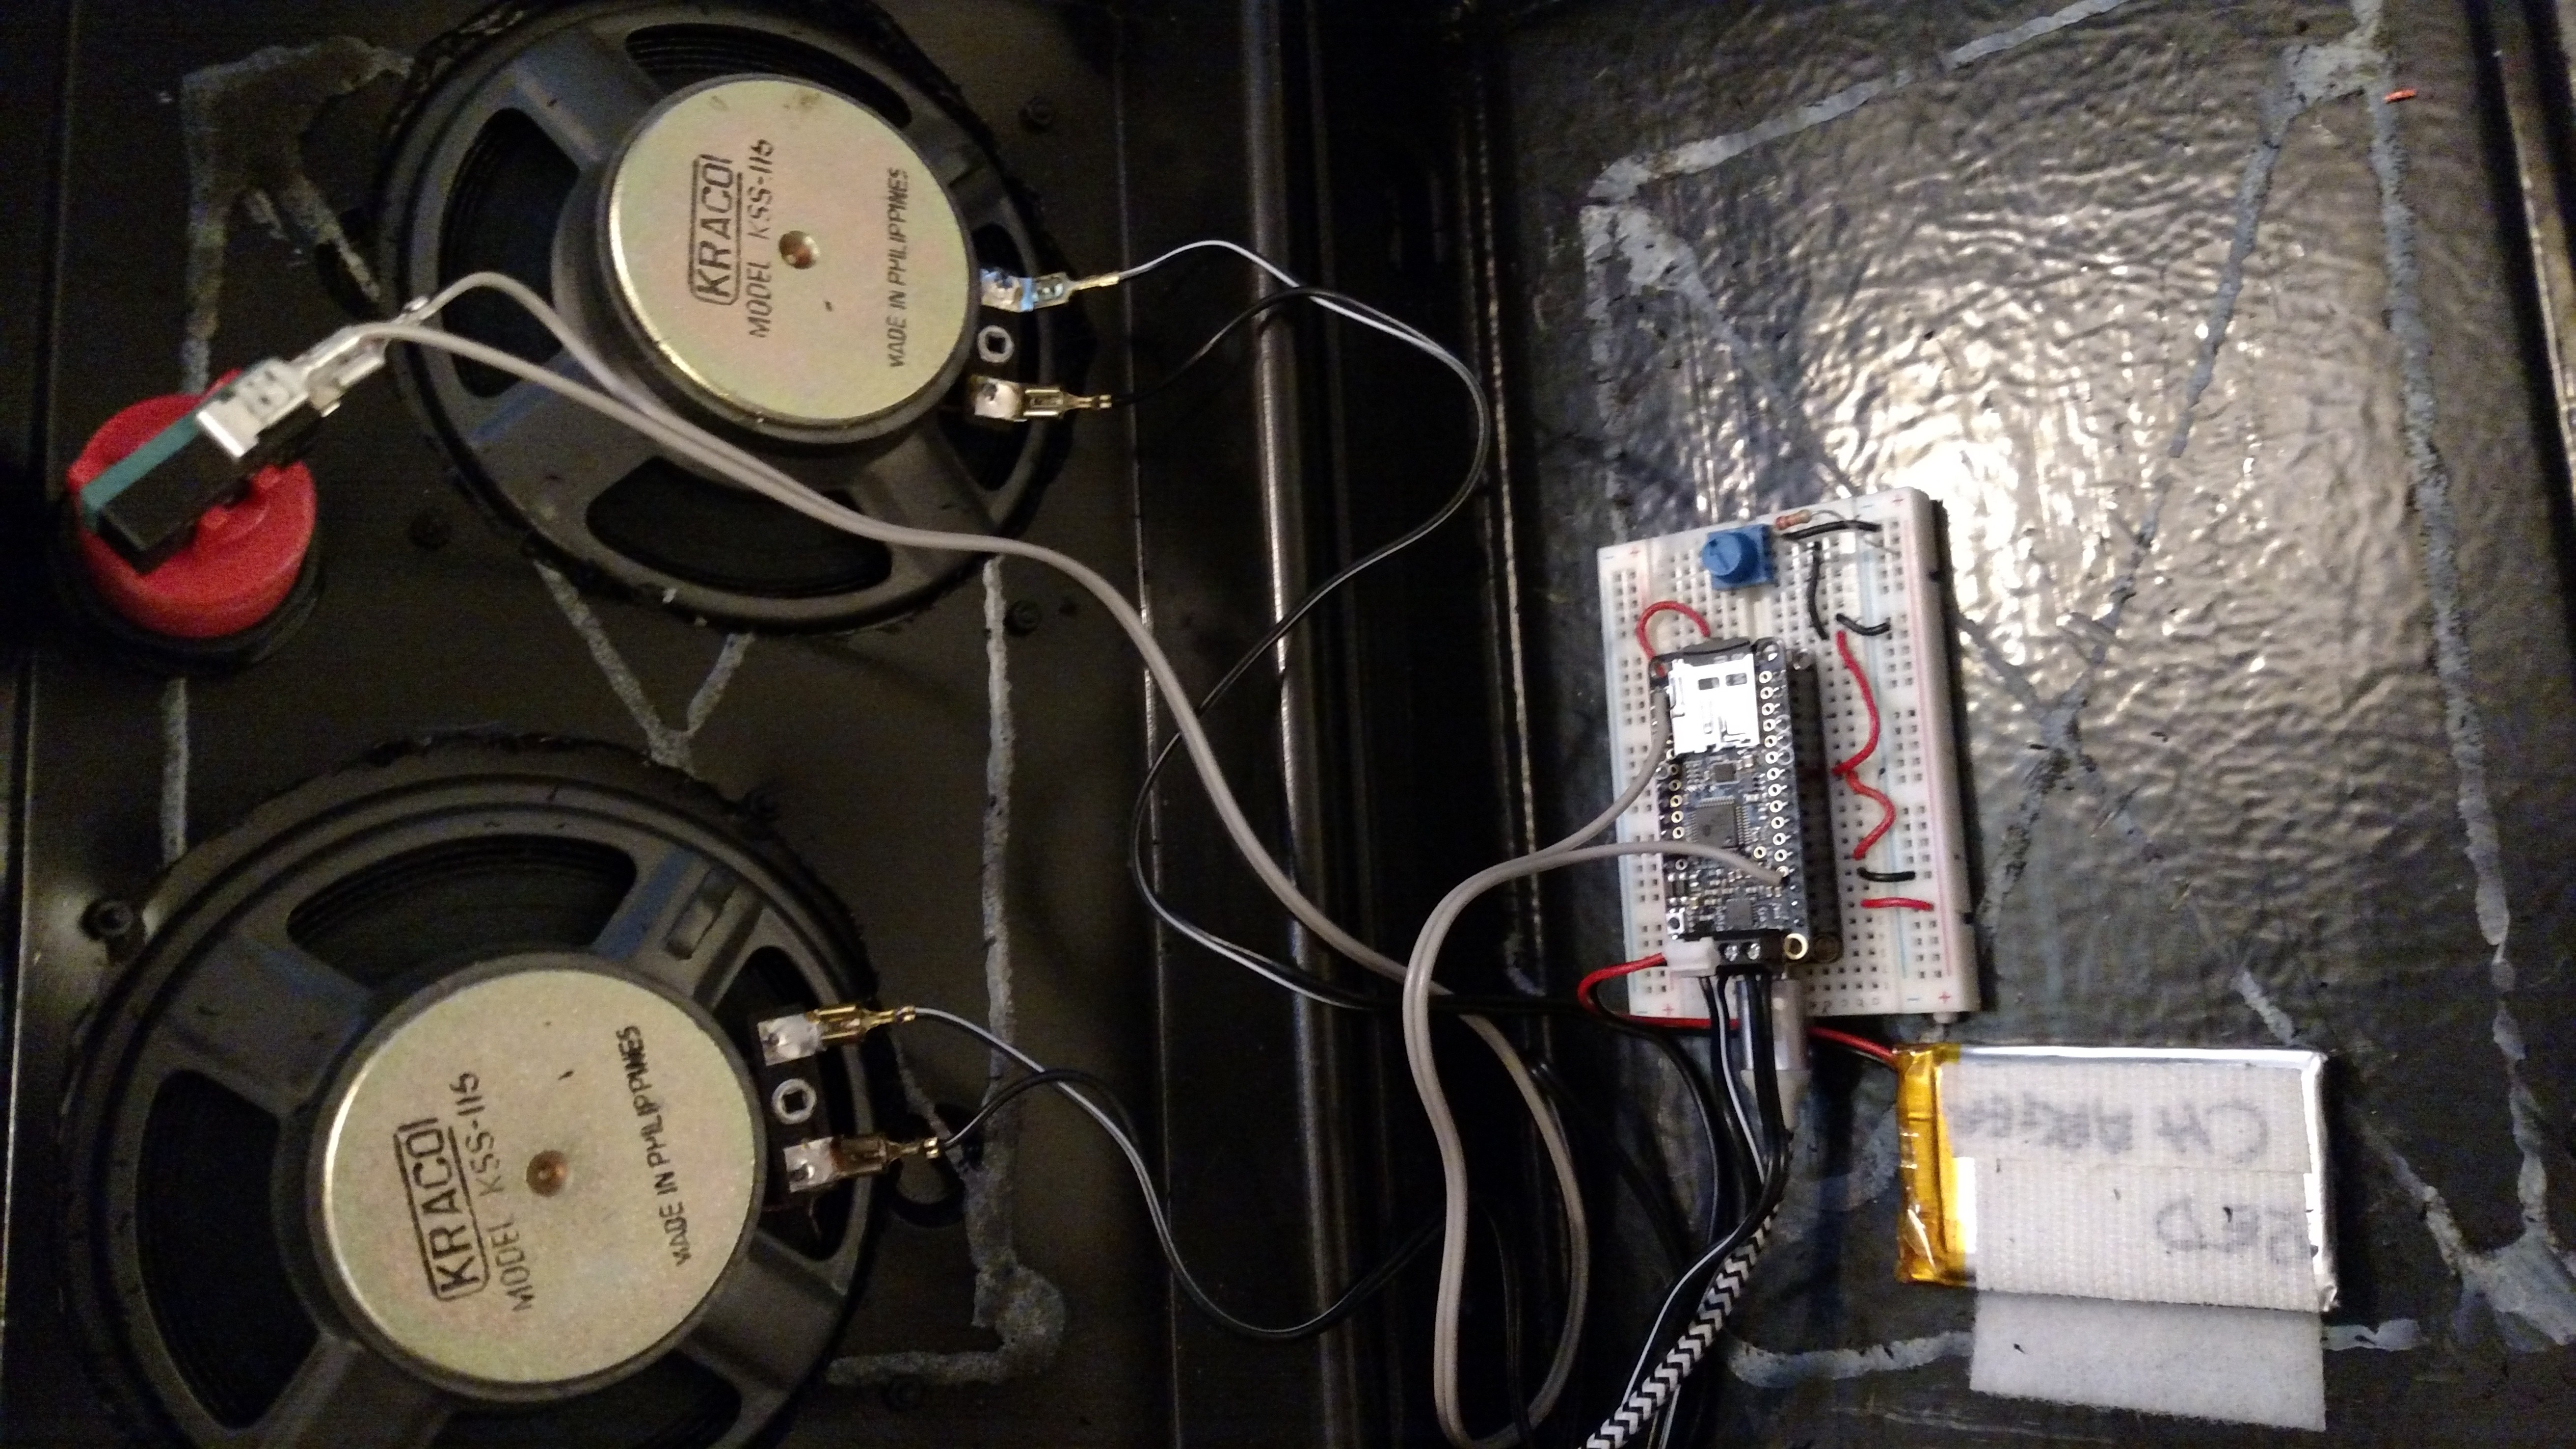
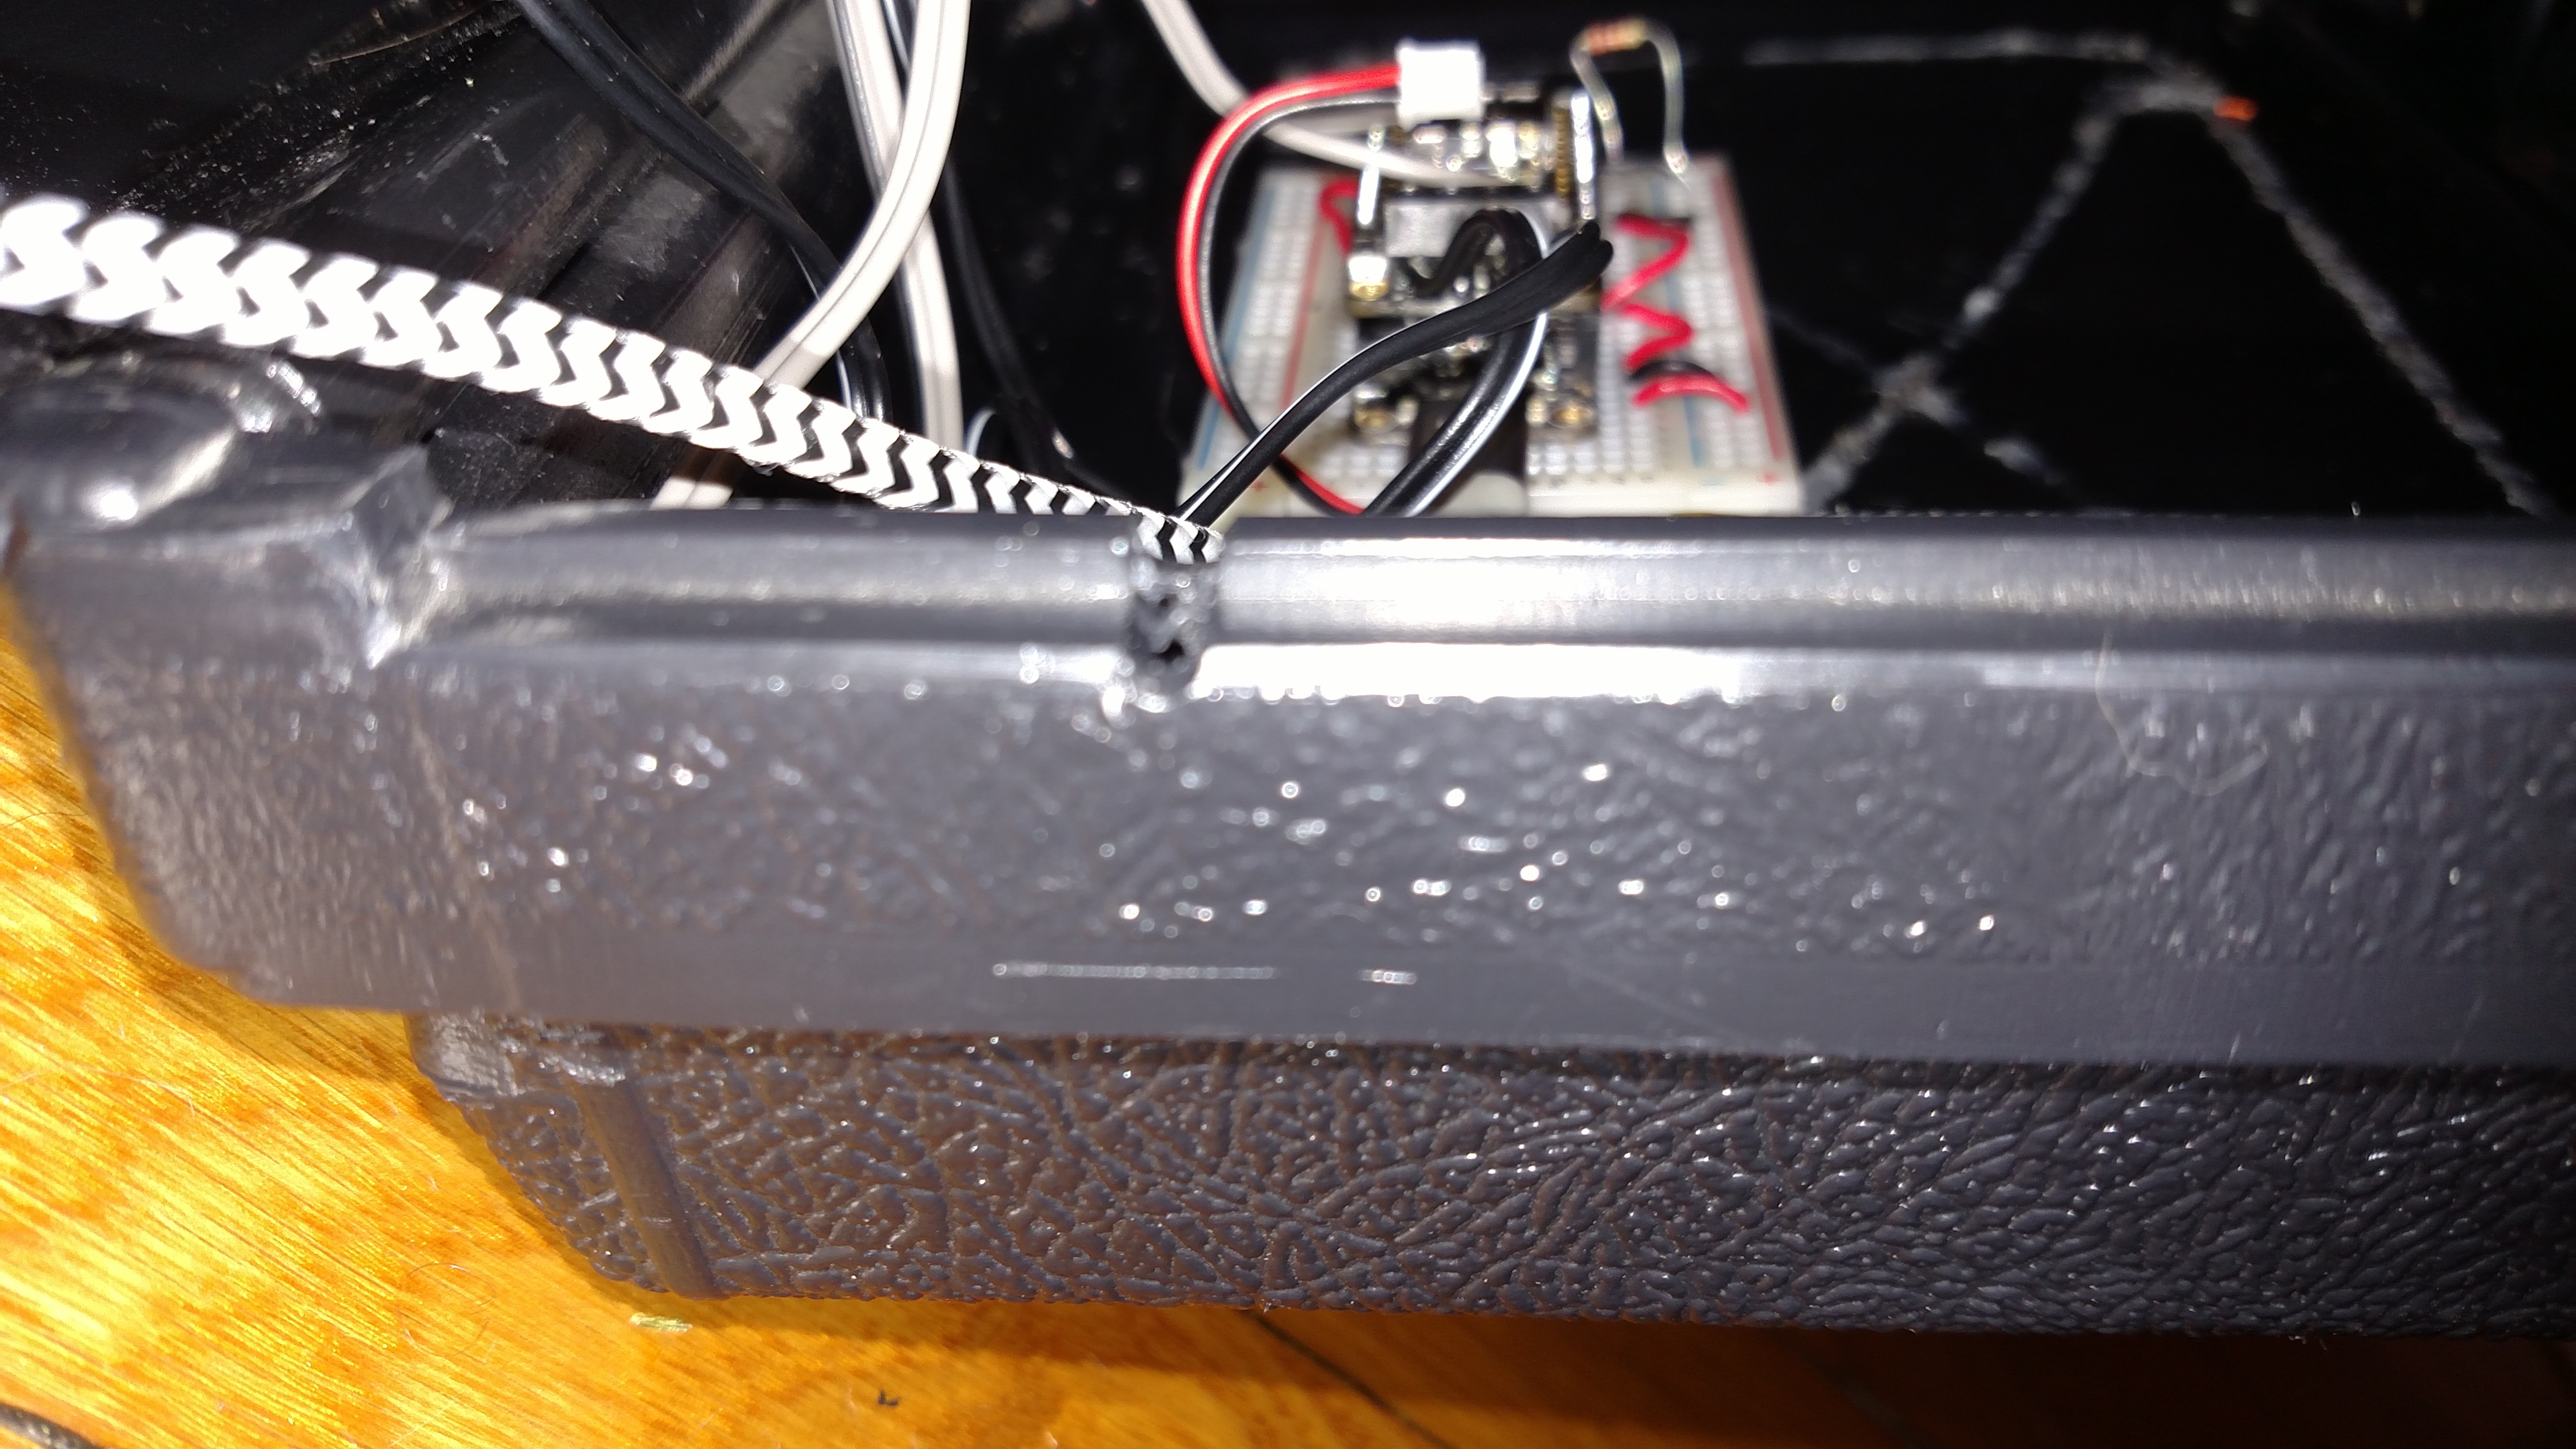
This project evolved from the simple Streaming Internet Radio example included with Adabox004. I had some car speakers and a single red arcade button laying around, so I upgraded! Instead of a power switch, there is currently a single momentary button that cycles through a list of music streams. The volume is currently controlled by a potentiometer on the breadboard. I intend to add long-press functionality to provide the ability to cycle through off, low volume, and high volume modes.
SD Card
The Adafruit MusicMaker Featherwing includes an SD card slot. I had the idea to store the list of stream URLs and network login credentials in files on the SD card. This way, if I want to add channels or connect to the network at a friend's house, I can update text files on the SD card instead of re-flashing the firmware.
Wireless Networks
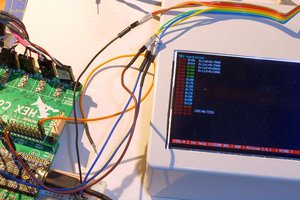
The sketch looks for wireless networks and passwords in a file called CREDITS.TXT. Each line of the file has the format "SSID,PASSPHRASE". The sketch tries to connect to each network, then moves on to the next f not connected after 10 seconds. If it makes it through the entire list without connecting, then the sketch does nothing, and must be reset.
Streaming Channels
The list of streaming channels is stored in URLS.TXT. Each line has the format "HOST:PORT/PATH", omitting the "http://" at the beginning. For example, one of my favorite lines is "streaming.radionomy.com:80/SKAspotRadio".
Currently you can effectively create an OFF mode by connecting to a host that DOES exist, but requesting a path that DOES NOT exist.
TODO
- Get the Long-Press functionality to work. It is currently buggy and gets worse as the uptime increases. Might be having memory problems?
- Add an offline mode that plays music files from the SD card if it can't connect to a network.
 Saul Cozens
 Elliot Goofe
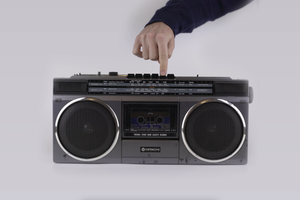
 Jorge Miar