 PixJuan
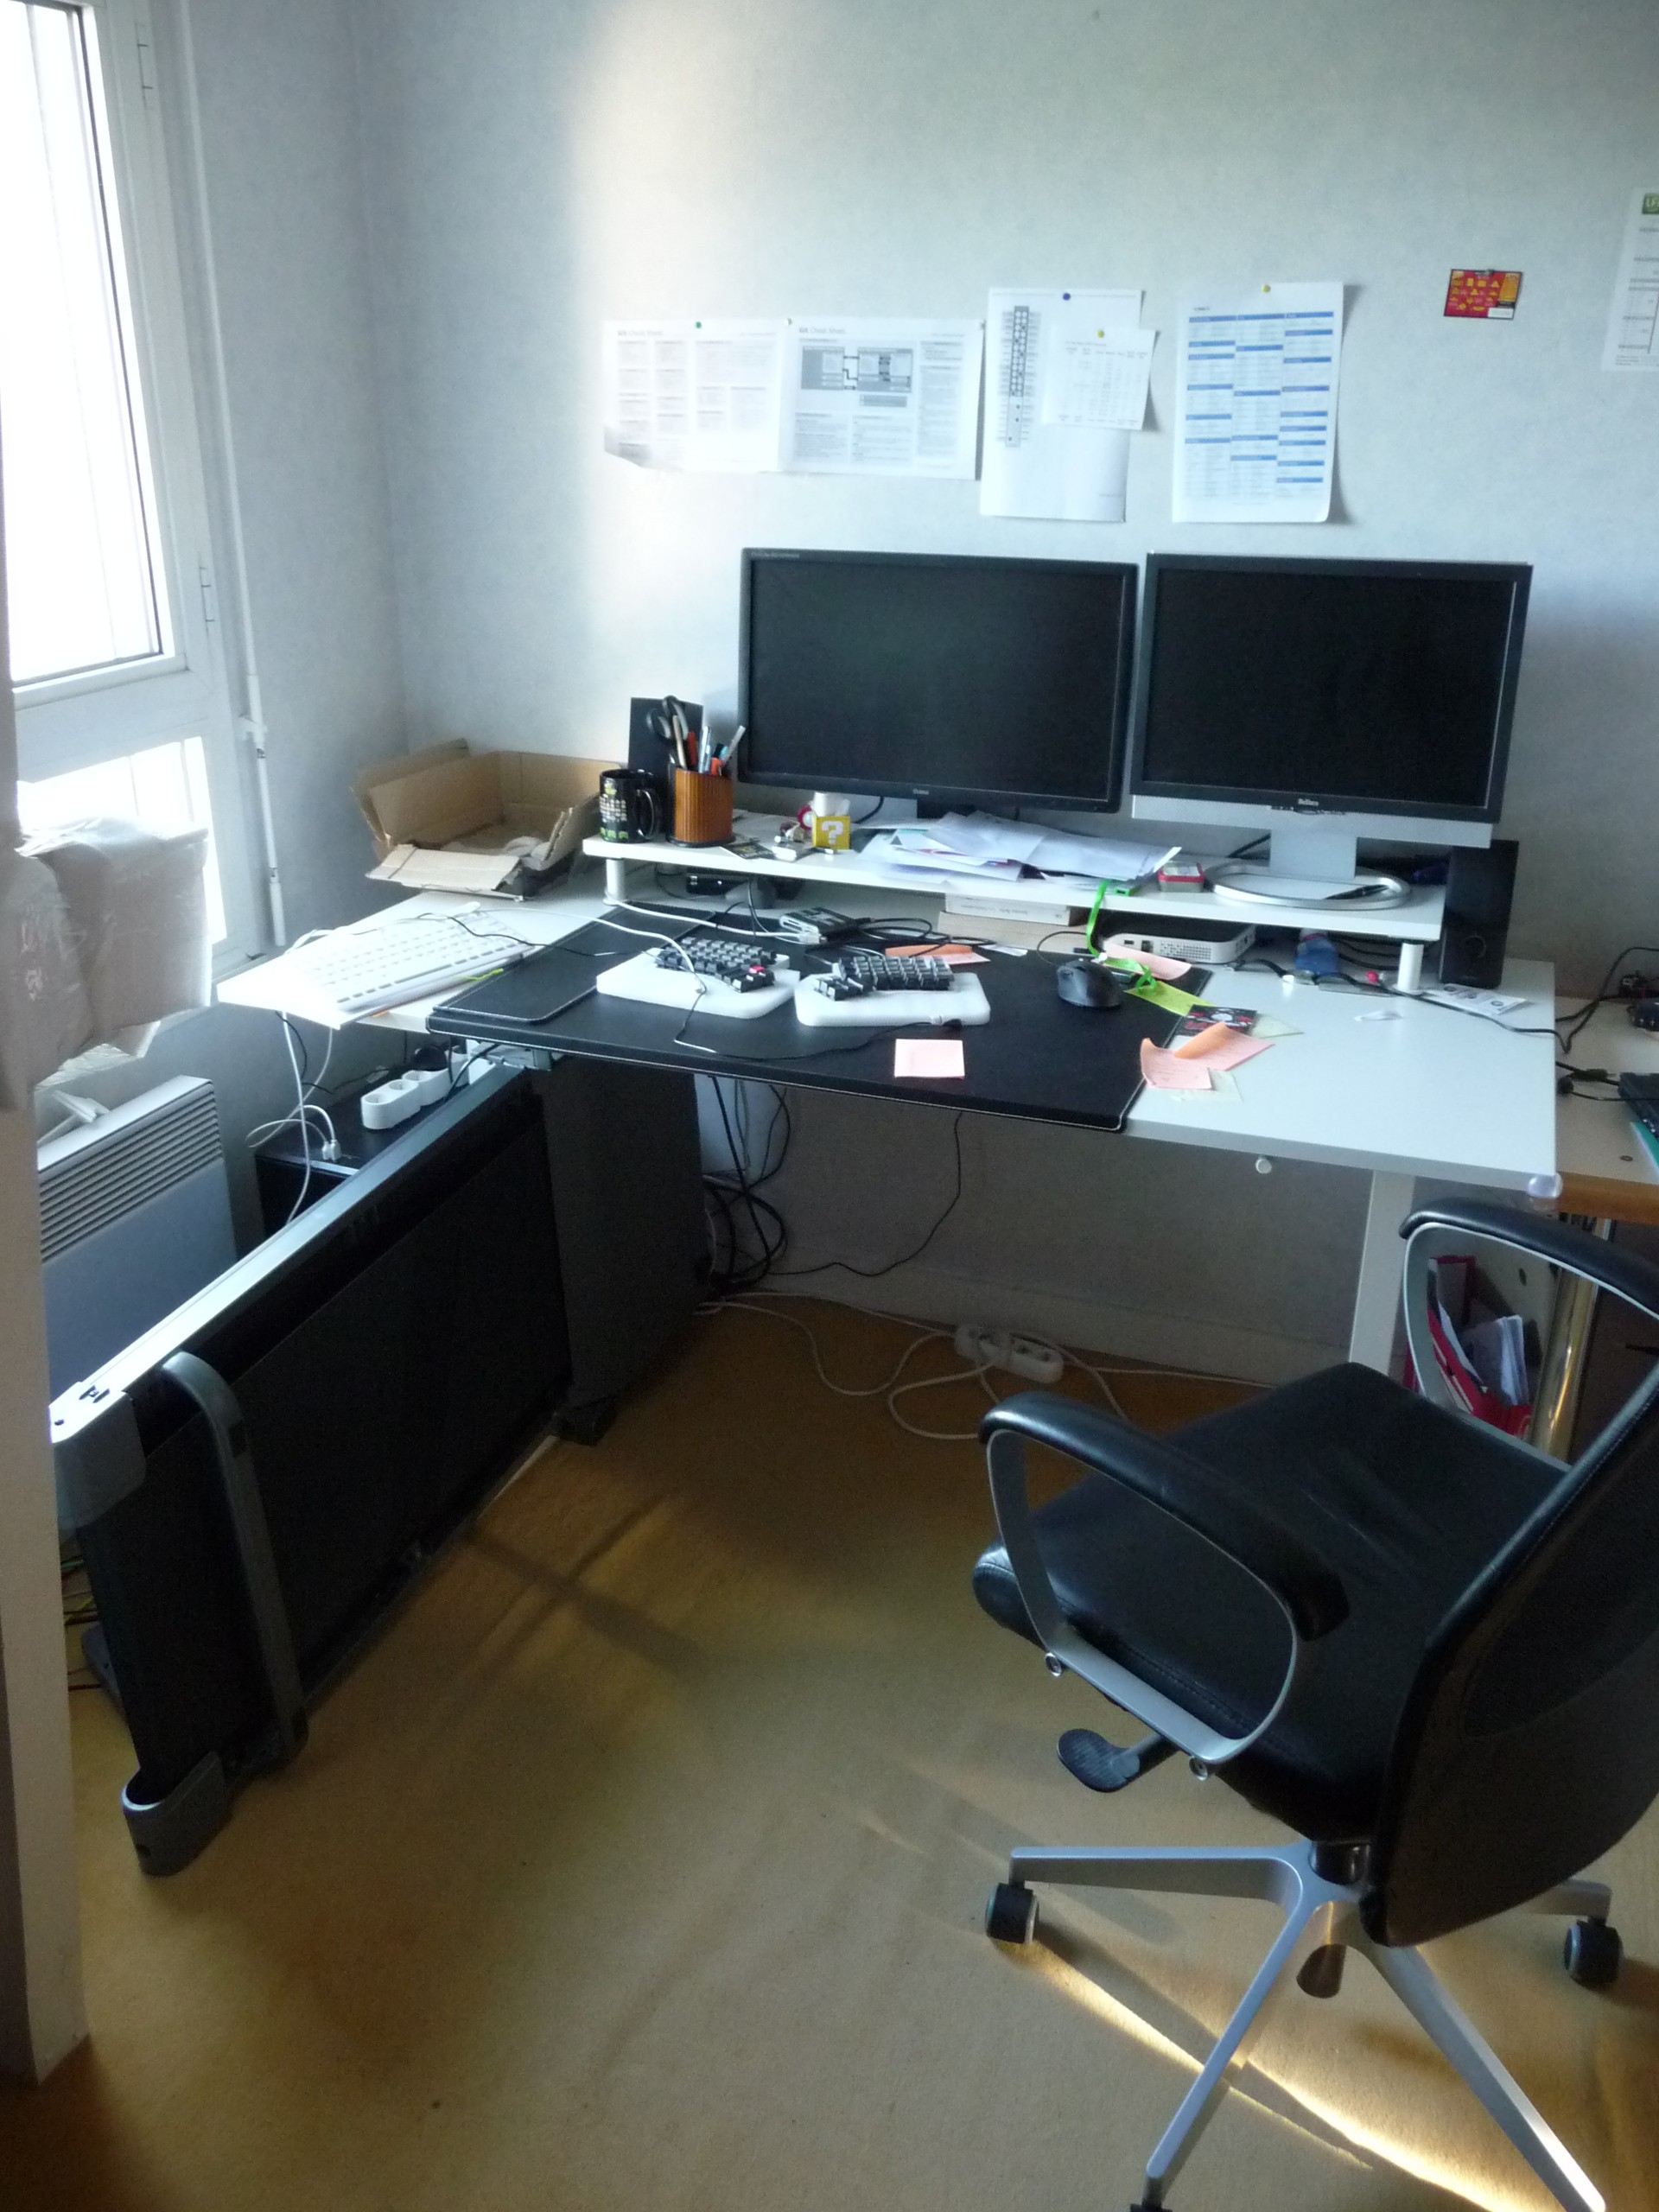
In the process of improving my workstation I decided to try a sit-stand treadmill desk setup, meaning I can use it as a treadmill desk and also quickly turn it into a regular desk.
I was thinking about doing this for a while, and when I noticed the Hackaday prize challenge was about :
"Movement and support for things that help move humanity forward"
Well, surely a treadmill desk help moving humanity forward... while staying in the same room ;-)
I wasn't in the top 20, but then the HaD staff suggested me to submit this project for the "Assistive technology" contest.
I still wasn't in the top 20, so here I am now, in the "Anything goes" category!
Even if I don't win anything it would have been a good thing to participate since it forced me to complete this project.
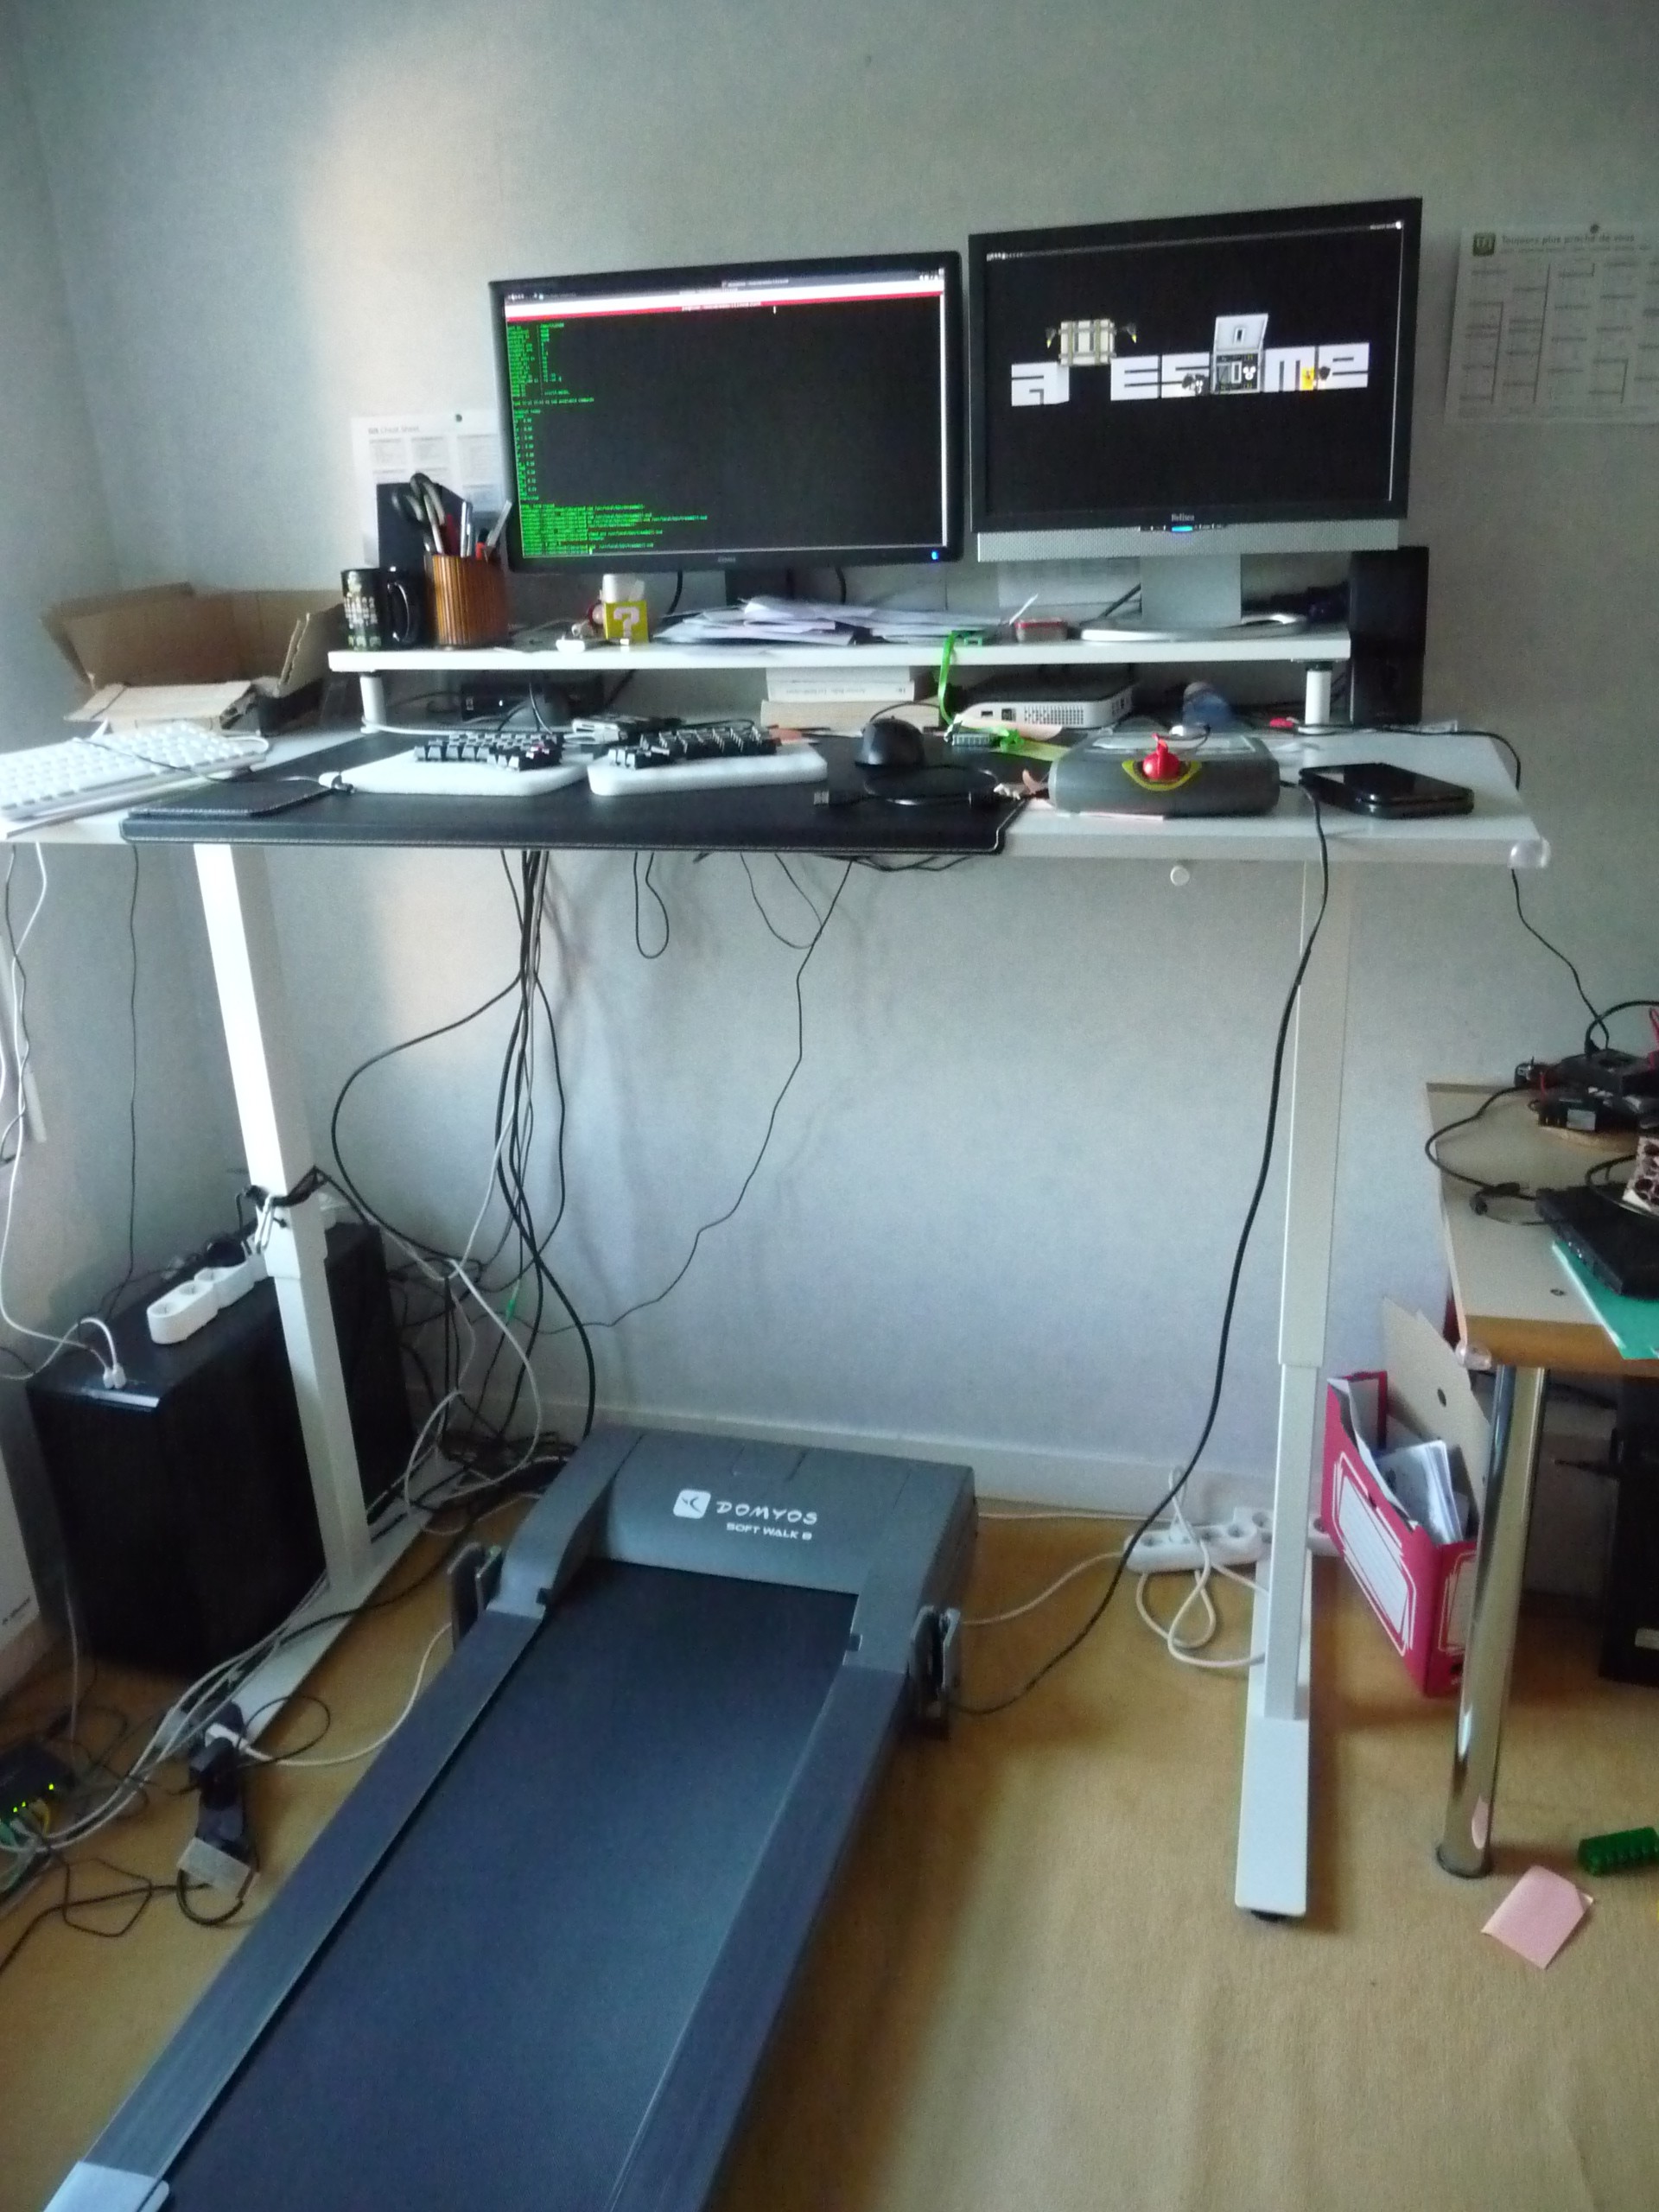
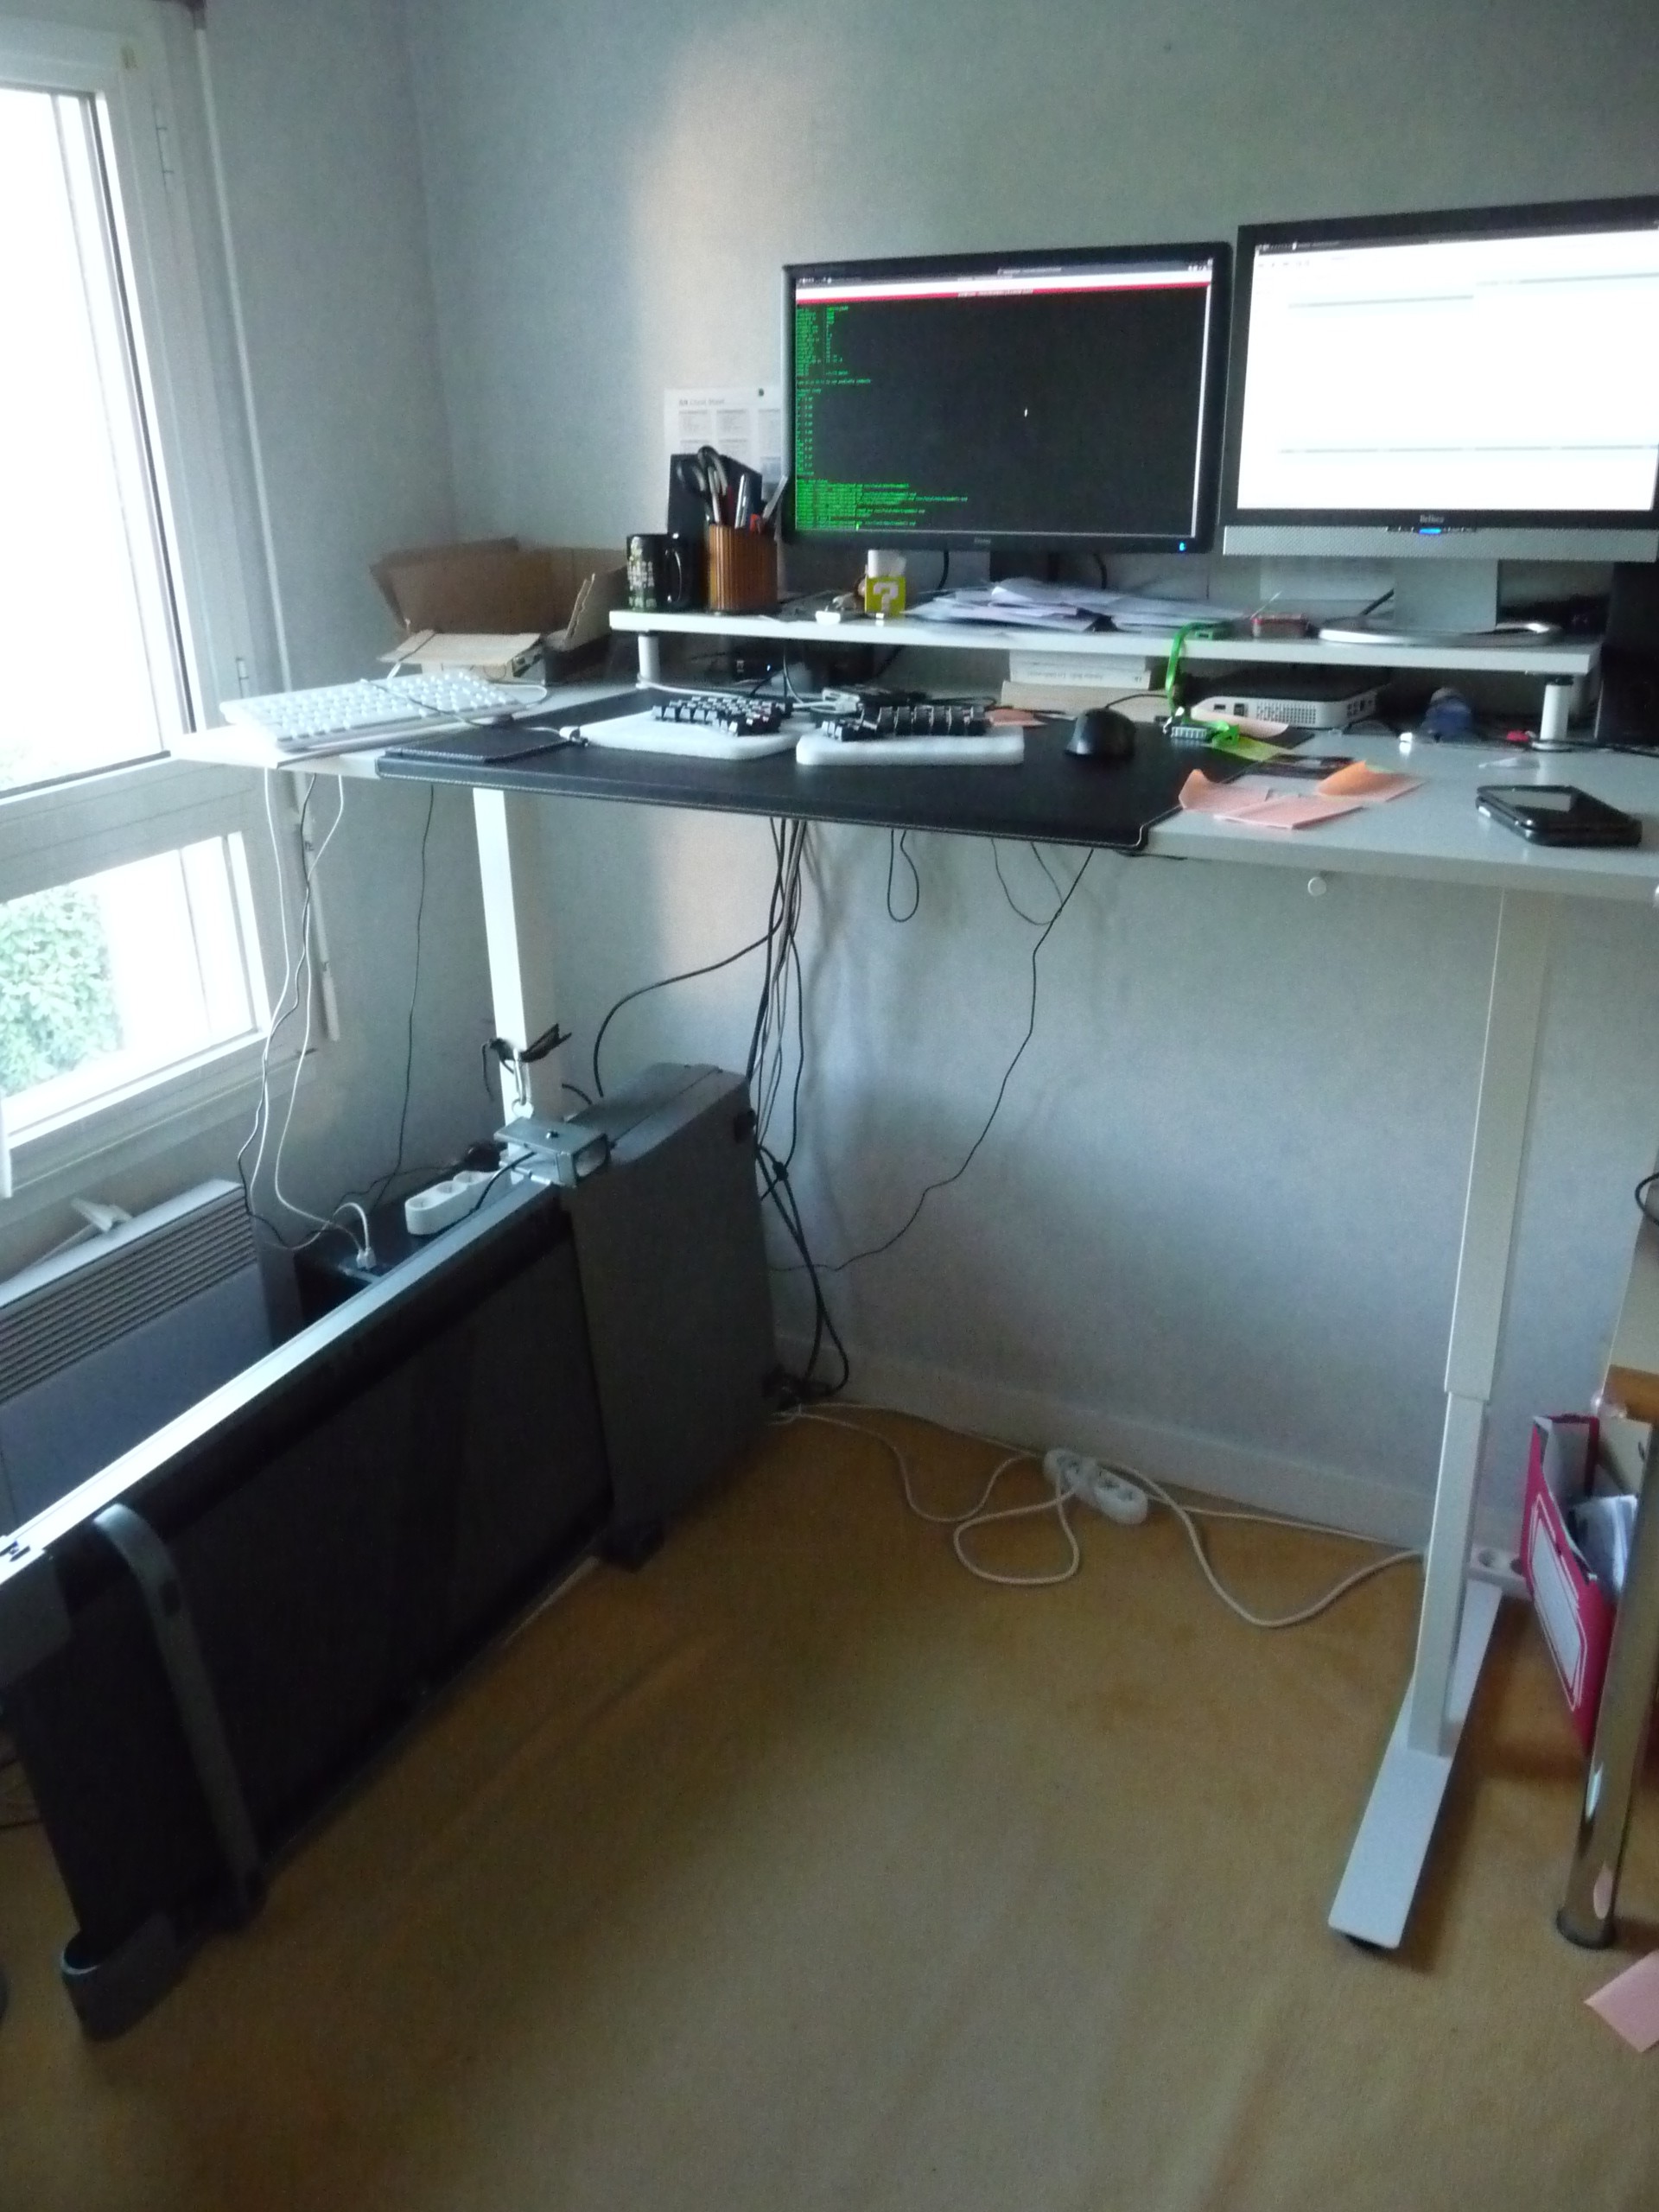
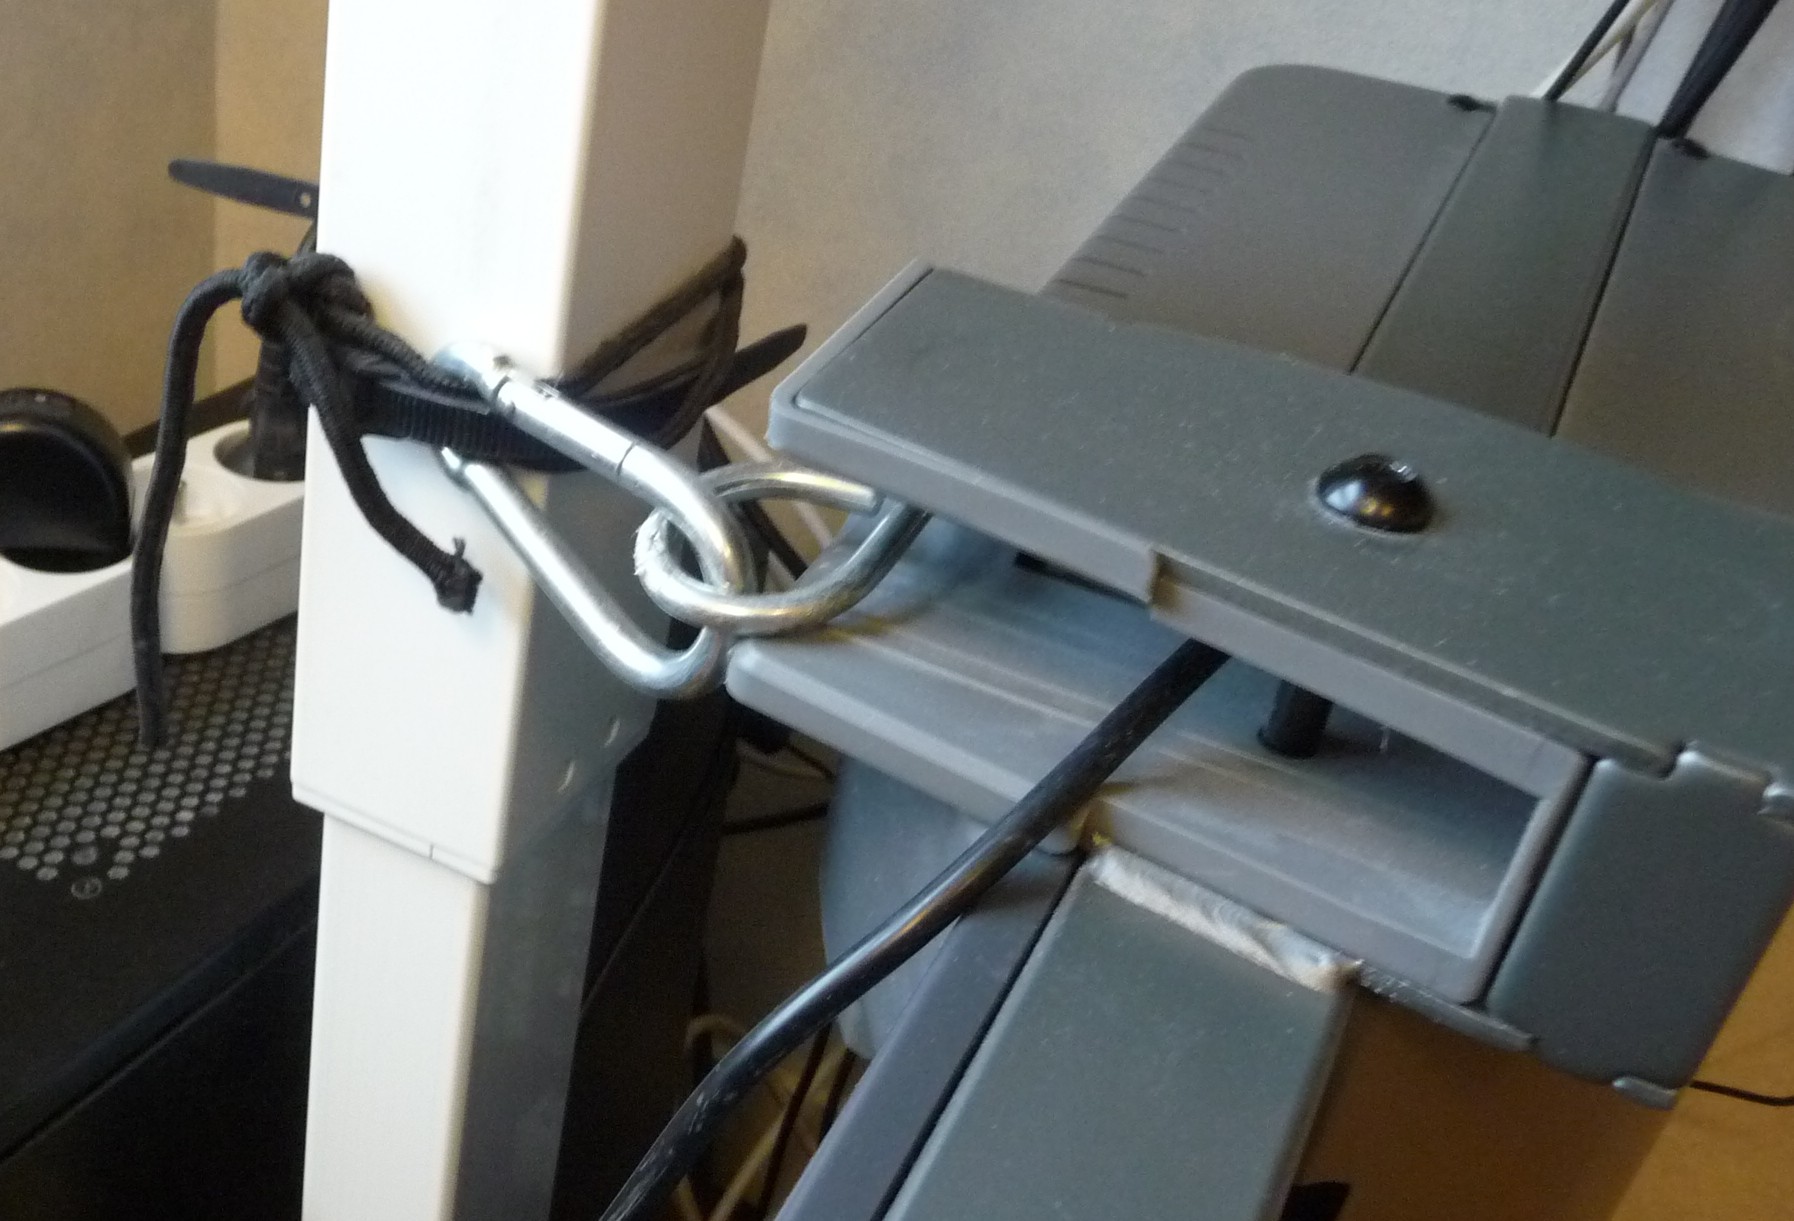
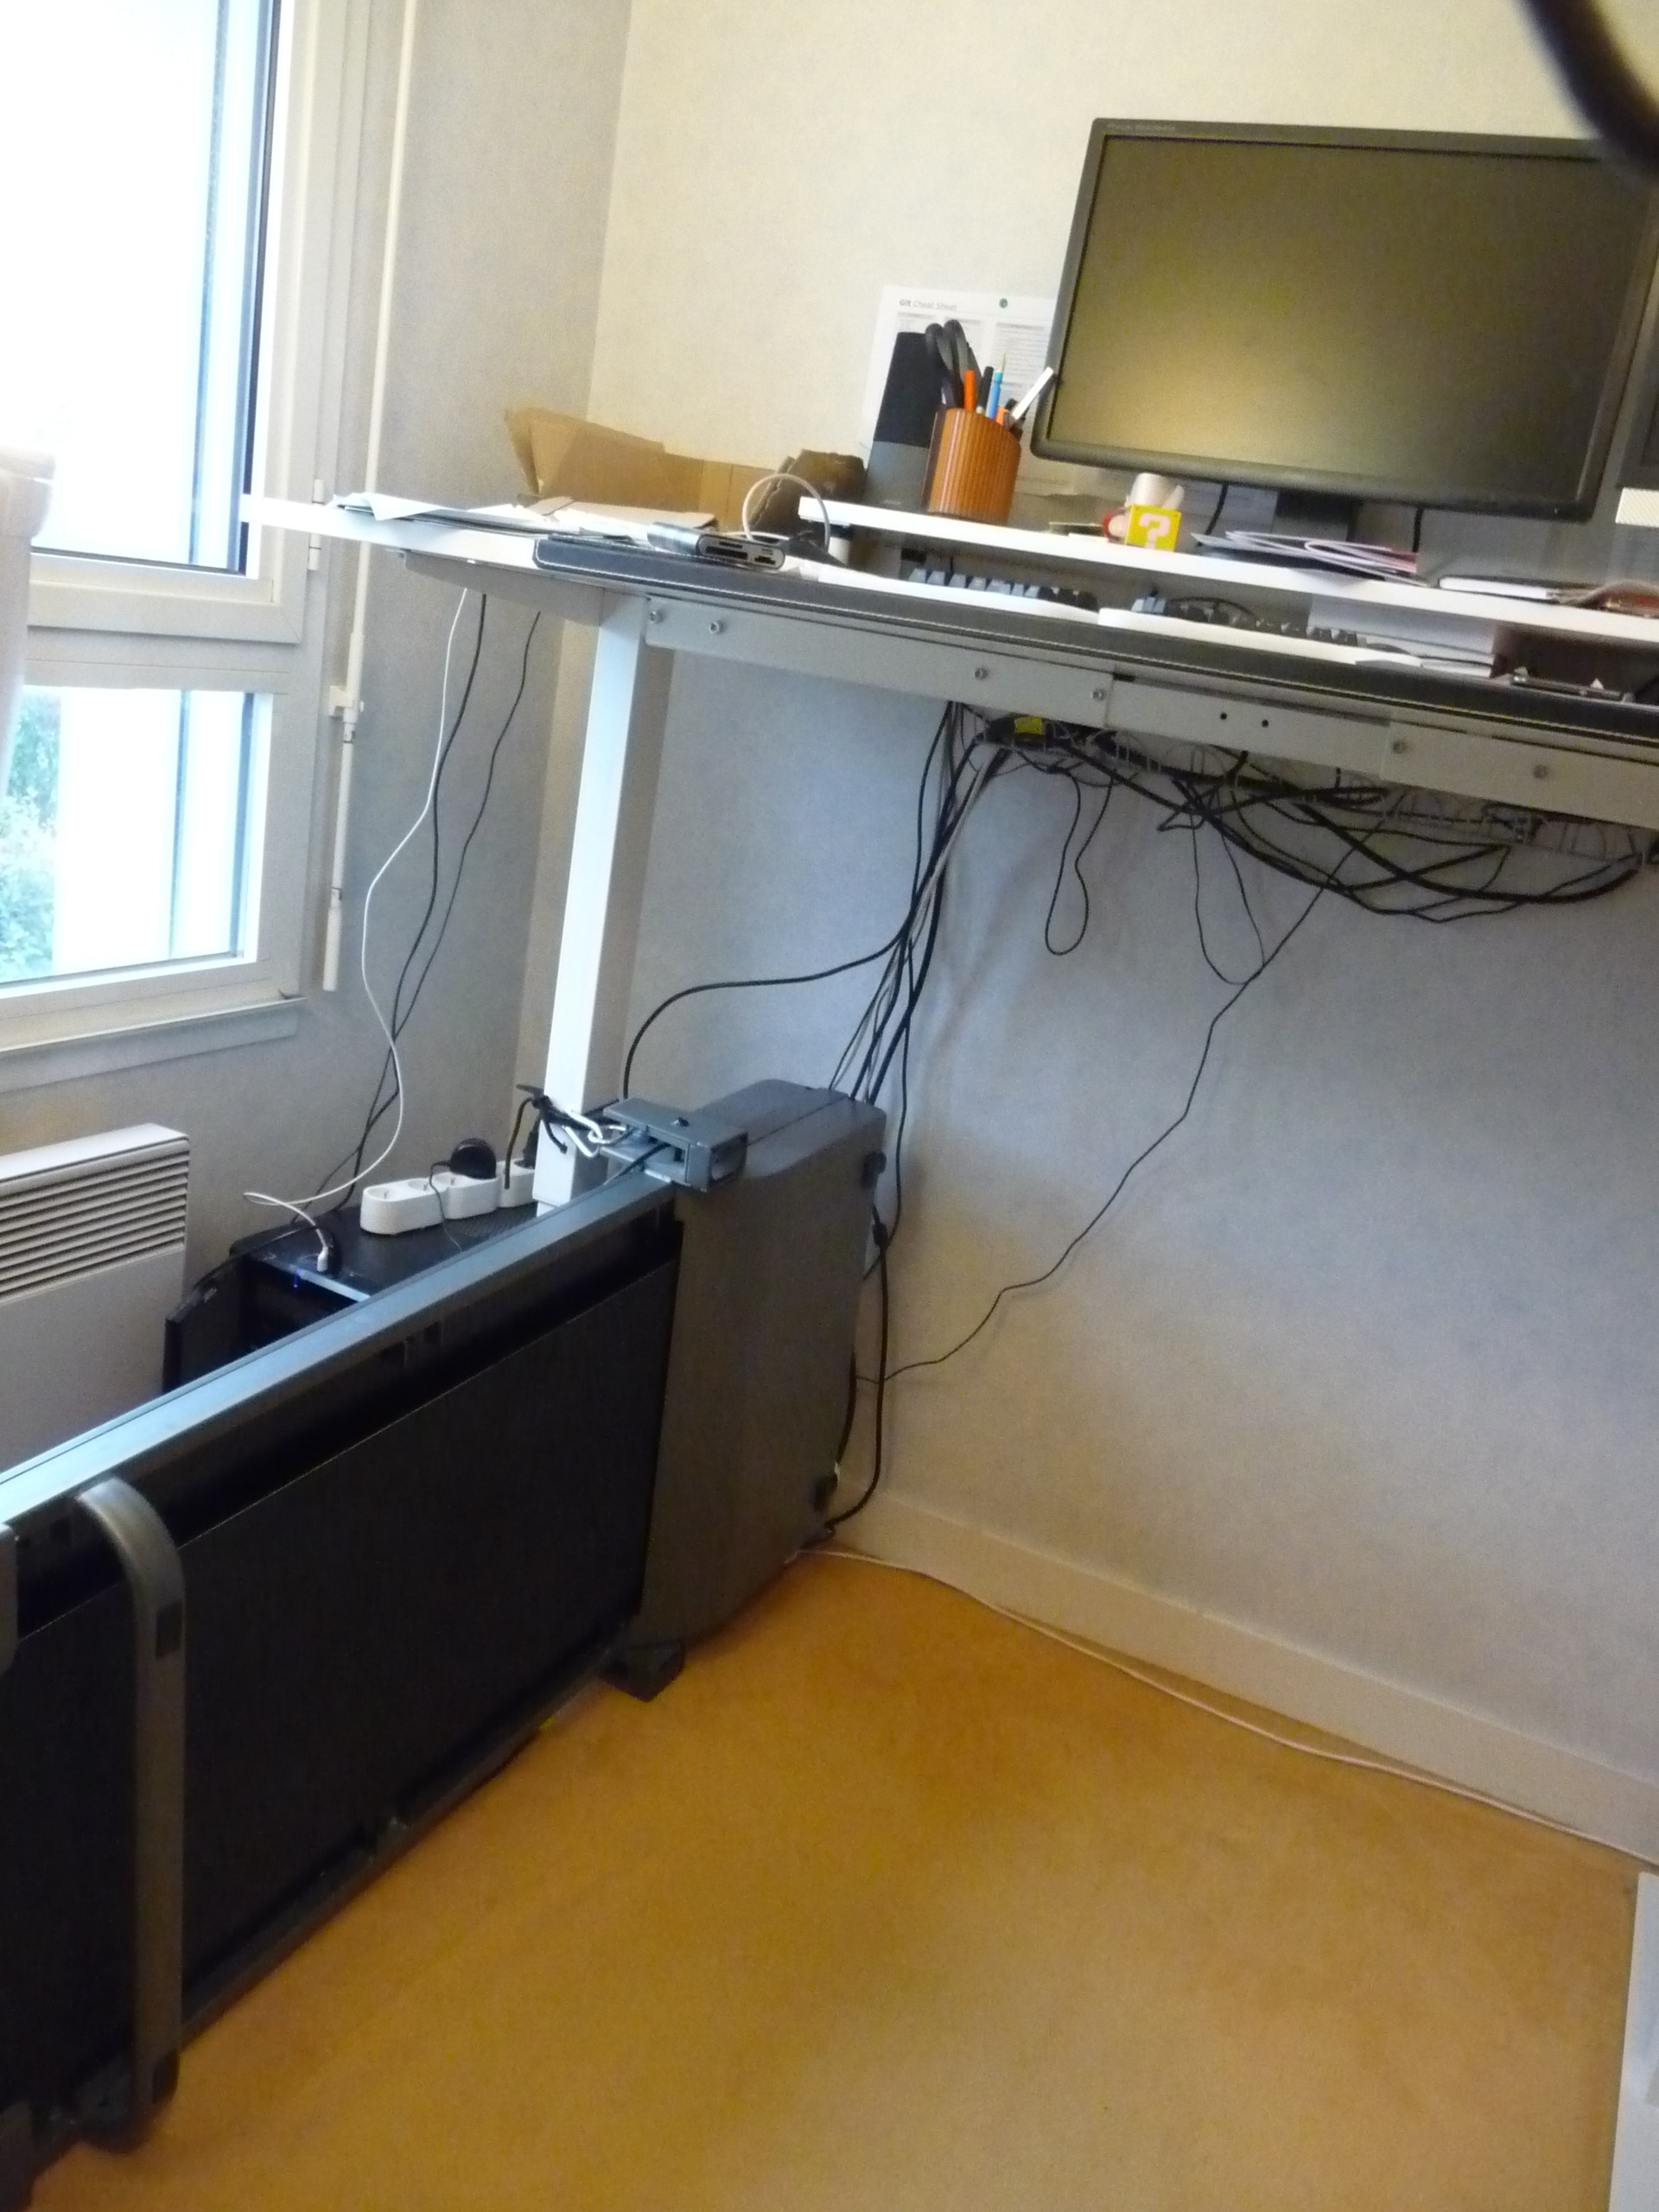
Goal #1 : those are pretty hefty devices, so I figured out I'd better try to make my own setup from off the shelf items.
→ done, I use commonly available products from Ikea and Decatlhon for my setup, the result is looking good so far:

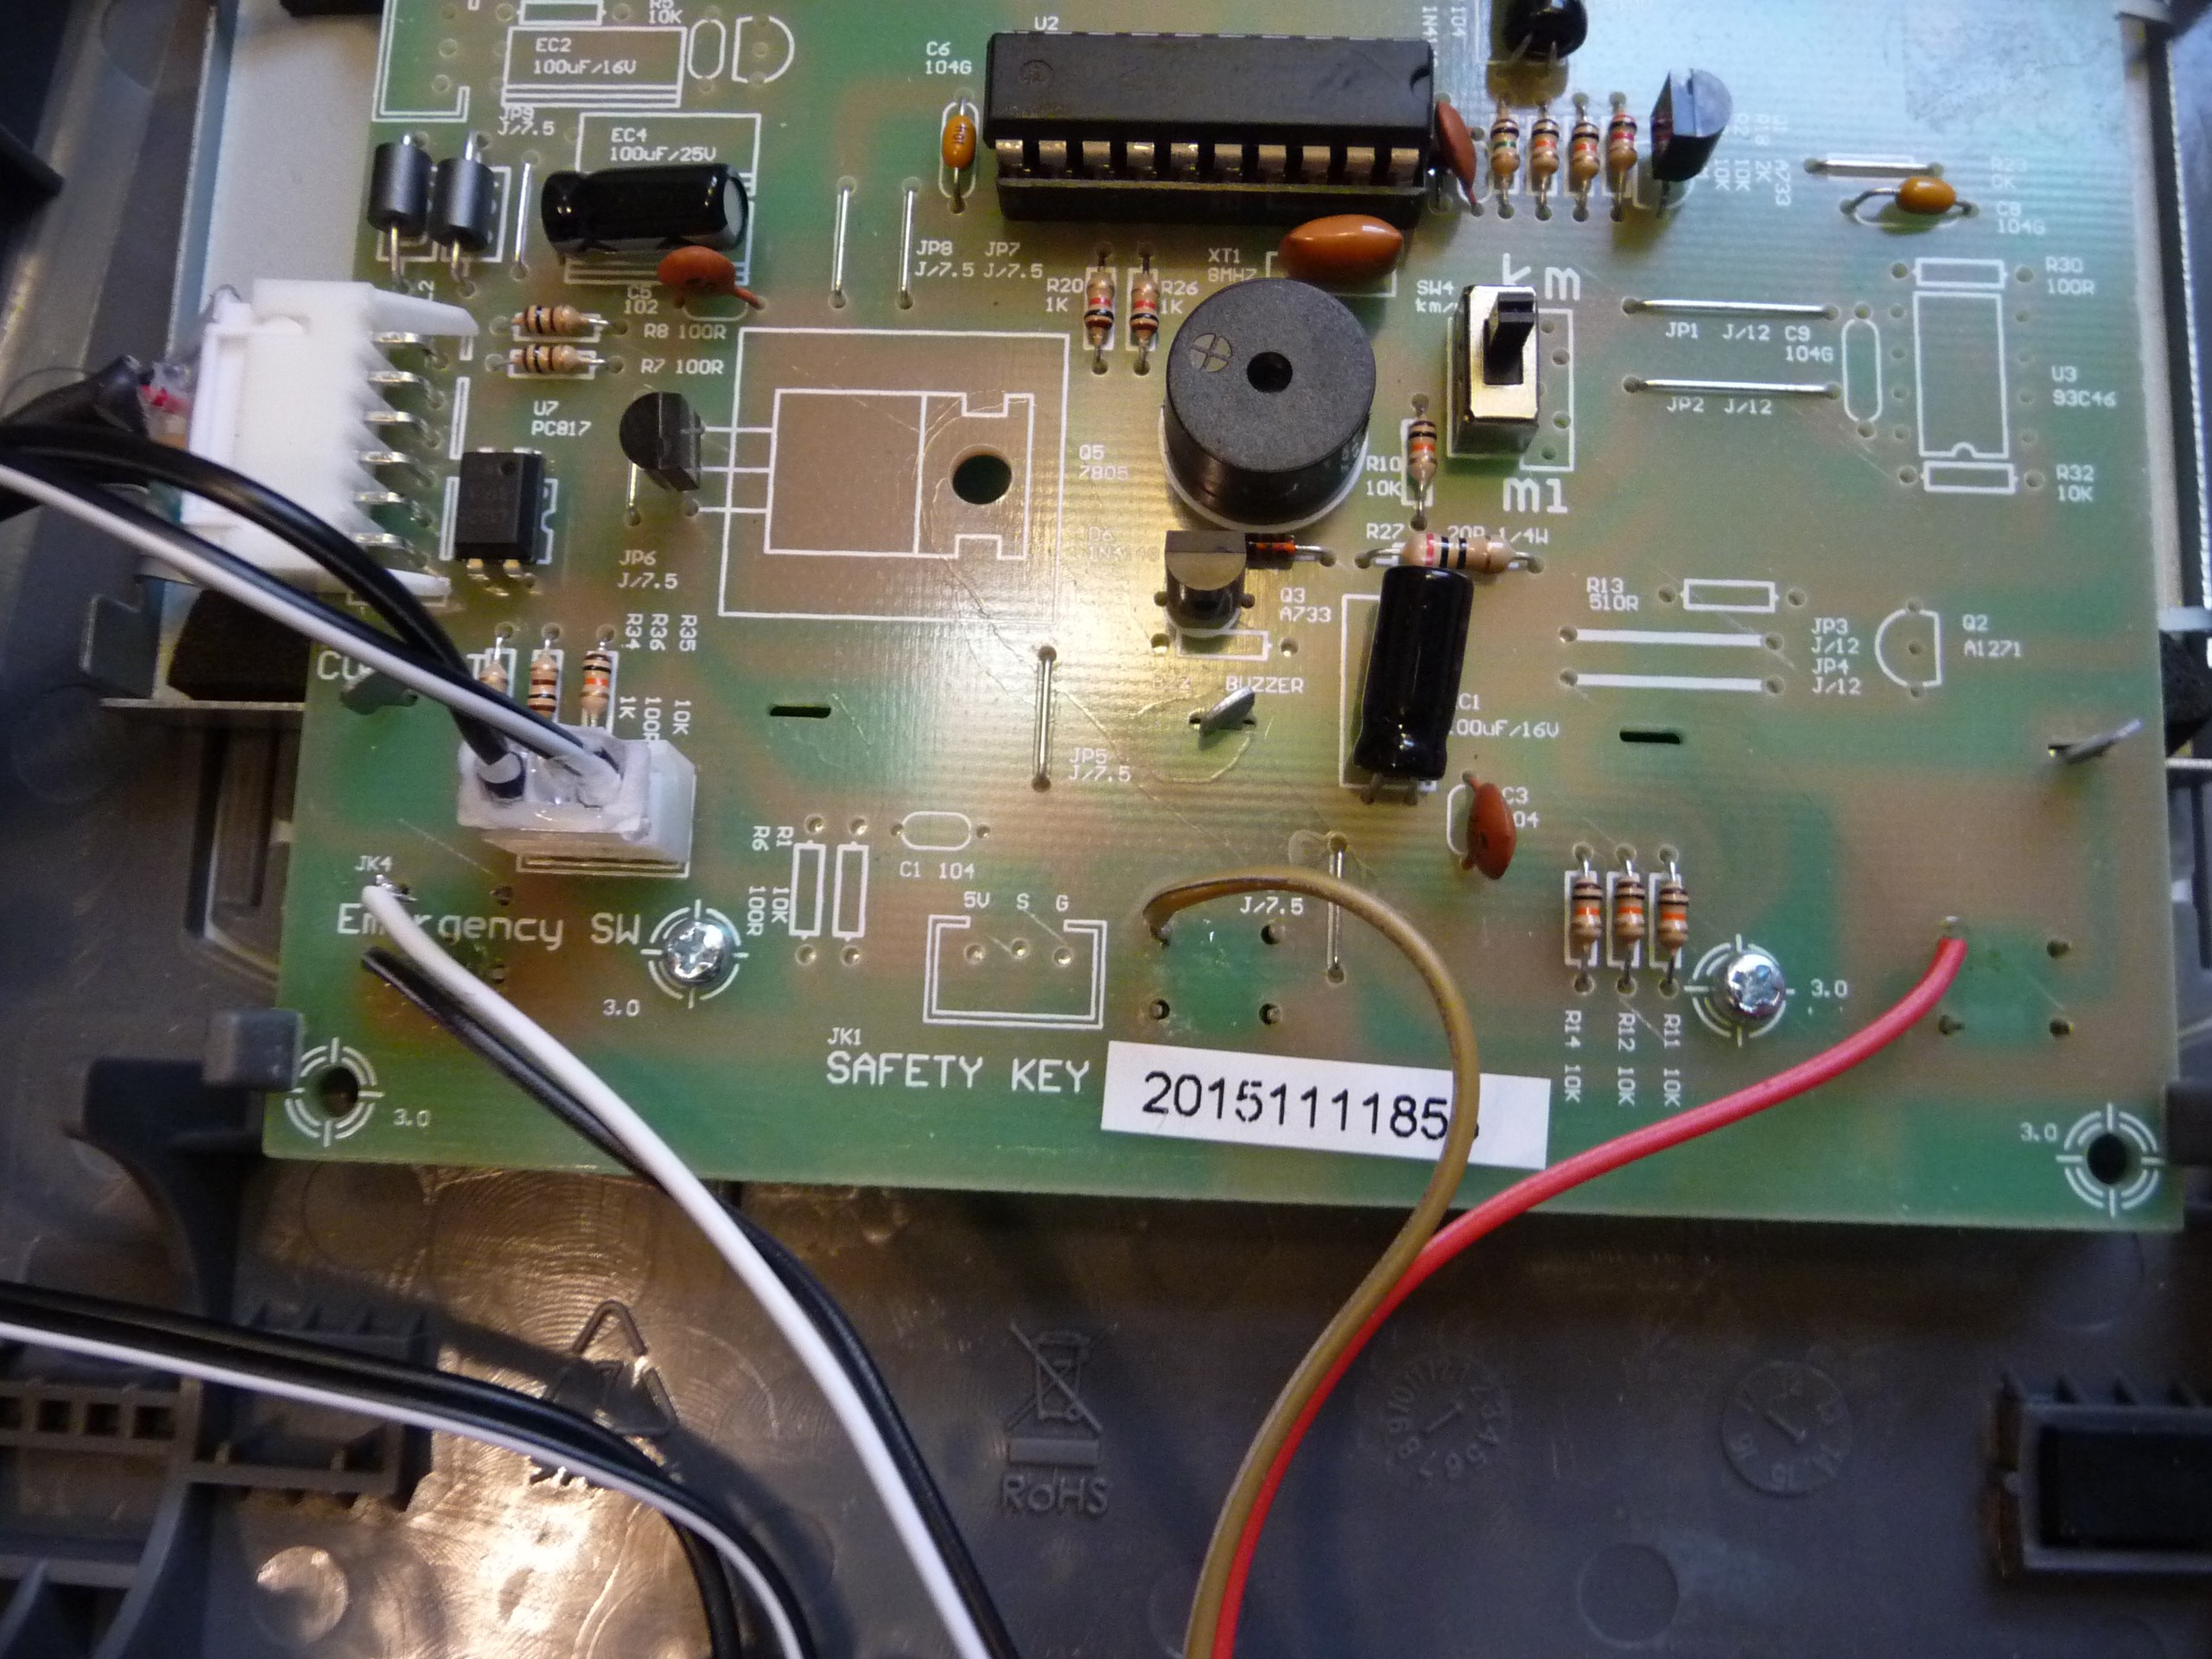
Goal #2 : after setting up my treadmill desk, I found the control panel quite big and inconvenient, there was no room for it on my cluttered desk full of TODO lists, empty mugs, dev boards and cats(!) .So I decided to try to control the treadmill from my keyboard.
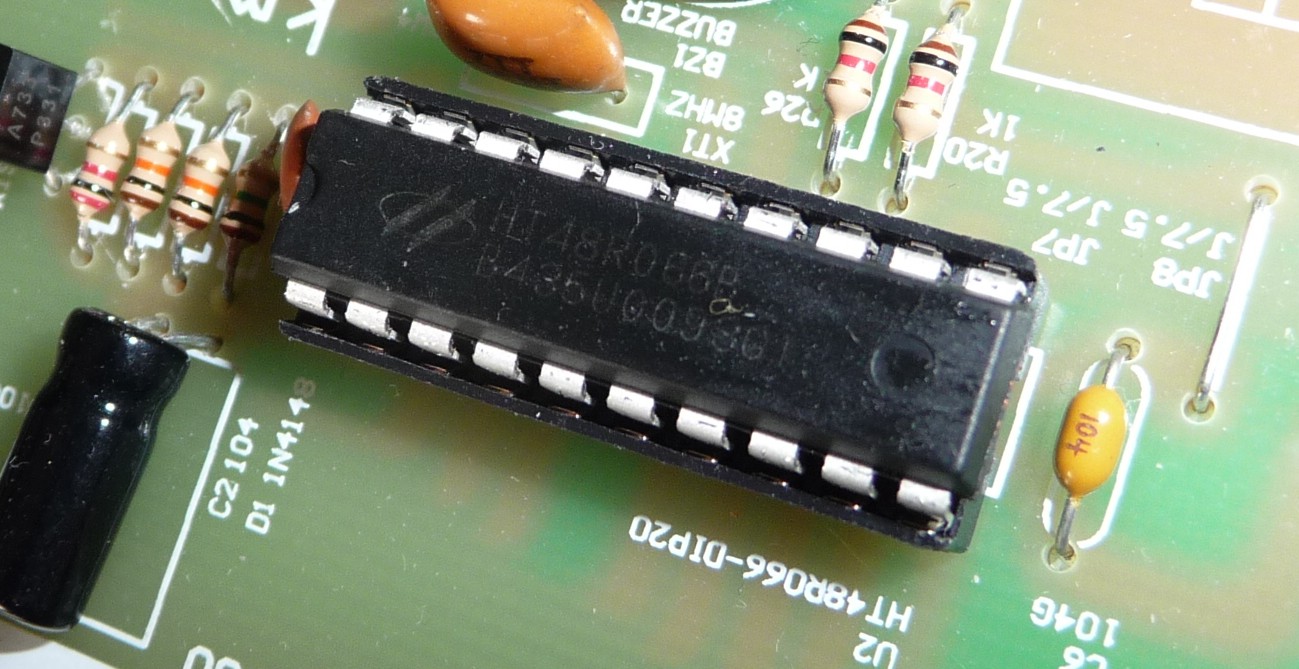
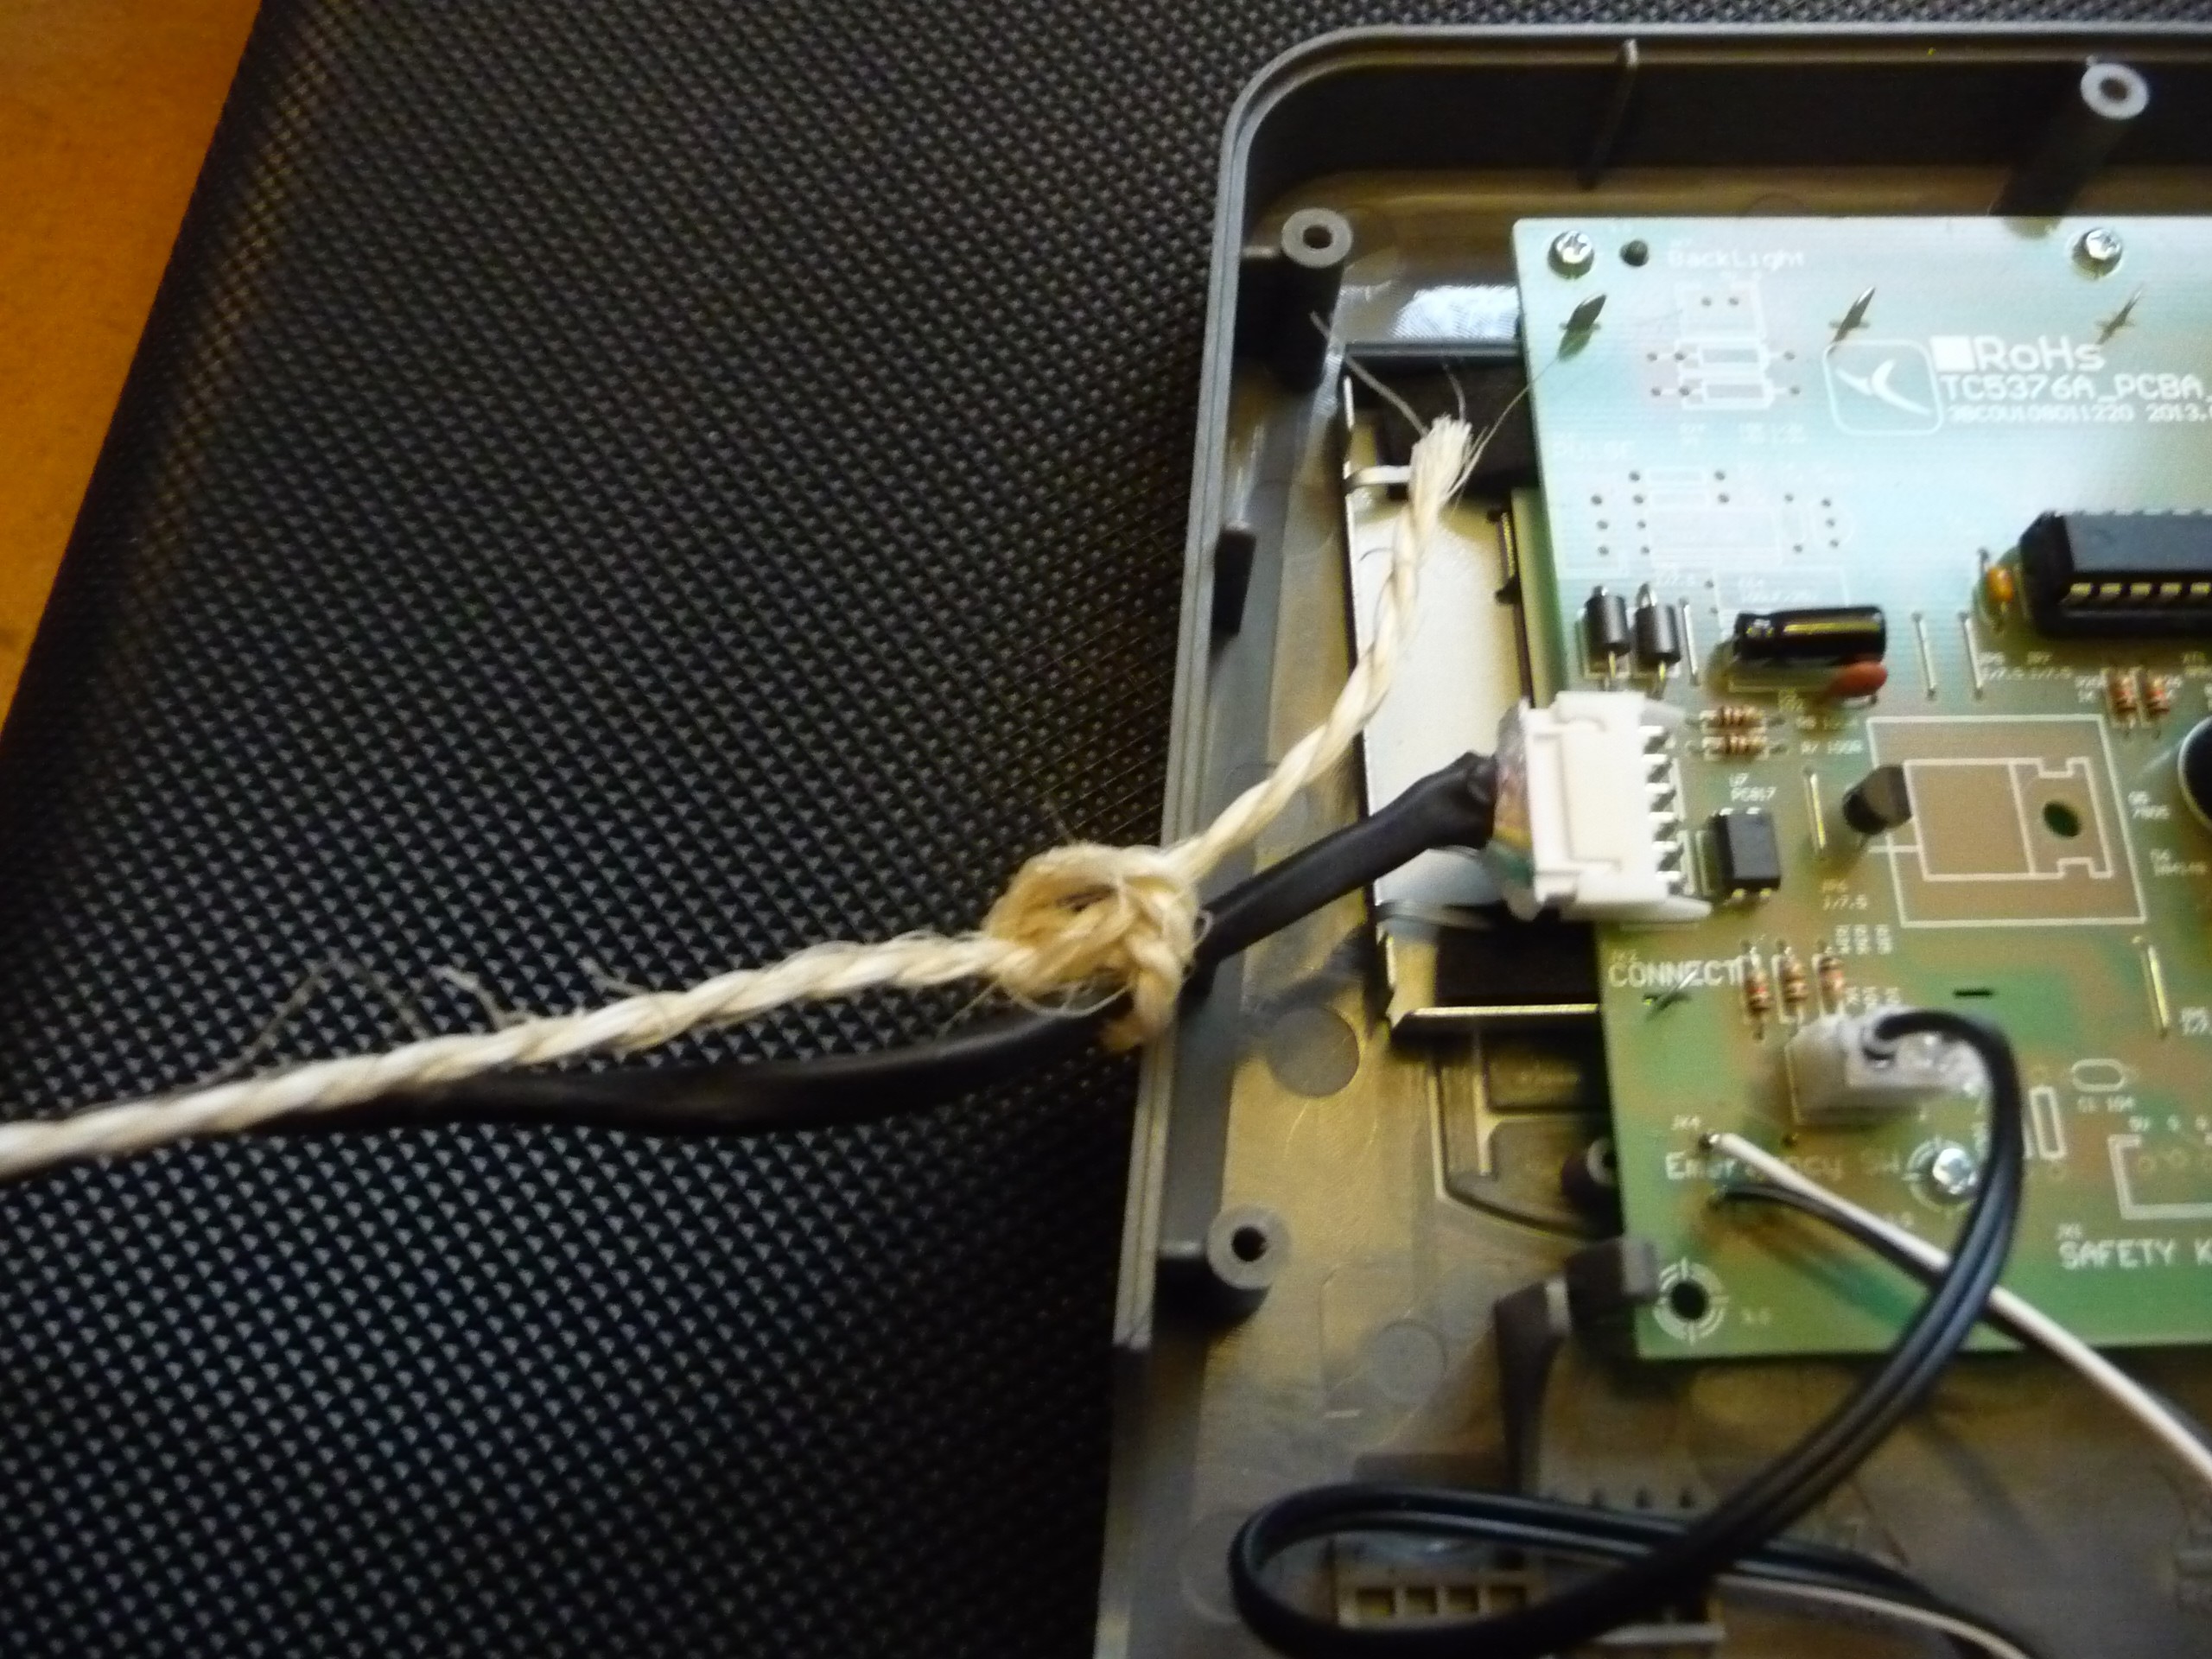
→ done, I connected an Arduino to the treadmill, the details are in the logs and the instructions.

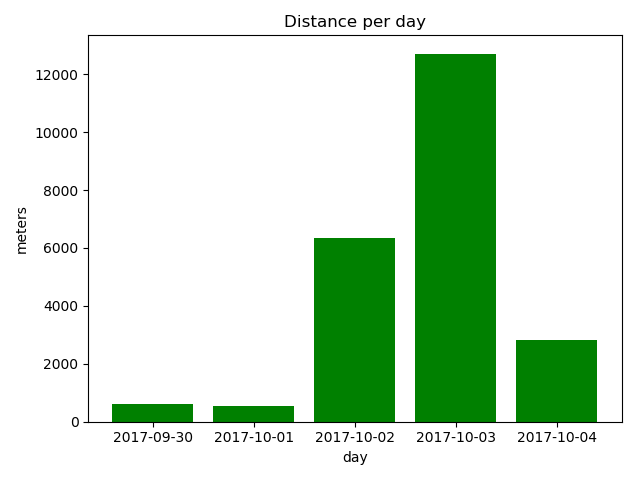
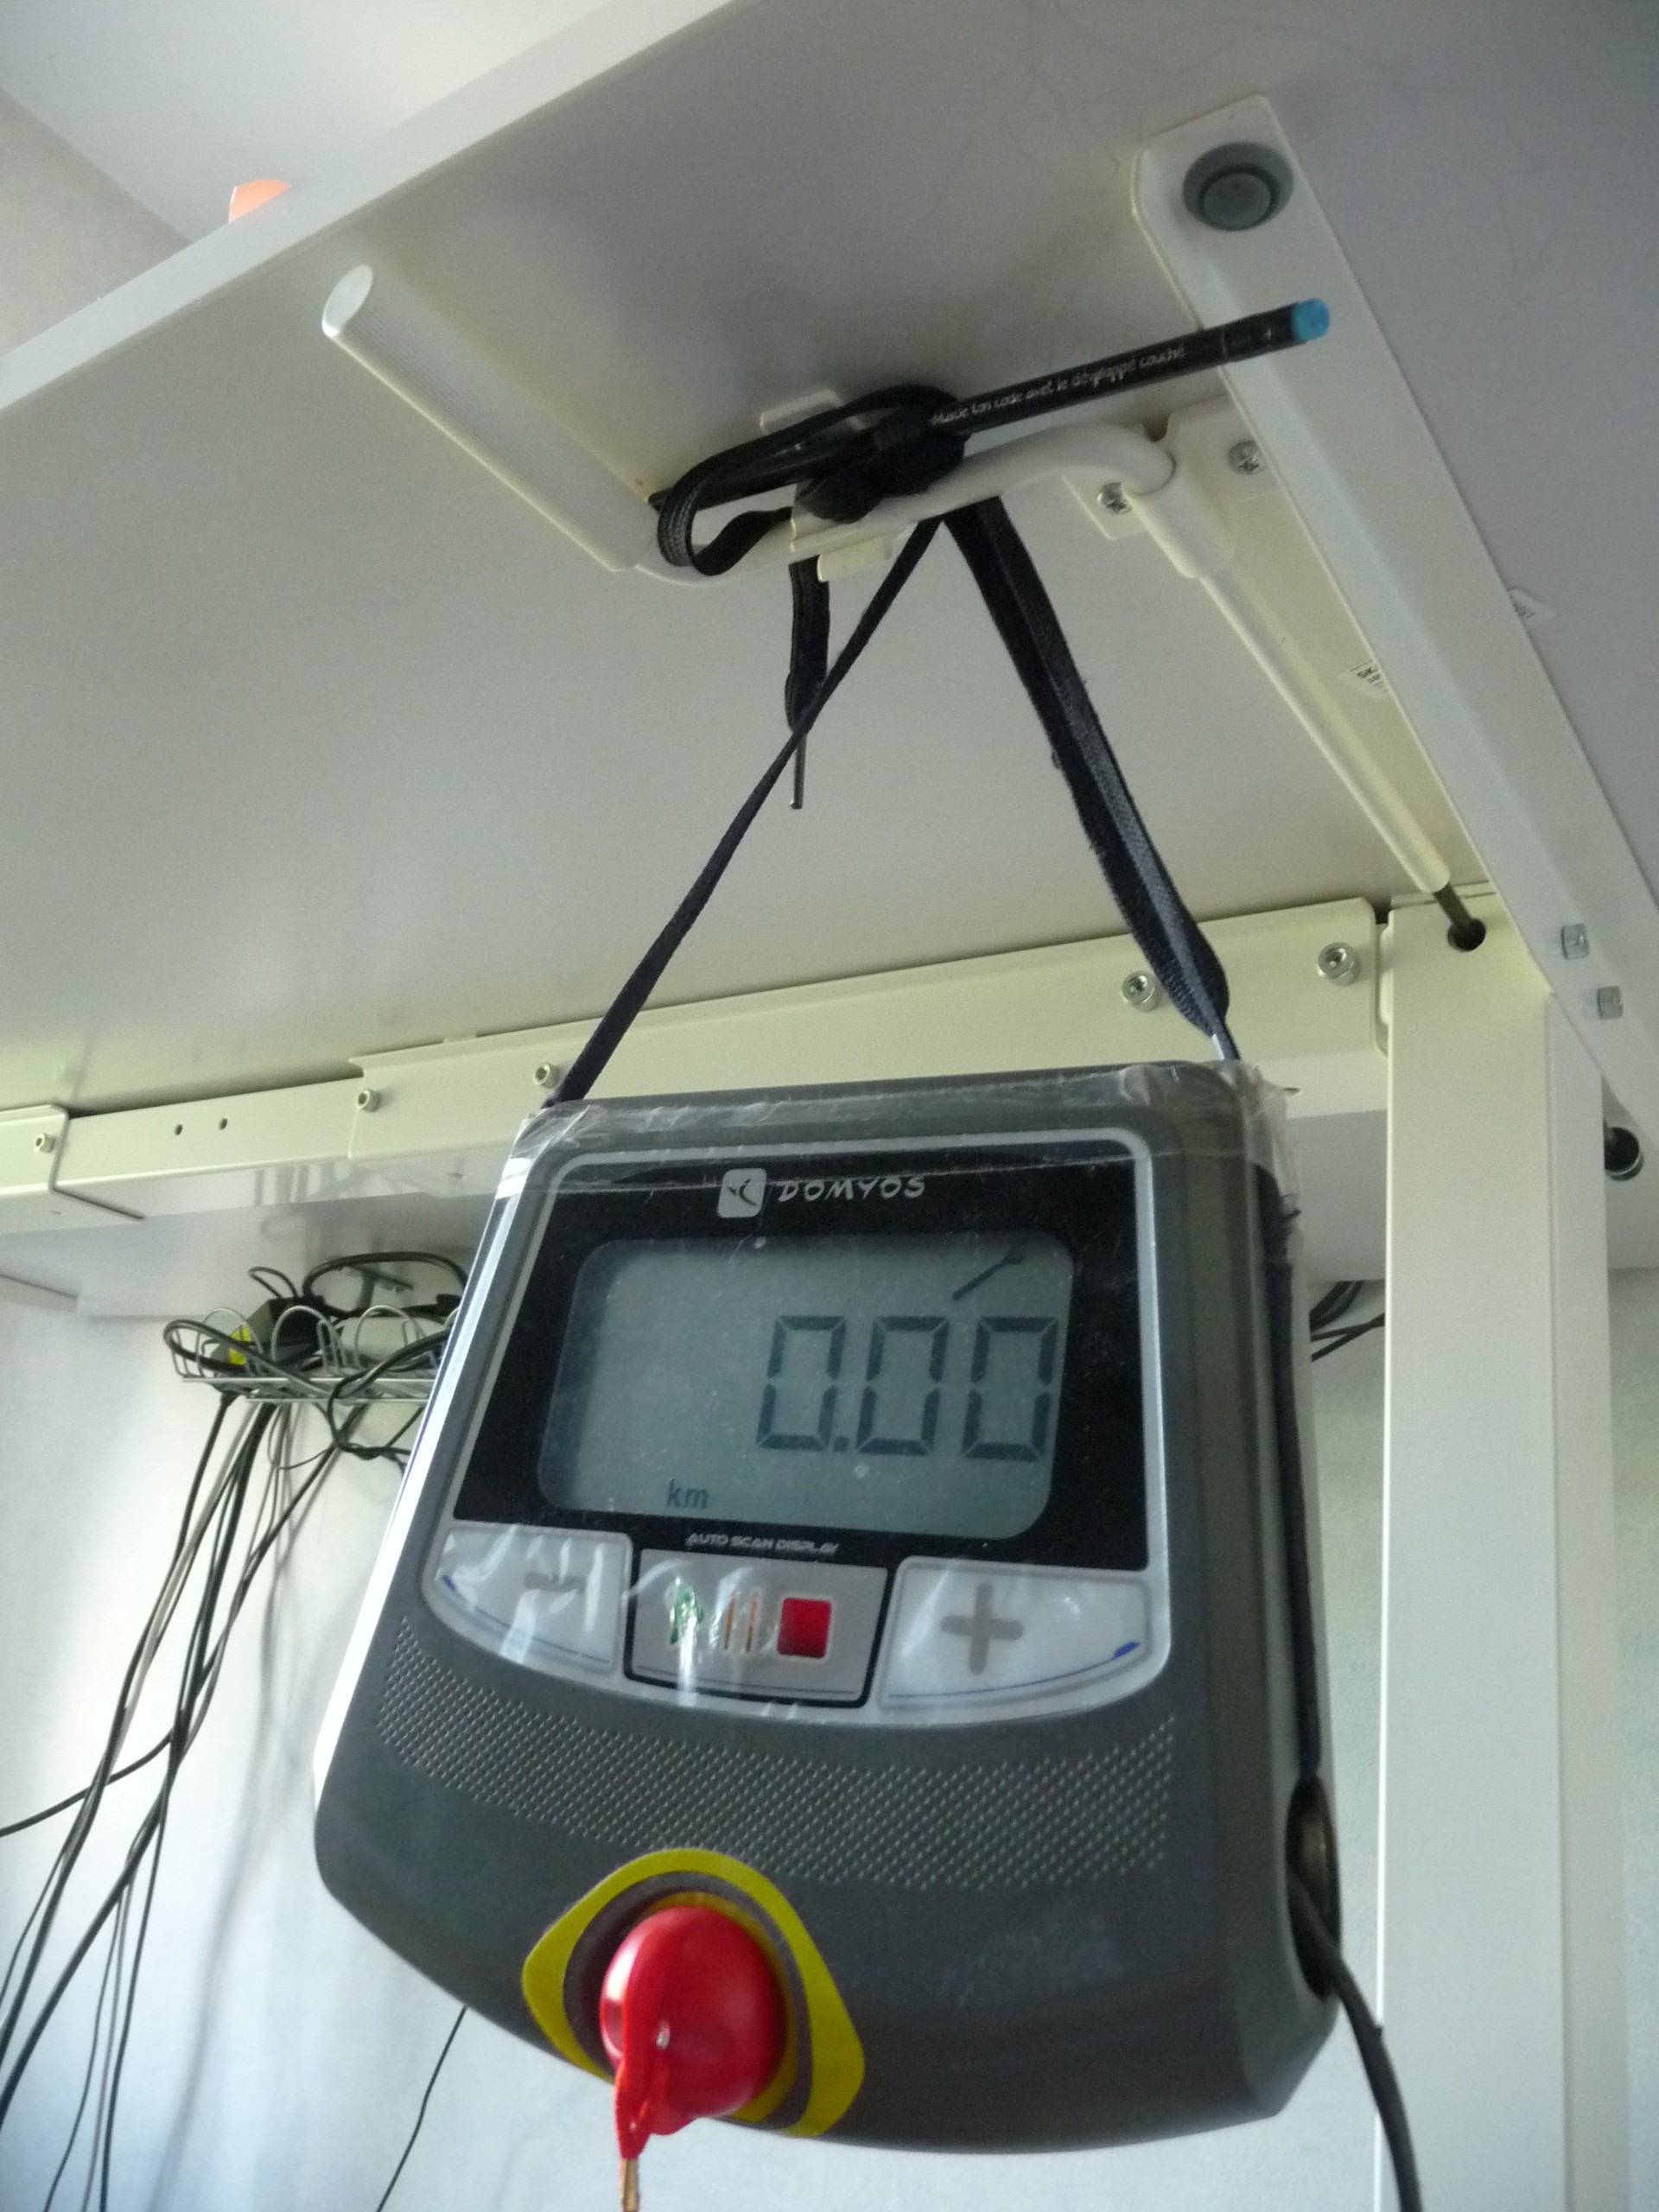
Goal #3 : every 5 seconds the display is cycling through different measurements, distance, speed, burned calories, etc. Sometimes you need to wait for 20 seconds to get the value you want, I'd like to have the value on my PC
→Done, but the distance accuracy could be better
Goal #4 : USB is nice, but it could be useful to have Bluetooth as well
→TODO, I received a CC2541 and will be working on it when the display is finished


 Andrew
 Mark VandeWettering
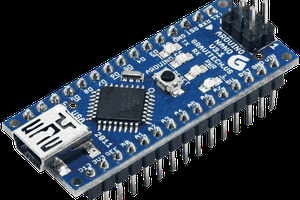
 ken.do
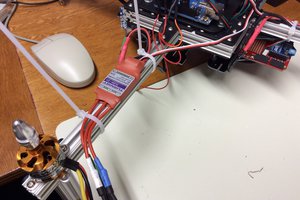
 KJoh
KJoh