 Andrew Moore
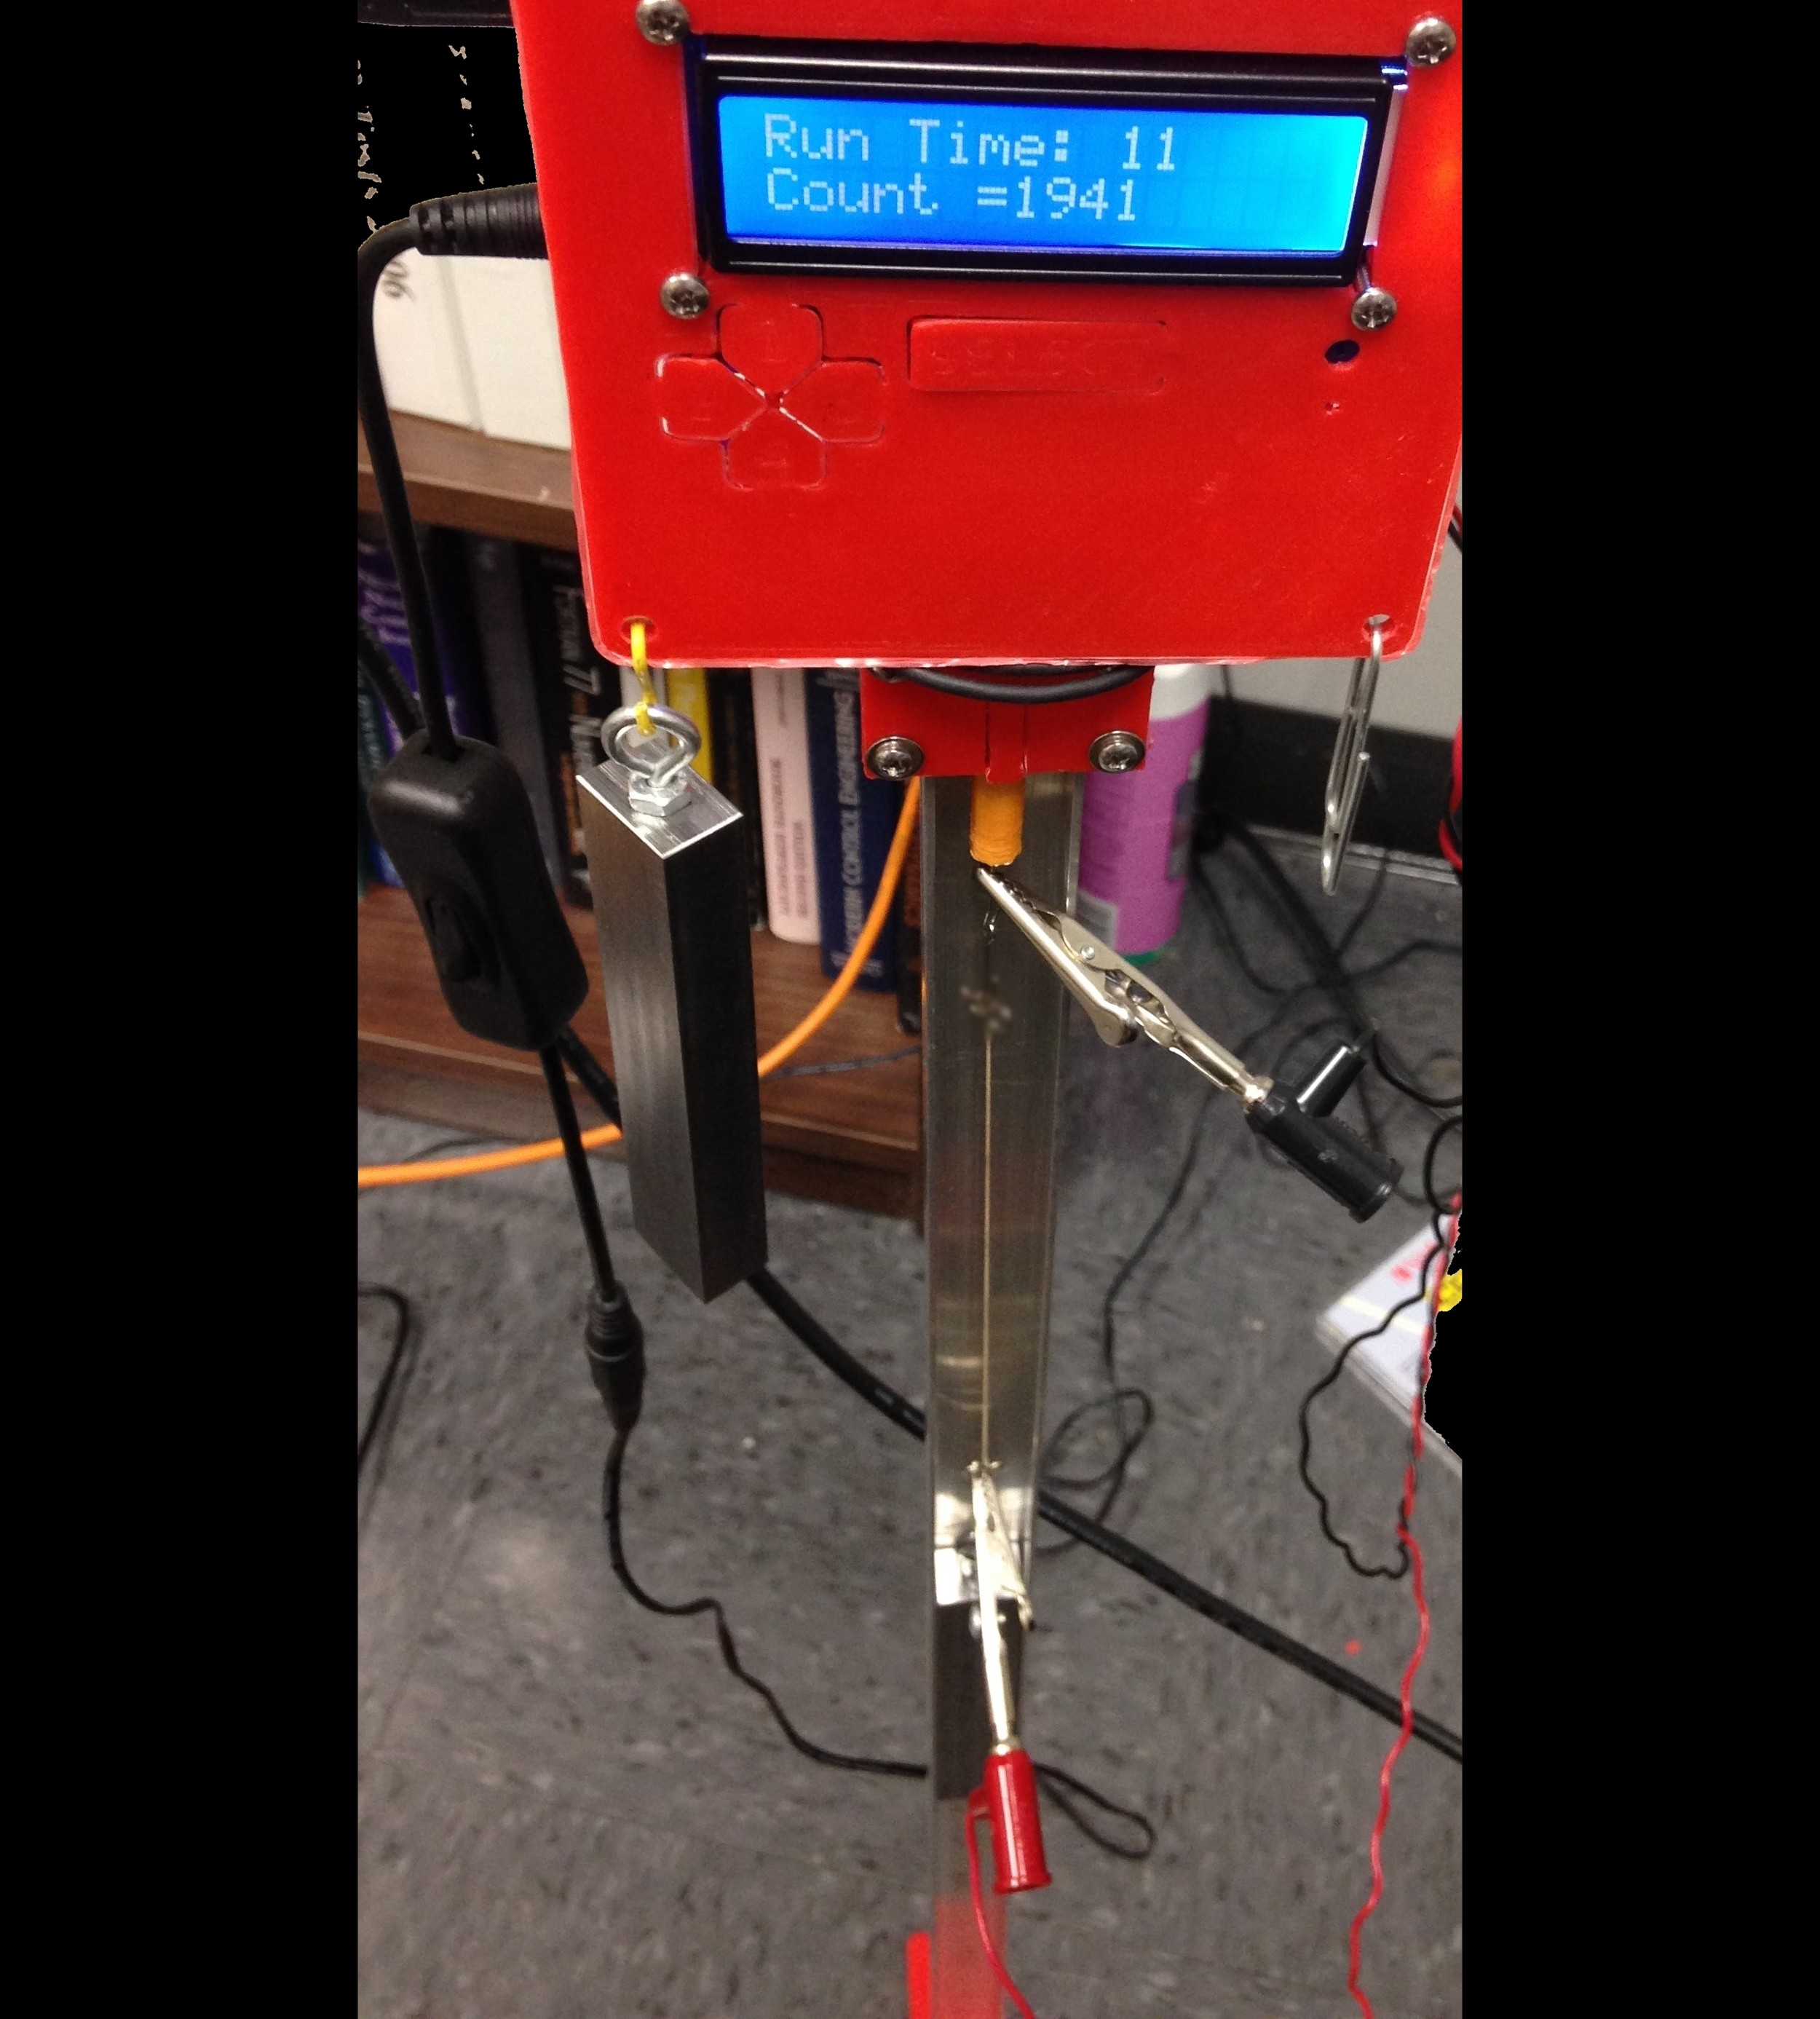
All project files are available on Github (https://github.com/Tacpar/TPAMs). There is a video included in there, and if you can get past the cheesiness of the "approved for public release" music on the video, you will see a few of the cool experiments we did with these muscles. I also threw in one that shows 100 muscles working together.
My hope is that the muscle twisting tools we developed will be useful to other people who also want to play around with TPAMs (TCPMs, TCPs, CPMs... or whatever you want to call them).
This muscle-making appliance was built as part of a research project where we were trying to replicate a human bicep's performance using artificial muscles. We needed a jig that could make artificial muscles consistently enough that 100 or more individual muscle fibers would all work together to generate relatively large forces (33lbs).
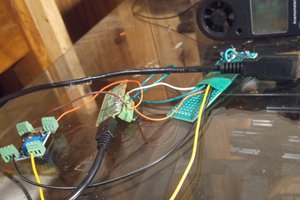
The main components of the muscle winding jig are:
- an Arduino (any one will do)
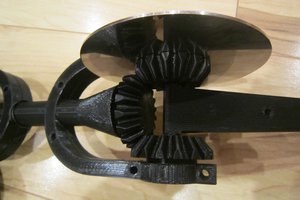
- a Pololu 75:1 dual shaft micro gear motor with hall effect sensor
- an aluminum channel
- a 3D-printed base (or you could attach the channel vertically on a wall instead)
- and some pre-cut weights made of mild steel bar stock. The bar stock should slide freely inside the channel without too much friction, but it cannot be so loose that it spins freely. If you really want to get fancy, use brass bar stock instead.
Over the course of this project, Shieldex changed the chemistry of their 4-ply conductive sewing thread, which caused all sorts of headaches. I won't bother posting specific instructions for what weights and numbers of twists per length you should put into each muscle, because that is likely to change, but the general process goes something like this:
Coiling:
- Cut a length of conductive thread.
- Attach a loop to both ends of the thread.
- Hang the thread on the motor at the top of the appliance.
![]()
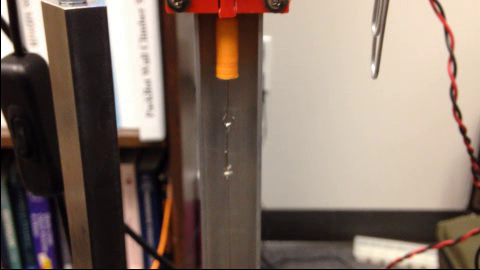
- Hang a weighted steel bar (200g worked ok for us) on the bottom of the thread inside the aluminum channel.
![]()
- Twist and coil the thread. The entire length should be coiled, and you don't want to over-twist it. This takes some experimentation. The number of turns also depends on how much weight you load it down with. The muscle should be coiled tight at this point, but if you release tension, it will come undone.
Training and annealing the muscle:
- Because the fiber is conductive, you don't have to use an oven to anneal the nylon. Just pass a current through it to heat it up (but not yet... keep reading)
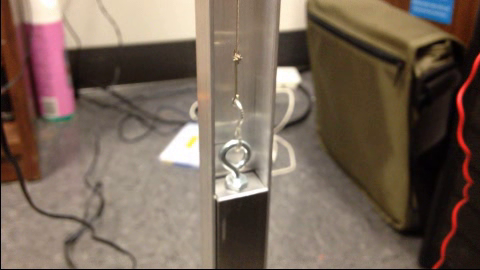
- Add more weight (~200g... for a grand total of 400g) to the bottom of the first weight (a small magnet works well for temporarily attaching multiple steel bars together)
- Attach gator clips to the top and bottom terminals on the muscle and use a power supply to pass a current through it until it begins to stretch out. The exact amount of current will depend on how old your Shieldex thread is. This takes some experimentation, but 300-400mA is a typical value. Don't let it stretch too much or it will snap. Again... trial and error.
- Remove the extra weight
- Pass current through the muscle again and let the muscle lift the original weight until the weight stops rising.
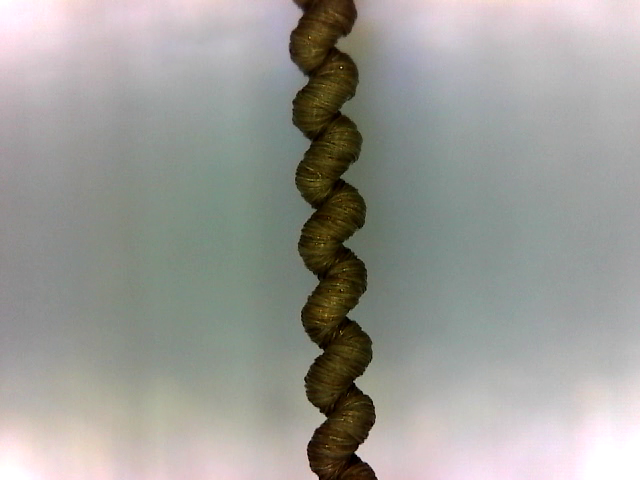
- Turn off the power supply and let the muscle cool and drop again. It should be trained, annealed, and ready to go! If done correctly, the coils should be slightly spaced apart when the muscle is at rest.
![]()
Tips:
- Faster speeds seem to work better than going slow when twisting and coiling, because the bounce helps initiate the coiling process. If you twist it slow and smooth, the thread may snap before it finishes coiling.
- Keep good notes of the current values used during muscle training.
- The conductivity of the Shieldex changes over time. As it ages, the silver oxidizes and the thread turns a darker color. The darker the thread, the less current you need to train it (and the weaker the muscle will be).
- Once the muscle is trained, it continues to perform well even after oxidizing.
- If you make muscles in a garage, the performance will vary as the temperature and humidity change.
- It's...

 rand3289
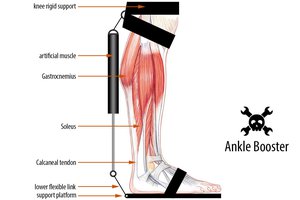
 Radu Motisan