Close
0%
0%

SnapBot

SnapBot is a modular platform to help educators and students learn about programming, IoT, and Robotics.

Similar projects worth following
We wanted to make an easy to operate, simple to assemble system that is powerful in terms of processing capabilities and IoT ready.

The Process of building a robot is difficult. It involves screwing of components which are often tedious and once the hardware is made for an application it is difficult to modify to a different project. Snapbot tries to solve this by creating “snap-action mating mechanism” using magnets thereby eliminating screws.

Since components are modular in nature one can easily remove and upgrade components in a small amount of time.

we are now designing the second prototype. Future scope includes detecting the component attached and eliminating the interconnecting wires.

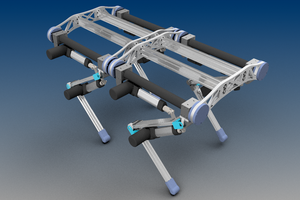
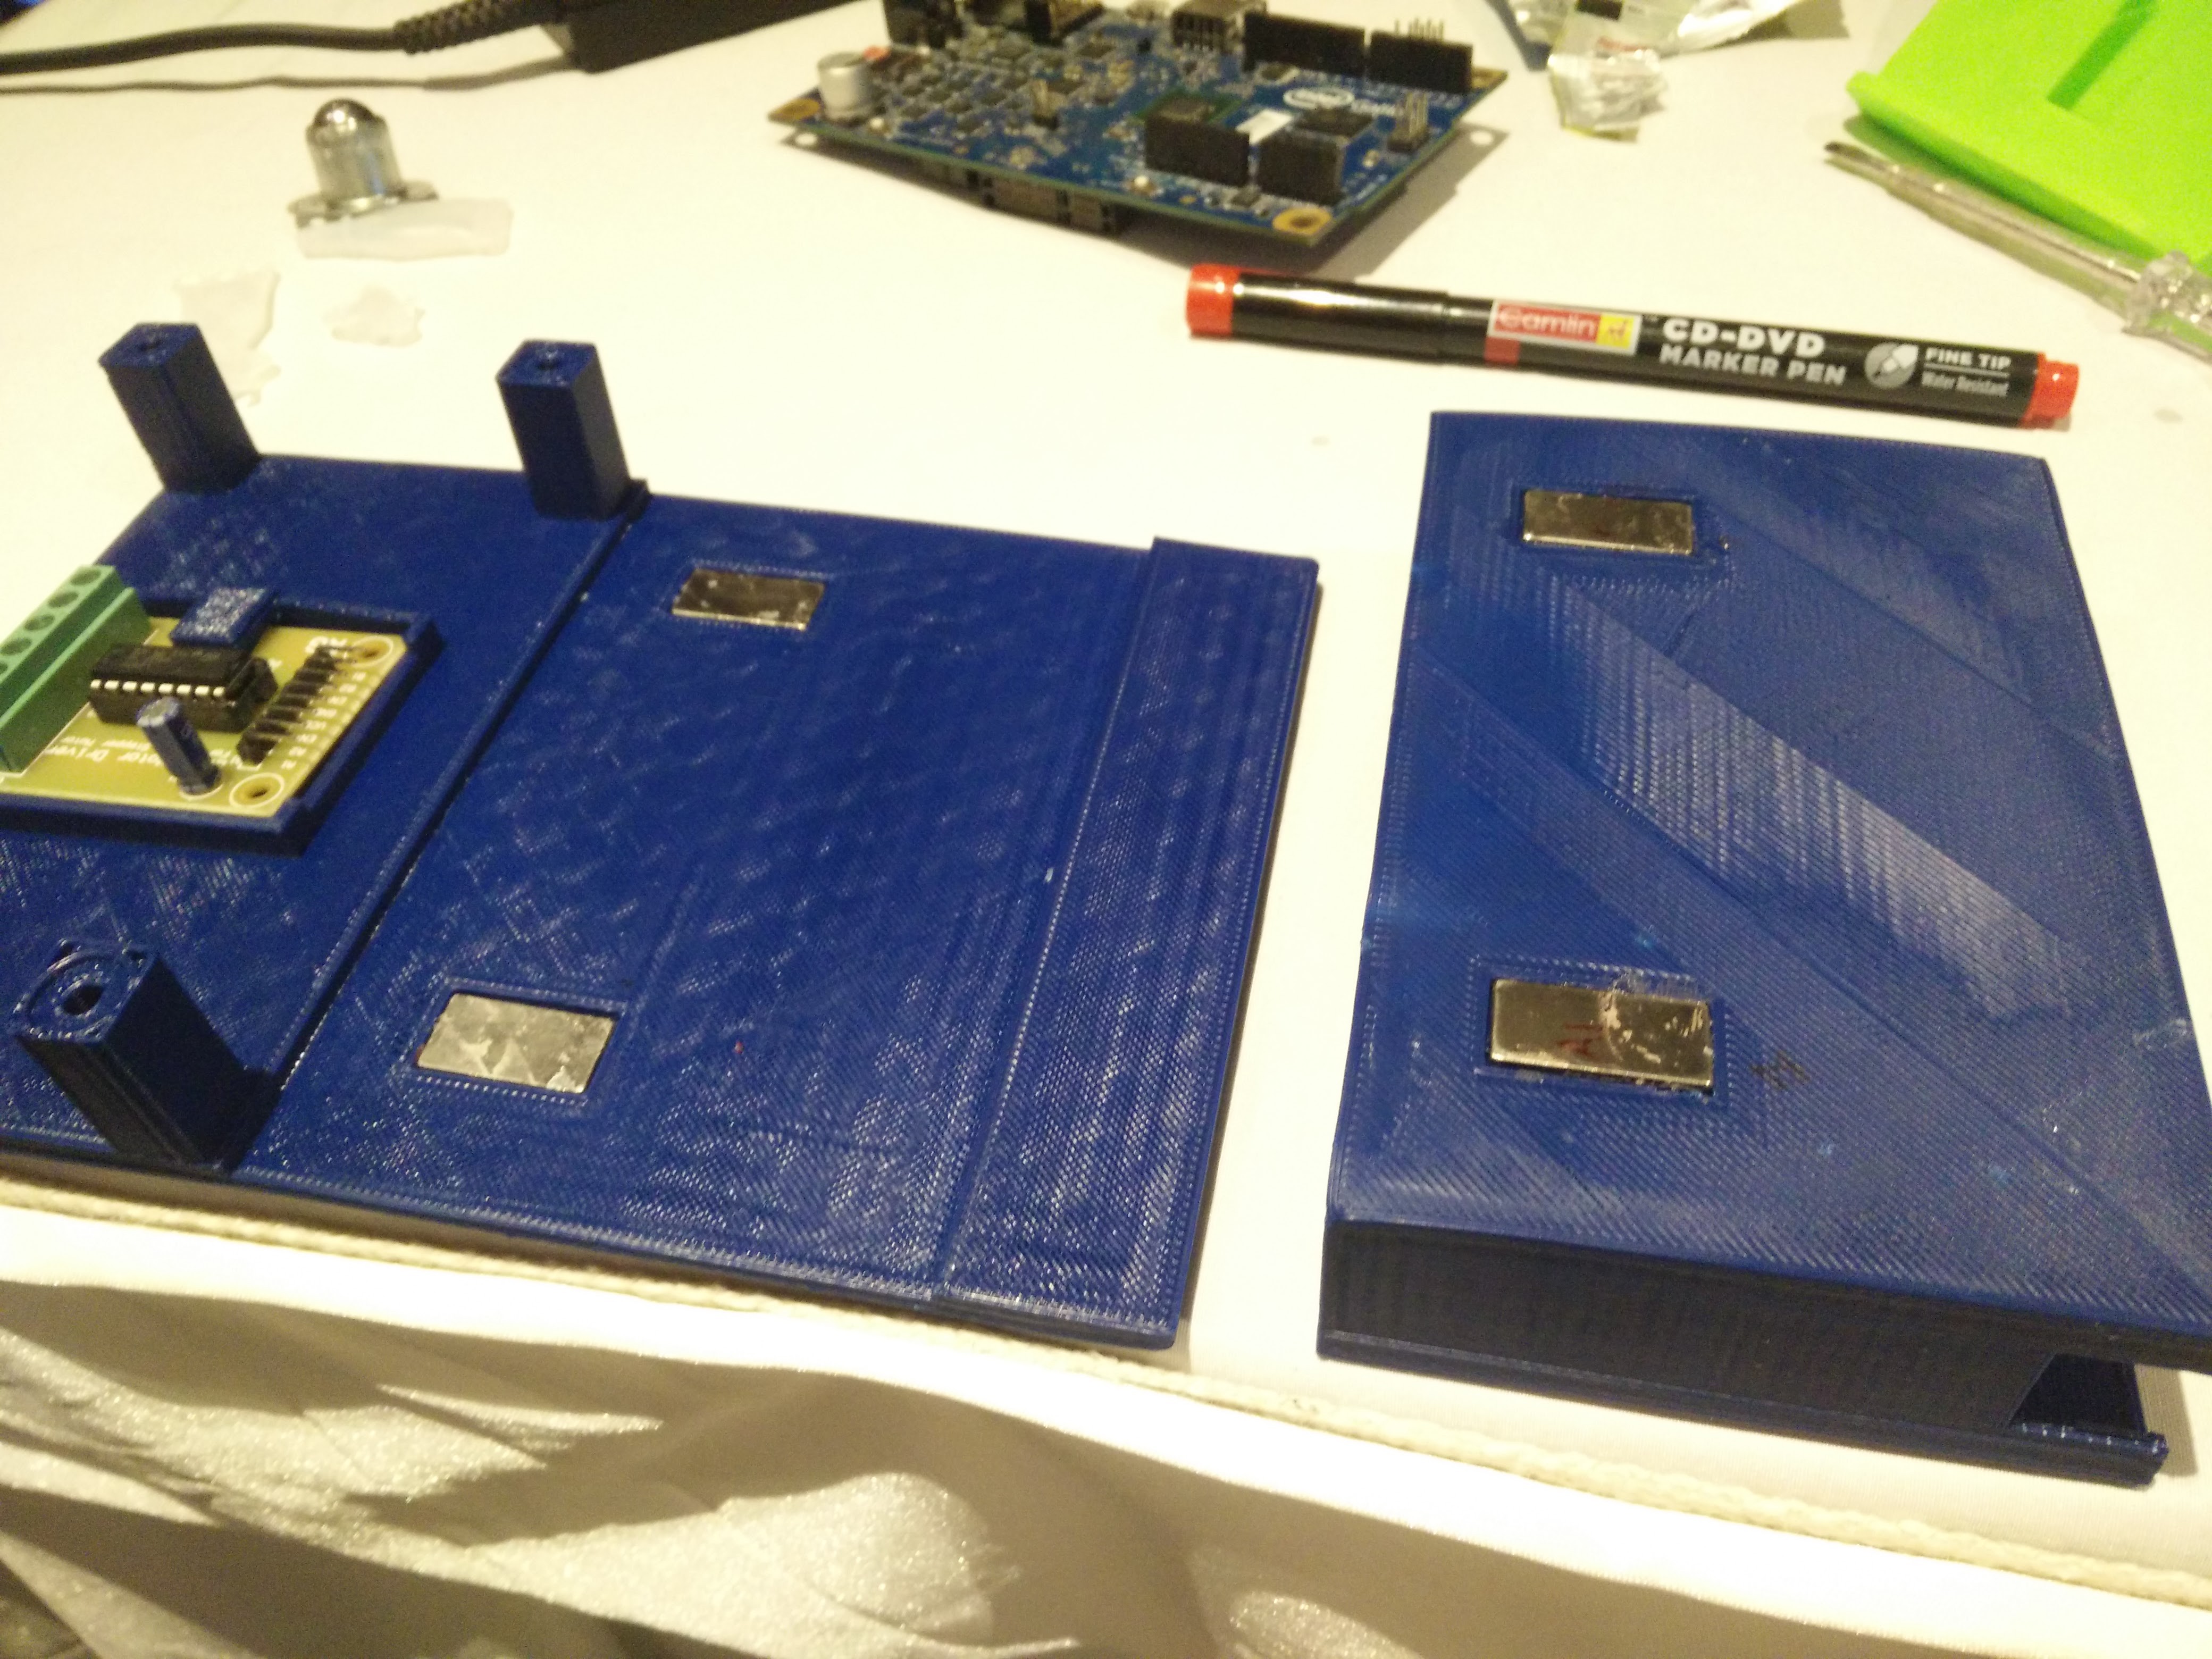
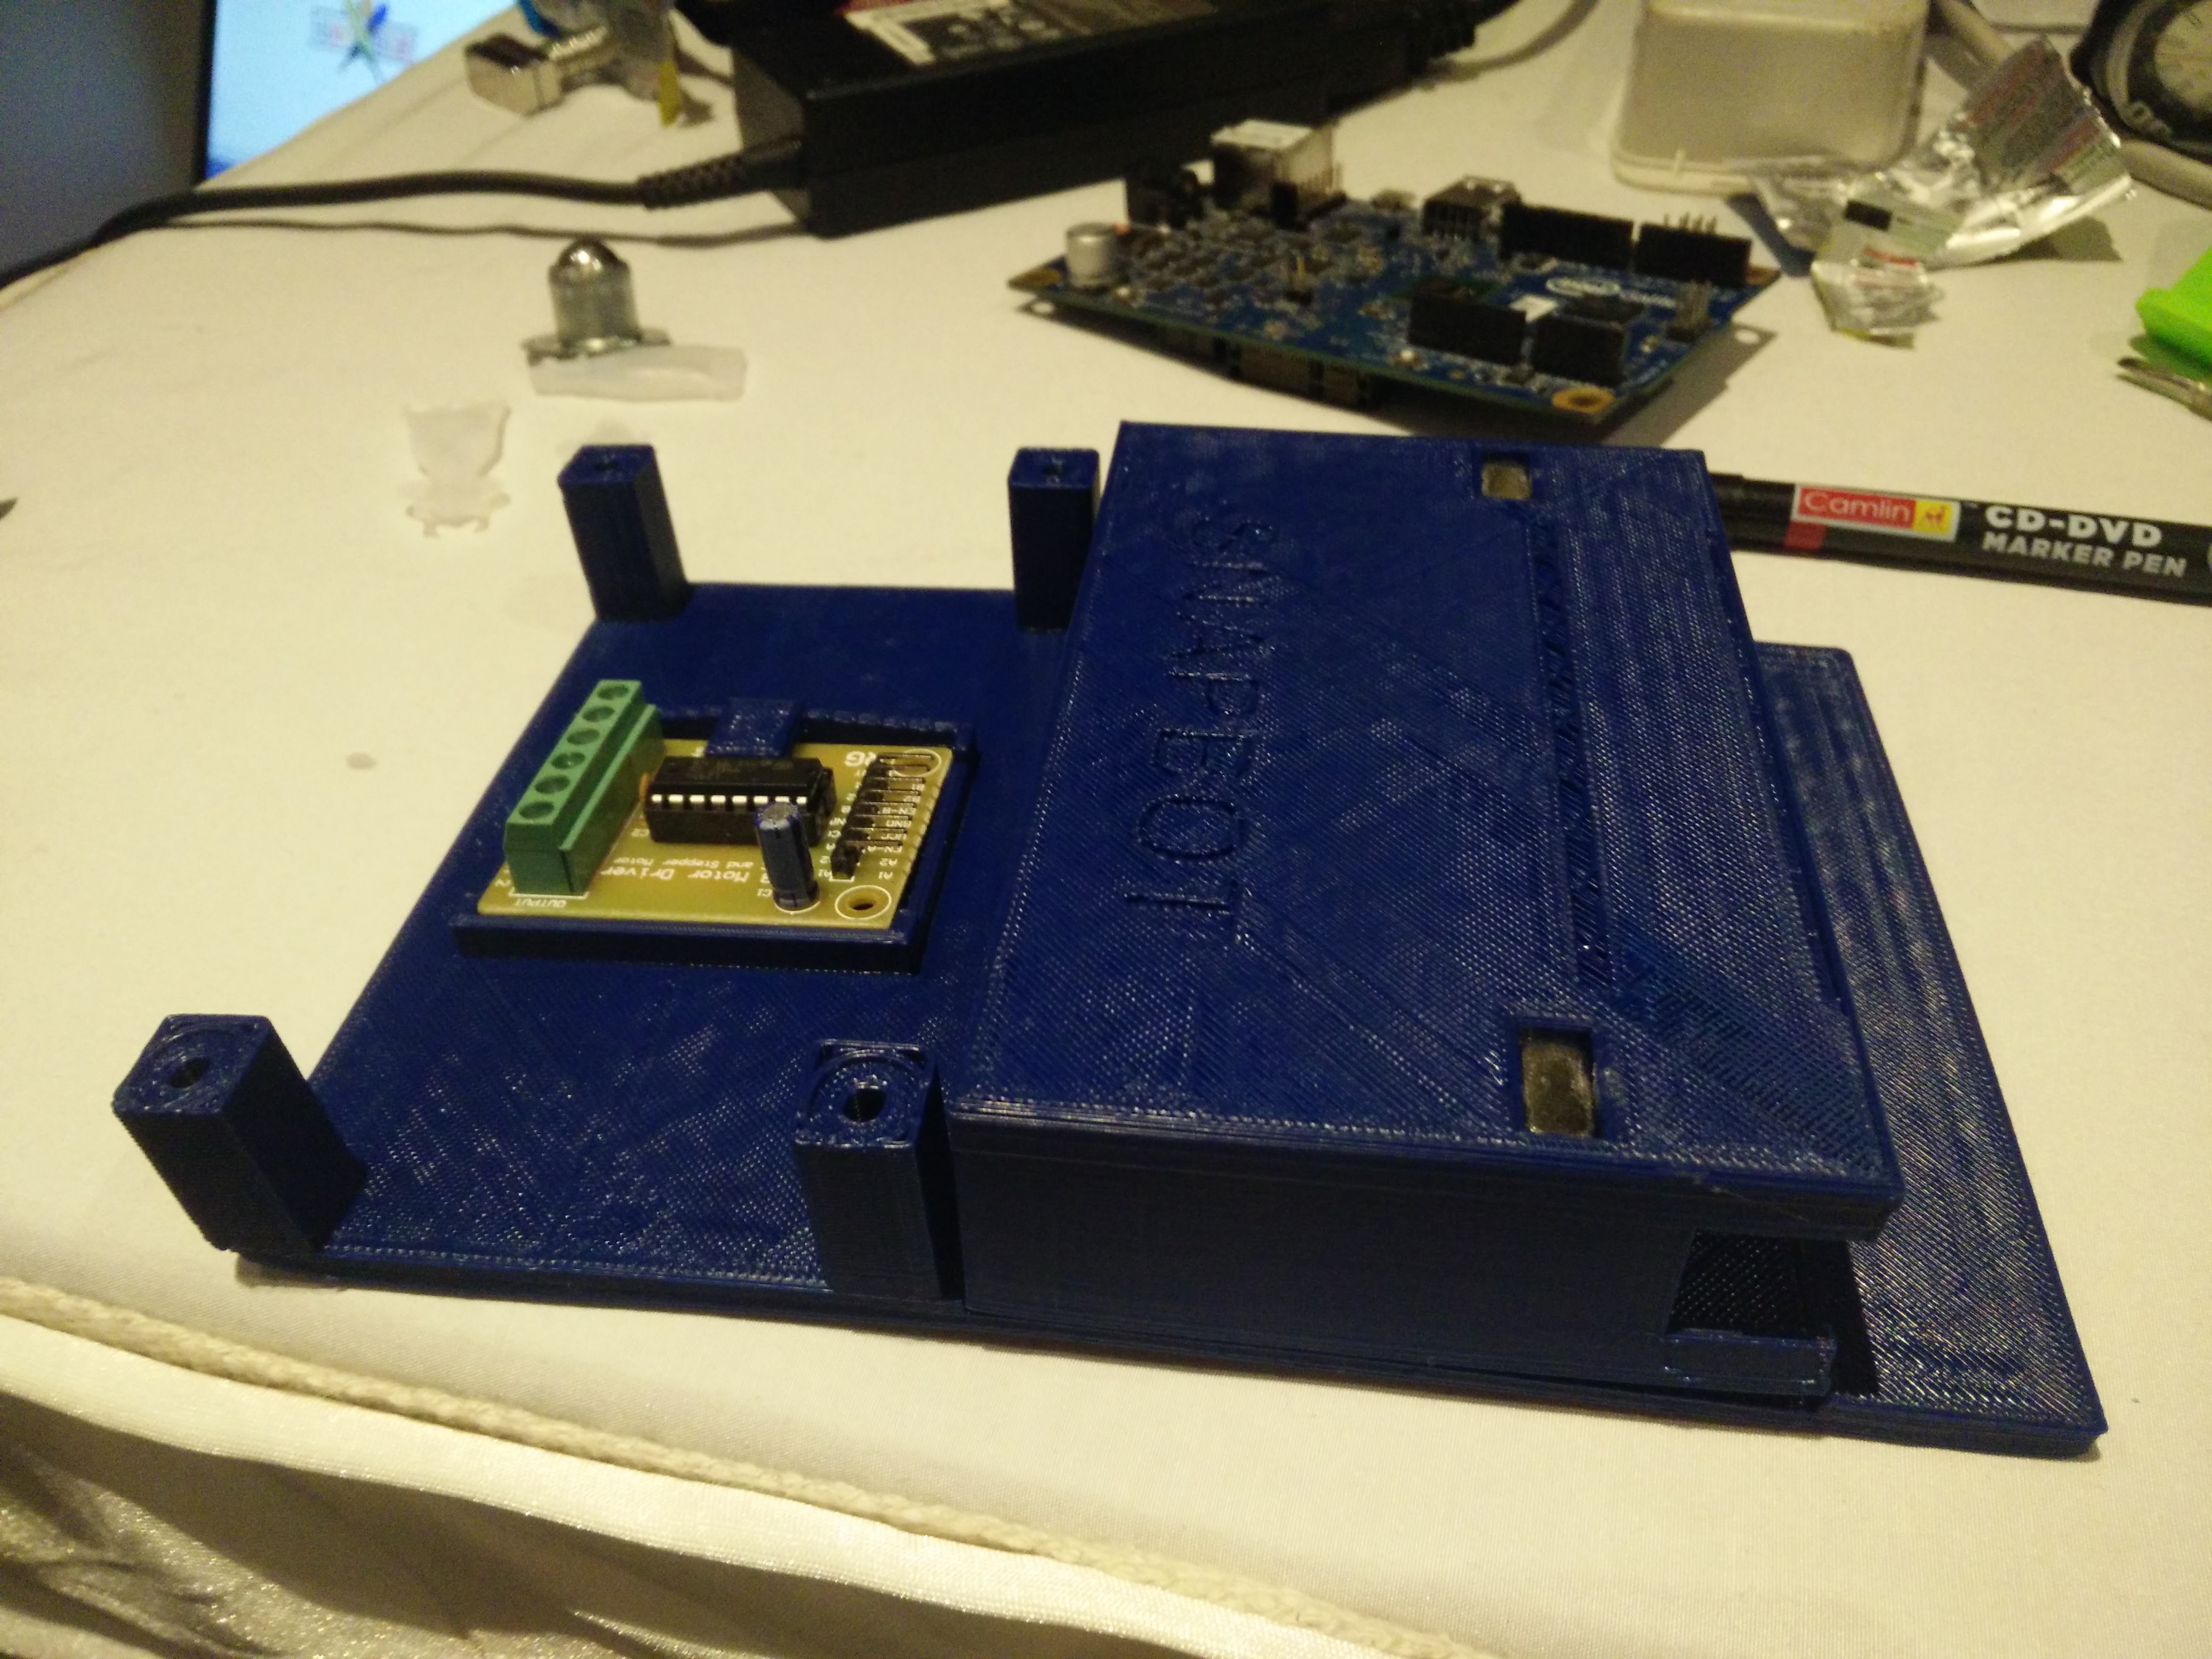
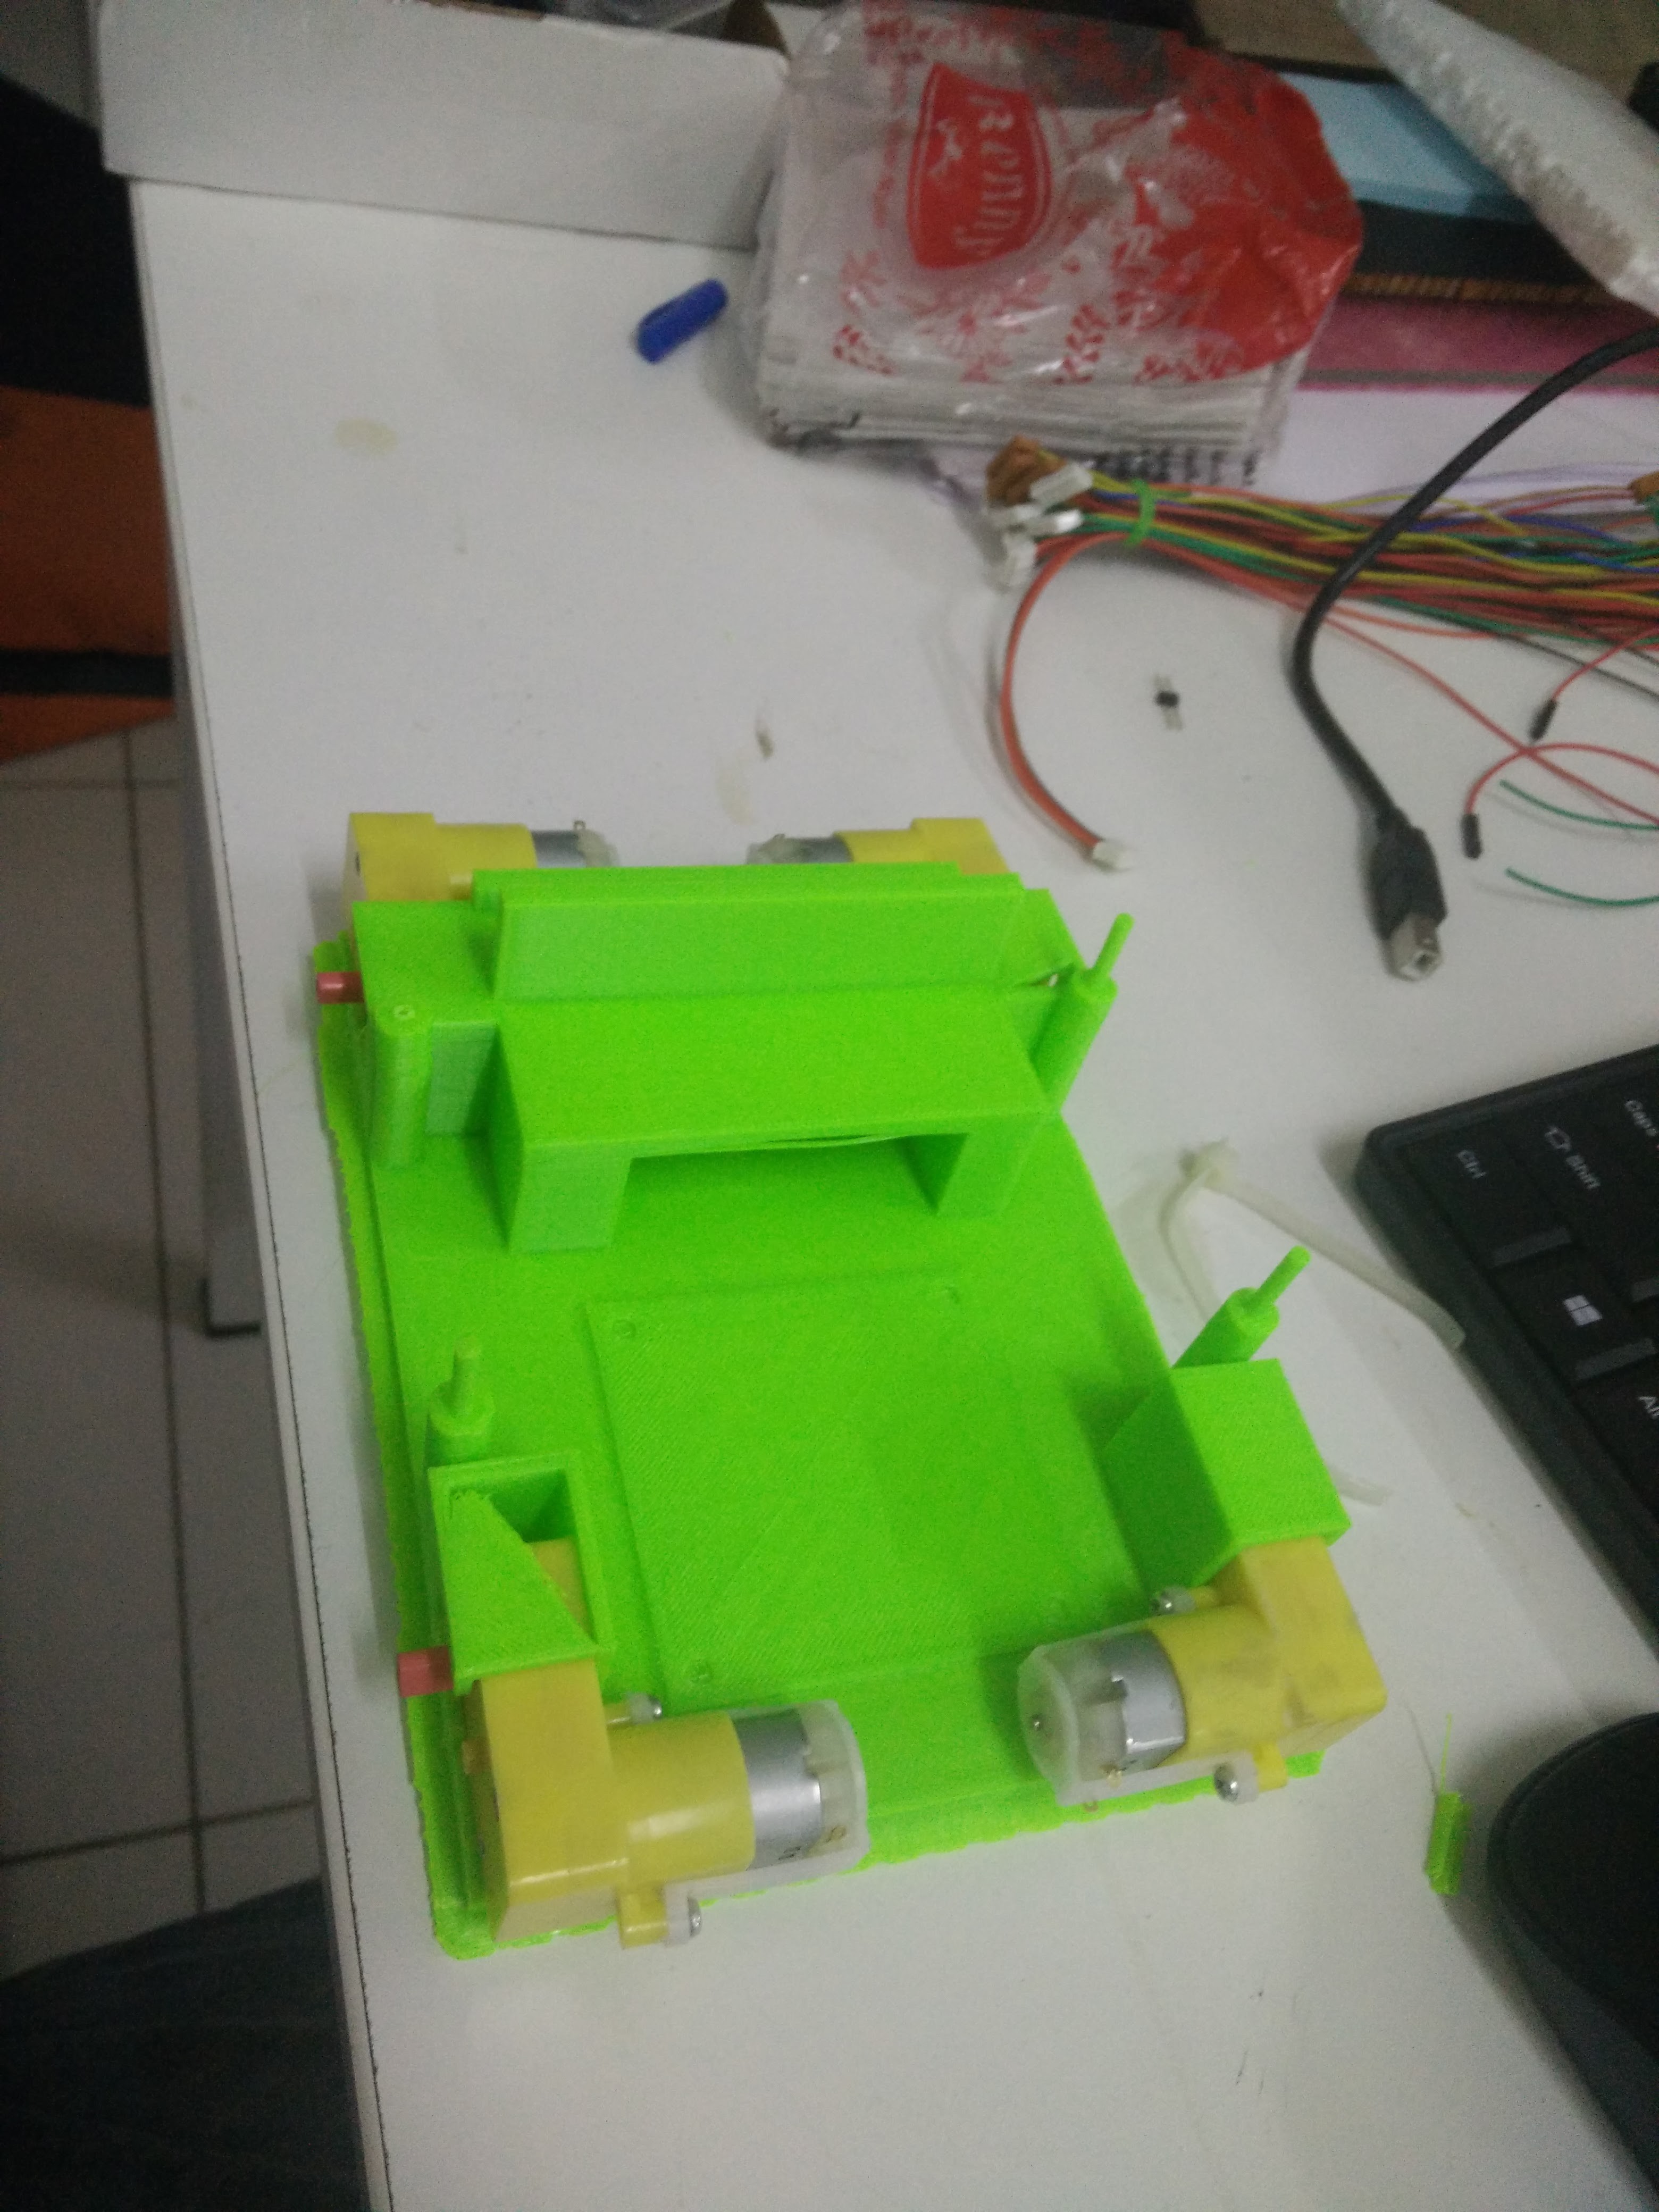
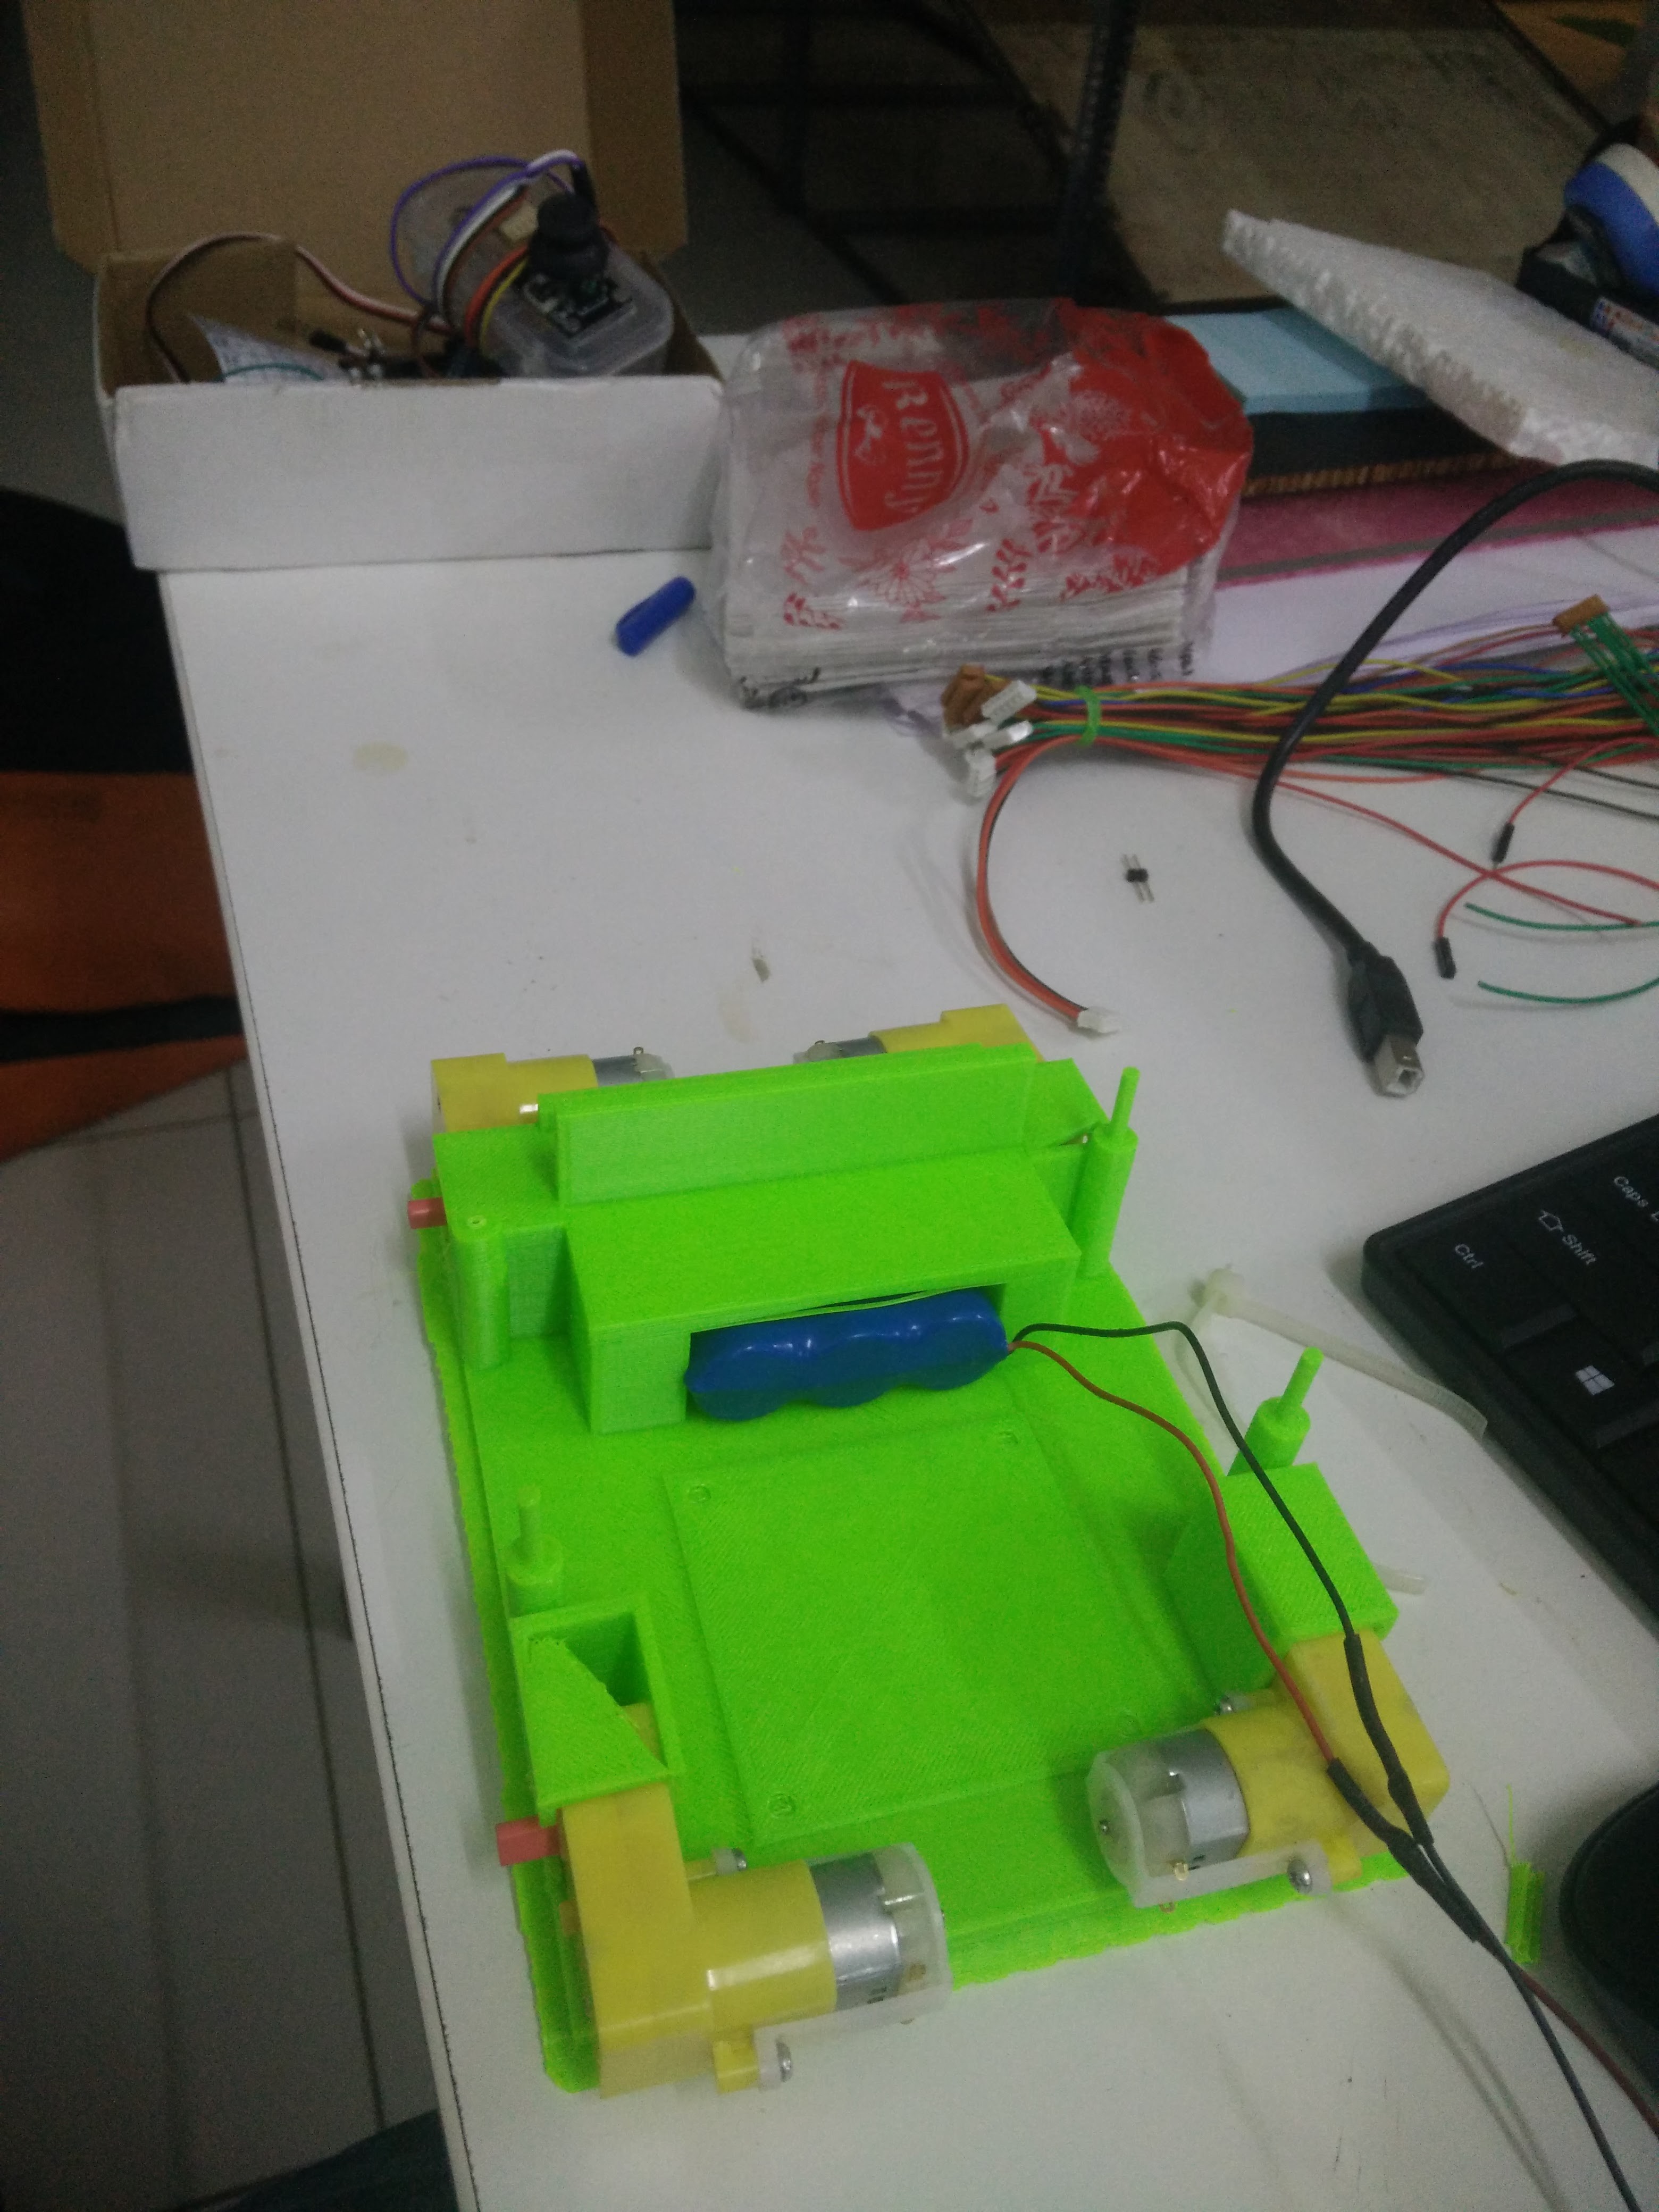
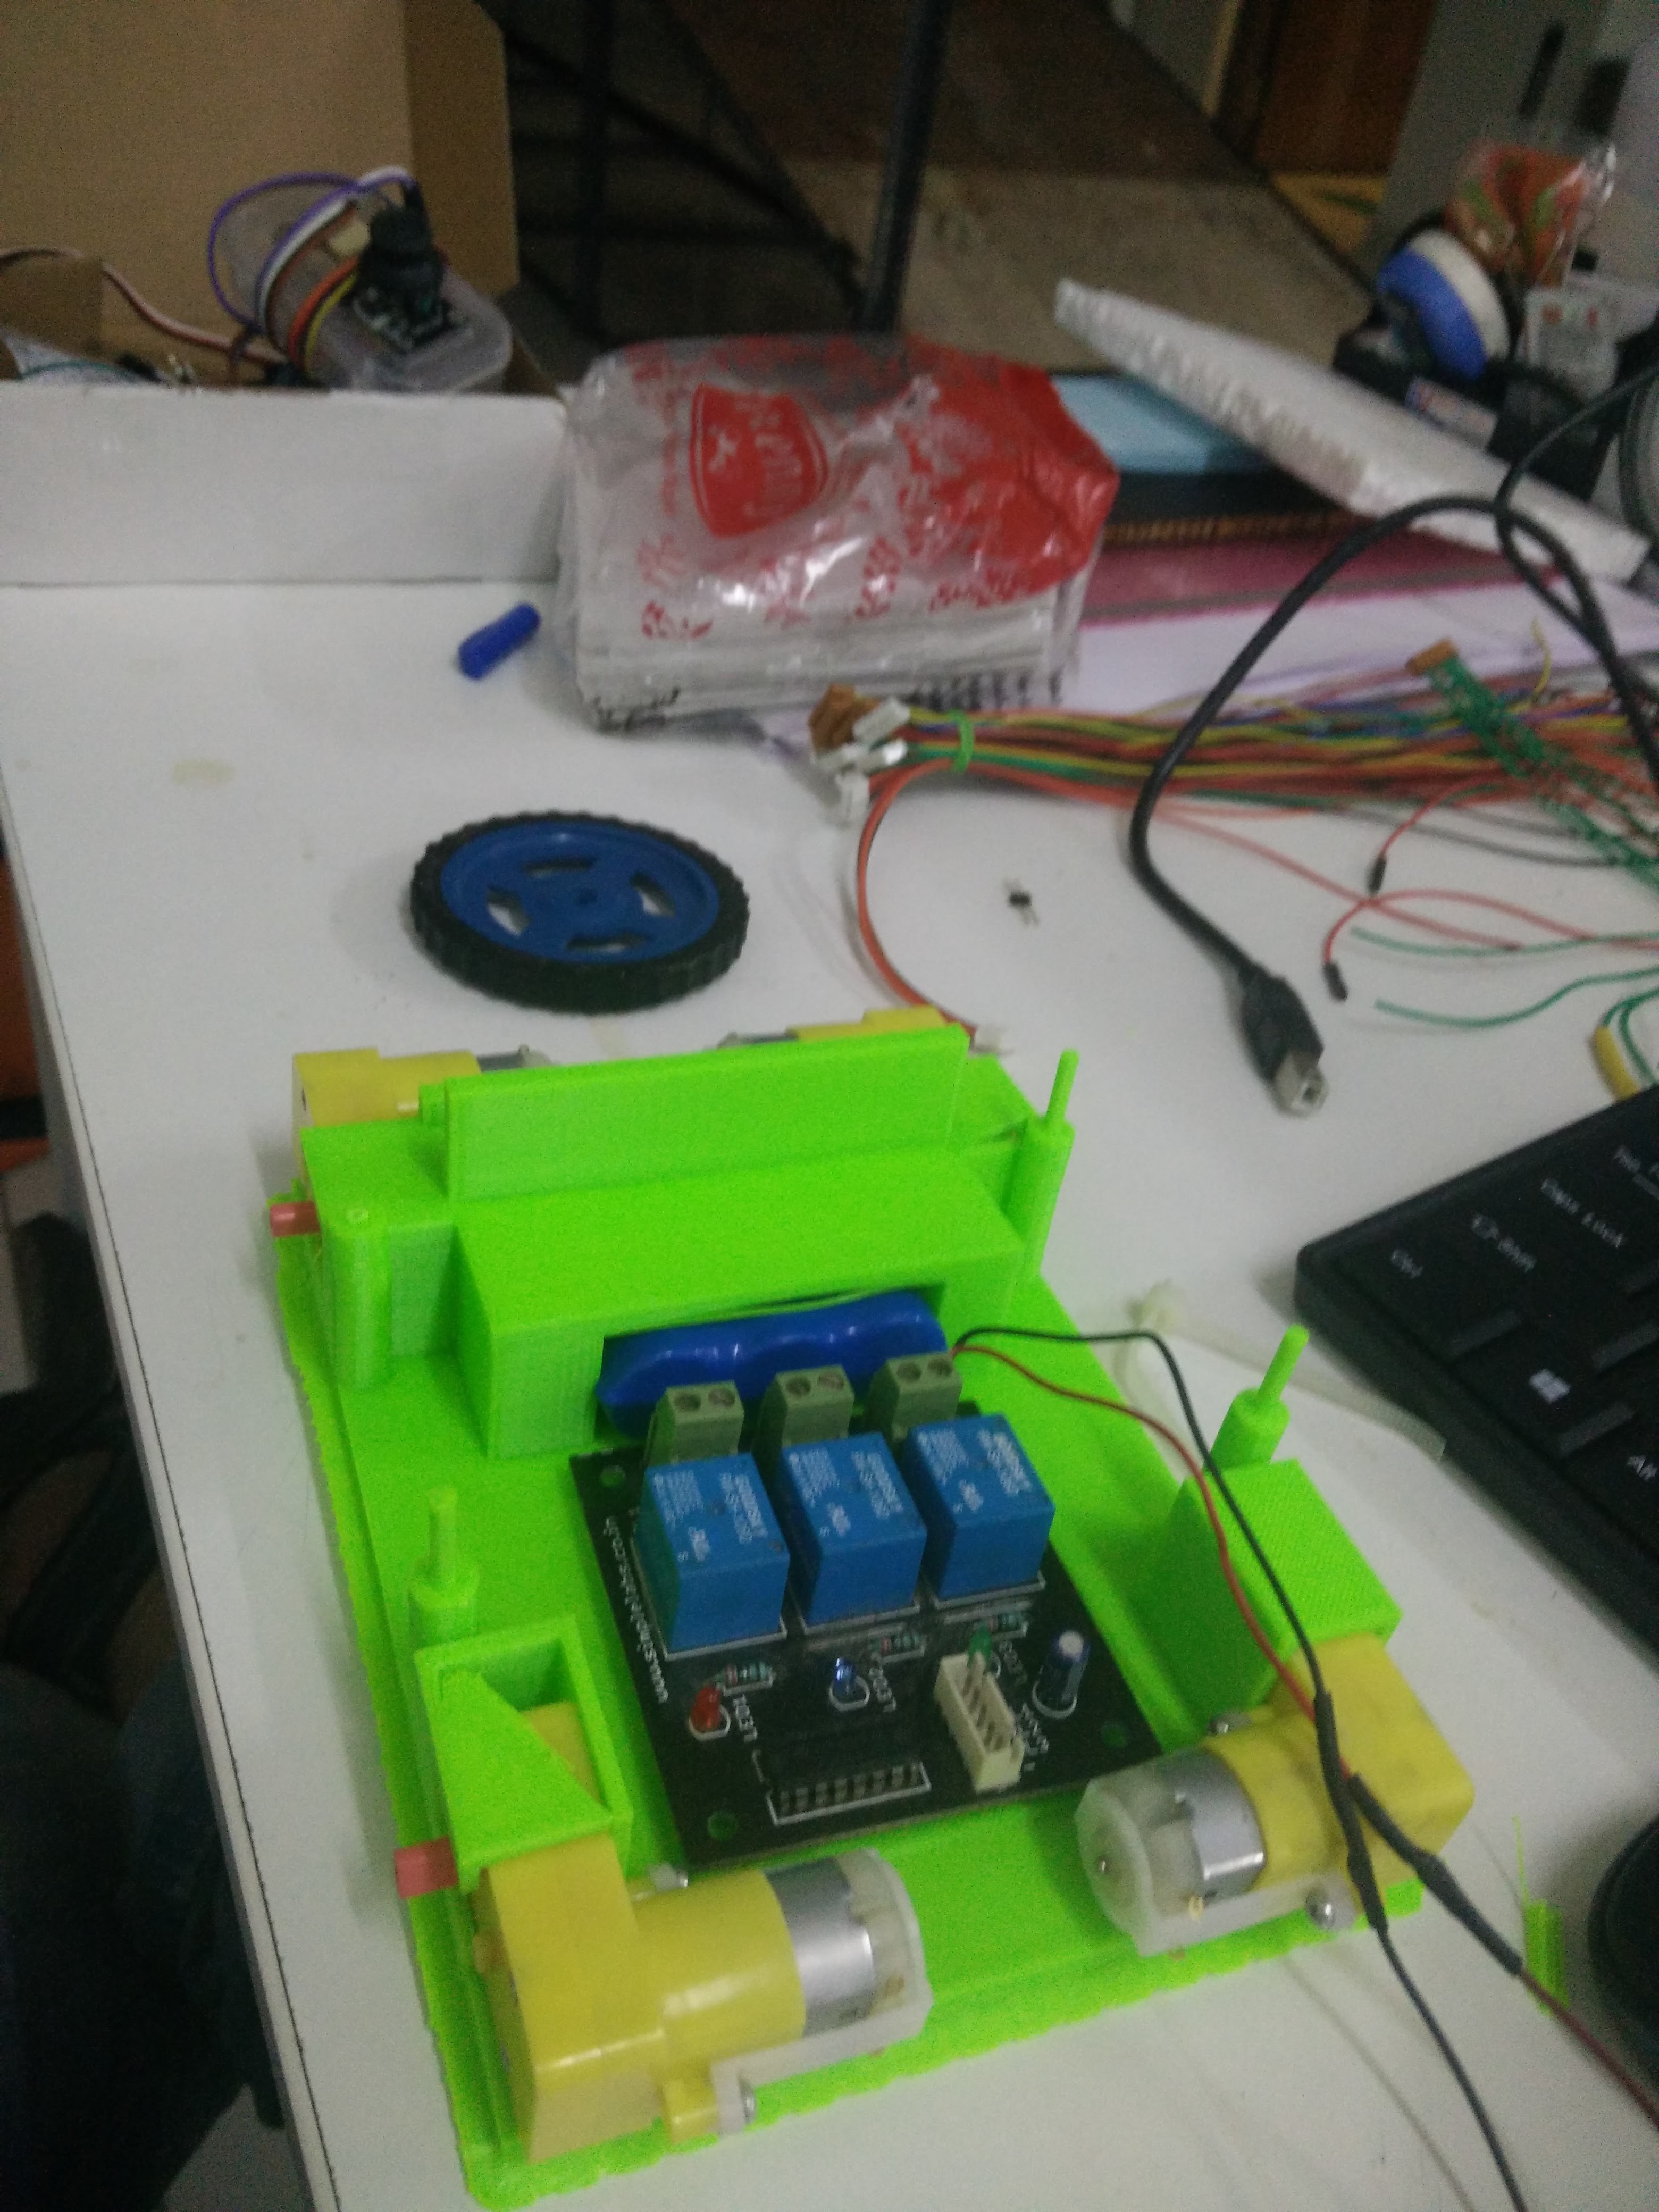
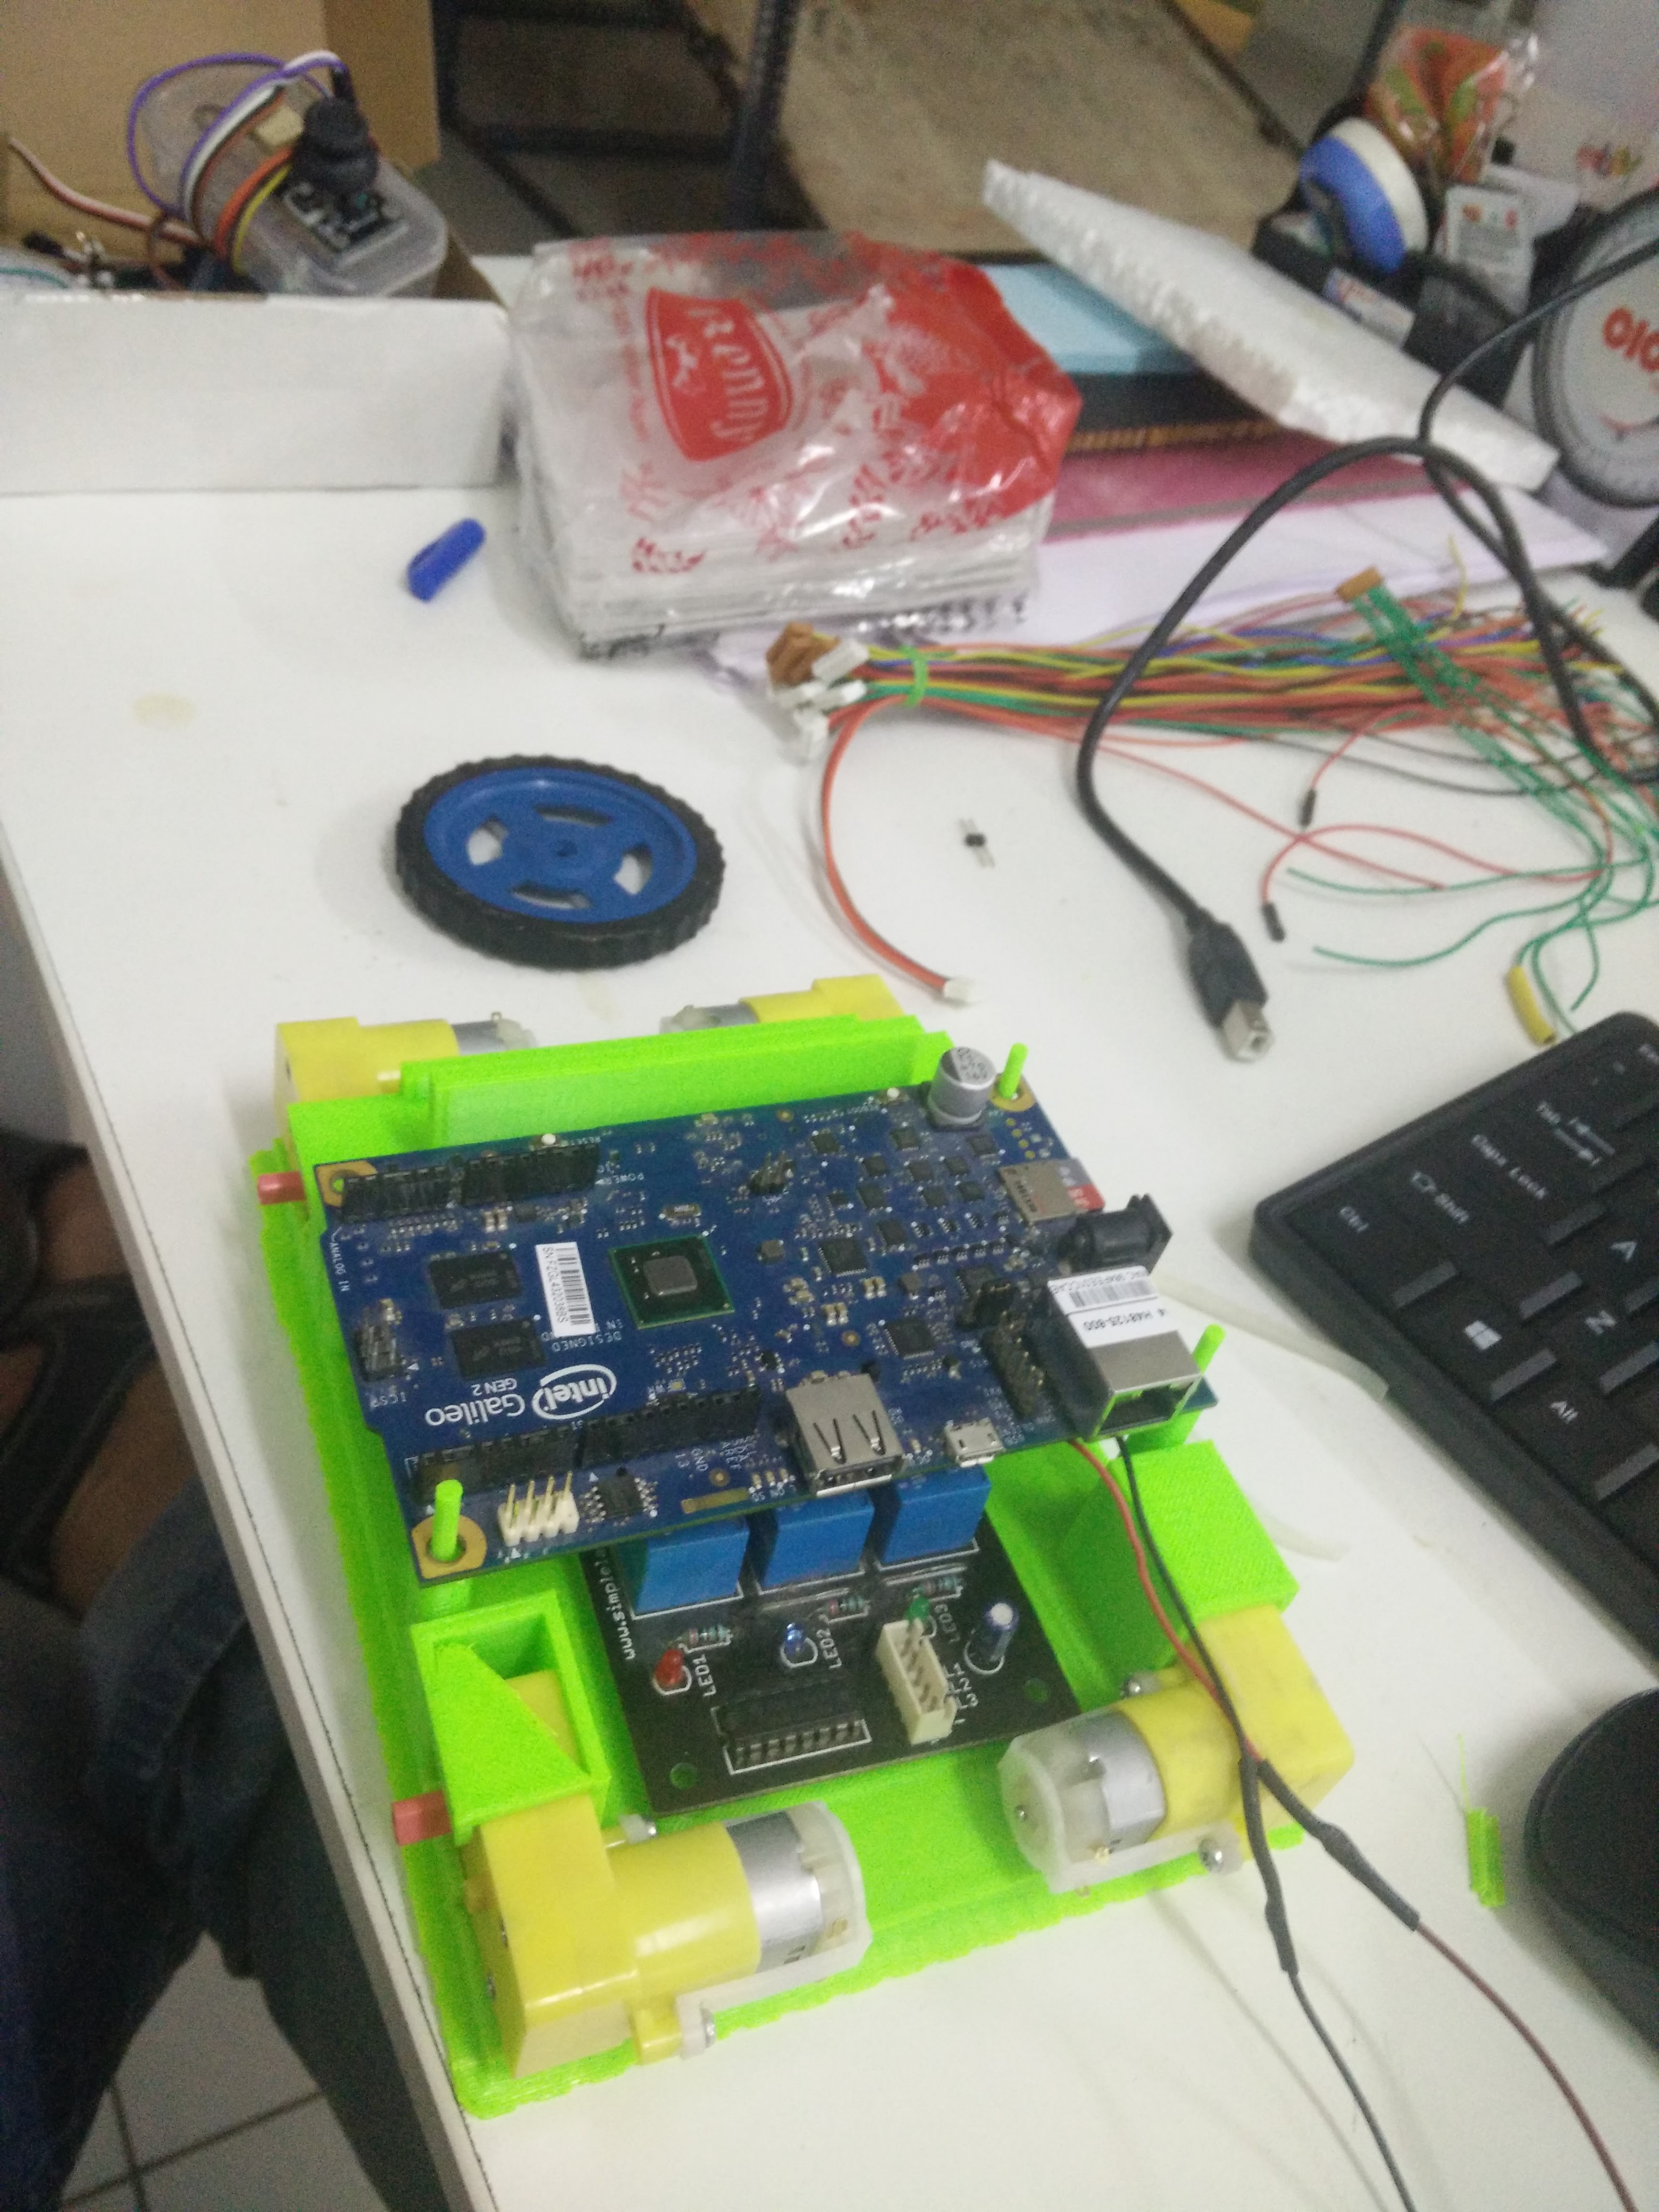
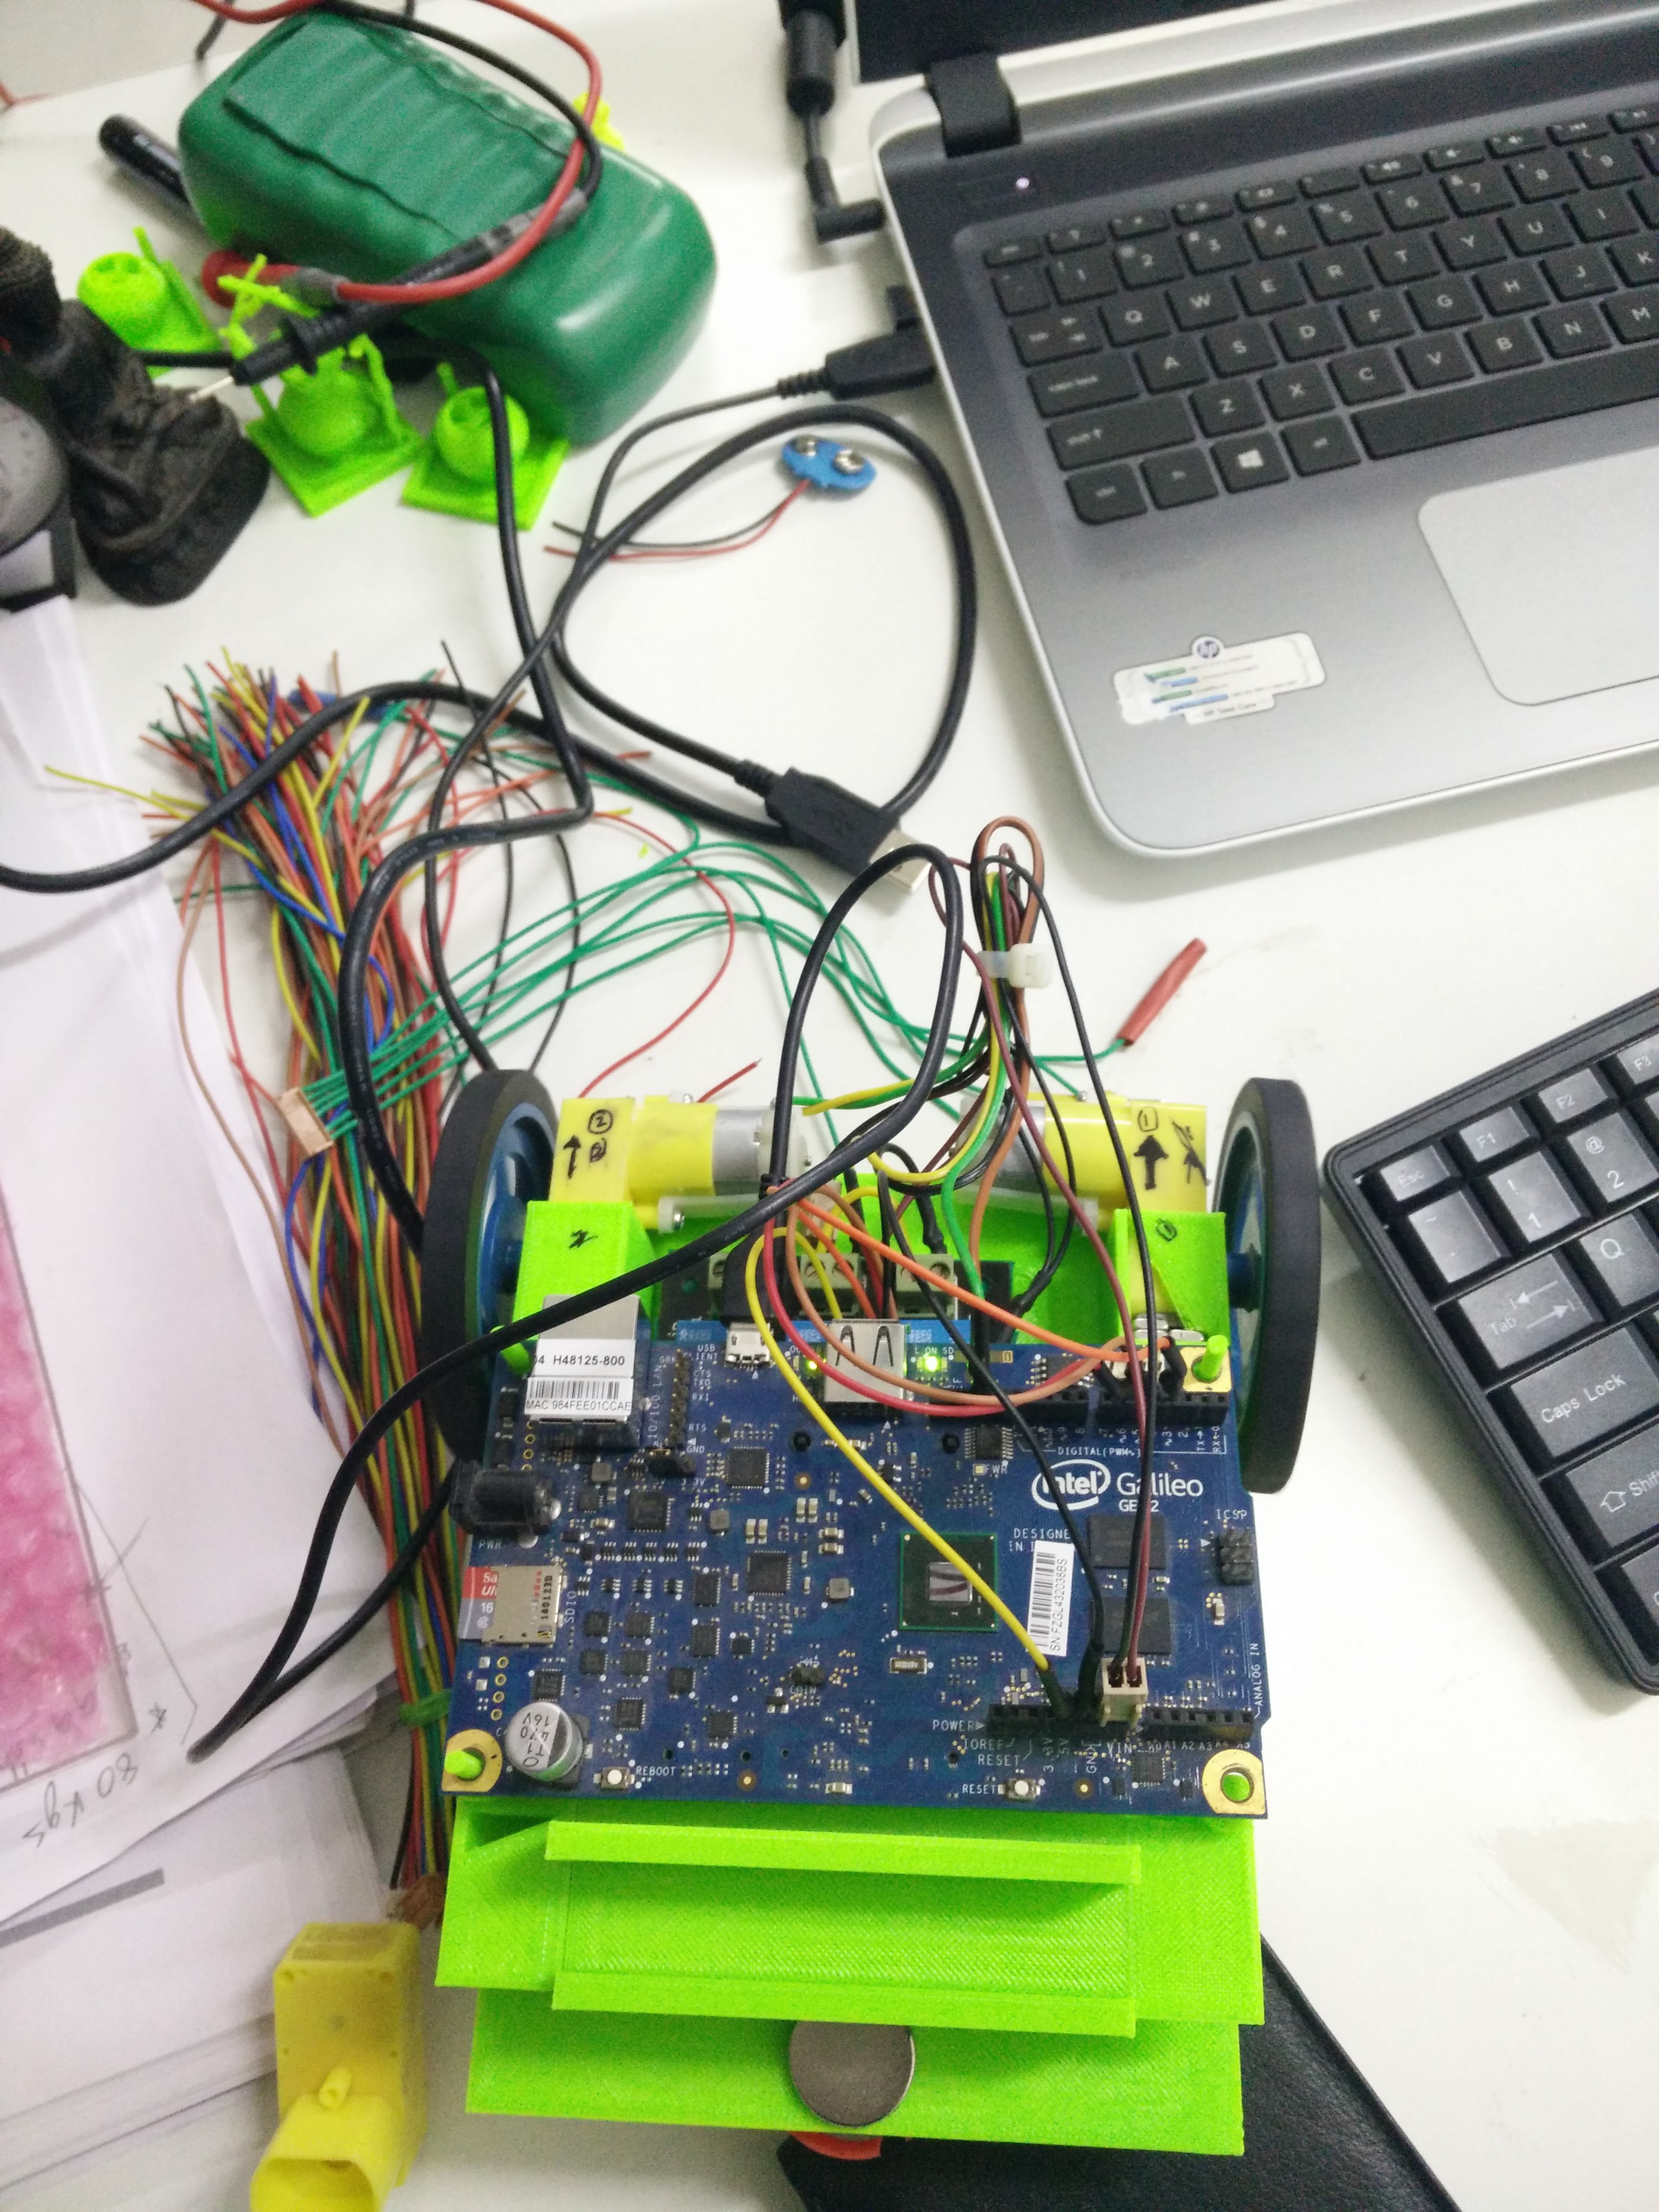
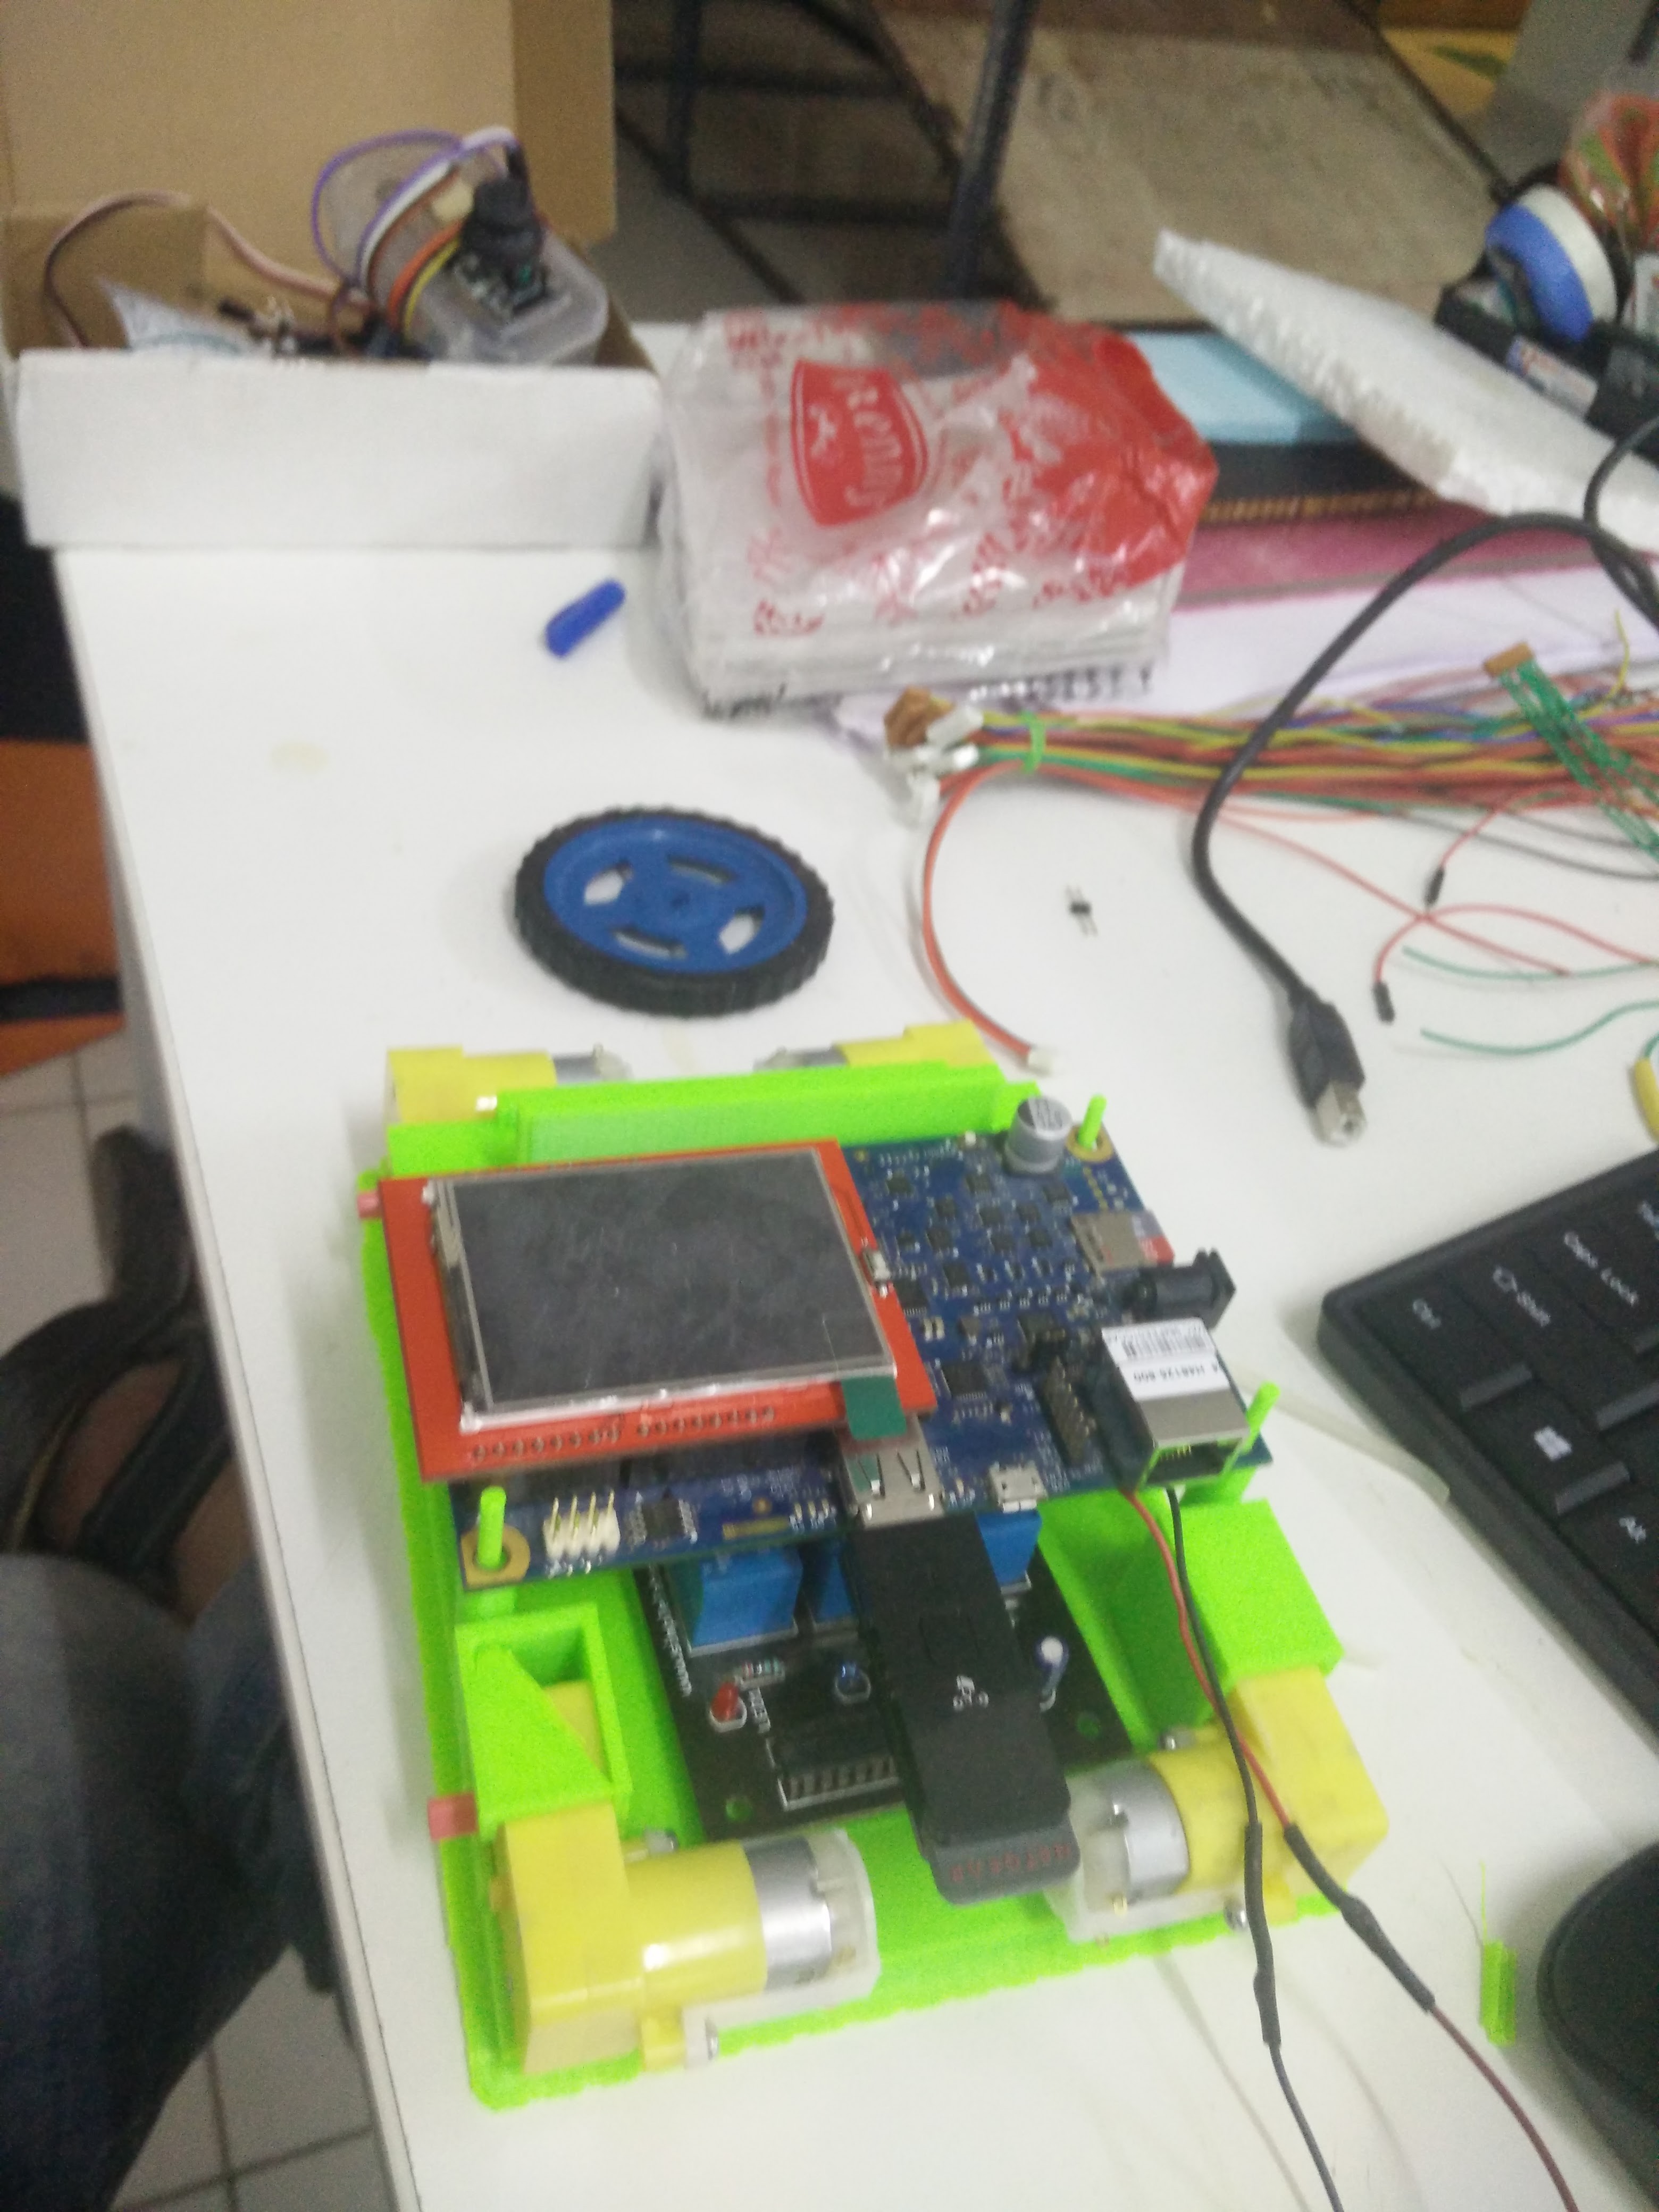
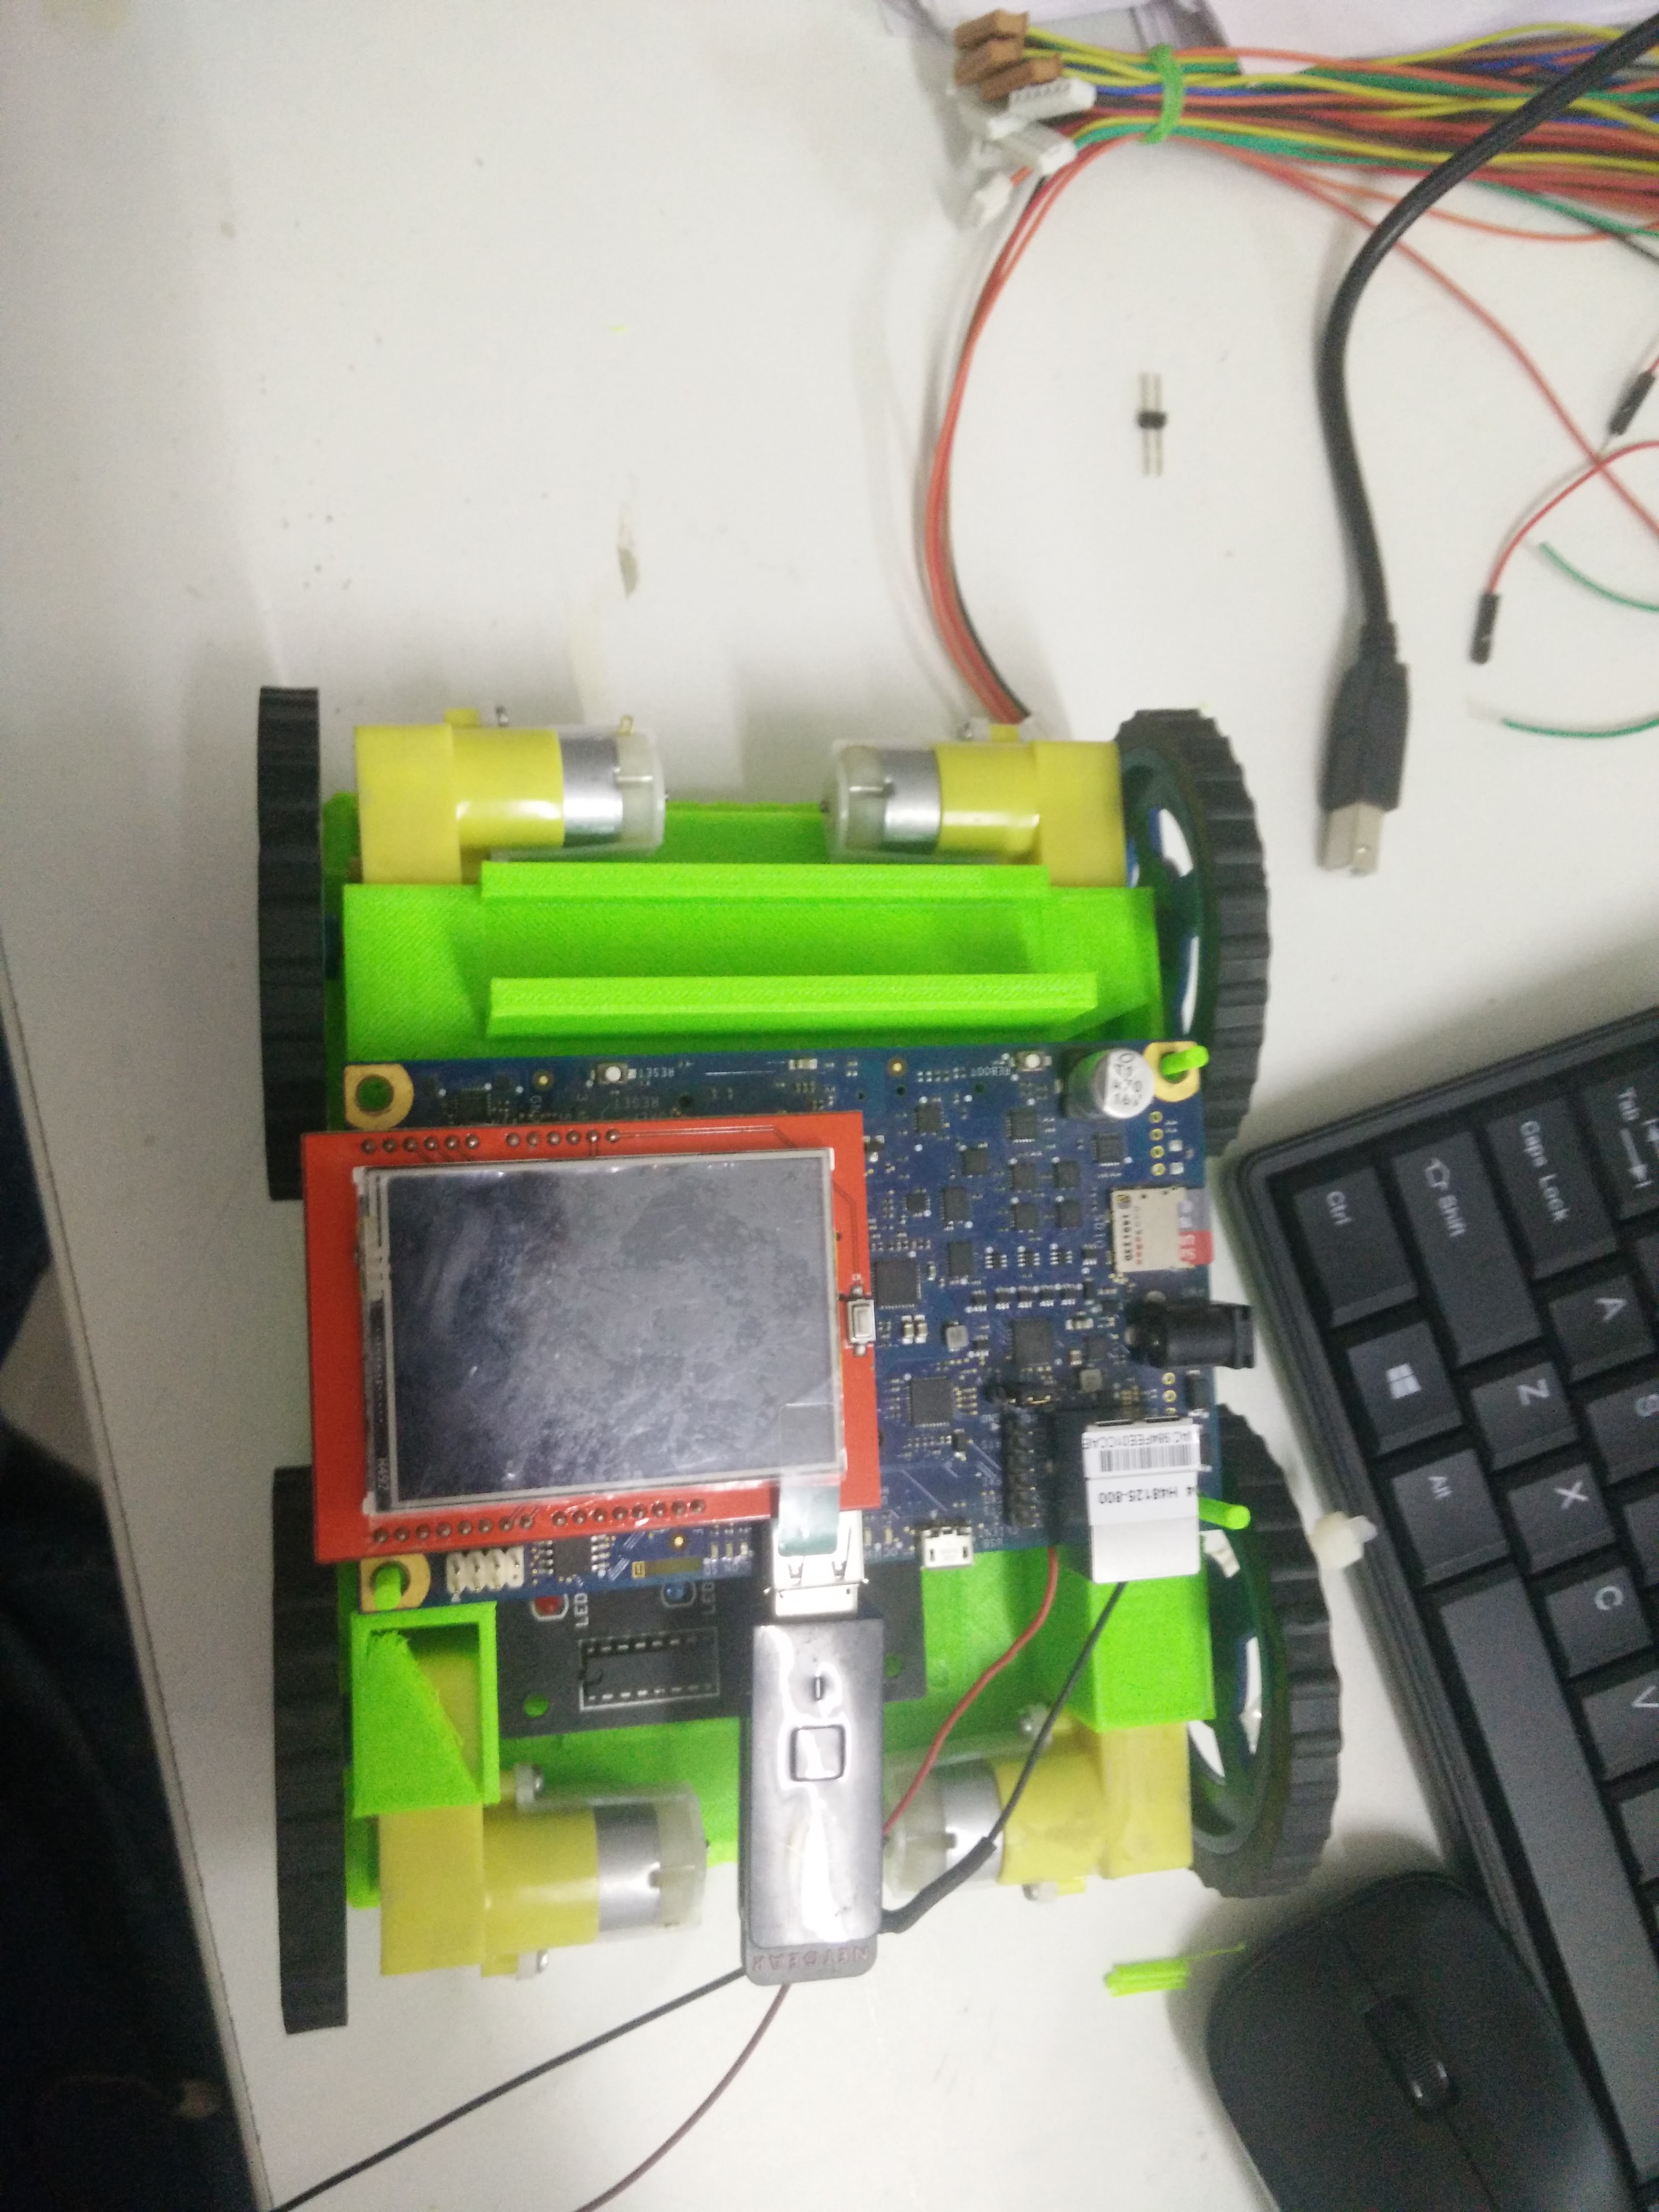
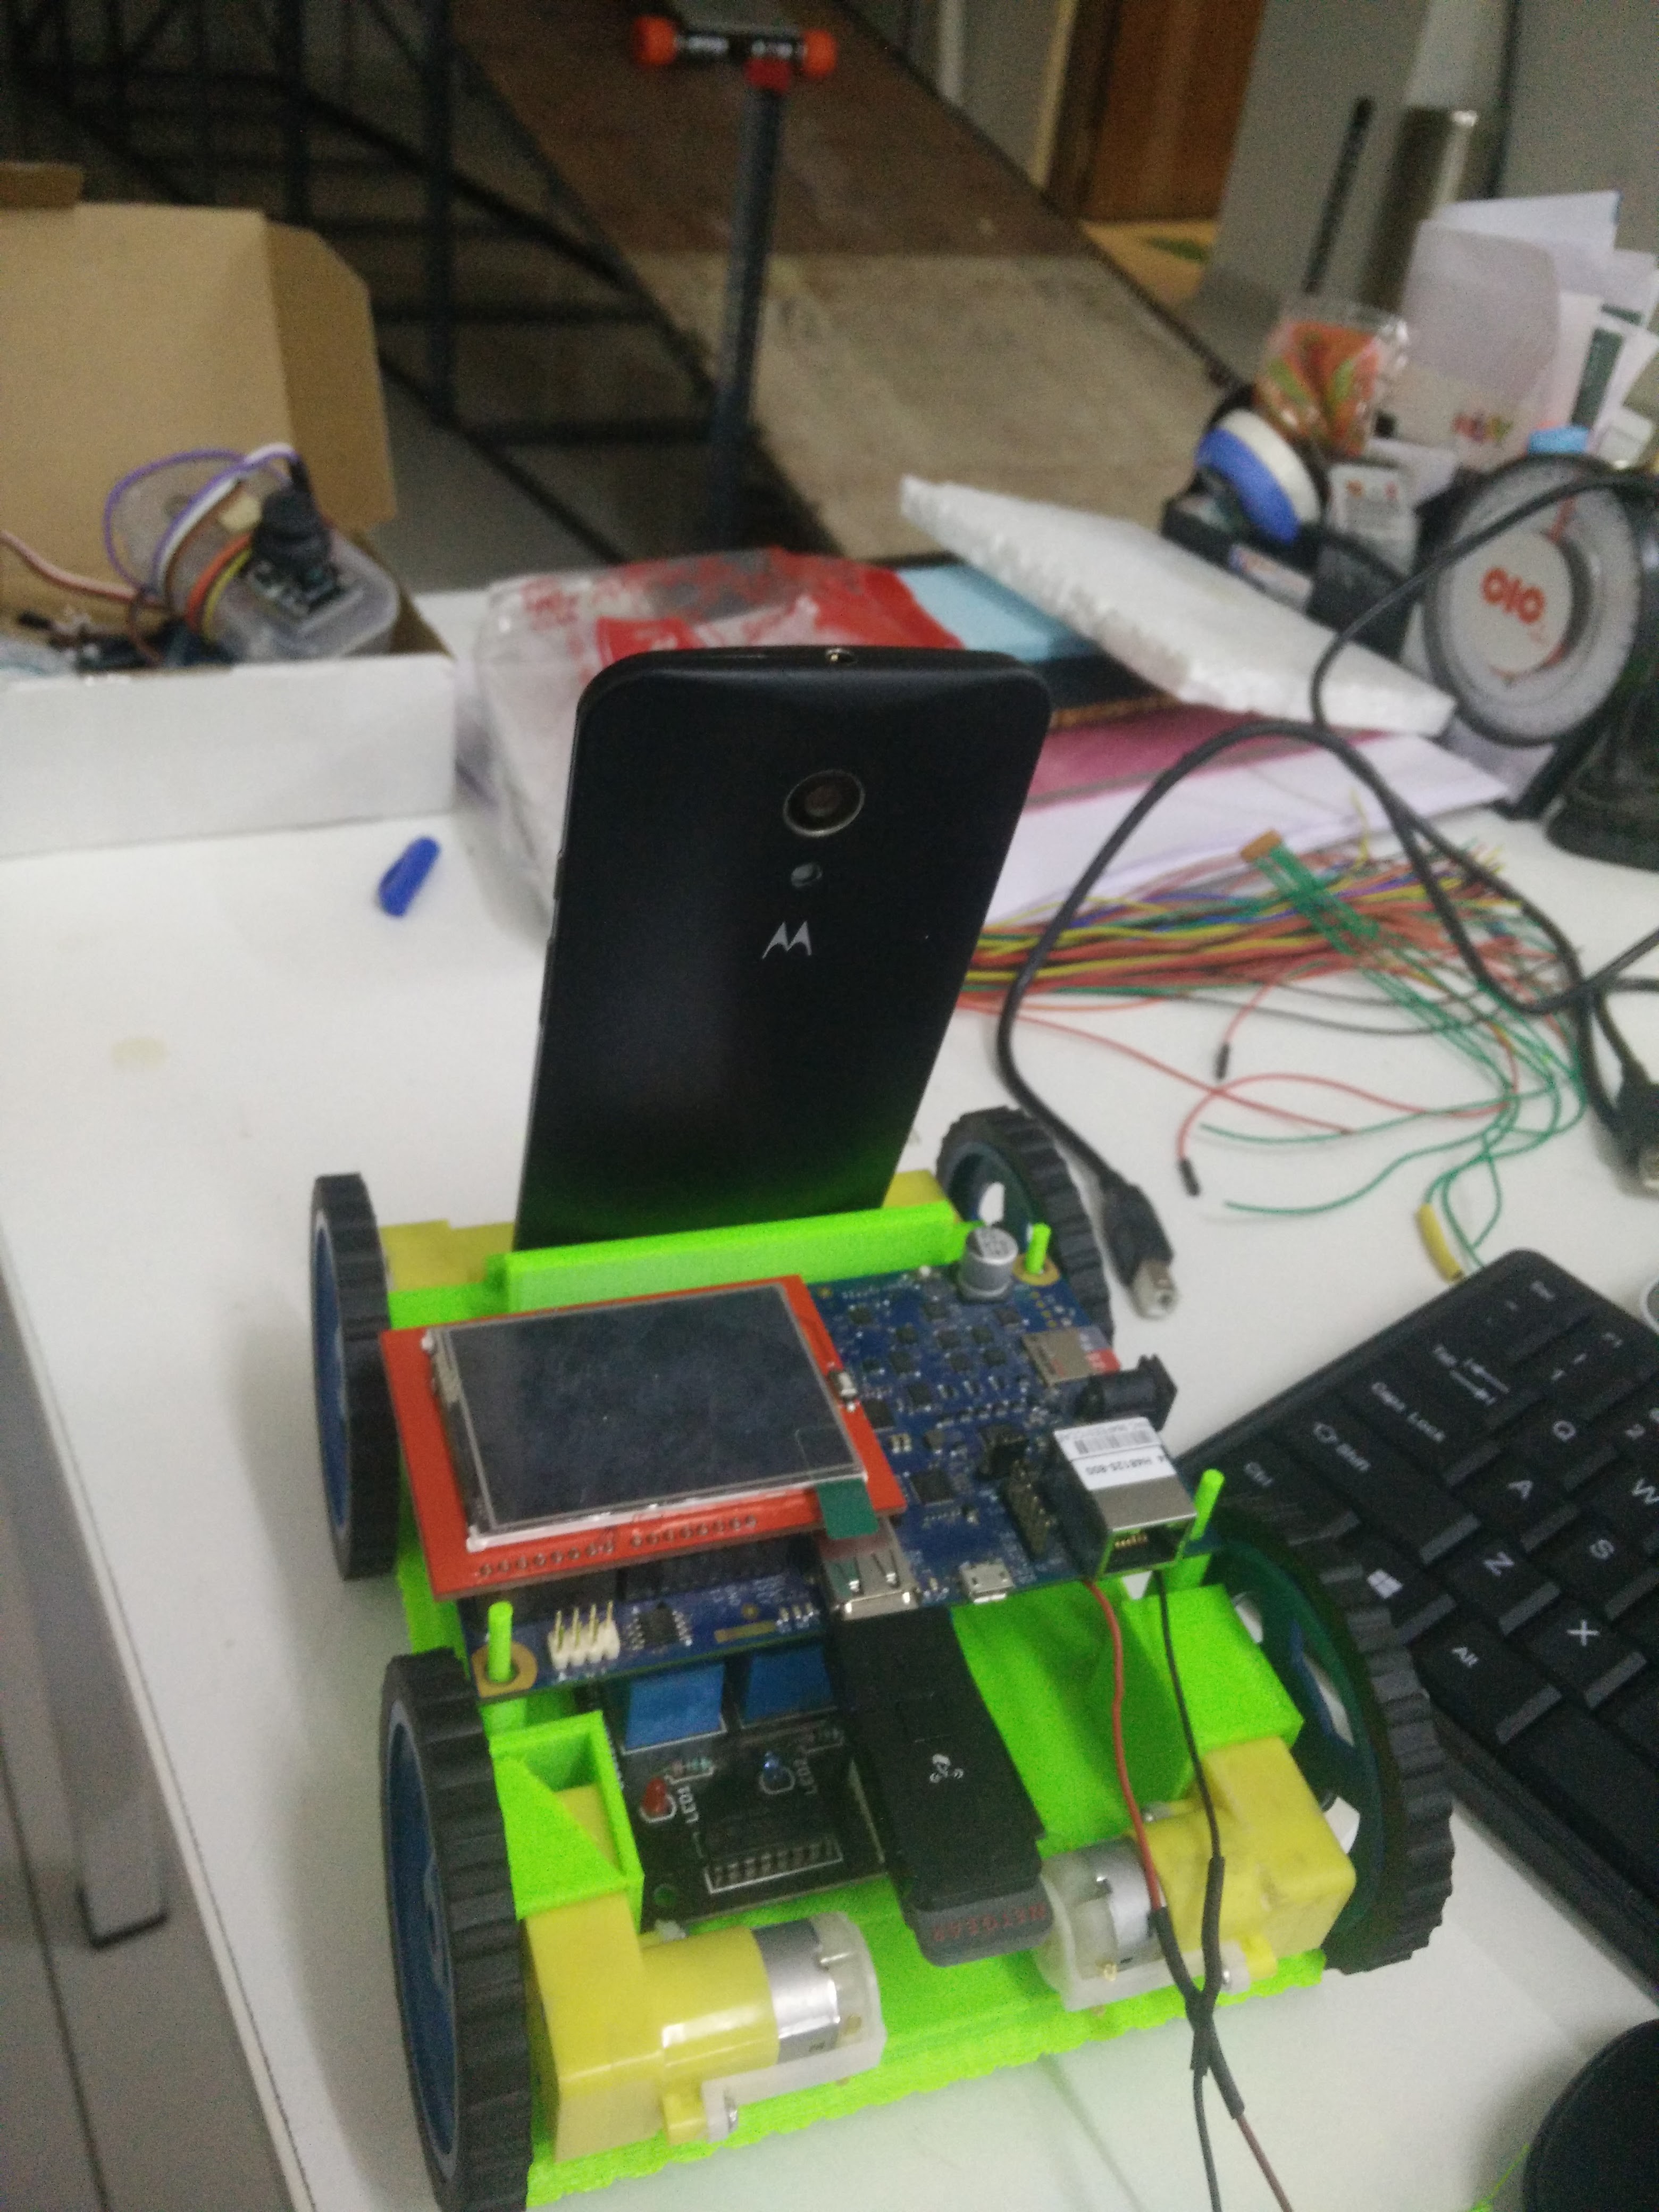
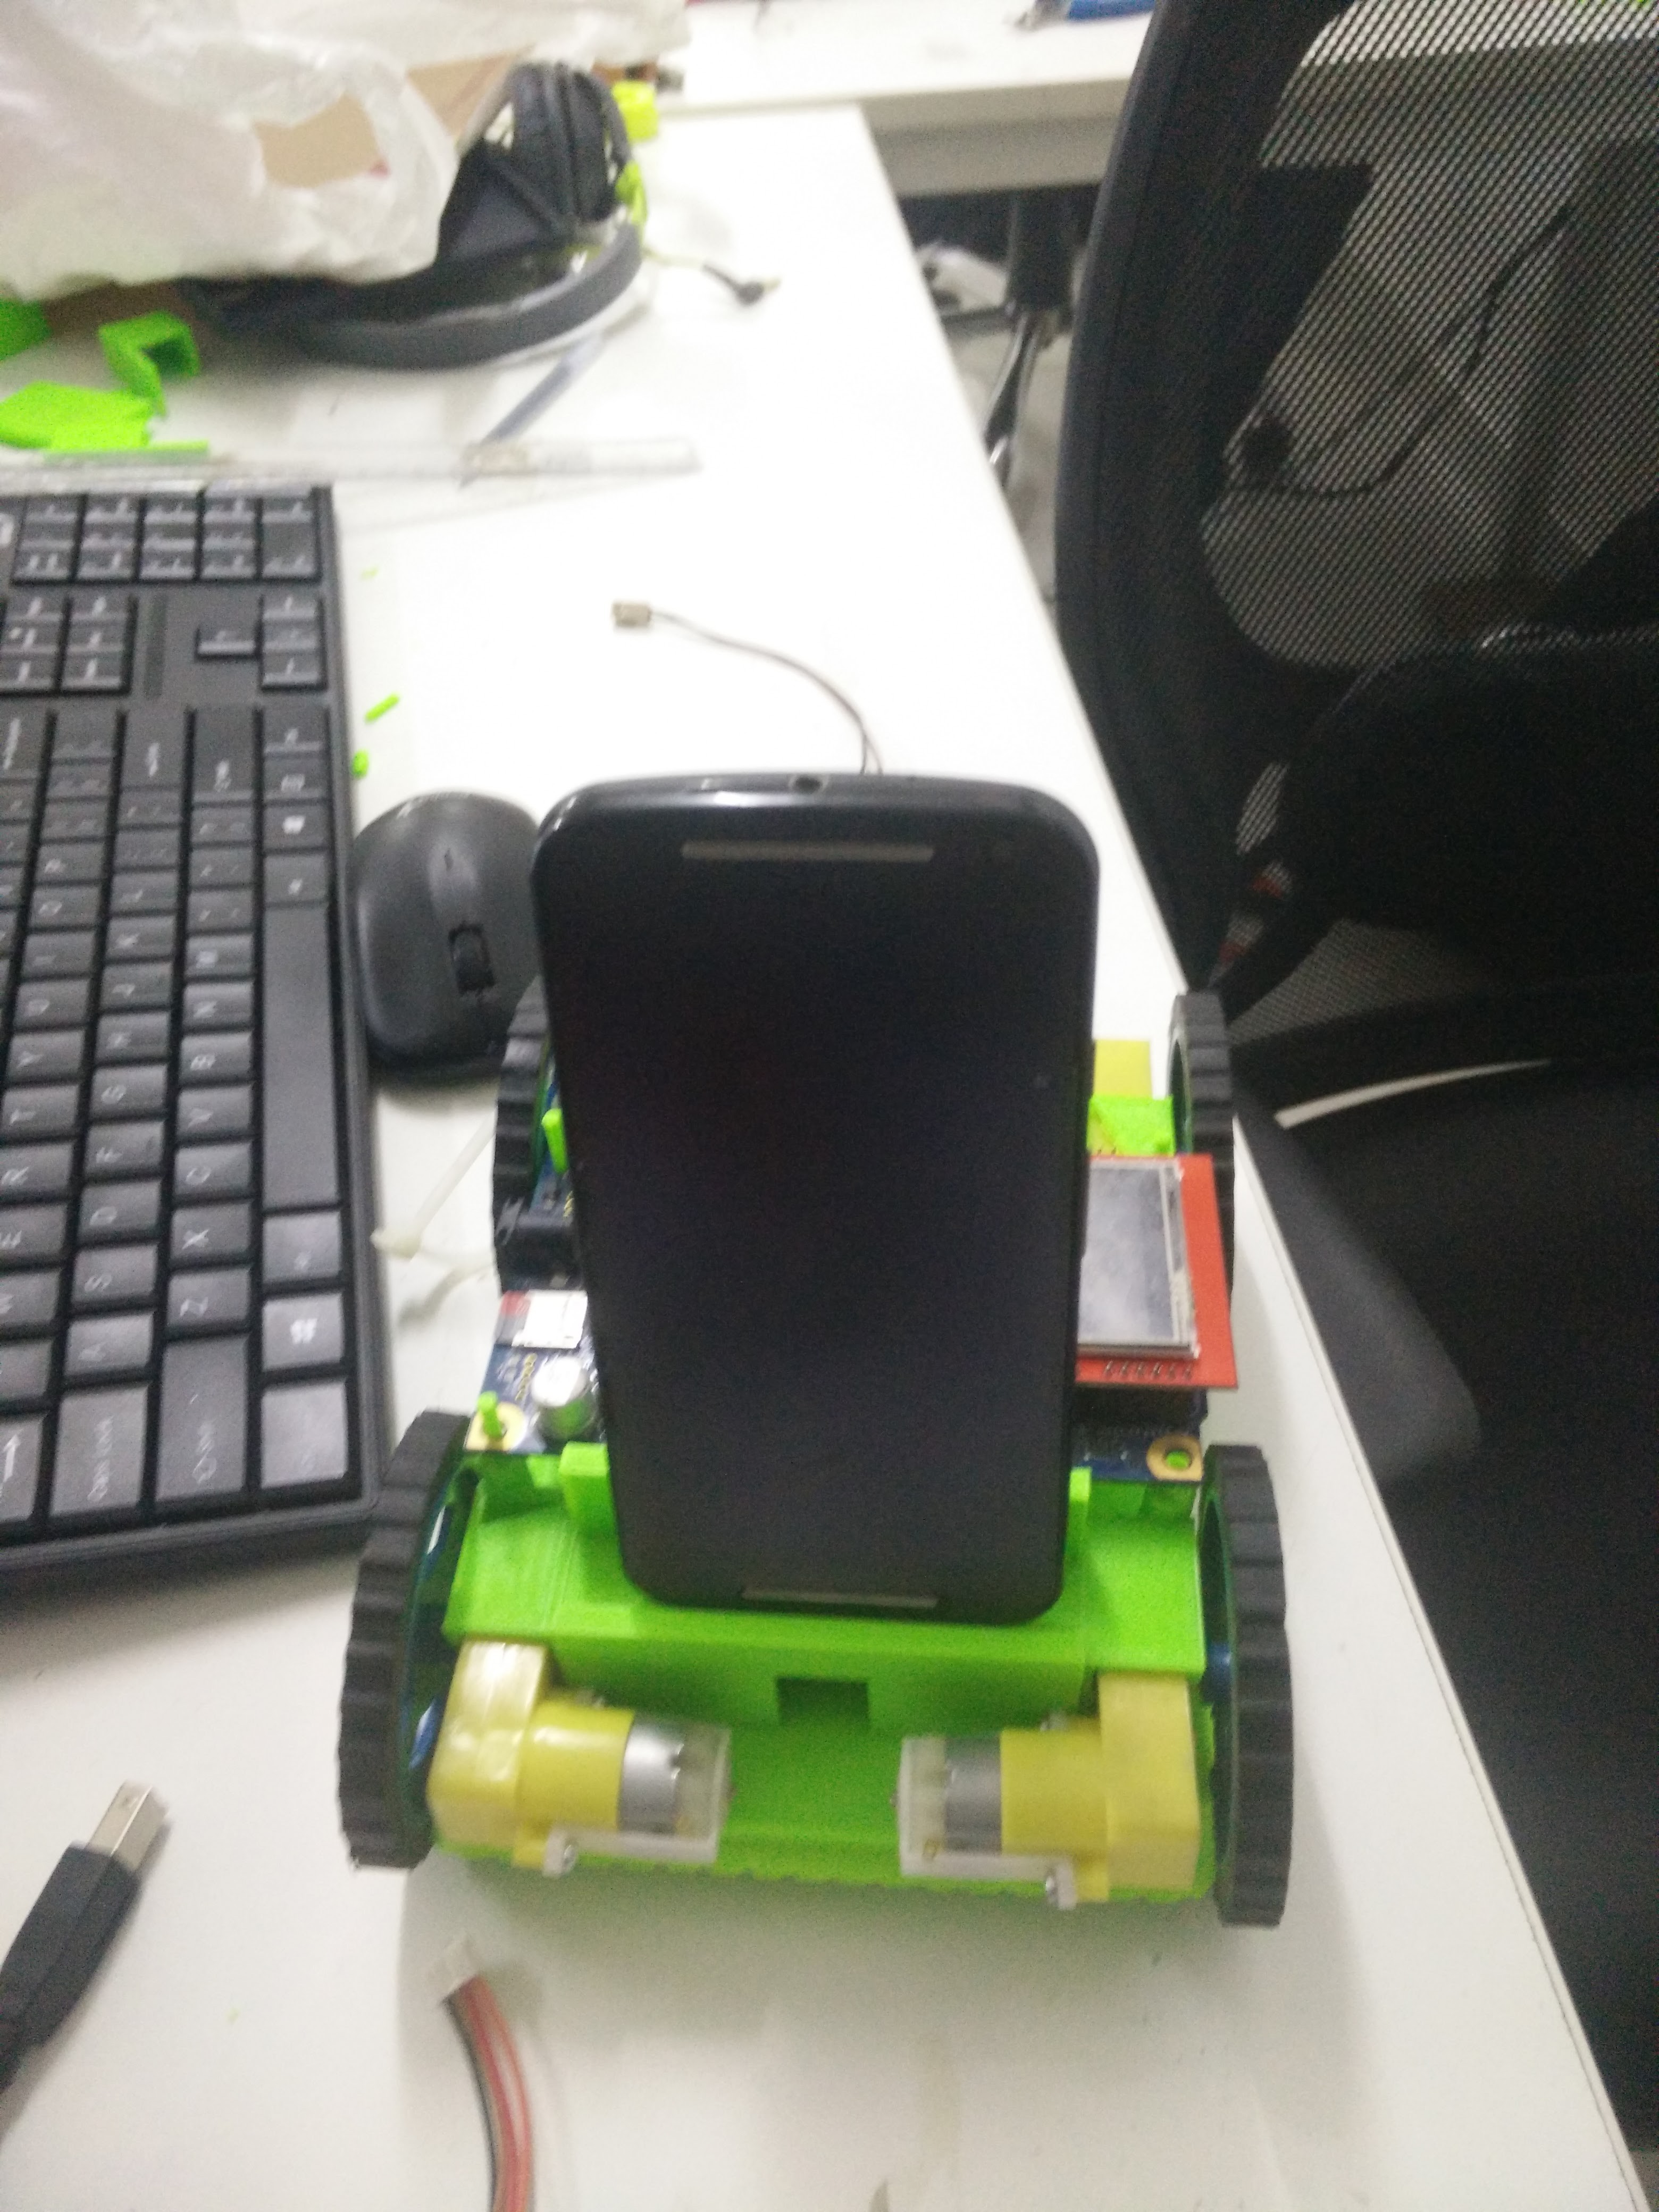
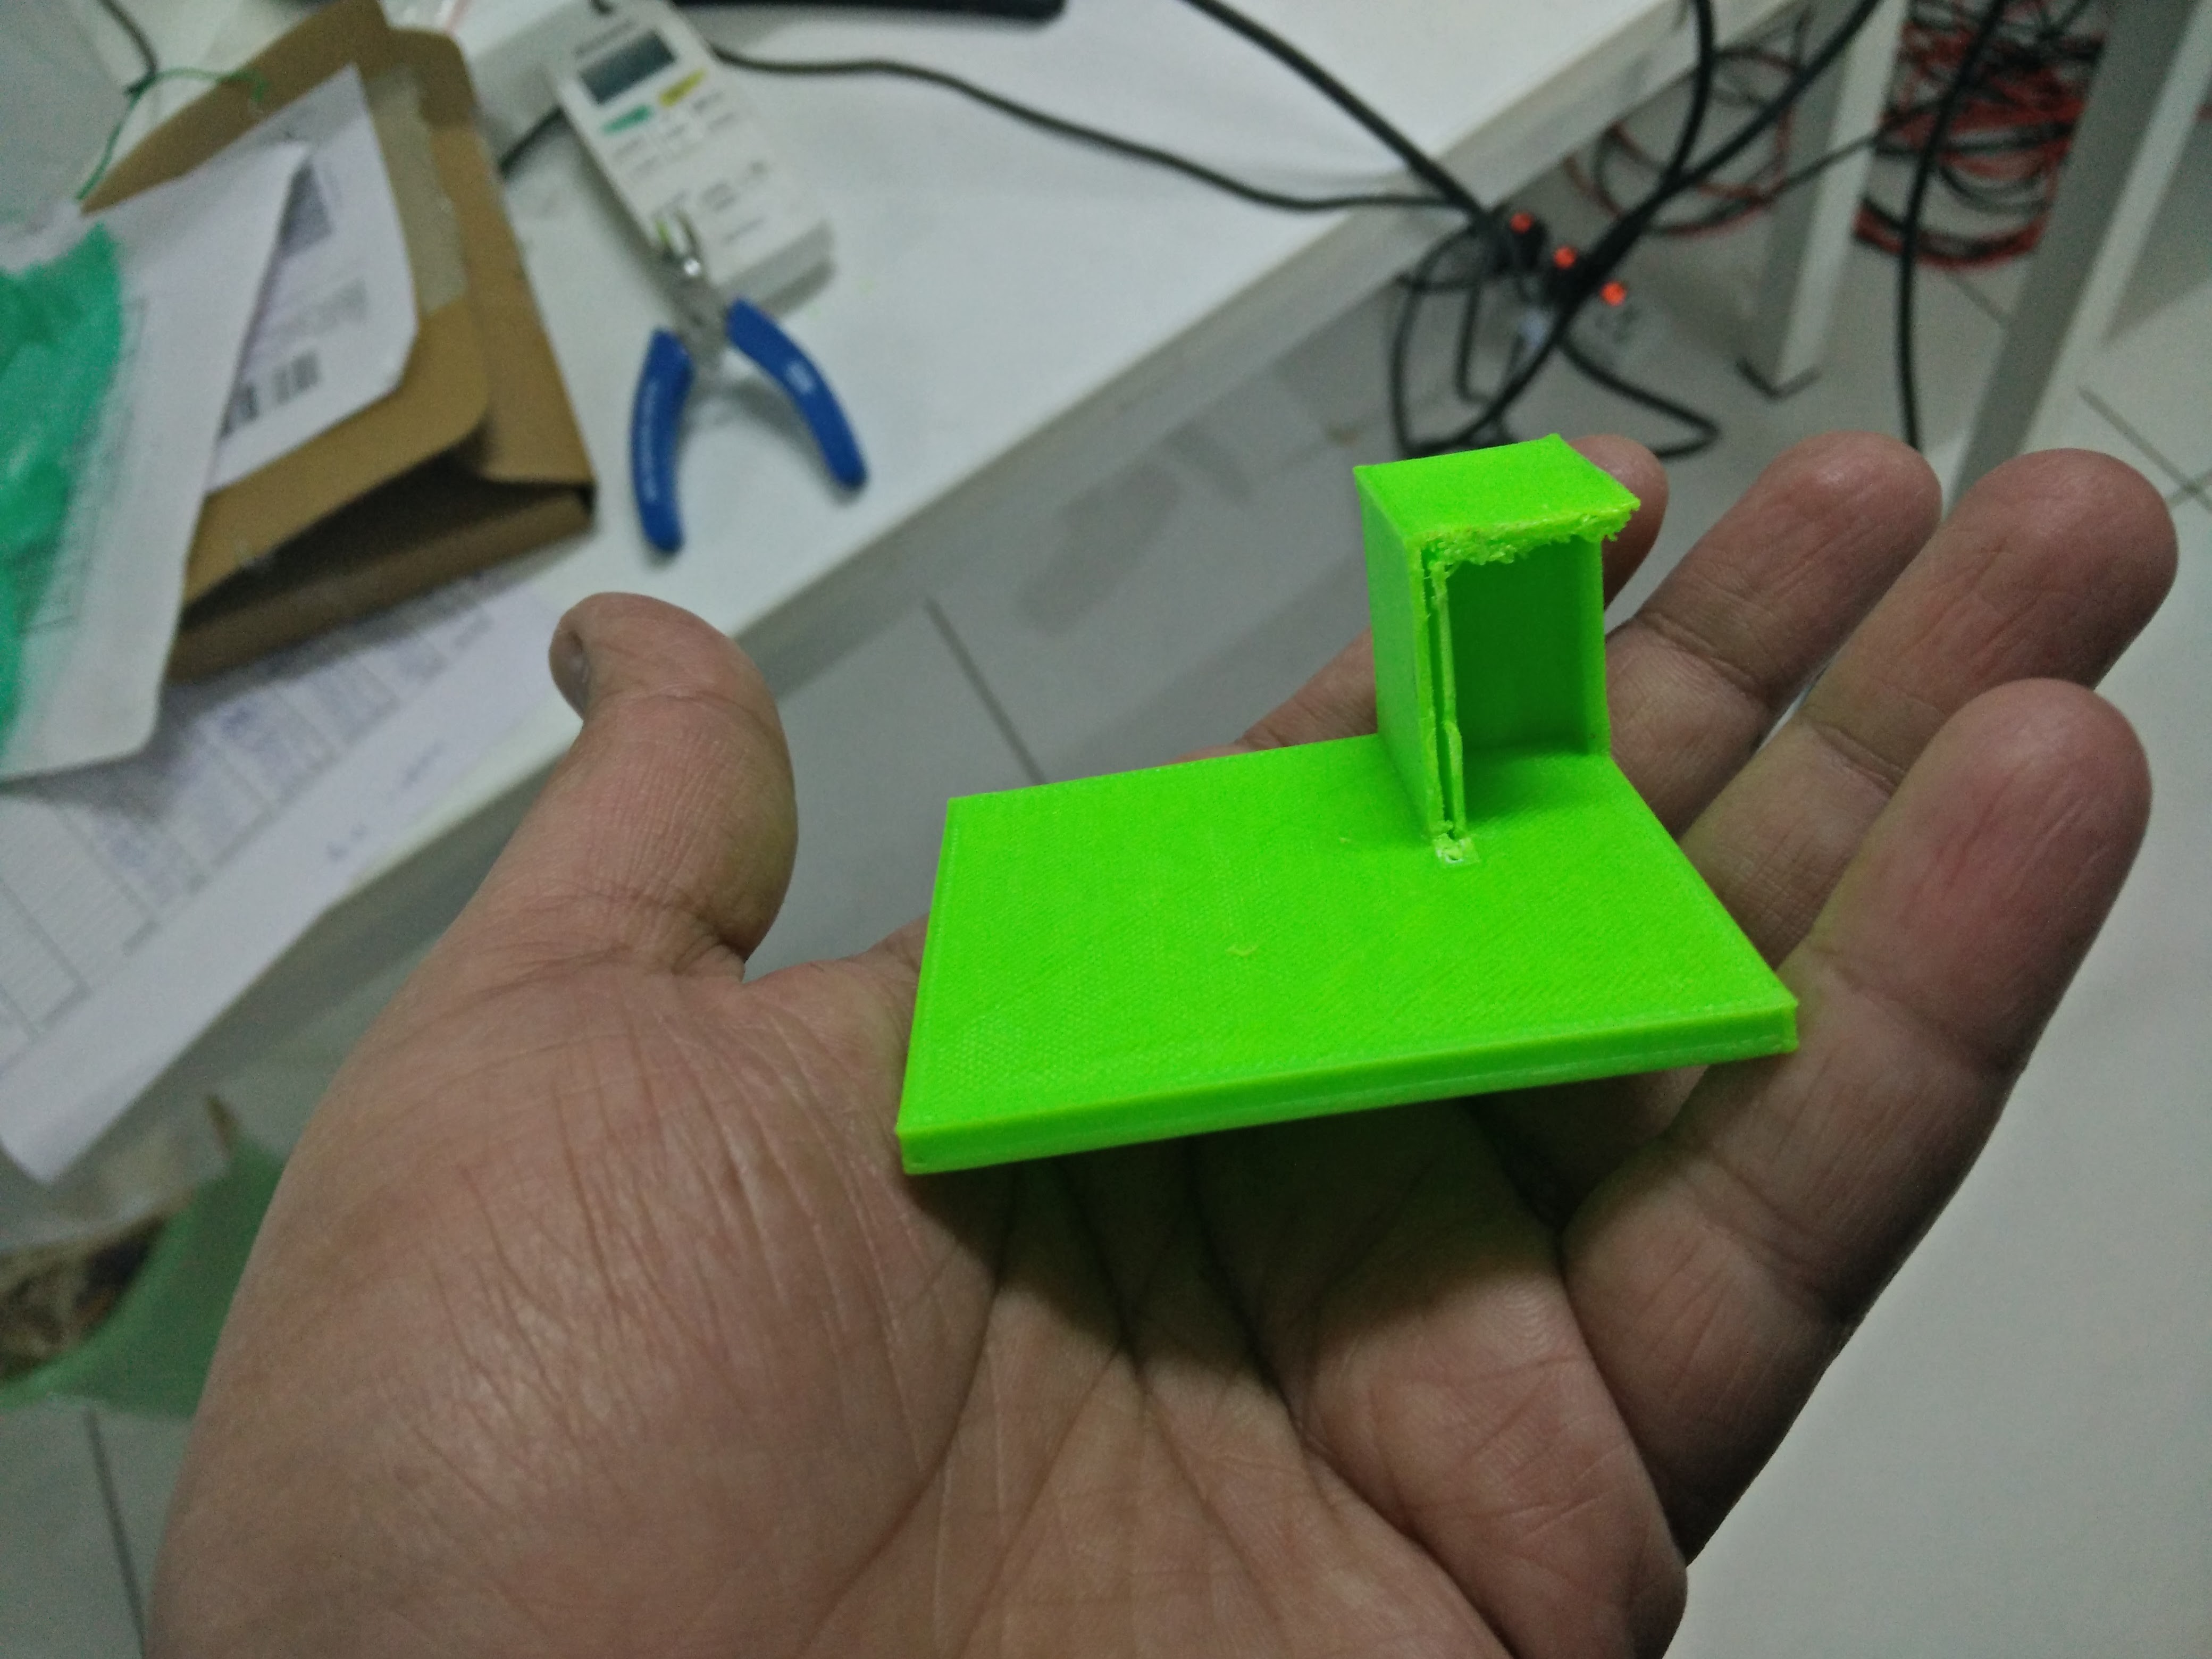
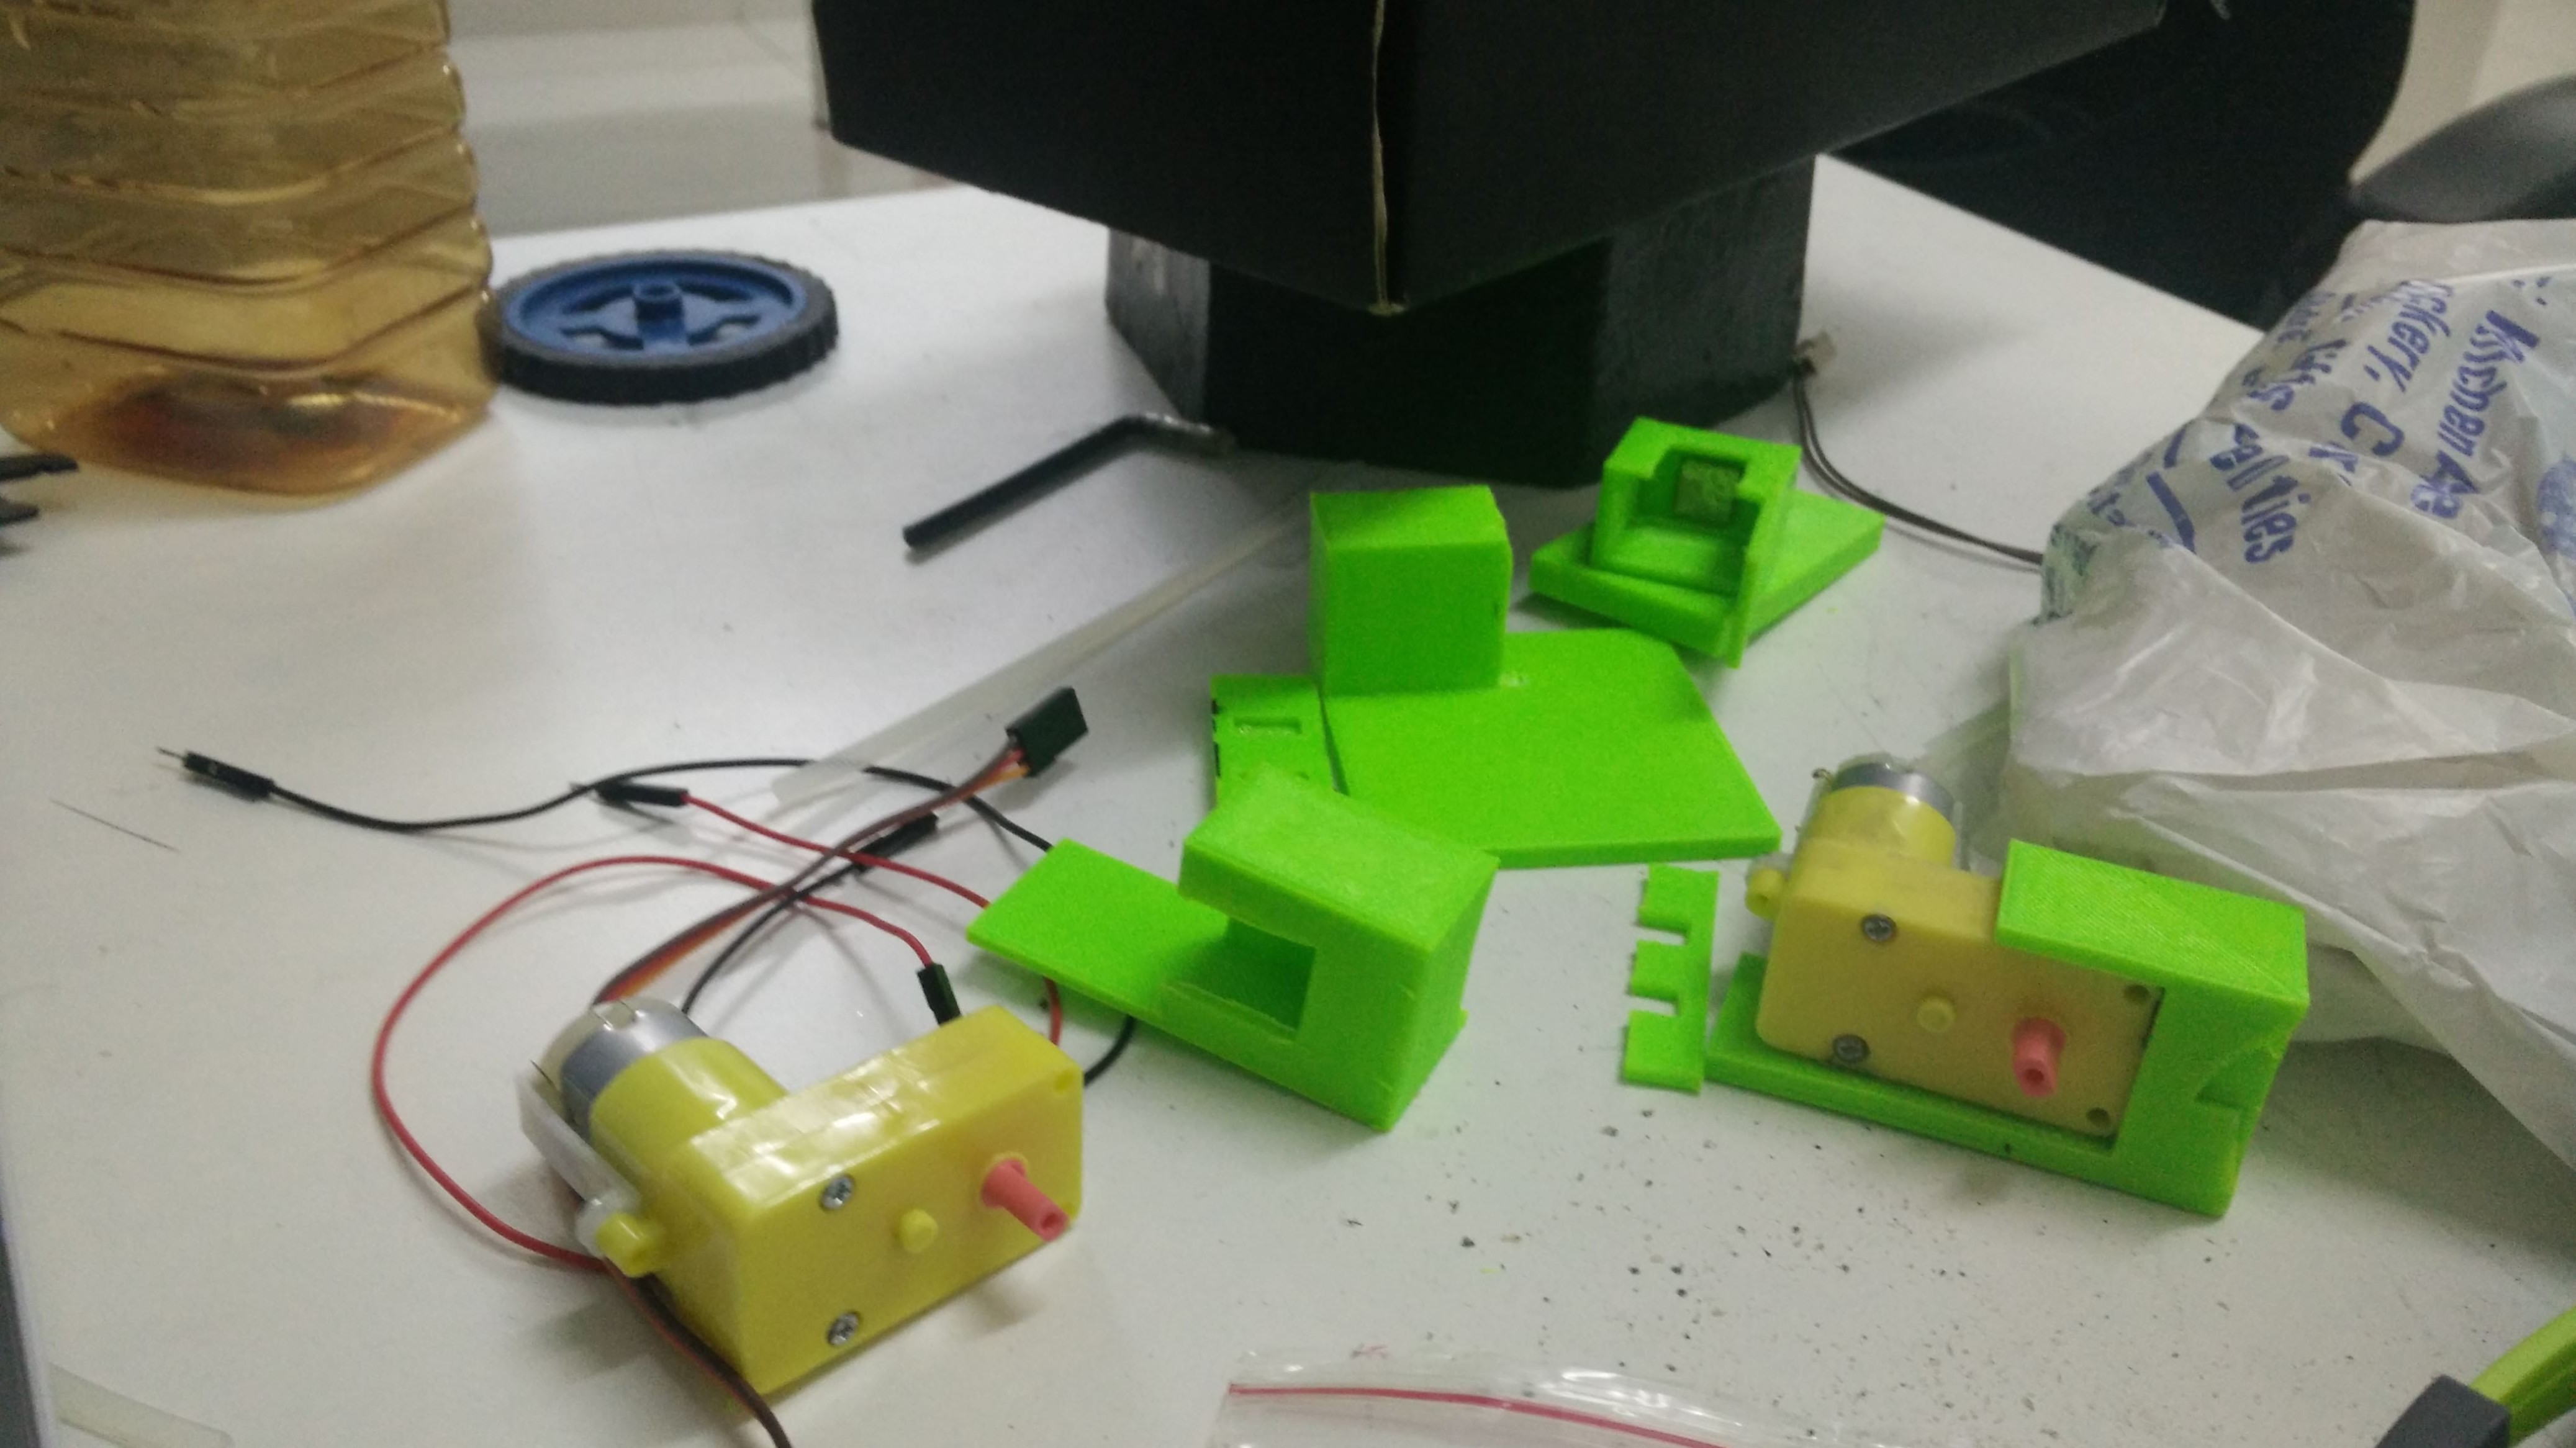
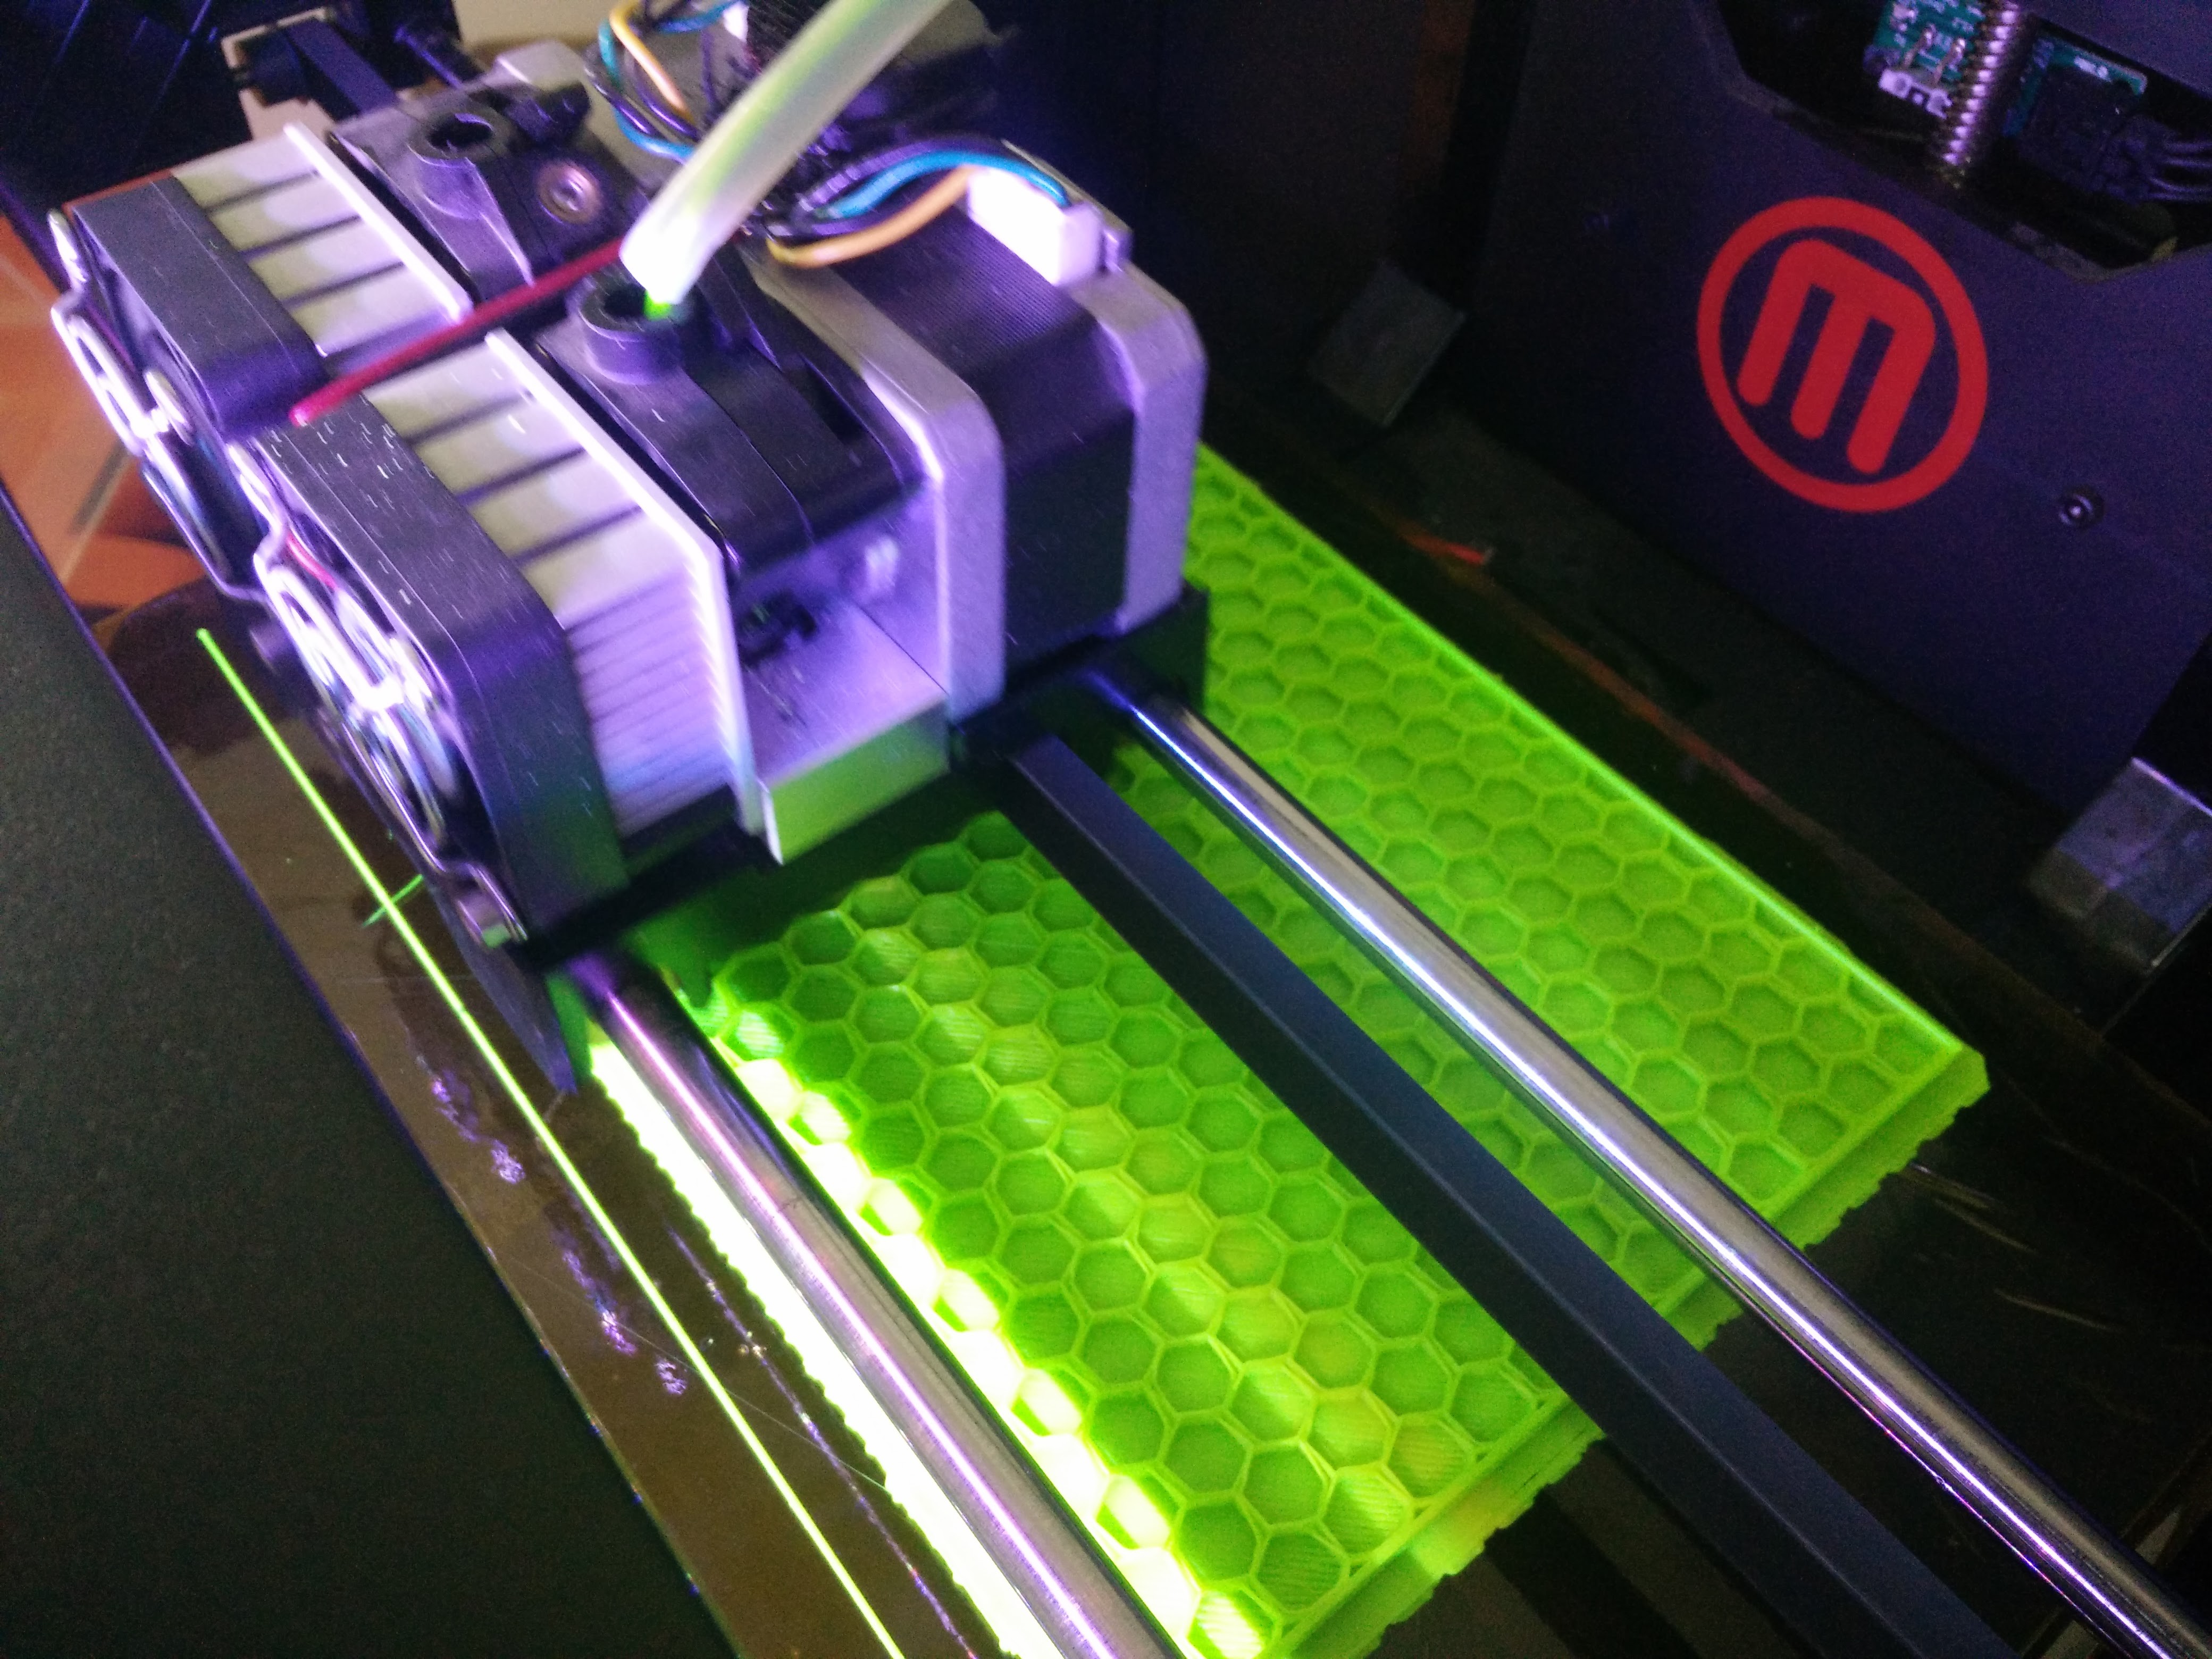
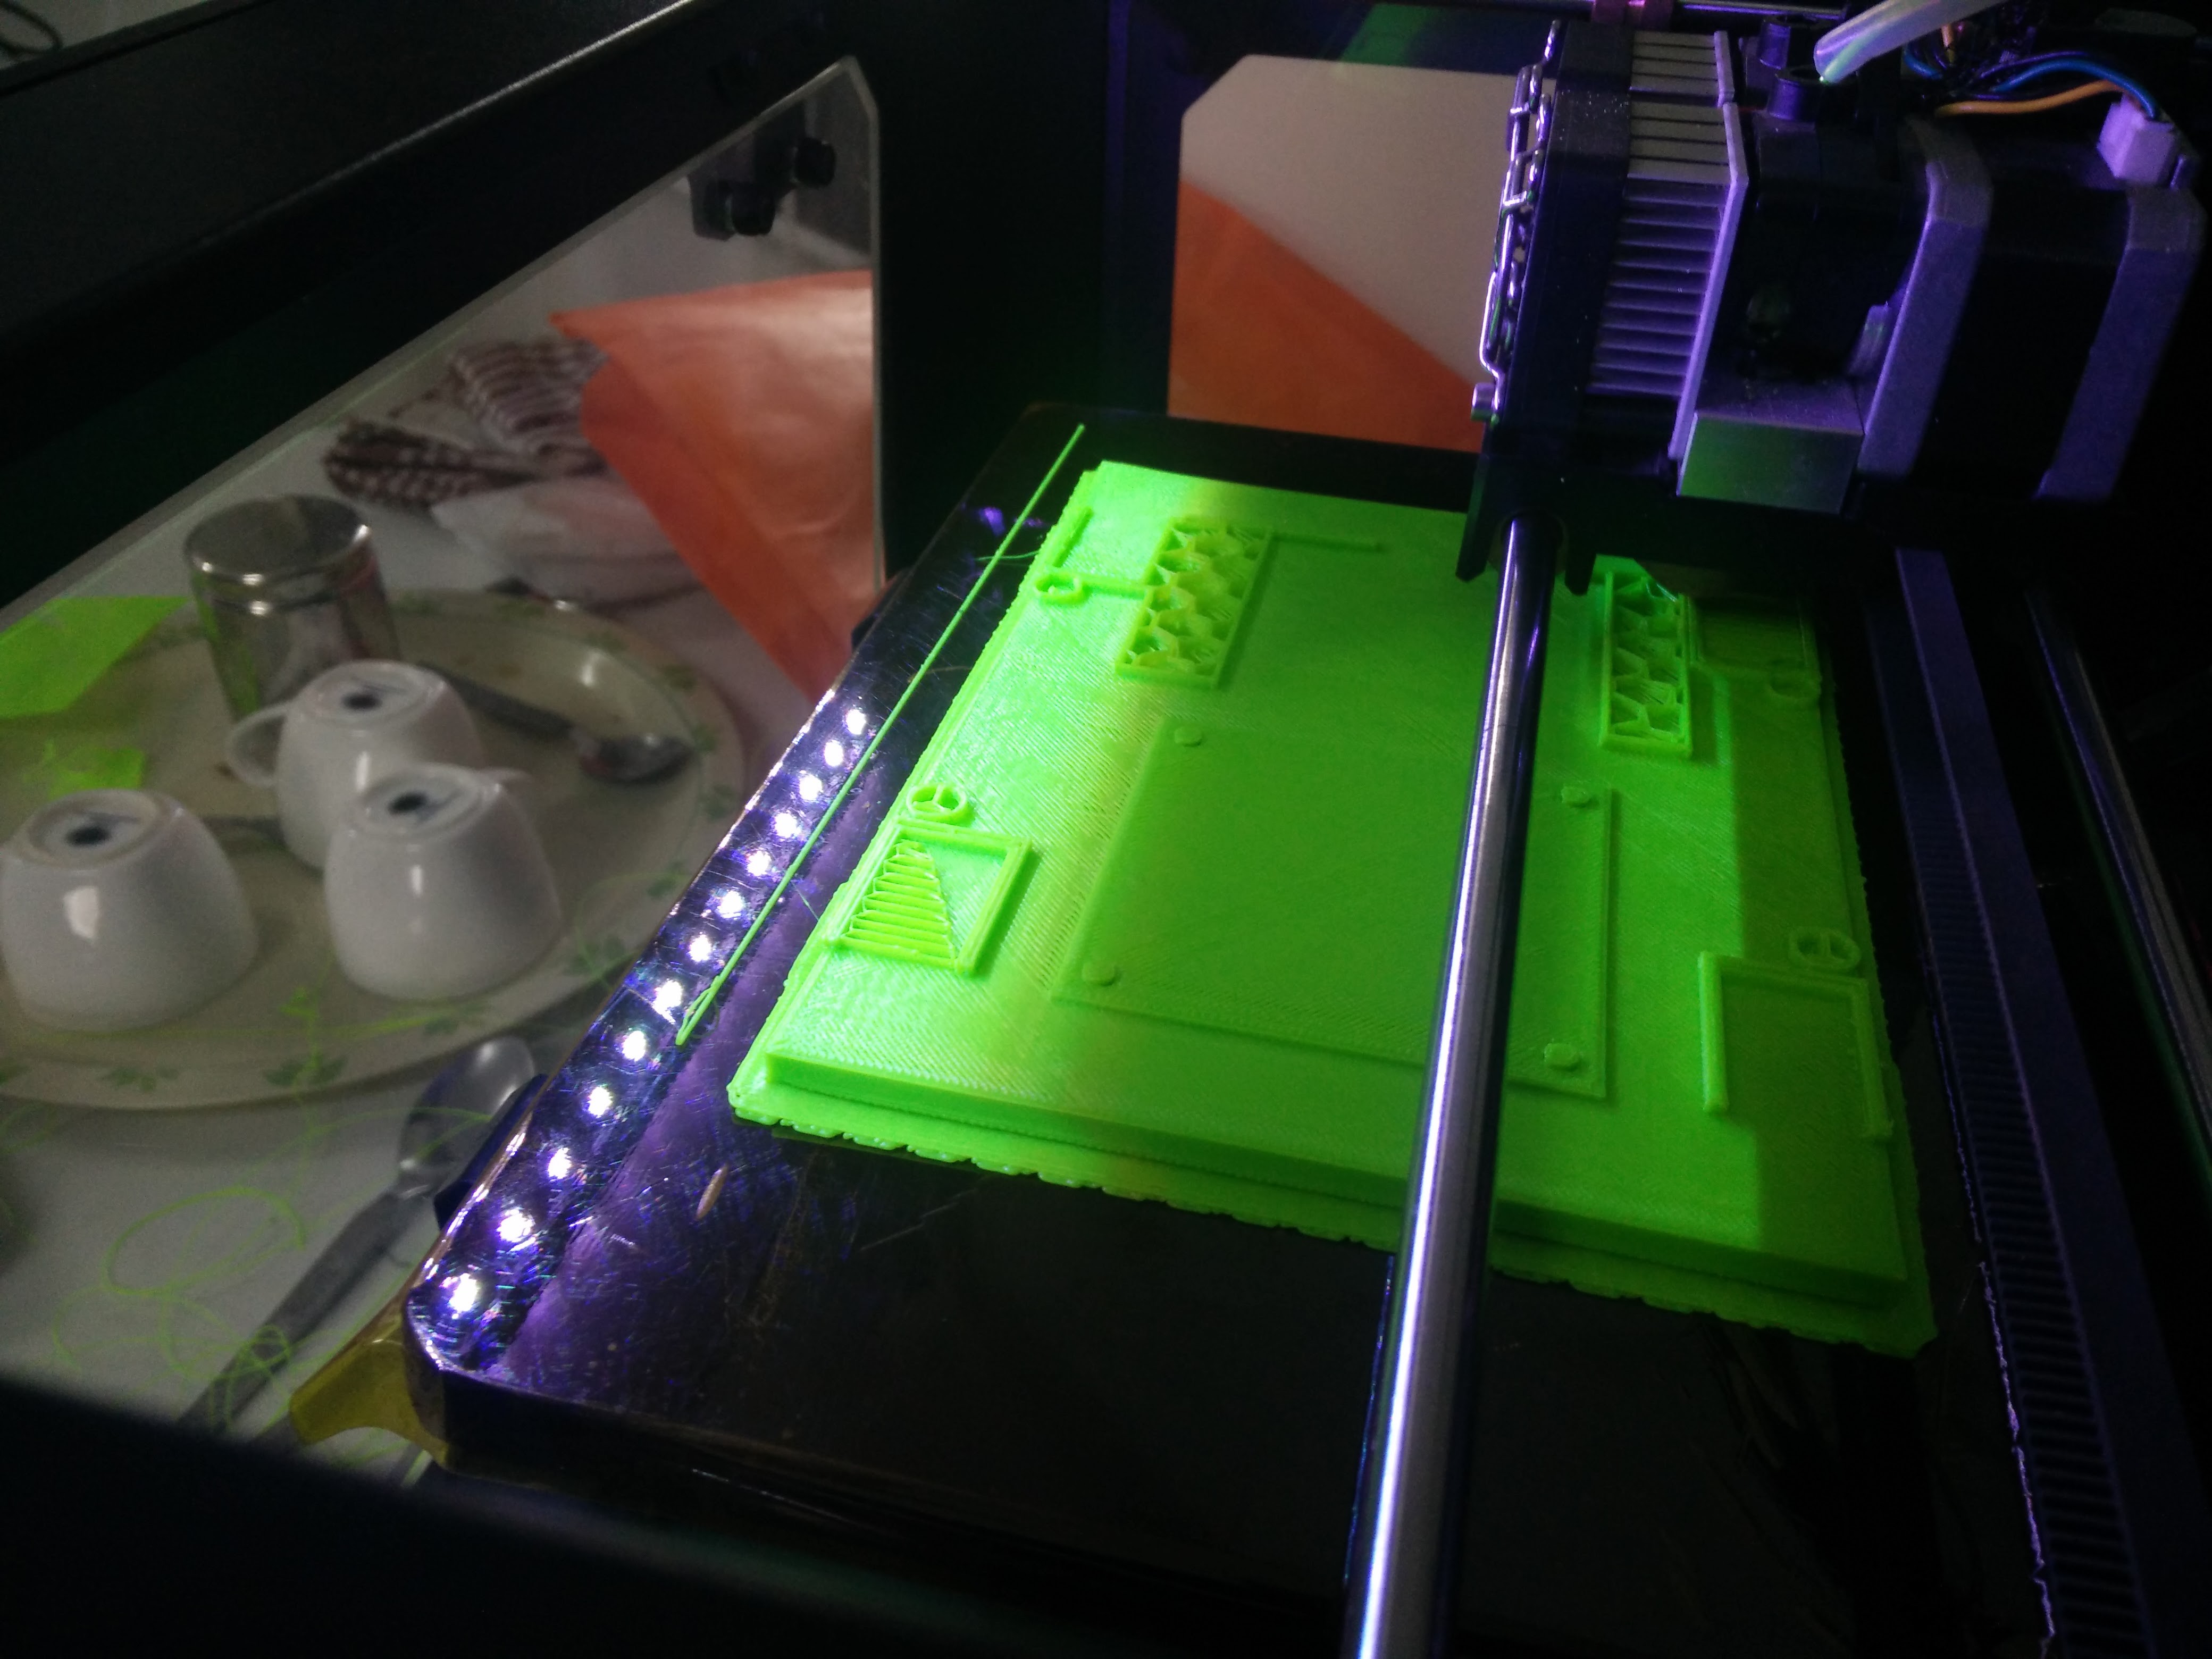
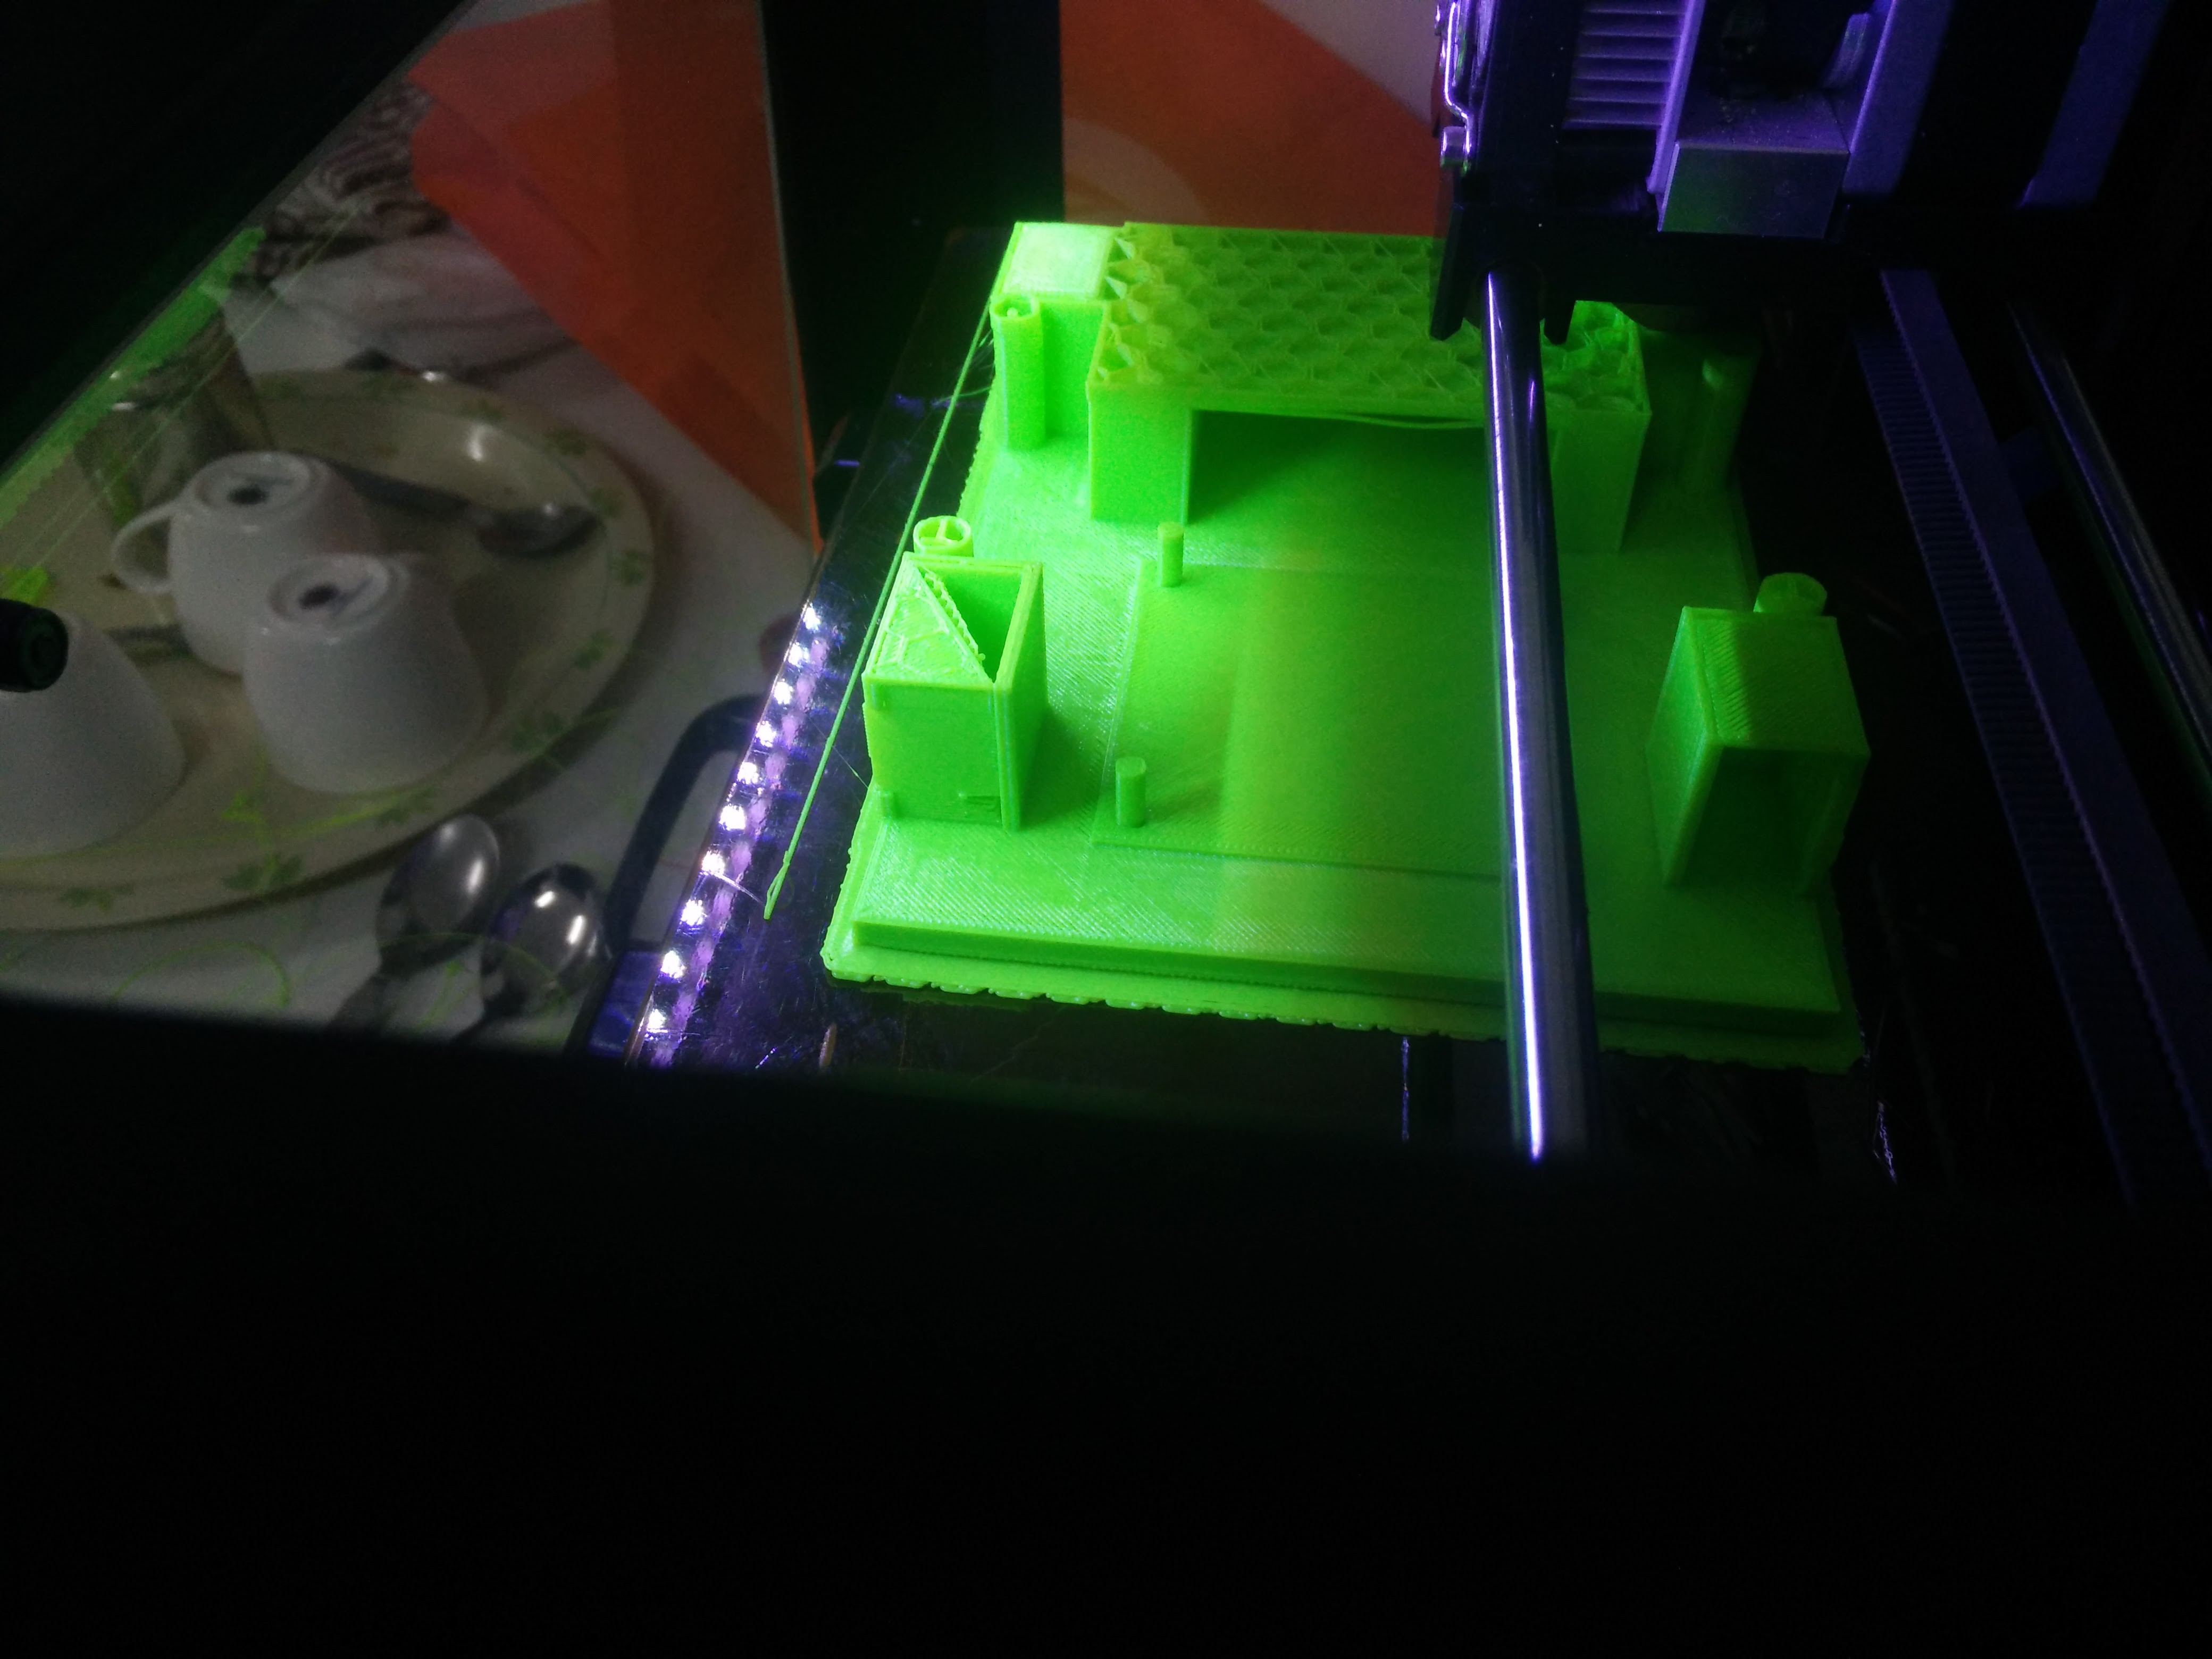
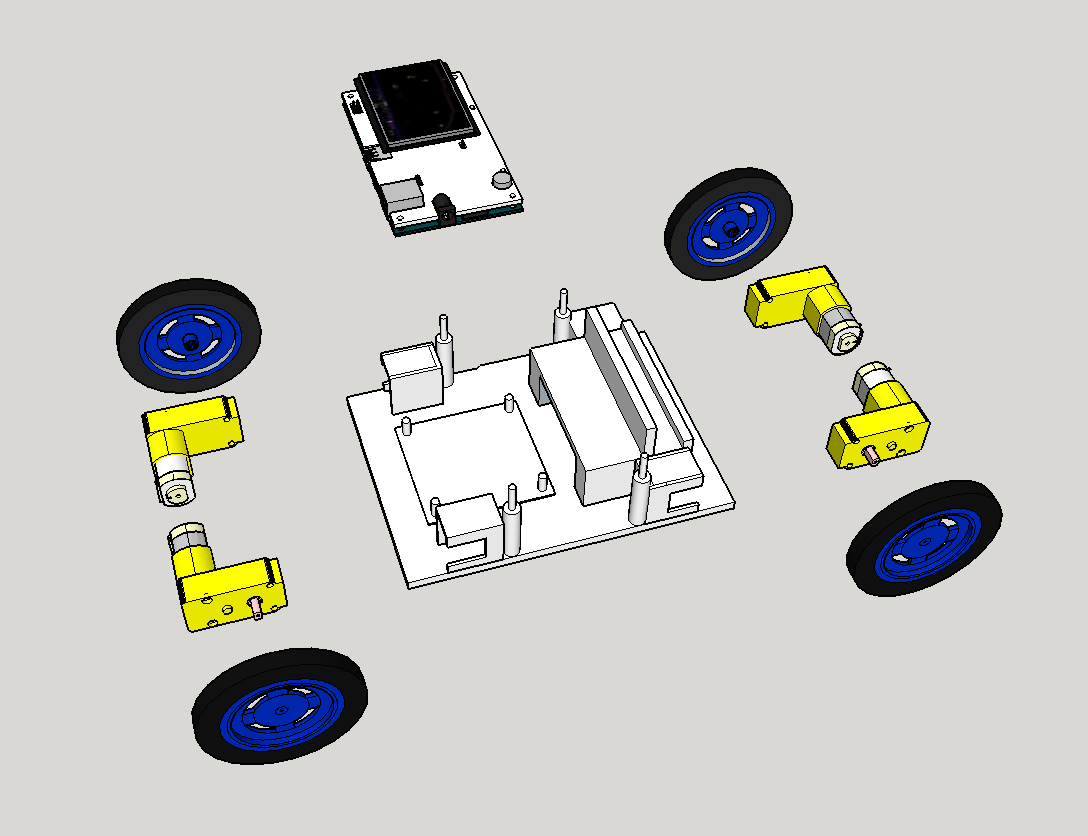
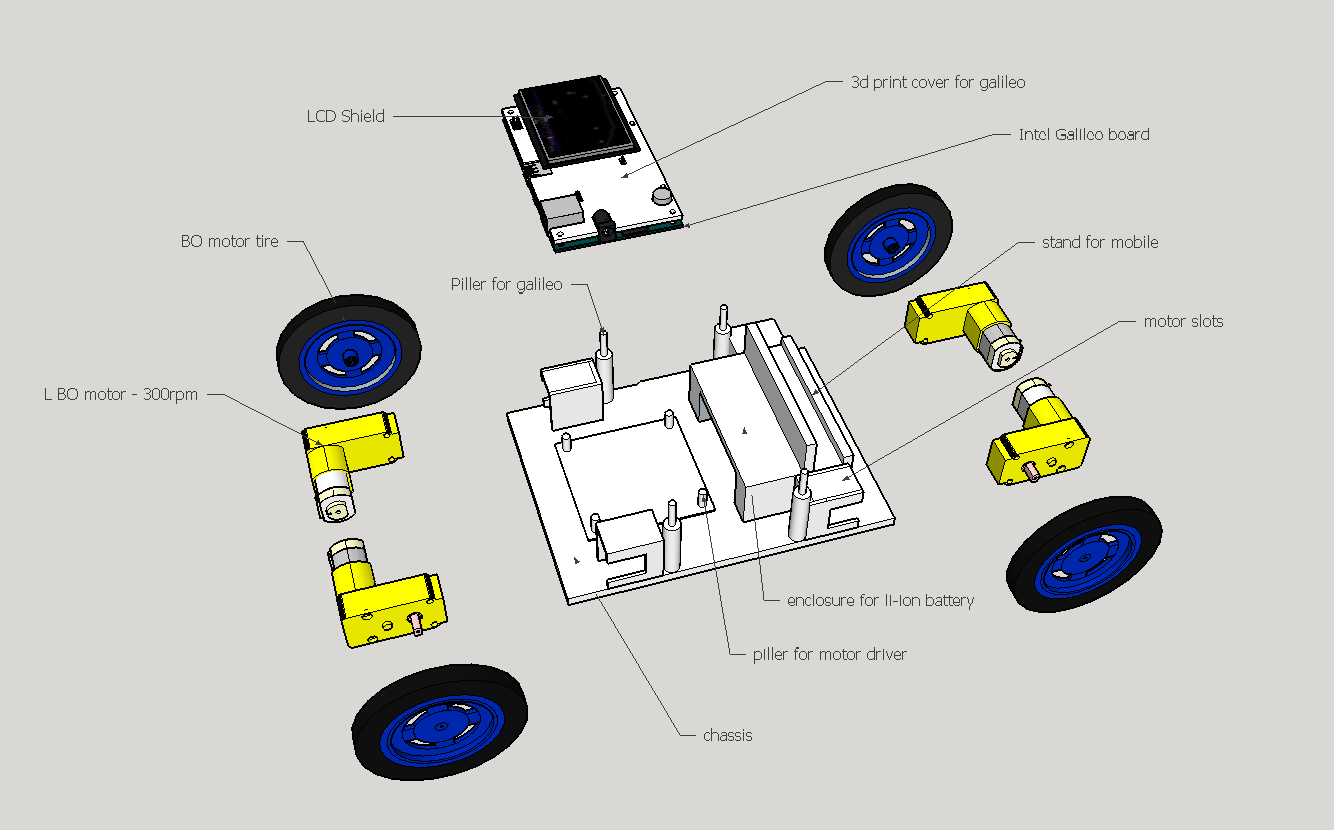
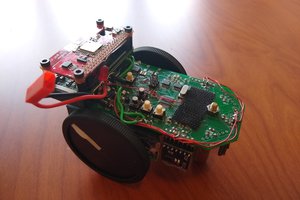
The purpose was to make an internet connected robot which is easy to assemble and disassemble. So the four wheeled robot uses an Intel Galileo board. This board interfaces with all other peripherals. 

The basic building and working is shown in the video below,

snapbot_v1.skp

This is a 3d printable sketchup file of the first working robot.

SSEYO Koan Play File - 13.15 MB - 07/24/2017 at 12:25

Download

snapbot_v1_exploded view.skp

This is a sketchup file for the exploded view of the first working robot.

SSEYO Koan Play File - 13.38 MB - 07/24/2017 at 12:25

Download

snapbot_v2_working.skp

This is a sketchup file for the working second prototype

SSEYO Koan Play File - 9.40 MB - 07/24/2017 at 12:25

Download

View all 11 components

  • Version 2.0

    saipraveen07/24/2017 at 13:58 0 comments

    The above prototype taught us a few lessons. 

    • The pillars need to be stronger - The ones designed for the motor driver broke off and had to be kept within the pillars of galileo.
    • The compartments should be removable so that other components can be fitted into the same chassis.
    • The robot still doesn't look so beautiful.

    The above reasons and some more drove us in making the second revision which is under progress with VR possibility.

    The github link for the code is - https://github.com/saipraveend/Snapbot_V2


    VR app for the V2 Robot.

    The below image indicates the two different parts of the version 2 robot - The one on the left is the main chassis, the one on the right is the exchangeable part. Both parts attach together with magnets shown.


    The two parts snapped to each other. The visible magnets are for the mobile stand. The PCB is the new compact motor driver (L293d).


  • Testing

    saipraveen07/24/2017 at 13:45 0 comments

    Basic motor run code test - with a castor wheel in the back for simplicity (Also stuck with magnet)

  • Assembly

    saipraveen07/24/2017 at 13:30 0 comments

    Adding the motors.

    Adding the battery

    Adding the driver

    Adding Intel Galileo

    Adding some wiring

    Adding the wifi dongle and the LCD shield

    Adding the wheels

    Assembled.

  • 3D printing

    saipraveen07/24/2017 at 13:12 0 comments

    The first step was to calibrate the 3d print, magnet and motor. 


    Based on this test a few changes were done and the final model is attached.

    So next is sticking the magnets to this using some cyanoacrylate glue and giving it a quick spin.

  • 3D Modelling

    saipraveen07/24/2017 at 12:57 0 comments

    Next step is to model the entire robot to leave out any obvious mistakes.

    Sketchup is my preferred software for 3d modelling as it is simple to use and the availability of many pre-modelled components.


    The SketchUp file for the model is part of the files.


    The phone provision is kept in a simple fashion, needs to be tested after printing. 

    The slots have considered the spacing after measuring using vernier. ( Note : Measuring the magnets using the vernier was a torture as they kept getting stuck in the wrong places - If you have a good idea - do leave in the comments ) 

  • The doubt

    saipraveen07/24/2017 at 12:44 0 comments

    As the googling progresses the doubts have started to build up. The questions and solutions thought as logged below.

    • How will the components withstand the vibrations ?

    The components should be supported properly, encased so that it does not come out of the holding of the magnet.

    • Will the magnets affect the working of the motors, electronics?

    Maybe, but instead of reading piles of papers or articles lets build it and see.

    • What magnet to use?

    There is an option to go with ferrous or neodymium. So we got both types of magnets and compared their working, neodymium was the winner.

    • Which shape of neodymium to buy?

    There are plenty of options in each shape, we decided to buy some cylindrical ones, some rectangular and figure it out as we are building it.

  • The Idea

    saipraveen07/24/2017 at 12:34 0 comments

    Each time we made a wheeled robot, the most time-consuming part is assembling the components and making it look neat (beautiful). 

    So this time when we wanted to make an IoT robot this idea struck upon us to make an easy to assemble 3d printed chassis for the robot where the components would be connected to the chassis using magnets only.

    So the googling starts for similar implementations and how to encase the magnets within the plastic. 

View all 7 project logs

  • 1
    3d Model

    The sketchup files are in the attachments, you will need to modify based on your requirements

  • 2
    3d Print

    The final sketchup file with your chassis should be 3d printed

  • 3
    Code

    https://github.com/saipraveend/Snapbot - This is the github repo for the testing code that was used to run the robot.

View all 4 instructions

Enjoy this project?

Share

Discussions

Similar Projects

Does this project spark your interest?

Become a member to follow this project and never miss any updates