 justin.richards
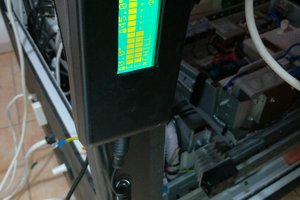
The hack uses ESP8266 to provide control and status of an Easycook convection oven via its wifi access point.
The user can enter all the PID variables including kp,ki,kd, max PID, min PID, set point and monitor performance graphs via its web interface.
It provides very precise temperature control over a wide range of temperature from ambient to max. It implements "On-off AC time control" as opposed to "Phase-angle control"
Jerky can be dehydrated by cracking the lid slightly to allow fresh air intake.
The USDA recommends the product (meat) is first heated to 71deg C then dehydrated at 60deg C.
Future enhancements will include configuring and applying various temperature profiles for different products. Also determine usefulness as a reflow oven.
Referring to the screen shot:-
The Top row displays the hostname, Stop and Start buttons that change the pinmode from output to input to provide over-ride control. The Save button will save the settings.
The Second row contain response values and can not be directly edited
Ticks: How many times the PID loop has been executed.
pv: Process Variable - actual measured temperature
mv: Manipulated Variable - PWM output between 0 and 255
pterm: the calculated proportional value, used in the PID loop
iterm: the calculated integral term , used in the PID loo
dterm: the calculated differential term, used in the PID loo
state: 1 for Running 0 for Stopped
millis: how long the processor has been running
The Third row contains the adjustable control parameters
sp: Set Point the desired temperature
kp, ki, kd the multiplier value for each of the terms
mvmin and mvmax: The min and max allowable value for the mv. or min max PWM output
cal: used to calibrate the sensor if needed. See issues
tc: time constant in milliseconds. How often the PID loop is executed. Depending on the thermal mass this can be varied
pv Chart: Process Variable - plots the actual temperature over time. Updated each time the PID loop is executed
mv: Manipulated Vairiable - the amount of PWM plotted over time
pid tuning levers: These sliders allow the user to vary any of the control variables to tune the system
Last row: Links to pages that allow for configuring, controlling and debug of the ESP8266
 Andrew Shevchuk
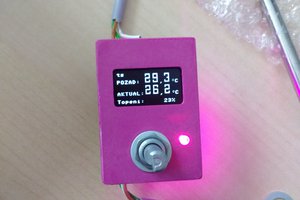
 Robert
 rockfishon