 Christopher
Back dated July 12th 2017
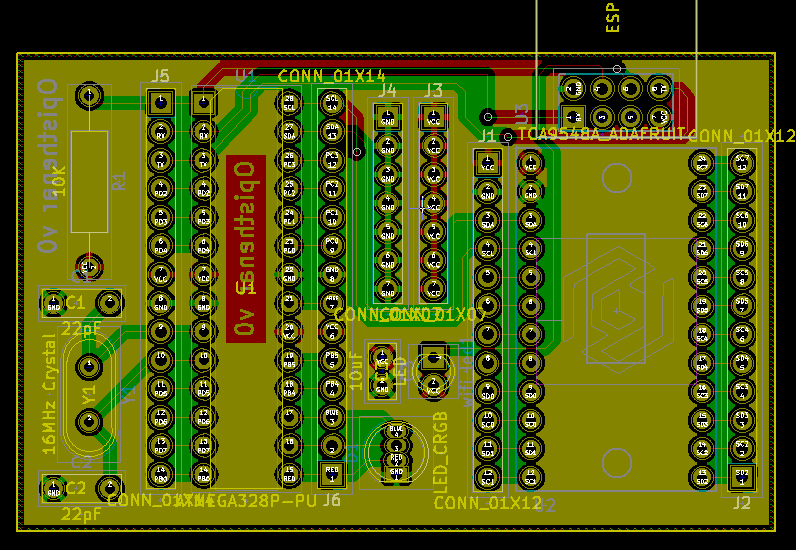
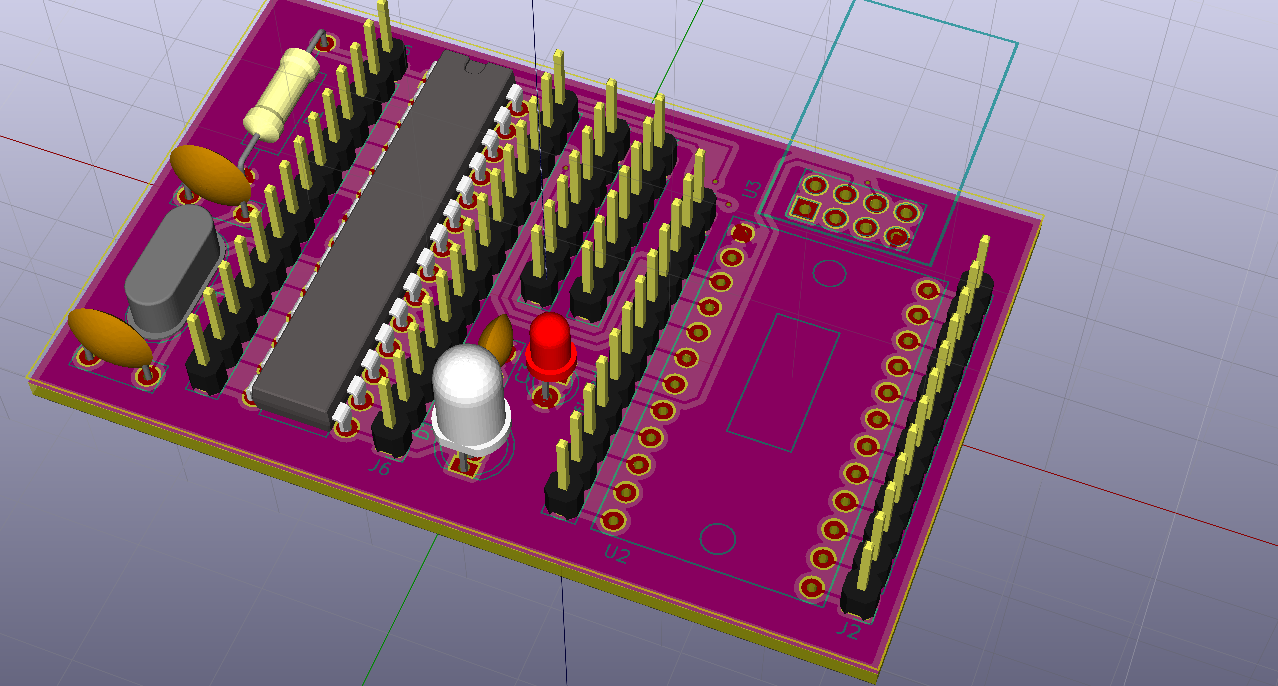
The proposed PCB design:
Once the breadboarded proof of concept was working, it was time to learn how to use KiCad. I'd never (successfully) designed a PCB layout before, so there was a lot of tutorials to read through and examples to follow before tackling this board.
I named the PCB Opisthenar, which supposedly means "the back of the hand" in medical terminology; the current implementation includes strapping this board to the back of the tracking glove. The design was meant to be 1:1 against the breadboarded precursor to keep the layout simple (for my sake) and to avoid introducing unexpected bugs so we could go back and take a more narrow troubleshooting path for problems.
Now that we have a nicer image of the circuit to look at, let's walk through the design. At the heart is an ATmega328P, which was fast to implement because I'm familiar with avr-libc, but will one day likely be absorbed by the ESP8266, which has a lot of leftover horsepower. The ATmega is connected to an I2C mux, and through the mux to the BNO055 orientation sensors. RX and TX on the ATmega goes to an ESP-01 which is running esp-link to make the serial connection wireless. And that's really about it, the design is simple and hopefully easy to implement for others to take and build cool projects on!
Discussions
Become a Hackaday.io Member
Create an account to leave a comment. Already have an account? Log In.