 Enrico
When I had started the project, I had (and usually have) no idea on how to integrate stuff. So as a natural consequence was to use my already developed LED drivers. But I had in my mind some use cases of this lamp.
It must be connected to a PC, because I want it to be smart, but it need to deliver more power than a USB can do, so it must work also from a DC power supply - this already triggered the firmware generation in my mind, mind compilation has started.
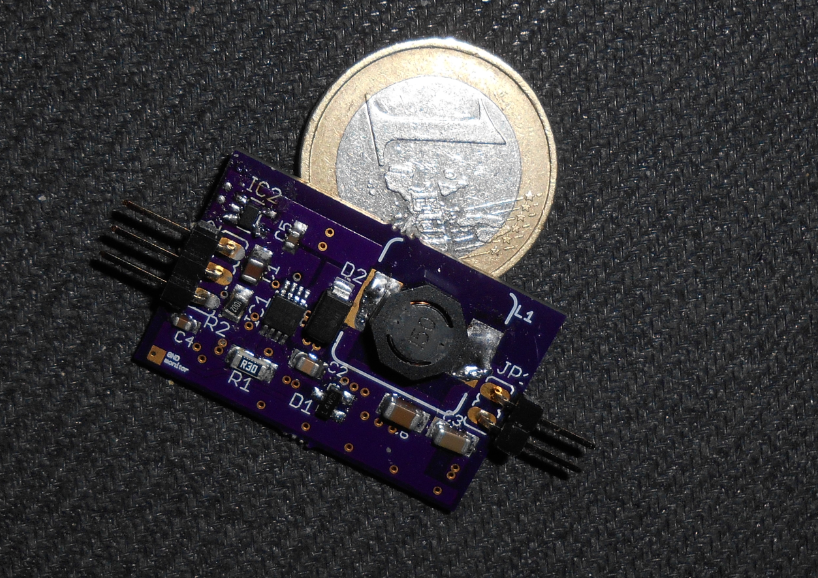
This is the board currently used for providing power to one or more series LED:
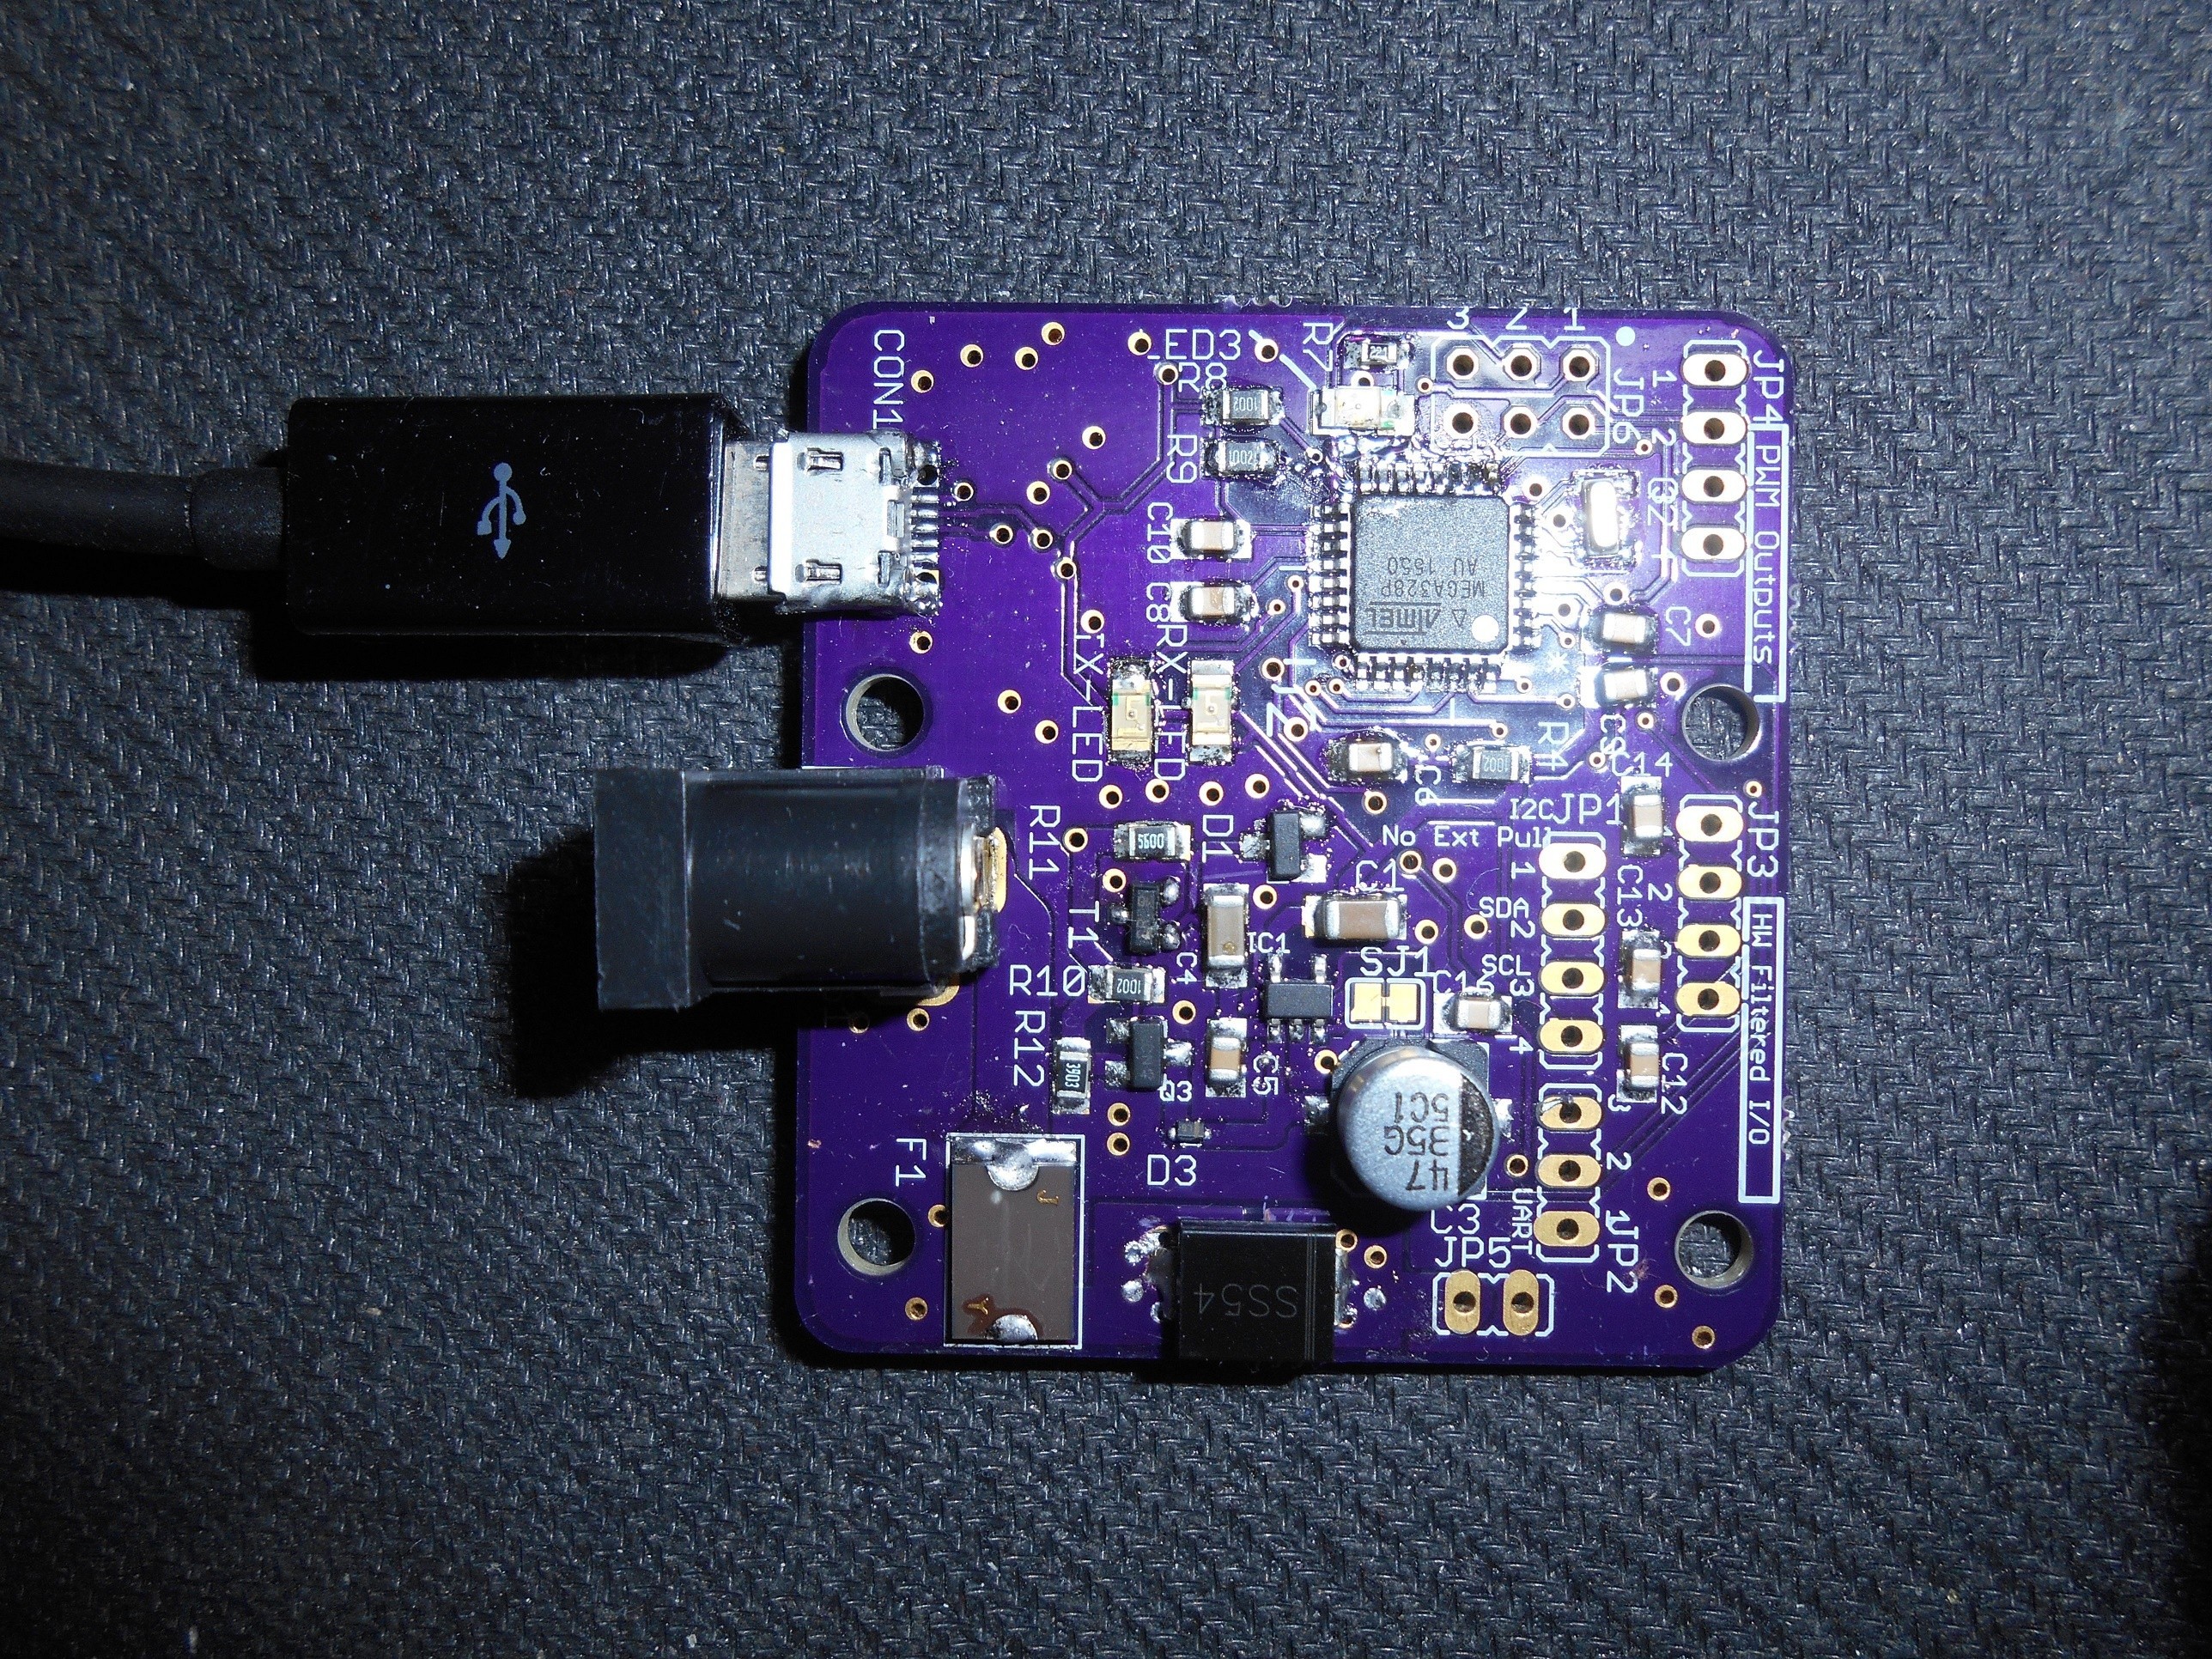
And I need 4 of them, because I want my lamp to execute light algorithm with the white too, in order to be an improved RGBW system. That is why I was able to easily use my other board, initially started for general purpose "high power" Arduino equivalent, thought for 4 LED driving system. Here the board, Lino, with no tweaks, still a "vanilla" version:
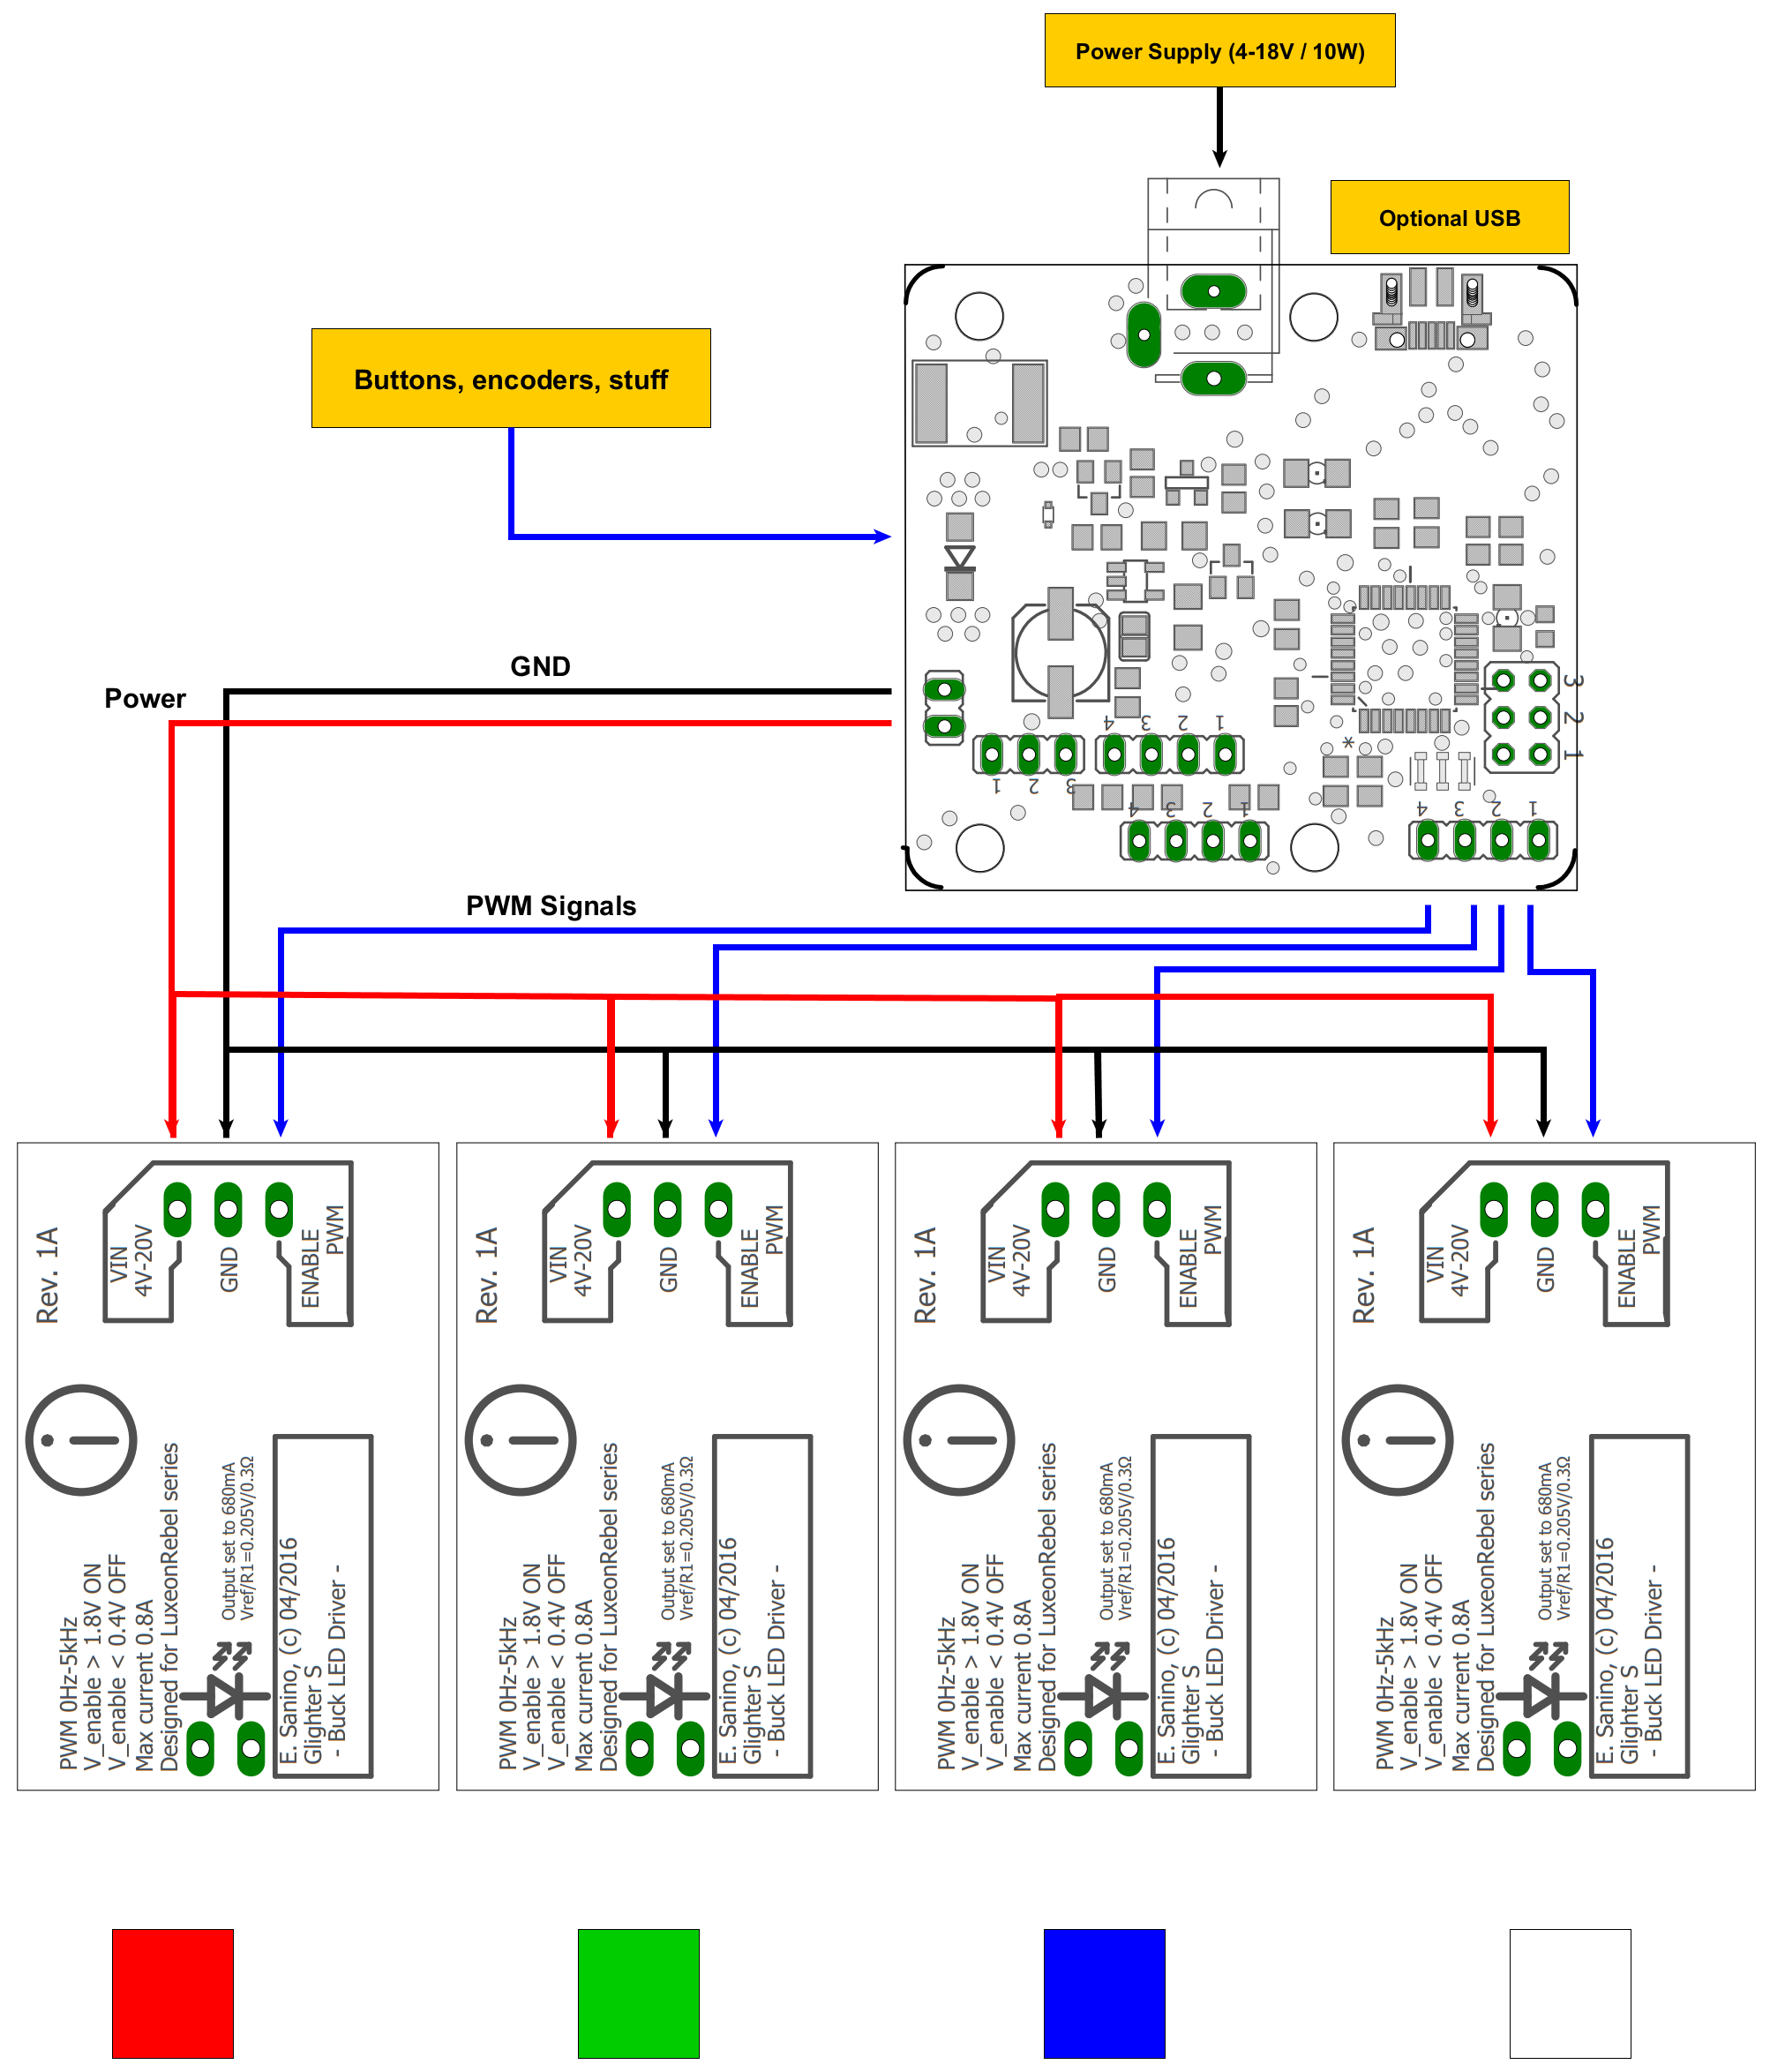
And I startede thinking to them. So I had this connections in mind:
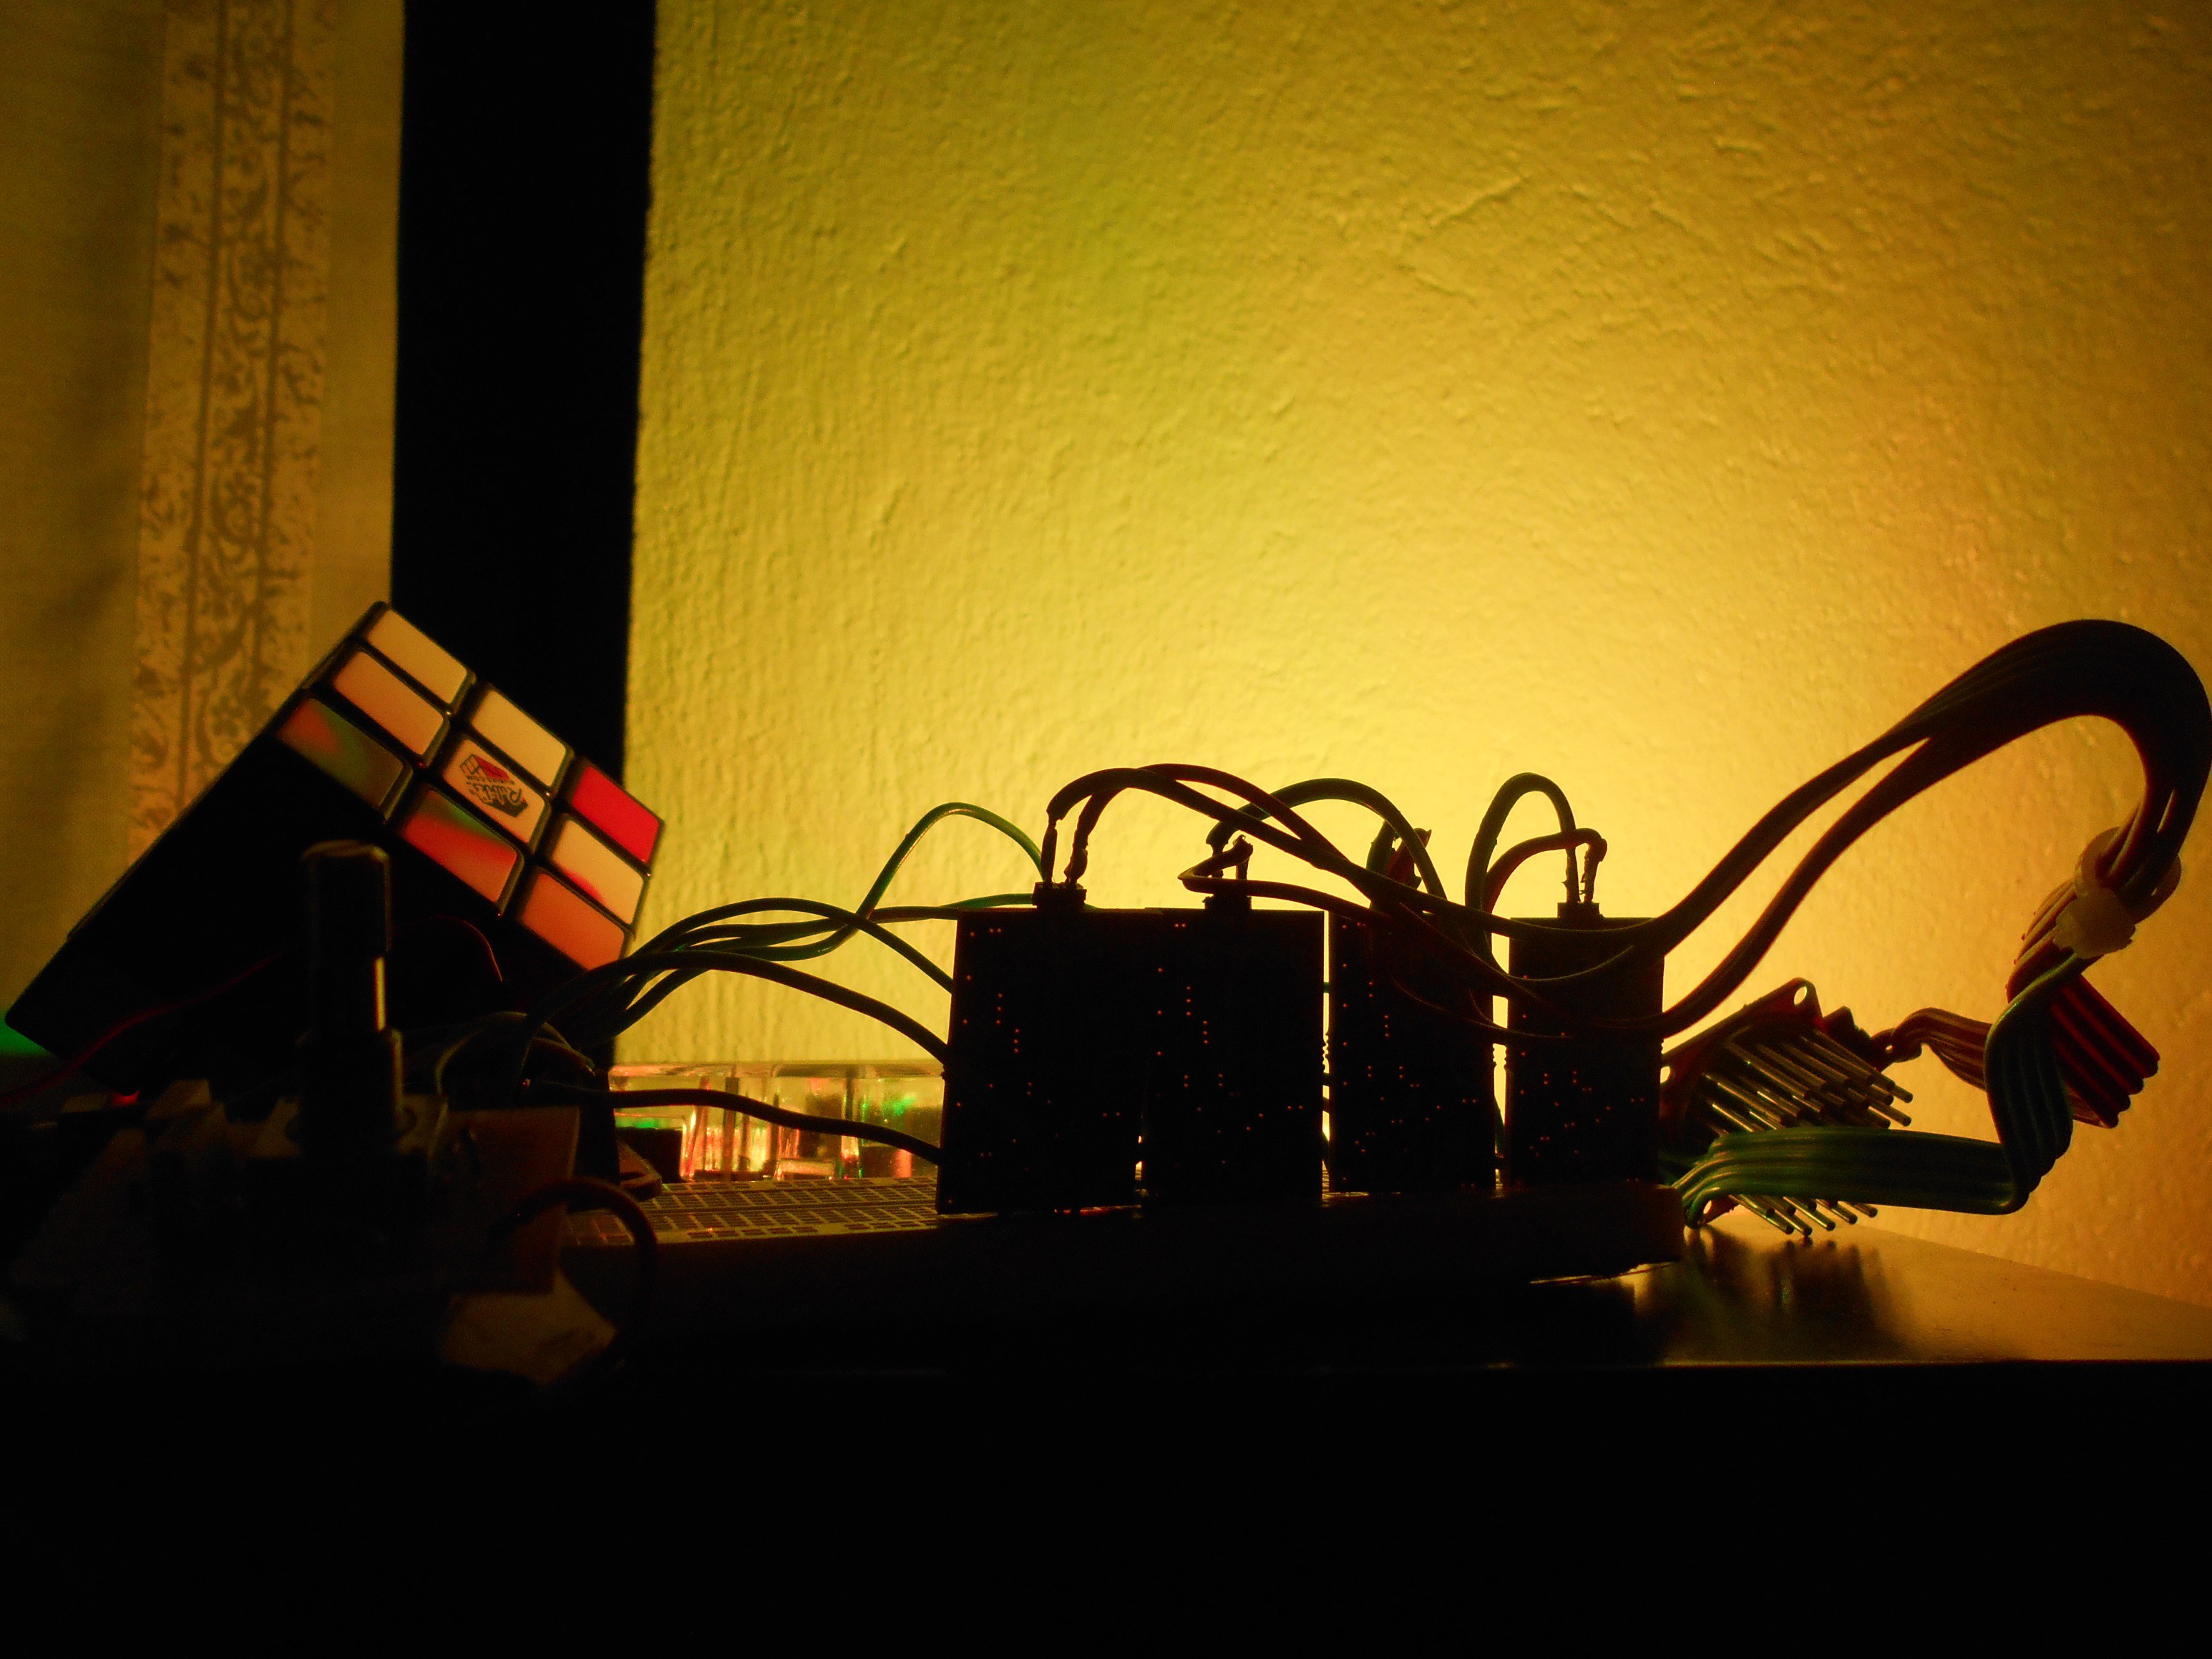
It turns out that I can directly put them on a breadboard when soldering some headers on the boards. So I have also crinched together an encoder recovered from an old car radio. So that I can do some functional tests and start working on the firmware, too. The LEDs that can be seen in the picture are the classic Luxeon Rebel series, soldered on a board, a satellite board. I was able to use a small heatsink which I bought, being sure that was thermally compatible with my calculations. But the satellite history is something that deserves a separate log.
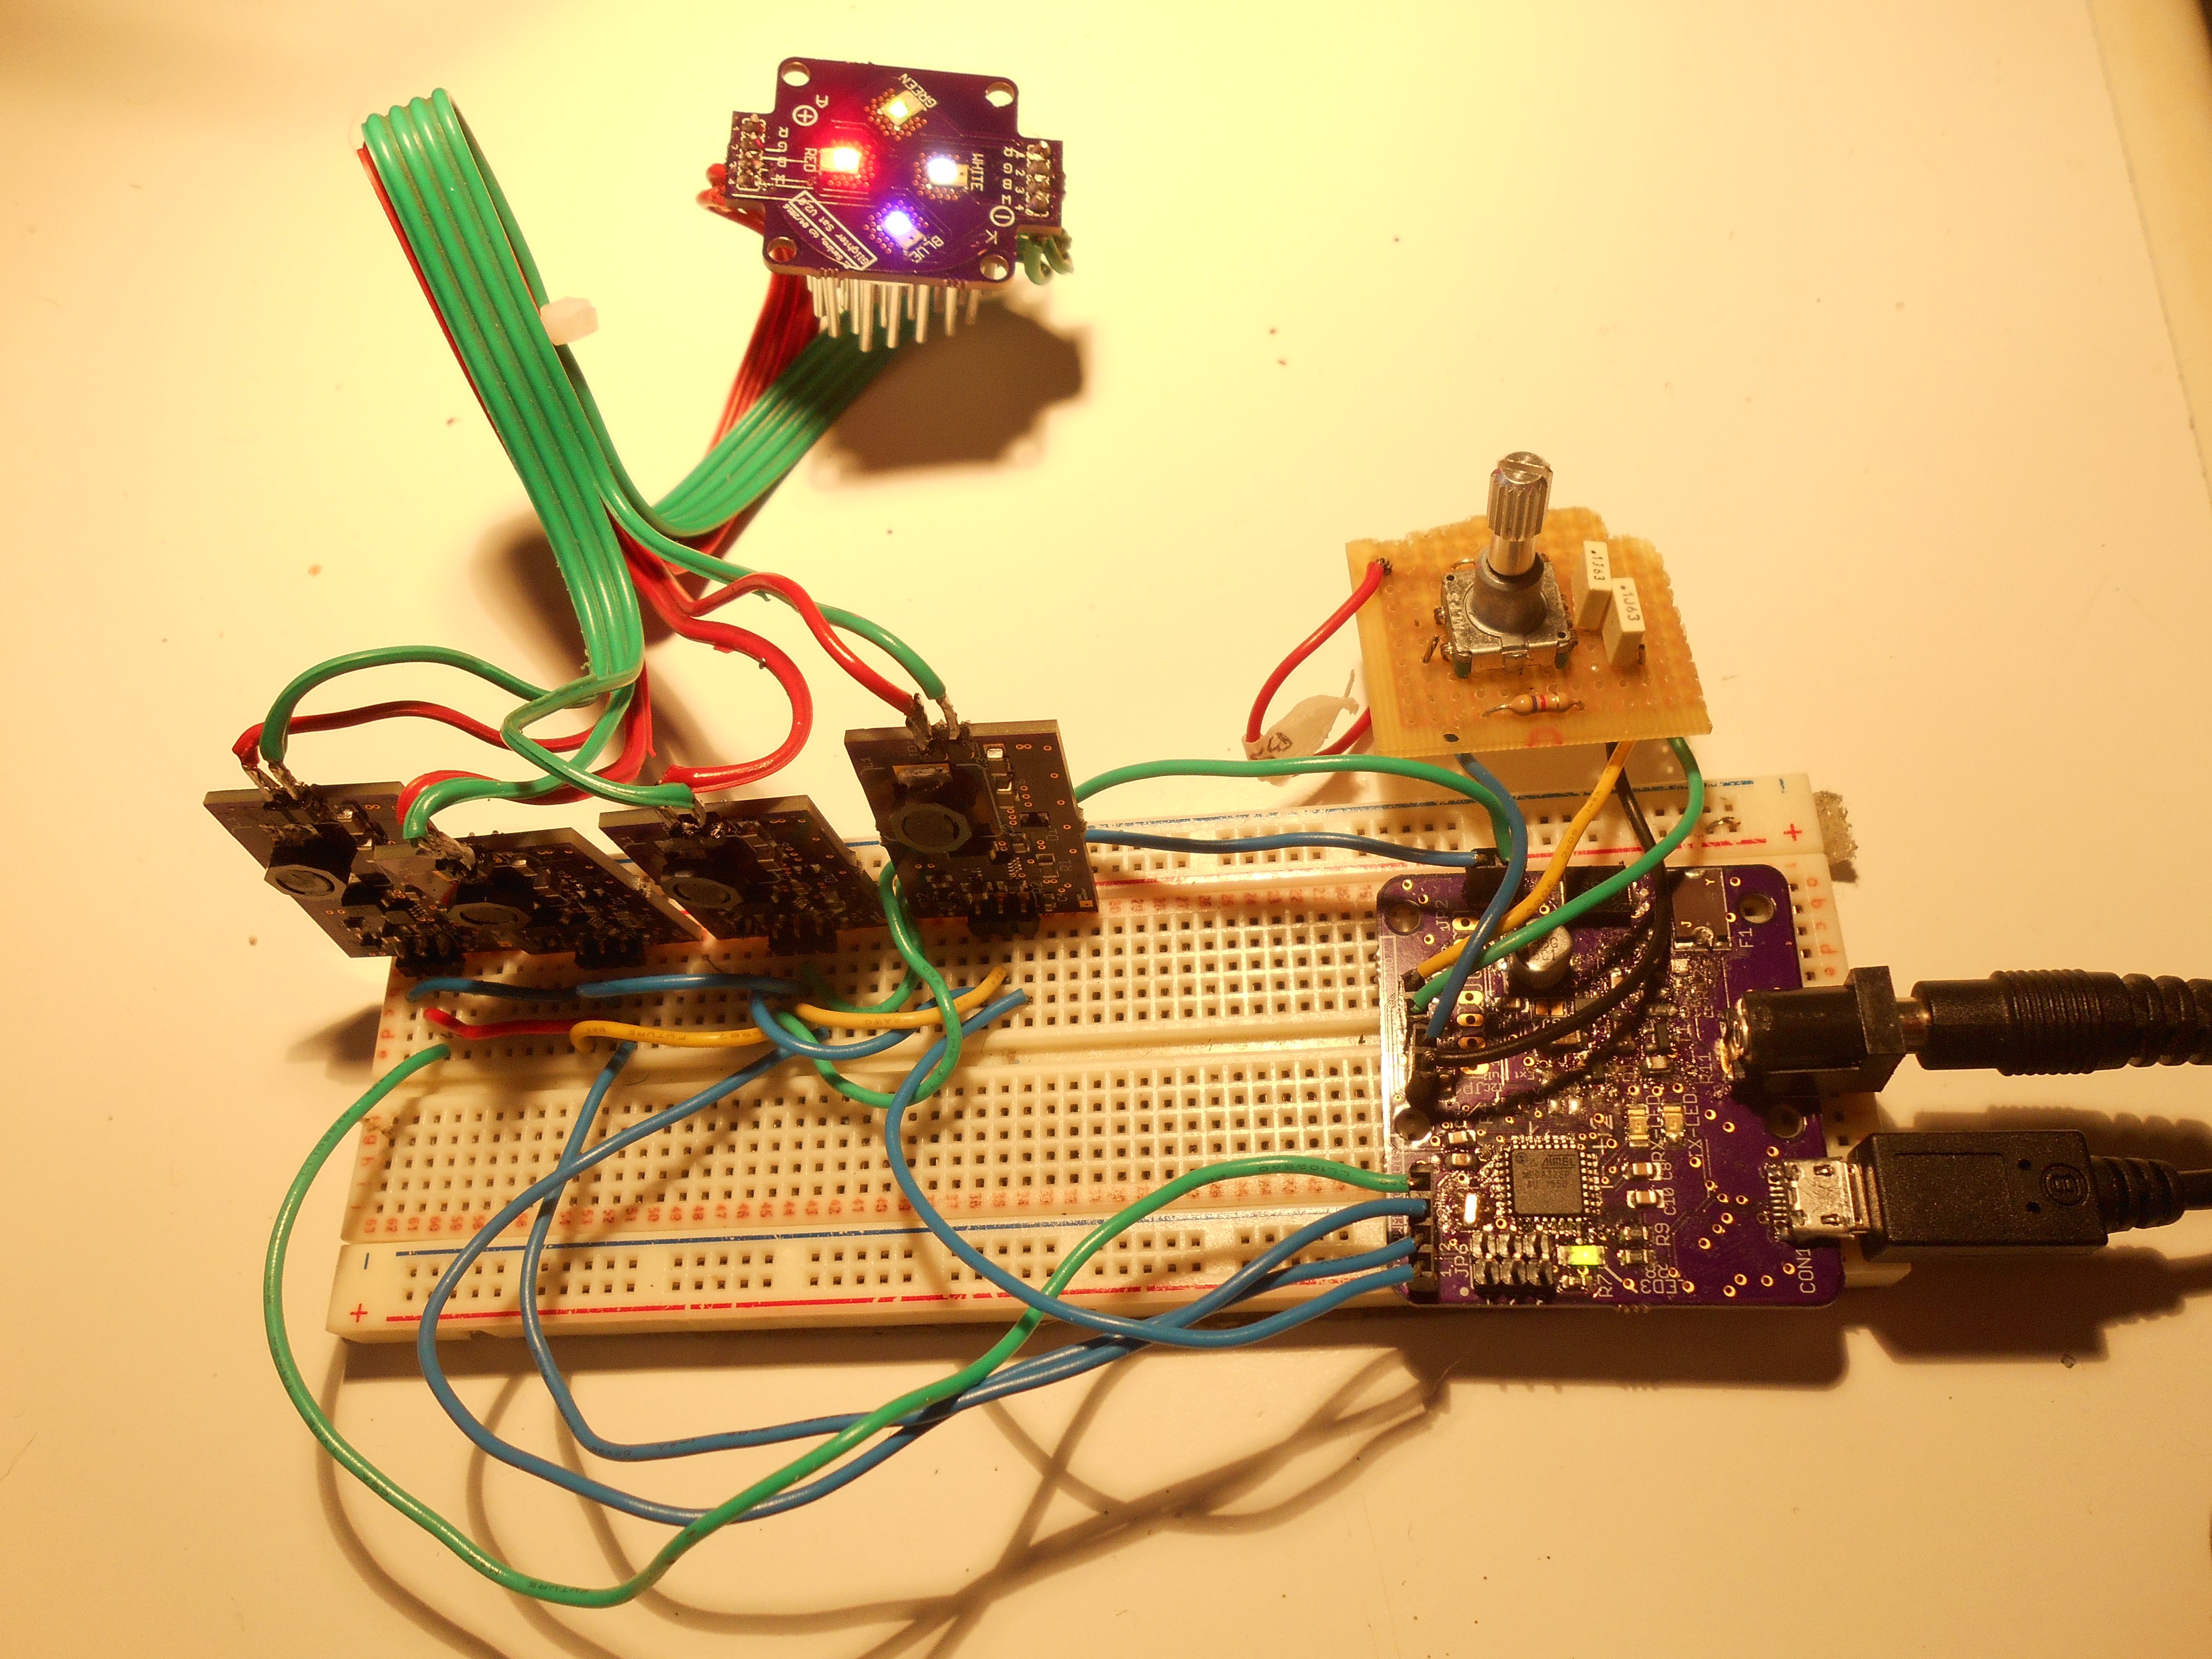
In the picture above, you can spot that the process of testing the Lino in various operating modes, debug and stresses, added to the board the signs of the mods.
The overall effect with some basic firmware I have to say it is quite interesting in terms of light and its ambient effect.
Discussions
Become a Hackaday.io Member
Create an account to leave a comment. Already have an account? Log In.