 Daren Schwenke
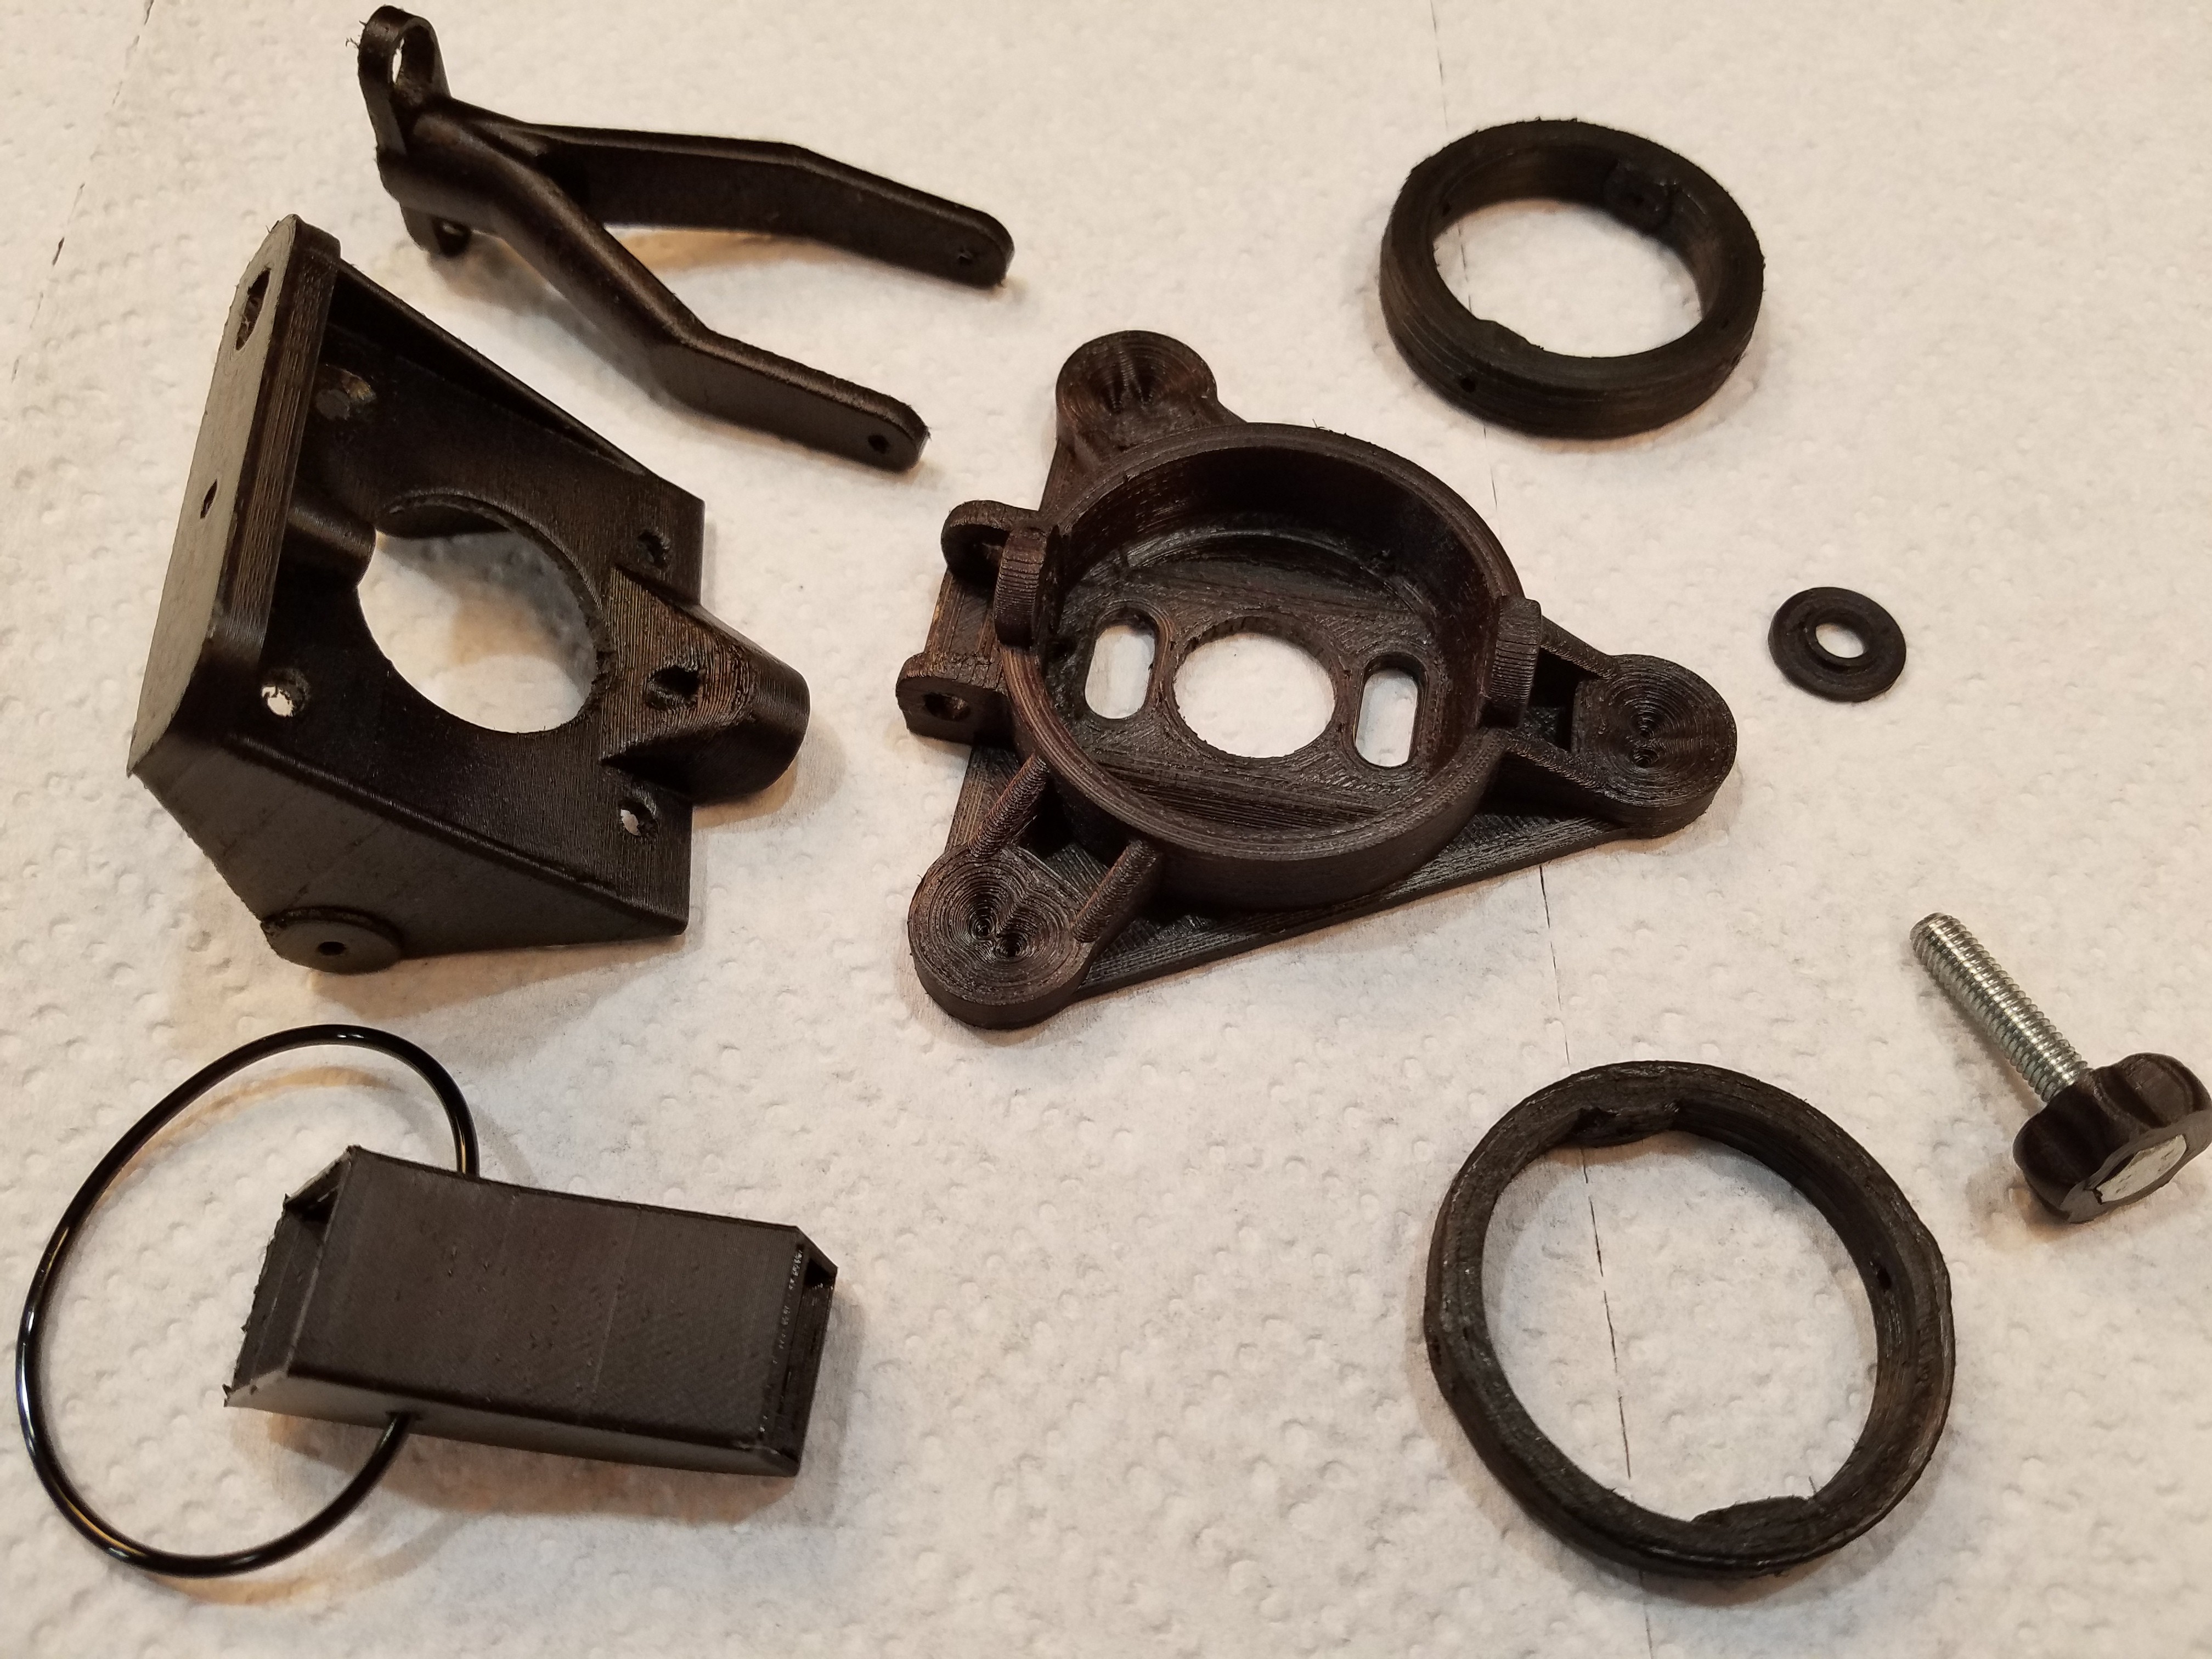
Broke v4.1 when it fell off my desk and I rolled over it with my office chair, so I took the chance to fix a few things.
The push-rod hinge is wider now, and the fan mount is thicker and larger diameter.
I also thought I would give annealing the nylon a try. I wanted to make sure the parts were perfectly dry anyway for the next step and annealing will make them tougher.
Annealing the parts
I have a rather unusual convection toaster oven which is just about perfect for this. It heats only from the top, but has a fan to keep the air moving inside. So putting my parts at the bottom meant they were heated with just air and not radiantly.
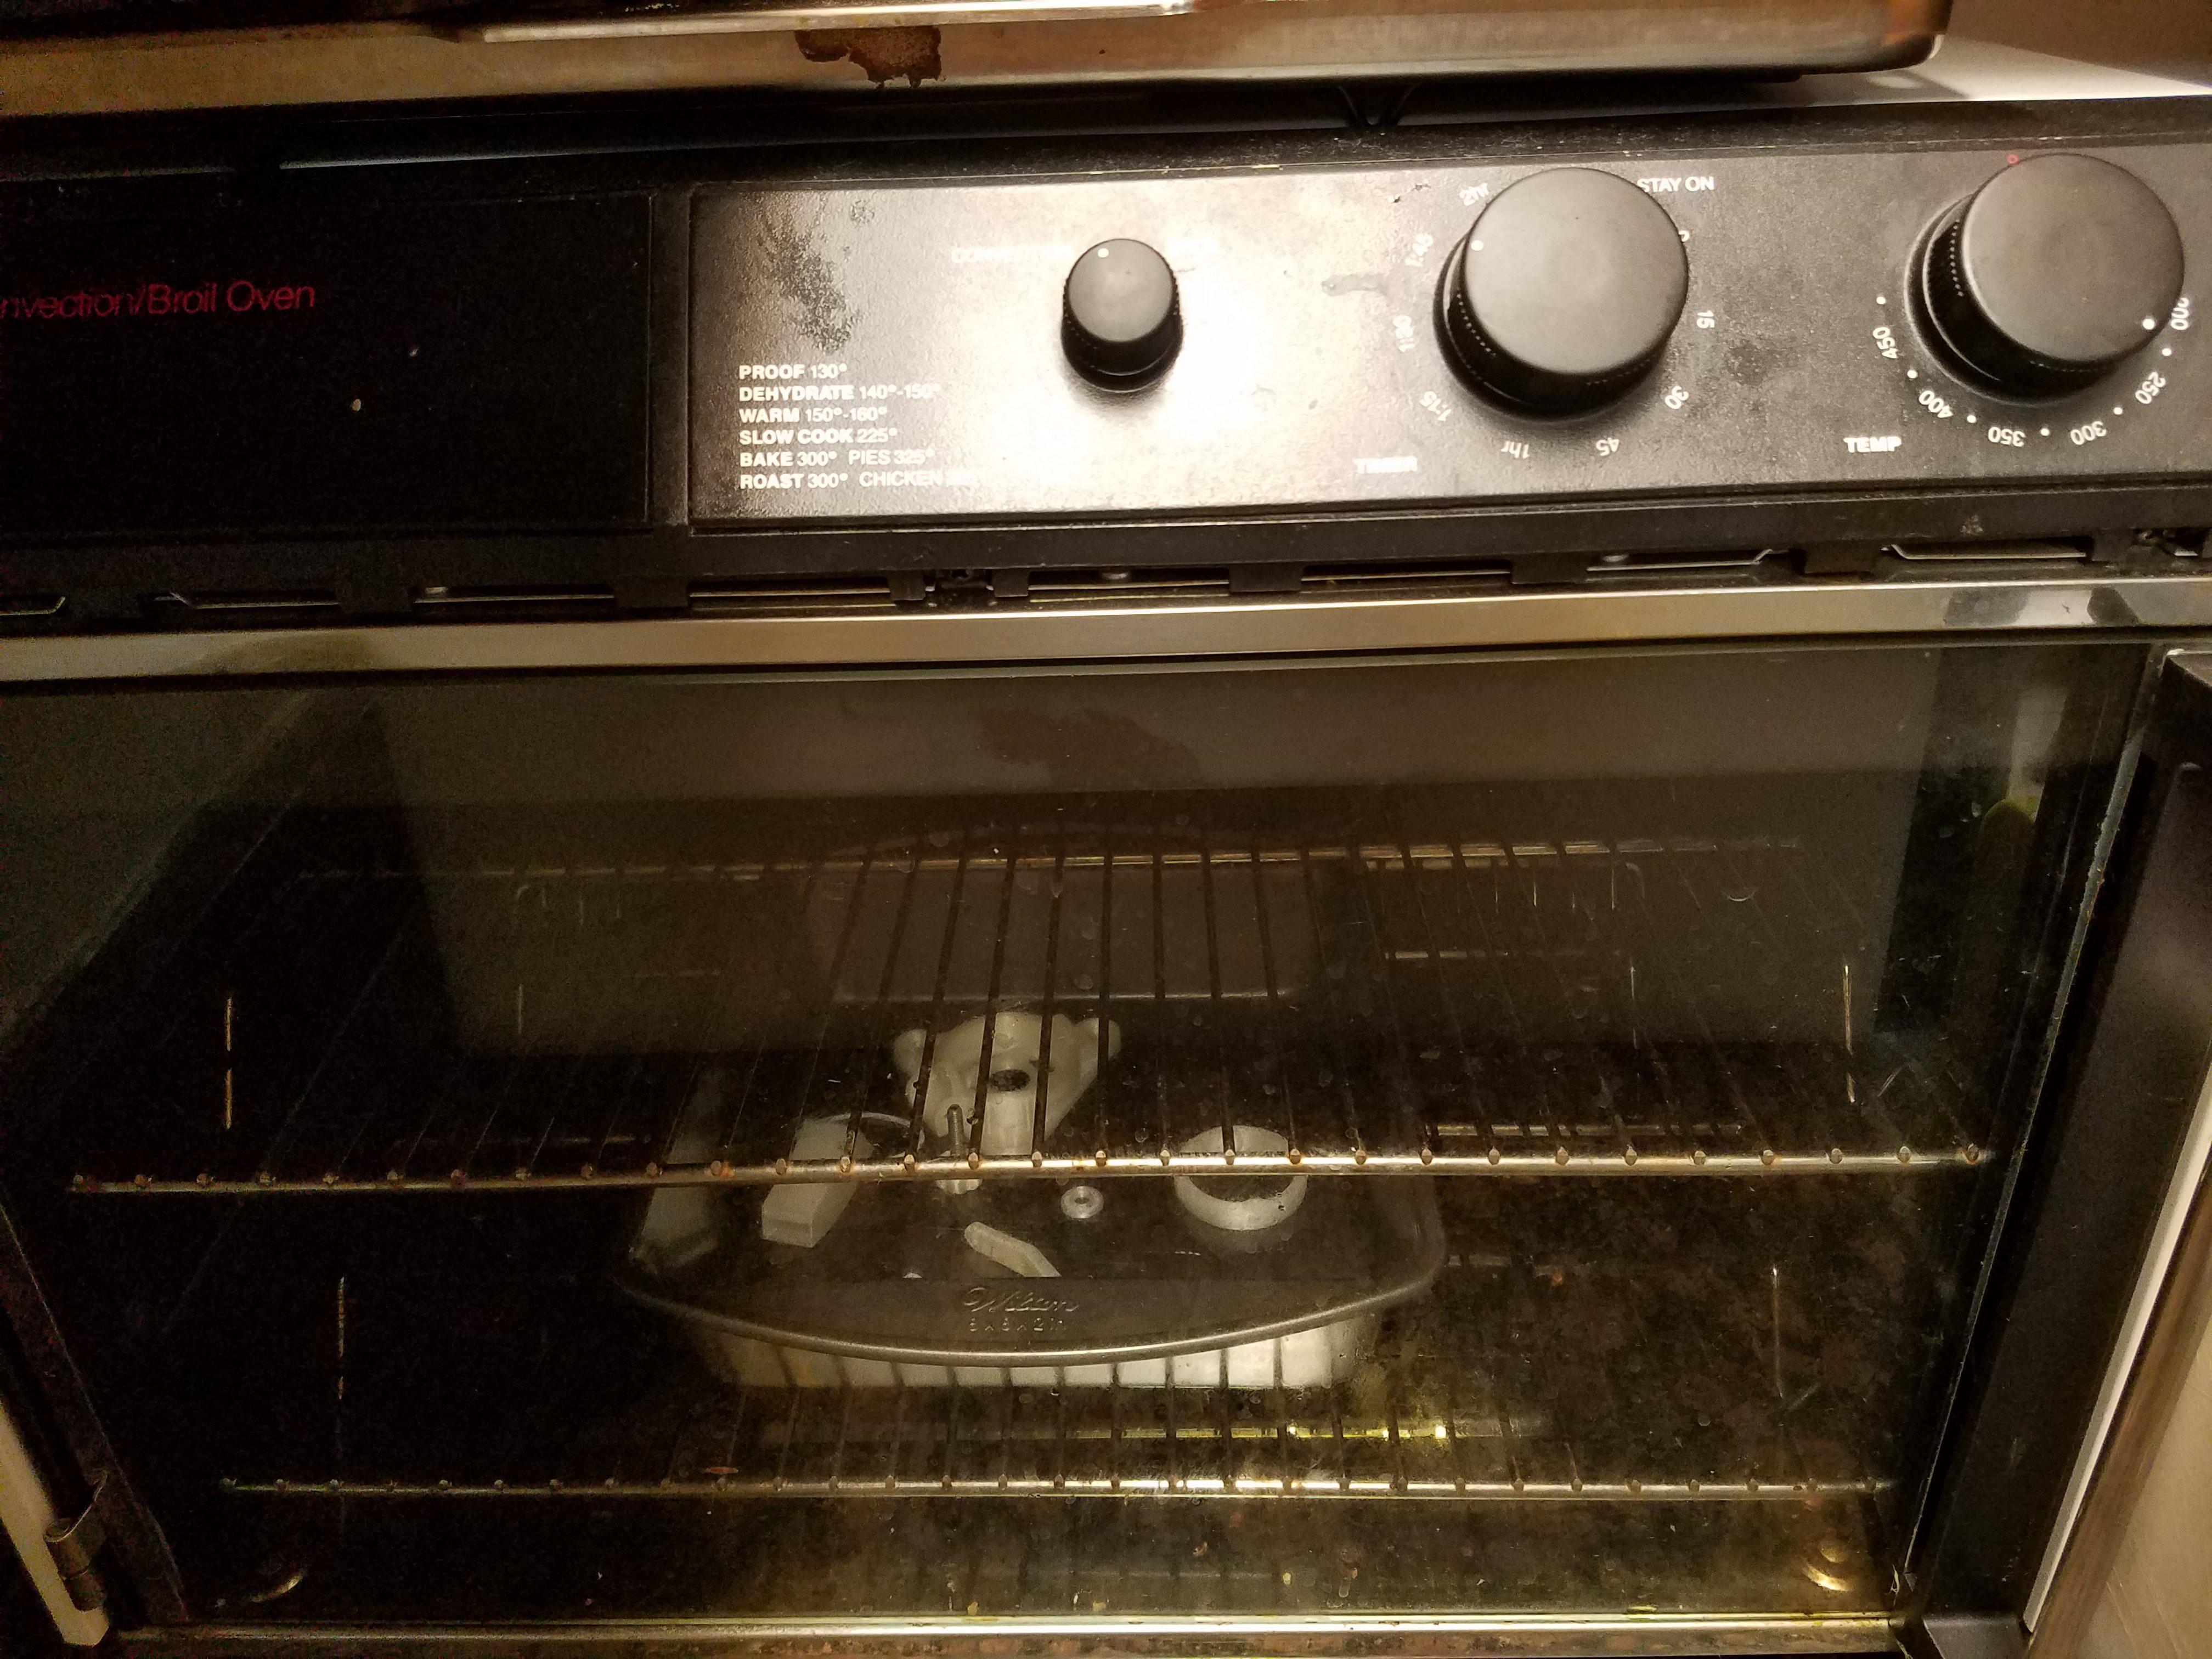
Simplified steps for annealing nylon:
- Bring the oven up to temperature without the parts in it. Electric ovens only!
- Put the parts in and bake for 2 hours at 135C (275F). Avoid directly heating the parts.
- Turn the oven off and leave the parts in the oven until cold.
The annealing works to relieve the internal stress which has built up as you were printing the parts, and allows the polymer chains to relax forming larger crystalline structures when they cool. Basically it gives you harder and tougher plastic with less weak spots. According to the site I linked above, this also results in some minor dimensional changes with the parts shrinking 2-5% in XY and growing about 2% in Z. I didn't measure this.
Annealing yellowed the parts a little, but that won't matter in 5 minutes and the nylon is seriously hard and tough now.

For the other end effectors I opened up the single layer thick bottom cable holes with just a pin. This time I had to drill them out as I just could not get the pin through. Impressive.
Dyeing the Parts
Next I wanted to try dyeing the parts. I theorized that since nylon quickly absorbs moisture from the air, starting with dry parts first would make them absorb the dye more readily.
I picked up some Rit dye for synthetics. Regular dye also works fine for nylon, but this stuff will do polyester, acrylics and a couple more plastics too. I imagined since it was designed for plastic it would work better on the nylon. I was not wrong...
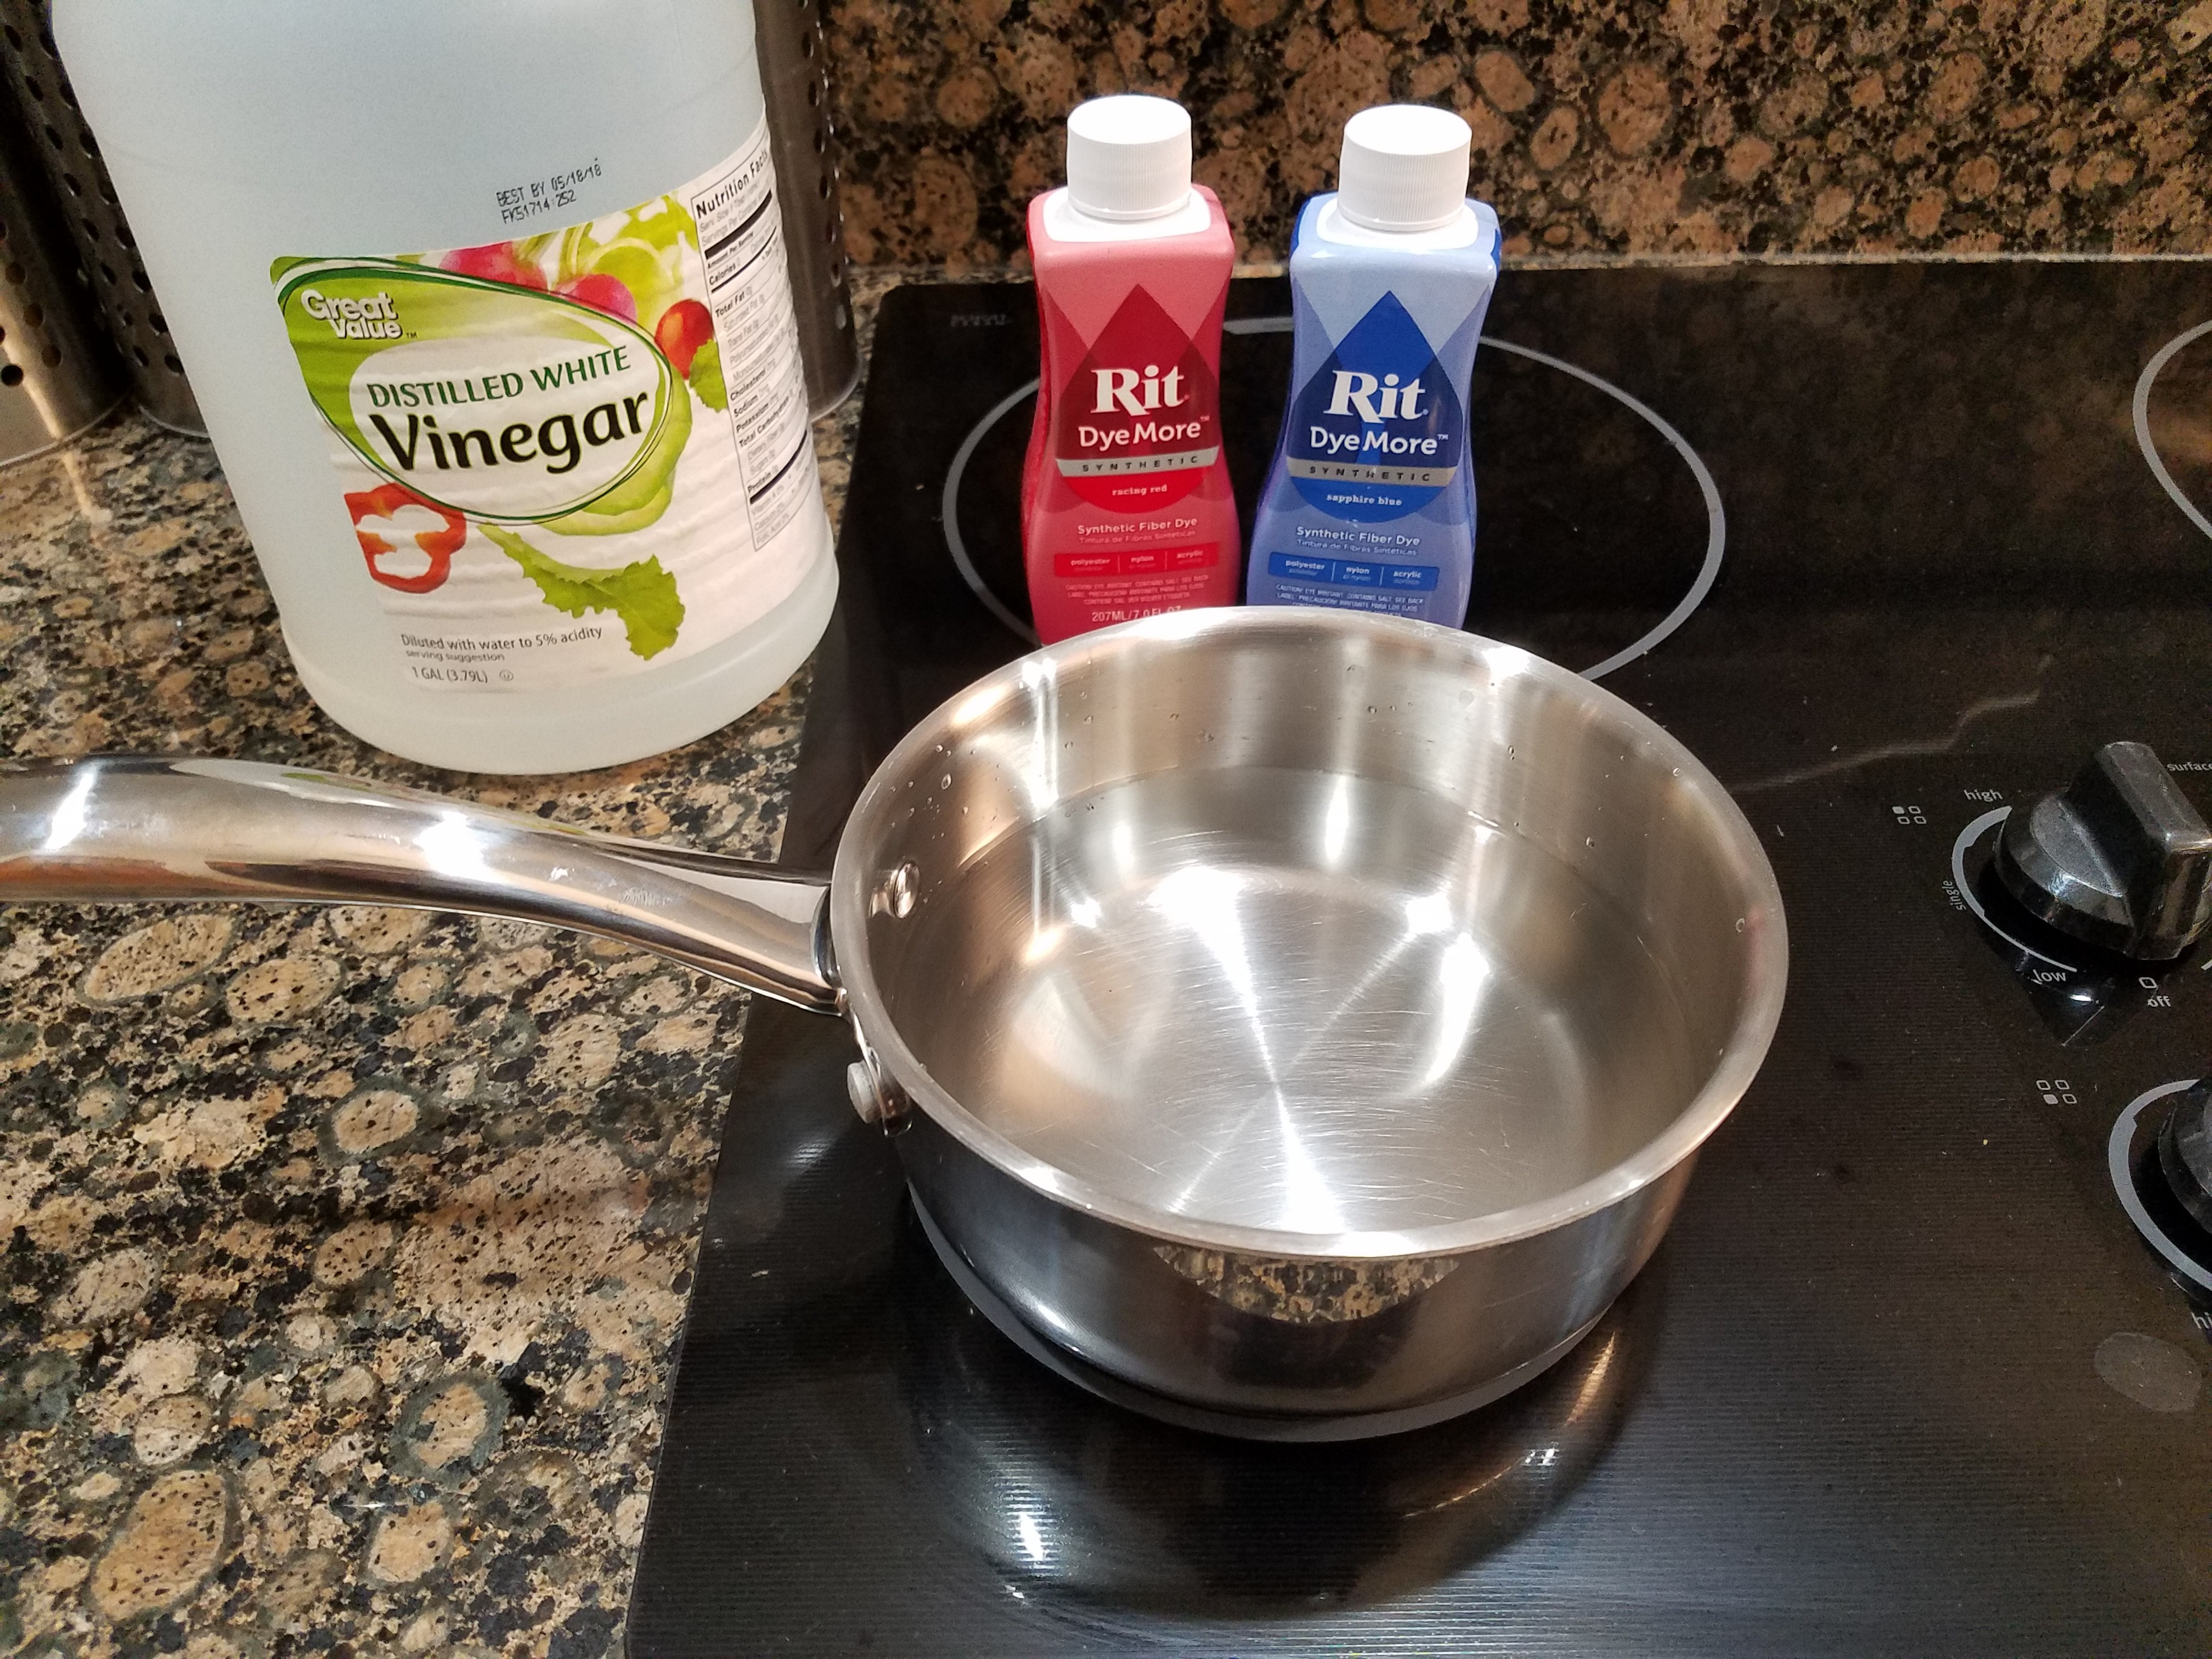
Simplified steps for dyeing nylon:
- Fill a small stainless steel sauce pan with enough water to cover the parts.
- Add a teaspoon of vinegar.
- Add some dye. I used 5 tablespoons. This was way... way.. too much.
- Bring to a boil, then reduce the heat to just under boiling.
- Add the parts and stir gently for a couple minutes.
- Remove them and rinse in cold water until they stop bleeding.
And this is why I said 5 tablespoons was way too much. It worked ridiculously well.
My purple parts are basically black after a total of 5 minutes in the dye.
Man o man, those are some pretty parts.
It's not just the surface either. The dye penetrated a good half a mm in 5 min. I think next time I'll use a lot less dye, and leave them in a lot longer to see if it will penetrate more.
I could barely contain my enthusiasm.
Discussions
Become a Hackaday.io Member
Create an account to leave a comment. Already have an account? Log In.