 Michaël Memeteau
Some context for a Start(up)

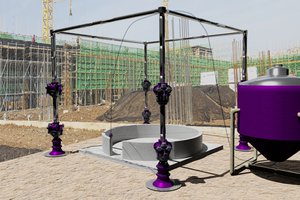
We're currently trying to turn into a real physical product a basic concept which is quite simple: using a connected scale to be able to predict the time at which an LPG cylinder will be depleted and use this information to optimize the home-delivery... More info here.
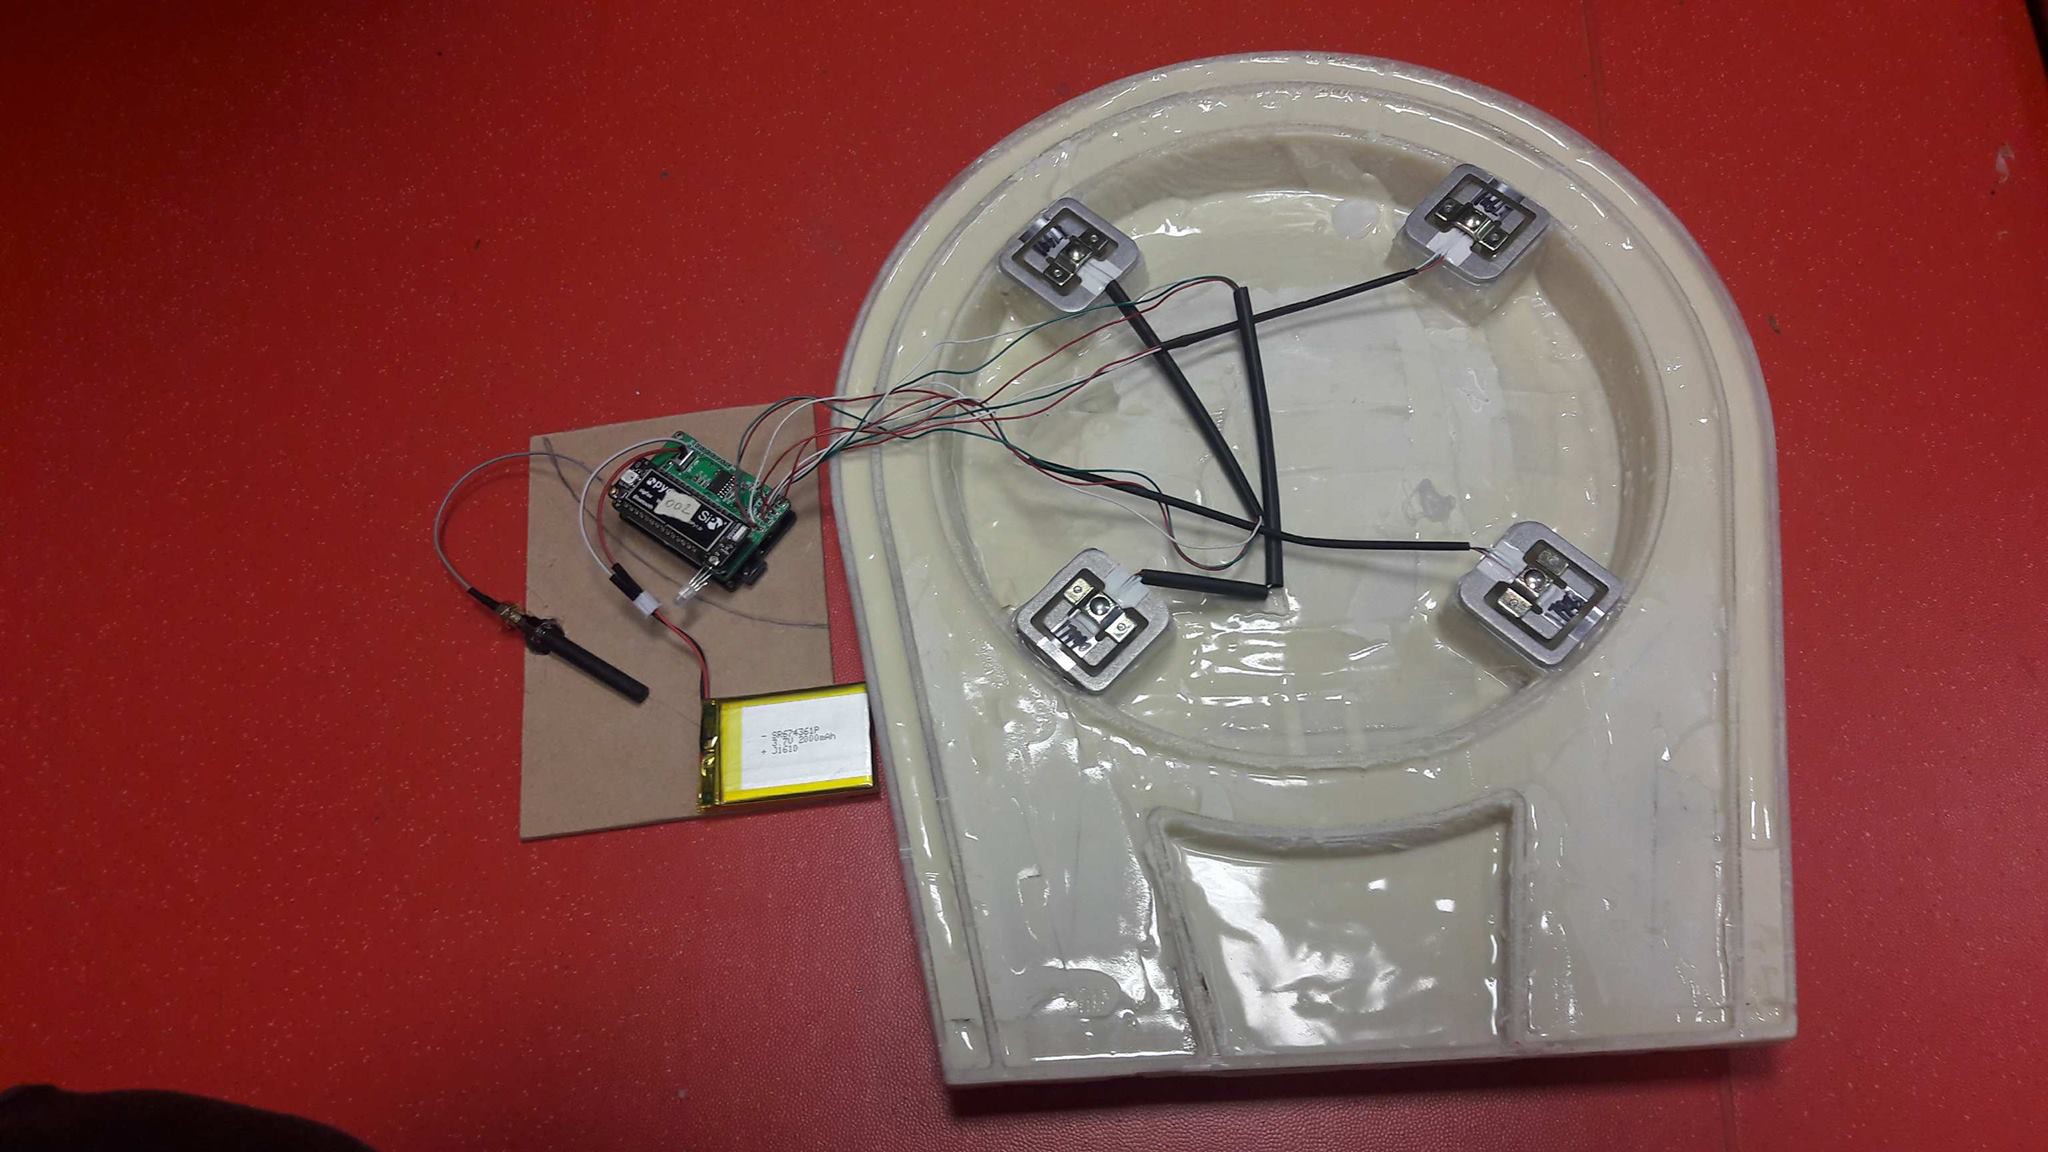
To start our pilot, we need a replicable, low cost method to put between 15 to 20 prototypes of scales on the field at some selected customers houses and/or outside. Leaving the electronics out of the equation for now (we're using a sub-1GHz LPWAN by the way) and others technicalities, it was time to figure out a cheap way of making fast iteration for the project.
We could build this out of LEGO and some cyanoacrylate, right?
Not really... Those large bulky LPG cylinders (G110) are 80 kg. We need to find something else (it would come particularly cheap anyway).
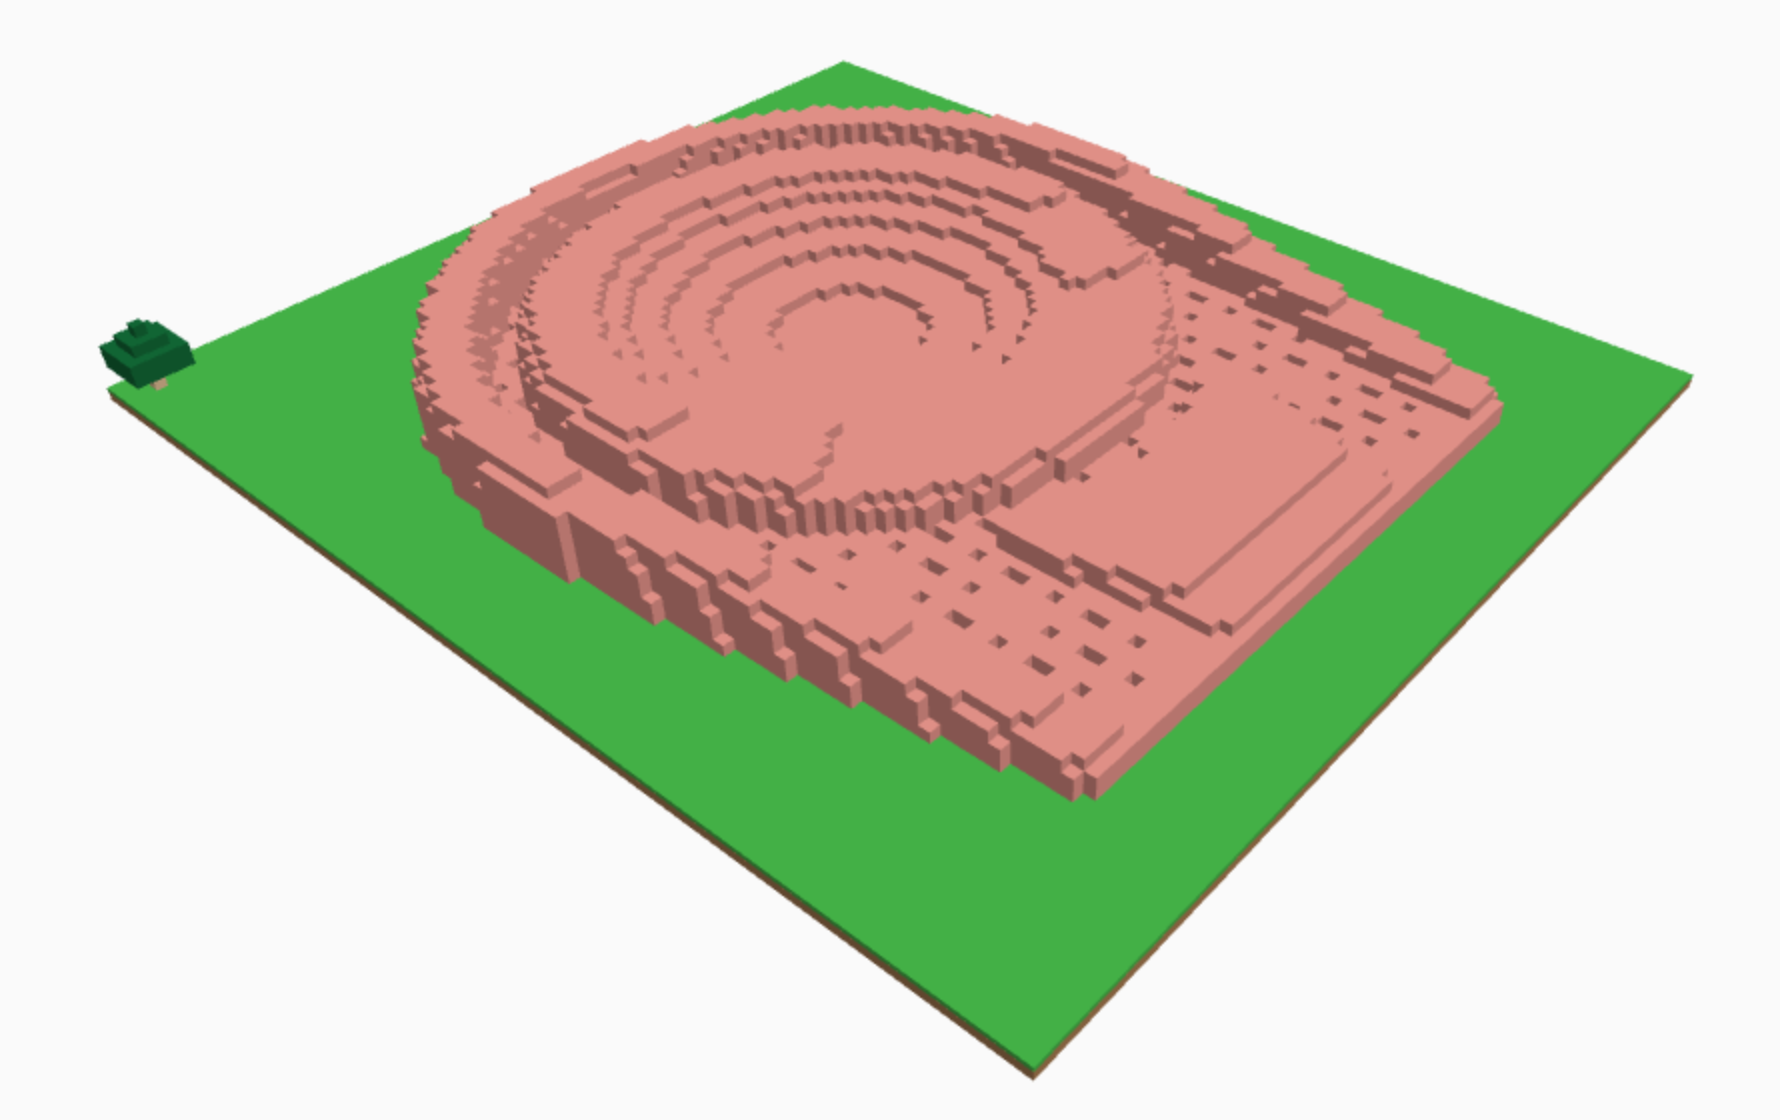
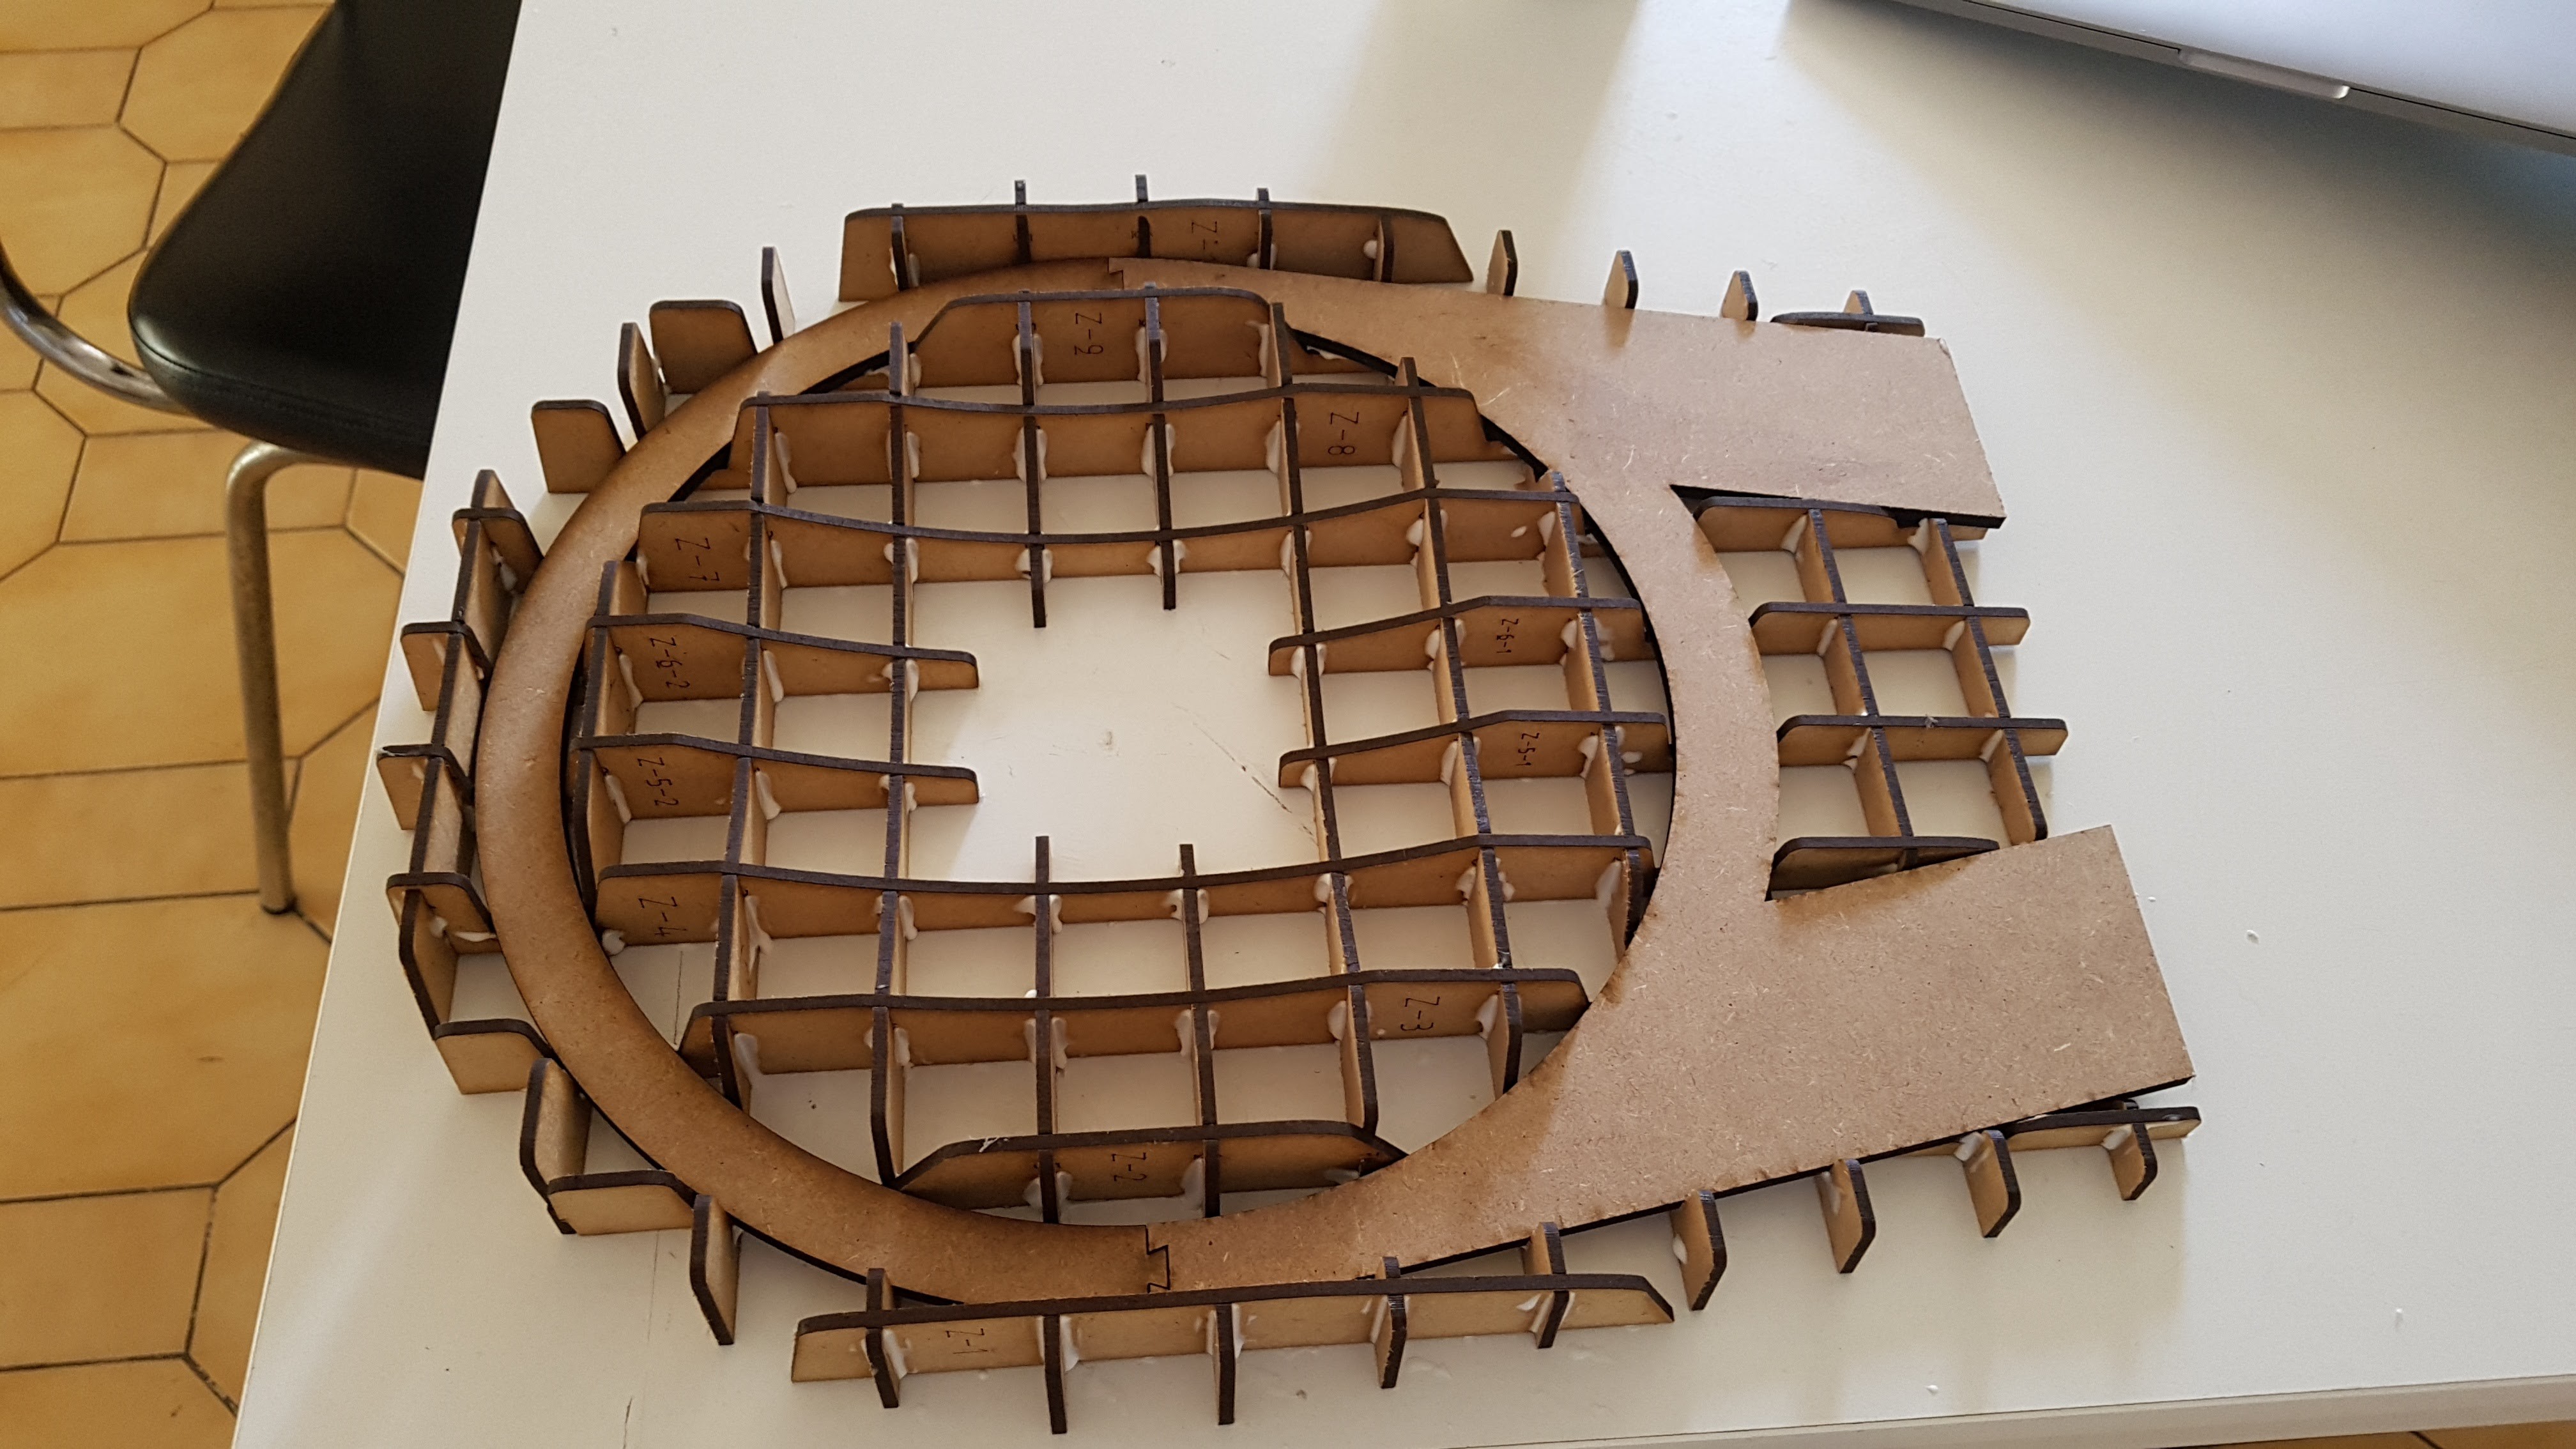
We've made some trials with an MDF lattice (using the autonomous 3D Slicer from Autodesk), but it was still very low-fi for what we needed...
First attempt
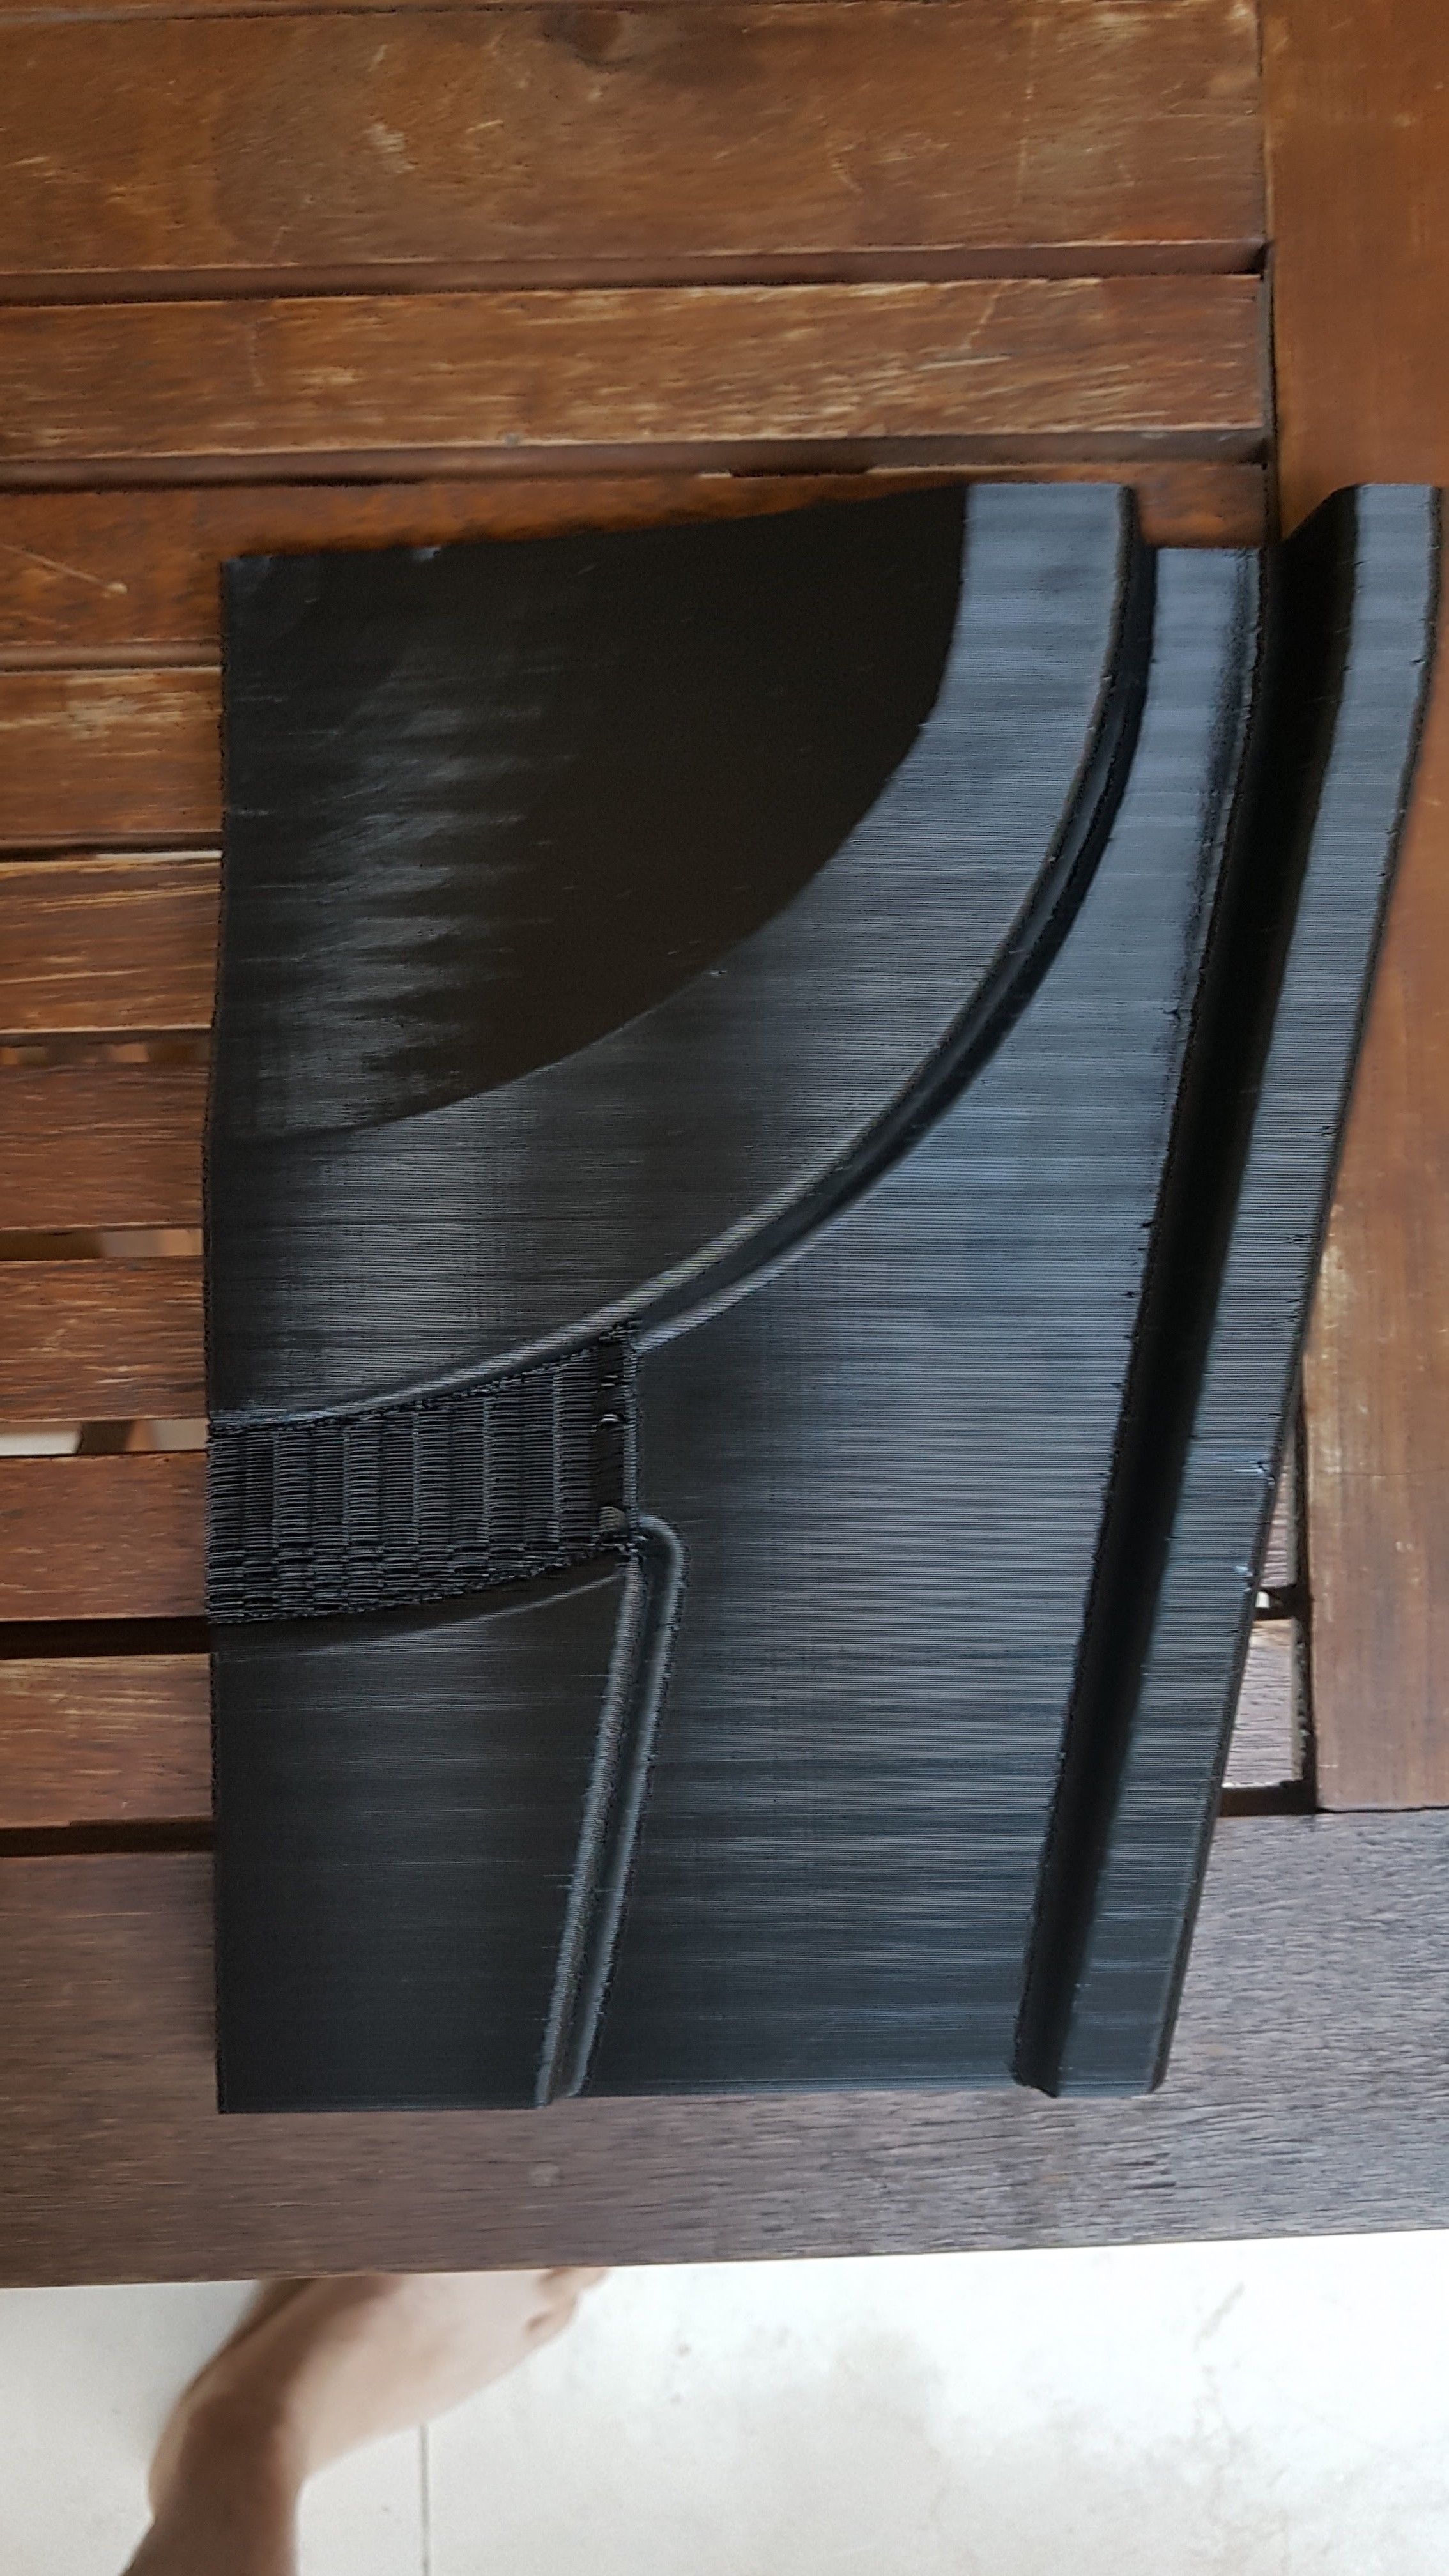
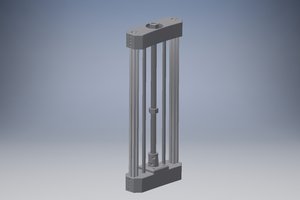
A first approach was to try plain 3D printing with 100% infill. Several problems here:
- The bed of our custom 3D printer wasn't large enough to accommodate the part horizontally where it would have made more sense from the layer orientation point of view. We would have to print vertically, which isn't going to play well with the way the forces are exerted on the part;
- The printing time was not acceptable (the part below took 6 hours for only a sixth of the total dimension;
Second attempt
We discarded the possibility of 3D printing a mold since we wanted to leave open the possibility to change some of the geometry on-the-fly (a silicon mold from a 3D printed master would have been the way to go).
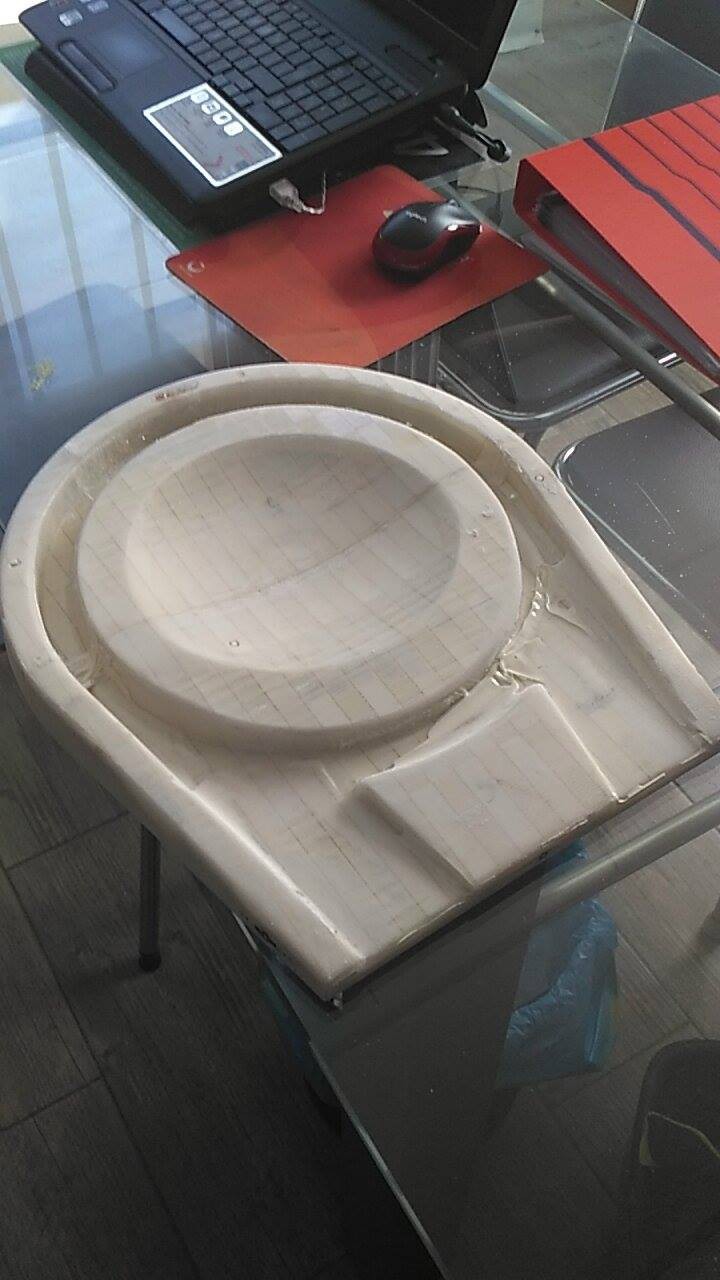
A two-components polyurethane resin was chosen to reinforce the part internally. Our primary approach was to leave the top of the part open on one side and go for a simple gravity fill... It kind of worked, but the high viscosity and the short pot life of the resin we choosed resulted in a part that was only filled partially (~60%). We had to repeat the process manually to fill the remaining voids. The resulting part is sub-optimal, but it already much closer to what we're looking for...
We also discovered in the process that:
- A infill was necessary (the own weight of the resin was enough to displace significantly the skin away from the nominal dimensions). The same infill would also help the part holding up during the vacuum assisted filling process (to avoid collapsing on itself);
- The infill had to be permeable to the resin (it couldn't contain any closed cell). We figured out that using the highly customizable Simplify3D slicer infill features was giving what we were looking for... (see "The Recipe");
- The PLA used initially wasn't holding to the exogen reaction from the resin curing. We changed to PETG instead, switch to a transparent one also helped controlling the filling process;
- Bagging the parts also gave us the possibility to work out little imperfections from the 3D printing process. Some of the geometry (especially bottom hangover) were difficult to get perfectly closed;
- Leaving some of the geometry open on the original model were also allowing us to fill it up afterwards with some fiber glass charge (external contour);
Third and successful attempt...
Where the magic happen...

The recipe

and the result (in orange)

The 3D printing is still the longer part of the process (even at 100 mm/s !!!), but we now have in place a very flexible process to create and test parts in a Startup context... ;)
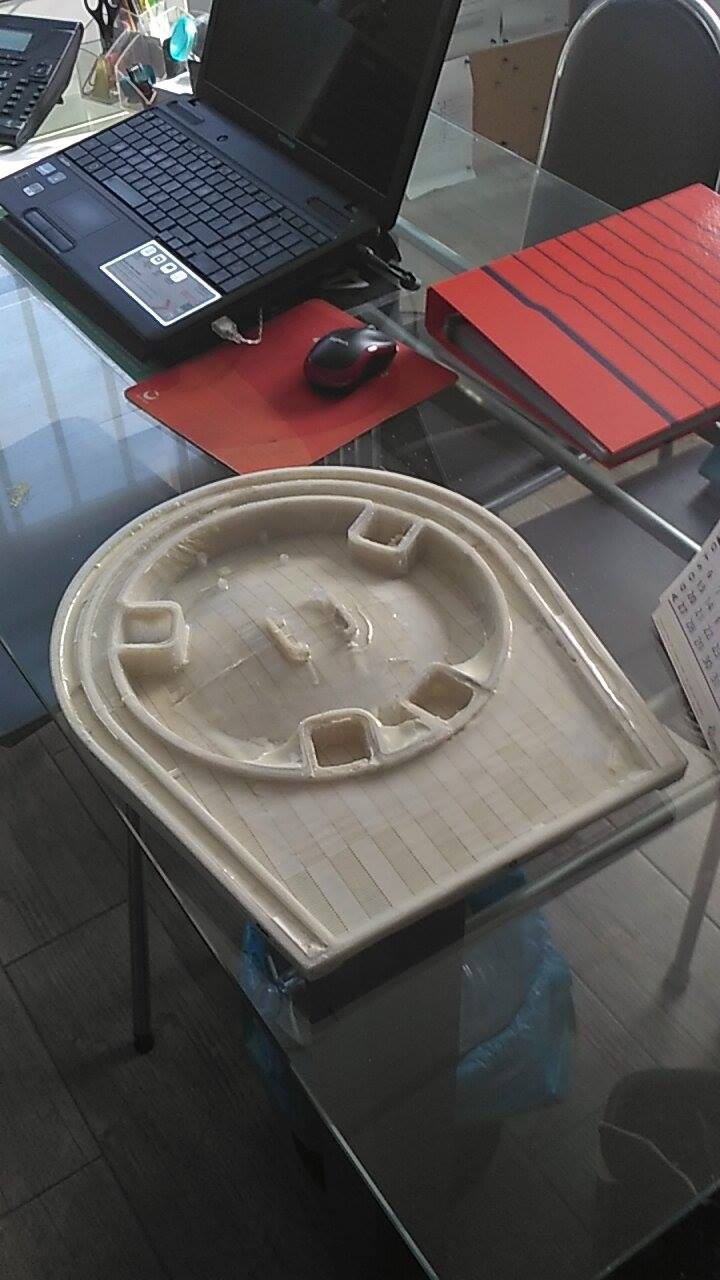
The semi-finished part... Still some finishing touch


 paul
paul
 ProgressTH
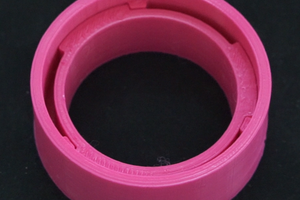
 jon.knutton
Do you really need 4 load cells? If you had 2 solid legs on one side and the 2 sensors on the other, you can use fewer components and a card with fewer inputs.
Have you thought of using a wood base and cnc routing?