 Maria Carlina Hernandez
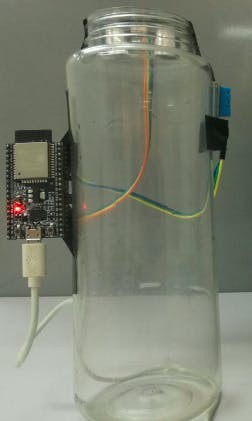
The Internet of Things has brought a lot of formerly complex device applications into the homes of many craft brewers and wine makers. Applications with level sensors have been used for decades in large refineries, water treatment plants, and chemical plants. With sensor prices falling, now both industrial and DIY can monitor the volume of any tank, barrel, or canister.
The sensors available on the open market can sense most anything and are classified accordingly. Sensor used for measuring humidity are termed humidity sensor, pressure called pressure sensor, distance are called position sensors, and so on. In a similar fashion, the sensor used for measurement of fluid levels is called a level sensor.
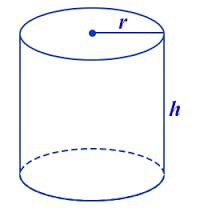
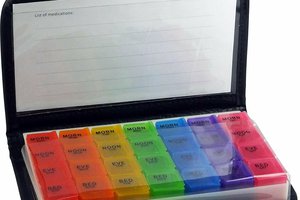
The level sensors are used to measure the level of the free-flowing substances. Such substances include liquids like water, oil, slurries, etc as well as solids in granular/powder form (solids which can flow). These substances tend to get settle in the container tanks due to gravity and maintain their level in rest state.


 grussell73
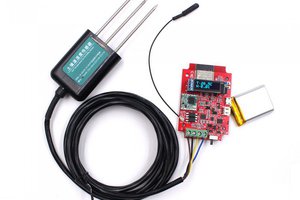
 Makerfabs
 jlbrian7
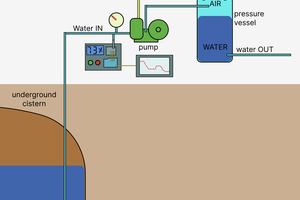
 Jan Neumann