 Carl Smith
This project builds on the previous work of Samy Kamkar and the authors of “The Car Hacking Handbook.” Samy discovered a method to quickly open garage door openers that use a remote with a fixed binary code set by dip switches. Despite the development of rather secure rolling code systems these remotes are still in wide use in situations such as apartment parking garages where a large number of remotes must operate the same door.
Samy discovered that the logic that checks for a code match rechecks the entire code sequence as each individual bit arrives, rather than waiting for a full code word to be received, and that there is no delay after checking for a match and no penalty for an incorrect match. If you have a 12 bit code the check system will check the first 12 bits for a match. If a 13th bit arrives, it will immediately check bits 2 through 13 for a match. If a 14th bit arrives, it will check bits 3 through 14, and so on. This facilitates much faster code searching as you have just checked three different 12 bit codes with only 14 bits sent.
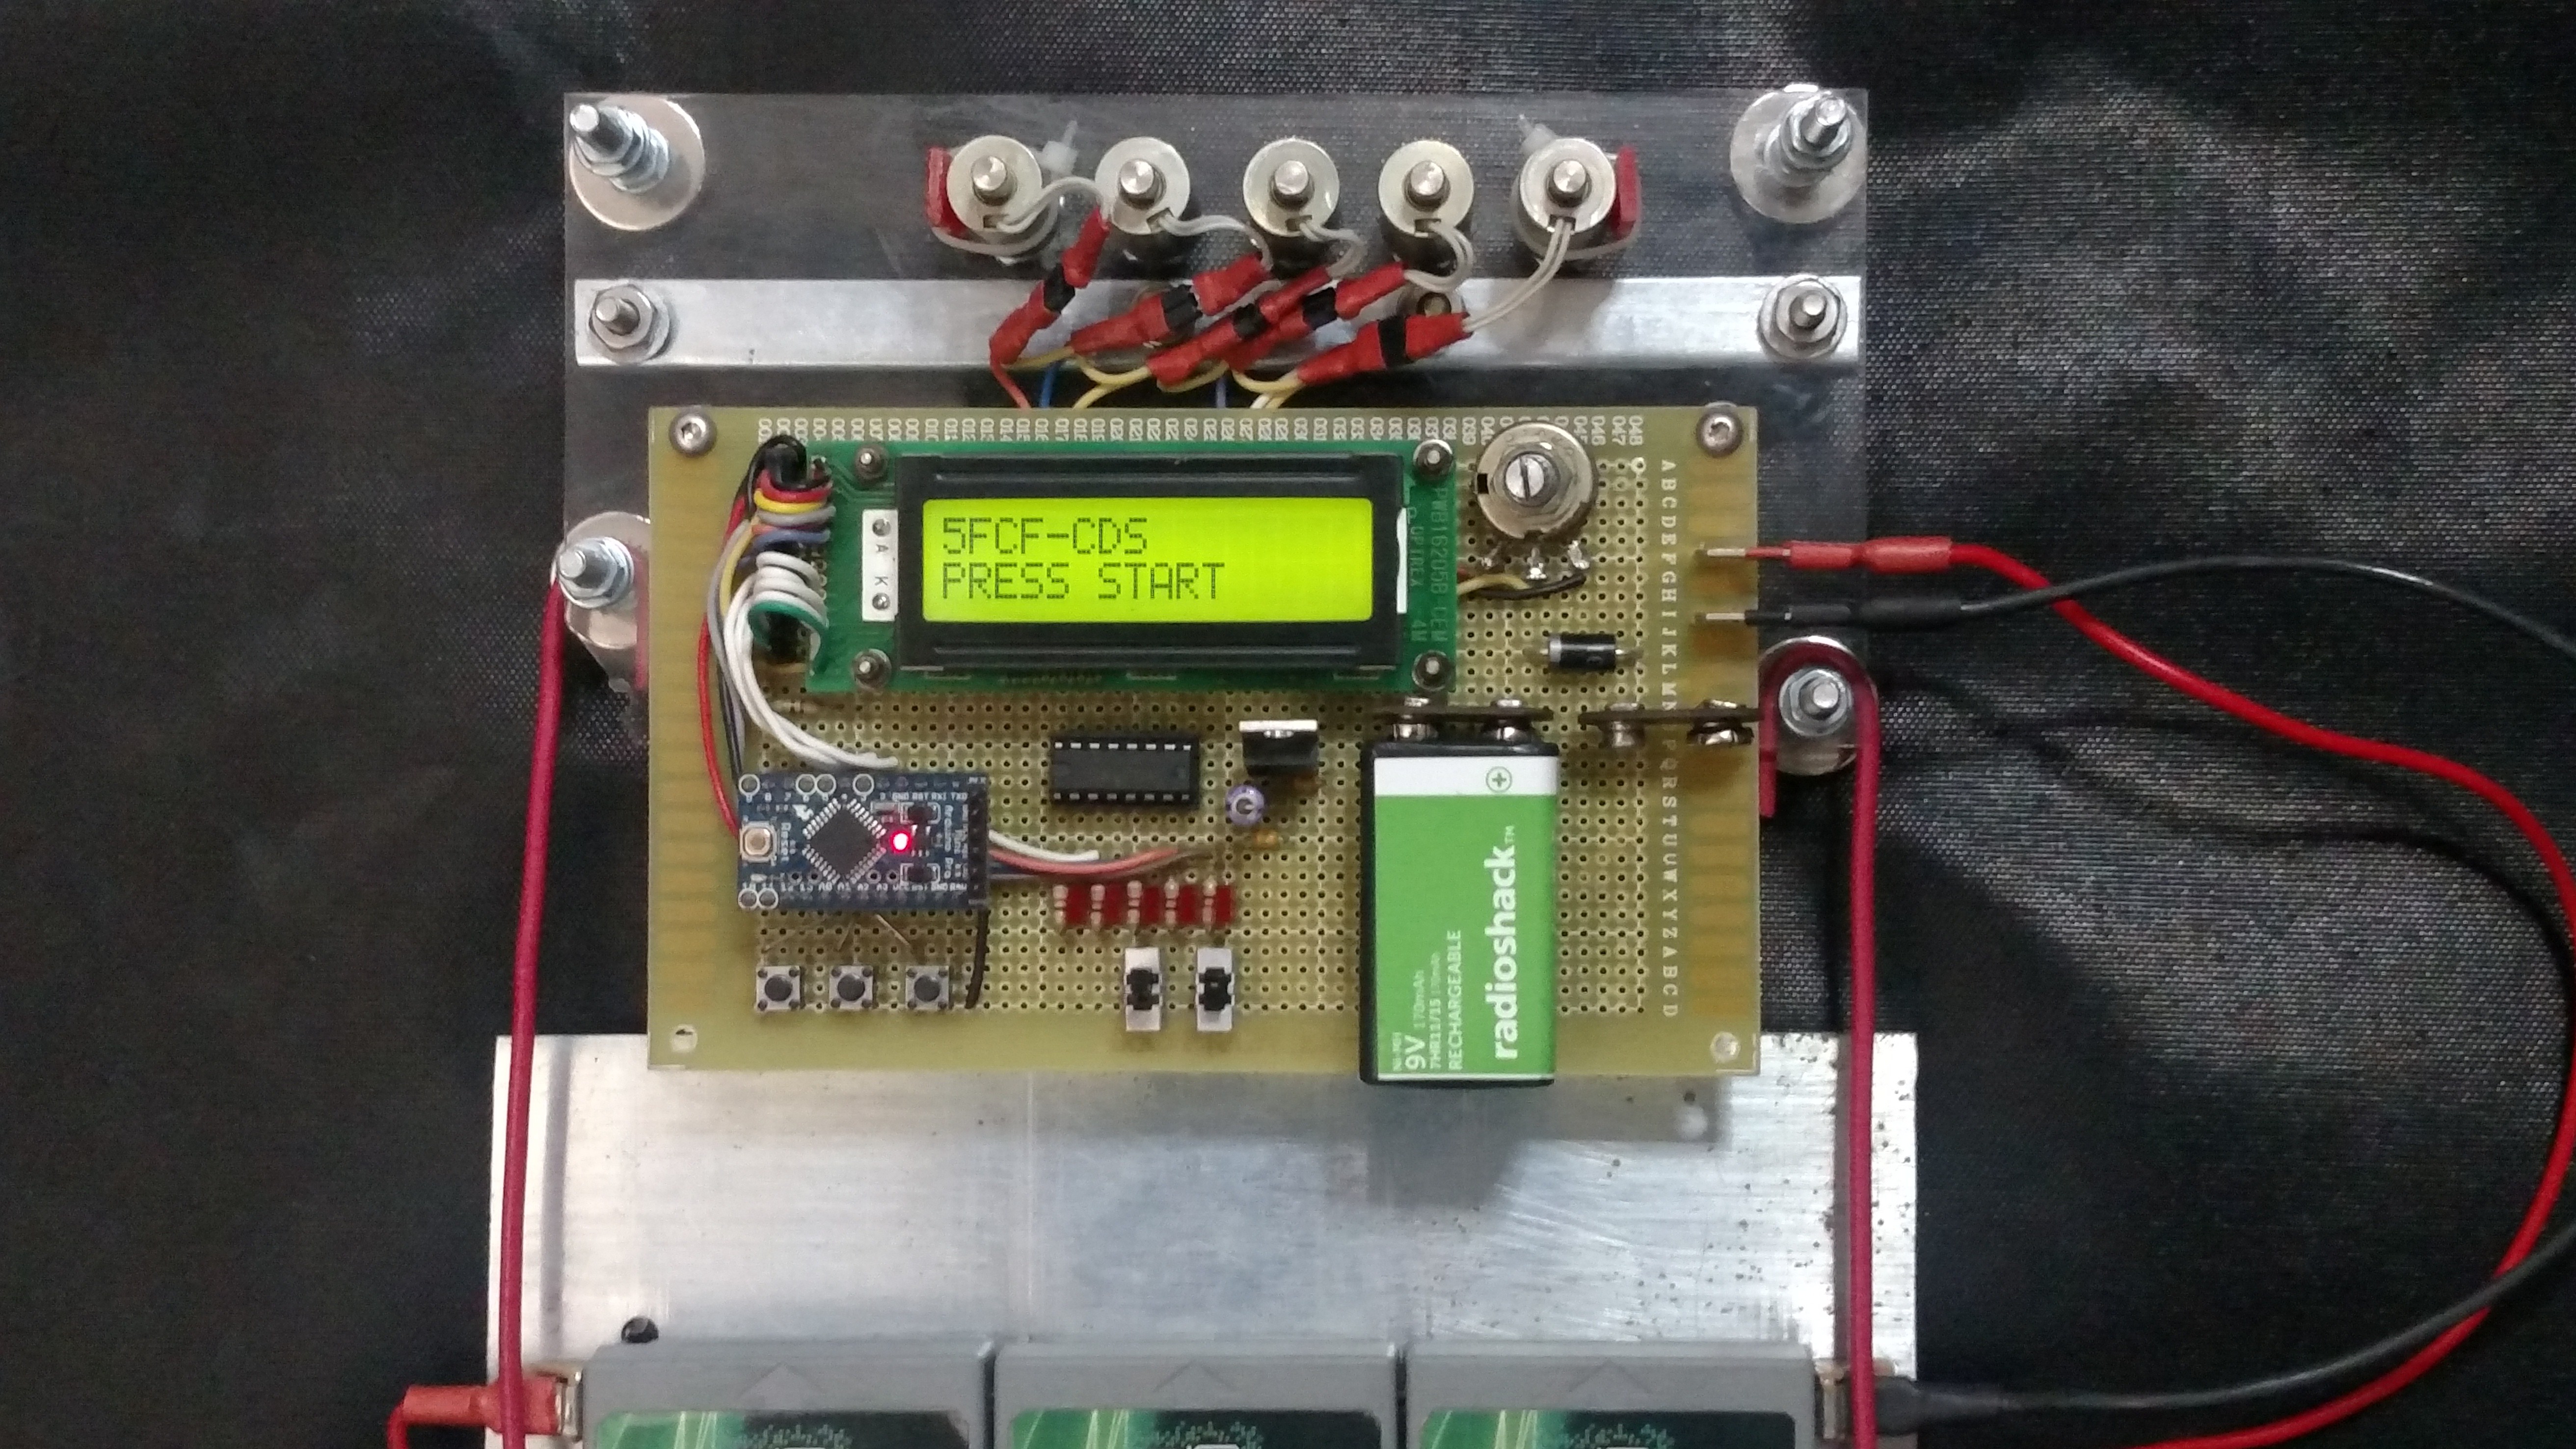
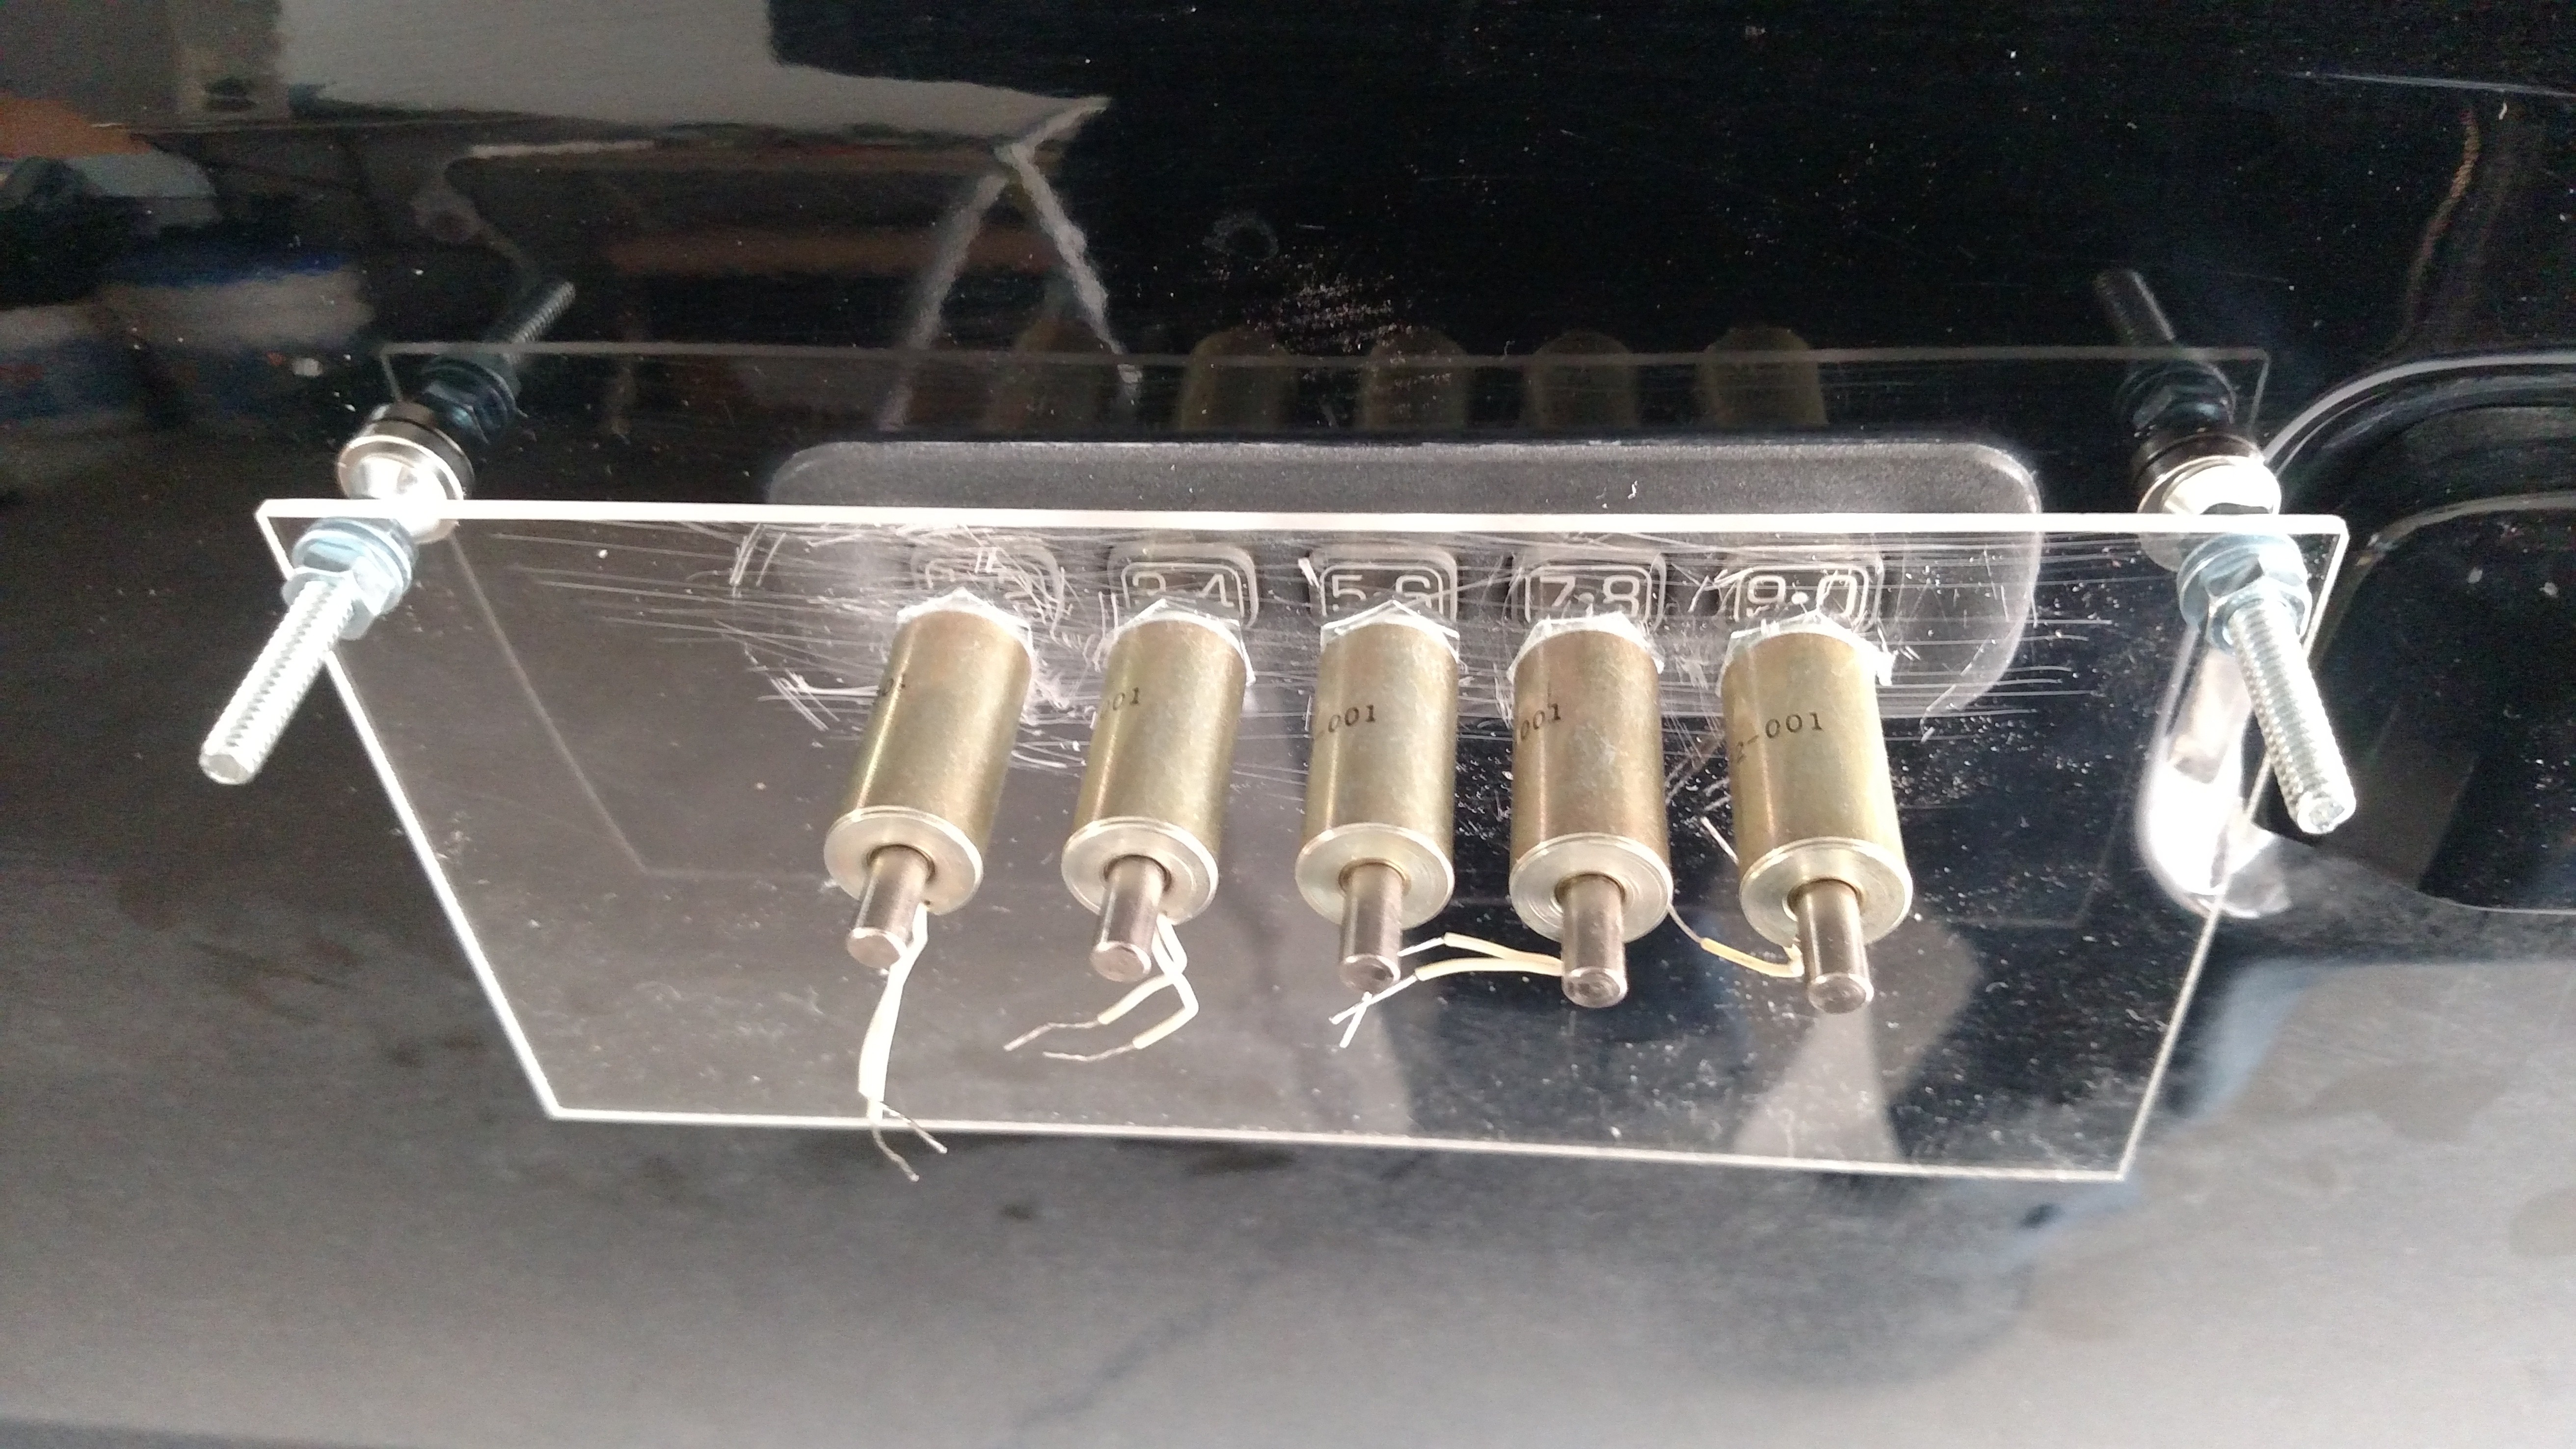
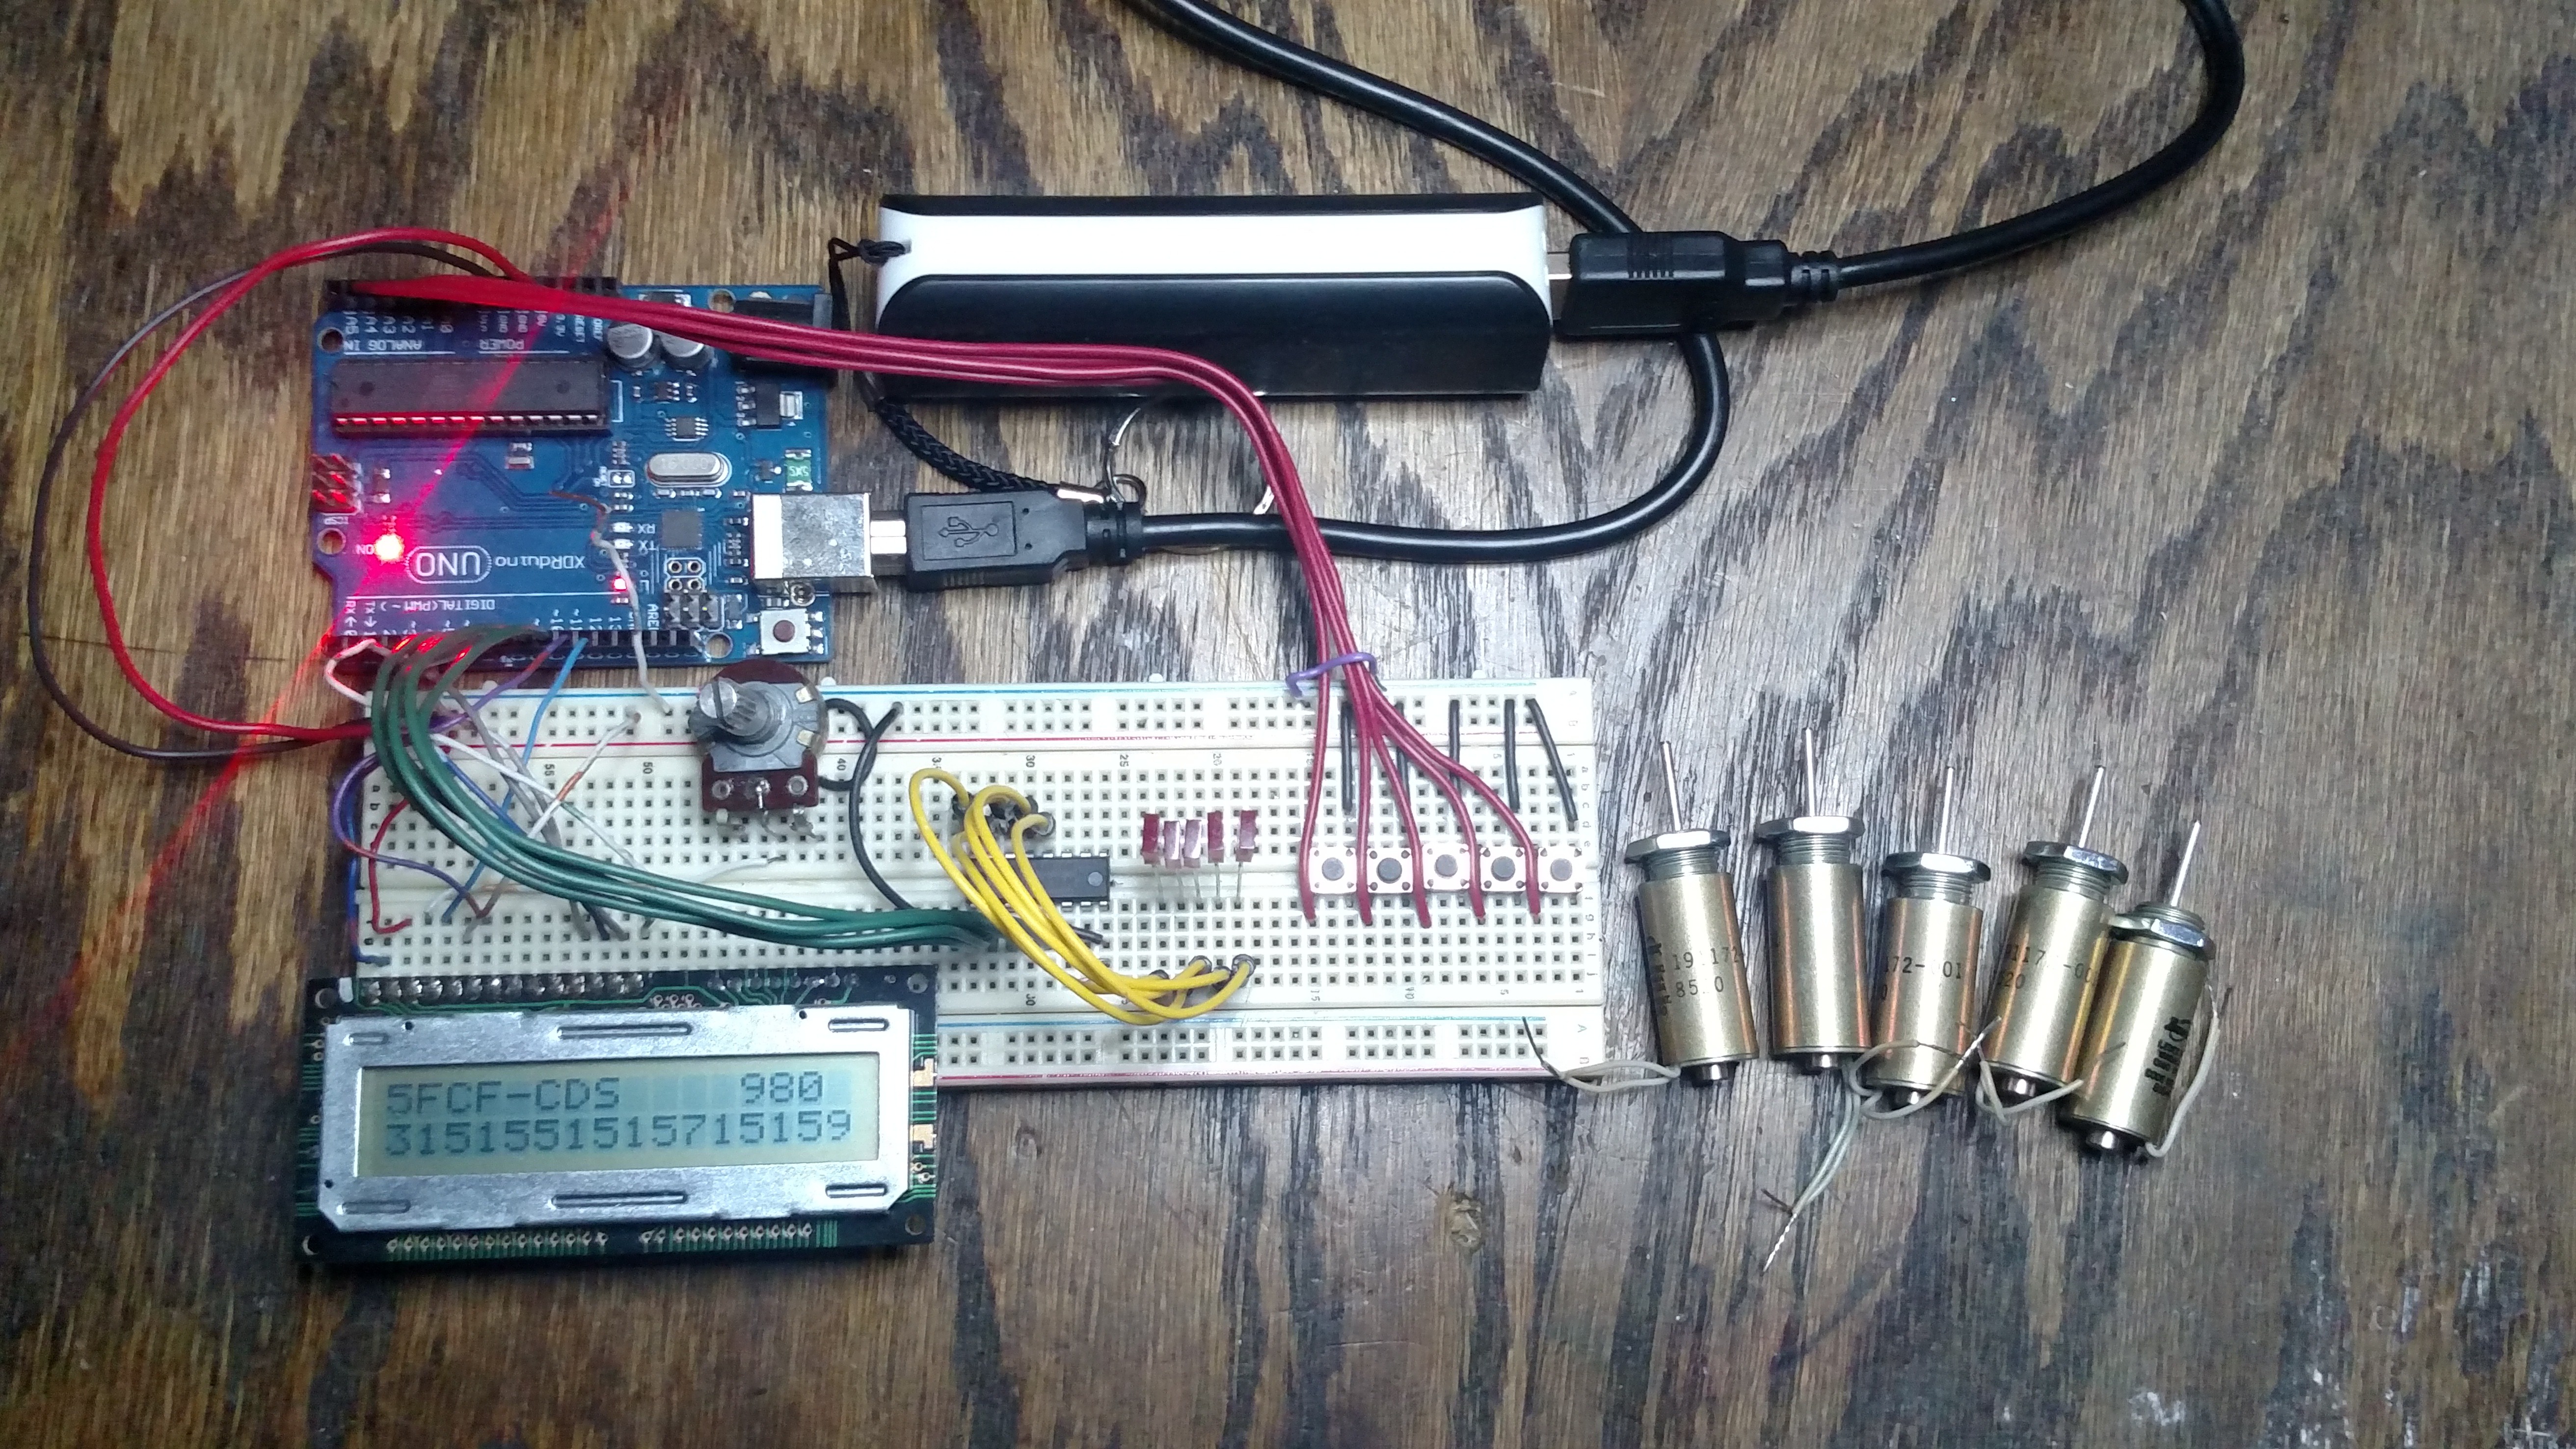
The authors of “The Car Hackers Handbook” discovered that the entry keypads on Ford vehicles utilize this same shift by one and check for a match system. Also with no delays and no penalties for incorrect entries. In this case you have five keys to use in the code instead of just the ones and zeros of a binary code but the concept remains the same. In their book they published an optimal sequence for manually trying all possible codes as efficiently as possible. They state that one can enter this sequence manually in approximately 20 minutes and find the code to unlock a Ford vehicle with this system.
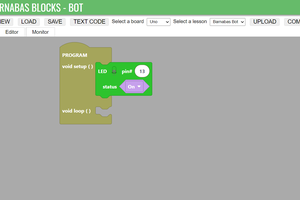
Well, I’m to lazy to do that, and thought it would be a fun project to implement a machine that can enter the sequence automatically for me as quickly as the door keypad will recognize button presses.

 Edward Li
 Ken Yap
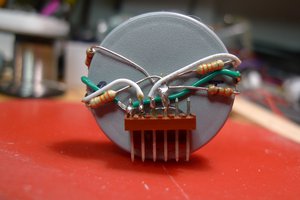
 Ana
Ana
Where did you get the solenoids?