 Timothy Woo
Introduction
First off, let's briefly explain a circuit board is assembled. To aid in the explanation, let's take the analogy of baking a pizza. First of all you'll need the crust, which for us is a bare printed circuit board (PCB) made with different layers of a plastic substrate and copper traces that make the electrical connections. Next, we'll need the cheese that holds everything together, which for us is solder paste (yes, solder in the form of a paste) which "reflows" (solidifies or cures) at a high temperature. The solder paste is applied to the exposed copper pads on the PCB by way of a stencil that is aligned over the PCB. Then we'll grab some toppings, the electrical components, and place them in their appropriate locations on top of the solder paste. The final step is to bake our "pizza" so that the "cheese" holds all the components in place to yield our final assembled board! This is where the Reflowduino project comes in...
Overview
The Reflowduino project is an entire do-it-yourself (DIY) reflow ecosystem consisting of open-source hardware specifically built to make it easy to control reflow appliances and apply PID temperature control while maintaining full flexibility in programming and usage while offering a bunch of features.
The Problem
Do-it-yourself PCB designers are having to painstakingly solder surface-mounted components by hand which not only takes good eyes, stable hands, and a ton of patience, but is also really inefficient and never produces results quite as good as production-quality boards. Moreover, although there are small reflow ovens commercially available, their price tags are a bit stiff and they usually ship with proprietary software that can't be modified easily.
Fortunately with the Reflowduino ecosystem designers can build their own reflow oven setup for a fraction of the price of commercially-available reflow ovens and with the flexibility to change the code, add as many features as needed to make it as simple or as fancy as desired, and learn throughout the process! Since I'm a firm believer of great online resources having learned everything on my own aside from my Mechanical Engineering degree, I'm sharing all of this as completely open-source for everyone to enjoy, including EAGLE PCB files, Arduino IDE example code, sample Android app for Bluetooth control, and full tutorials on how to modify a toaster oven to start cookin’!
You can find all design files, example code, demo app, and wiki on the Reflowduino Github page!
That being said, I do offer the boards listed below for sale on my website and on Tindie. Each order helps me out a little bit in creating and sharing new projects with everyone! :)
The Reflowduino ecosystem includes multiple pieces of hardware which I'll describe below. Although best suited for PCB reflow applications, each one can be used not only for reflow purposes but also as standalone learning tools or for other applications!
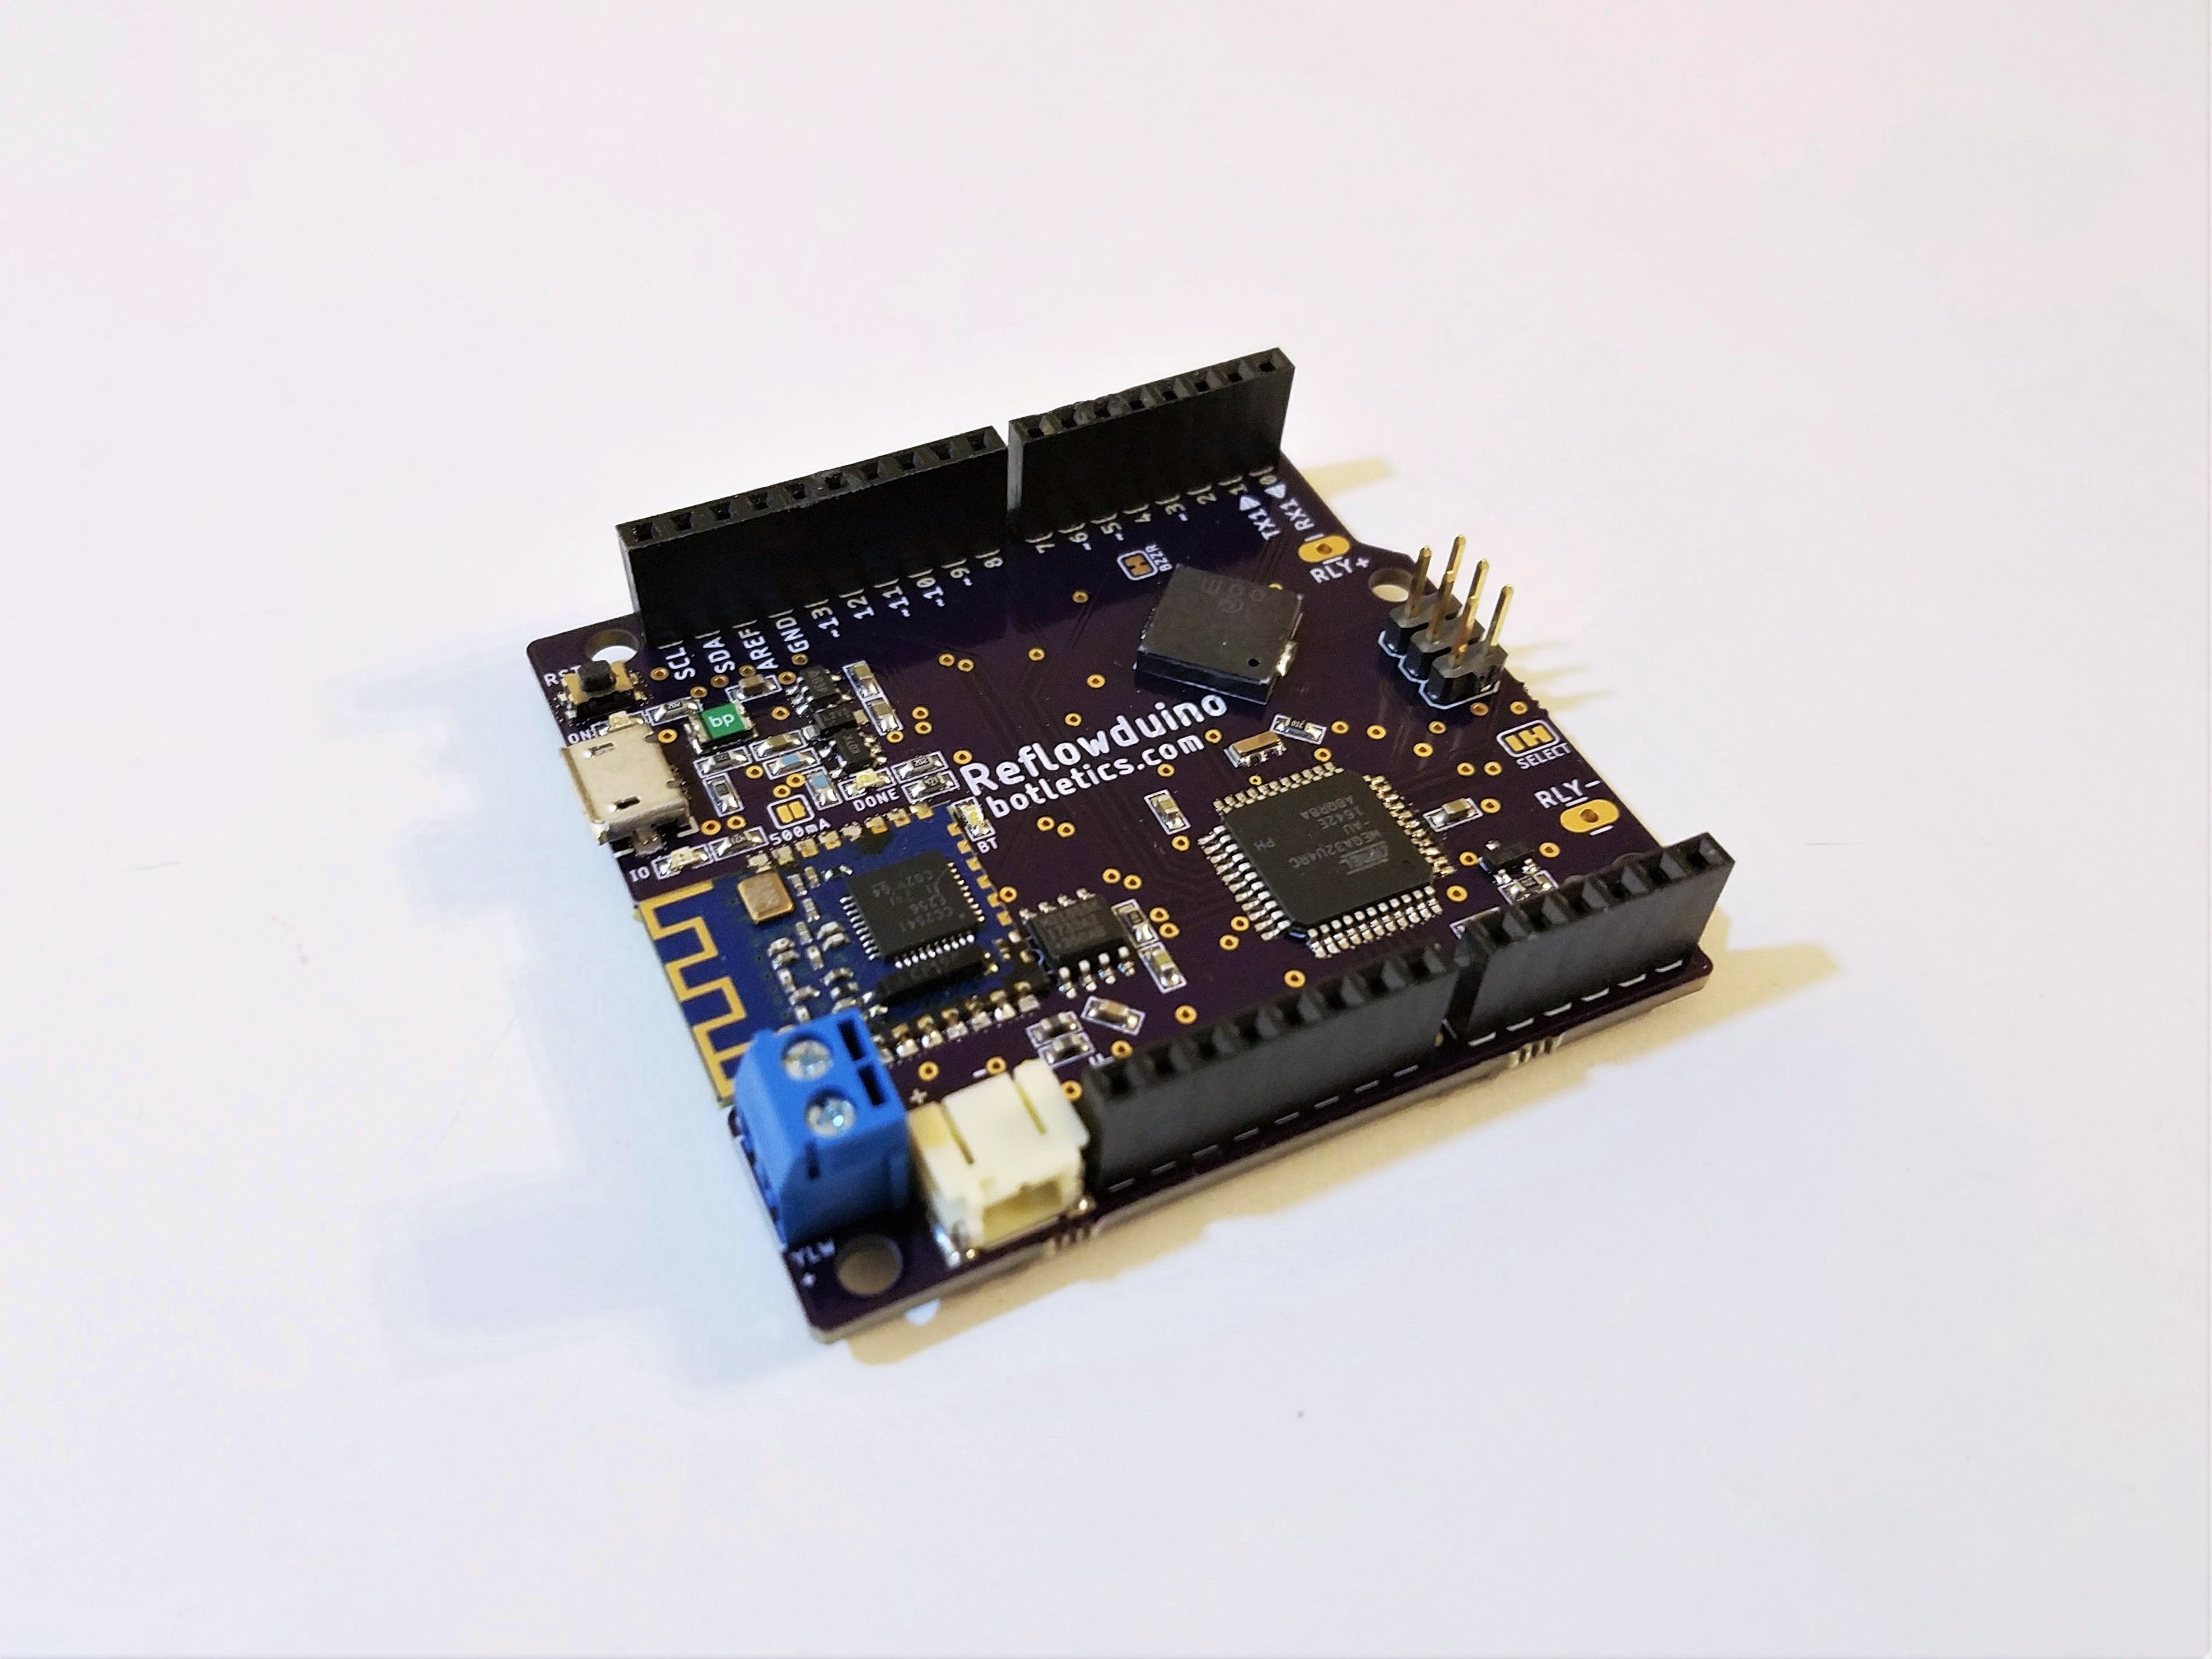
Reflowduino Basic
The classic Reflowduino board is an all-in-one Arduino-compatible controller board that can easily transform a toaster oven into a reliable reflow oven! It sports a versatile ATmega32u4 microprocessor with micro USB programming interface, an integrated MAX31855 K-type thermocouple interface with noise filtering, Bluetooth Low Energy (BLE 4.0) for easy pairing with a mobile device, LiPo battery charging and status indication, and buzzer for playing your favorite melodies.
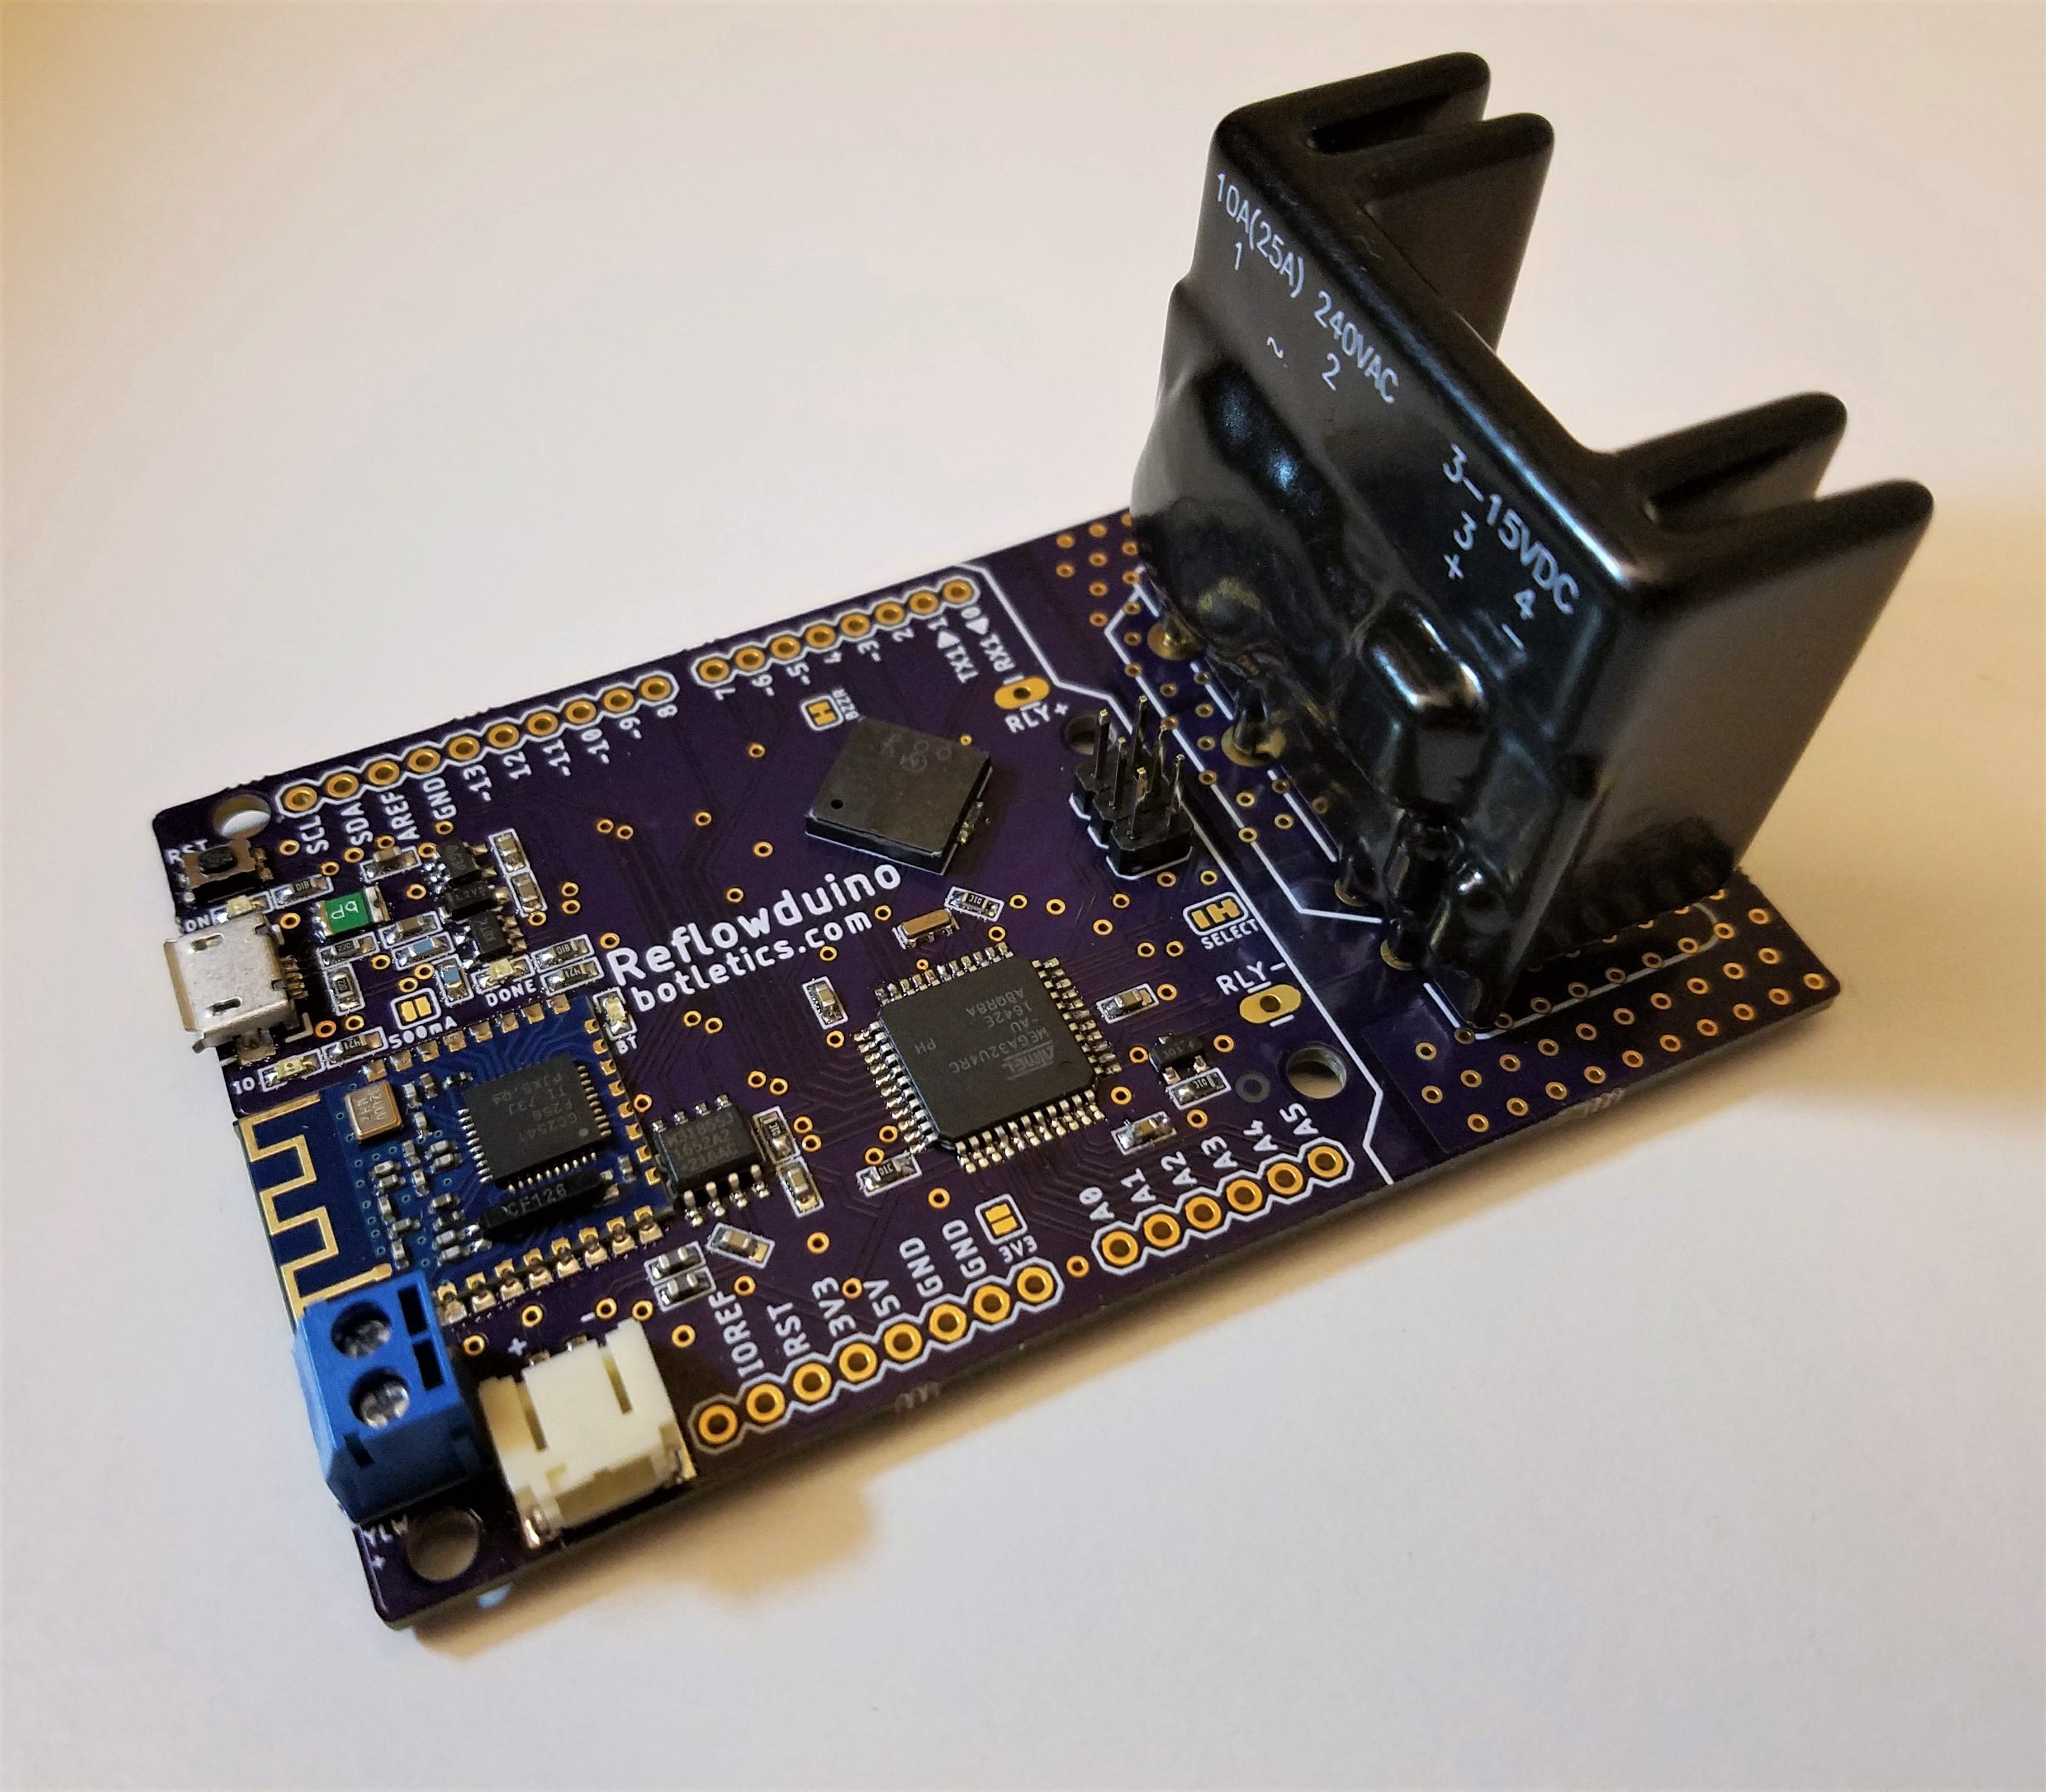
Reflowduino Pro
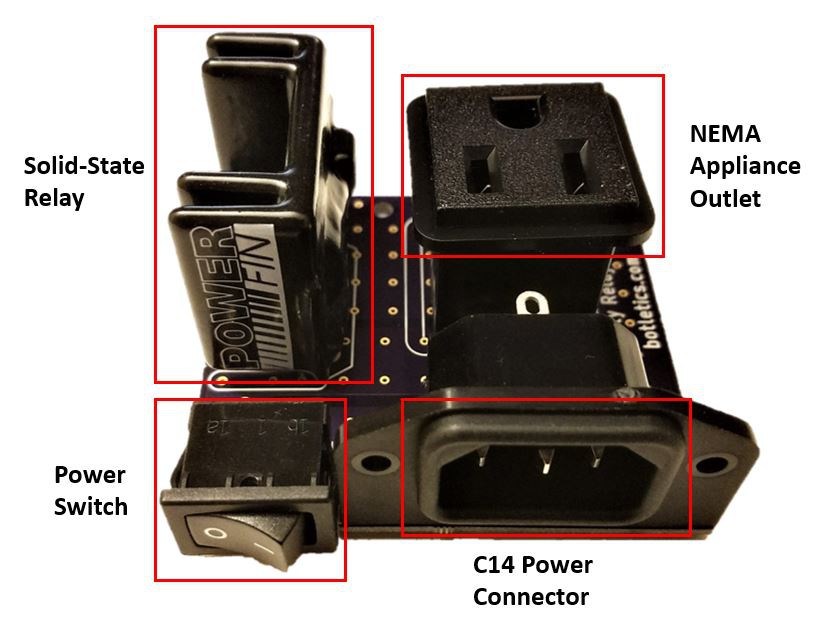
Although it is more or less retired due to a lack of user demand, there's another version, the Reflowduino Pro board which is just the Reflowduino Basic but with an added solid-state relay on-board:
Here's a video showing the Reflowduino Pro in action:
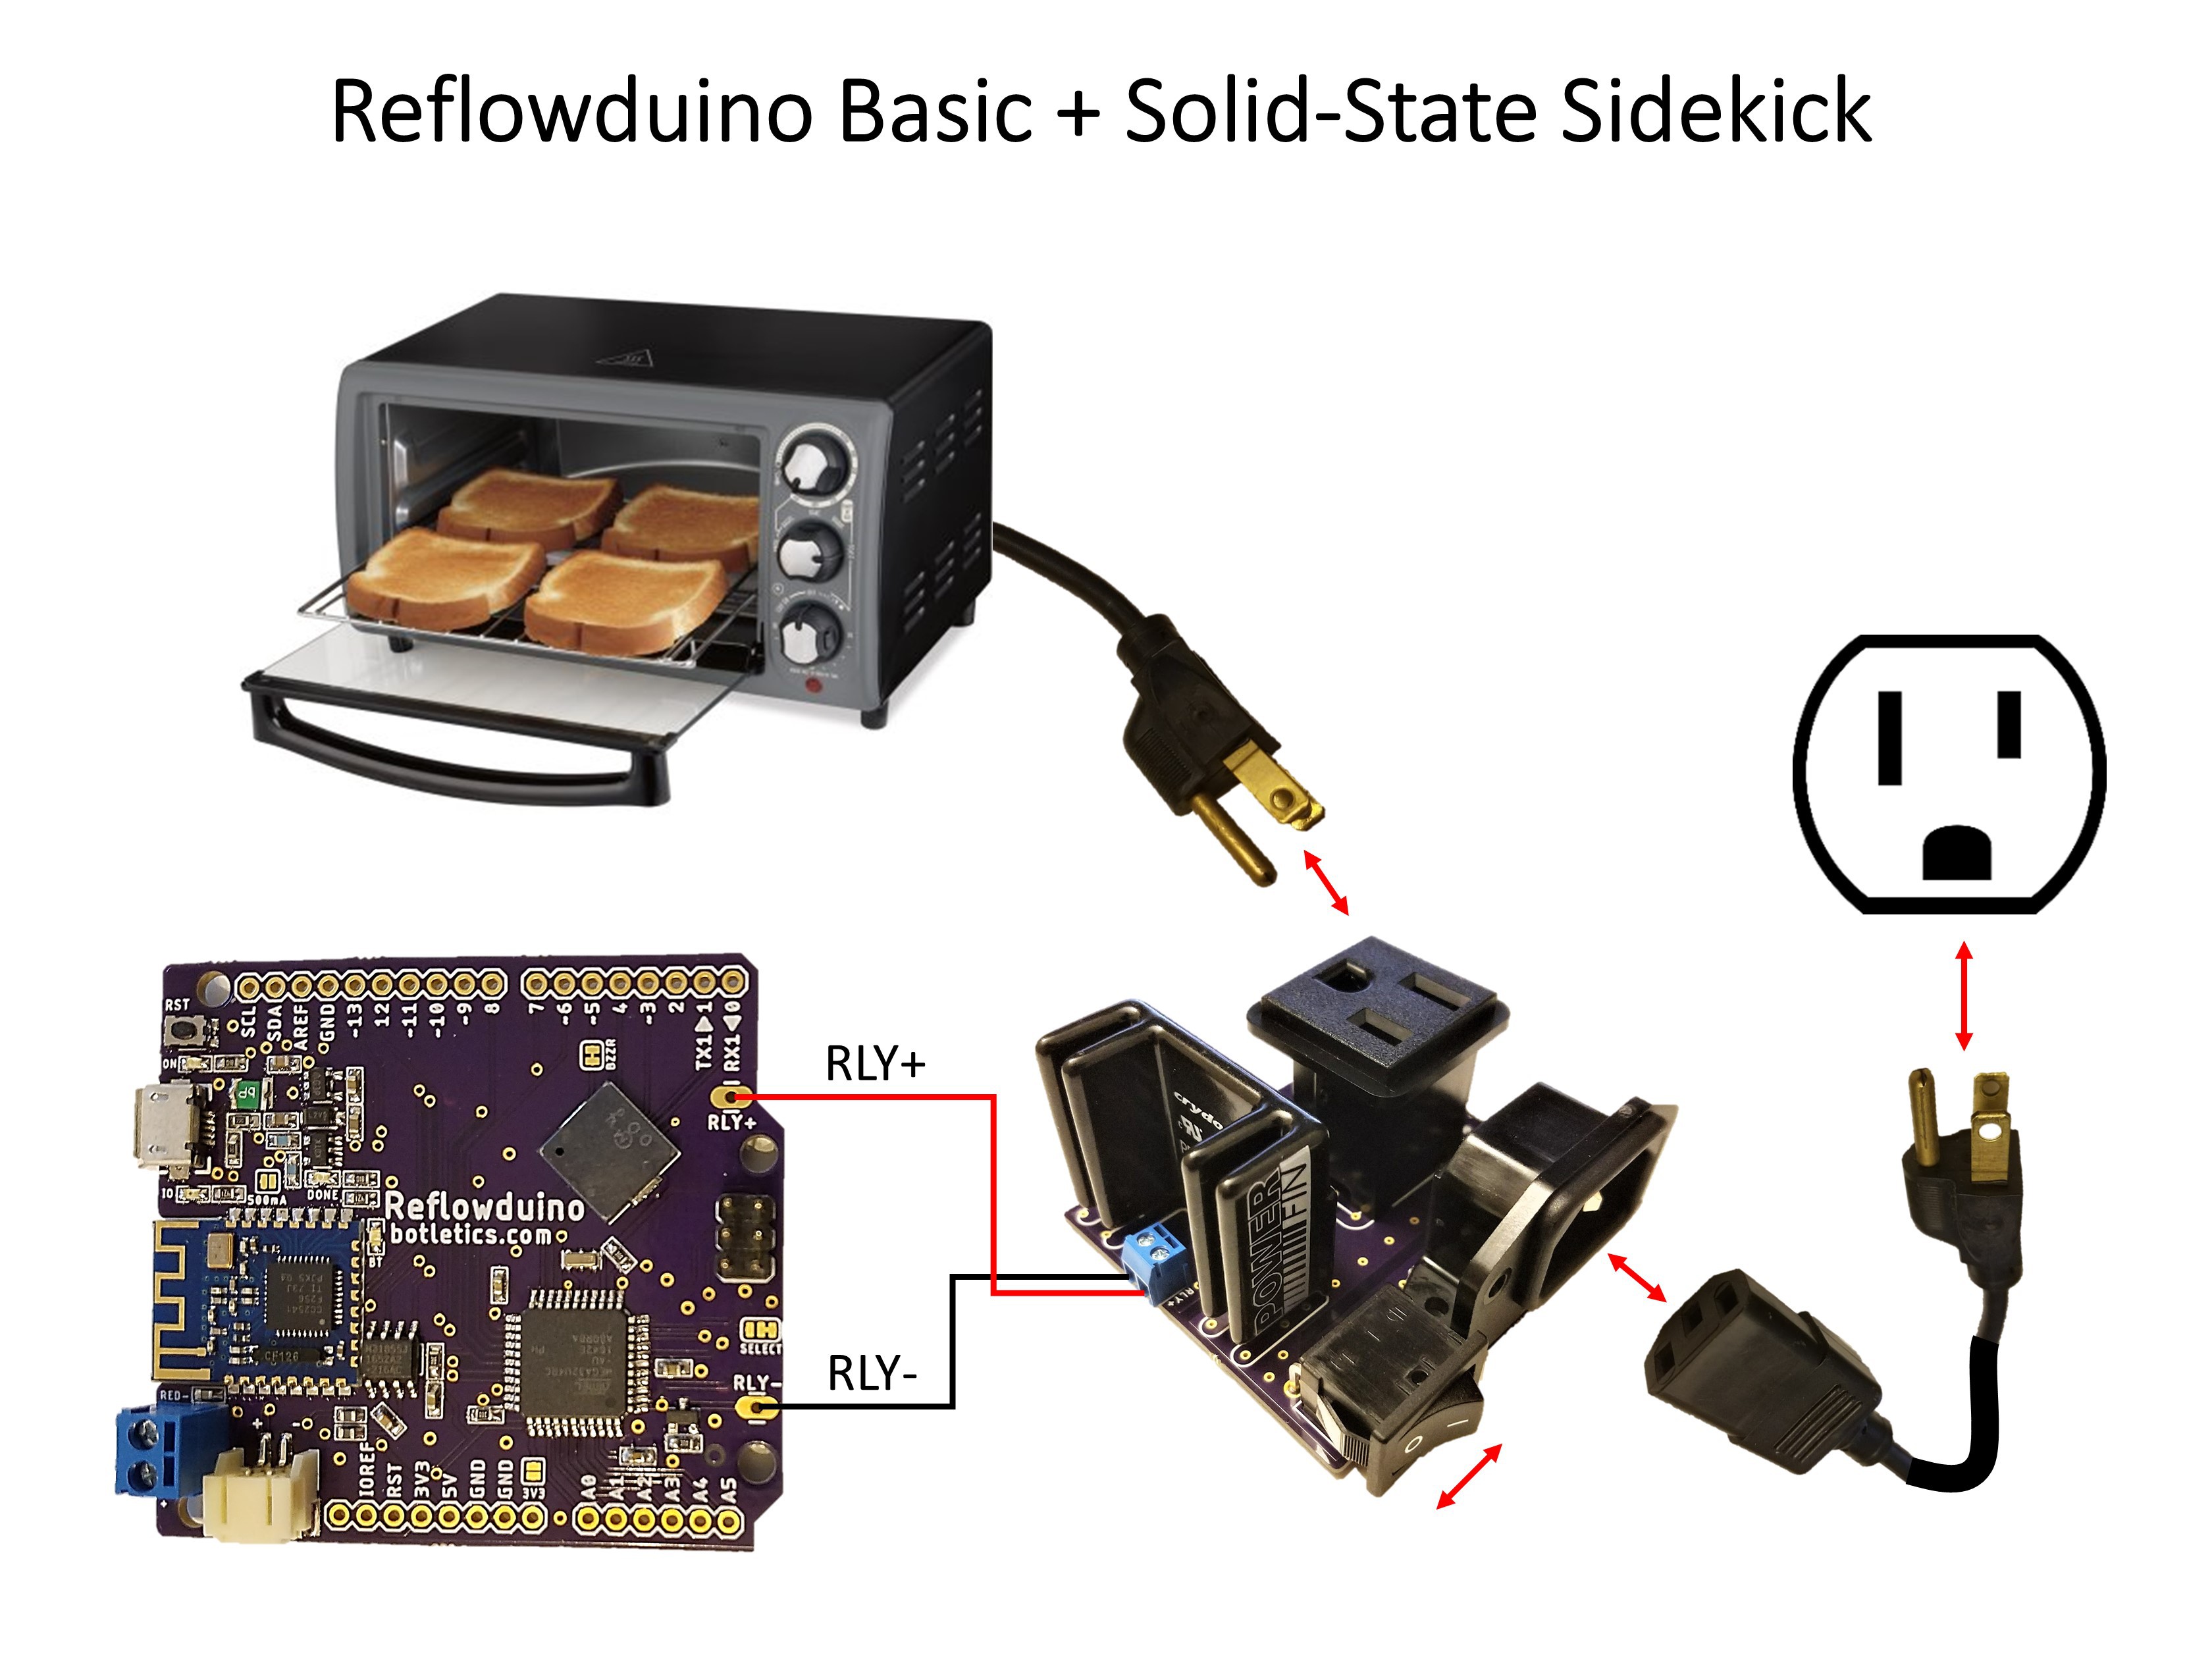
Note that the Reflowduino Basic is the same except it doesn't have the solid-state relay on it so an external relay module like the Sidekick would have to be used to...
Read more »

 Hulk
Hulk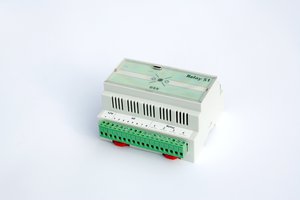
 strange.rand
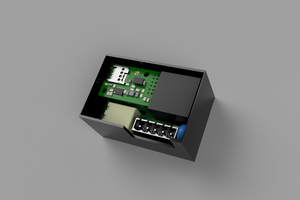
 Nicolò