 andrew
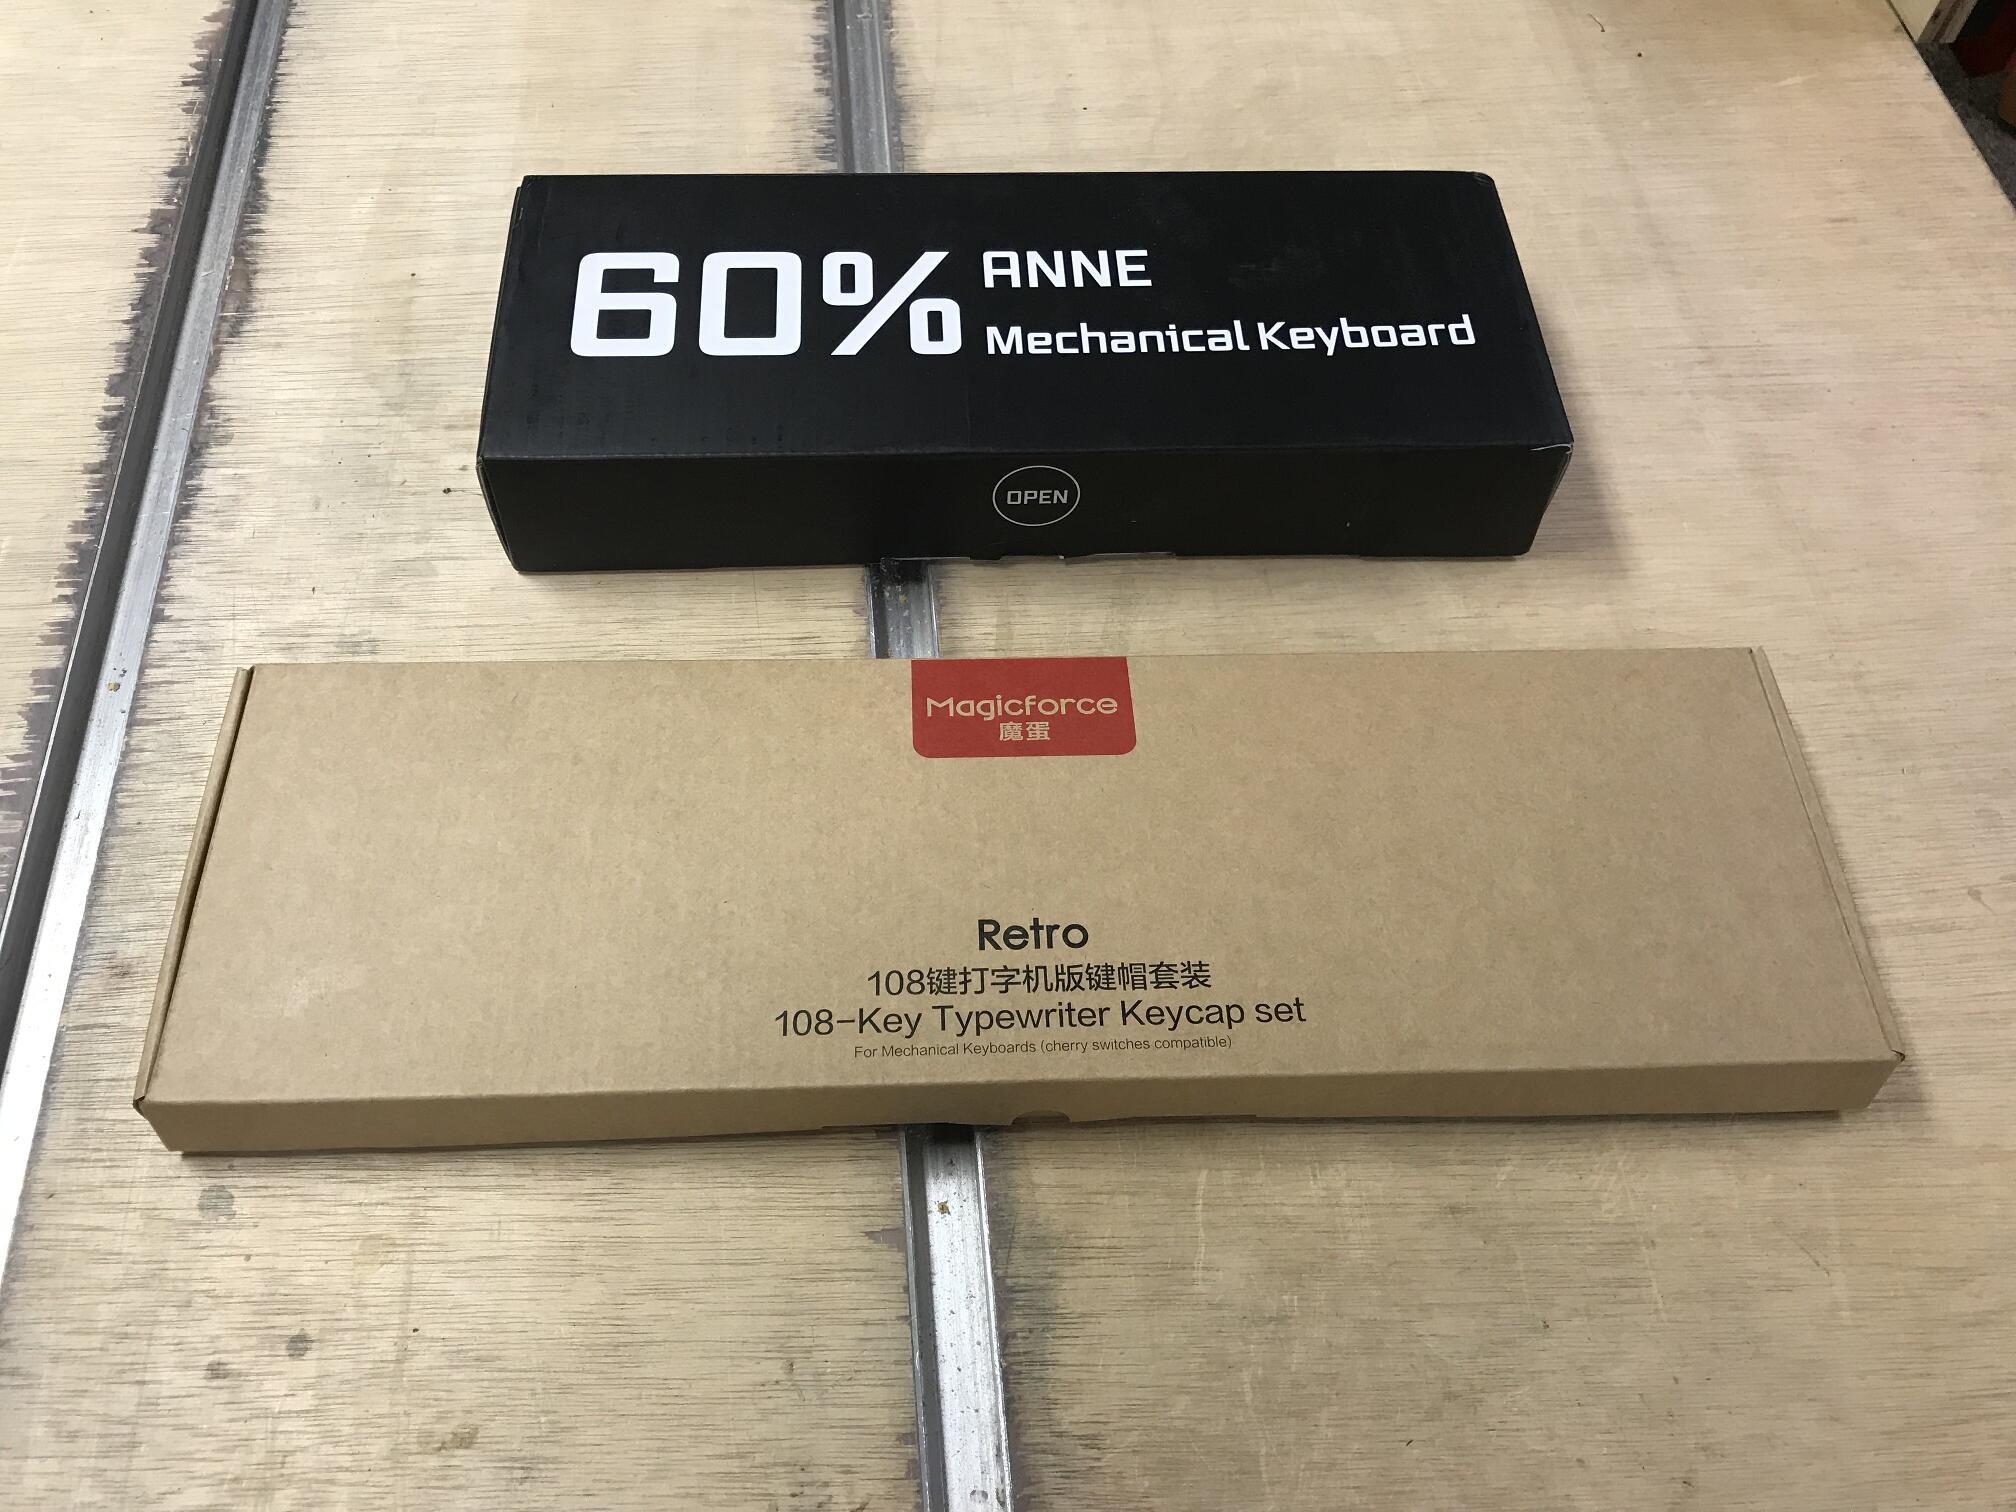
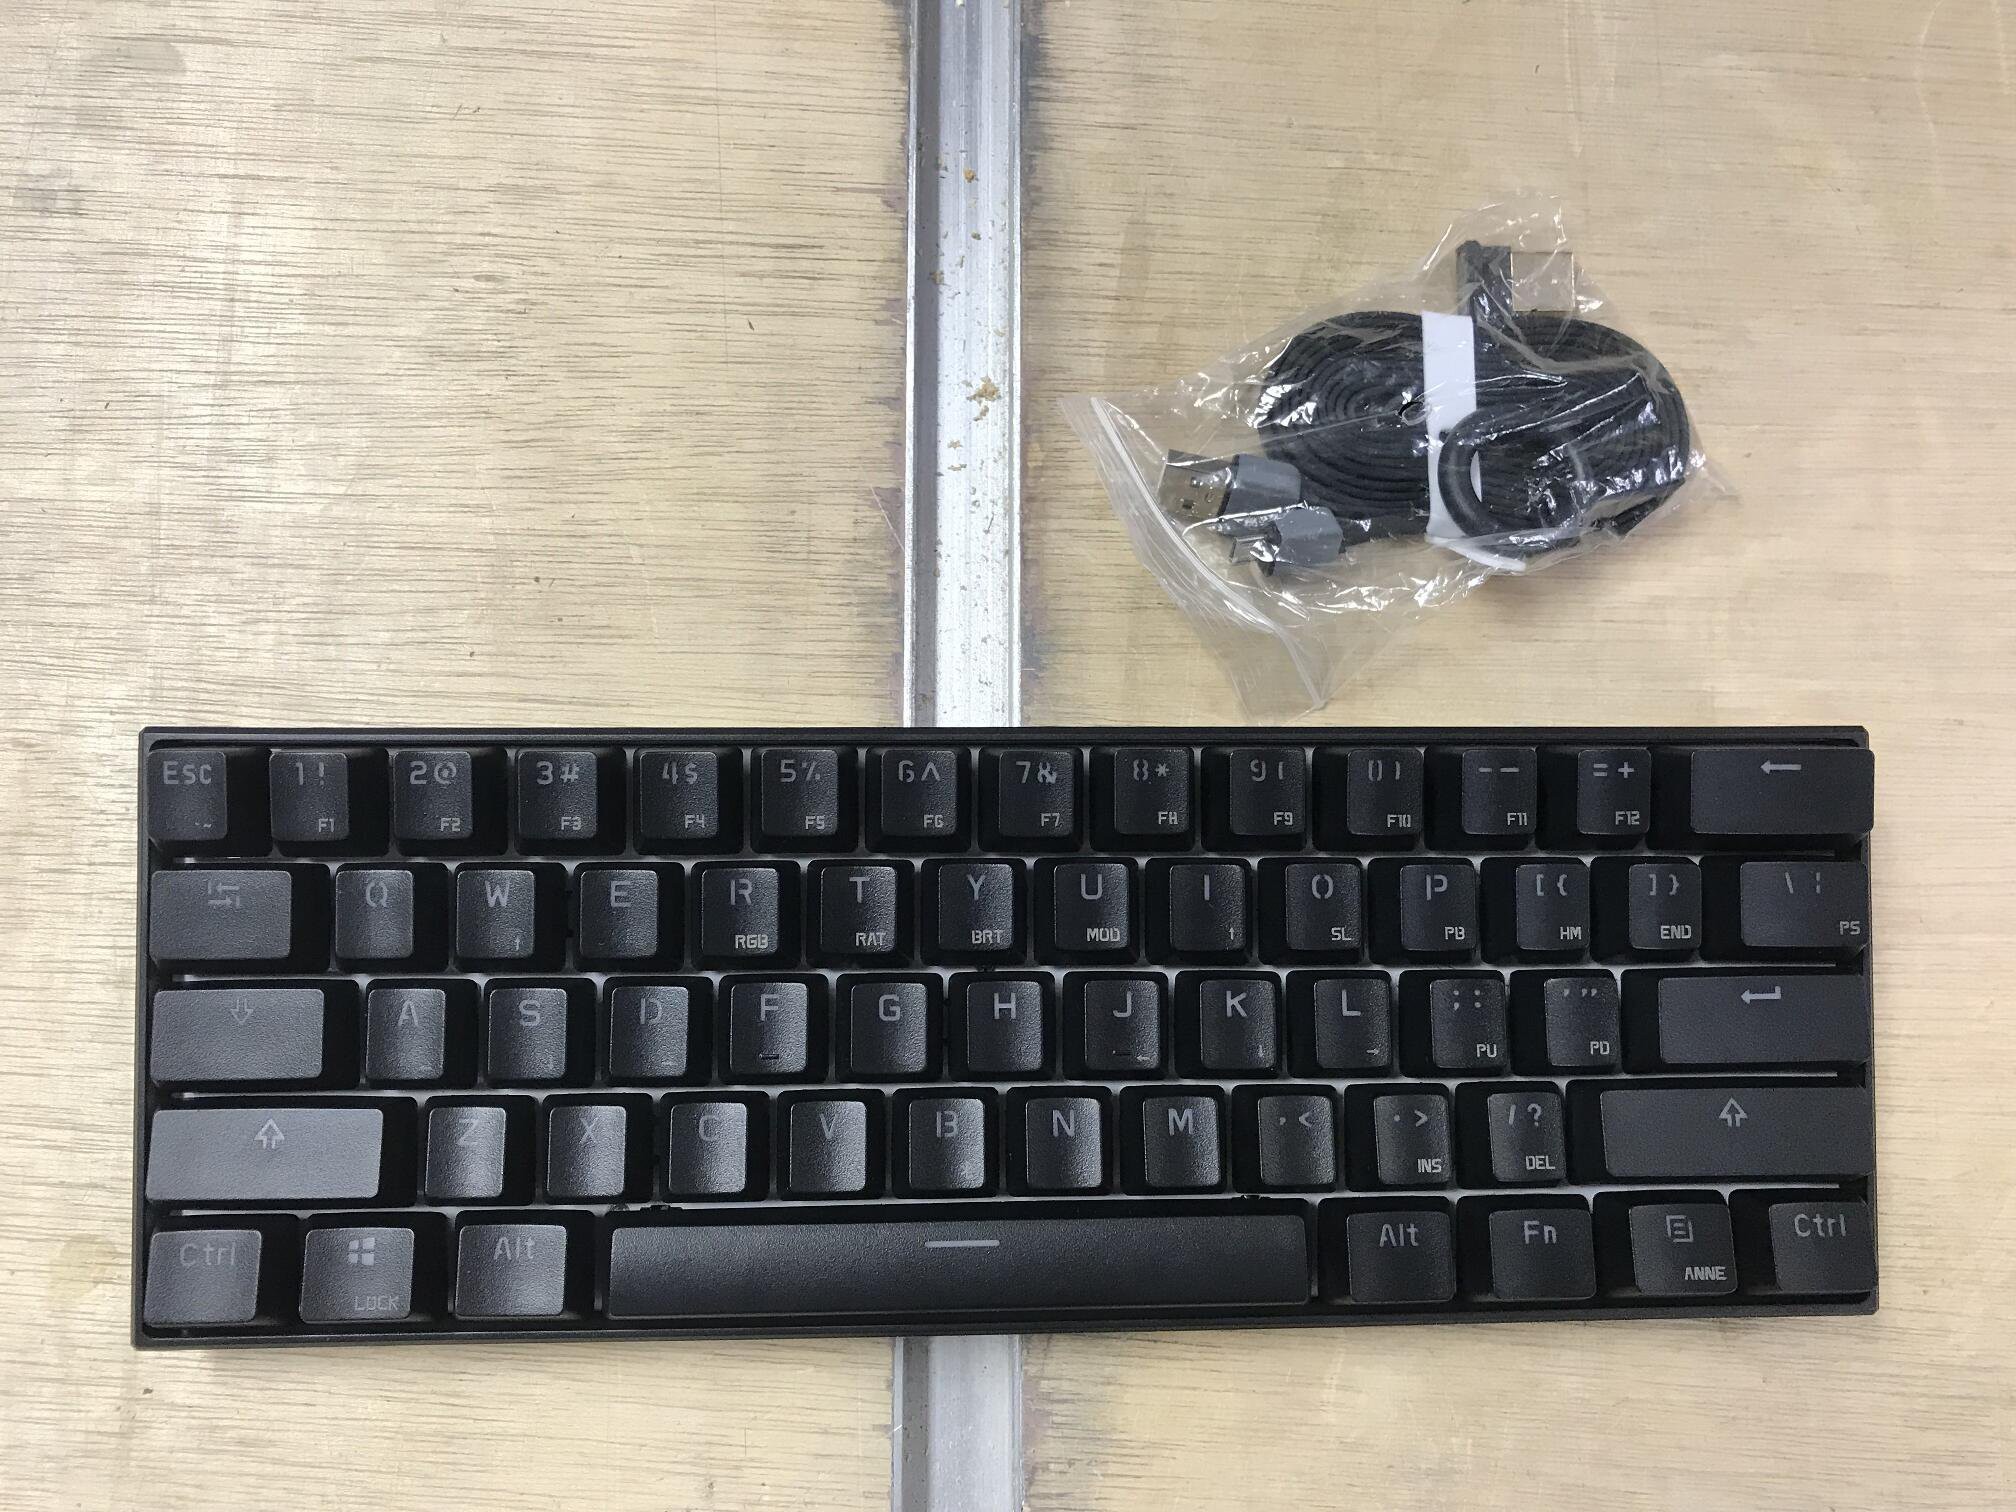
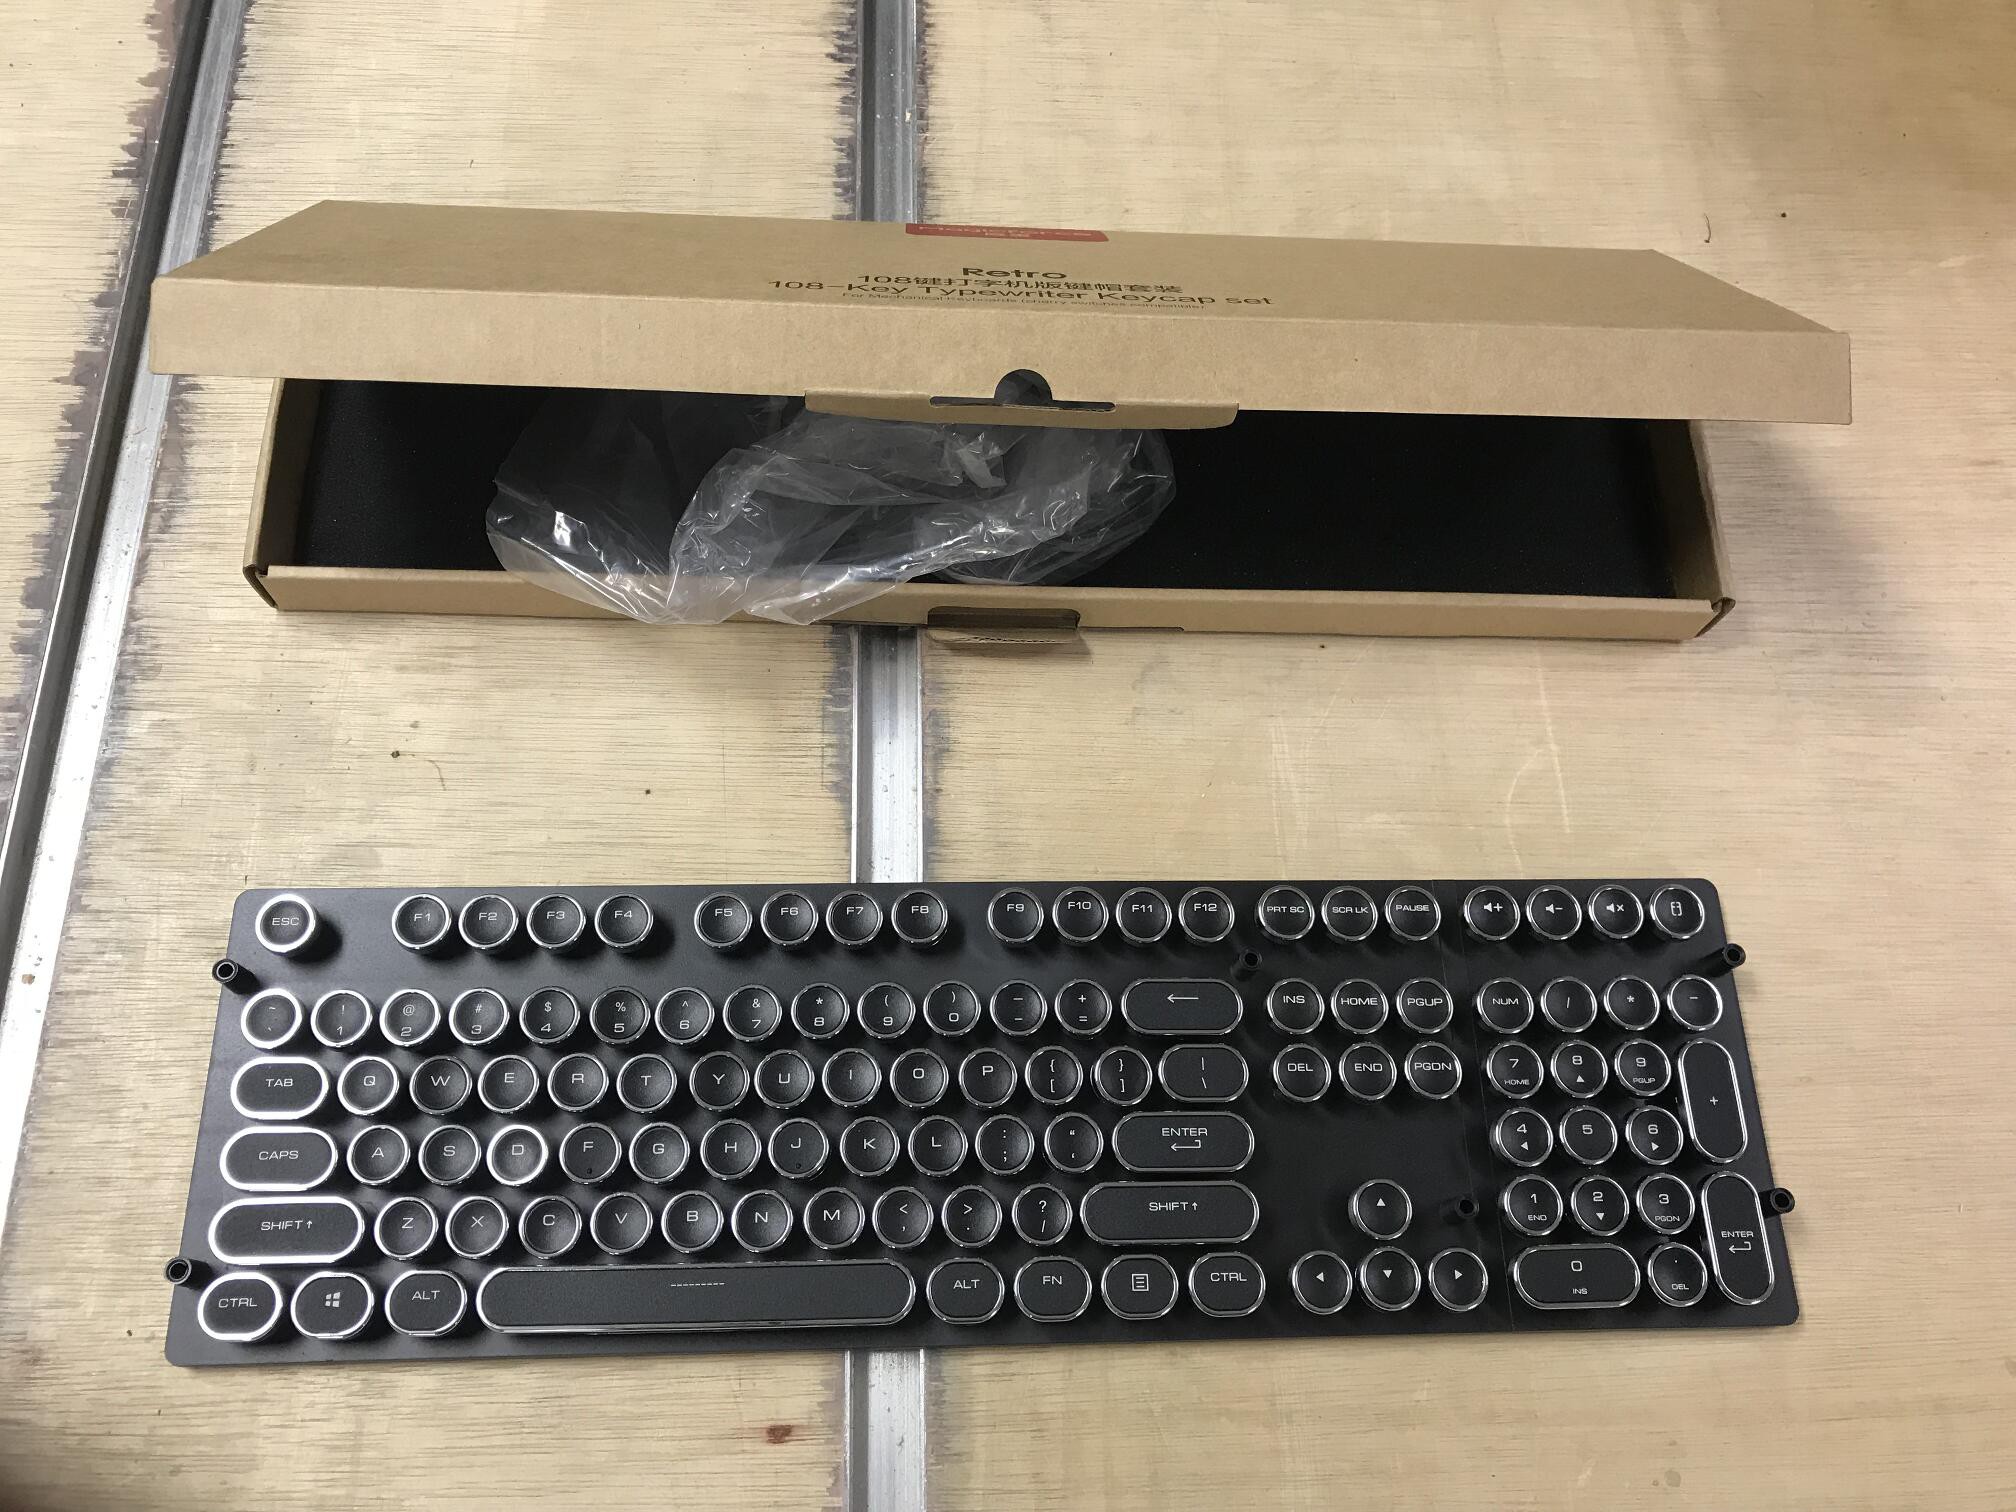
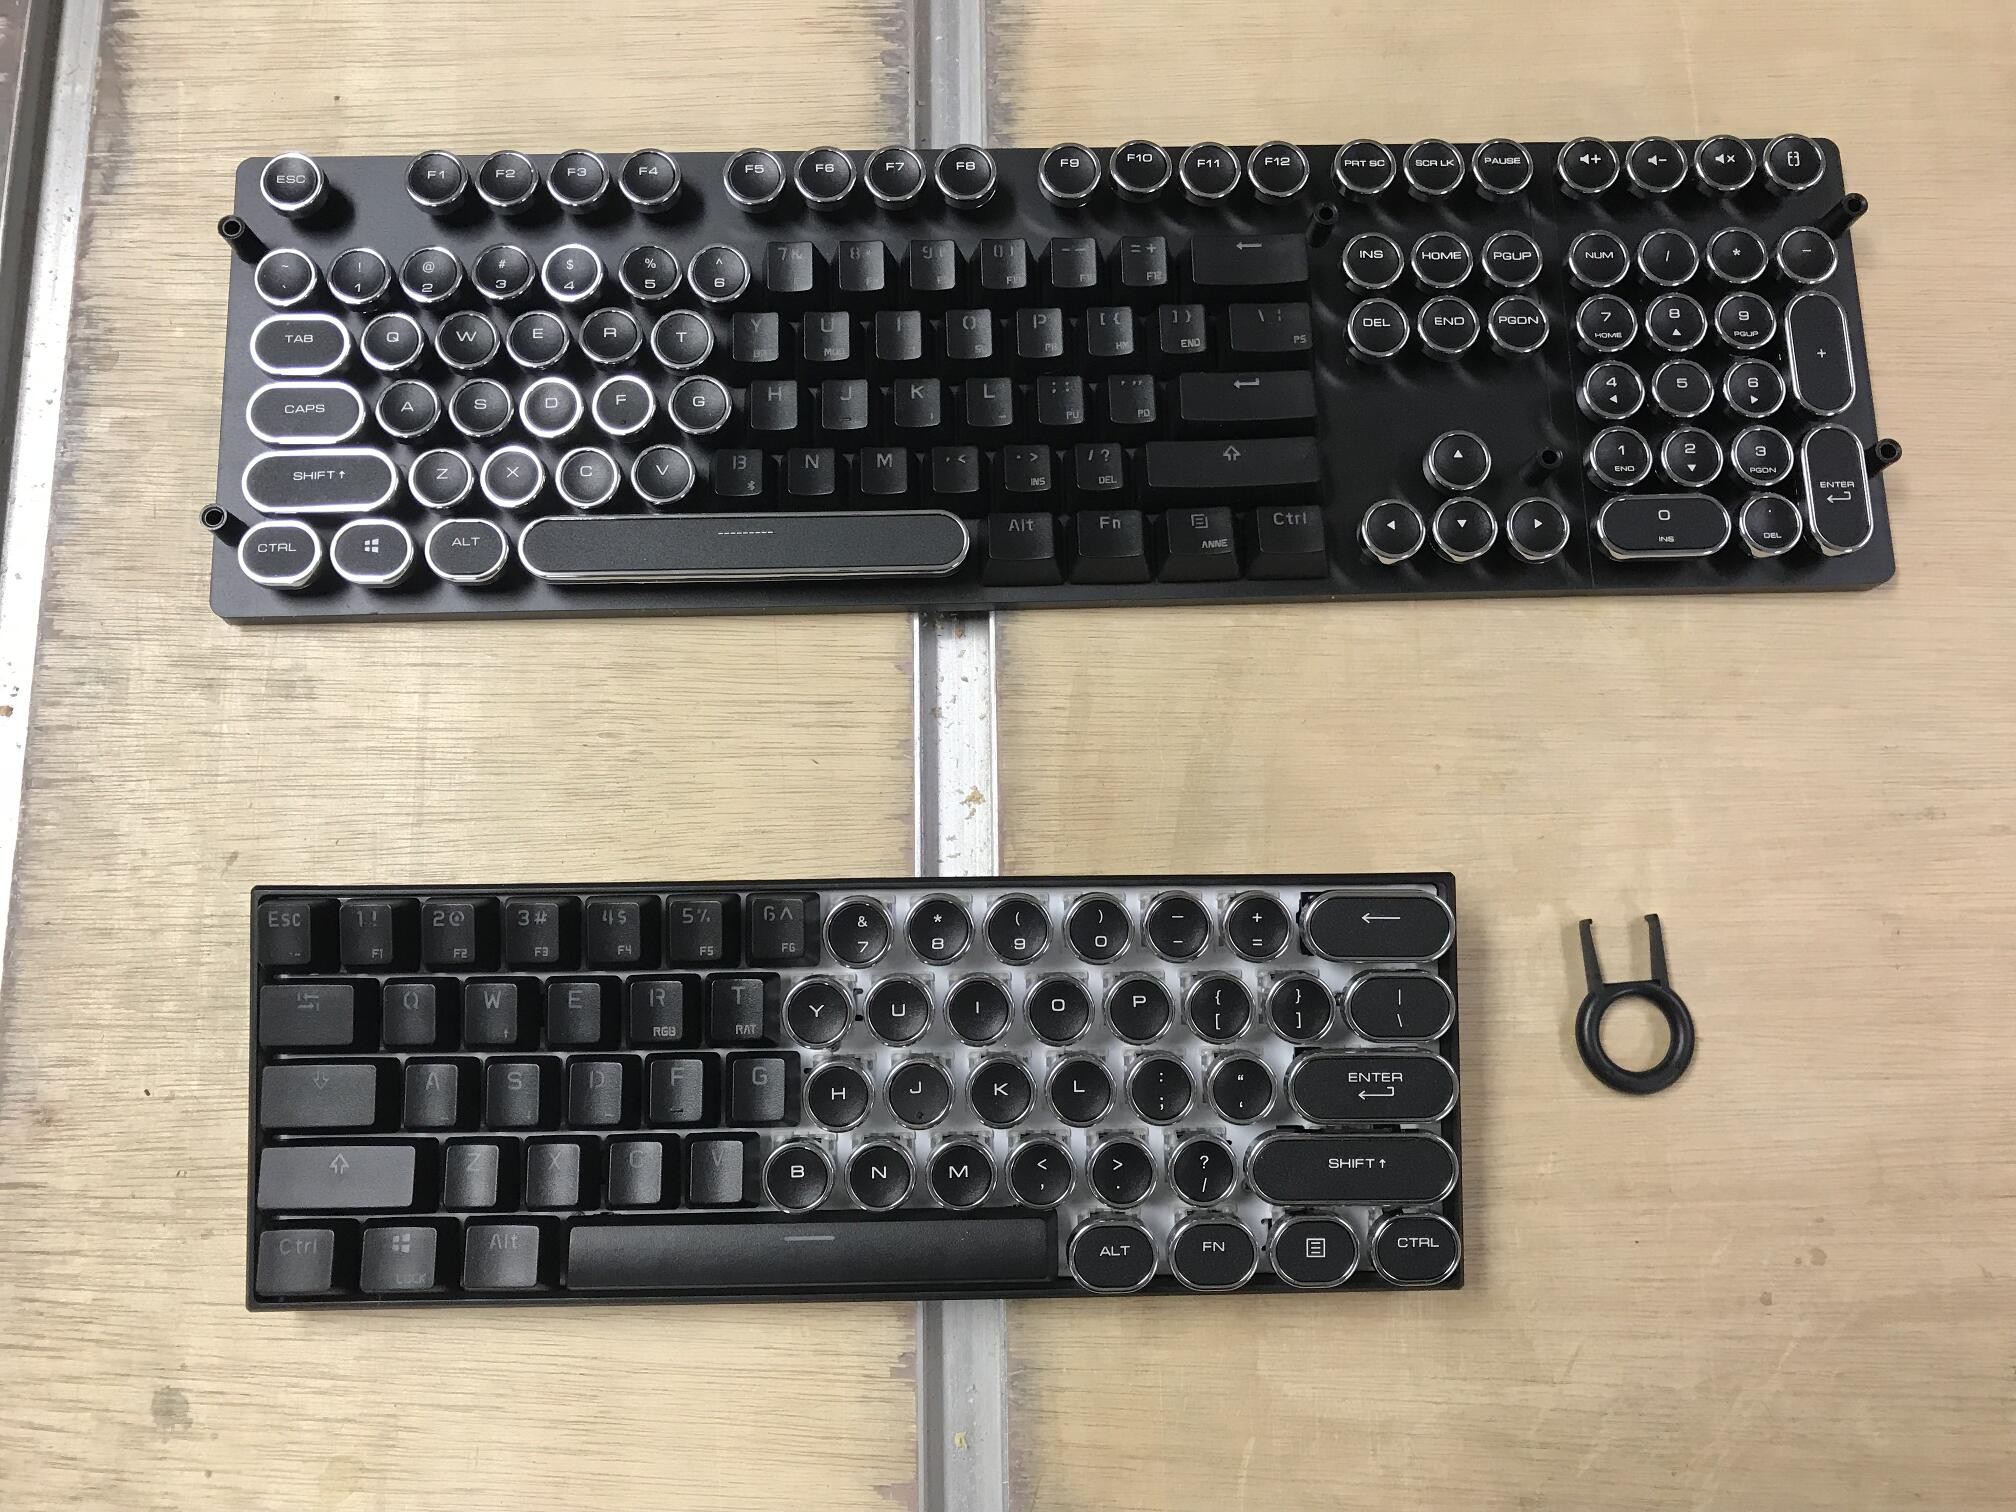
This was just meant to be a pretty quick and straight forward build to add some features and give the keyboard a look that would match another project. Nearly all of the parts were sourced off of amazon and can be found by searching using the descriptions included in the parts list.
0%
0%
Customized wireless mechanical keyboard
I needed a custom keyboard to match an antique radio project I am working on. This was the result.
Become a Hackaday.io member
Already have an account? Log in.
Just one more thing
To make the experience fit your profile, pick a username and tell us what interests you.
Pick an awesome username
hackaday.io/
Your profile's URL: hackaday.io/username. Max 25 alphanumeric characters.
Pick a few interests
Projects that share your interests
People that share your interests
 Tawez
Tawez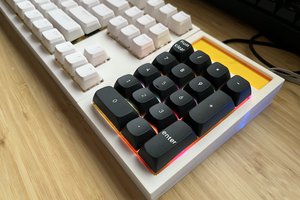
 Vladimir Aubrecht
 Jean-Philippe Paumier
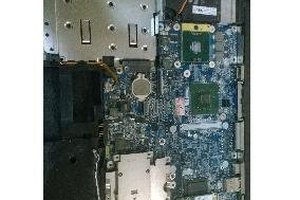
 thatredbird