 BoneConstructor

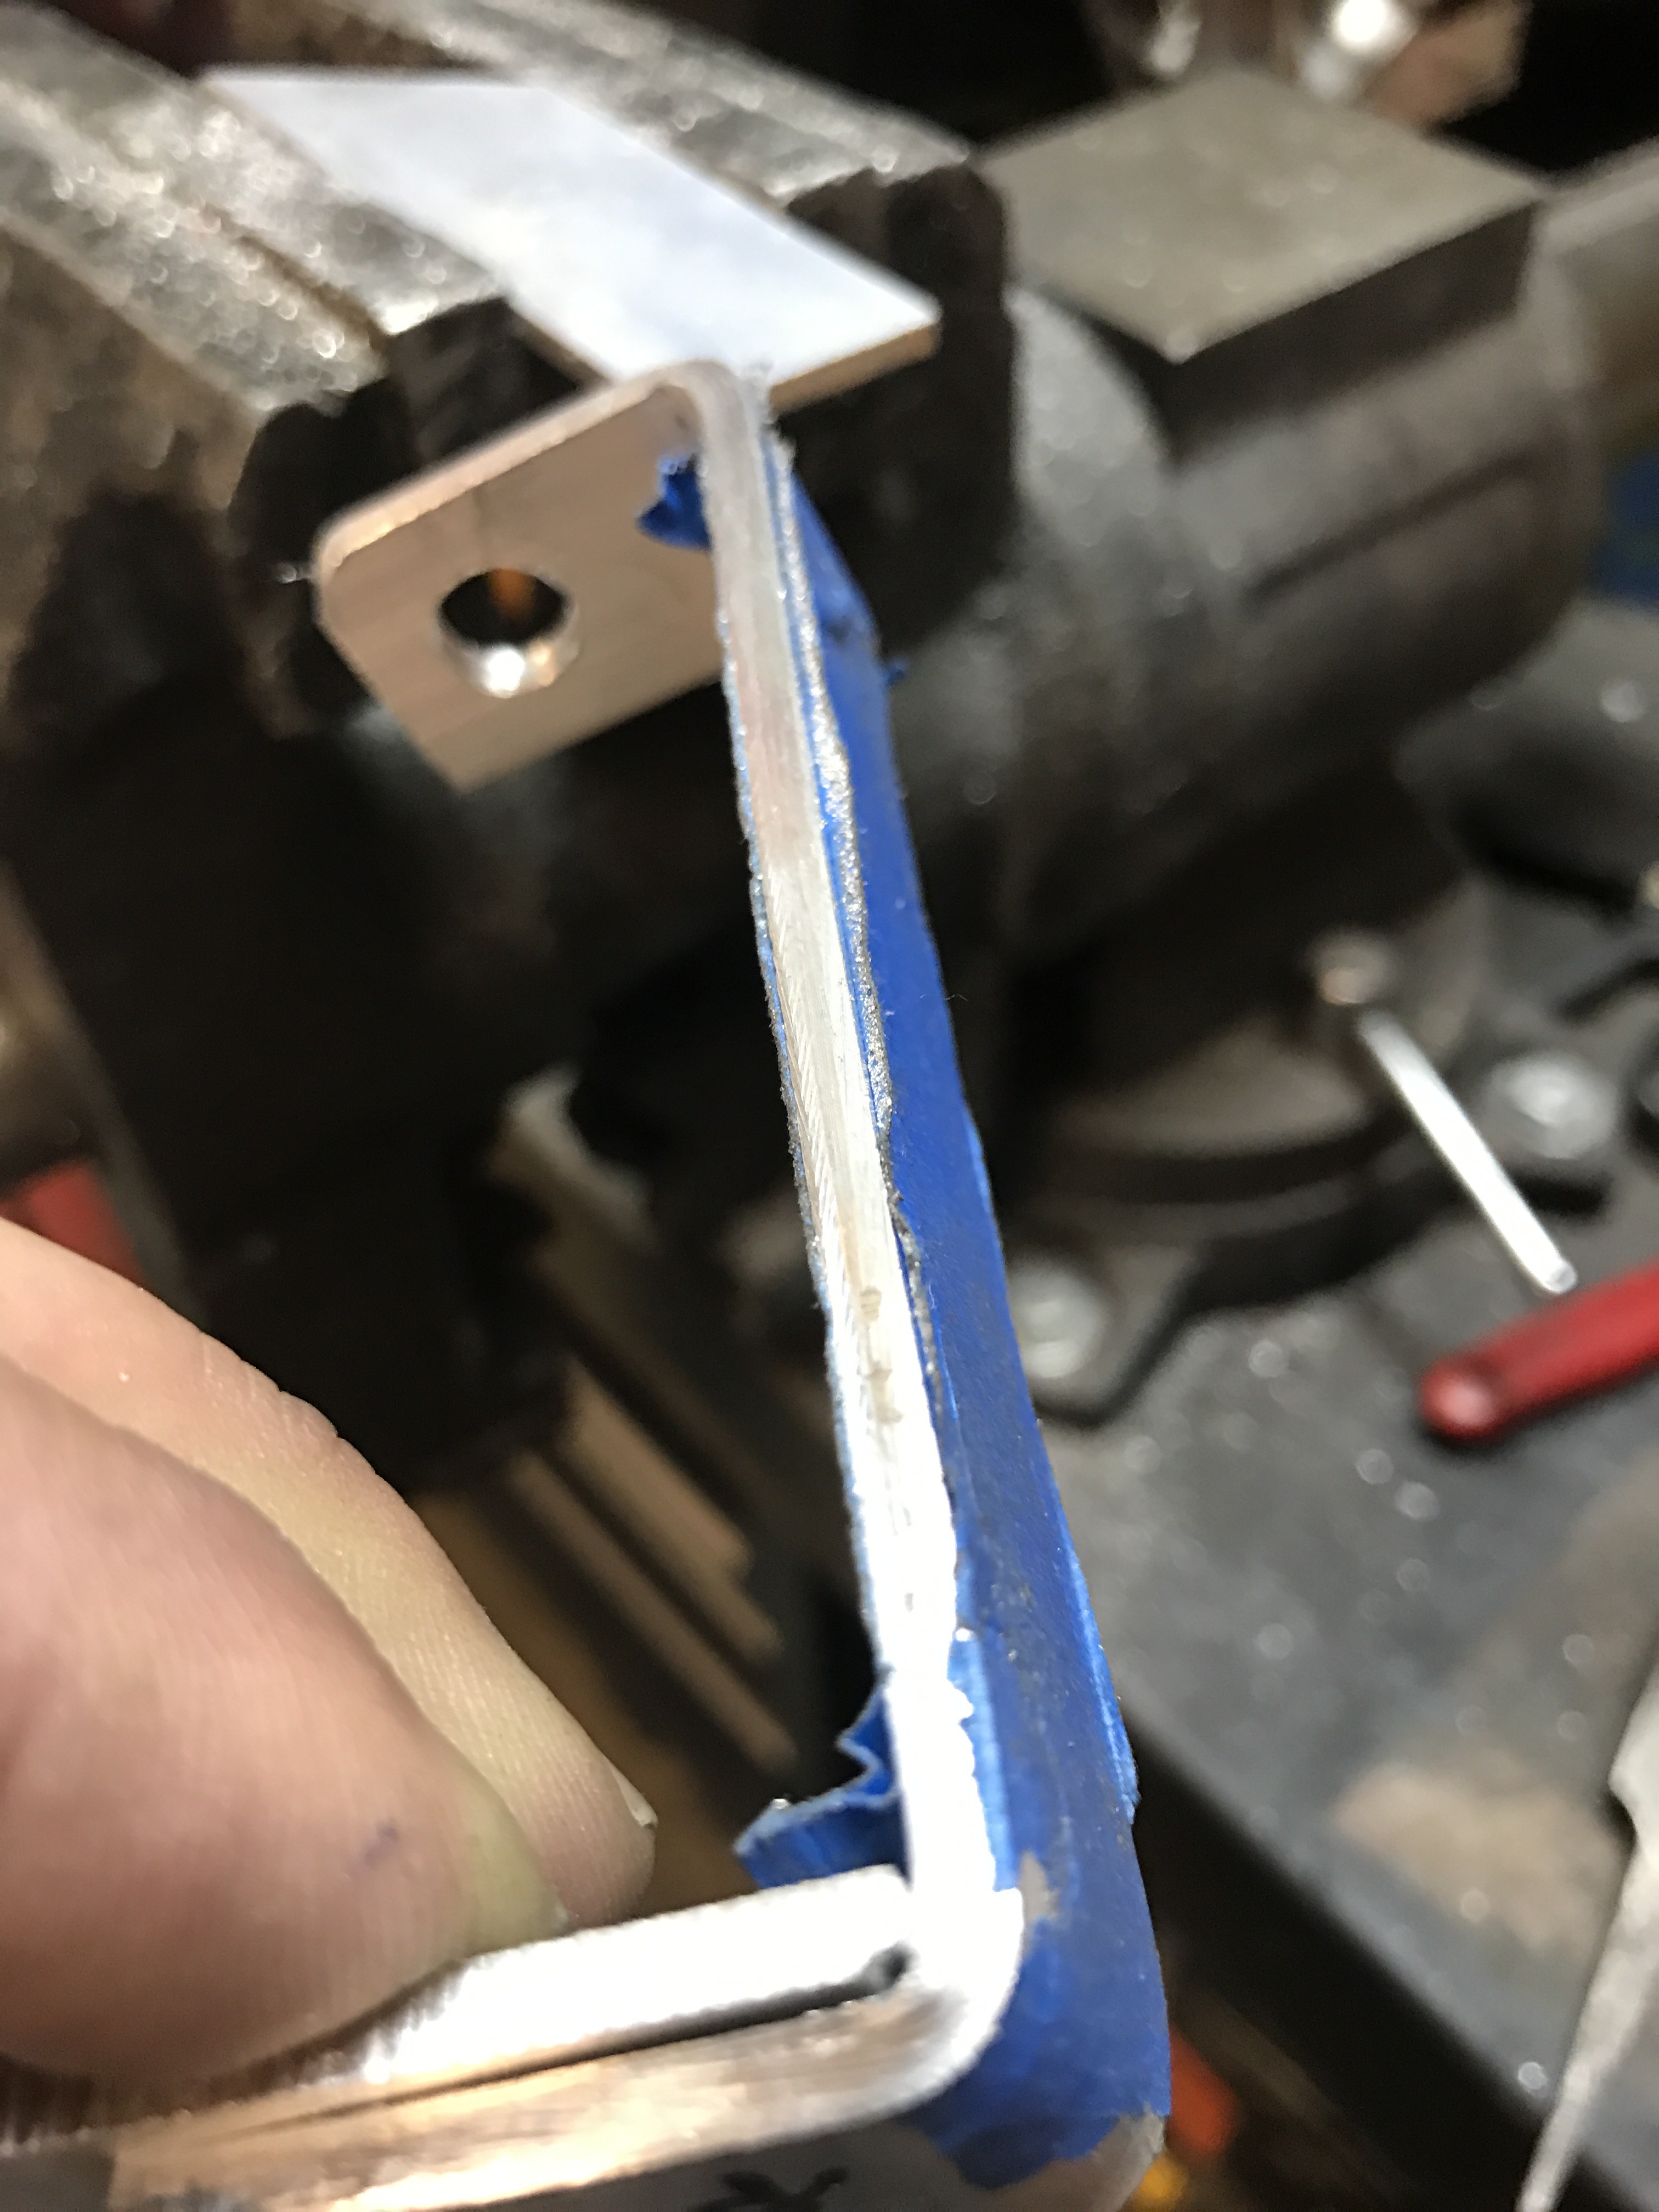

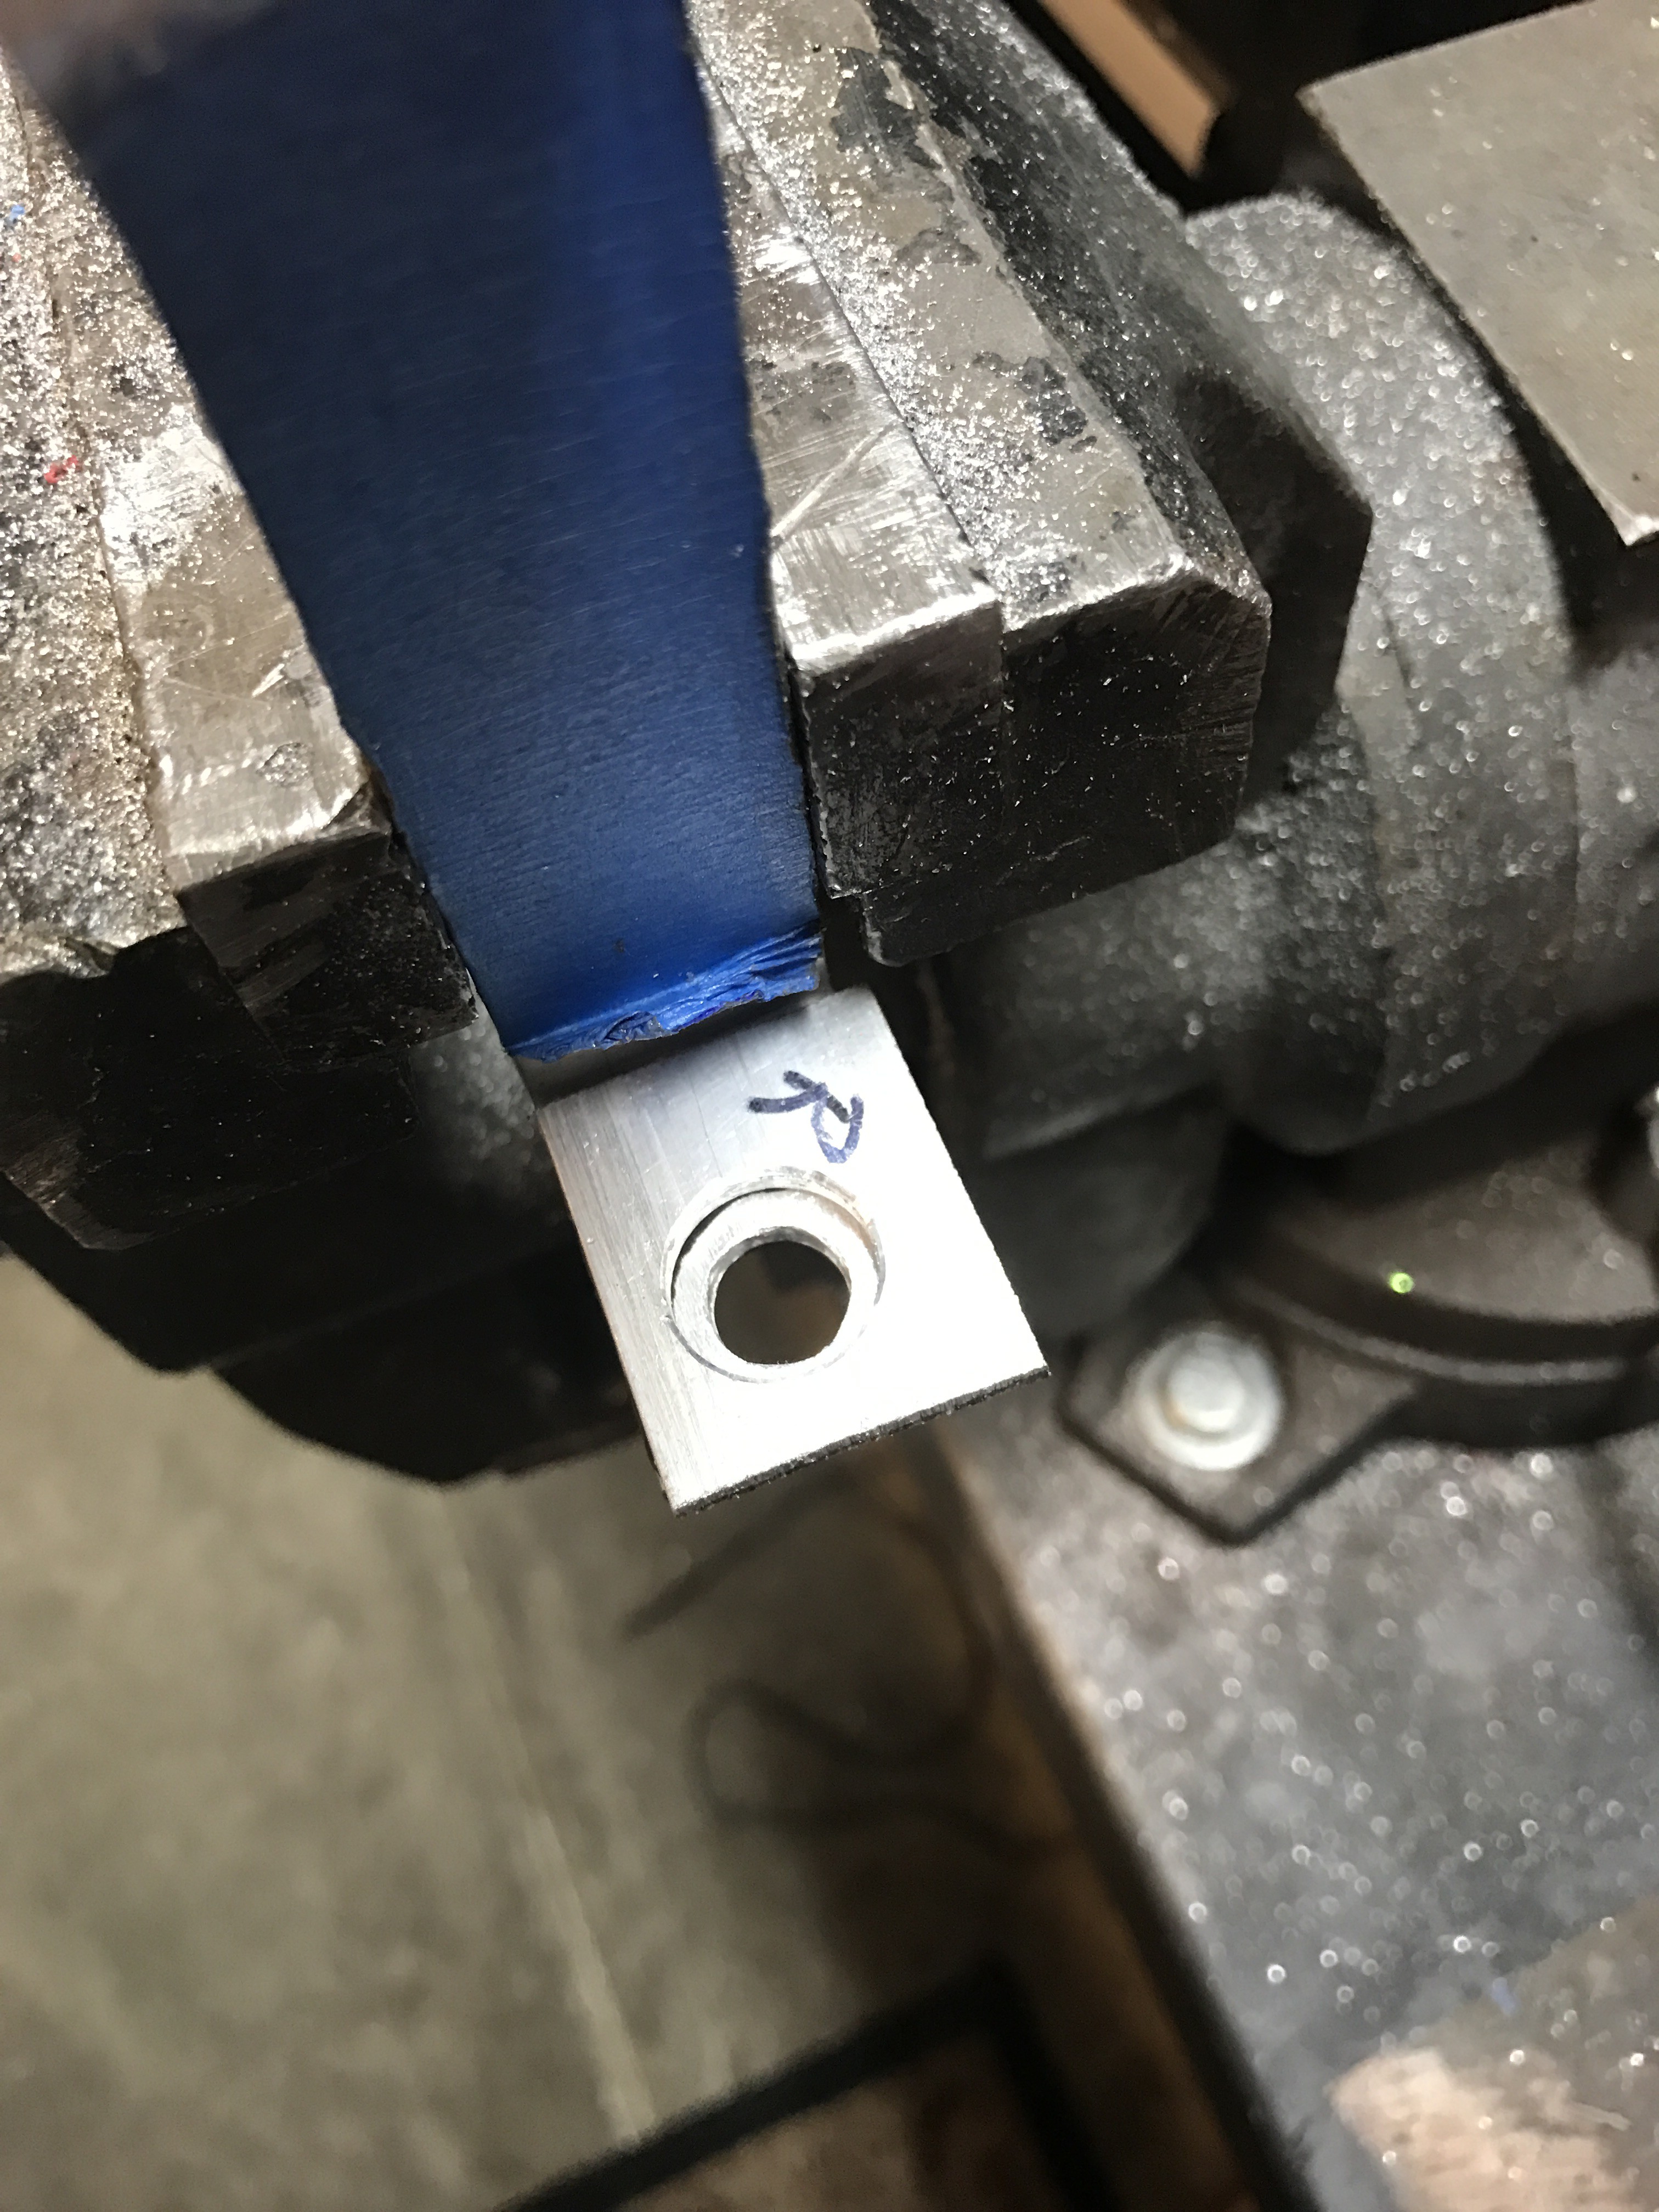
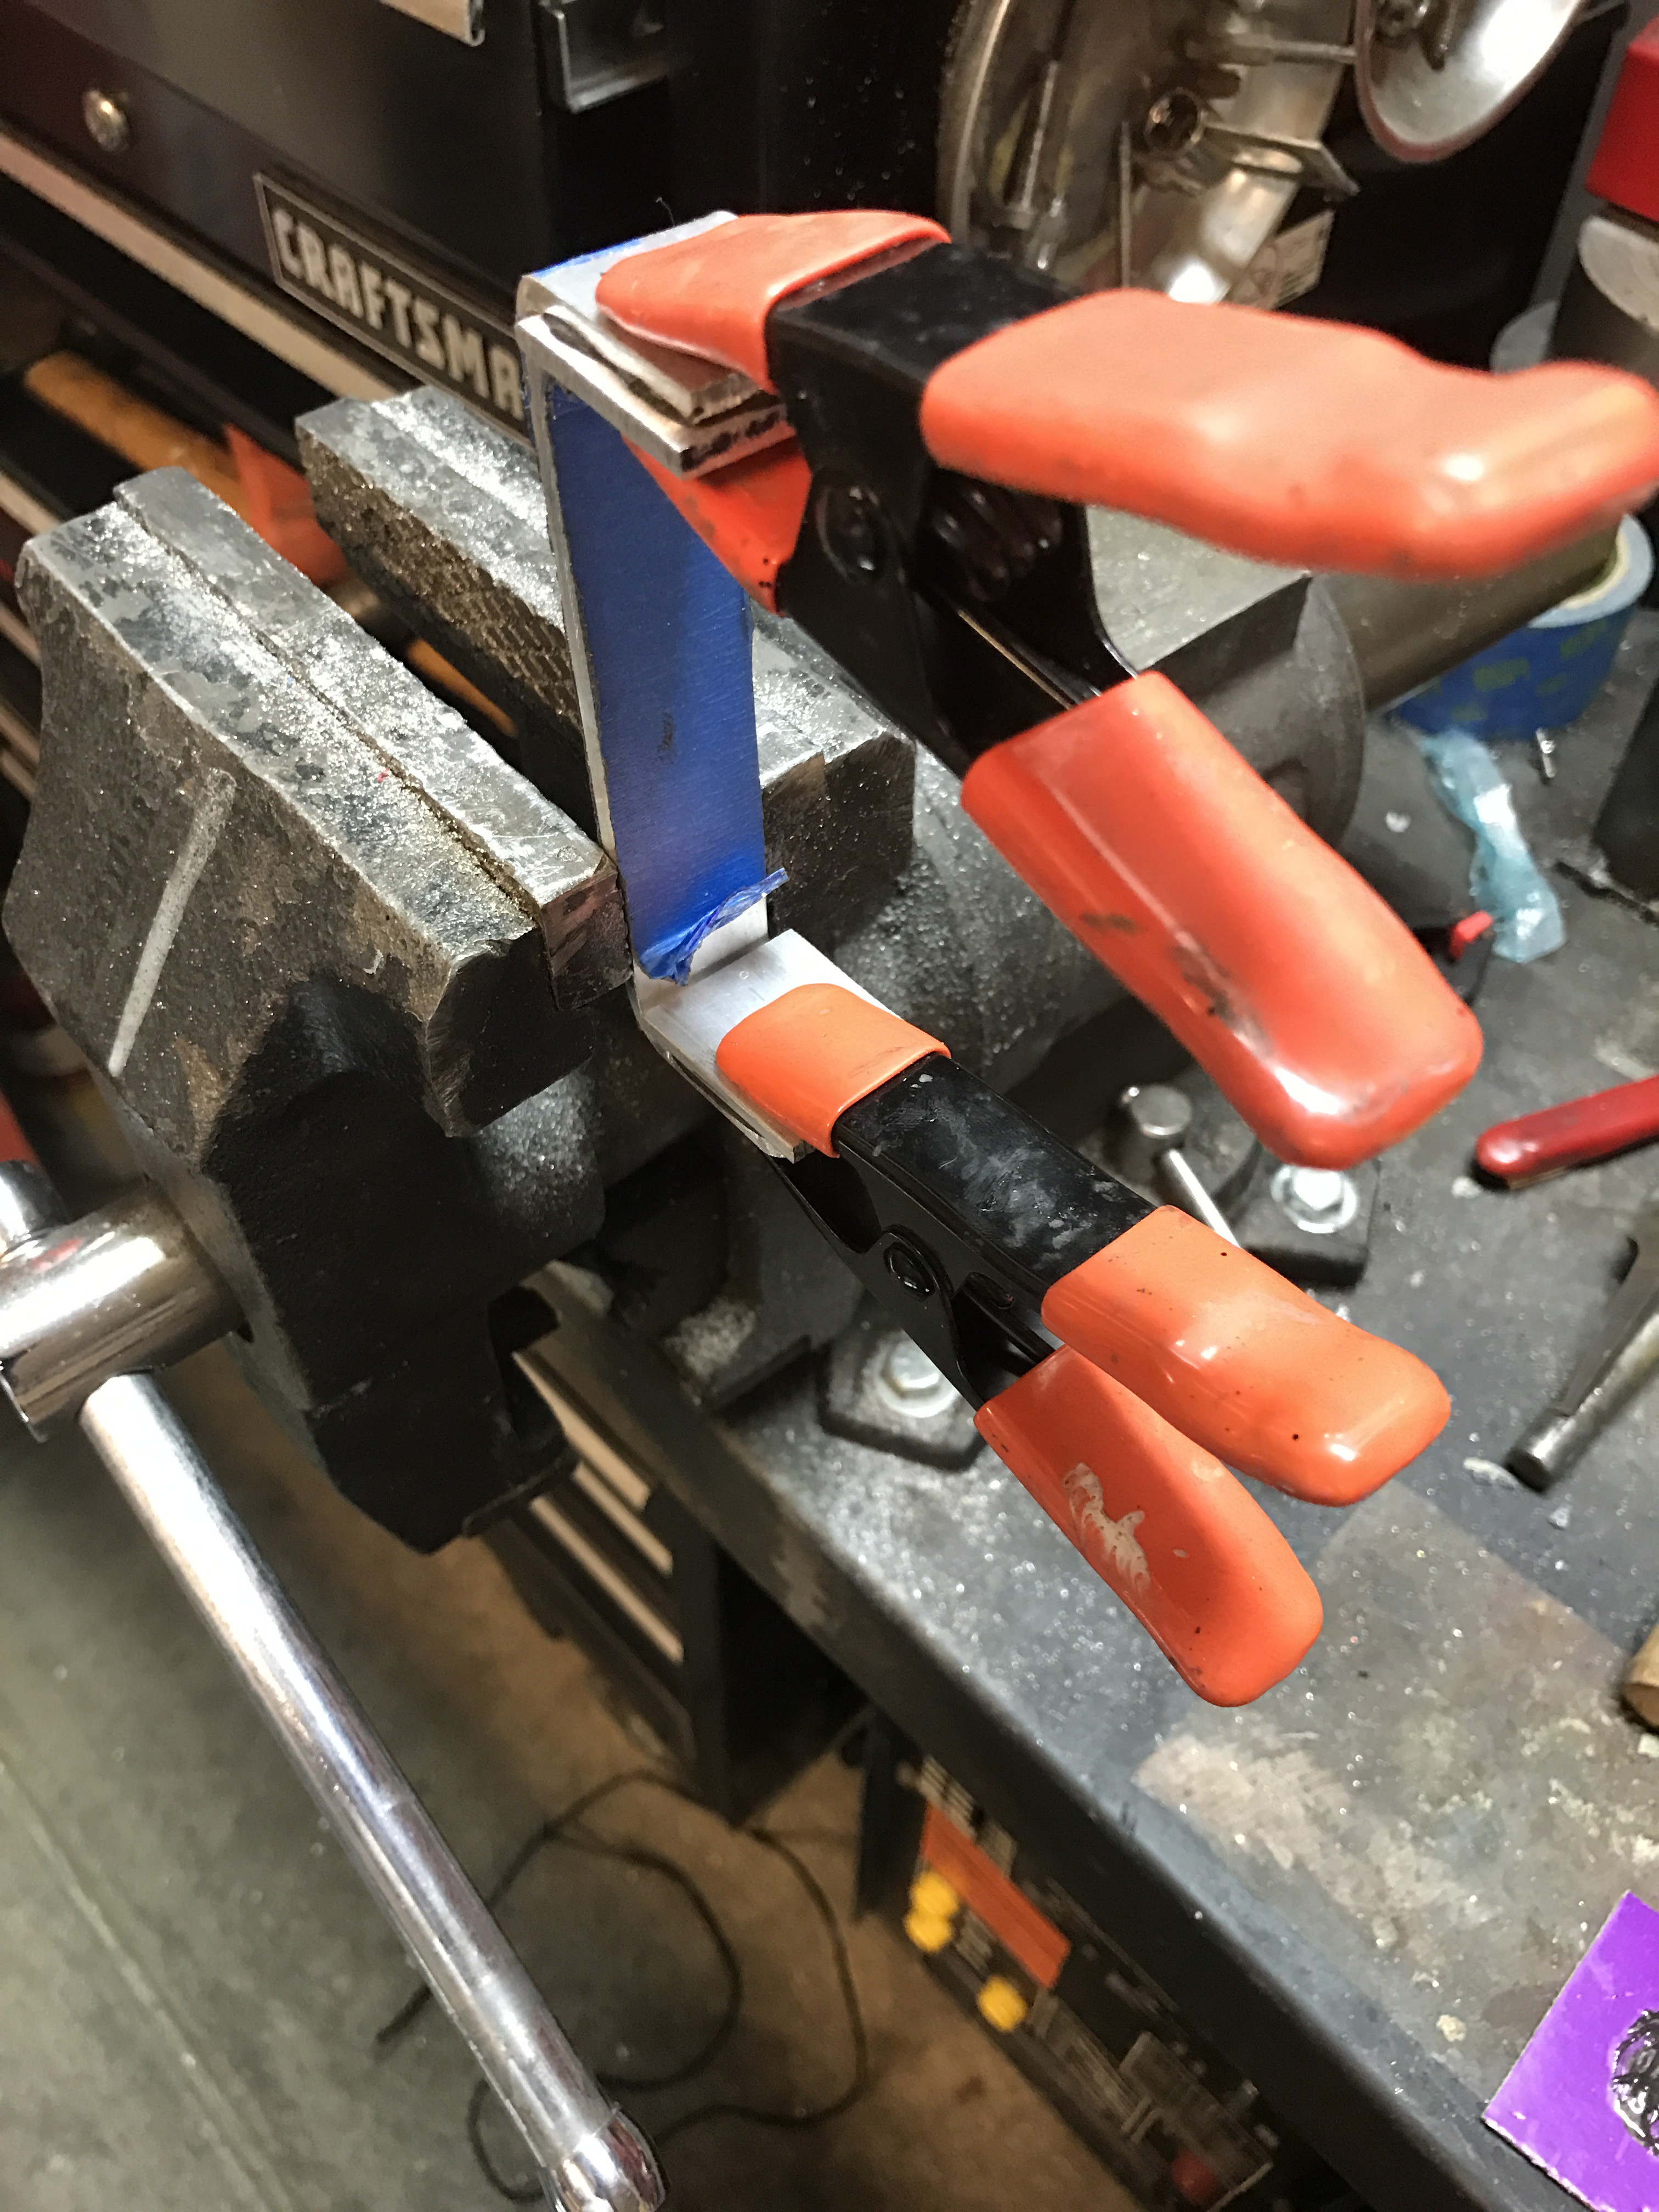
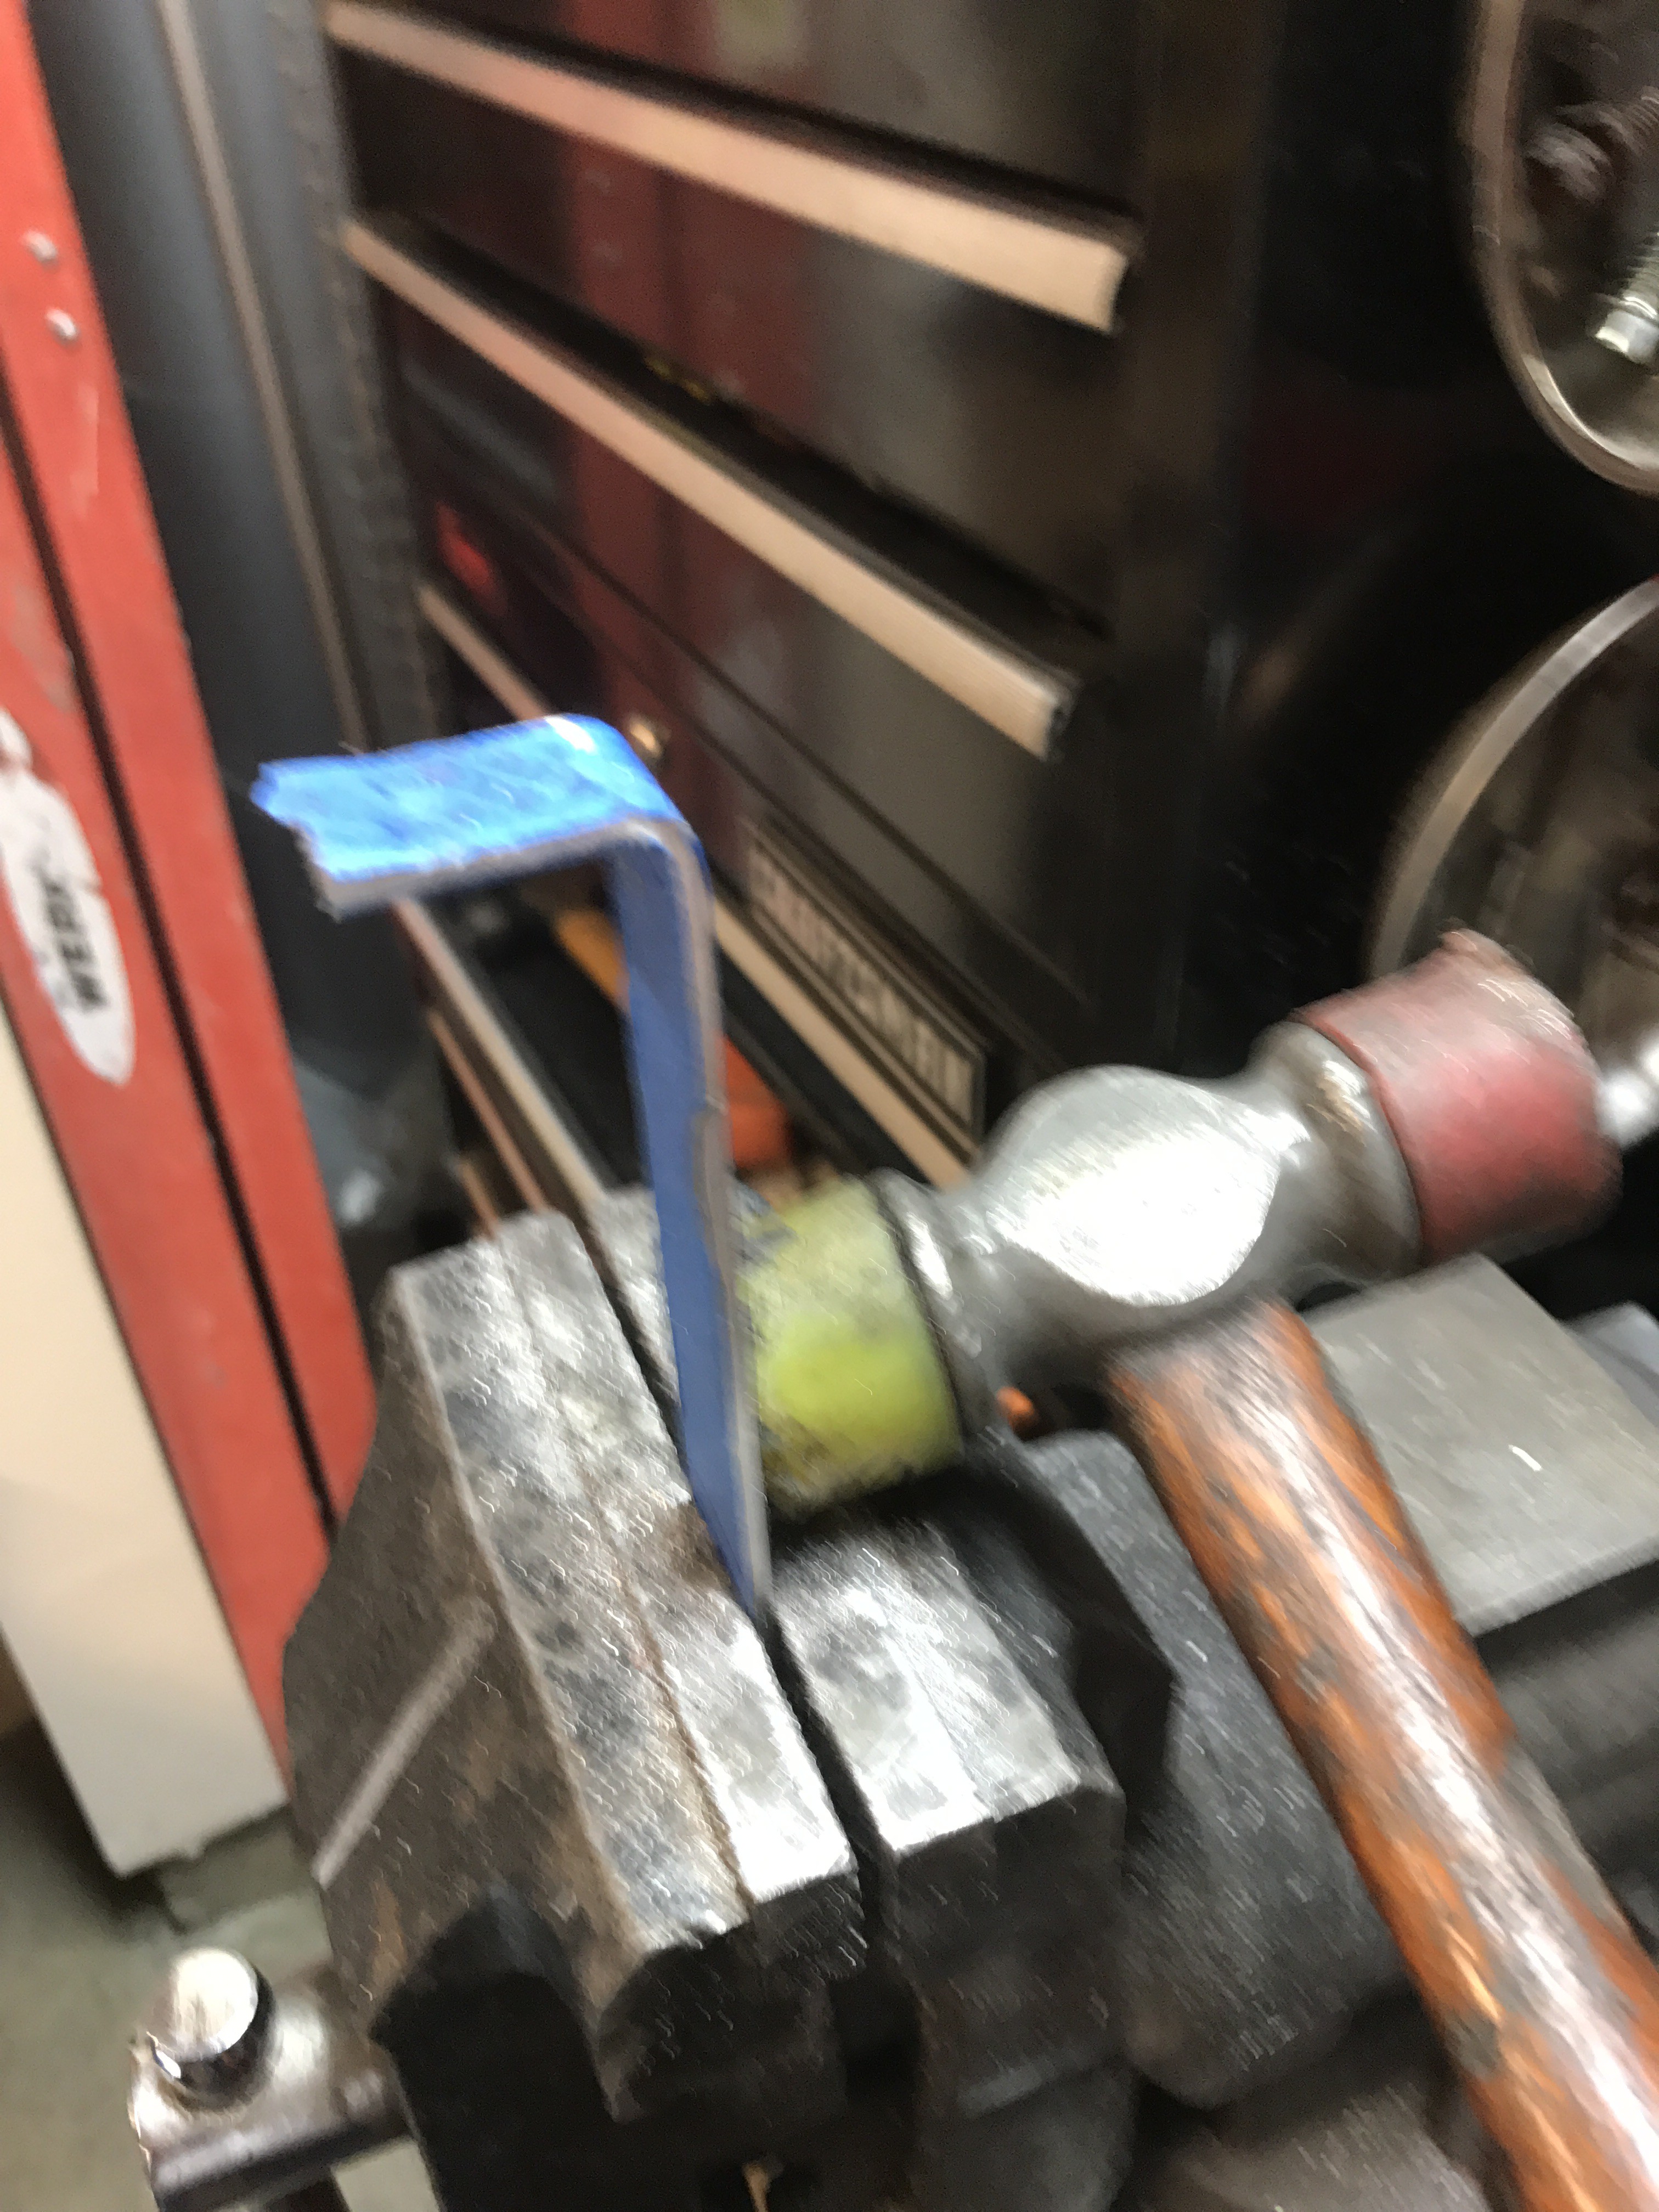
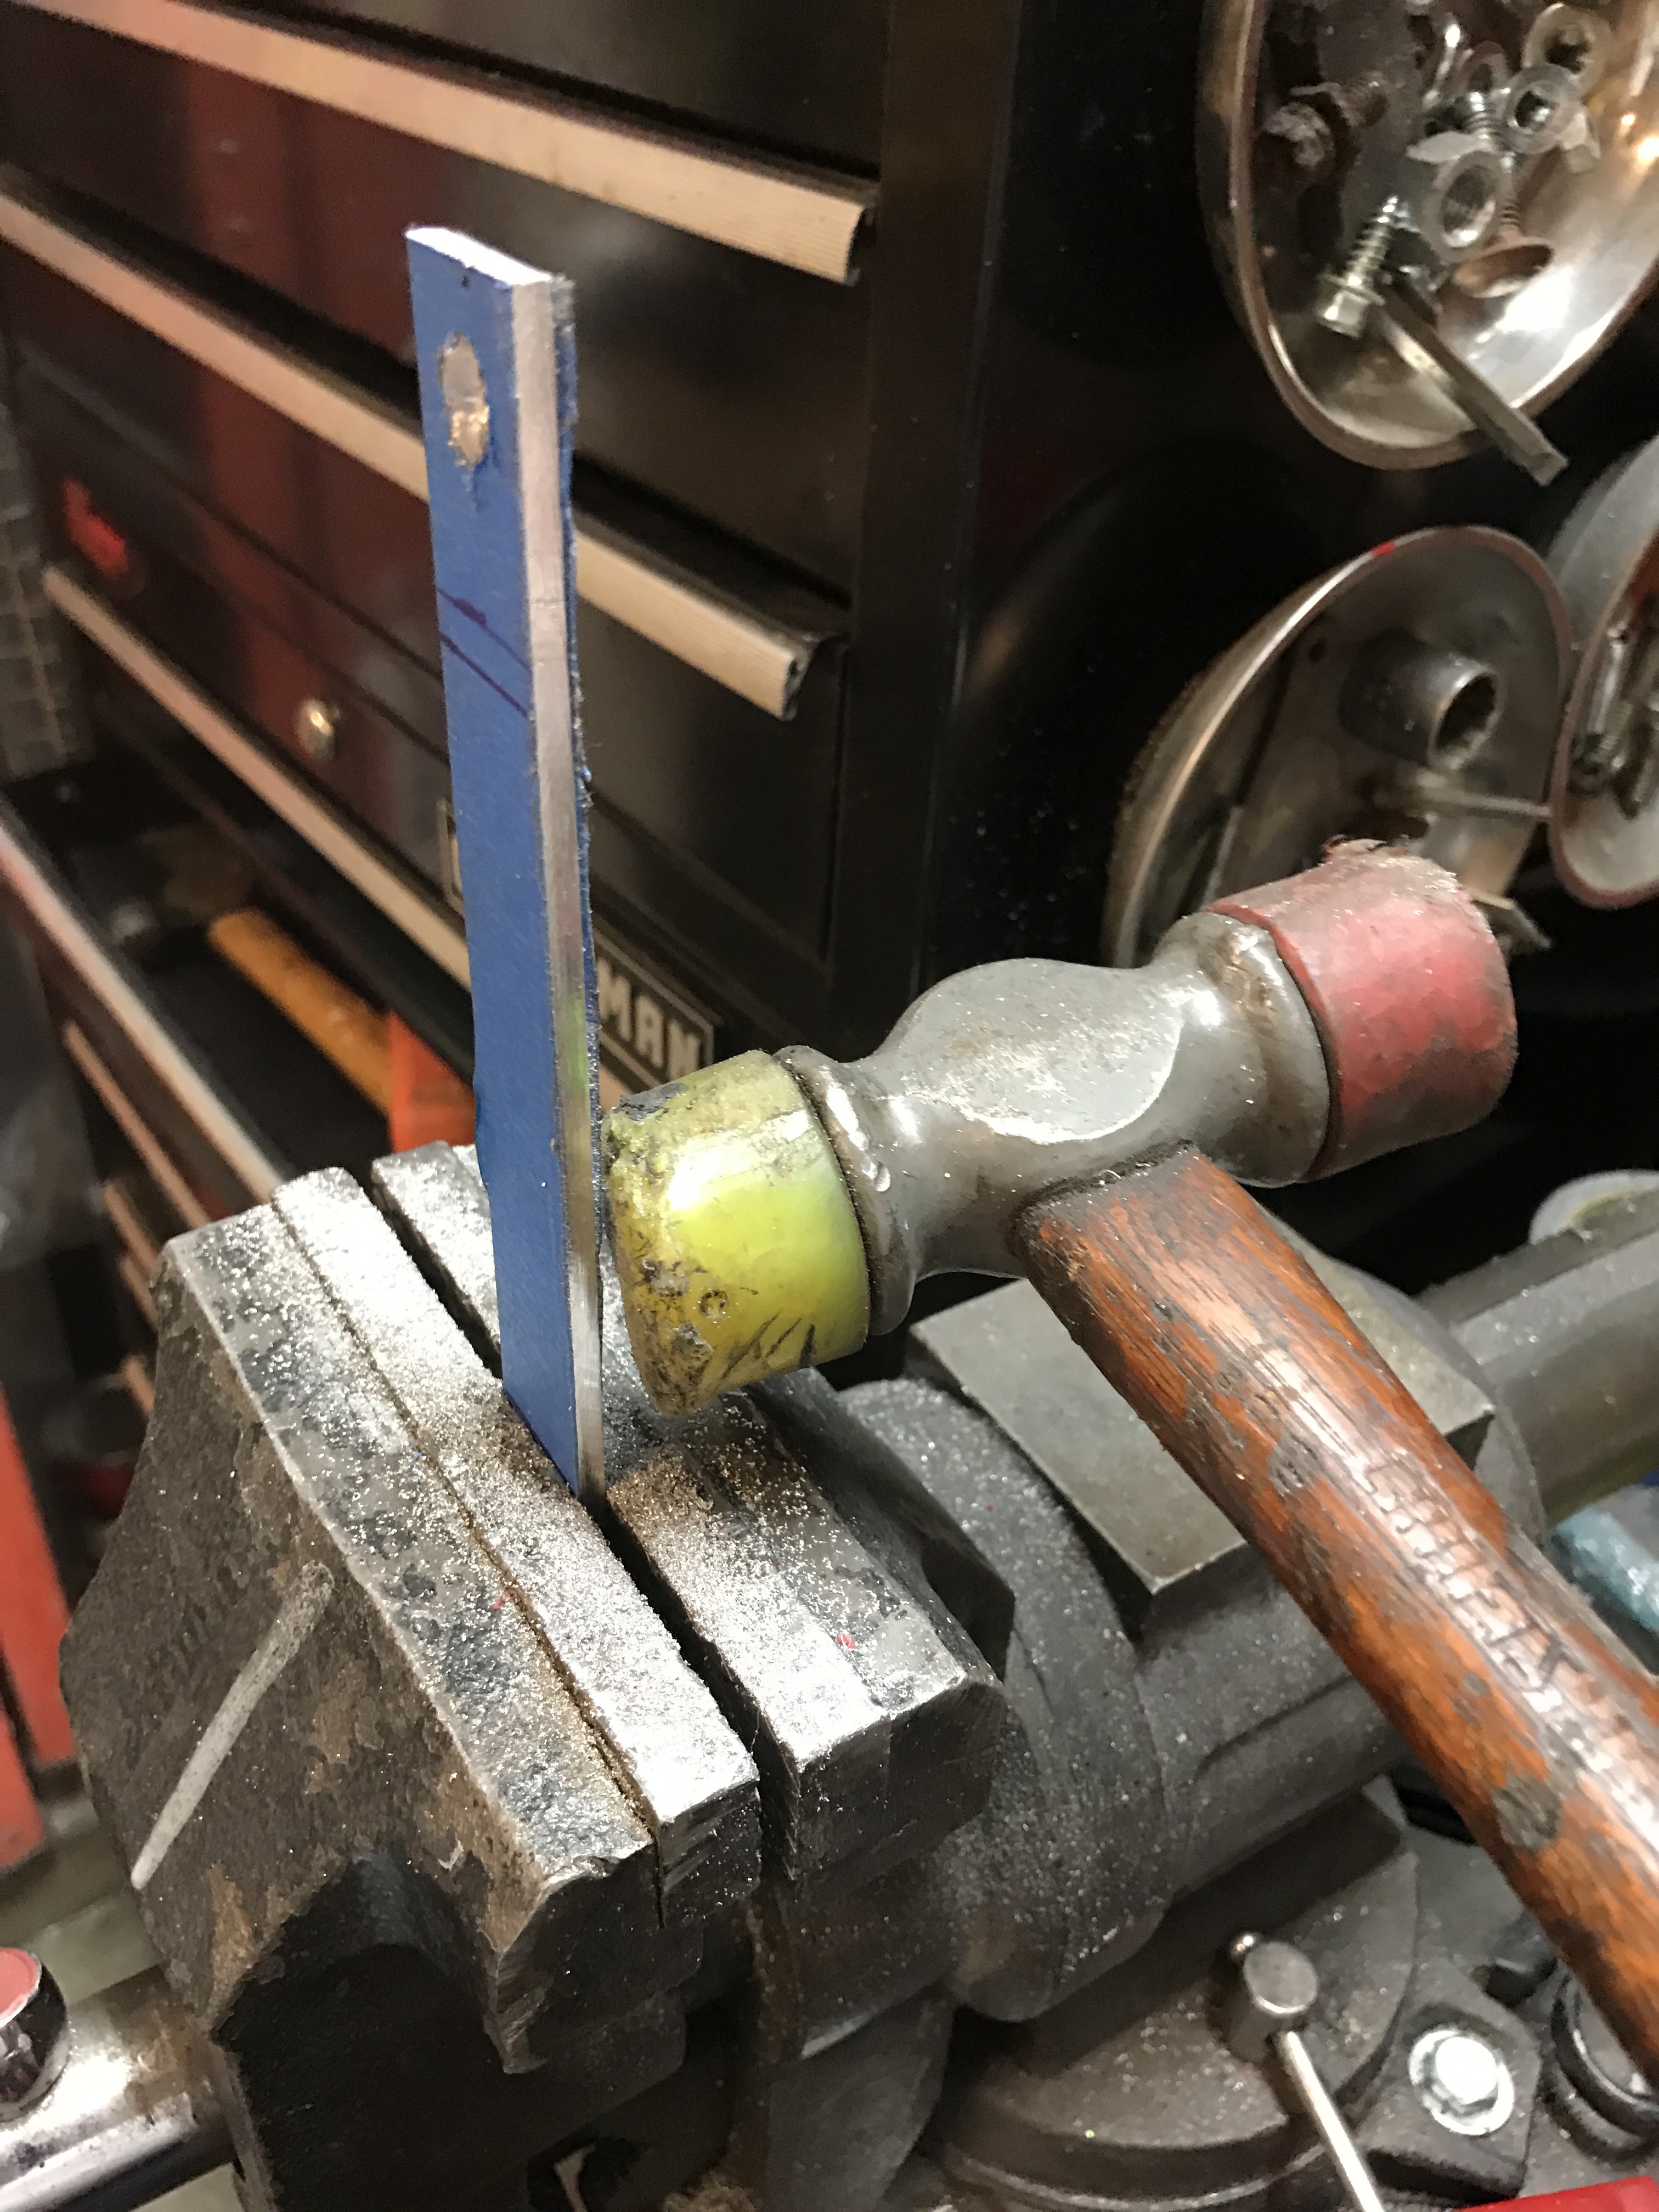
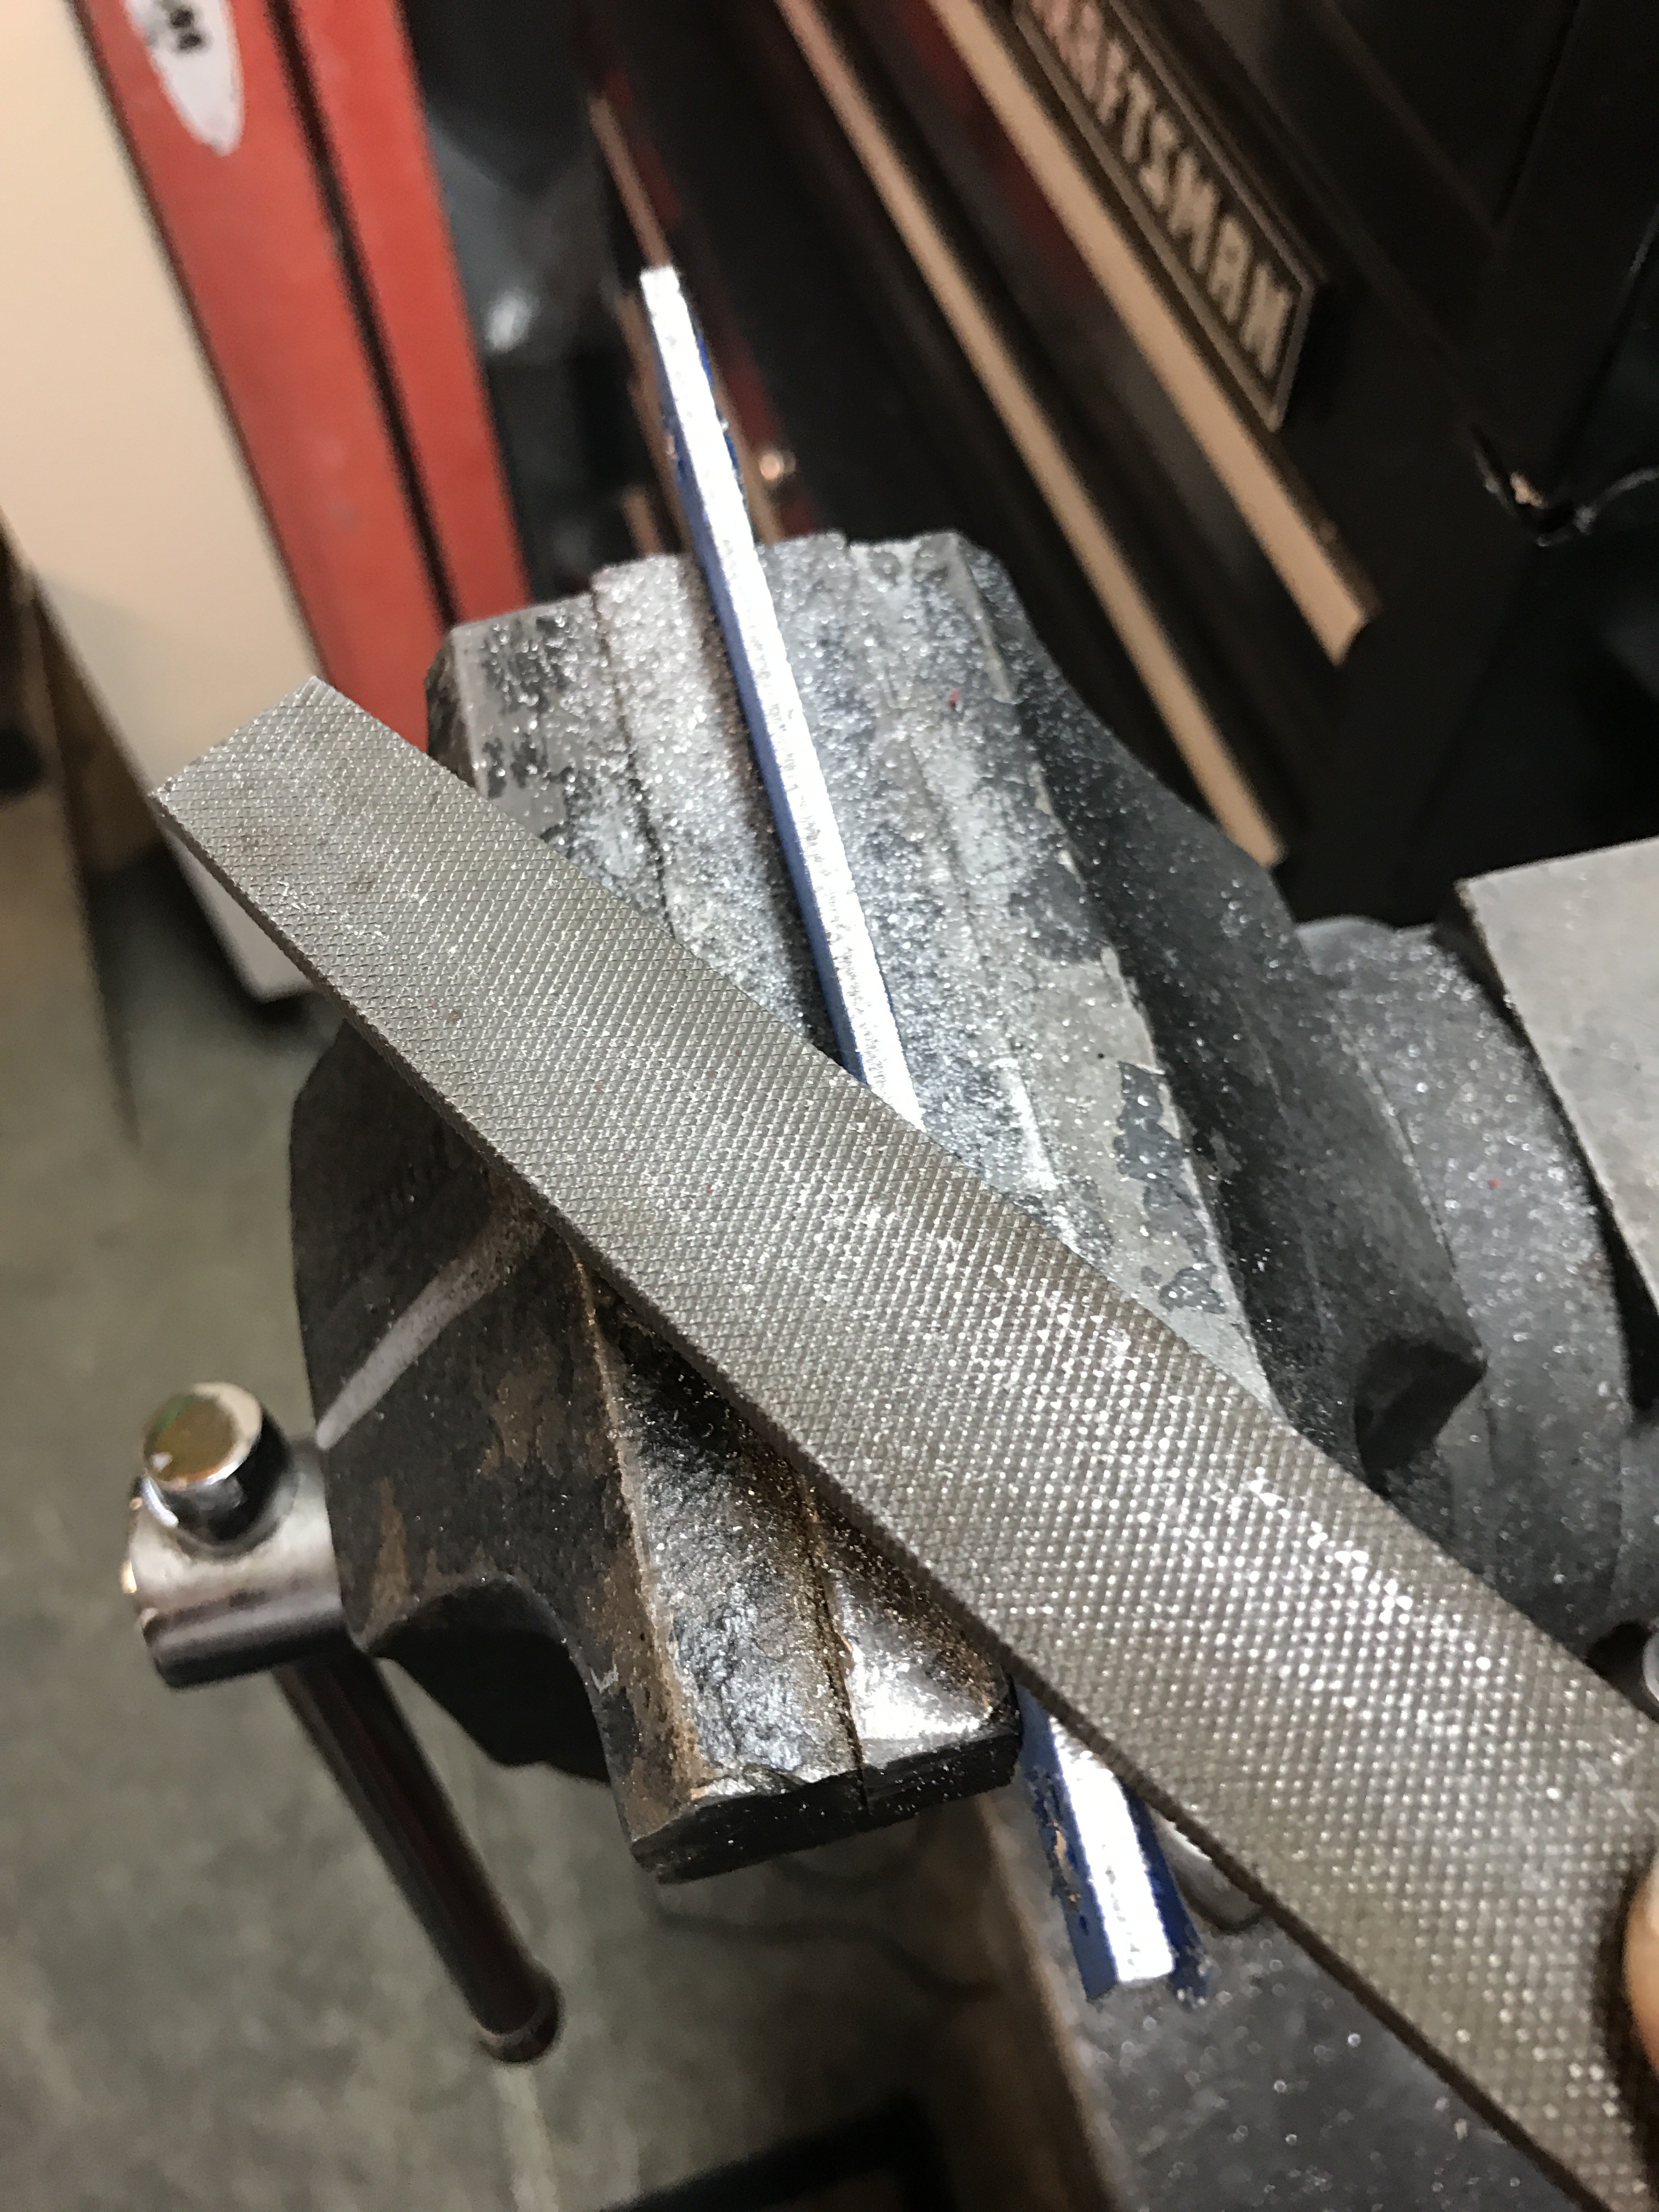
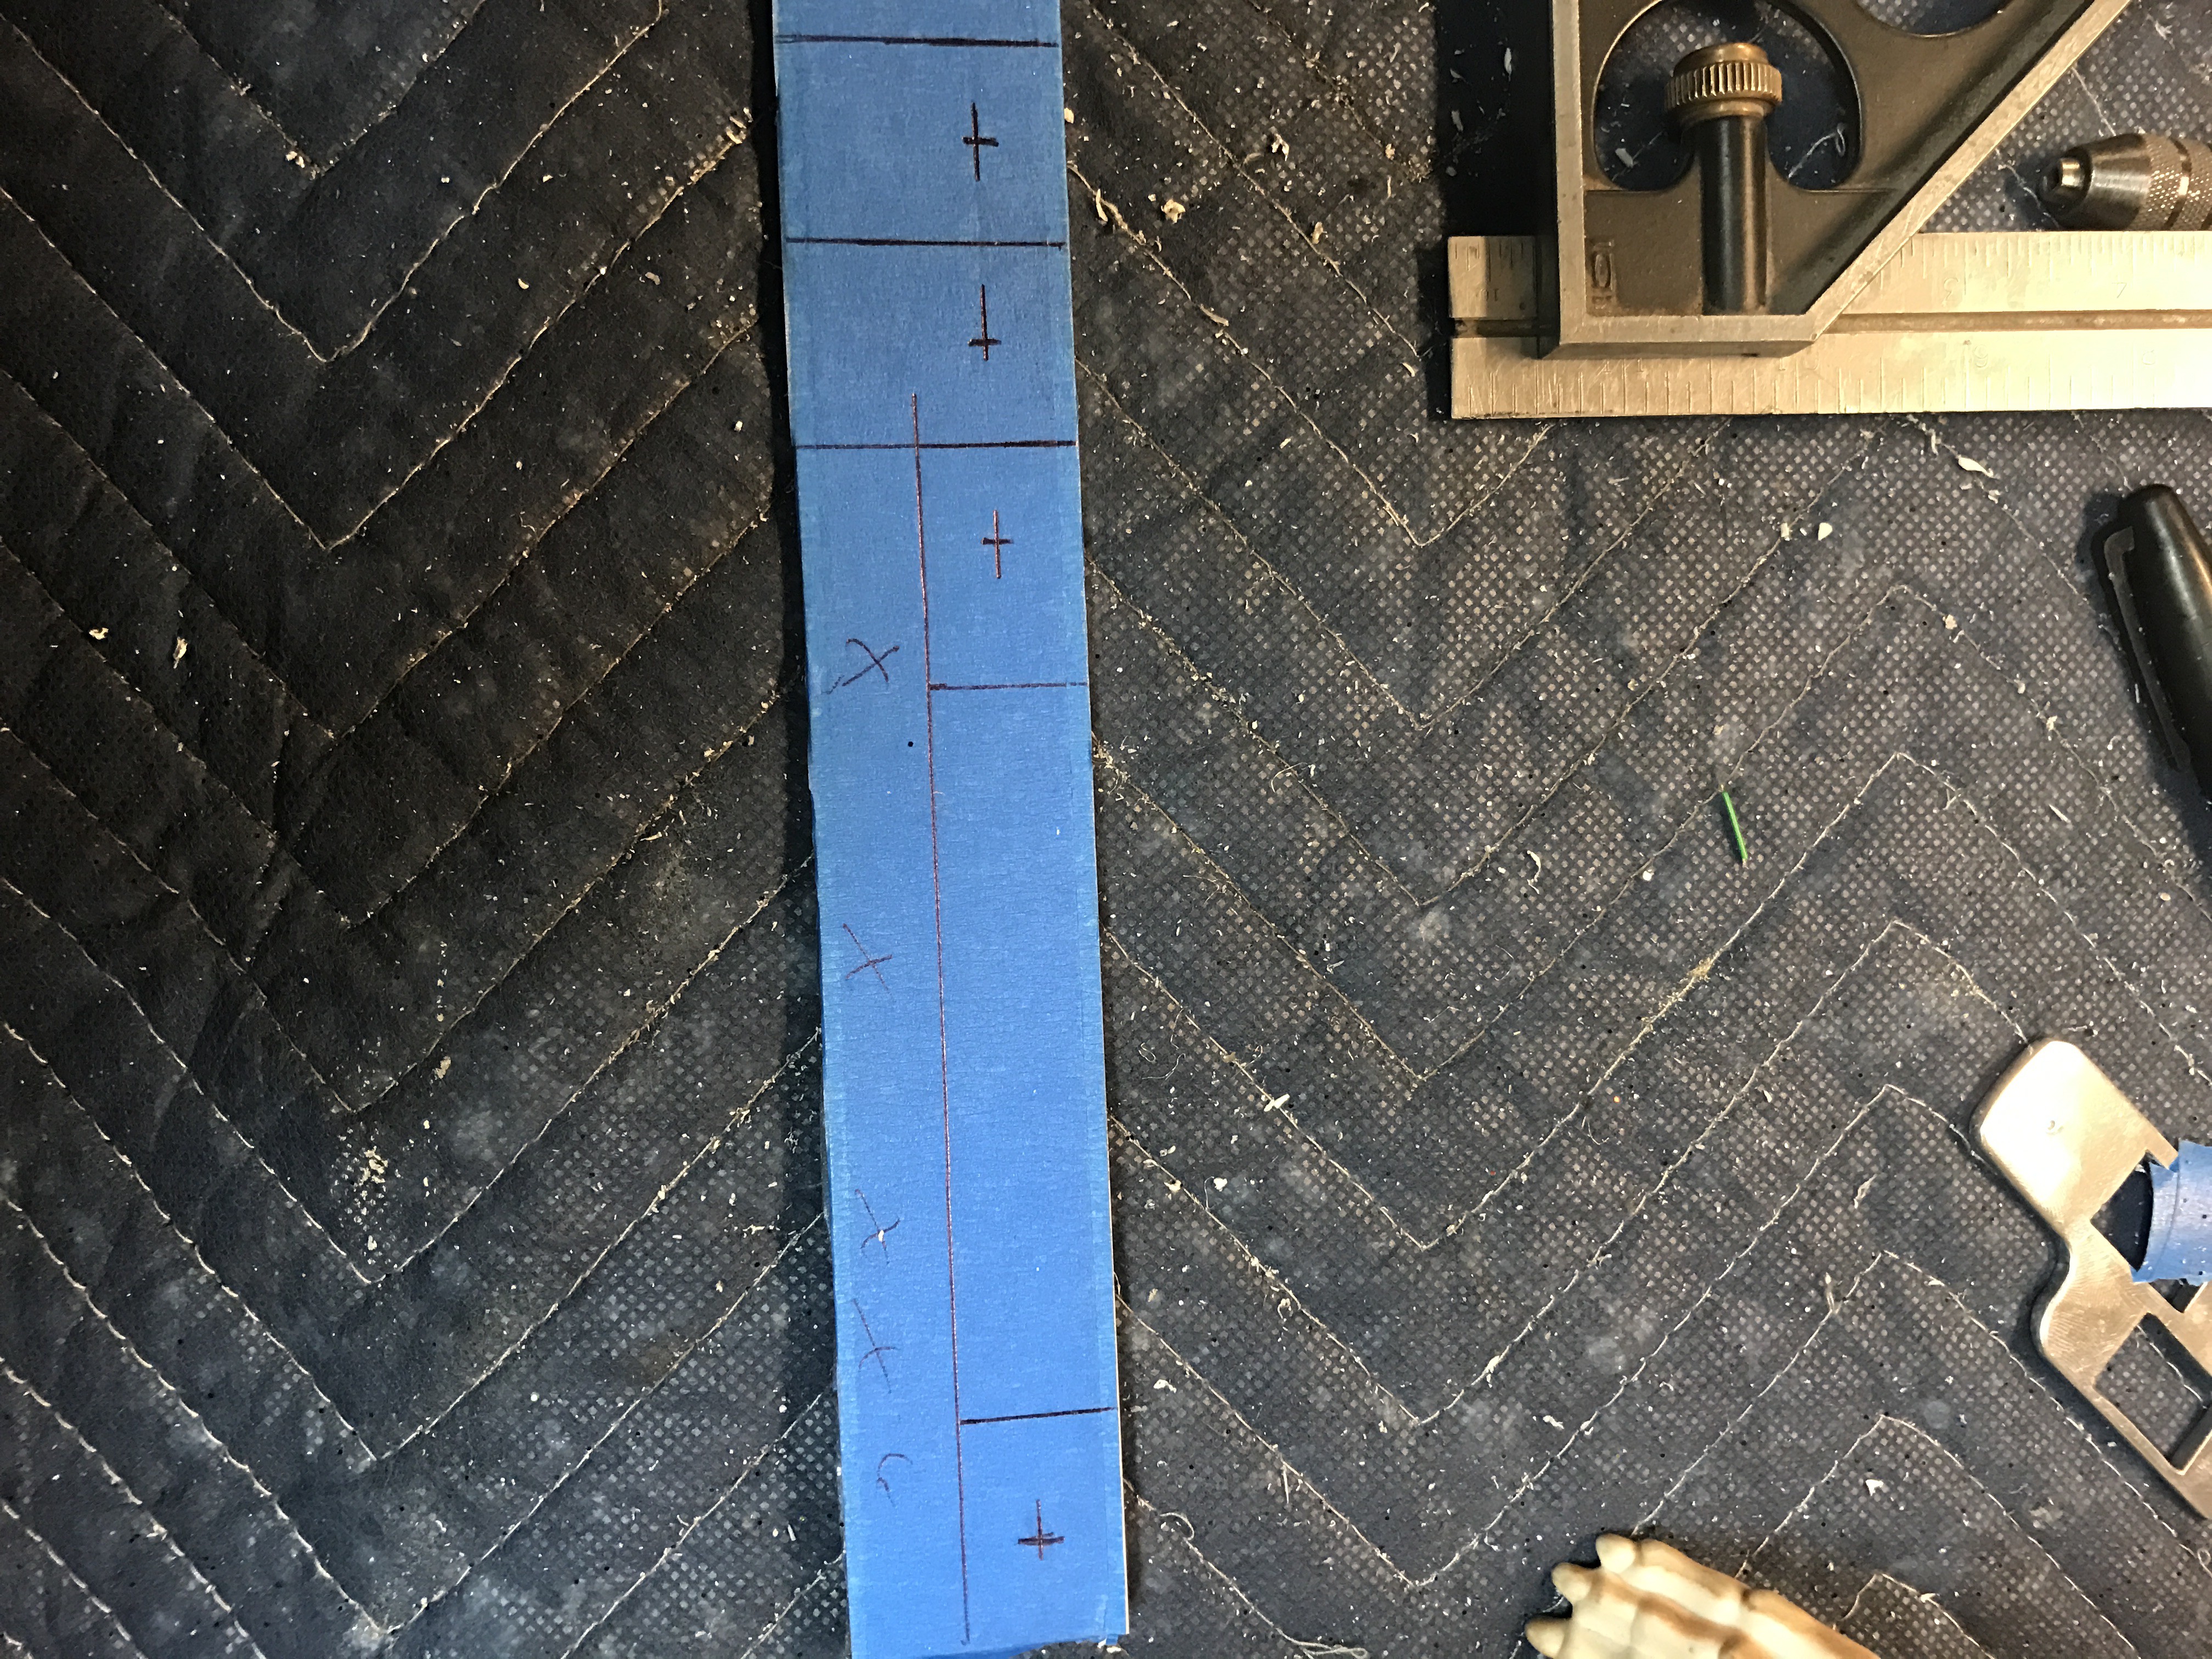
Take your 6 1/2'' piece and place it in the vise with the 1 1/4'' line at the top of the jaw, this is your bend line. Take soft hammer and hit the aluminum close to the vice to bend it. Don't hit high, this will screw the piece up. Keep hitting till you have a 90 degree. Repeat for both ends.
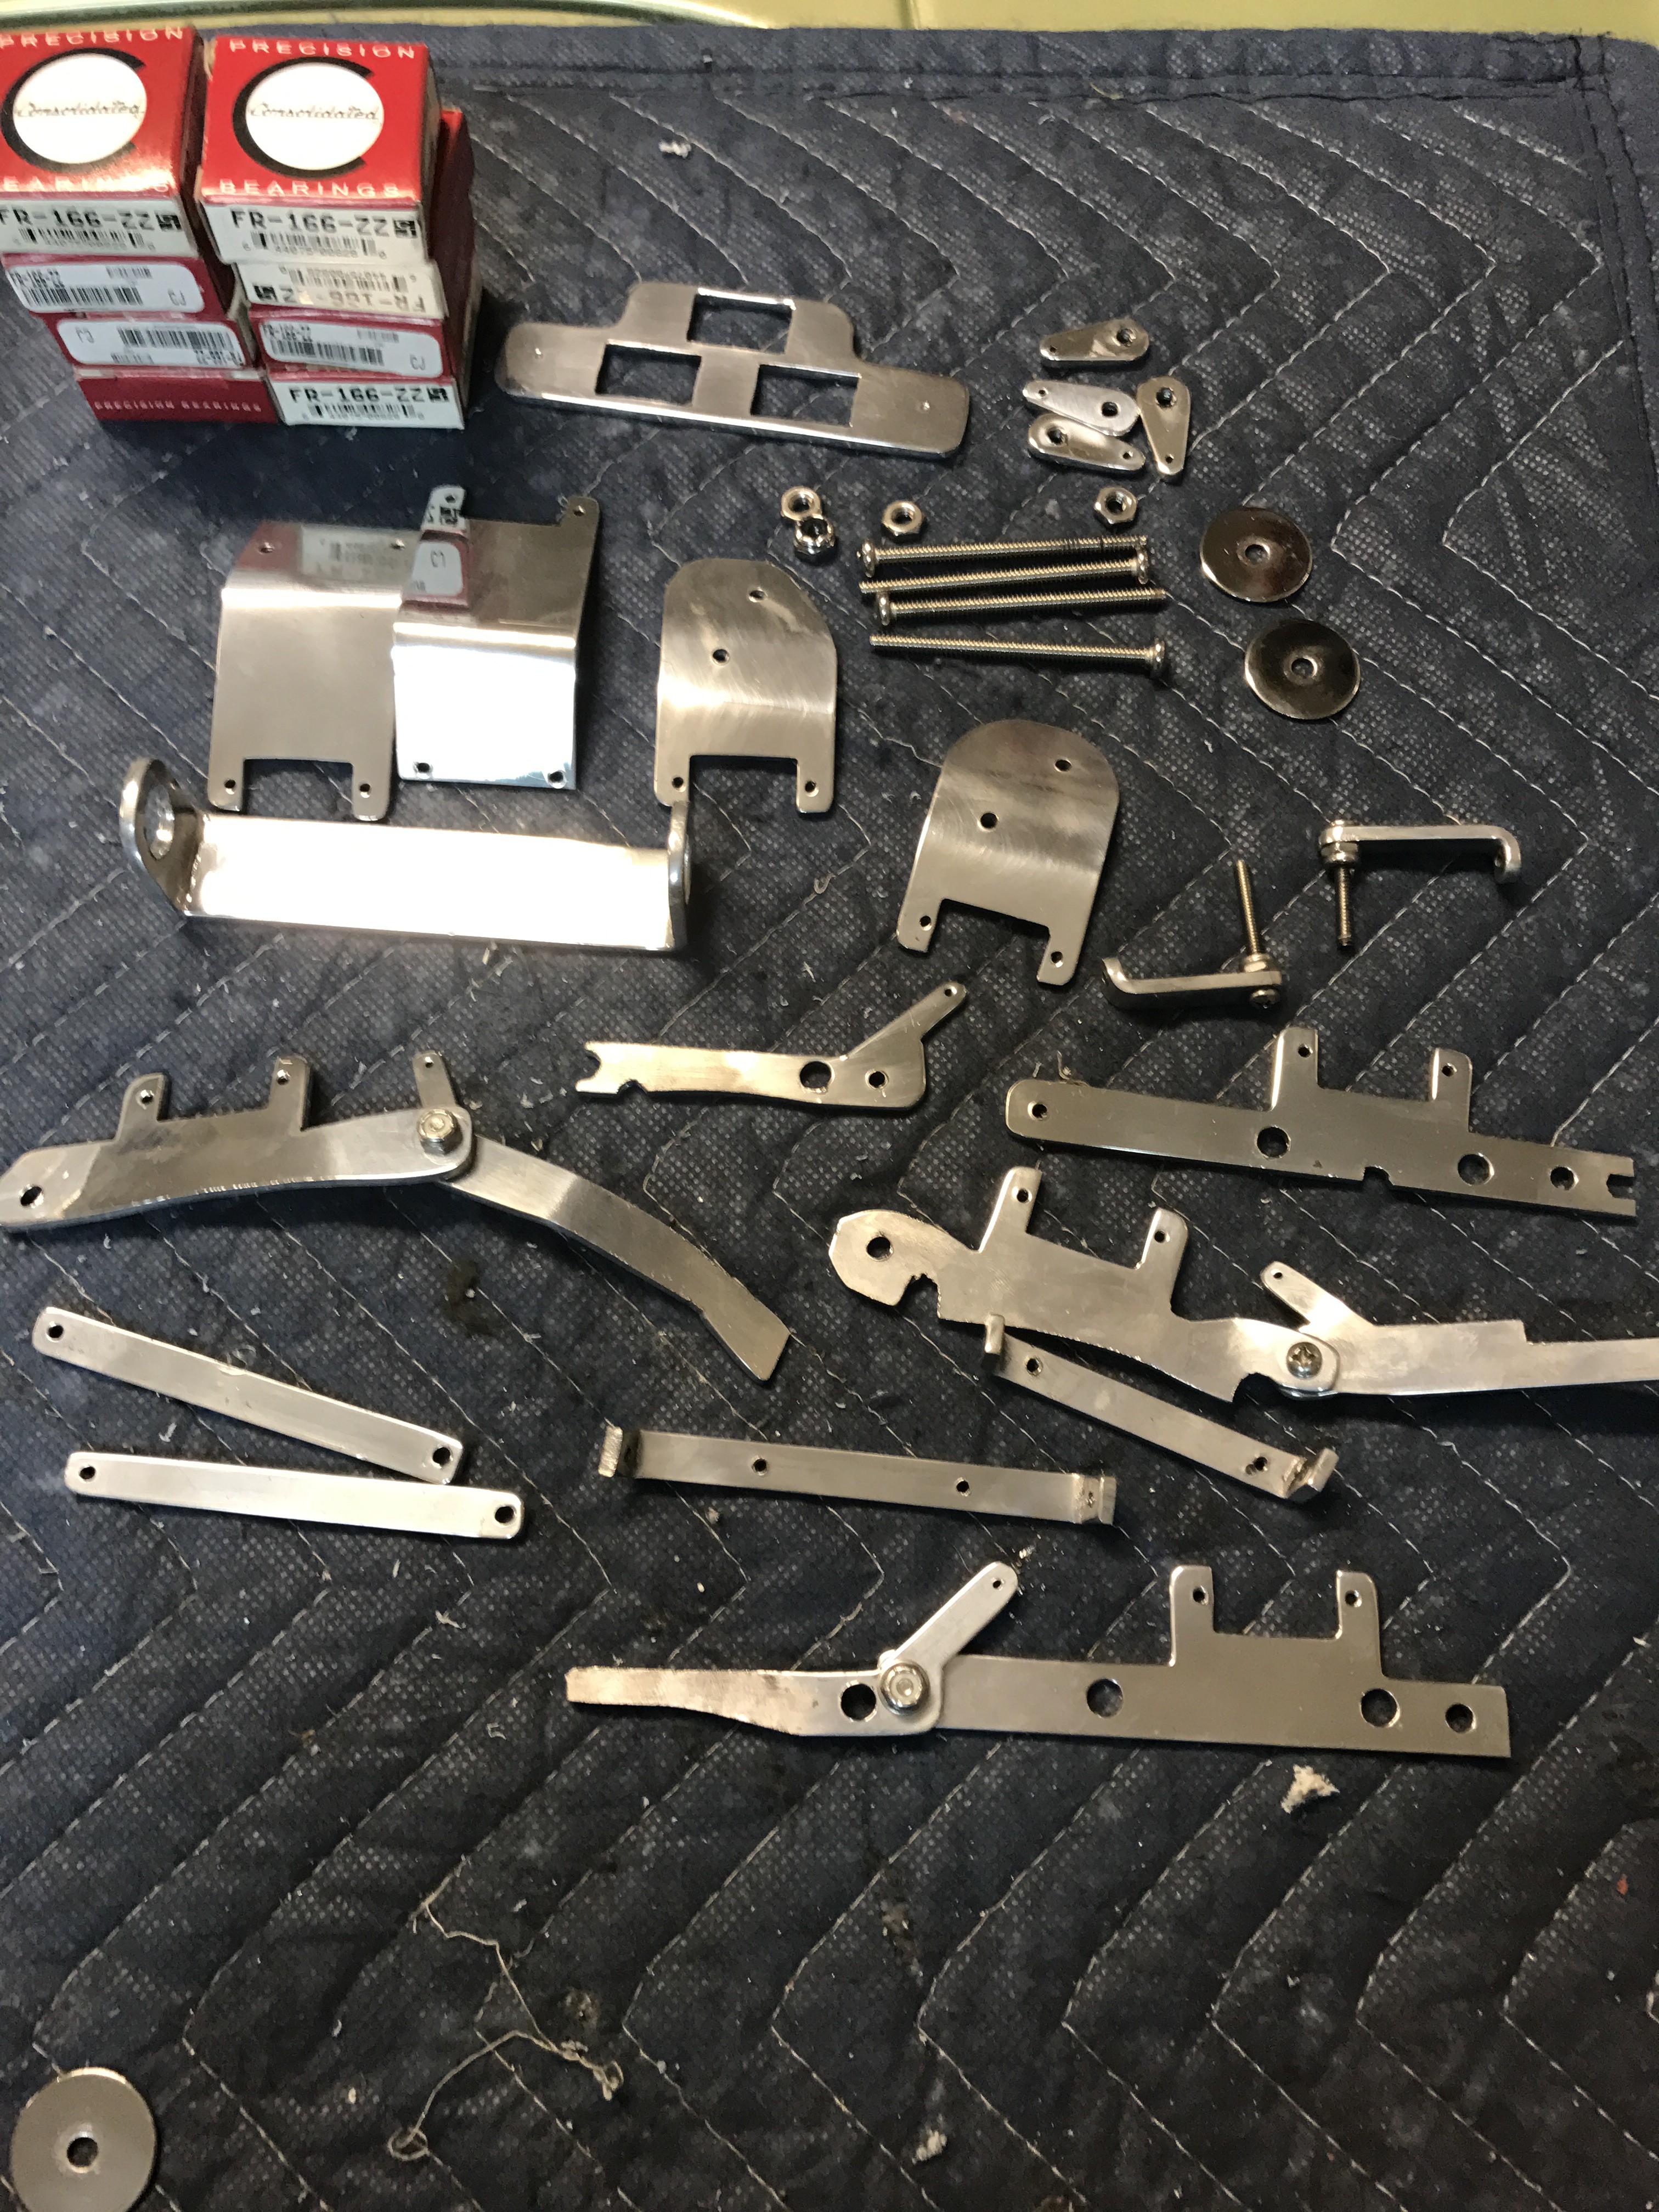
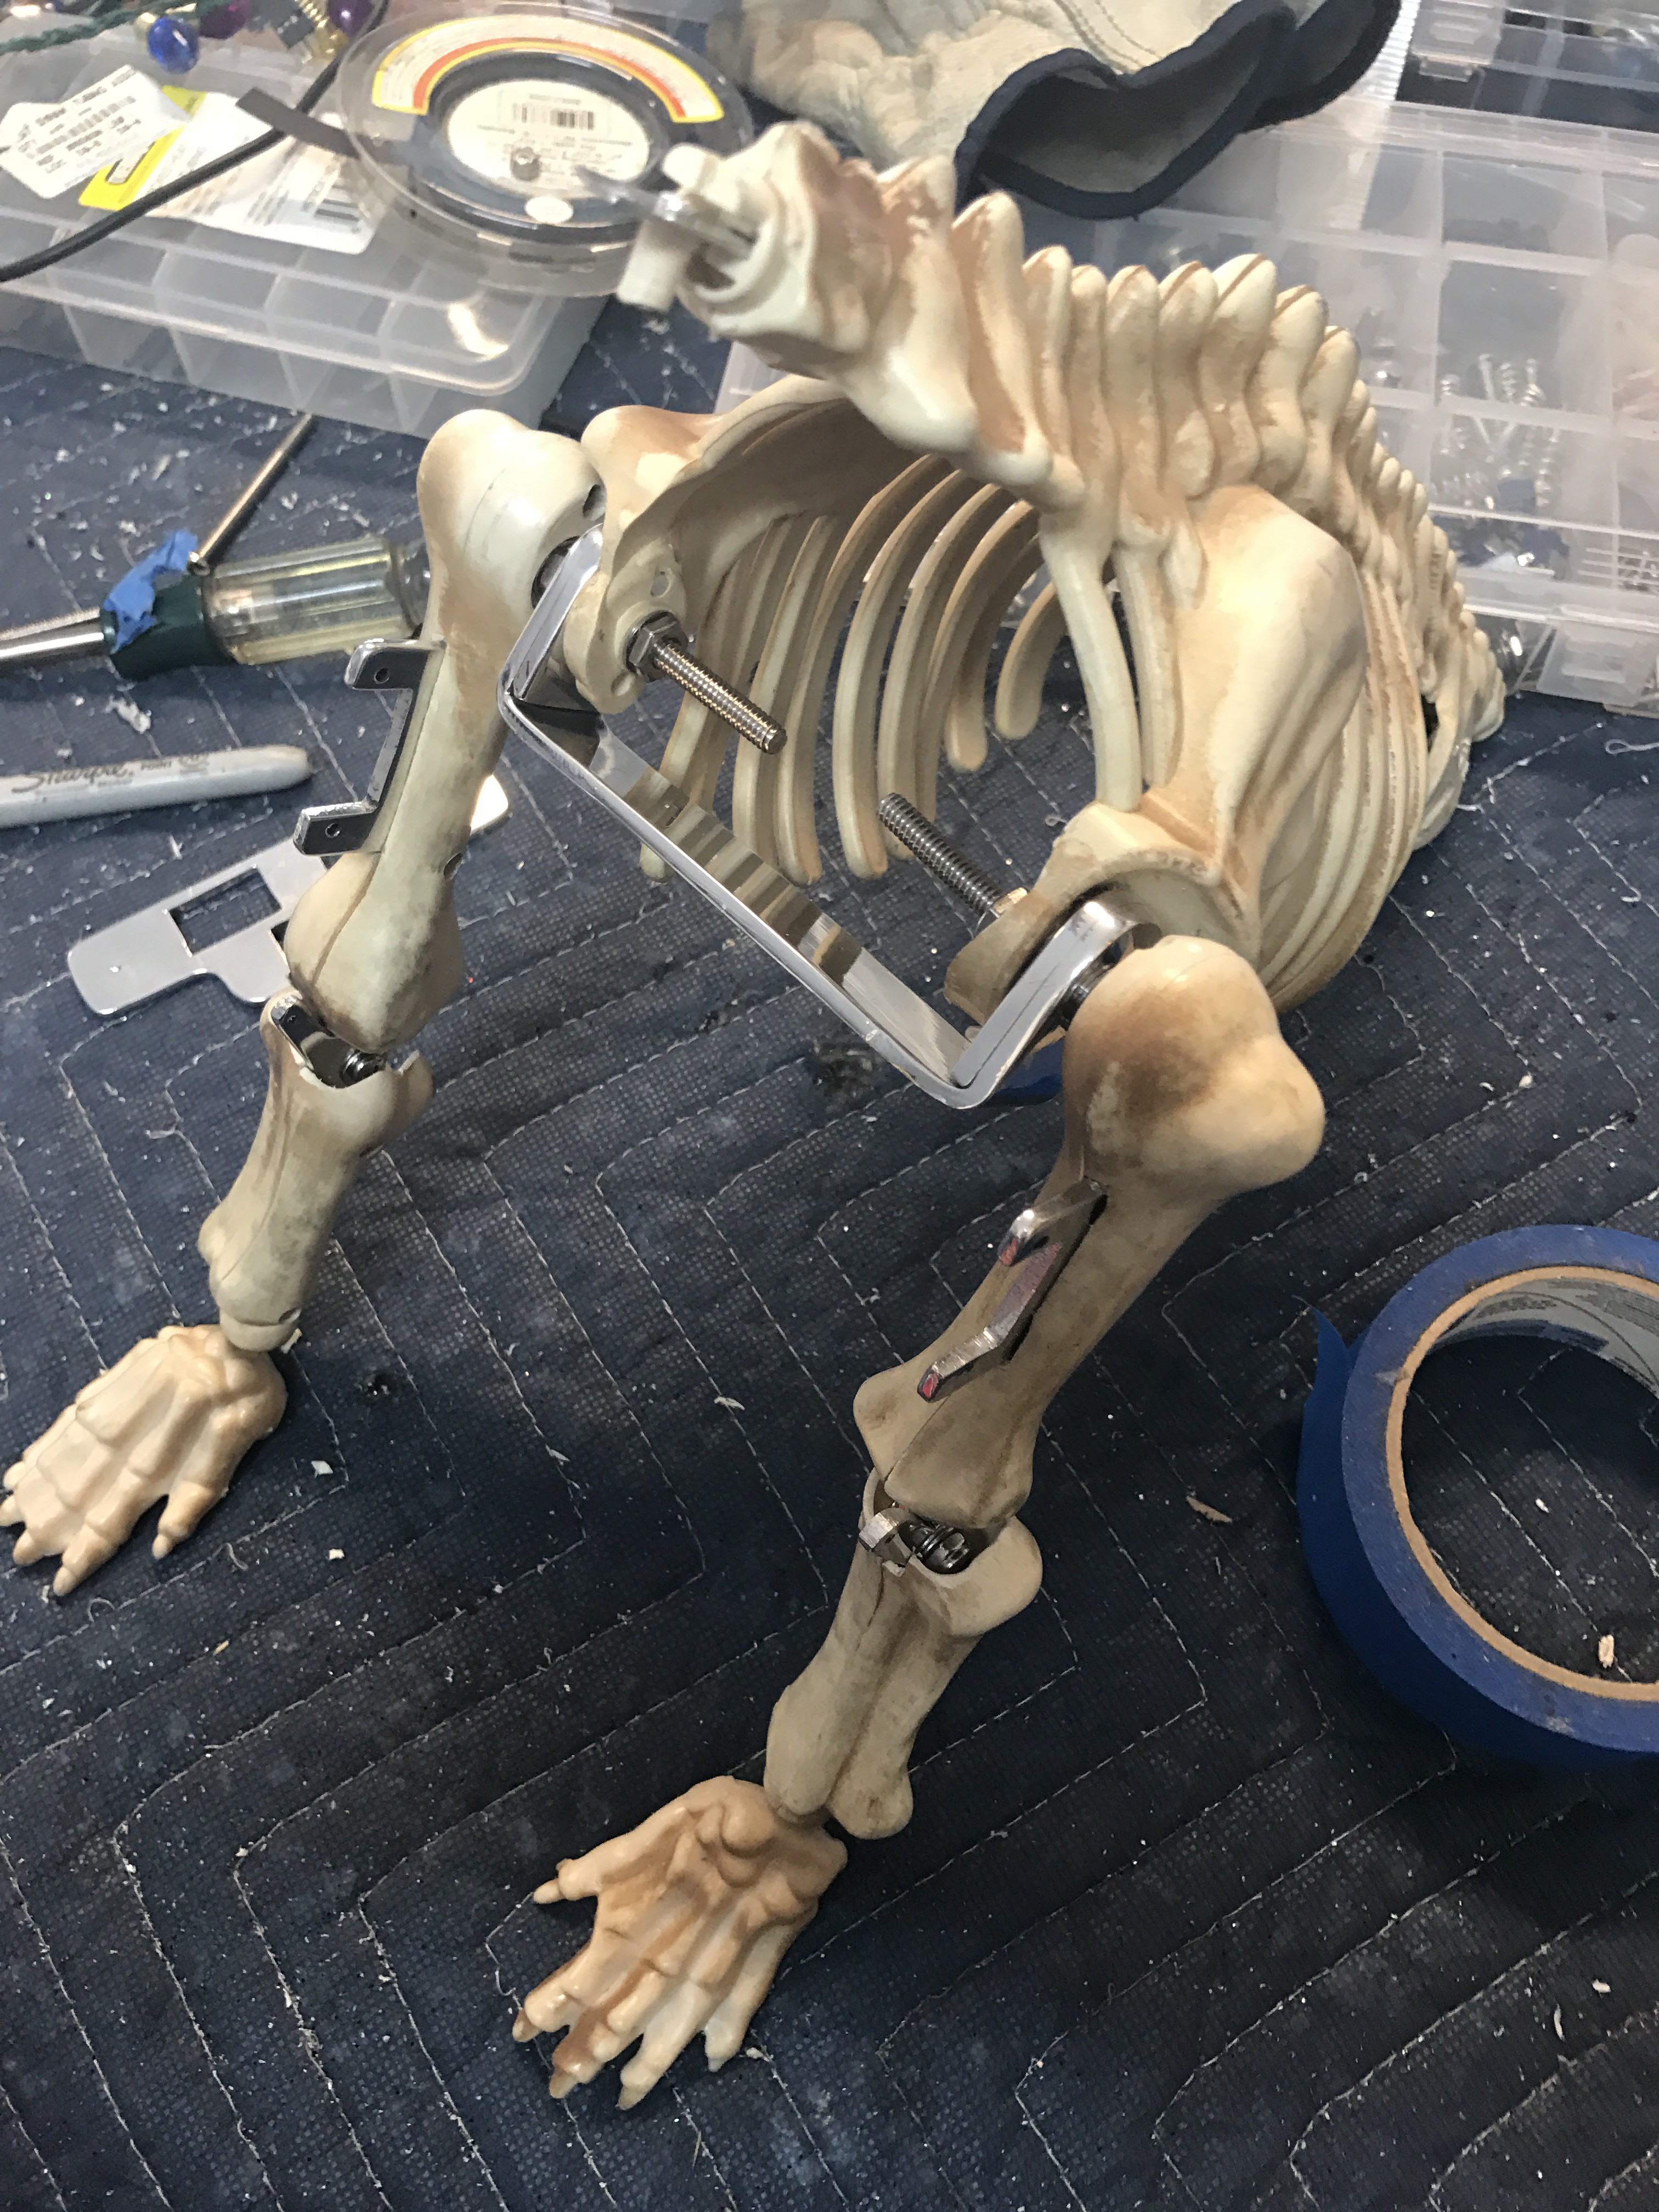
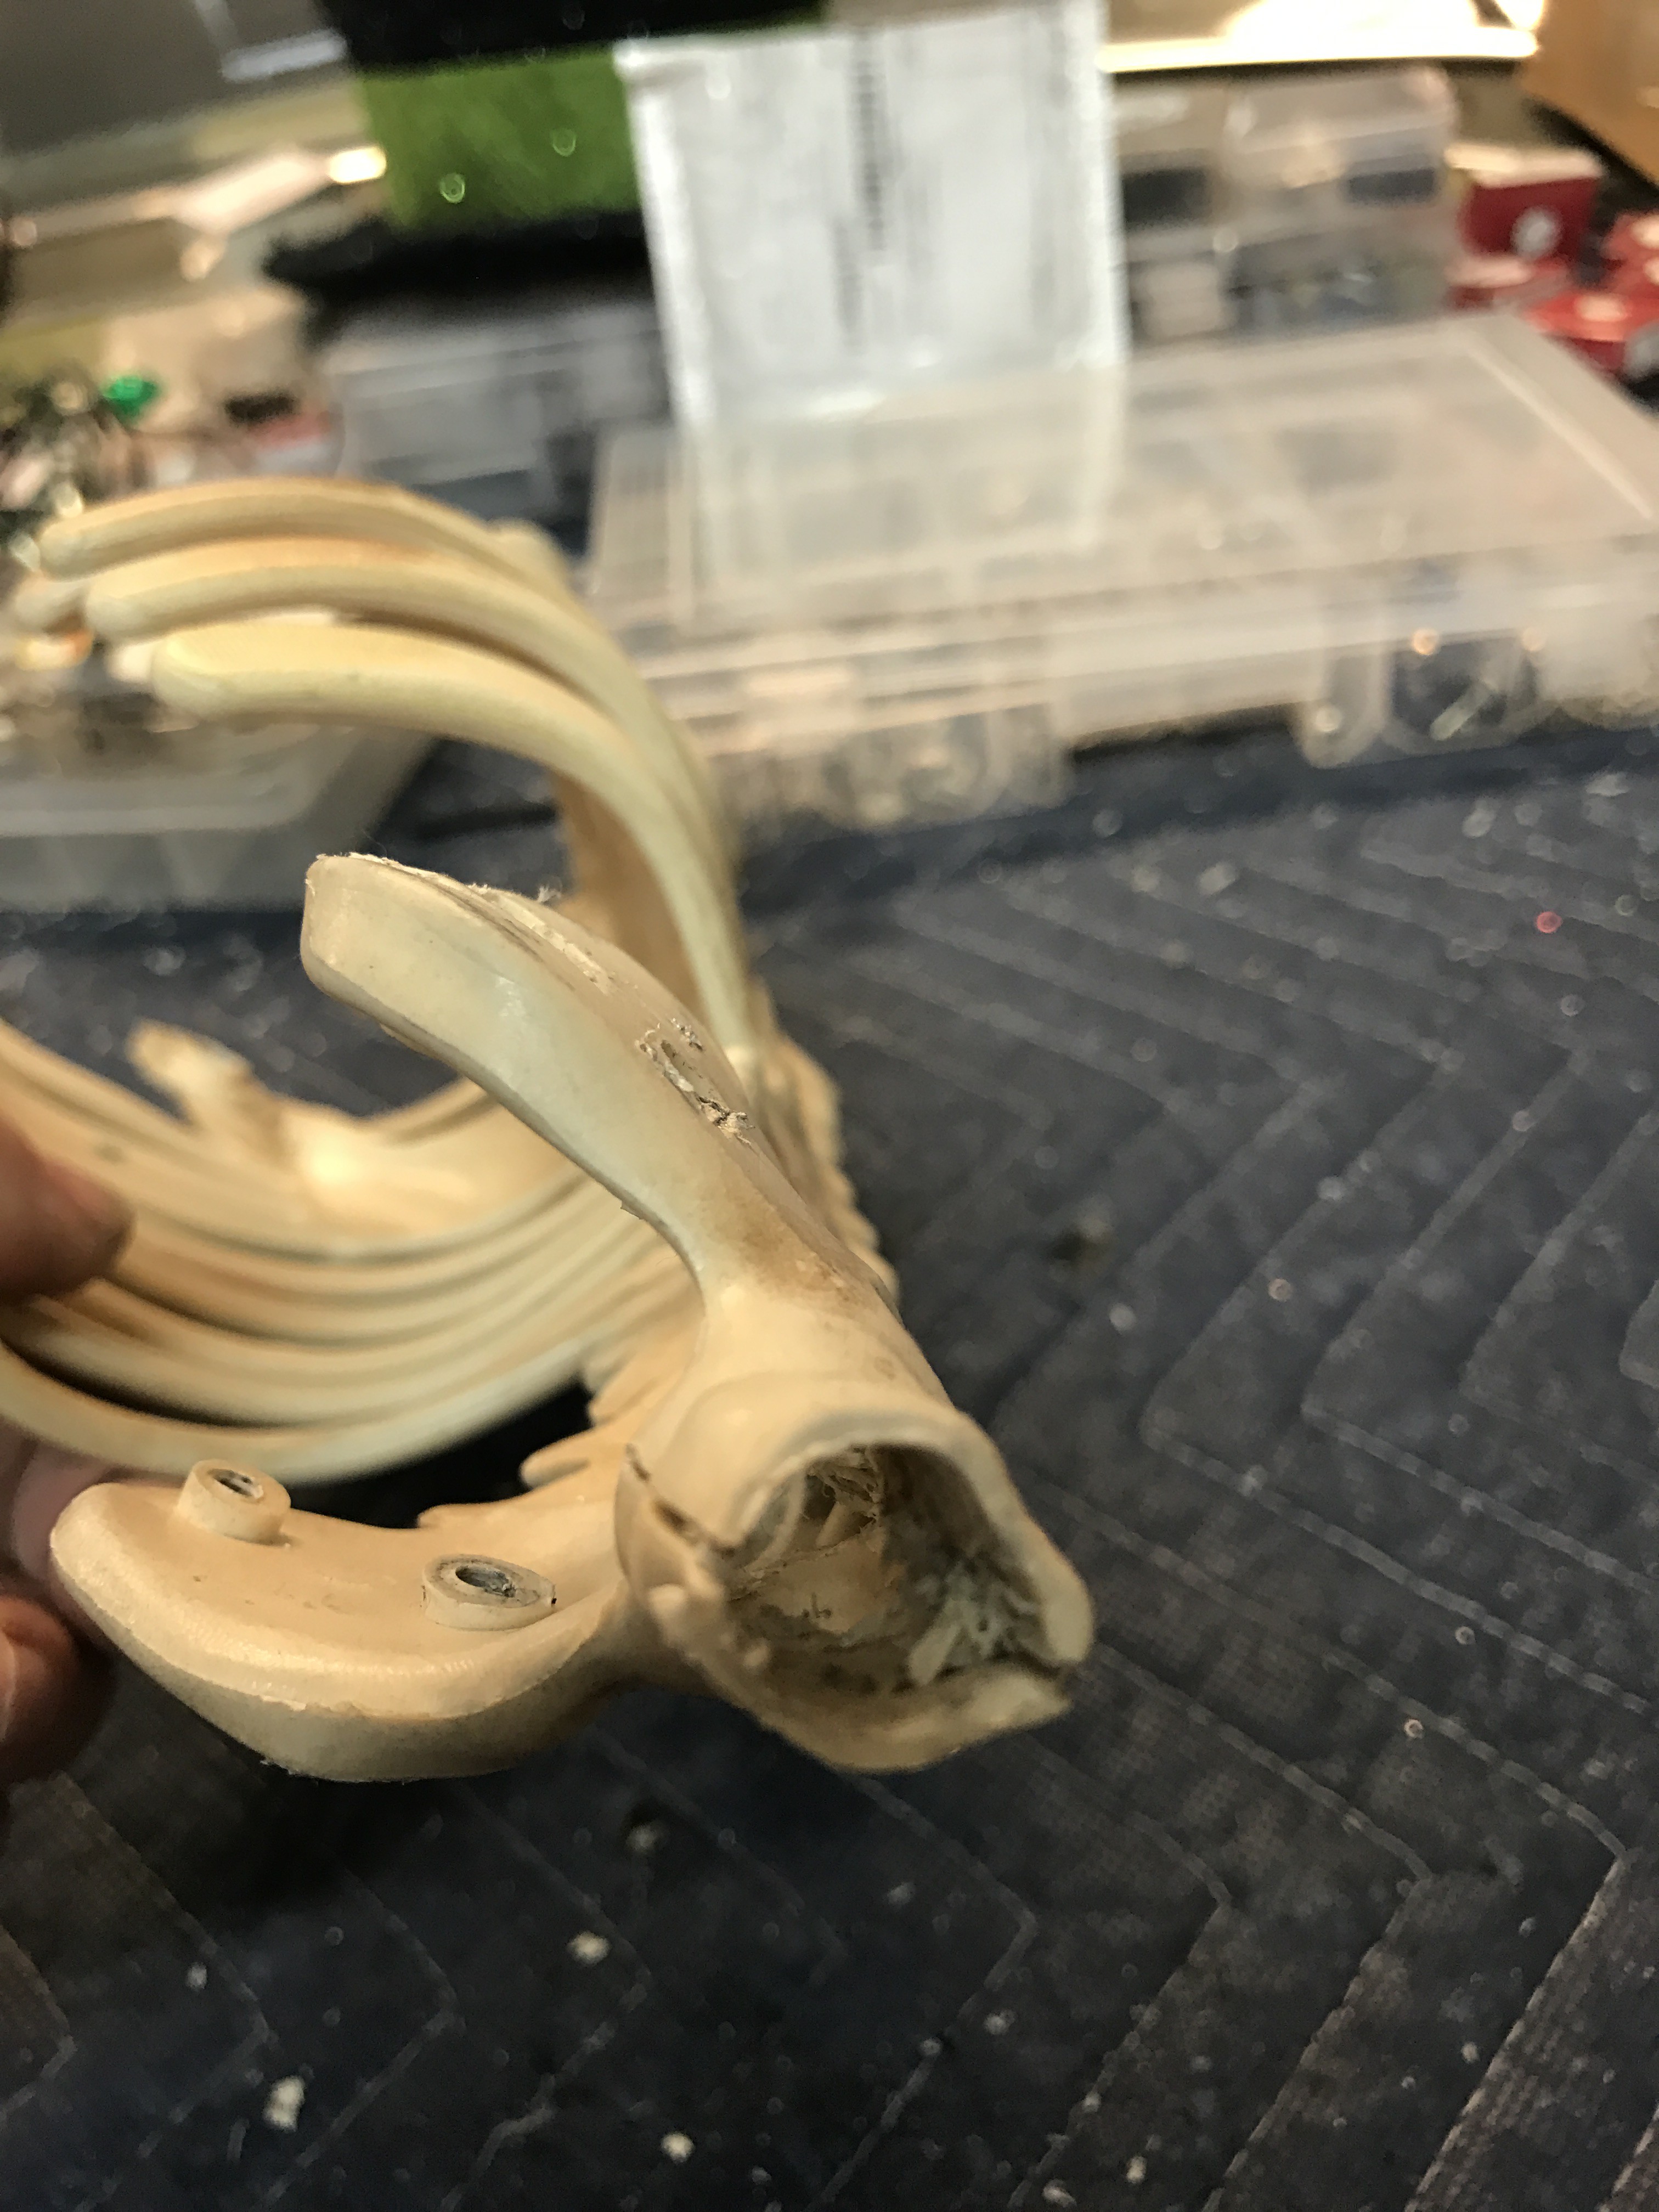
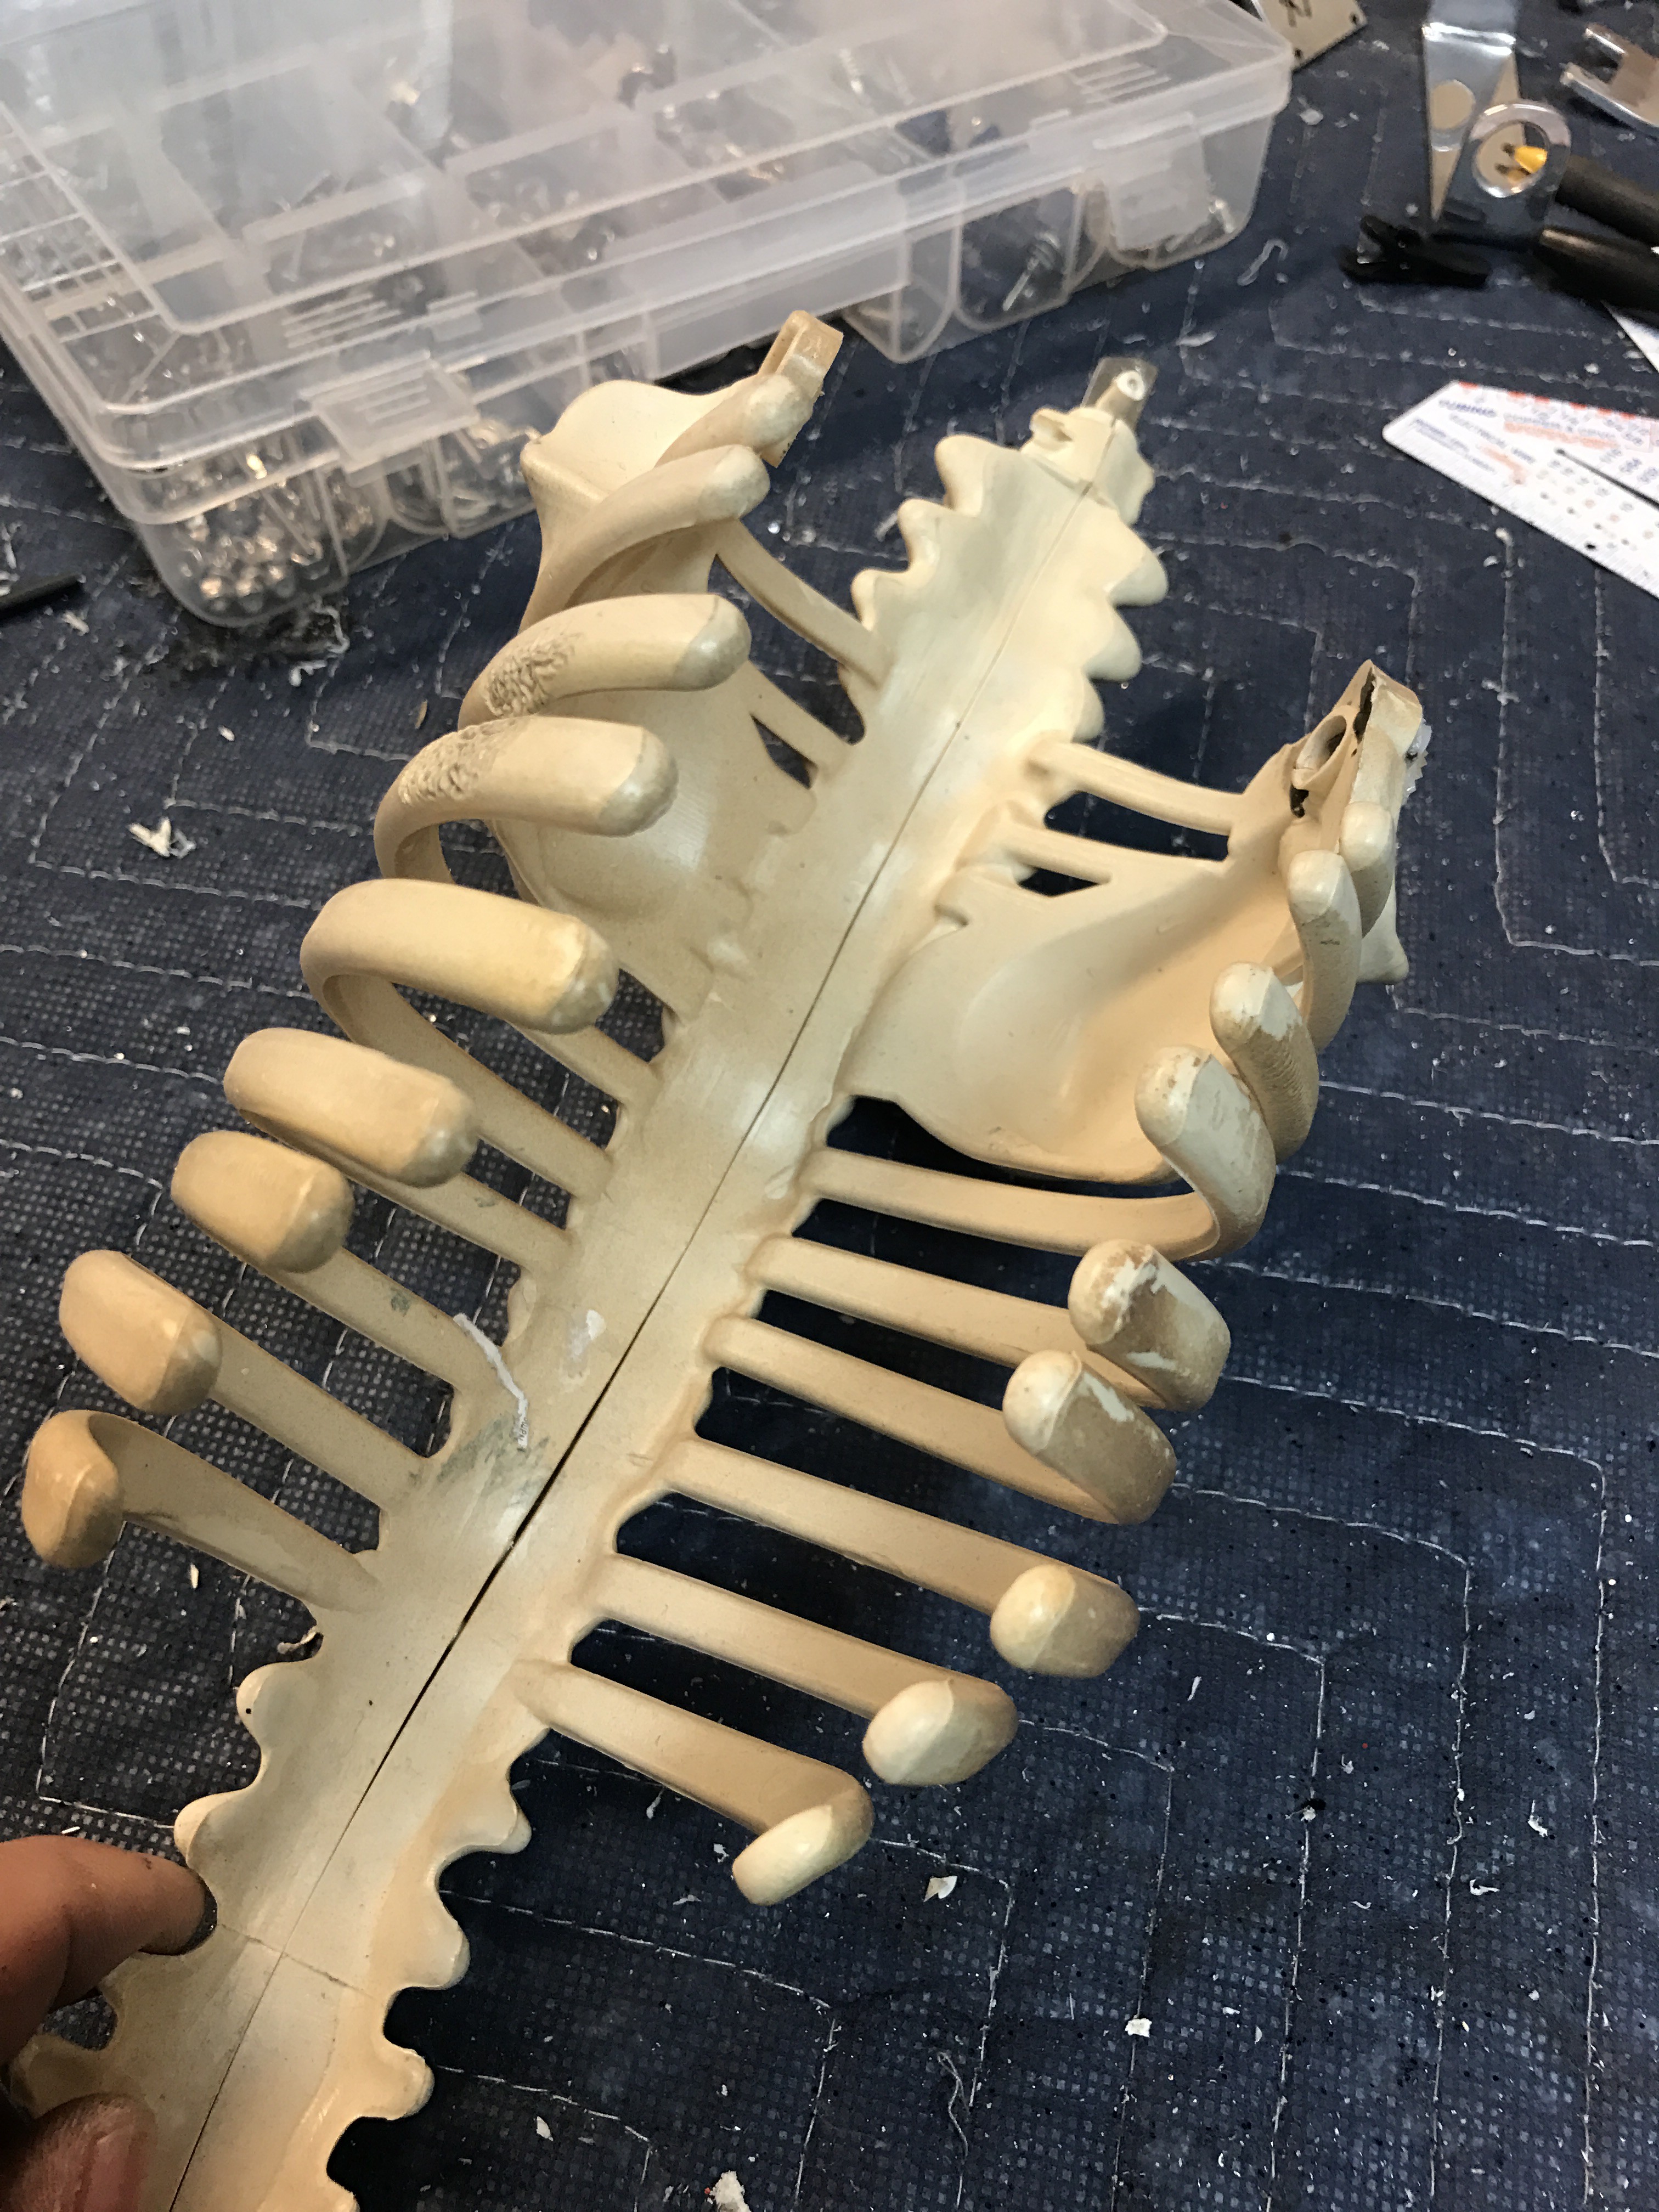
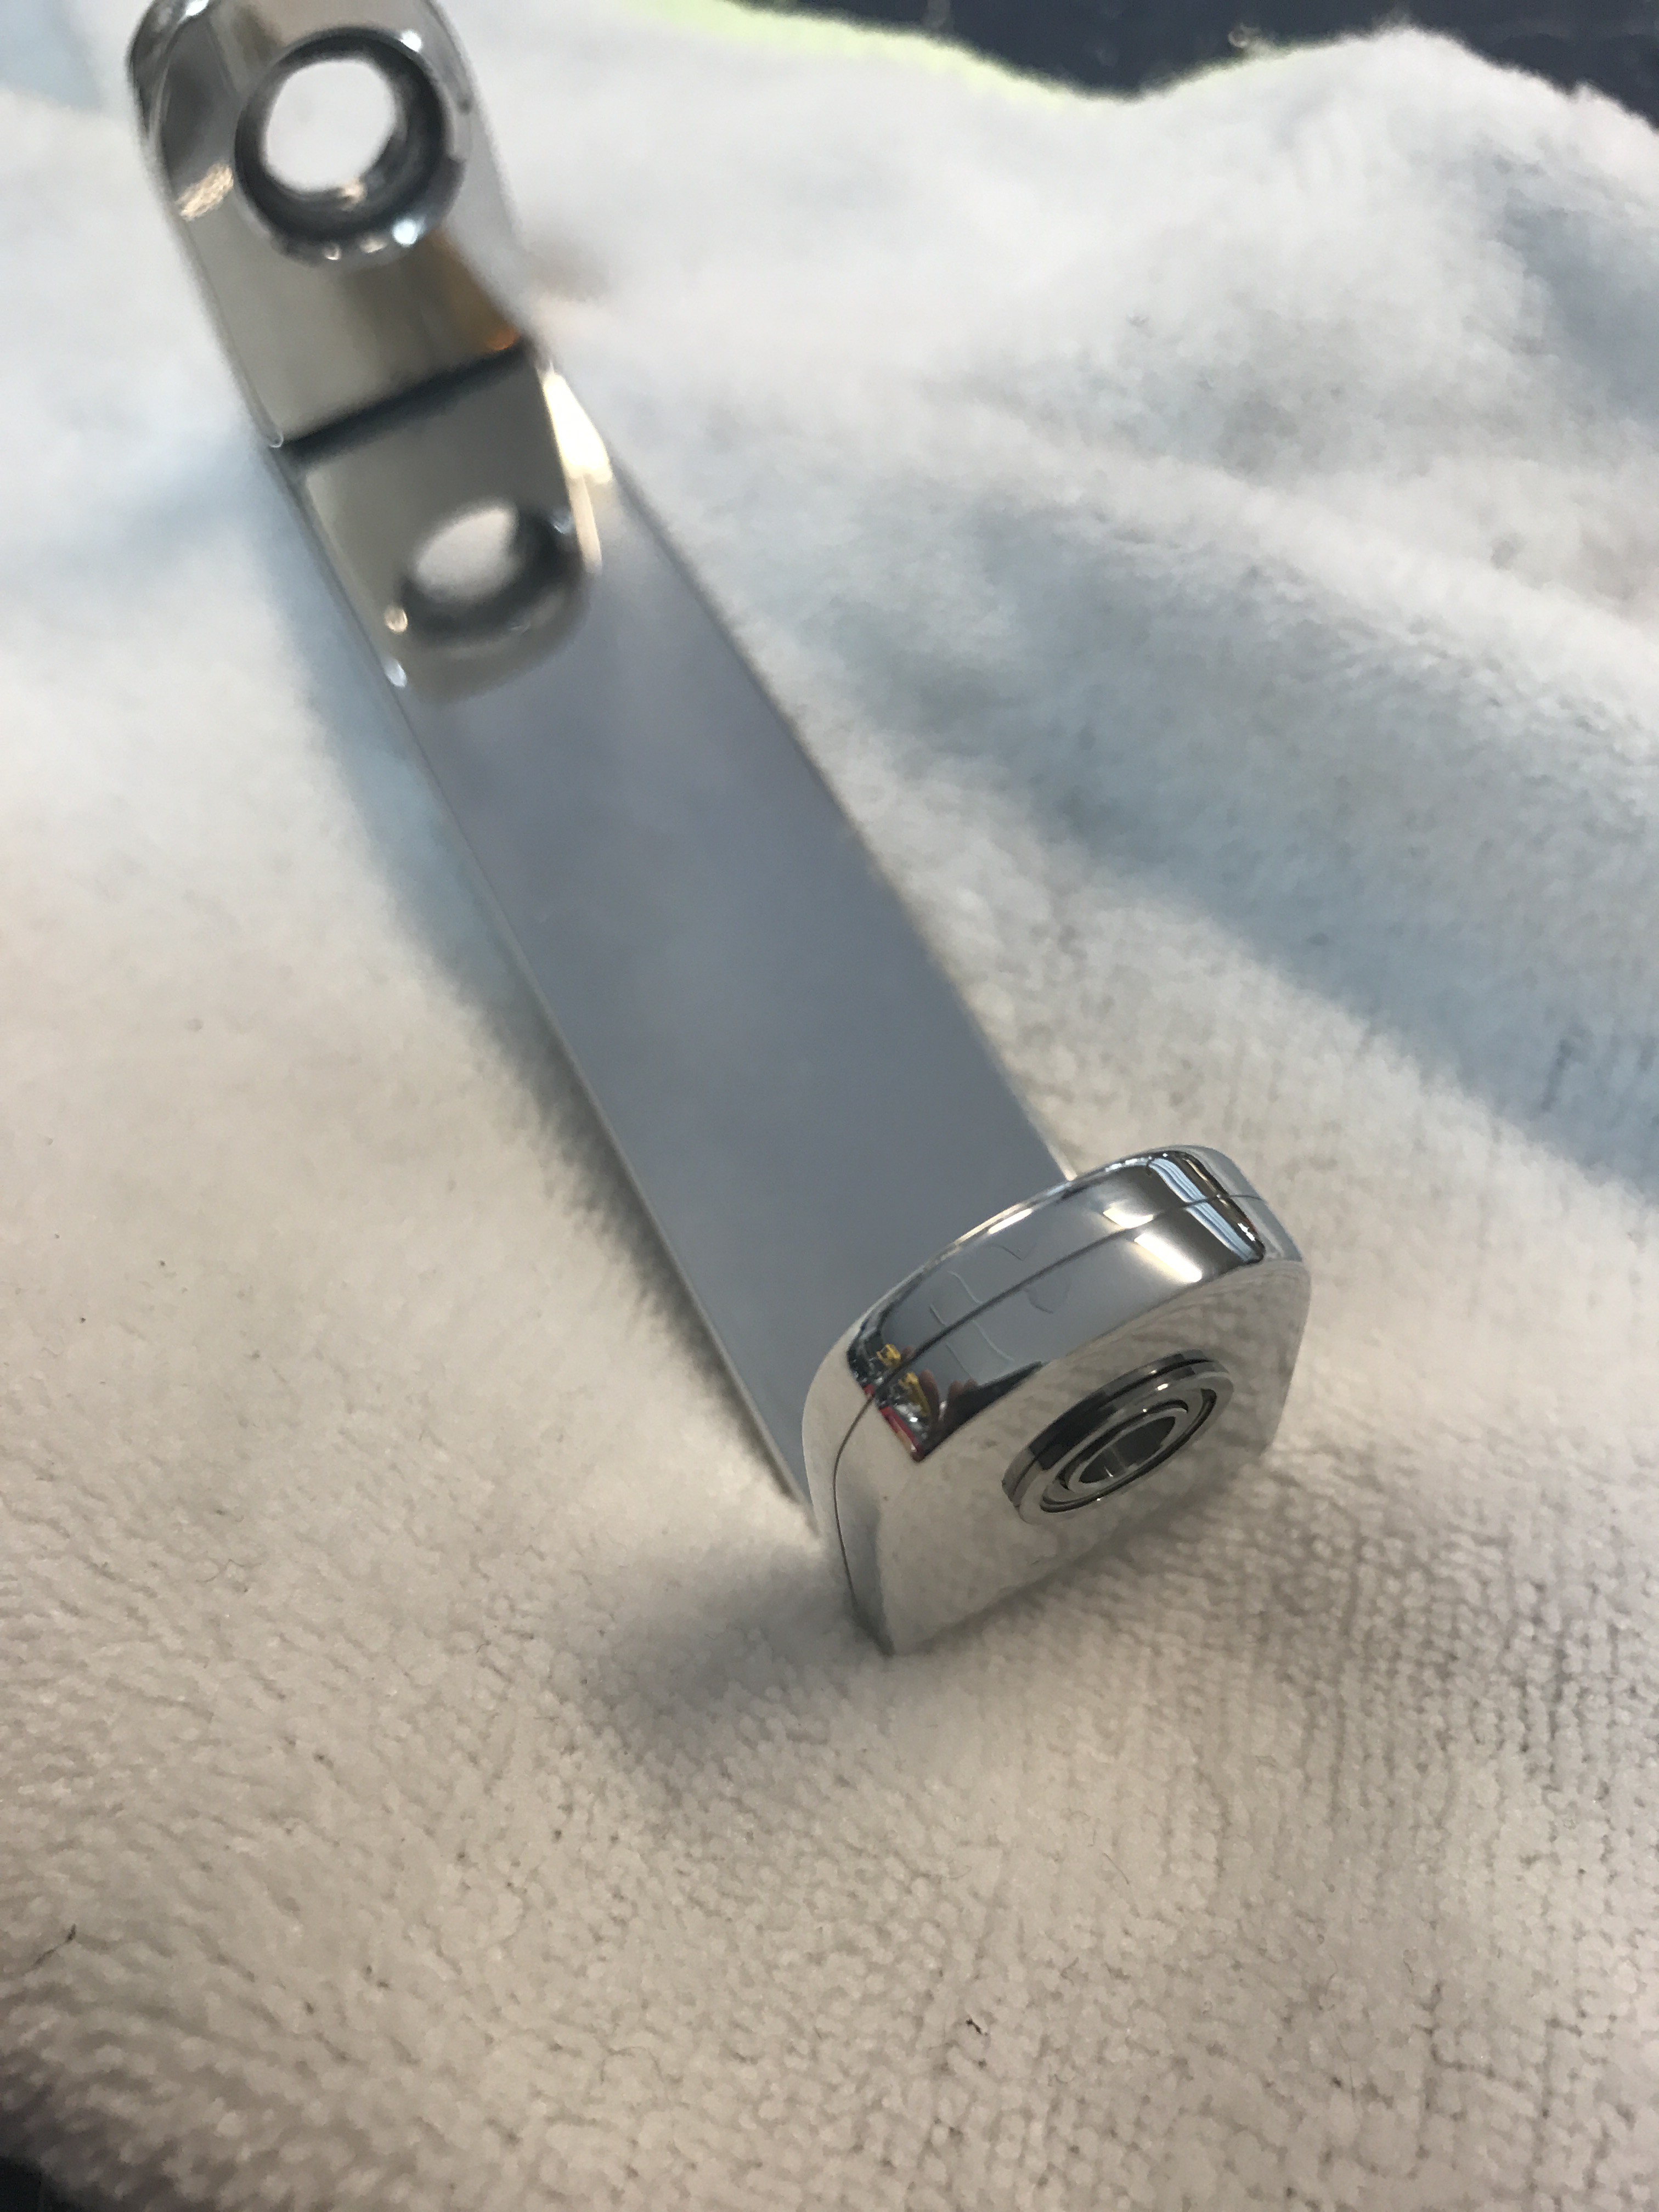
Below is picture of Left front leg for boney ready to be assembled. Remember to position the leg on body and servo mount faces forward and notch for mount goes in leg half with no holes.


 Øystein
 Petri Varsa
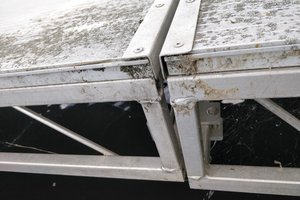
 zakqwy
Speaking of Halloween props, I used this same prop to make a Zombie Dog for our annual haunted putt-putt event at work! https://imgur.com/a/LCqlunb