 Stanislas Bertrand
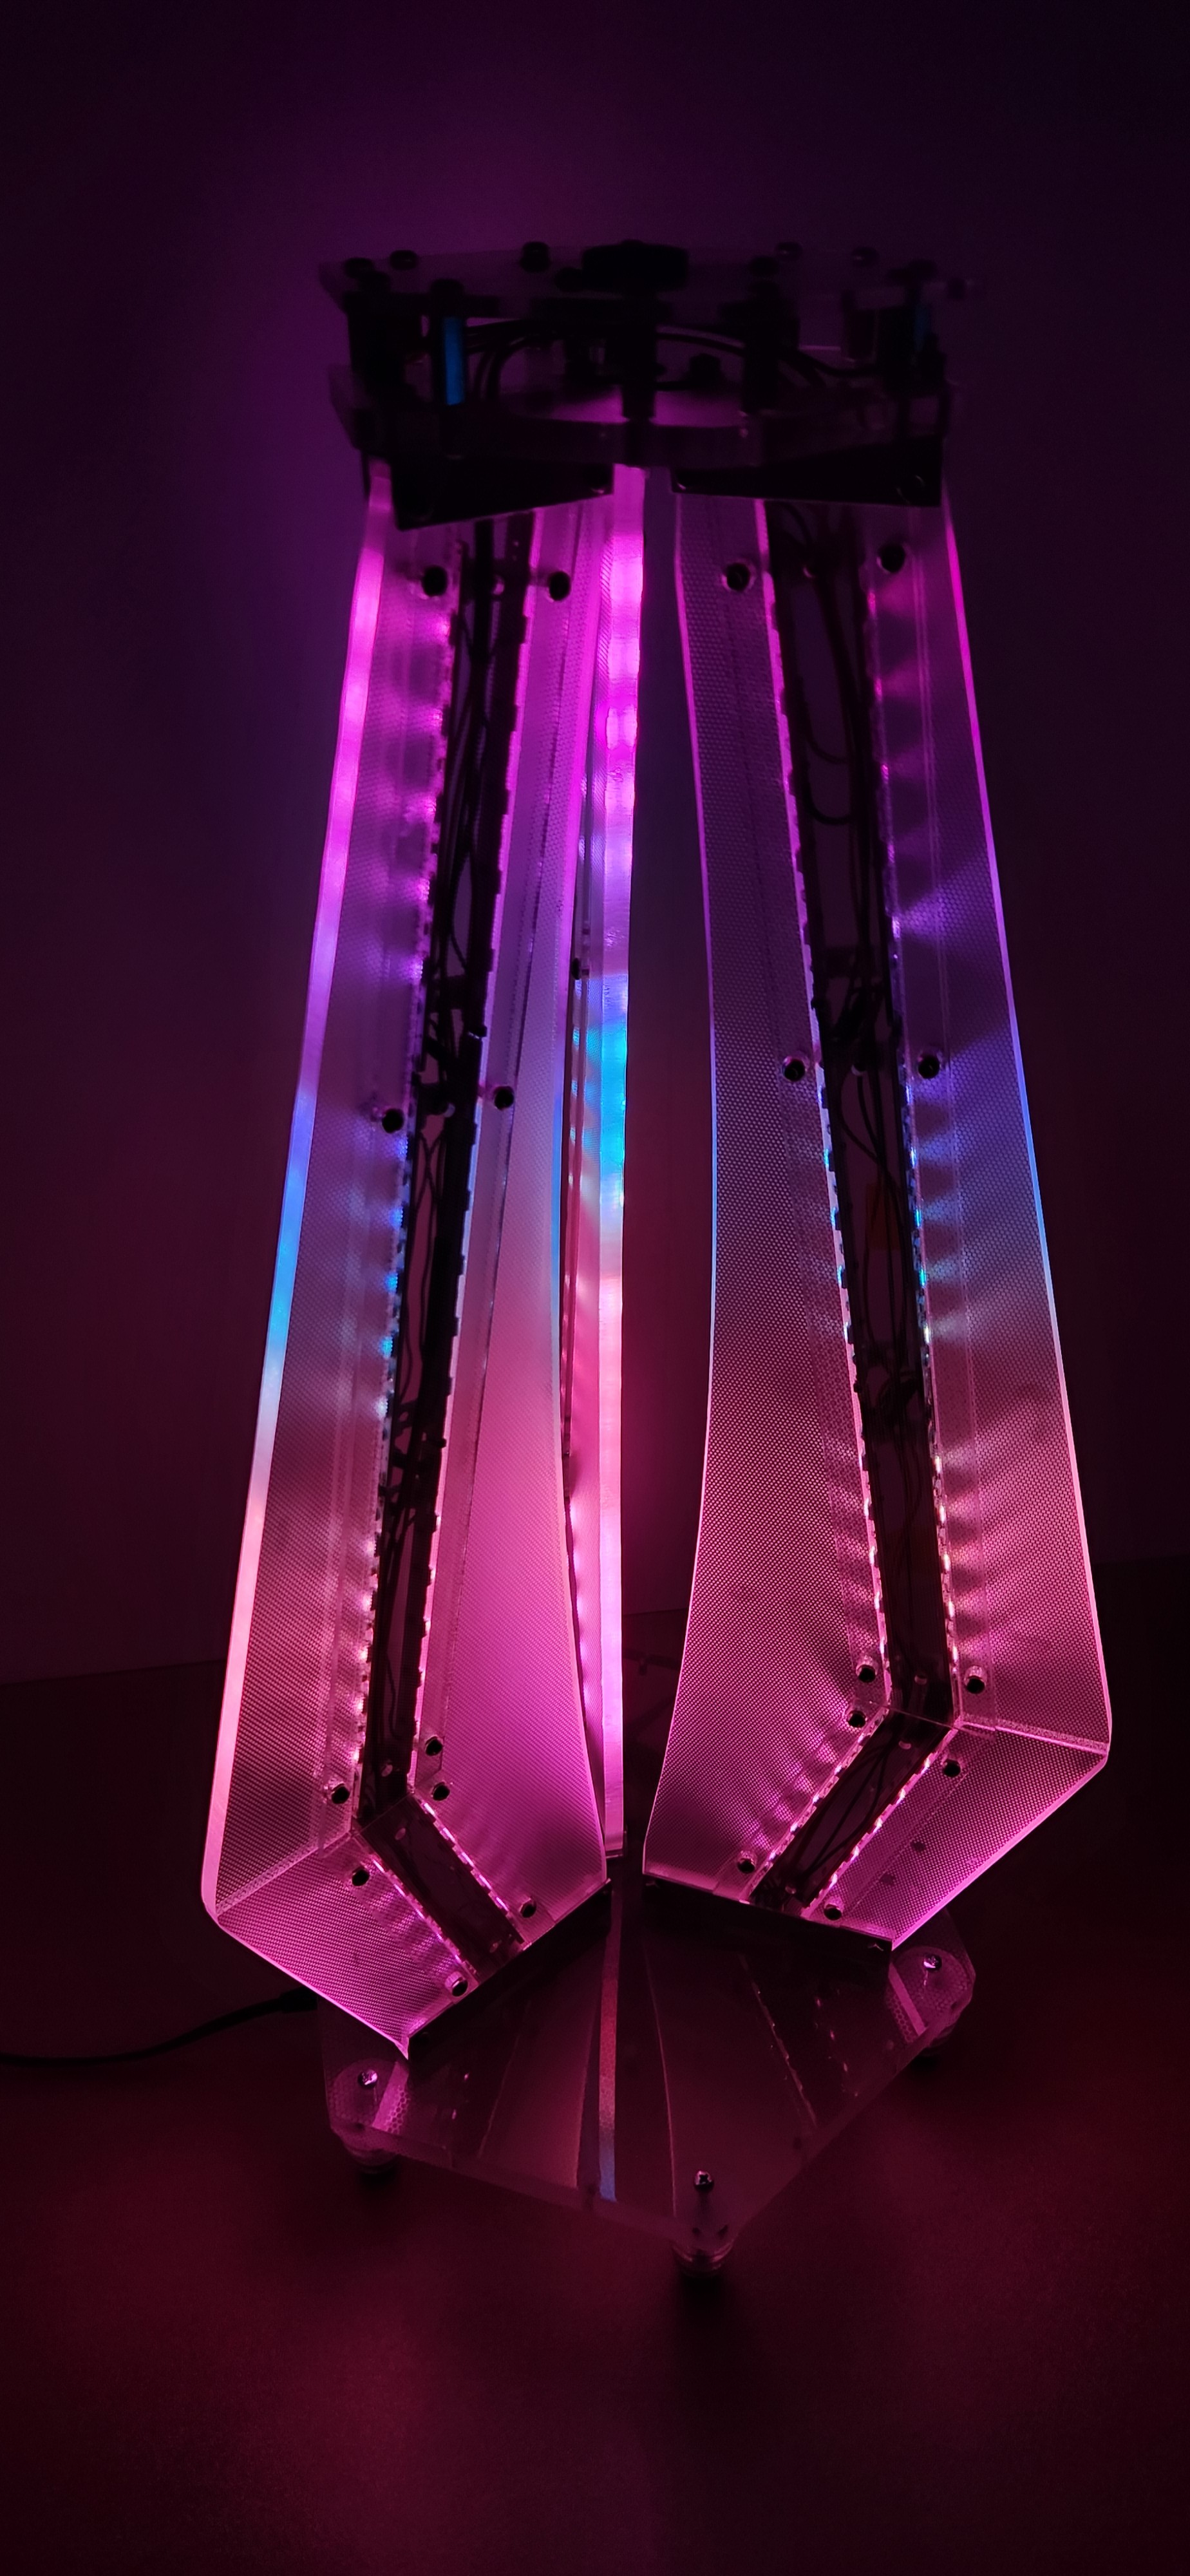
0%
0%
DiamondLight
Light made from salvage acrylic & LED
Become a Hackaday.io member
Already have an account? Log in.
Just one more thing
To make the experience fit your profile, pick a username and tell us what interests you.
Pick an awesome username
hackaday.io/
Your profile's URL: hackaday.io/username. Max 25 alphanumeric characters.
Pick a few interests
Projects that share your interests
People that share your interests


 Enrico
 ric866
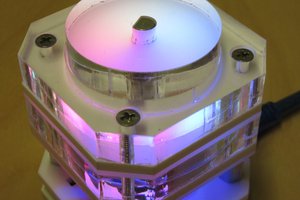
 Tom Dowad
Very pretty. 👍 Wish I had a source of acrylic and a laser cutter. (Well I did ask a sign making company and they sell offcuts but I haven't taken up their offer.) It would provide the aesthetics my projects badly lack.