0%
0%
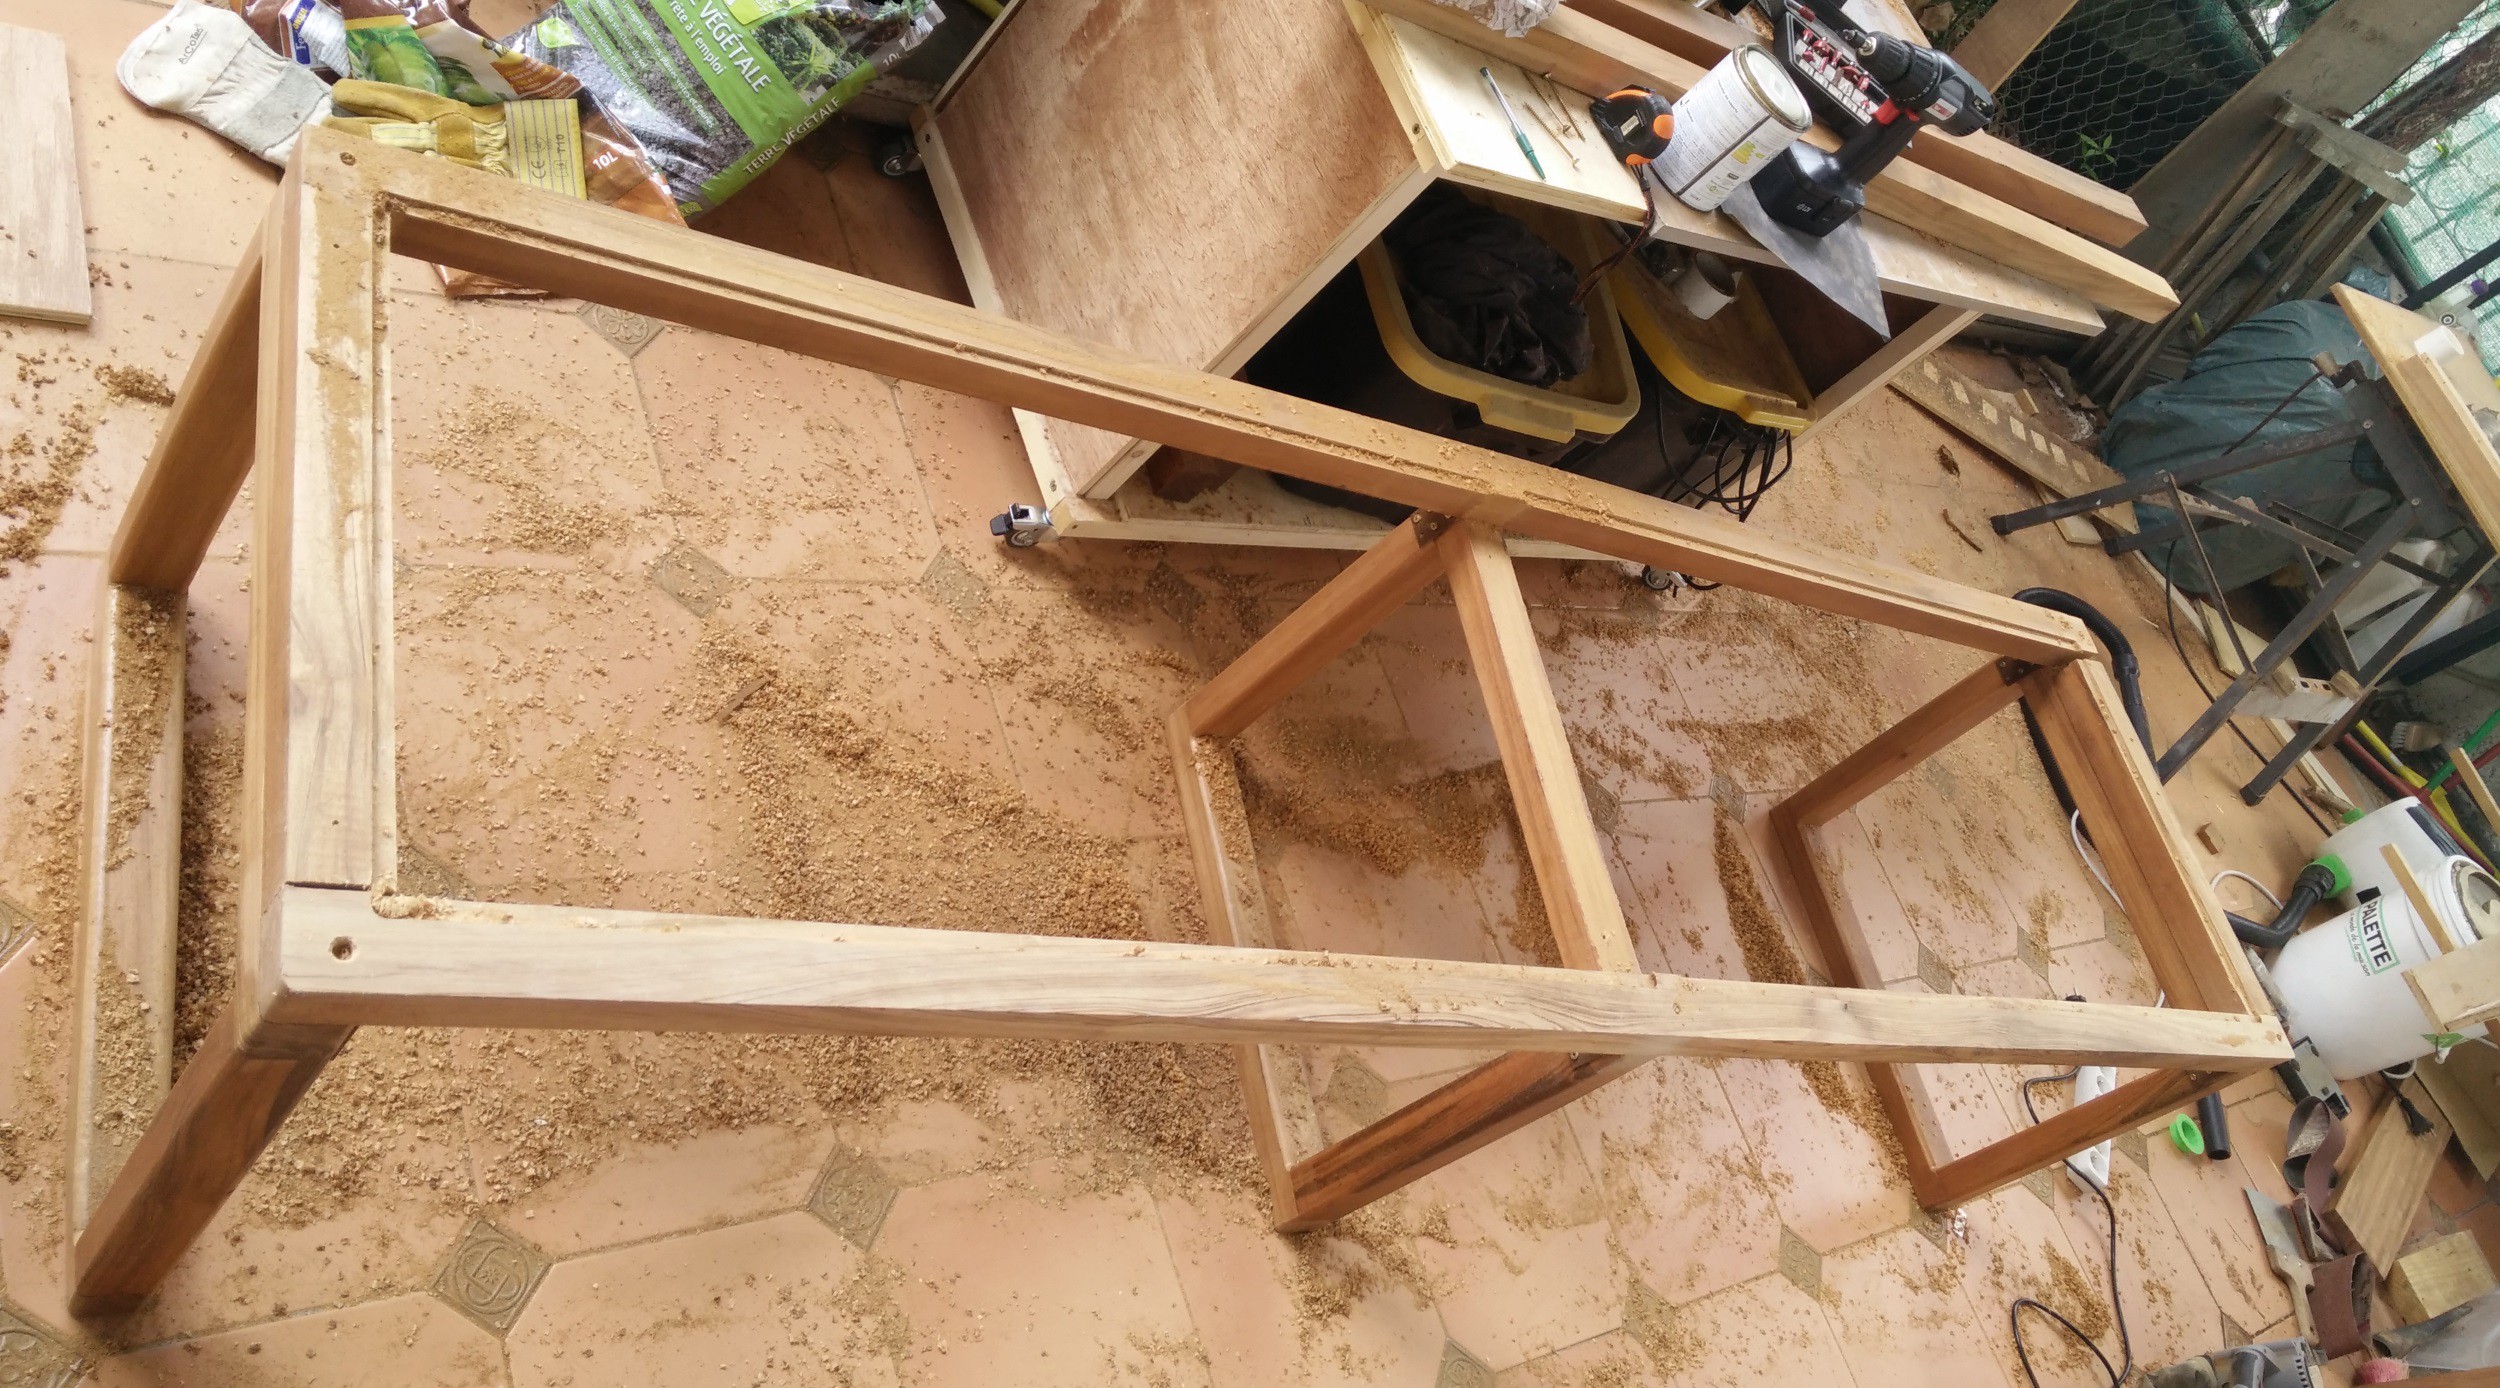
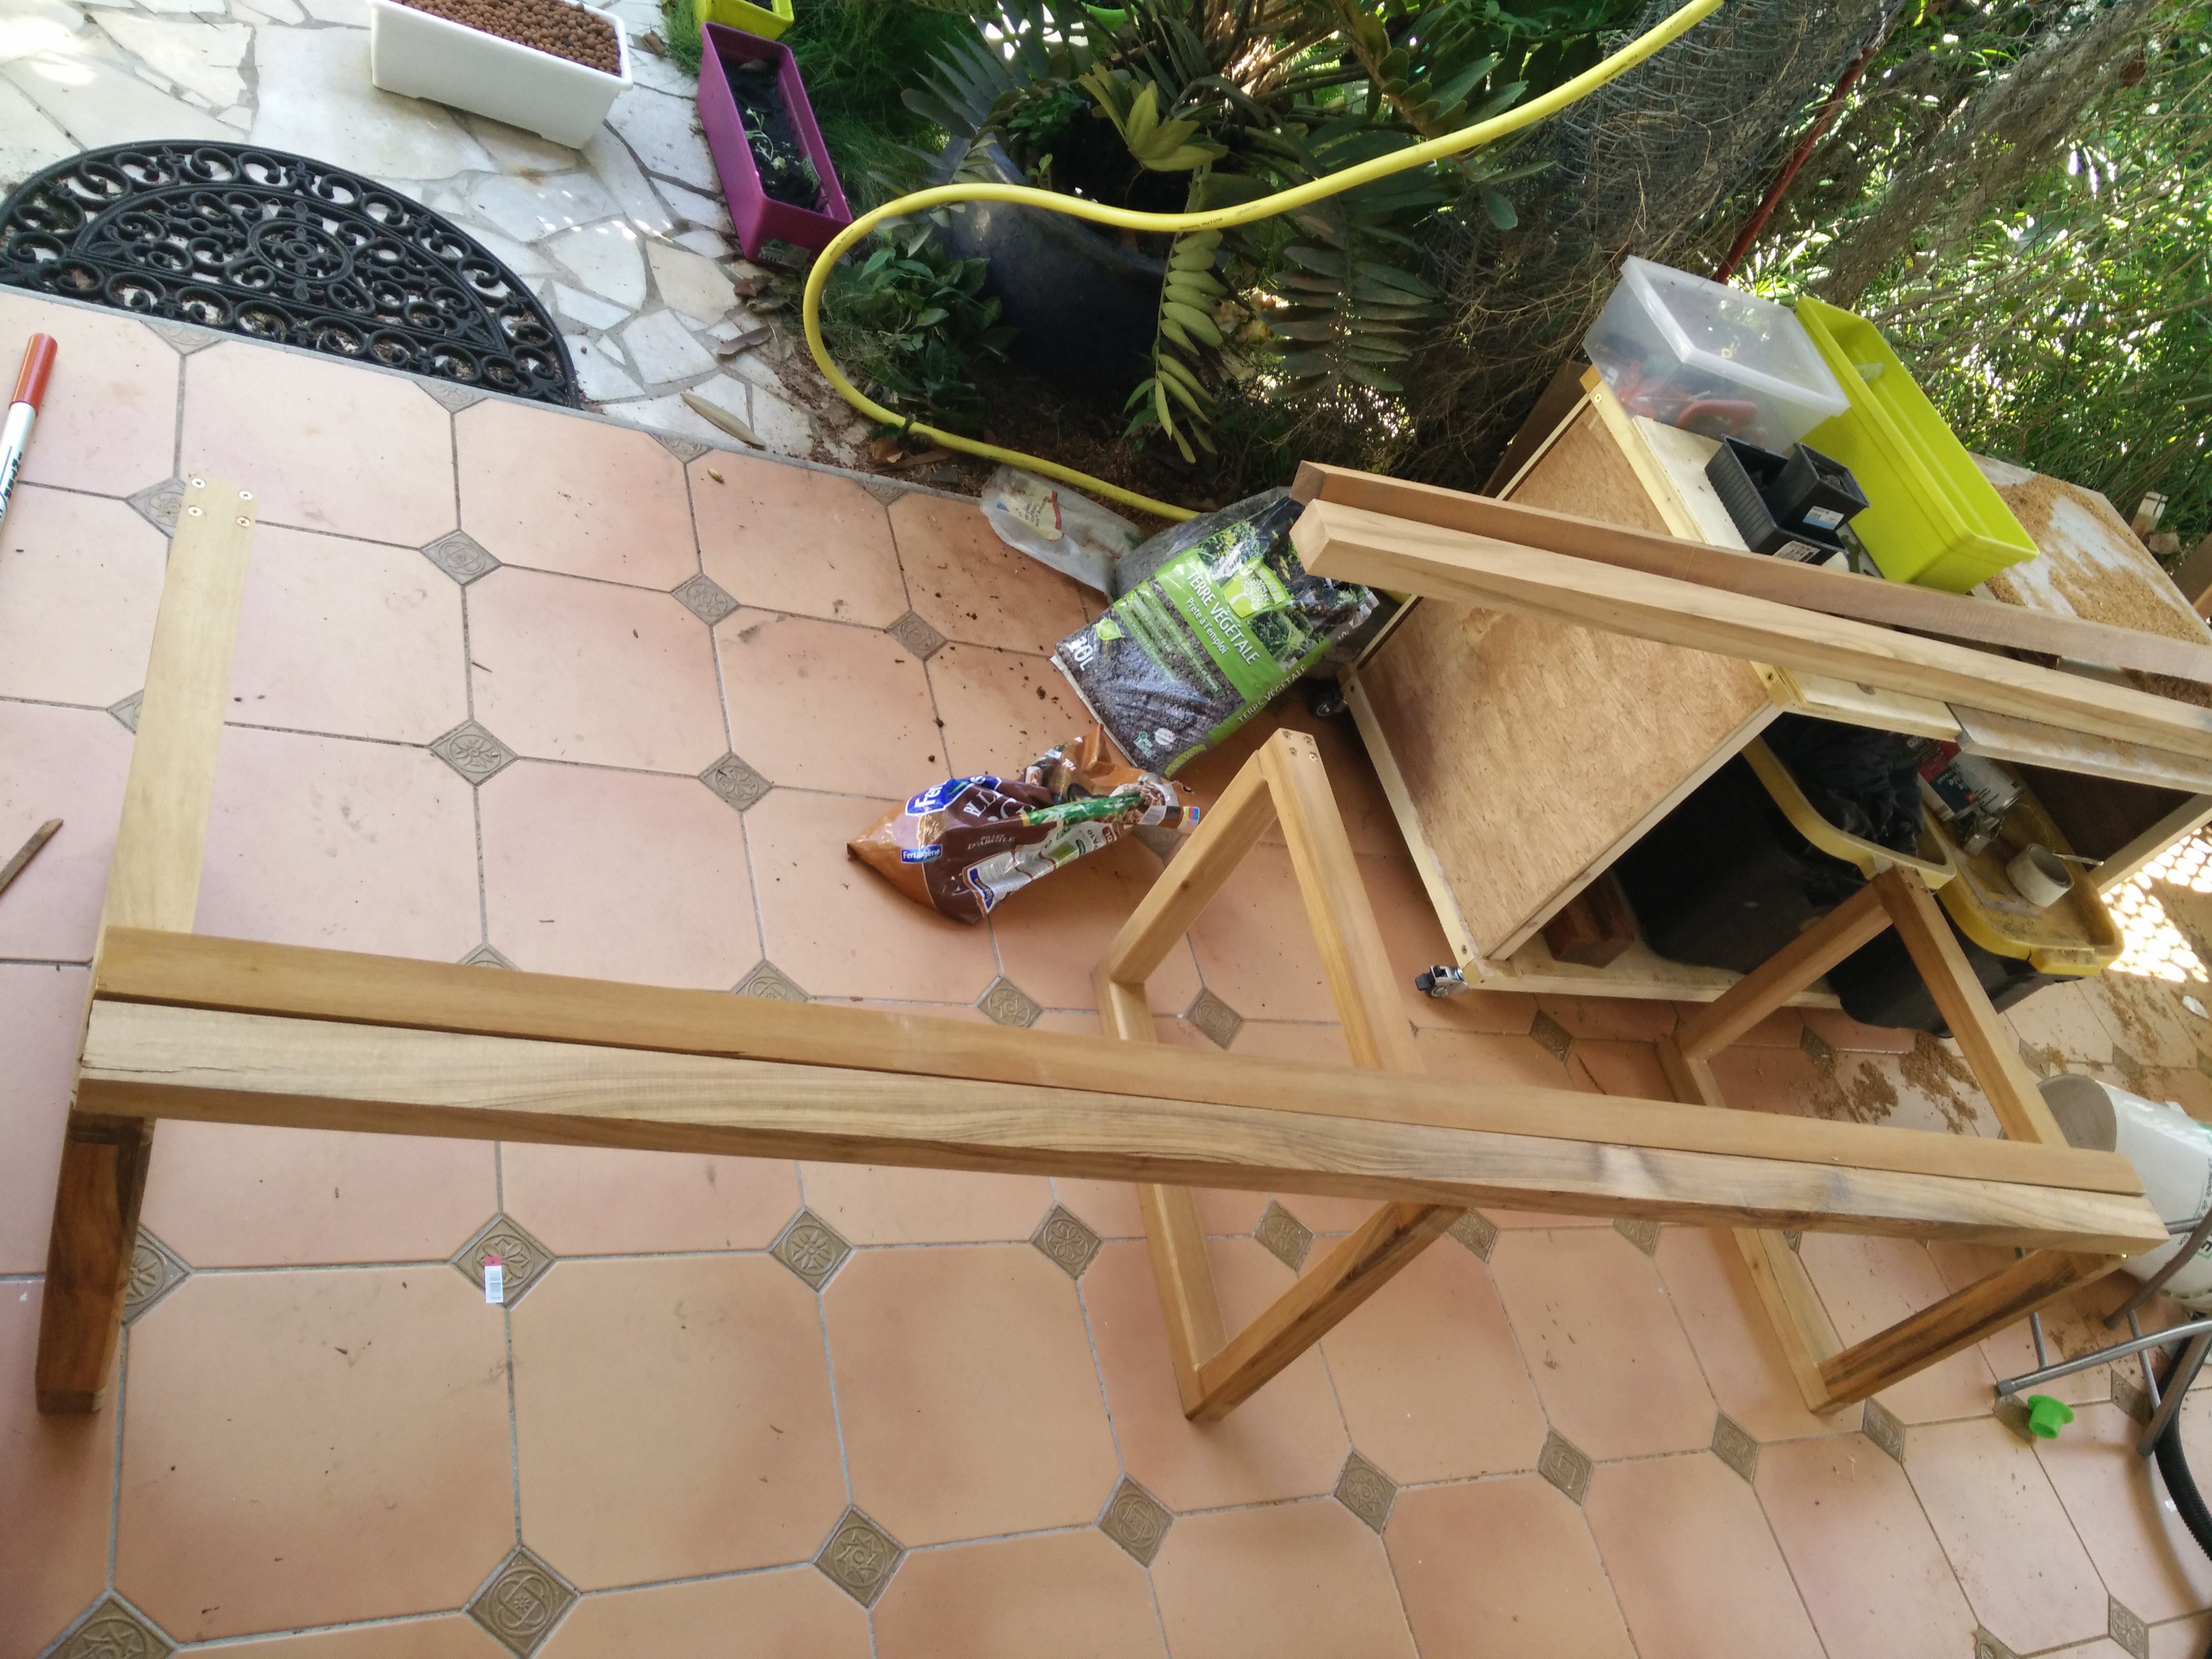
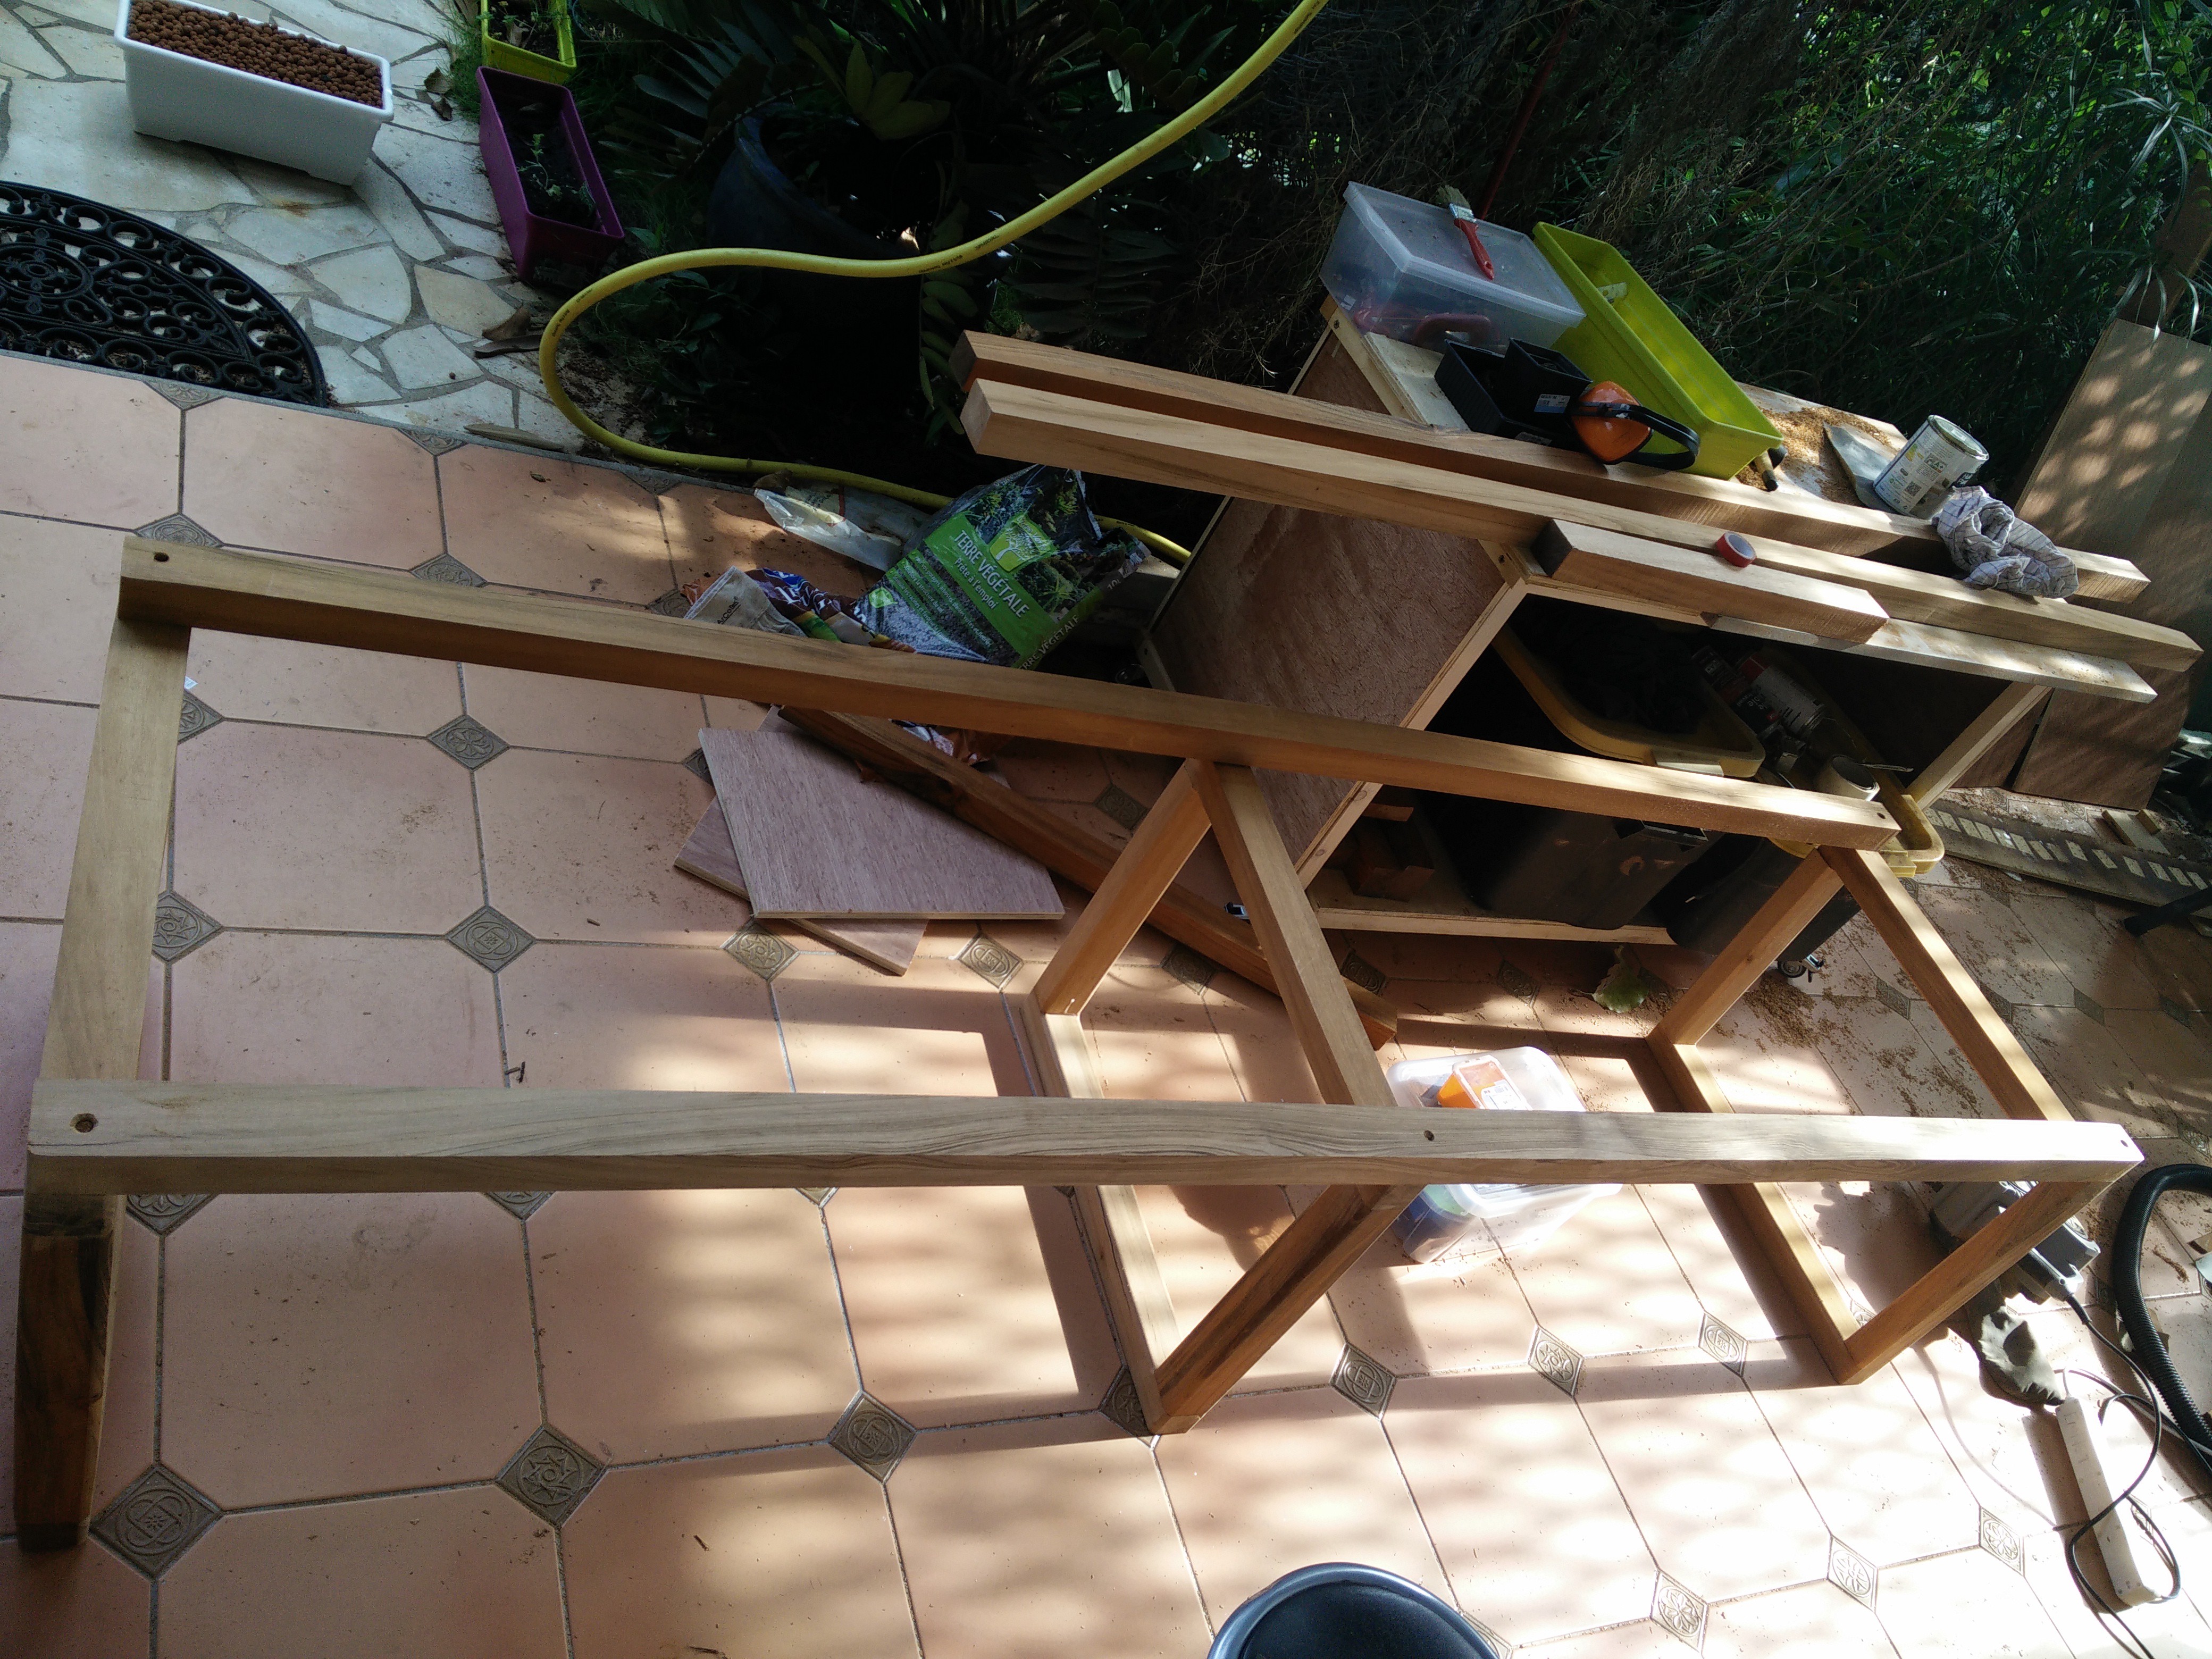
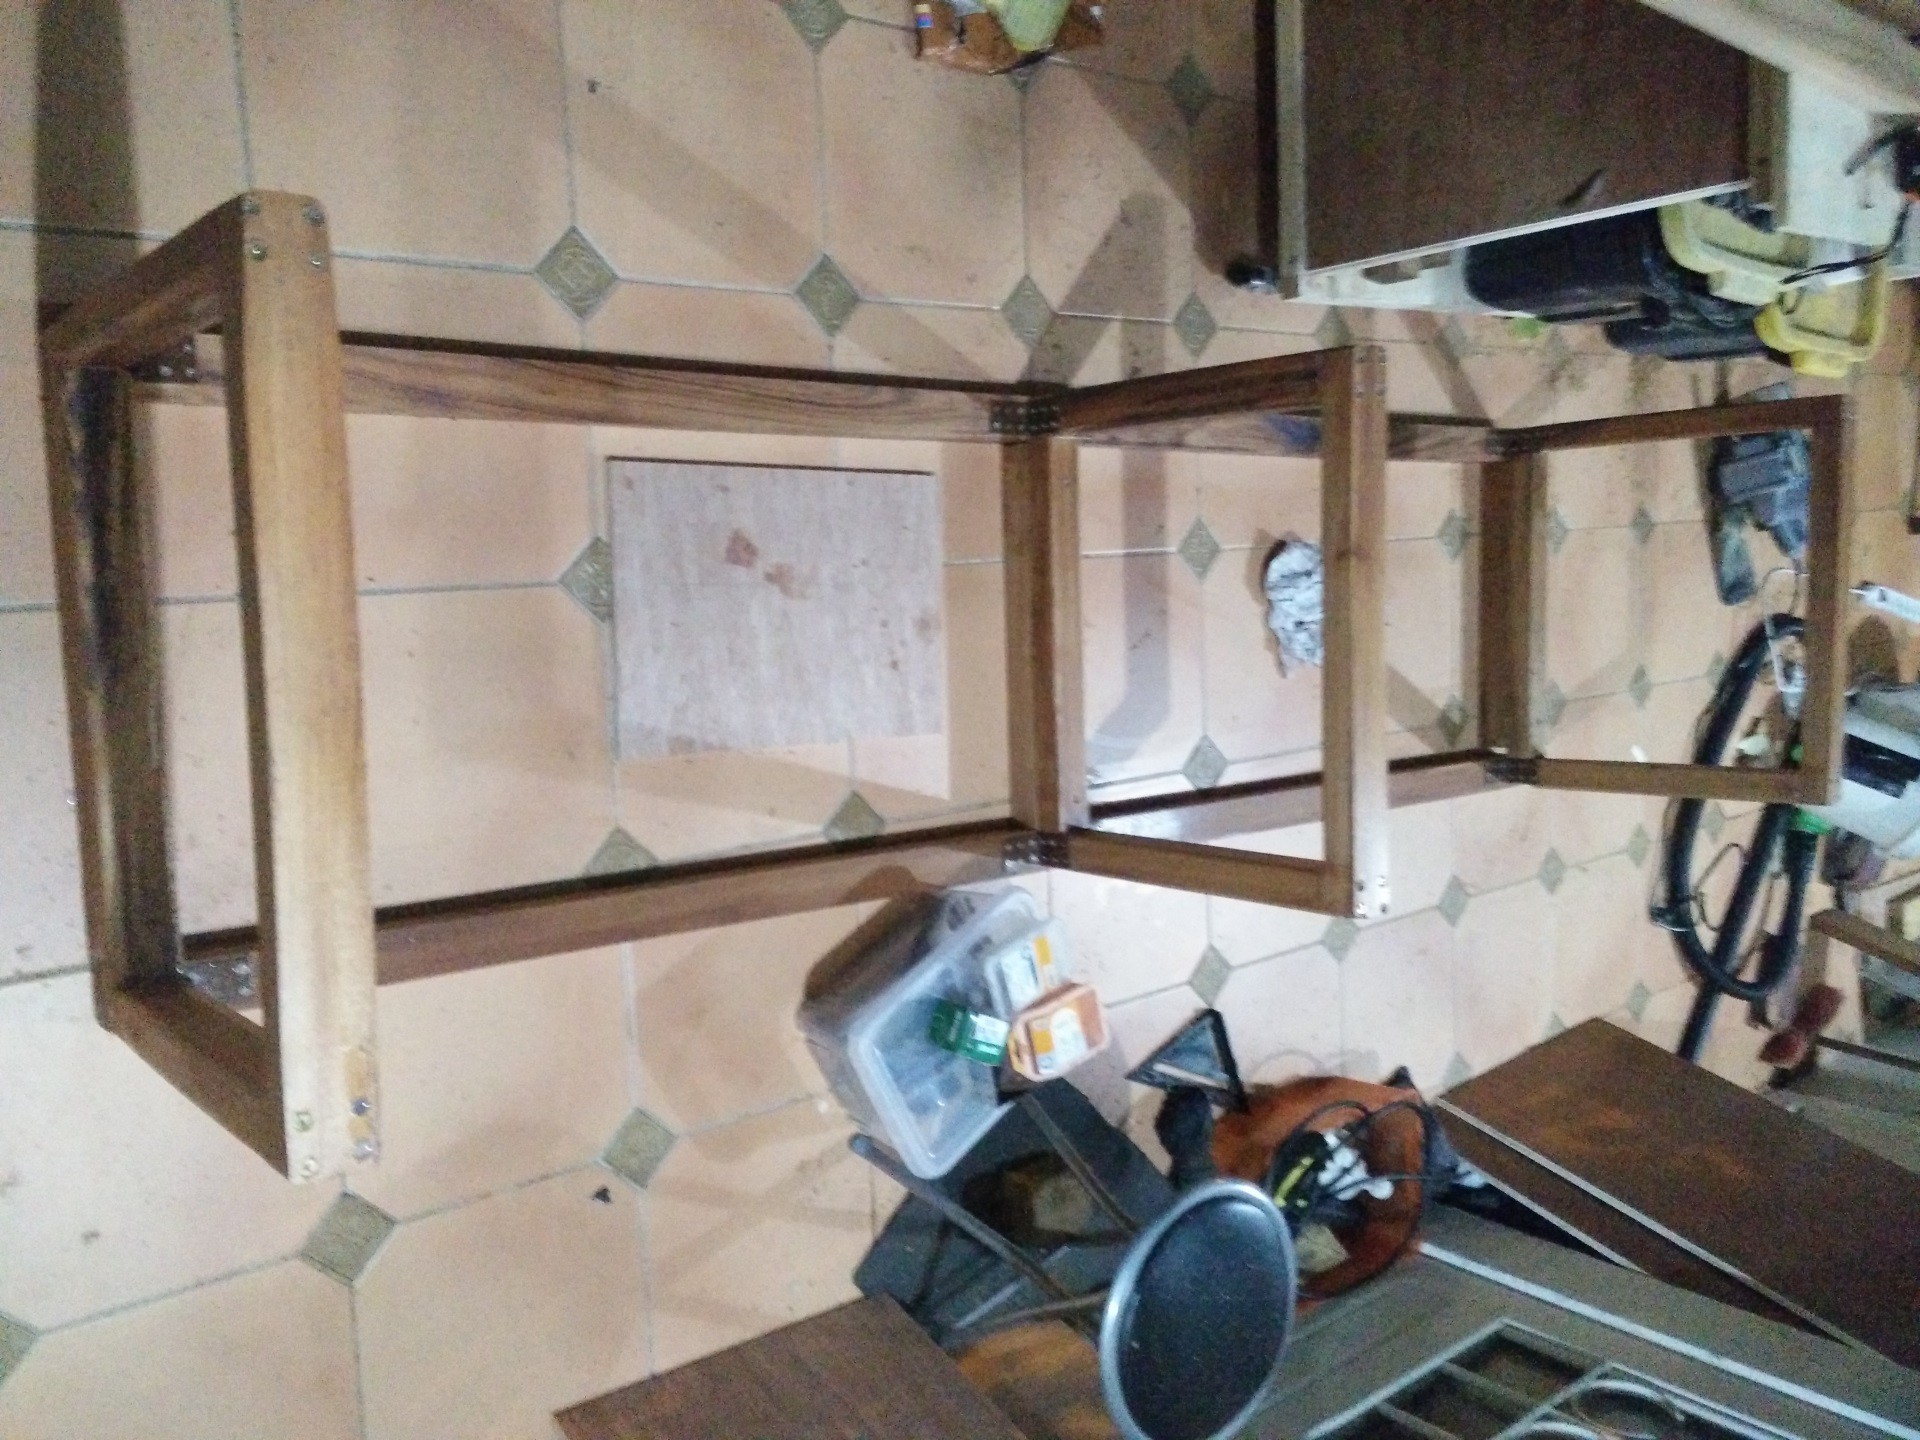
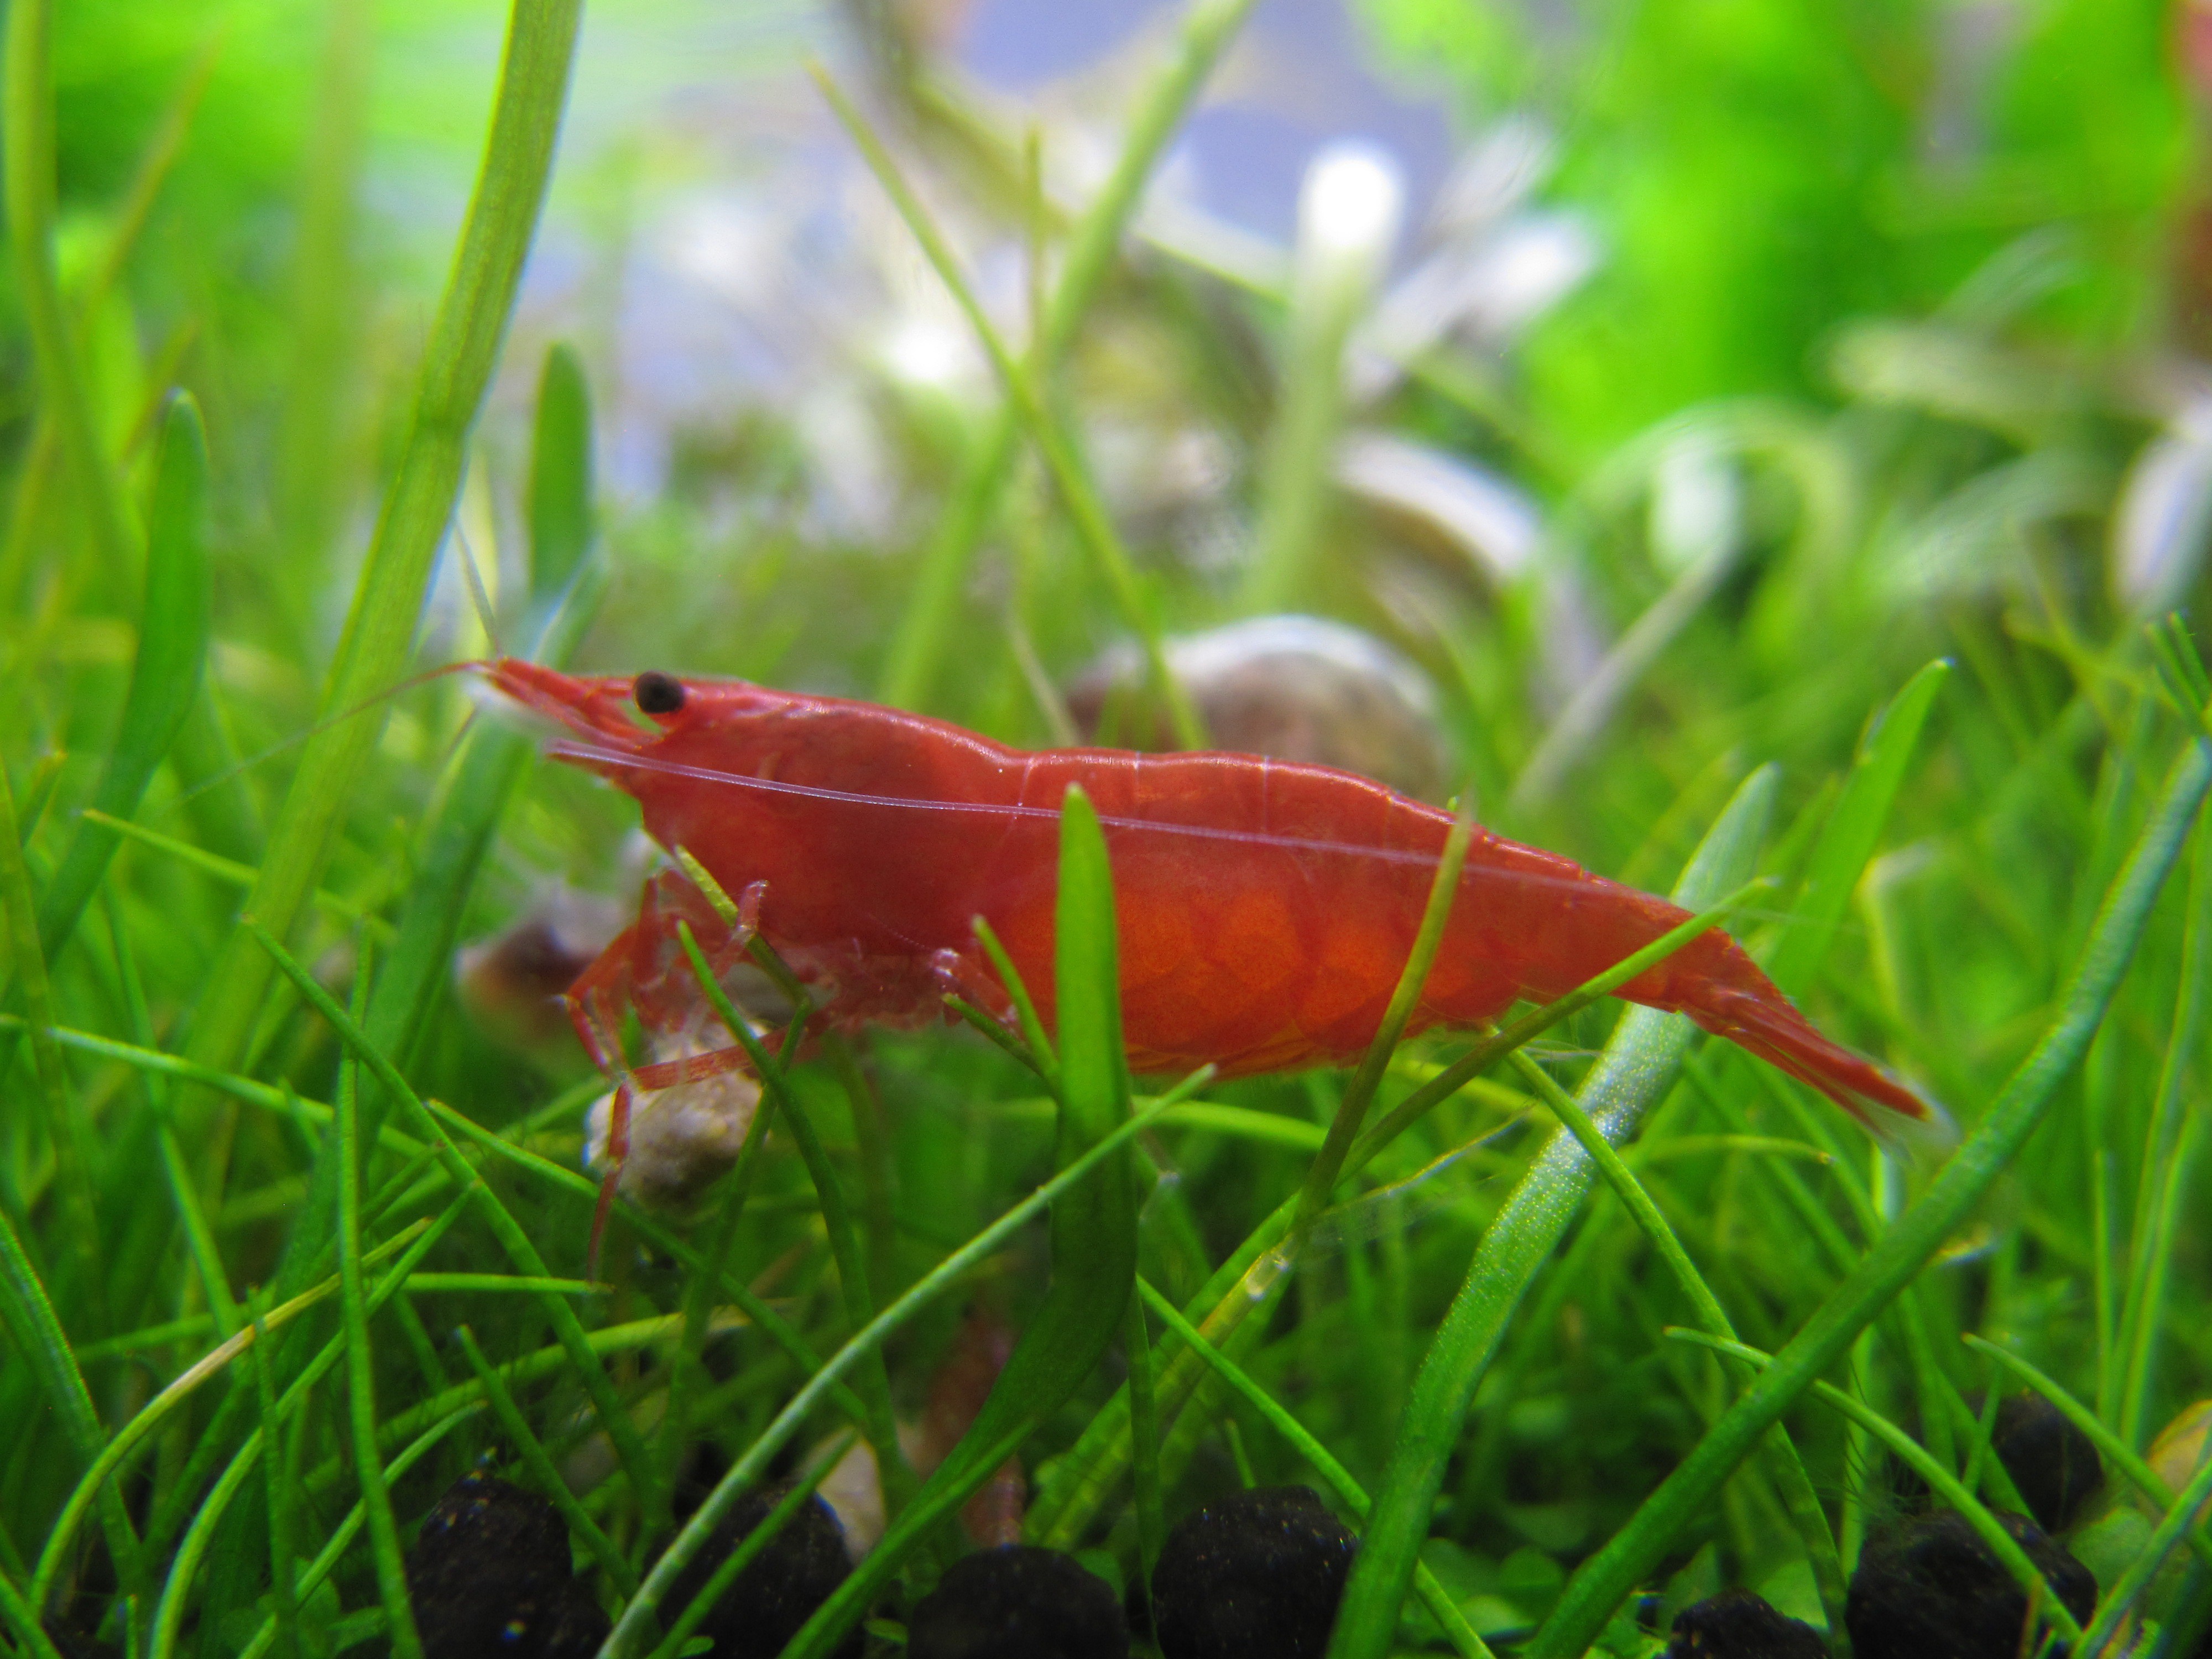
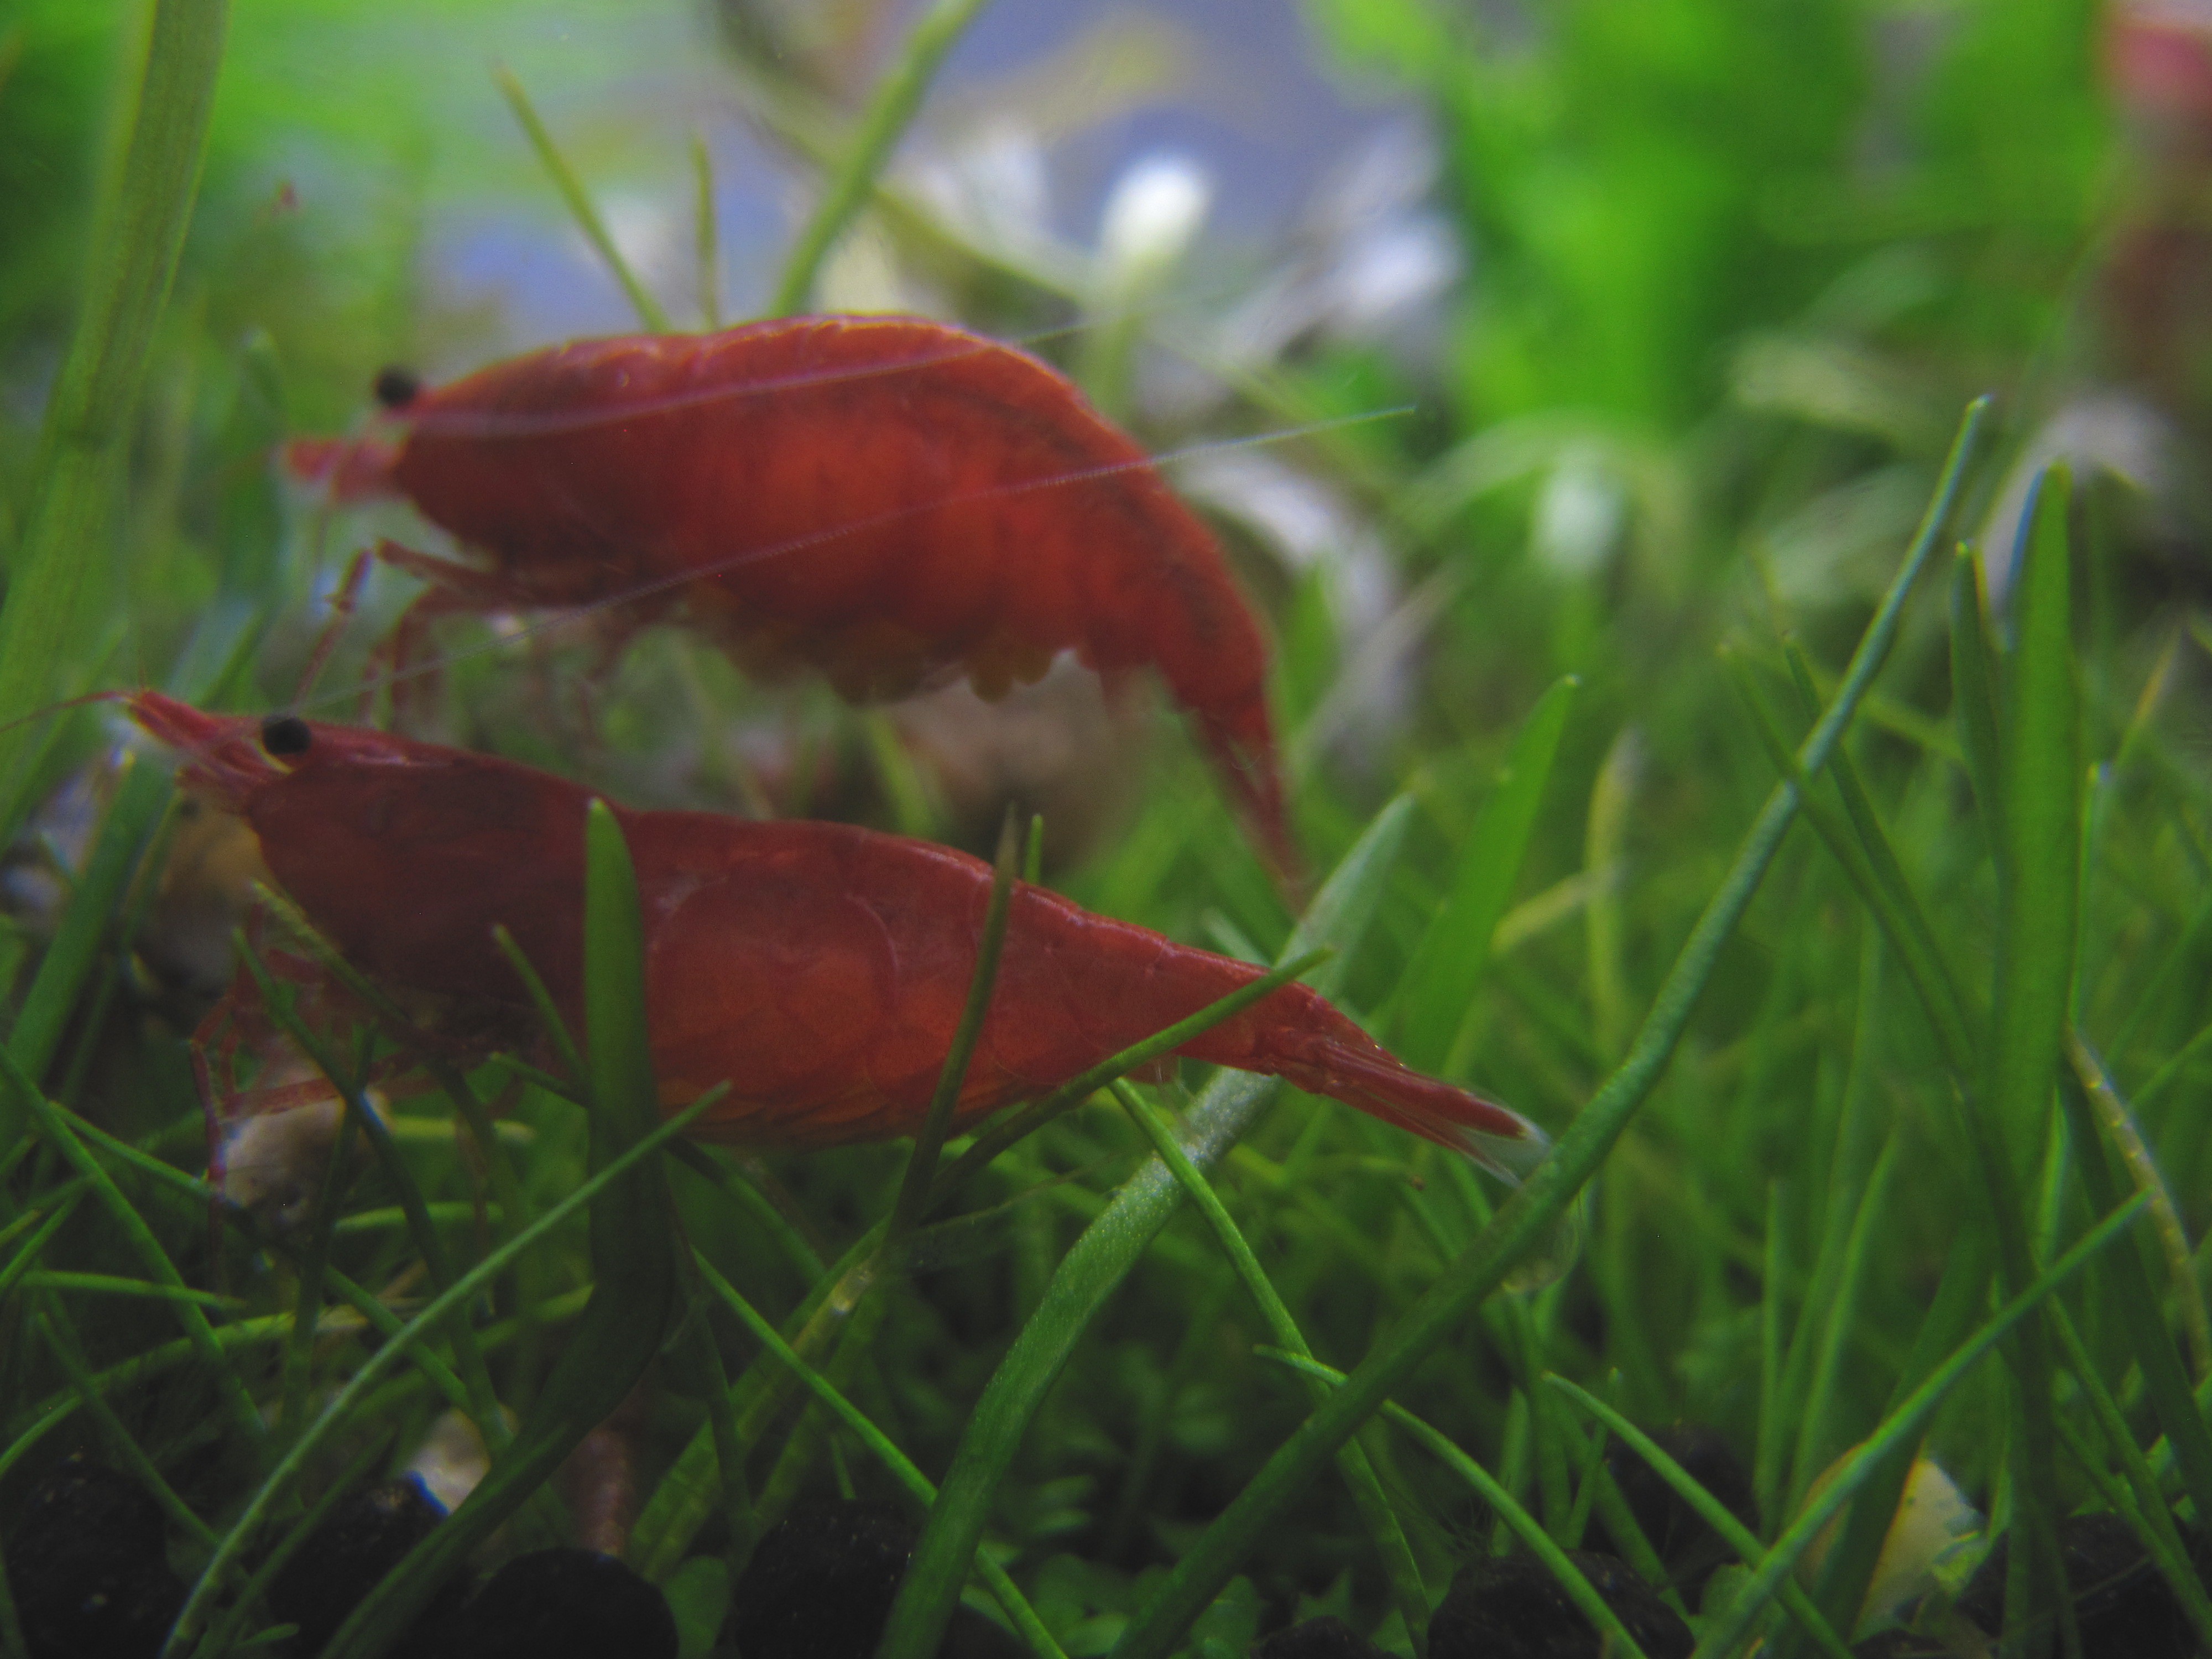
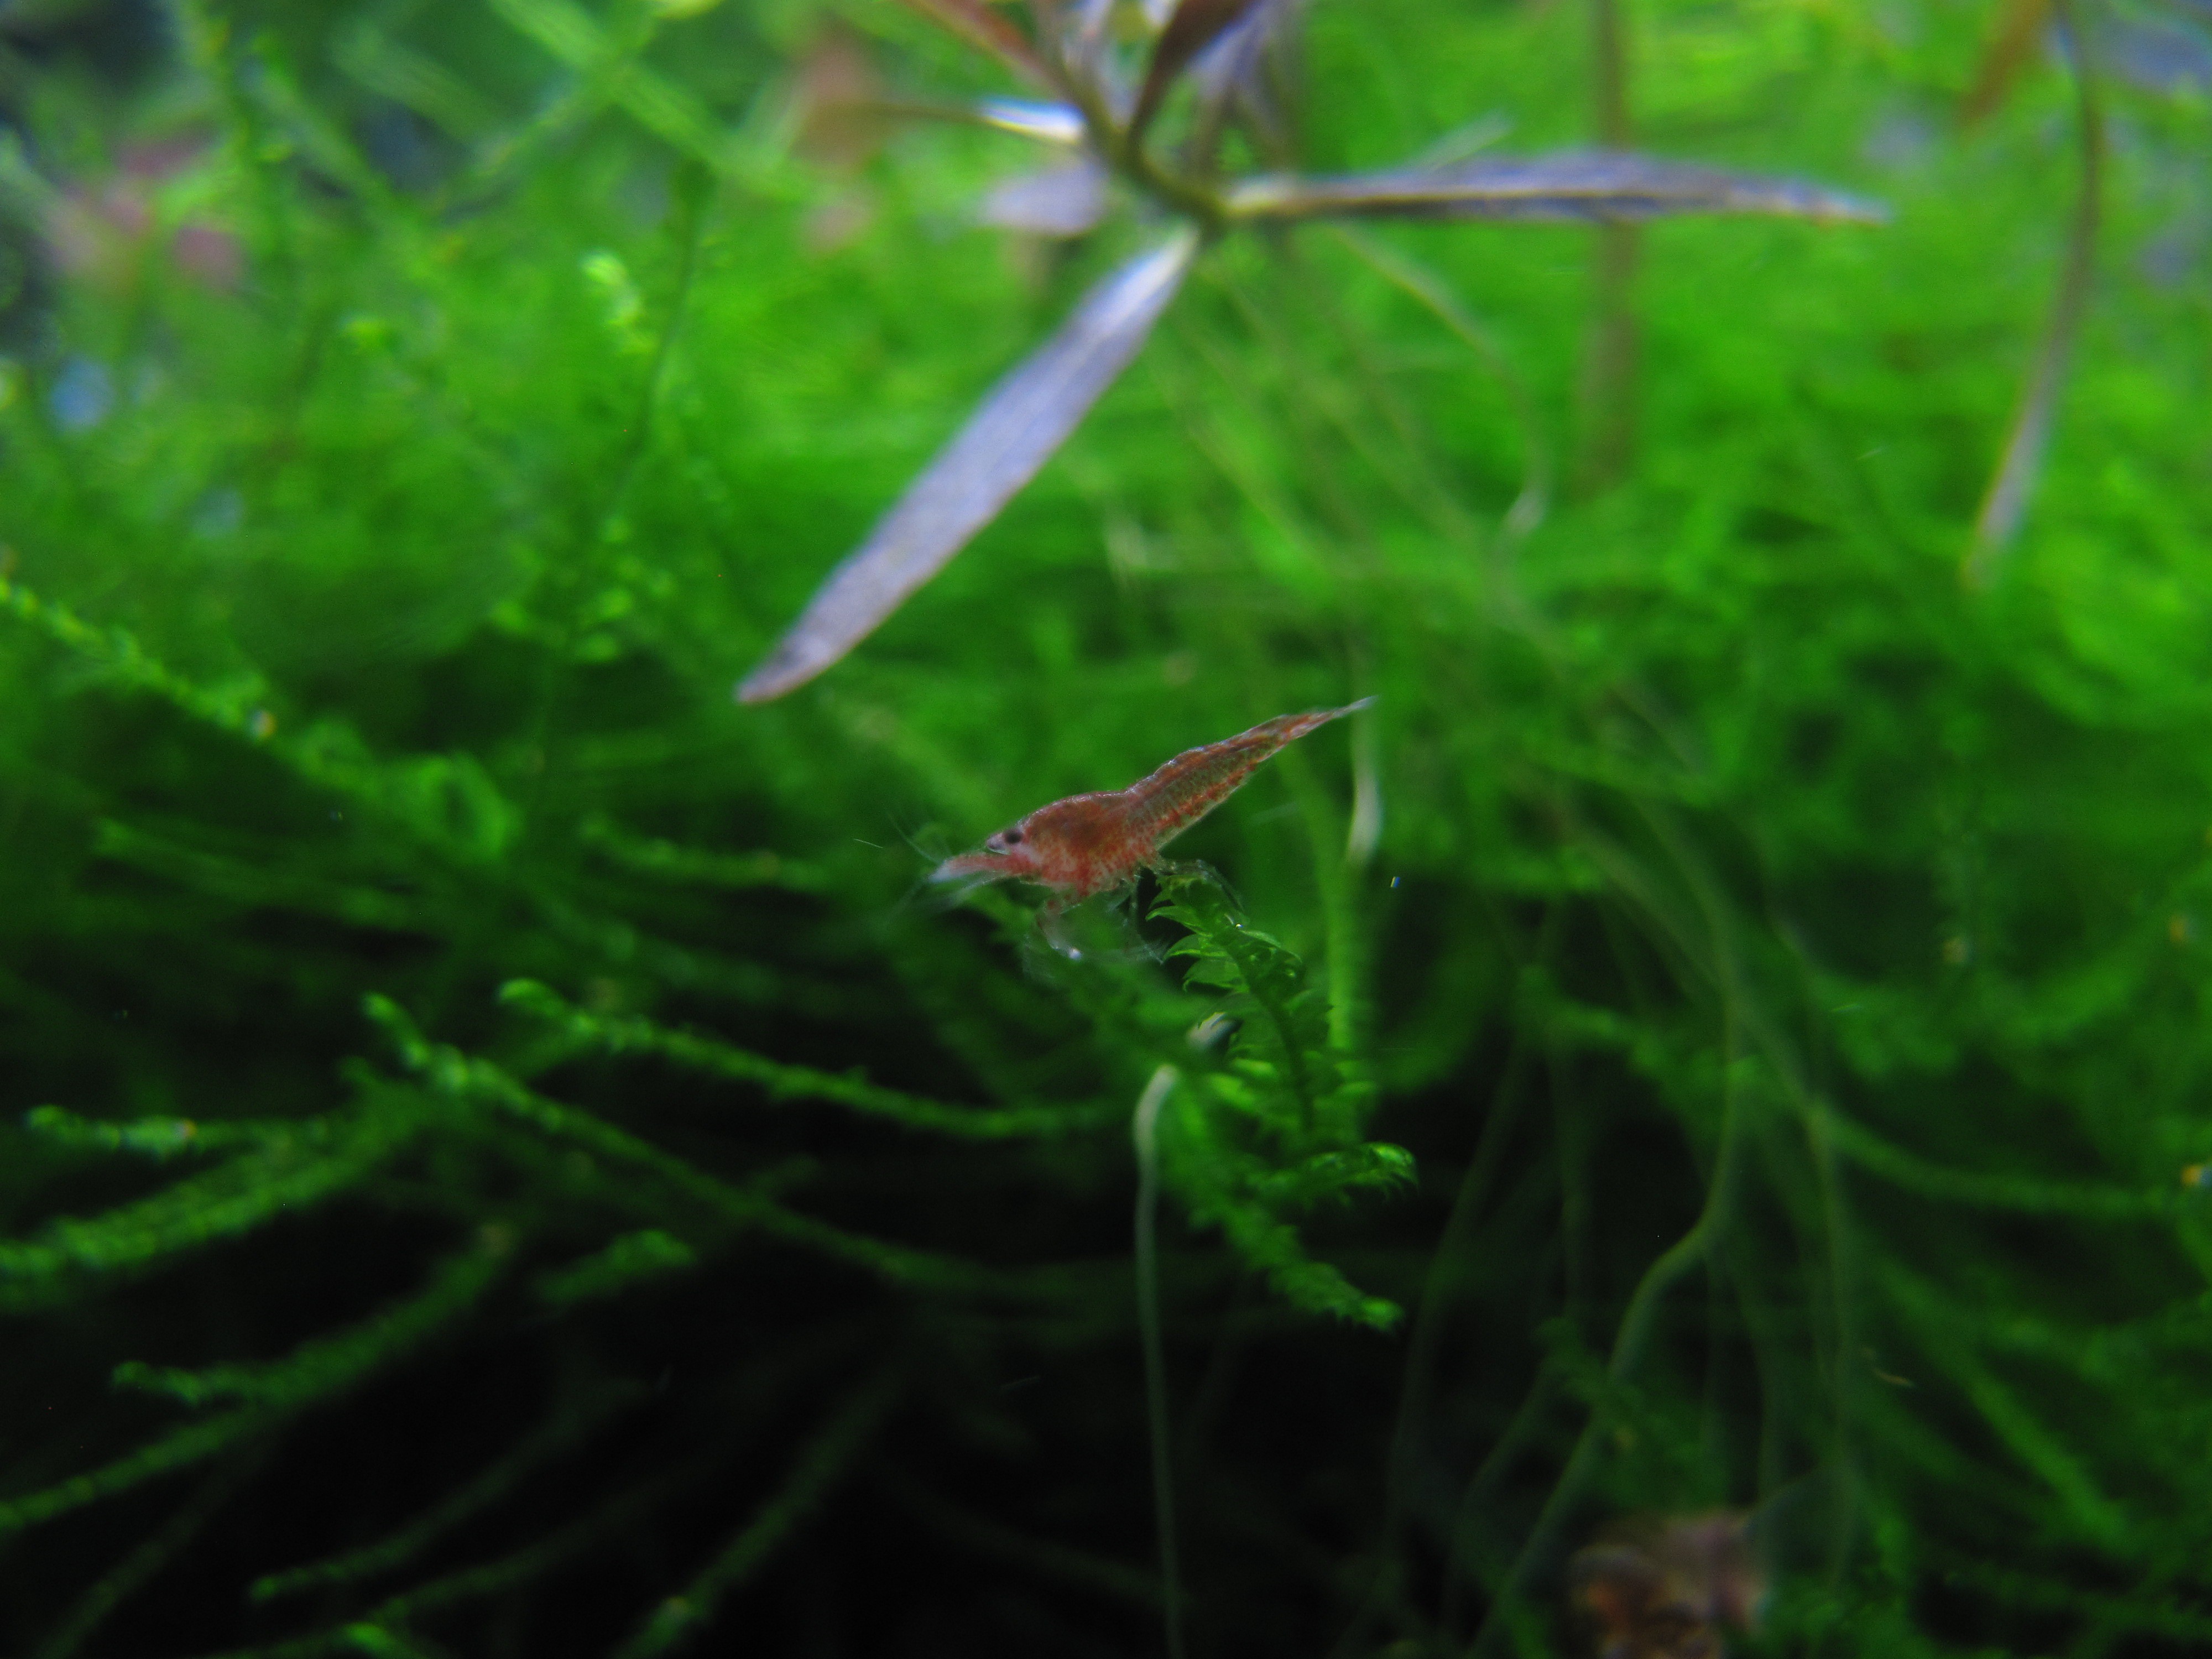
My Smart FishRoom/Animal Room
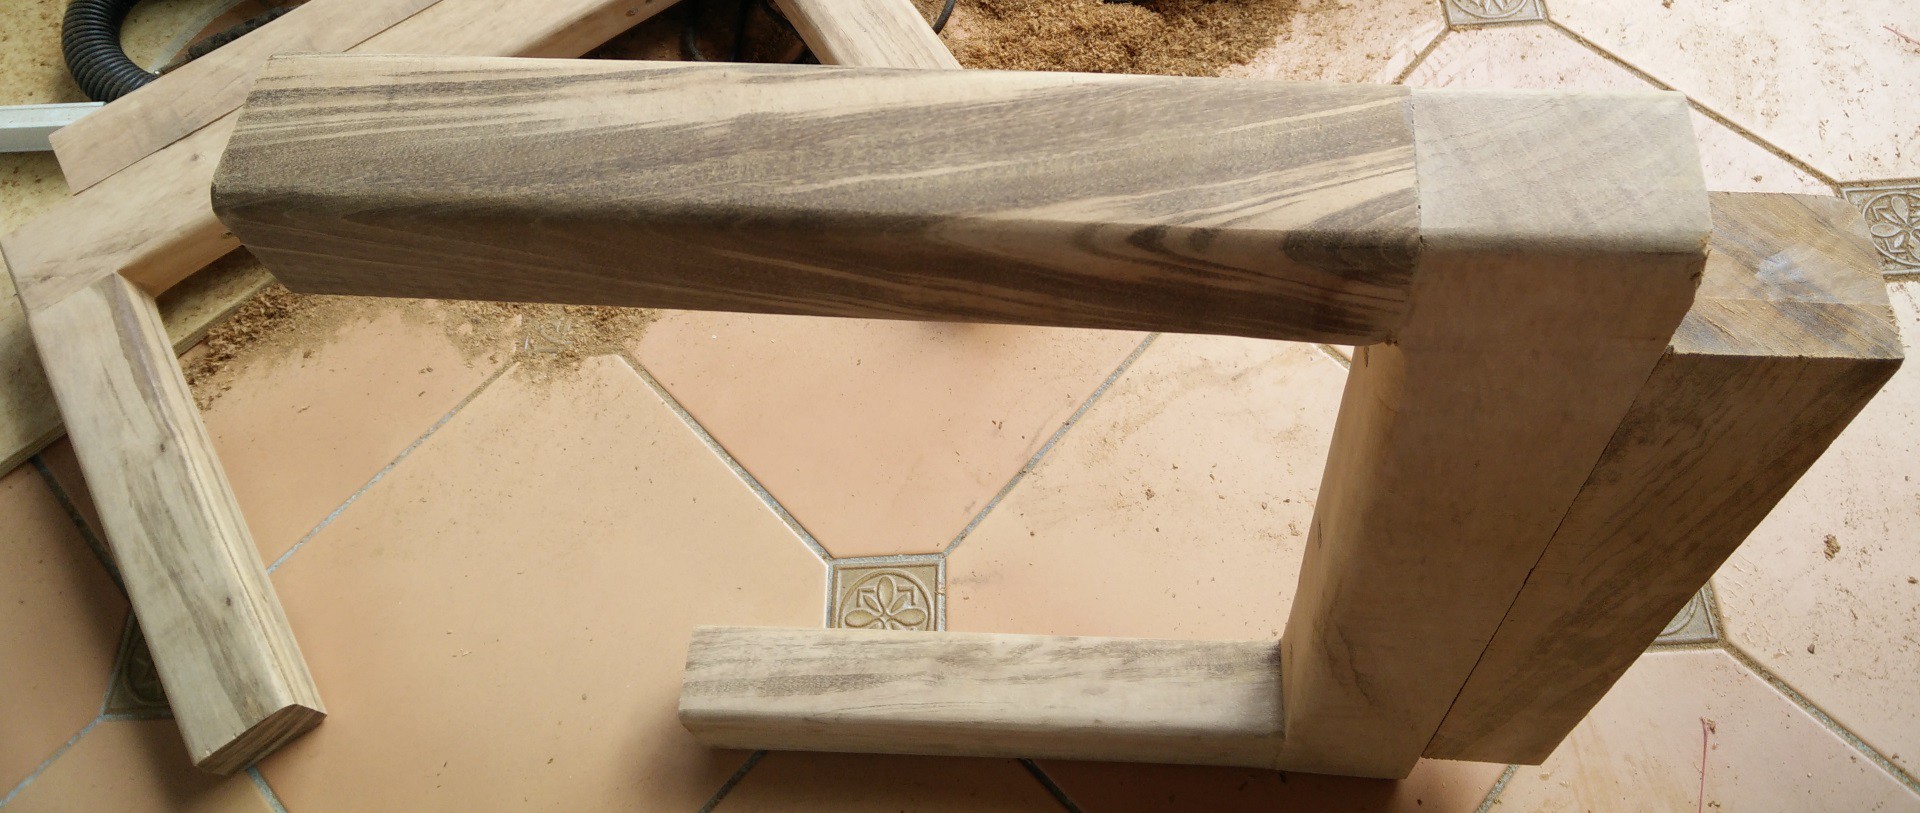
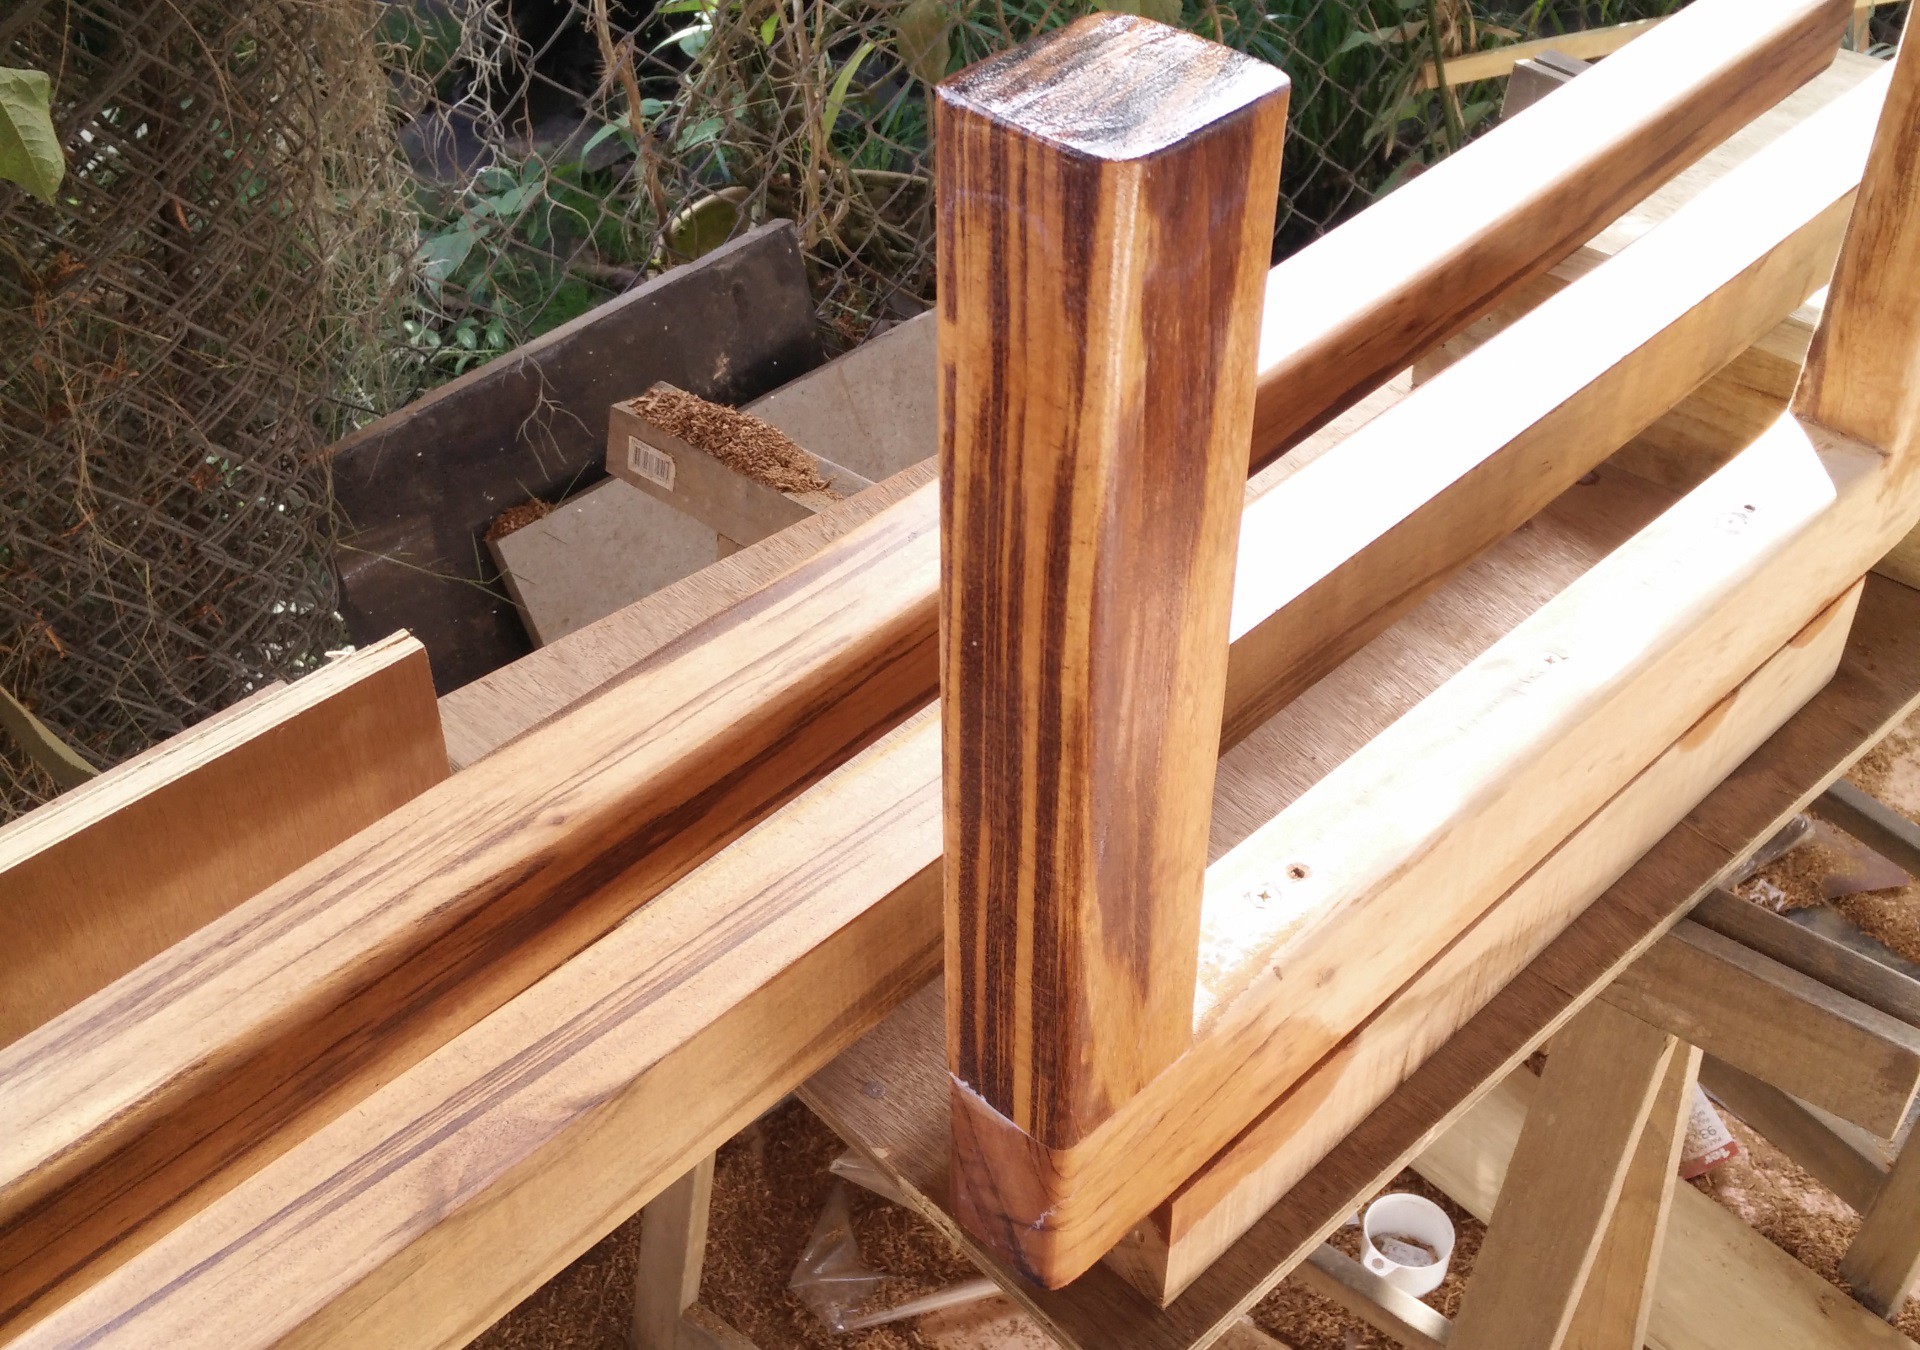
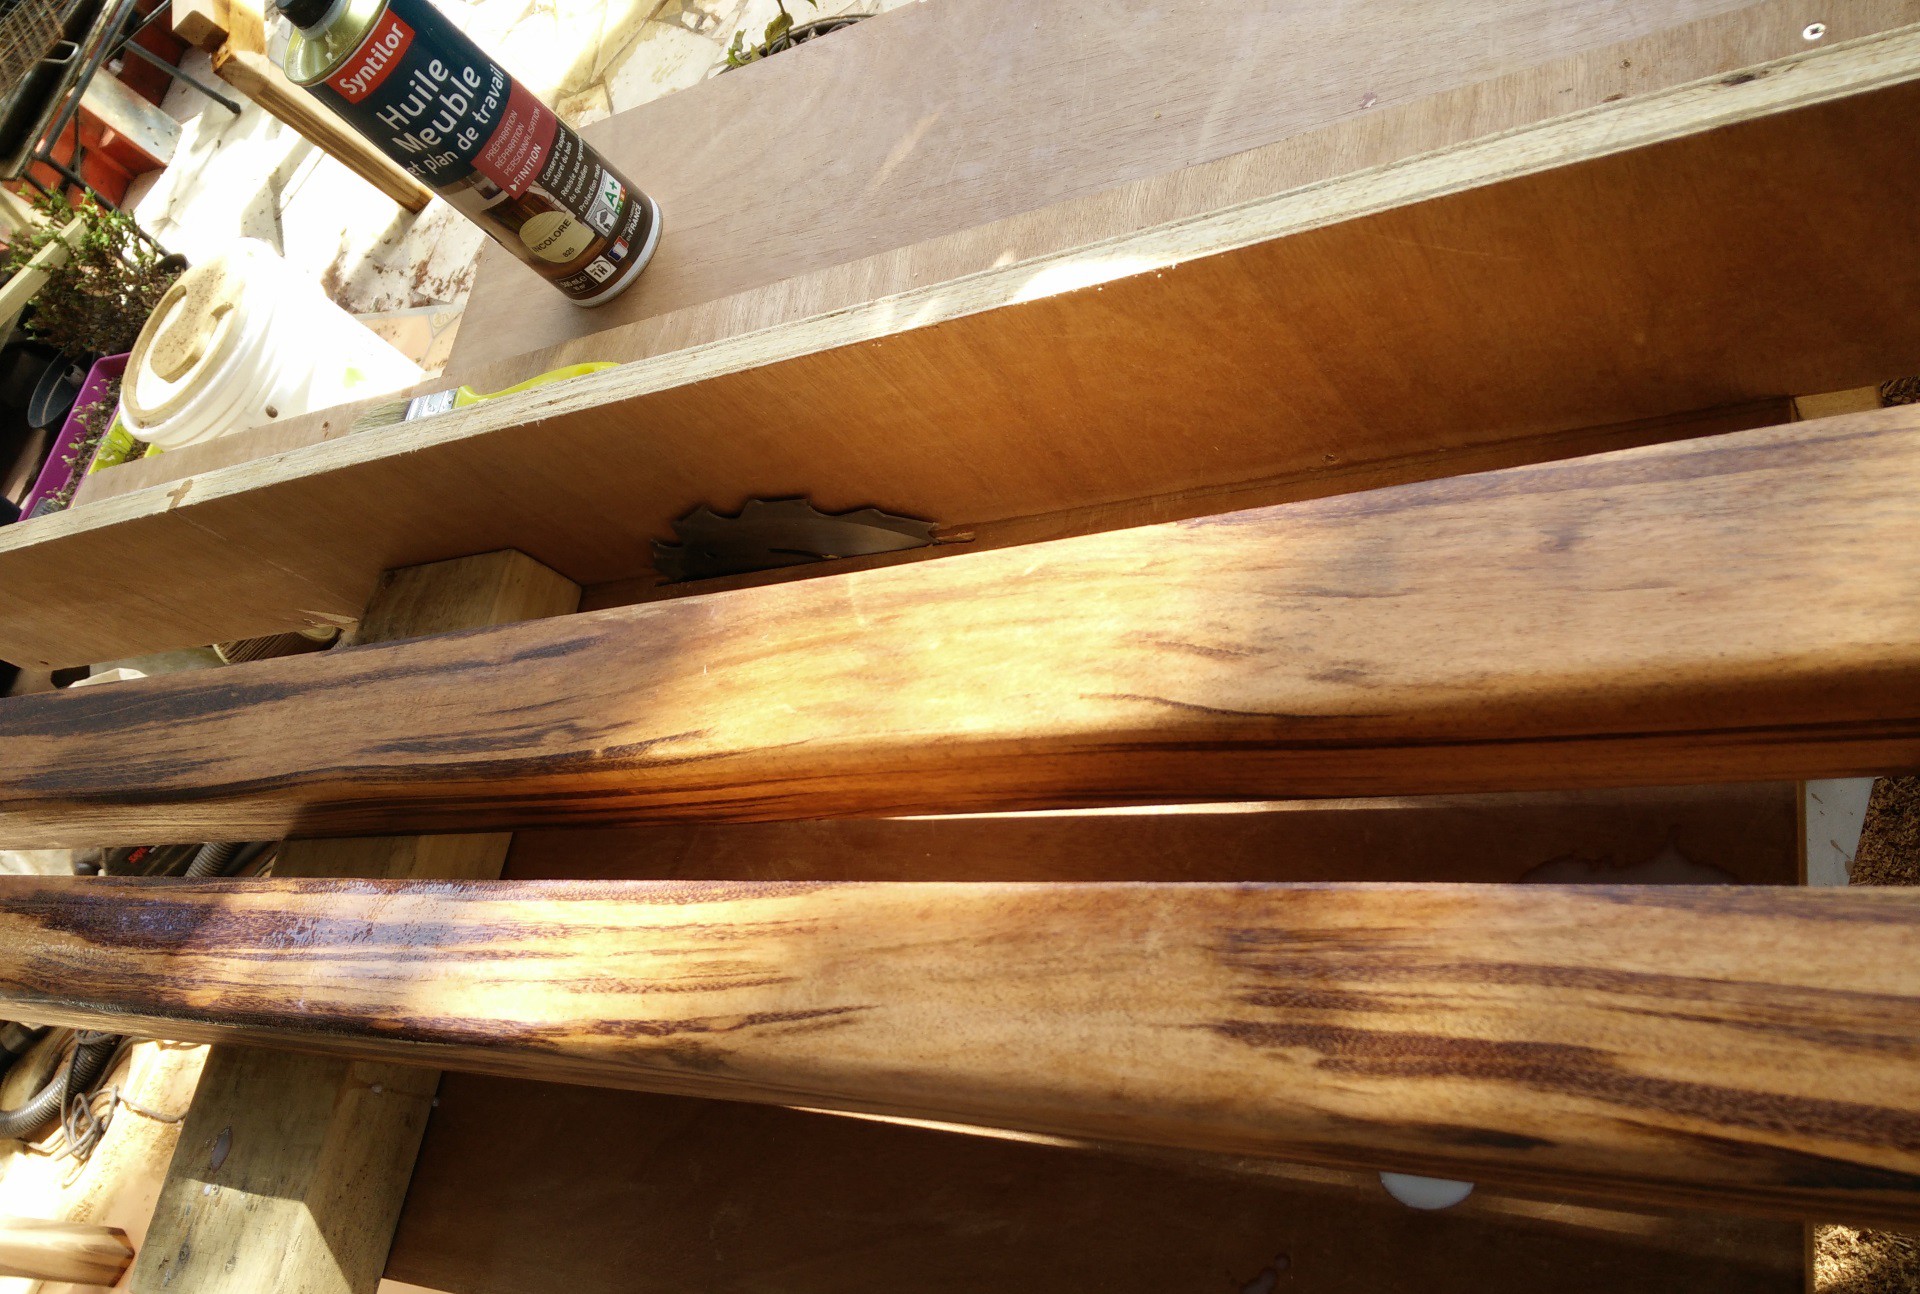
how i'm building my fishroom (aquariums), and what i do to automate it and make it smart.
 Audrey Robinel
Become a Hackaday.io member
Already have an account? Log in.
Just one more thing
To make the experience fit your profile, pick a username and tell us what interests you.
Pick an awesome username
hackaday.io/
Your profile's URL: hackaday.io/username. Max 25 alphanumeric characters.
Pick a few interests
Projects that share your interests
People that share your interests

 matthewkleinmann
 Roberto Vicente Romero
 WJCarpenter
 Jan
Jan
Beautiful tanks! How did you do the lighting? Do you add CO2?