0%
0%
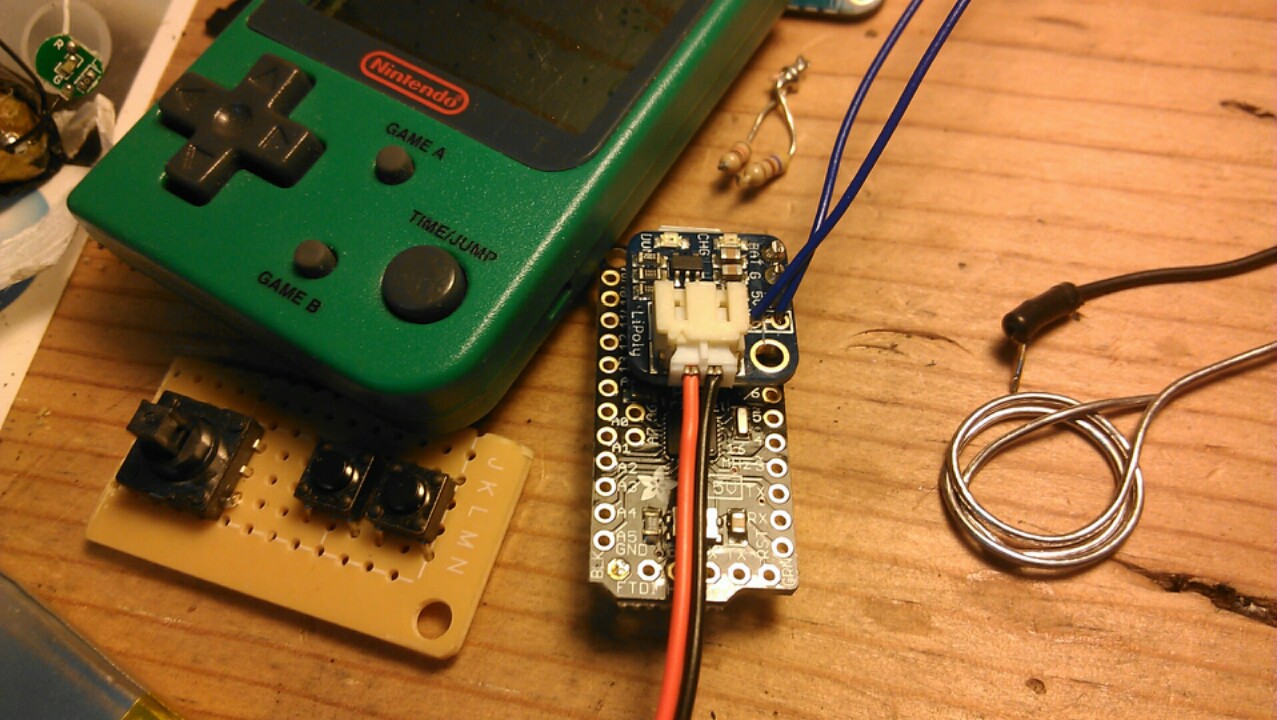
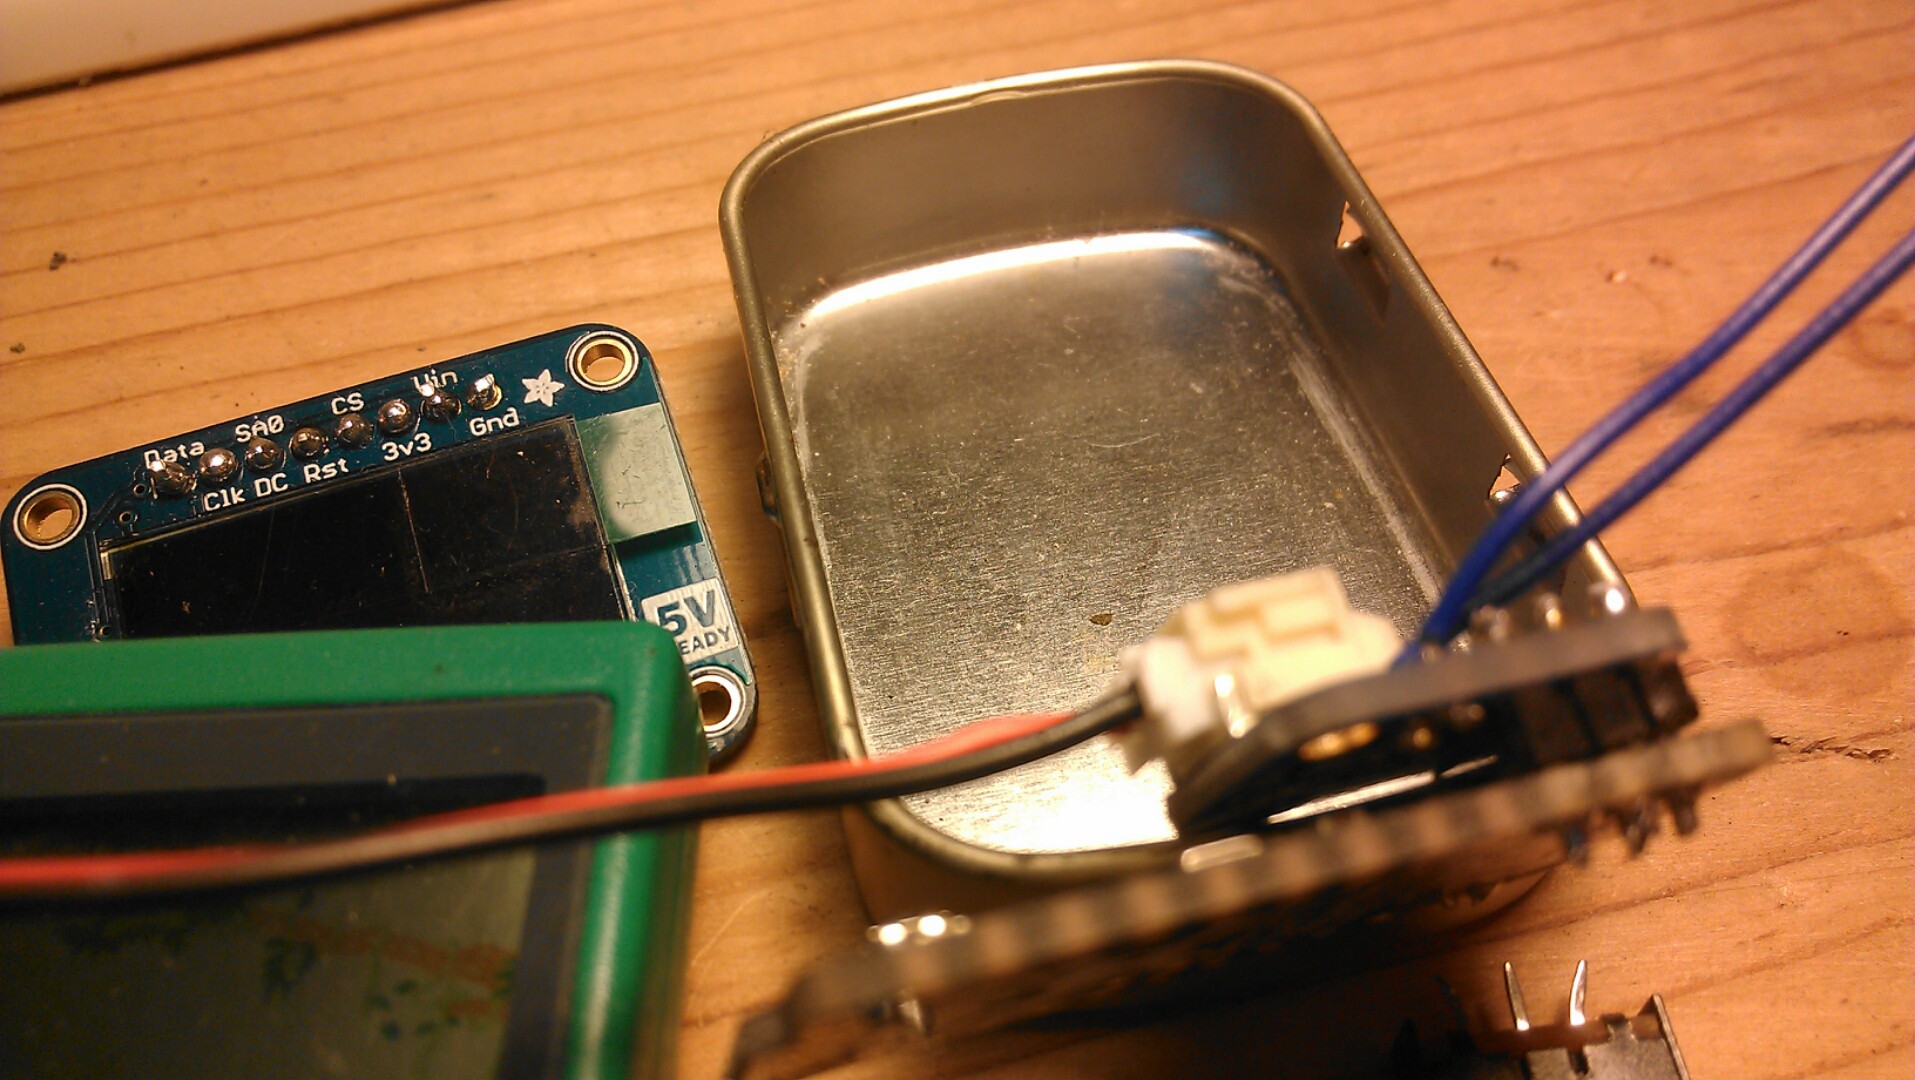
Gameboy form factor Trinket
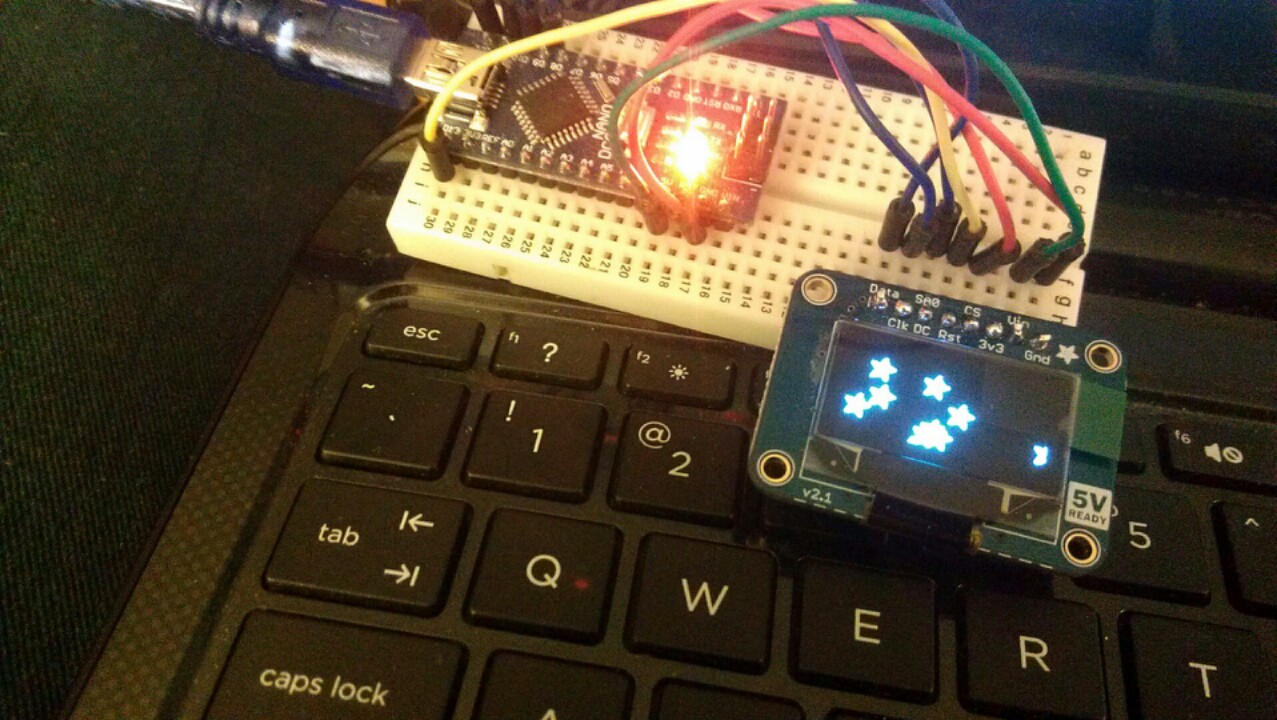
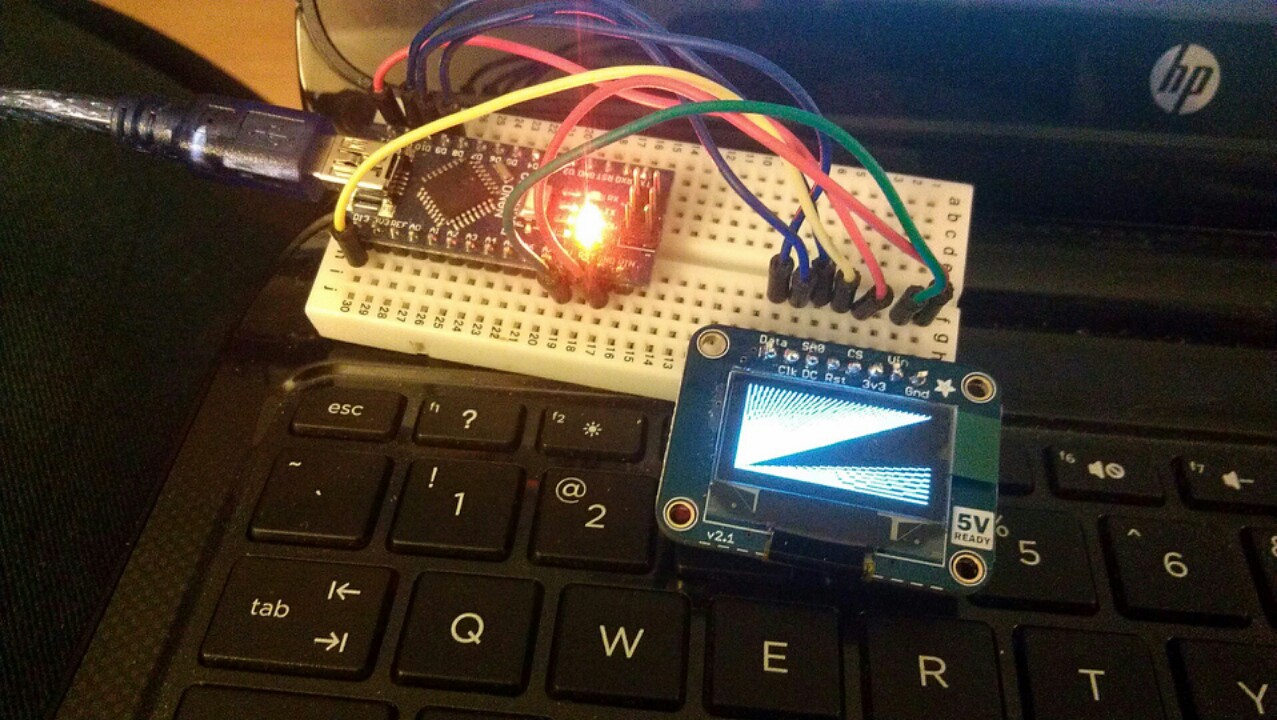
Much like the Arduboy, or the Gamebuino, I'm trying to put together a Trinket compatible portable games console
 j0z0r pwn4tr0n
Become a Hackaday.io member
Already have an account? Log in.
Just one more thing
To make the experience fit your profile, pick a username and tell us what interests you.
Pick an awesome username
hackaday.io/
Your profile's URL: hackaday.io/username. Max 25 alphanumeric characters.
Pick a few interests
Projects that share your interests
People that share your interests


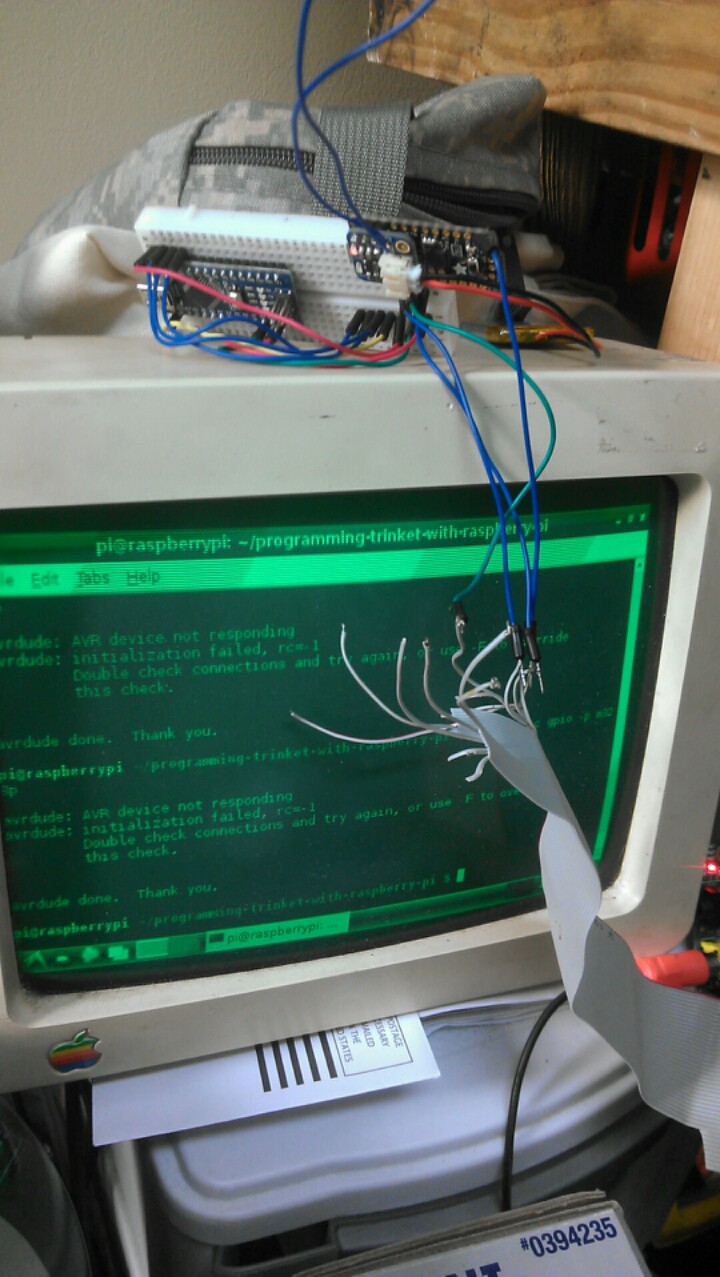
 I'm done with this for today. I may do some more work on the code upload situation later tonight, but either way I should have that part figured out in the next couple days at least.


 Sergey
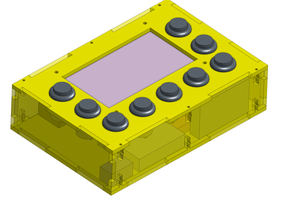
 Craig Hissett