 stoduk
Here are some details of the eventual solution, I may do some updates to discuss other options that I considered, ask if anything in particular is of interest.
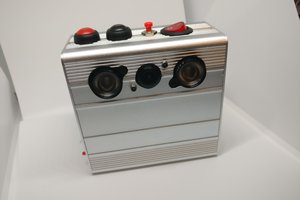
As you can see from the pictures, aesthetics of the final project were not a priority! The priority was making sure that the camera remains motionless during the five month project, hence copious use of gaffer tape. It was also a priority that this be as simple to use as possible, as the main user is intelligent but not a tinkerer.
Hardware
- Raspberry Pi Model A (the brains, obviously)
- MoPi power board (avoids SD corruption during loss of power, also wakes the system up at the requested period)
- Camera
- USB extension lead
- Push button switch and extension lead
Camera
The camera used is the official Raspberry Pi Camera Module that plugs directly into the Raspberry Pi. It is a 5 Megapixel camera which is fully controllable, and had a suitable field of view for this project.
Power
There would be no mains power available to the camera setup, and the camera starts up periodically throughout the day from sunrise to sunset. The simplest solution was chosen, to use a battery consisting of 8xNiMH AA cells to power the RPi via a MoPi board - the user then switches out the battery with a replacement set periodically (approximately weekly).
Case
The product chosen is a pair of cheap Pelican-like cases from china. They were thought to be waterproof enough (it was damp but no expectation of heavy direct rain), and very reasonably priced.
User interface
For power, the user simply replaces the 8 cell battery wholesale, presses a button to notify the camera. There is no explicit success notification here, but this operation was never done independently of data backup.
For photo copying and backup, the user plugs in a USB thumbdrive (a fast model with a flashing LED), and presses a button. This triggers as many images as will fit to be copied to the USB drive. No photos are deleted until the user explicitly requests this (by creating a magic file). Logs are also copied off at the same time.
 facelessloser
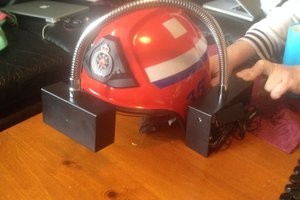

 andyhull
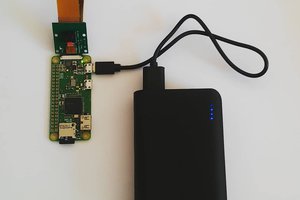
 mikrotron