 doctek
This is my first experience using HAD Projects. I'm really not sure how this is supposed to work, but I plan to document my efforts to create an open-source, working, paste extruder using a Moineau design. Hopefully, that is appropriate in this venue. There is no intention to commercialize the design, not even Kickstarter. I just want to share the design, share the process, and potentially benefit from input I receive on HAD.
Let's get started! This is hardly the first Moineau paste extruder that has been proposed. (I'll add links to all that I know about soon.) However, I have not seen one that is a complete, open, working design. To me, such a design would use open-source tools, include all design files, and, as such, be easily replicated or modified by anyone interested. I plan to detail the design of the Moineau pump geometry itself, as well as the extruder based on it.


 bram
bram
 Nathann
 Chad Paik
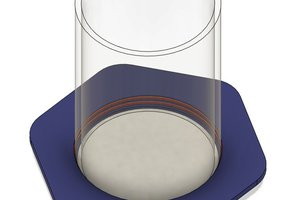
 Luke
Luke
In regard to sealing the cavities when the rotor and stator are made from hard plastic such as abs, how about leaving a small 3/4 round (say) channel along the backbone of each helix of the stator and chink in a length of o ring material.