Close
0%
0%

Race to the LED (Arduino game)

This project is a mini game I made to start learning Arduino. The first player in reaching the goal will light up its LED and win.

Similar projects worth following

I've been into Arduino for about a week (since I get my UNO board), so I'd watched some basic tutorials when I decided to do a mini game to apply the things I know by now. Why? Because playing is the best way to learn, and if I can have fun 1 hour while making a little ptoject and having fun, then I'll do it without thinking it twice.

The game I made here is for 2 players, but you can easily add as much players as you want; the only thing you need is basic hardware and time.

Each player has 1 push button and 1 LED. In the code, you set a goal, this goal is the number of times you have to press the bottom to light up your LED. So when the game starts both players have to start pressing its button as fast as they can, and the first in turning its LED on is the one who wins. Let's see how fast can you turn your LED on.

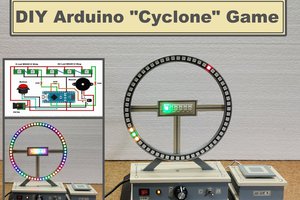
I made this to practice a bit, but it turn out to be very fun. I show it to my litte sister and cousins and they start playing trying to turn on the LED faster than the others.

This is a prove of how basic knowledge combined with creativity can create something pretty cool.

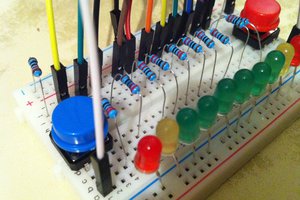
It isn't over yet. I will add a Debounce function for the push buttons so it runs smoothly. Also I'd like to add two 7-segment displays, so when it starts the displays count back from 10 to 0 and then the push buttons enable to start playing.

  • 1 × Arduino Board I used an Arduino UNO, but every Arduino should do fine.
  • 1 × Breadboard
  • 2 × Push button
  • 2 × LED Preferably in different colors.
  • 4 × Resistance - 2 of 220 ohms (for LEDs) - 2 of 10k ohms (for buttons)

View all 6 components

  • 1
    Step 1


    Set your Arduino board and your breadboard.

  • 2
    Step 2

    Put the buttons and the LEDs wherever you want to. Just remember to find a place in which you don't get to touch any wire when pressing rapidly the button.

  • 3
    Step 3

    Connect the positive and ground rails of the breadboard to the 5V and GND pins in the POWER section of the Arduino.

View all 8 instructions

Enjoy this project?

Share

Discussions

Similar Projects

Does this project spark your interest?

Become a member to follow this project and never miss any updates