 Stefan Lochbrunner
As I mentioned before, I want to have multiple LEDs with different colors to indicate the currently active set of shortcuts. The idea came to me when I sent my friend this sketch of the layout:
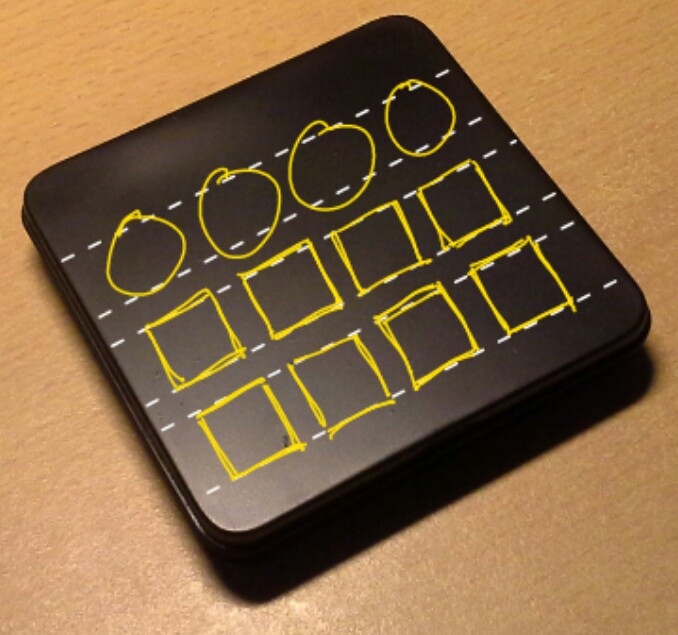
Jokingly he replied that he'd like the yellow markings to be on the final device but I thought it might look cool if I put LEDs between the tact switches such that the light is visible from the outside between the lid and the switches. This is roughly how the LEDs are placed, with this pattern repeating in the neighboring 2x2 block of buttons (once it's done):
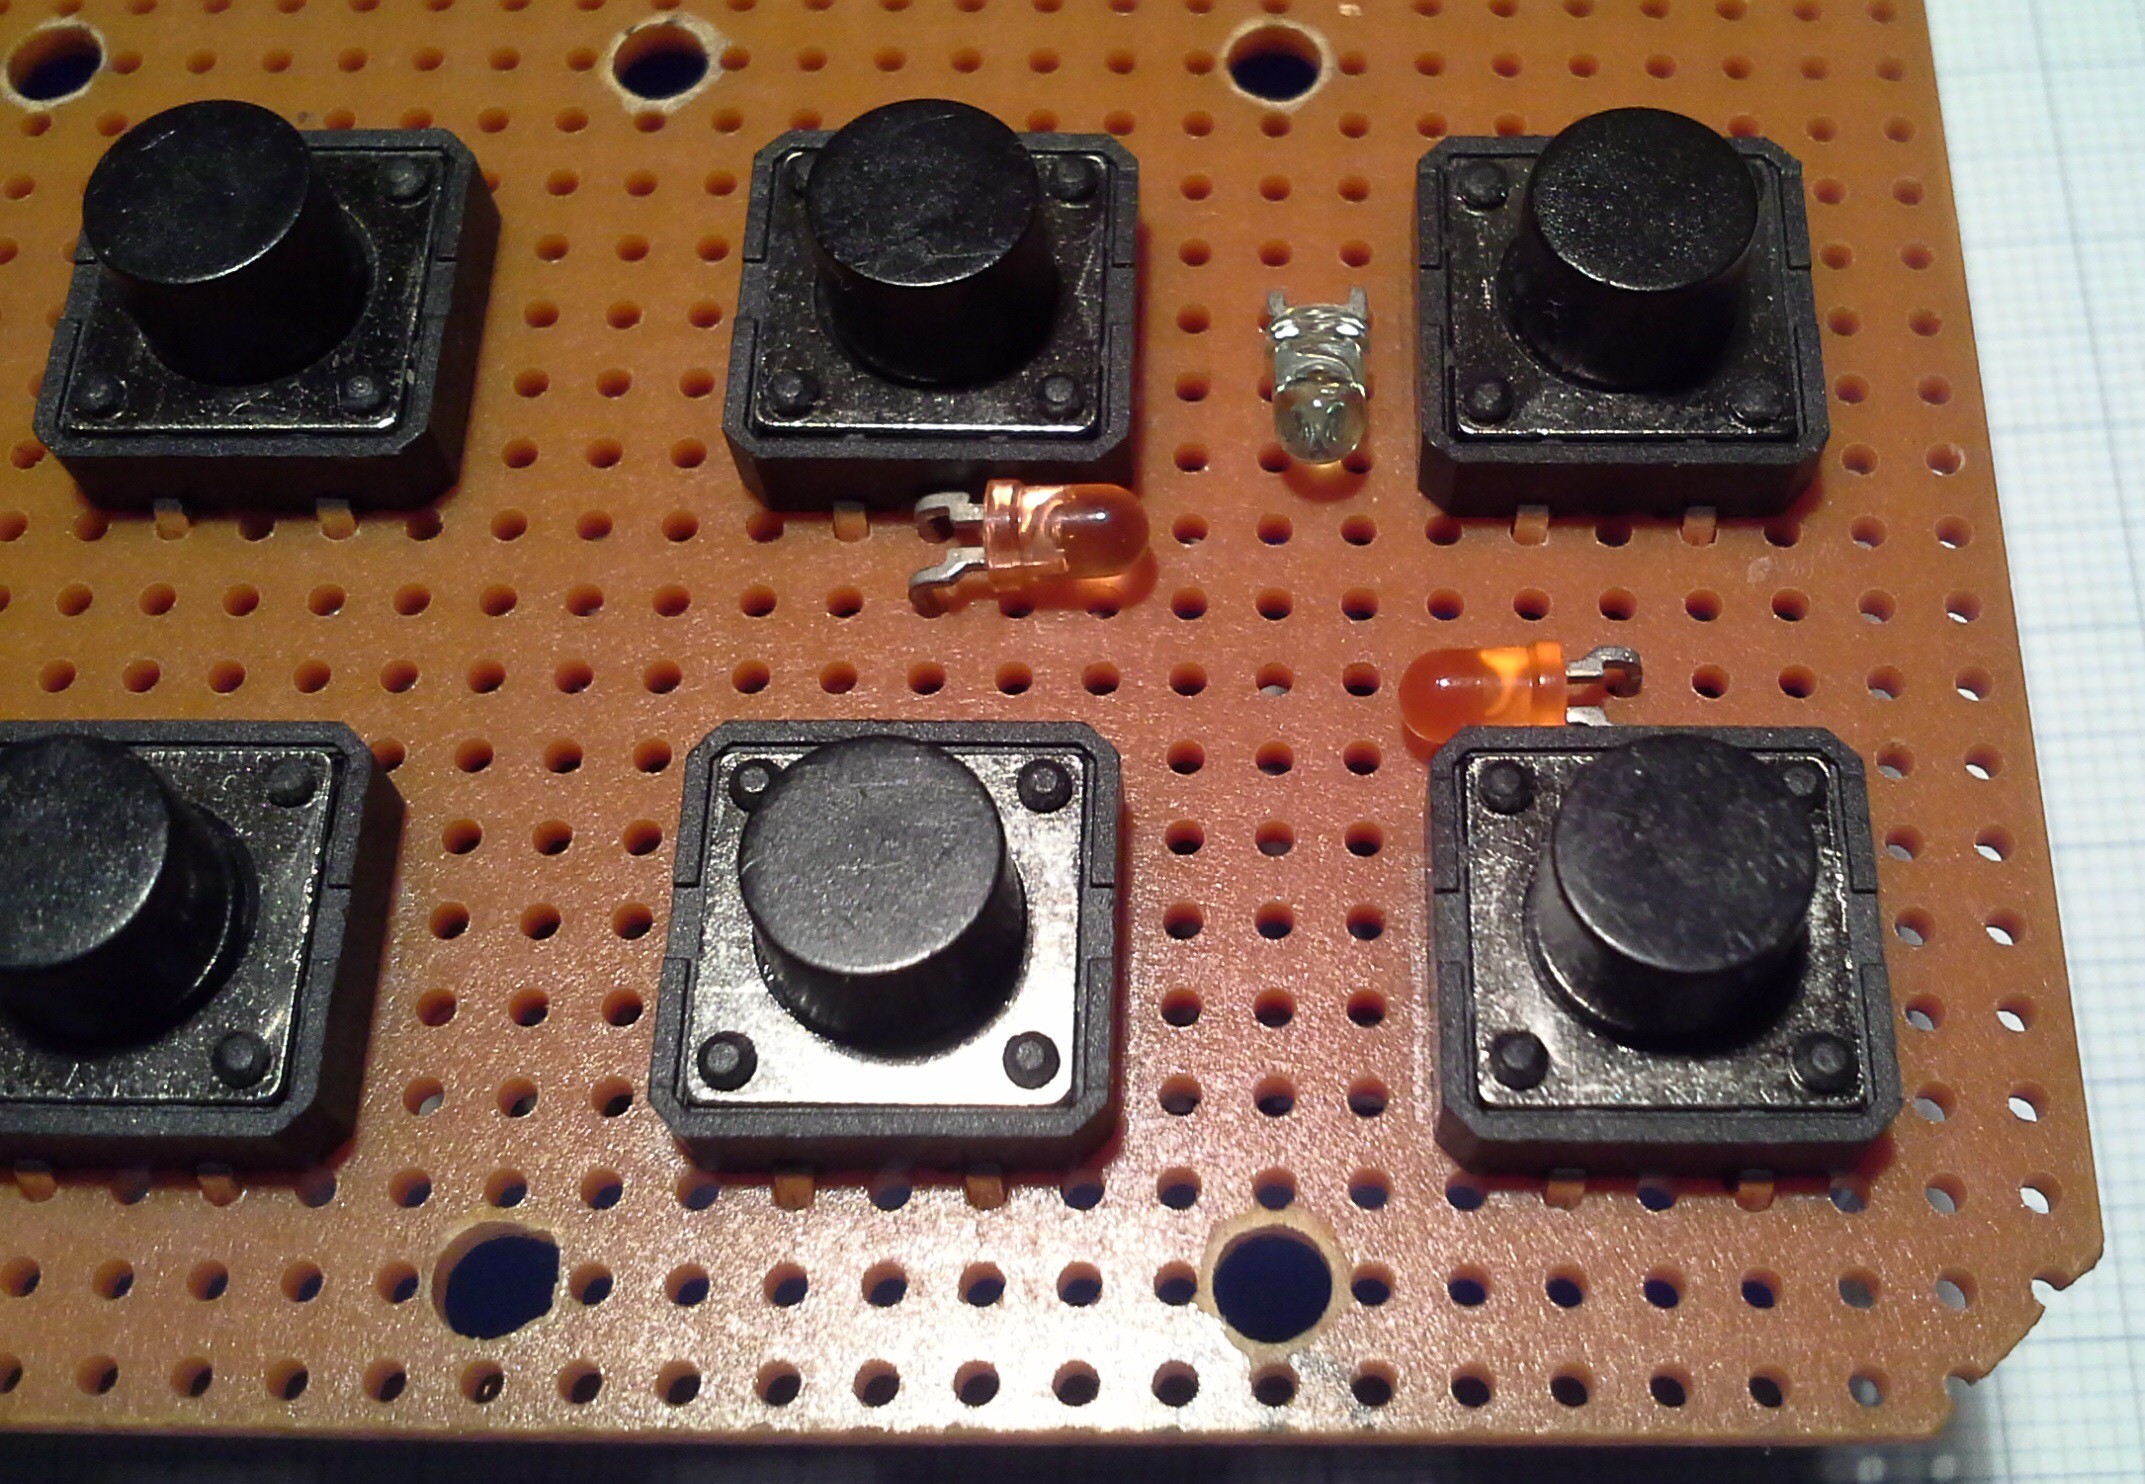
To keep complexity down I decided to drive 2 LEDs of the same color in series directly with a pin from the ATmega. This has some downsides (like limited current) but since the backlight is more of a gimmick I'm not going to spend a lot of time on it. On the other hand, an advantage of this is that the device won't draw a lot of current from the USB port.
The mechanism is pretty simple, just another button (yes another one, as if there weren't enough already ;) ) (the left one of the two non keypad buttons the other one is the reset button) to toggle through three LEDs (that are all green for this test).
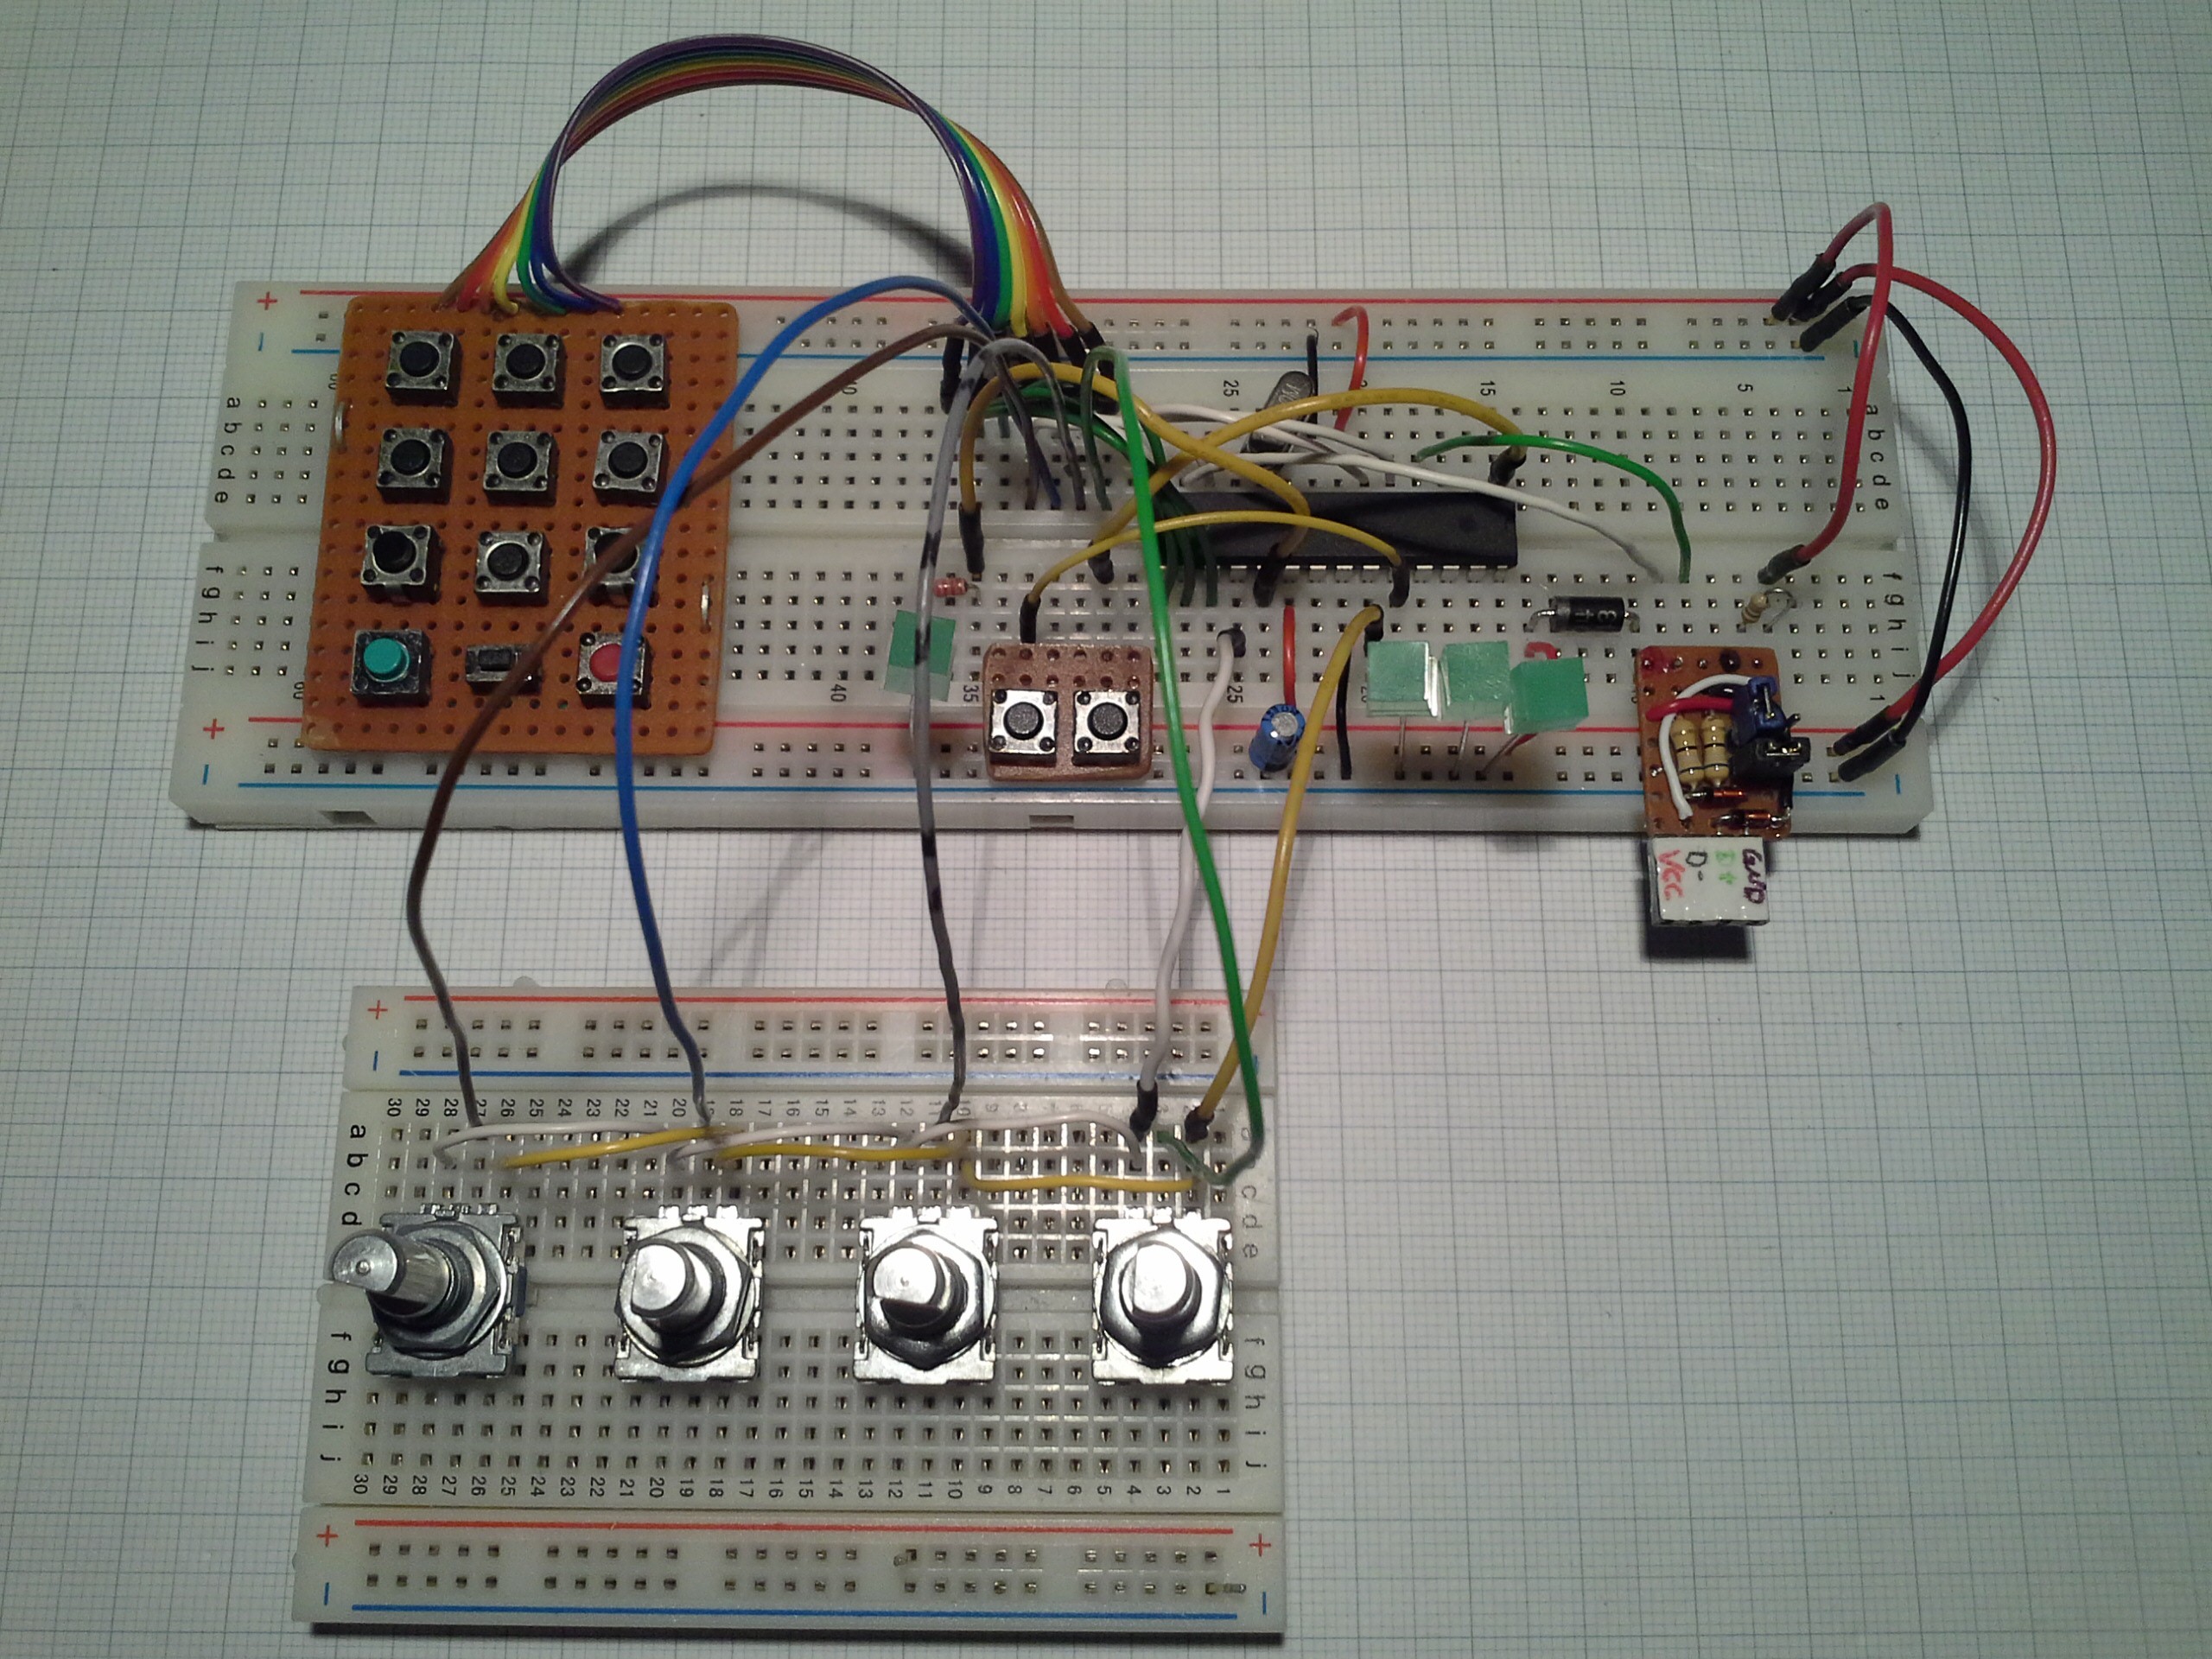
For now I placed the button and LEDs on the next available pins (Arduino digital pins 15 to 18) but as mentioned before the pin assignment is subject to change such that the LEDs can be controlled with PWM and the wires going to the keypad end rotary encoders fit best into the case. Once the LEDs can be dimmed I'll play around with adding glowing/fading effects on key presses although I'm not sure if the LEDs I have are bright enough to be able to observe the effects even in the dark or if it would be distracting.
Regarding the code the button doesn't actually control the LEDs directly but changes a variable that indicates the current mode. Based on the value of this variable the arrays for the key codes are chosen and the pin for the corresponding LED(s) is set high. I'm not going to go into more detail on the code since polling of a button has been discussed before and advancing of a variable should be covered in basic tutorials better than I could do it here.
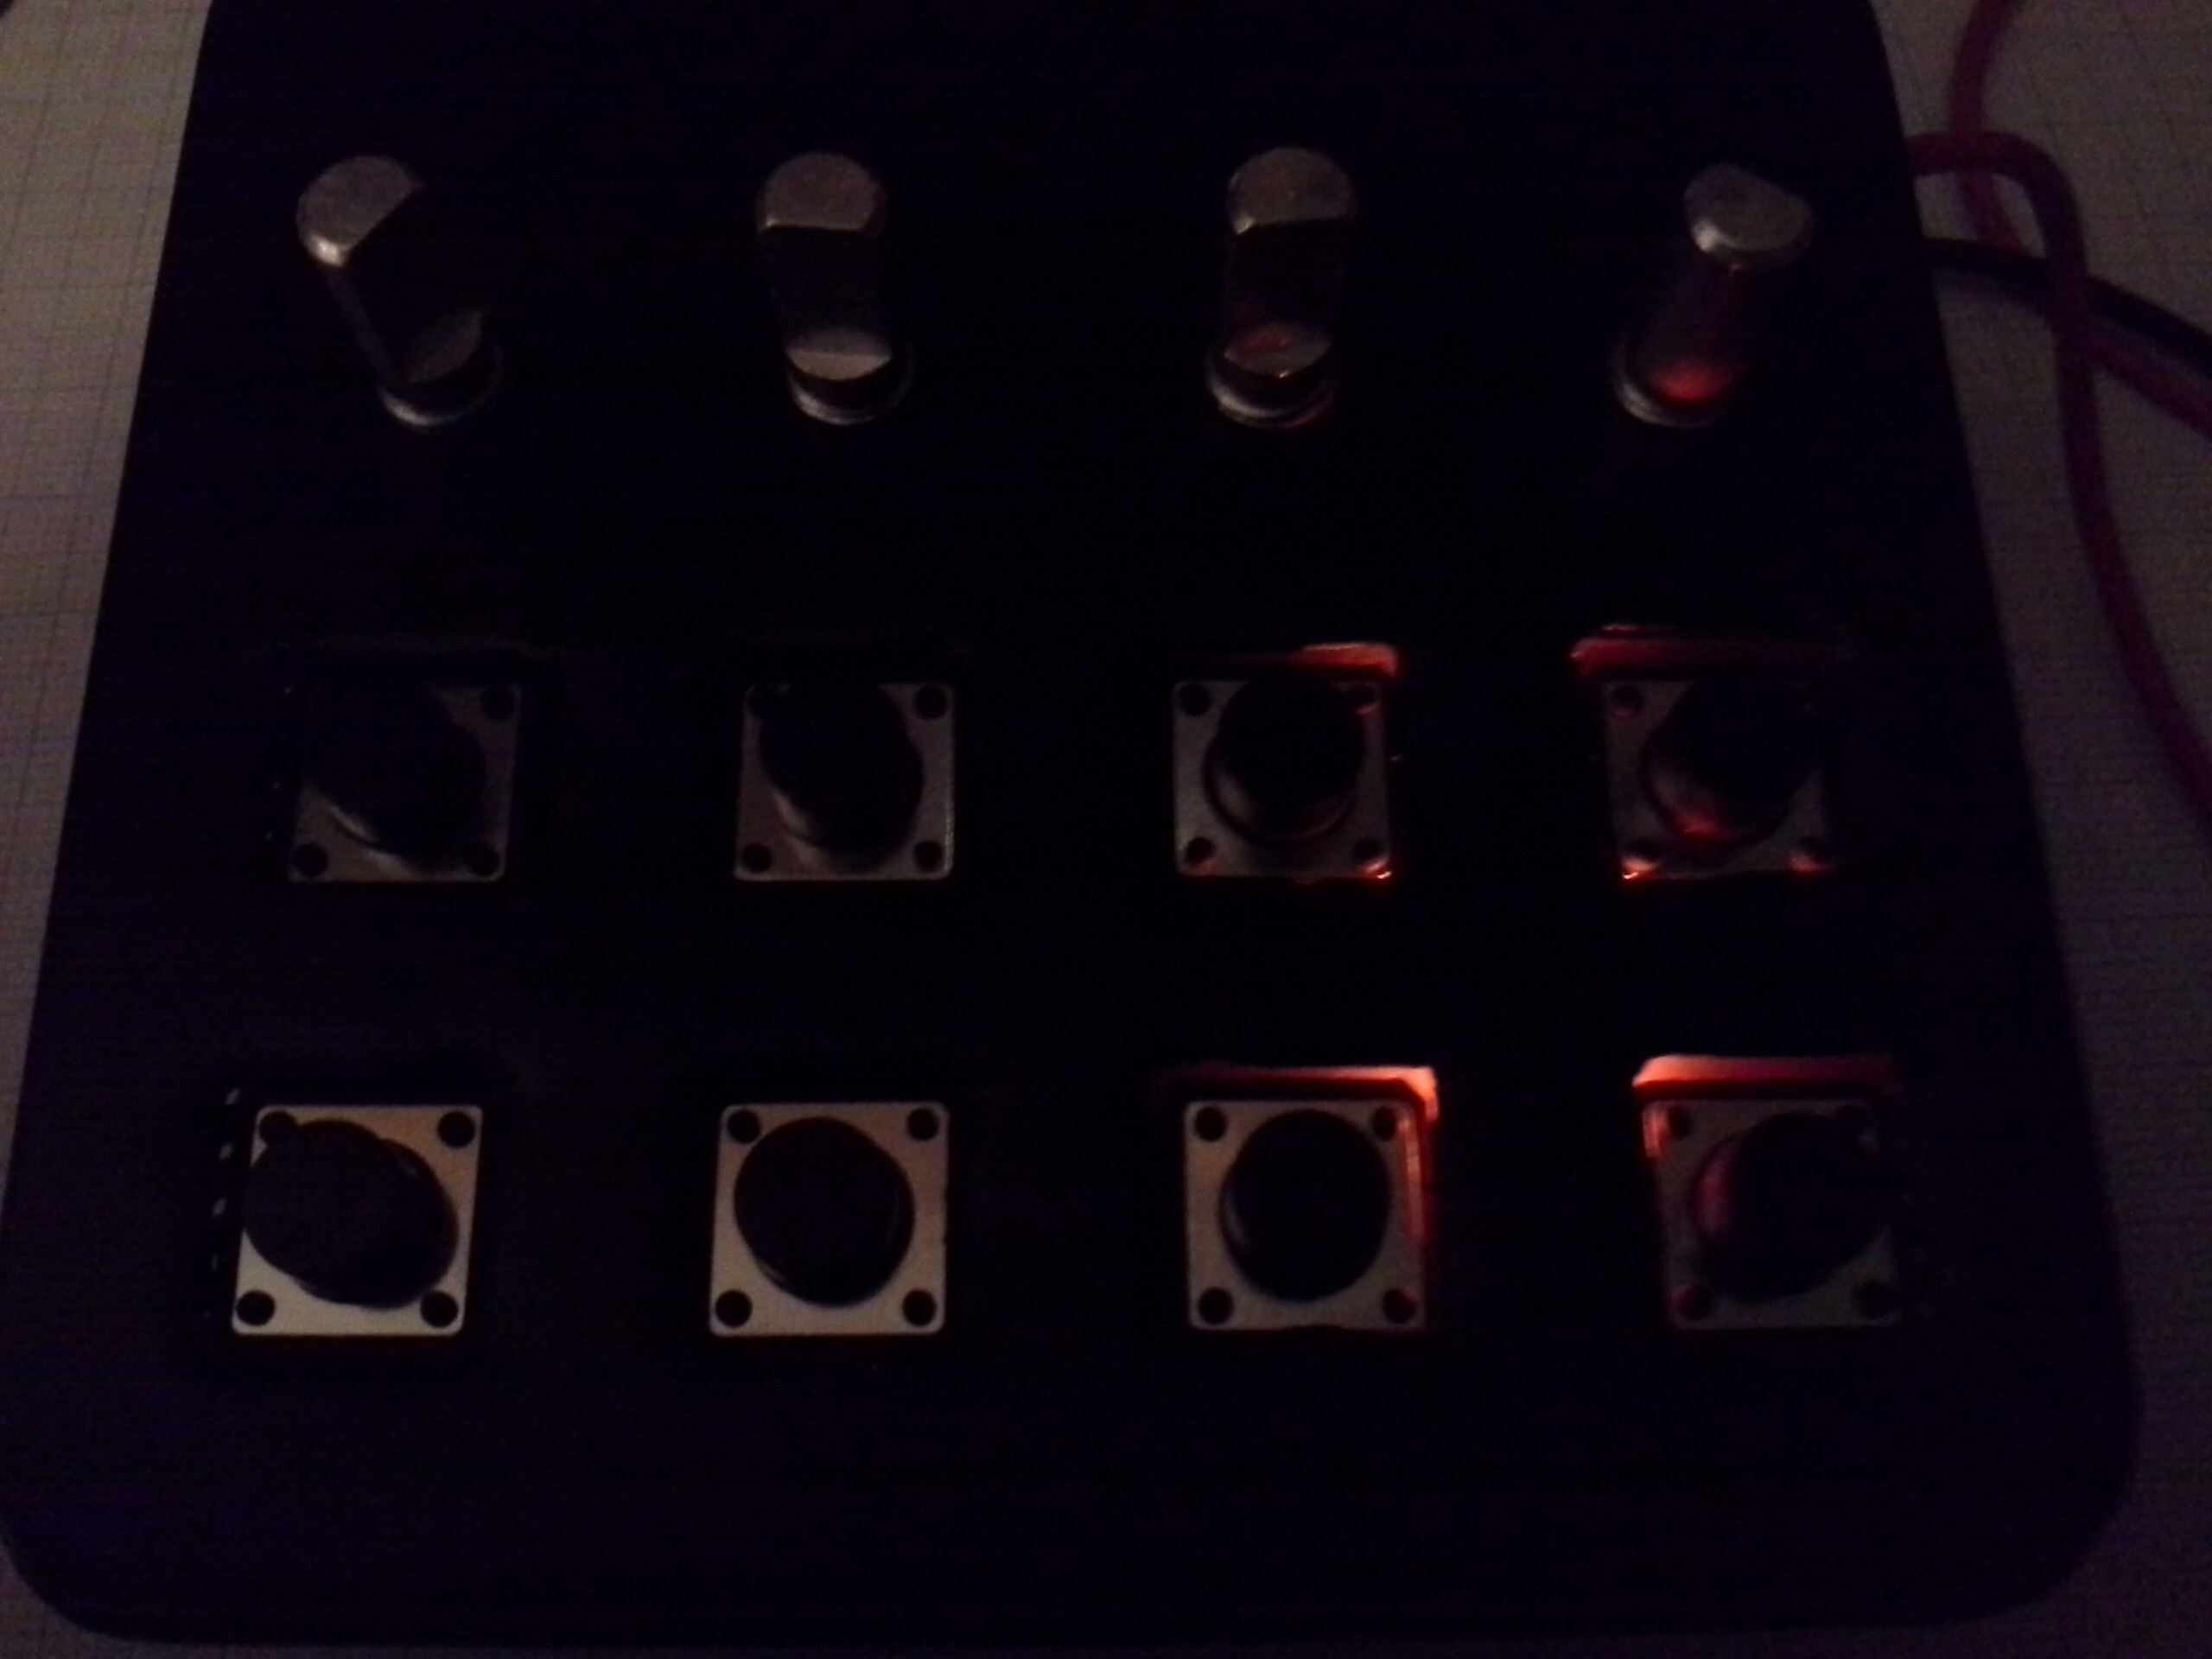
Over the weekend I worked a little on the case in order to be able to properly test this backlight but more on the case in a dedicated log. Therefore in order not to spoil too many details, here's a (intentionally dark) photo of one of the sides being illuminated:
Discussions
Become a Hackaday.io Member
Create an account to leave a comment. Already have an account? Log In.