 Anthony
Possibly, I believe, the most difficult portion of this project so far. Or if I had it to 'do all over again', rather than modding certain parts of the original Holga casing, I think would take measurements, design a new, custom back cover, and then 3D print it accordingly.
Having no such equipment at my disposal, I first went to my drill press.
Before that, a few mentions of what I have learned. Though of course not 'everything' can be 'easily corrected', but from the point of view of general design, I think it is always important to, to what degree one can, take one's mistakes and thus incorporate them, actually, as 'features'.
Describing the mod process I think will make this revelation more clear.
---
My first step was to try to add the LC Technology battery charger module to the rear cover of the Holga (other placements, perhaps more practical, are possible, but this seemed the most 'intuitive' placement to me following standard practices).
Further (at least at first) this module seemed to fit quite 'nicely' between the ribs on the outer casing of the camera, being, it seemed, just the right size.
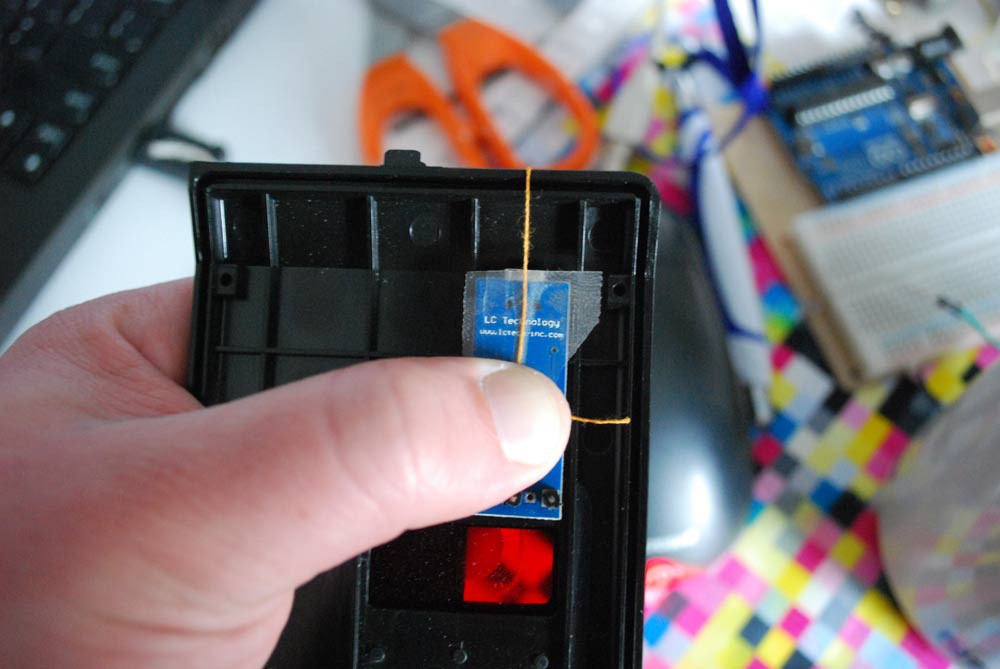
Seeing as this particular power module has some nice in-built red/green SMT LED's to represent the batteries charging state I wanted to take advantage of this in my final design, and this soldered on the pins on the 'back side' of the board or in an inverse fashion.
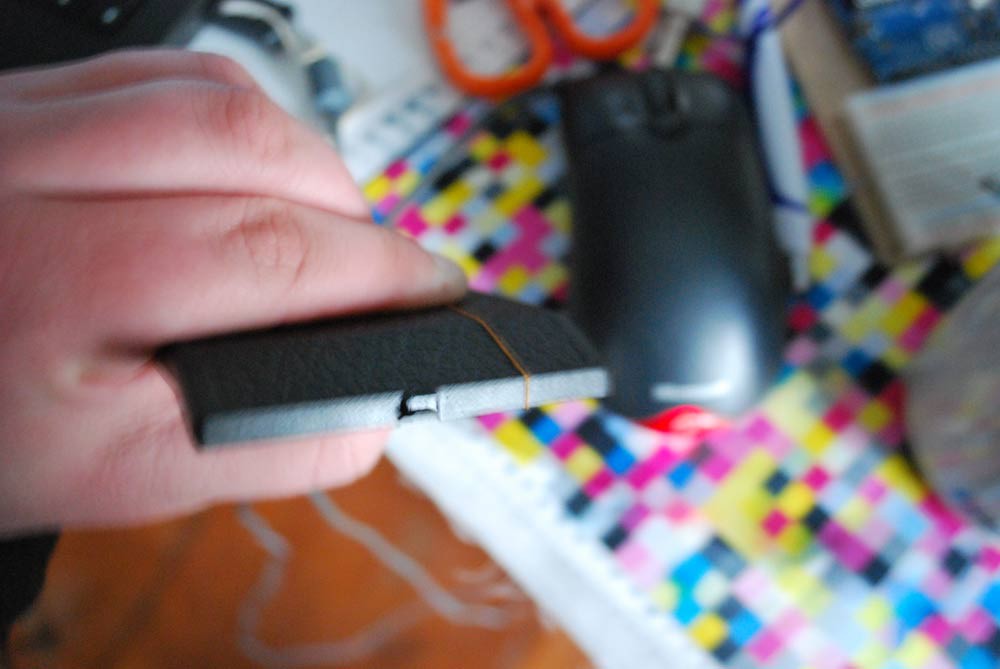
Knowing I would need an appropriate side hole in the case where the USB charging connector would fit, I decided to tape a piece of thread onto the center point of the board and then pull it around to the other side to mark off, with a little bit of 'white out', in this case, my pilot hole.
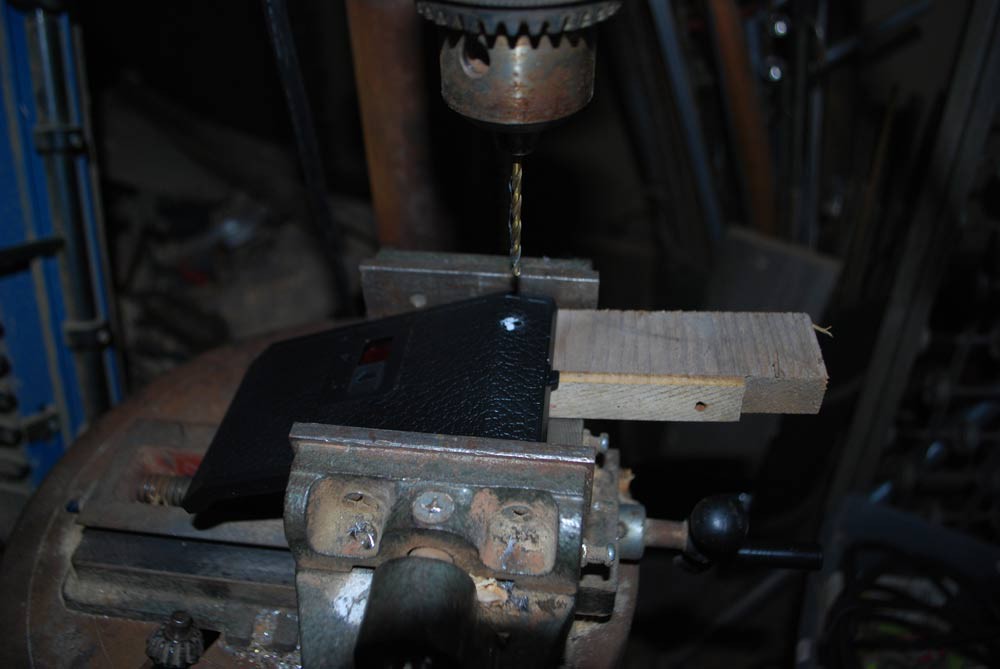
Then on to the drill press.
Aside from tightly clamping the plastic, it is also important to have some 'sacrificial support' below any drill points.
Also, ensure you have a 'pilot hole' in place first and then gradually expand the size, or the plastic is at risk of cracking (not on this series of cuts, but this did happen to me at one point).
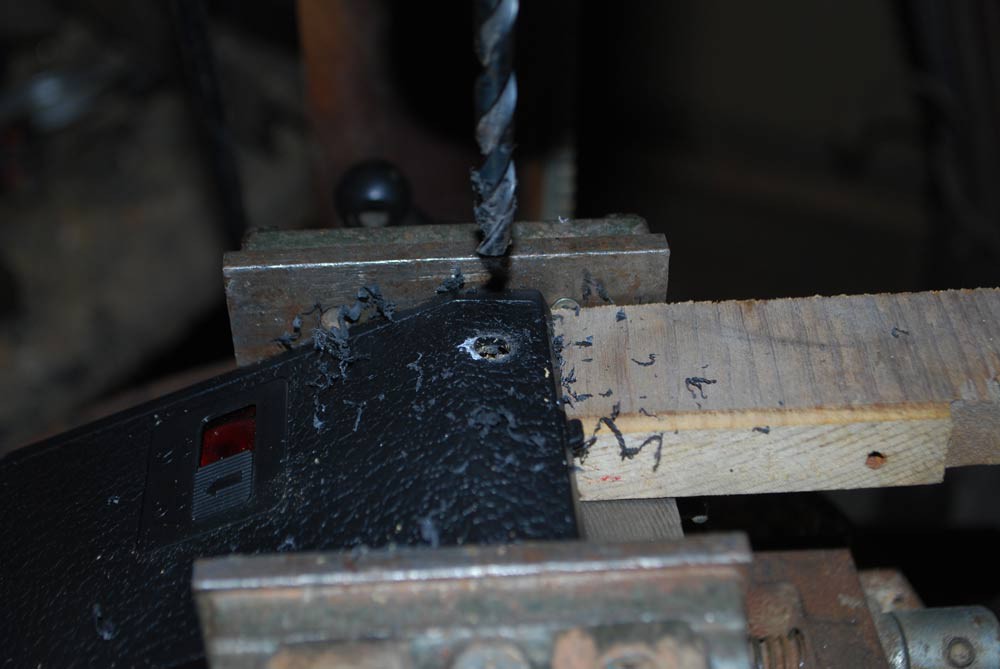
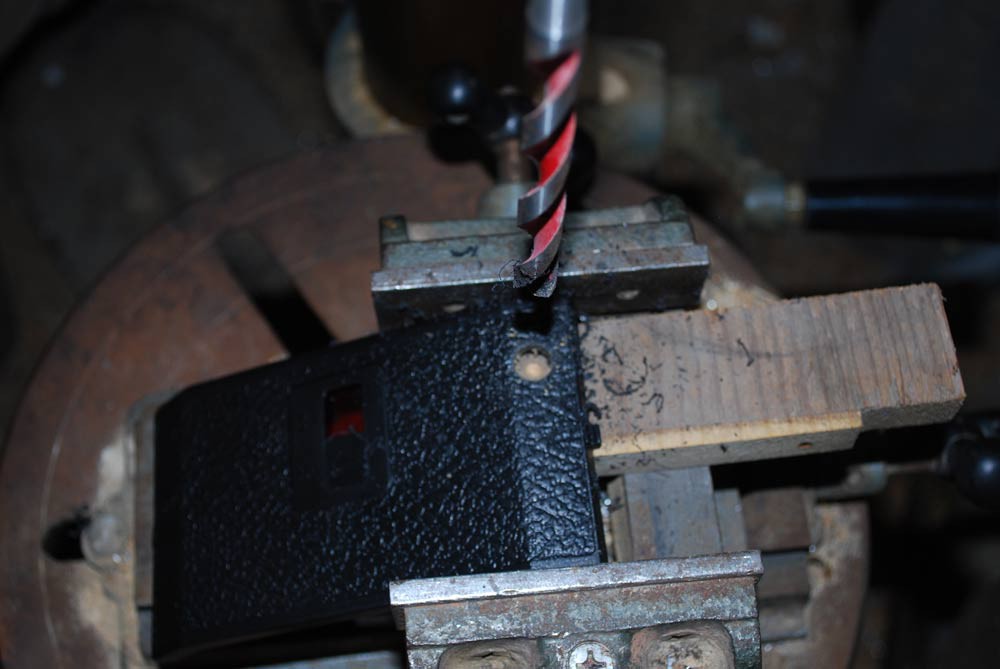
This portion worked pretty cleanly/pretty easy.
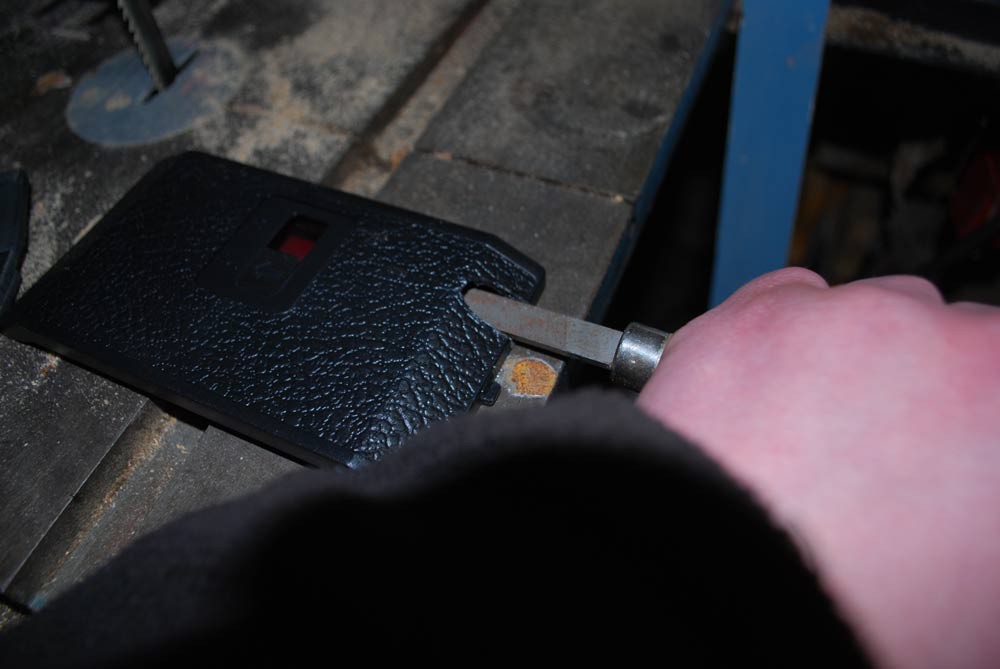
However it was still not enough space for me to mount the charging board flush with the back (unless you place it at an angle) and also work in other elements of the design as planned.
At this point I realized the entire side component of the casing would need to be removed which I facilitated by hand with a file.
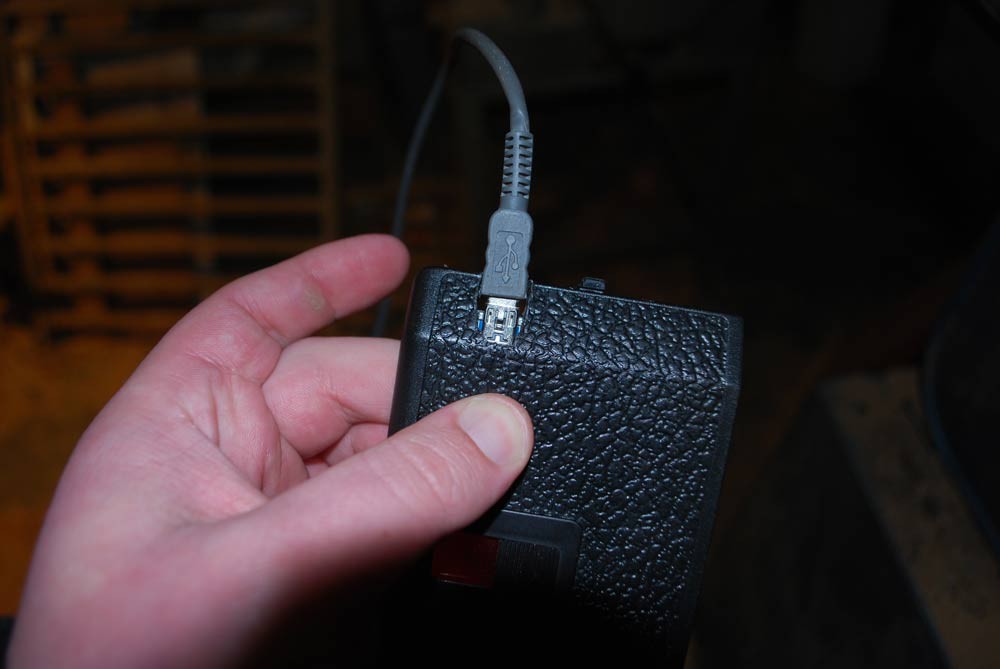
Once completed, one can readily make a good, straight USB connection with a variety of cable styles/sizes.
At present, I realize I am actually a number of stages (or tough lessons, though with true progress) ahead at this point, but just as yet do not have the 'photos' recorded to show.
Like many a journey, to be continued...
Discussions
Become a Hackaday.io Member
Create an account to leave a comment. Already have an account? Log In.