 RasmusB
I finally got around to assembling the dedicated keyboard adapter I made before. I have had the PCBs and components for a while now, but I haven't had the time to assemble it.
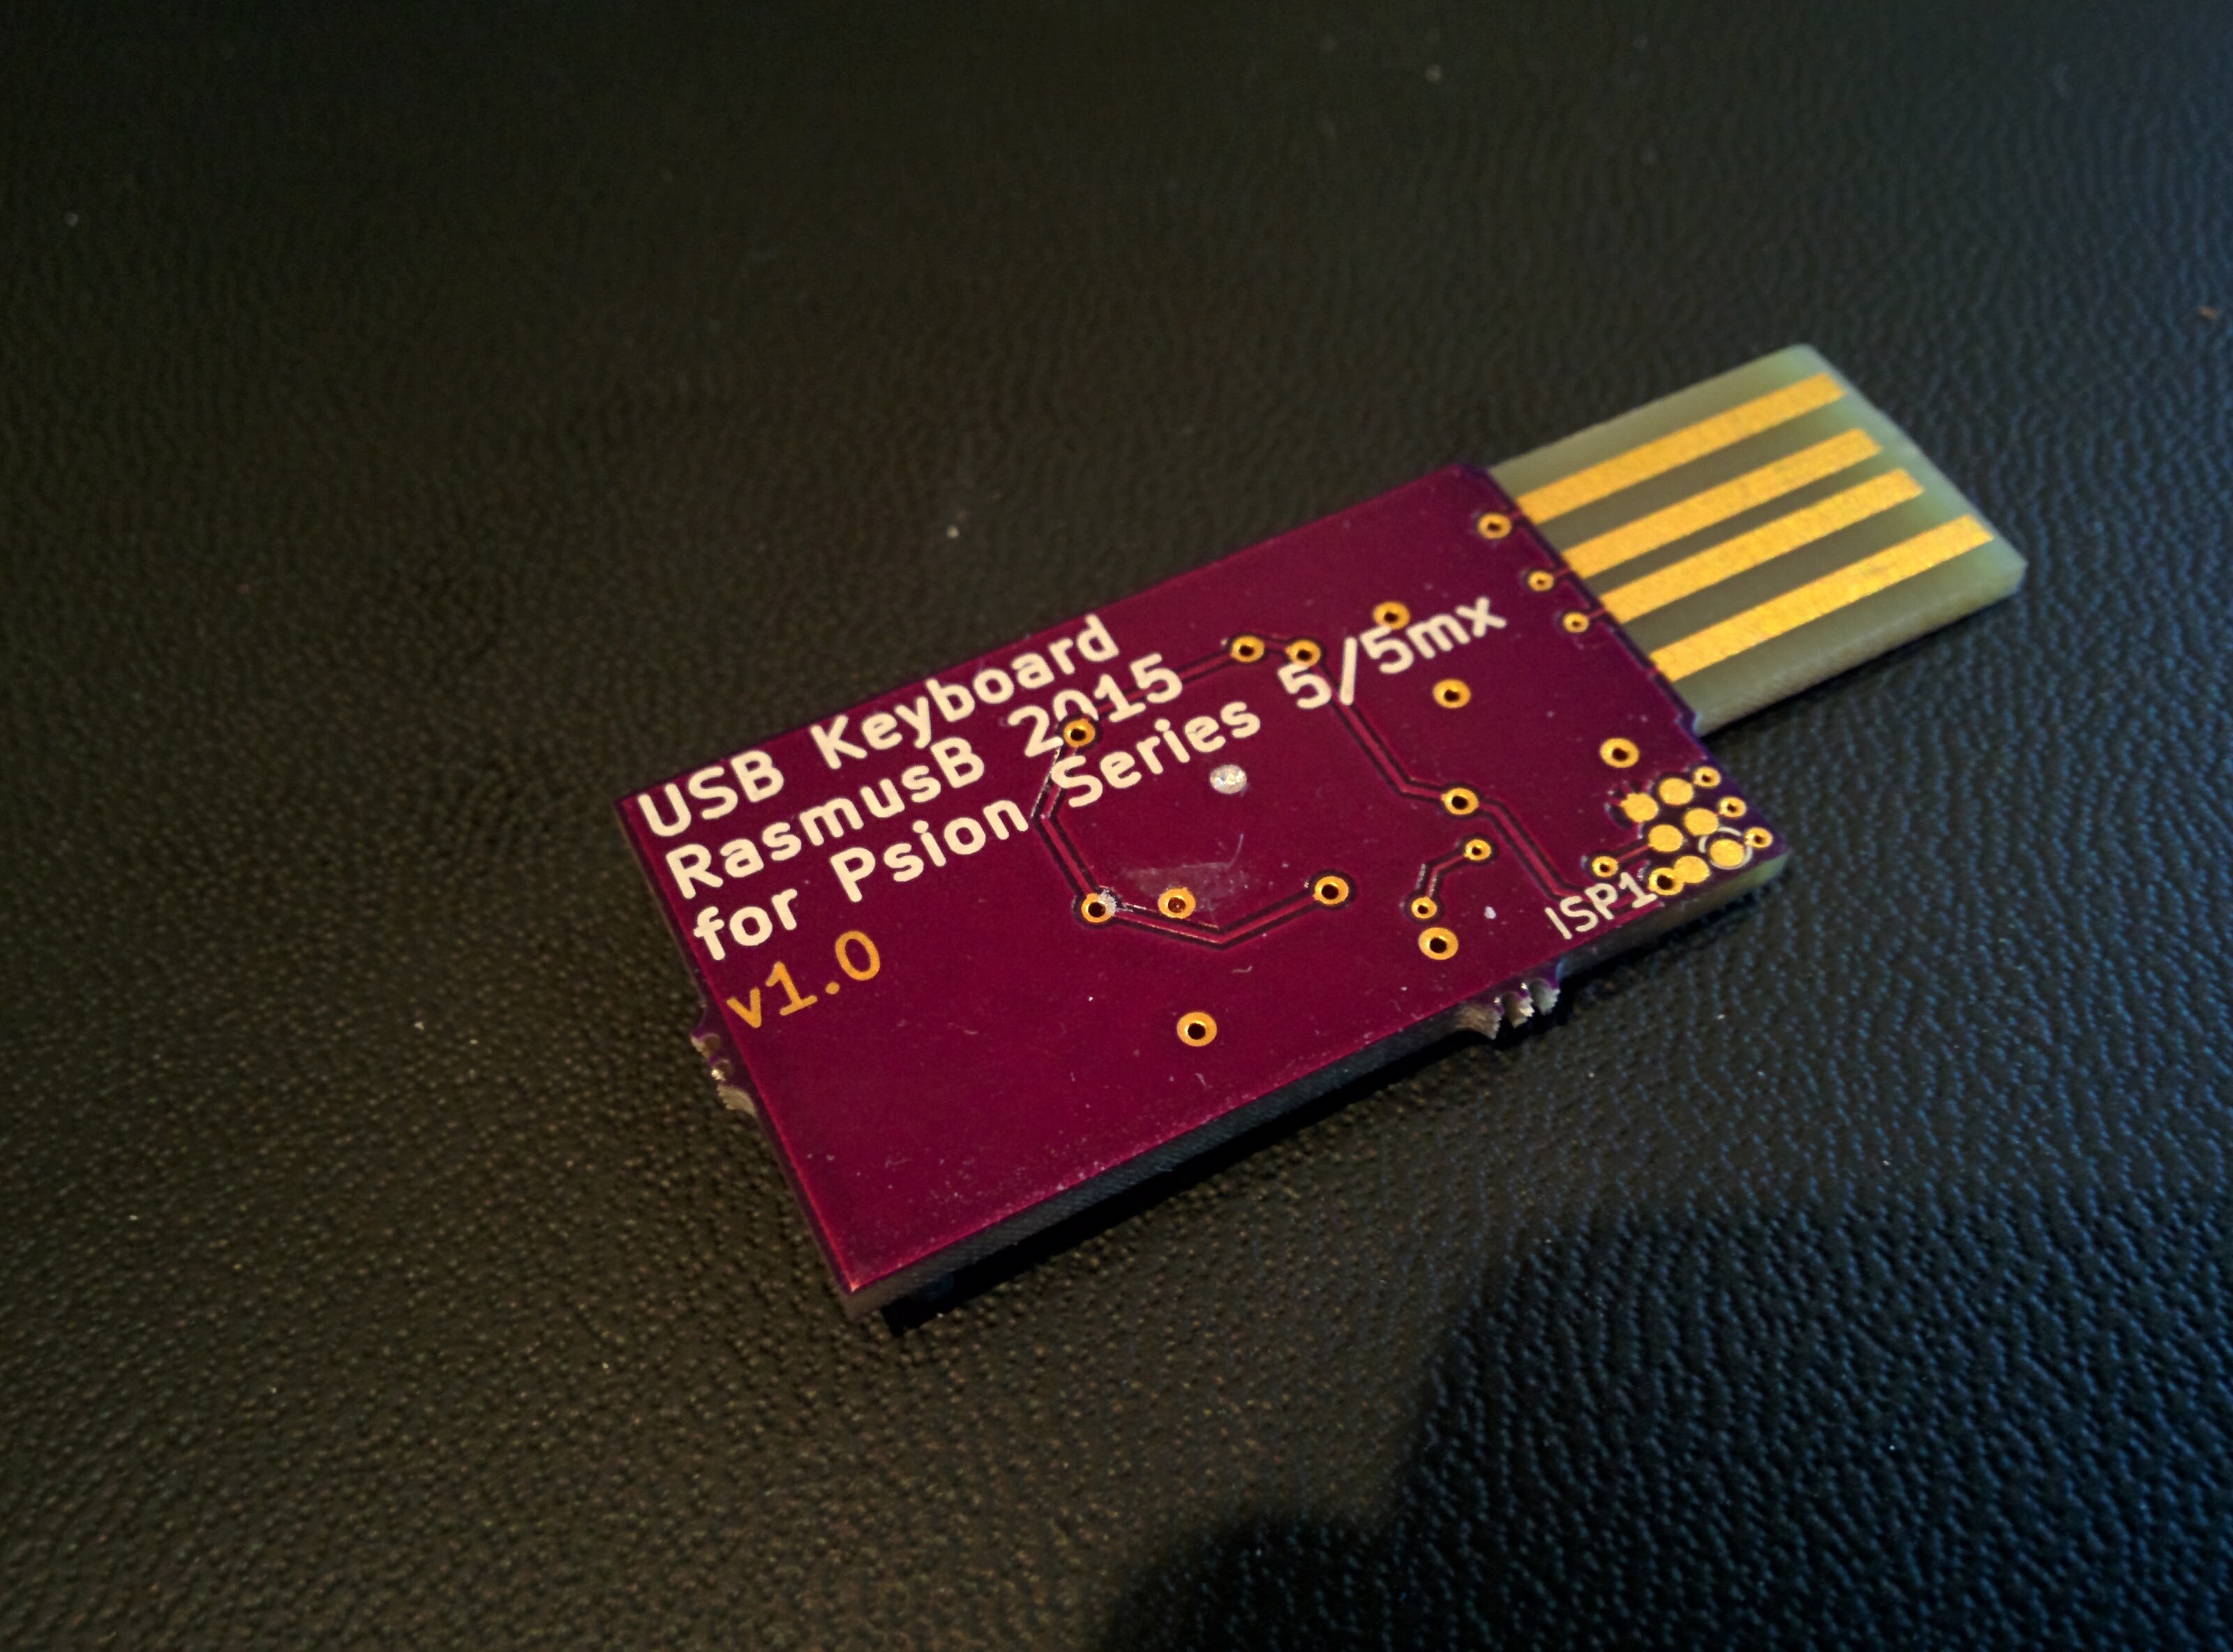
When I made the board layout I took the opportunity to get some more experience working with 0402 components, and I also wanted to try to make a PCB edge USB connector. In the end I came up with a very compact design where the keyboard connector is the only thing keeping it as big as it is.
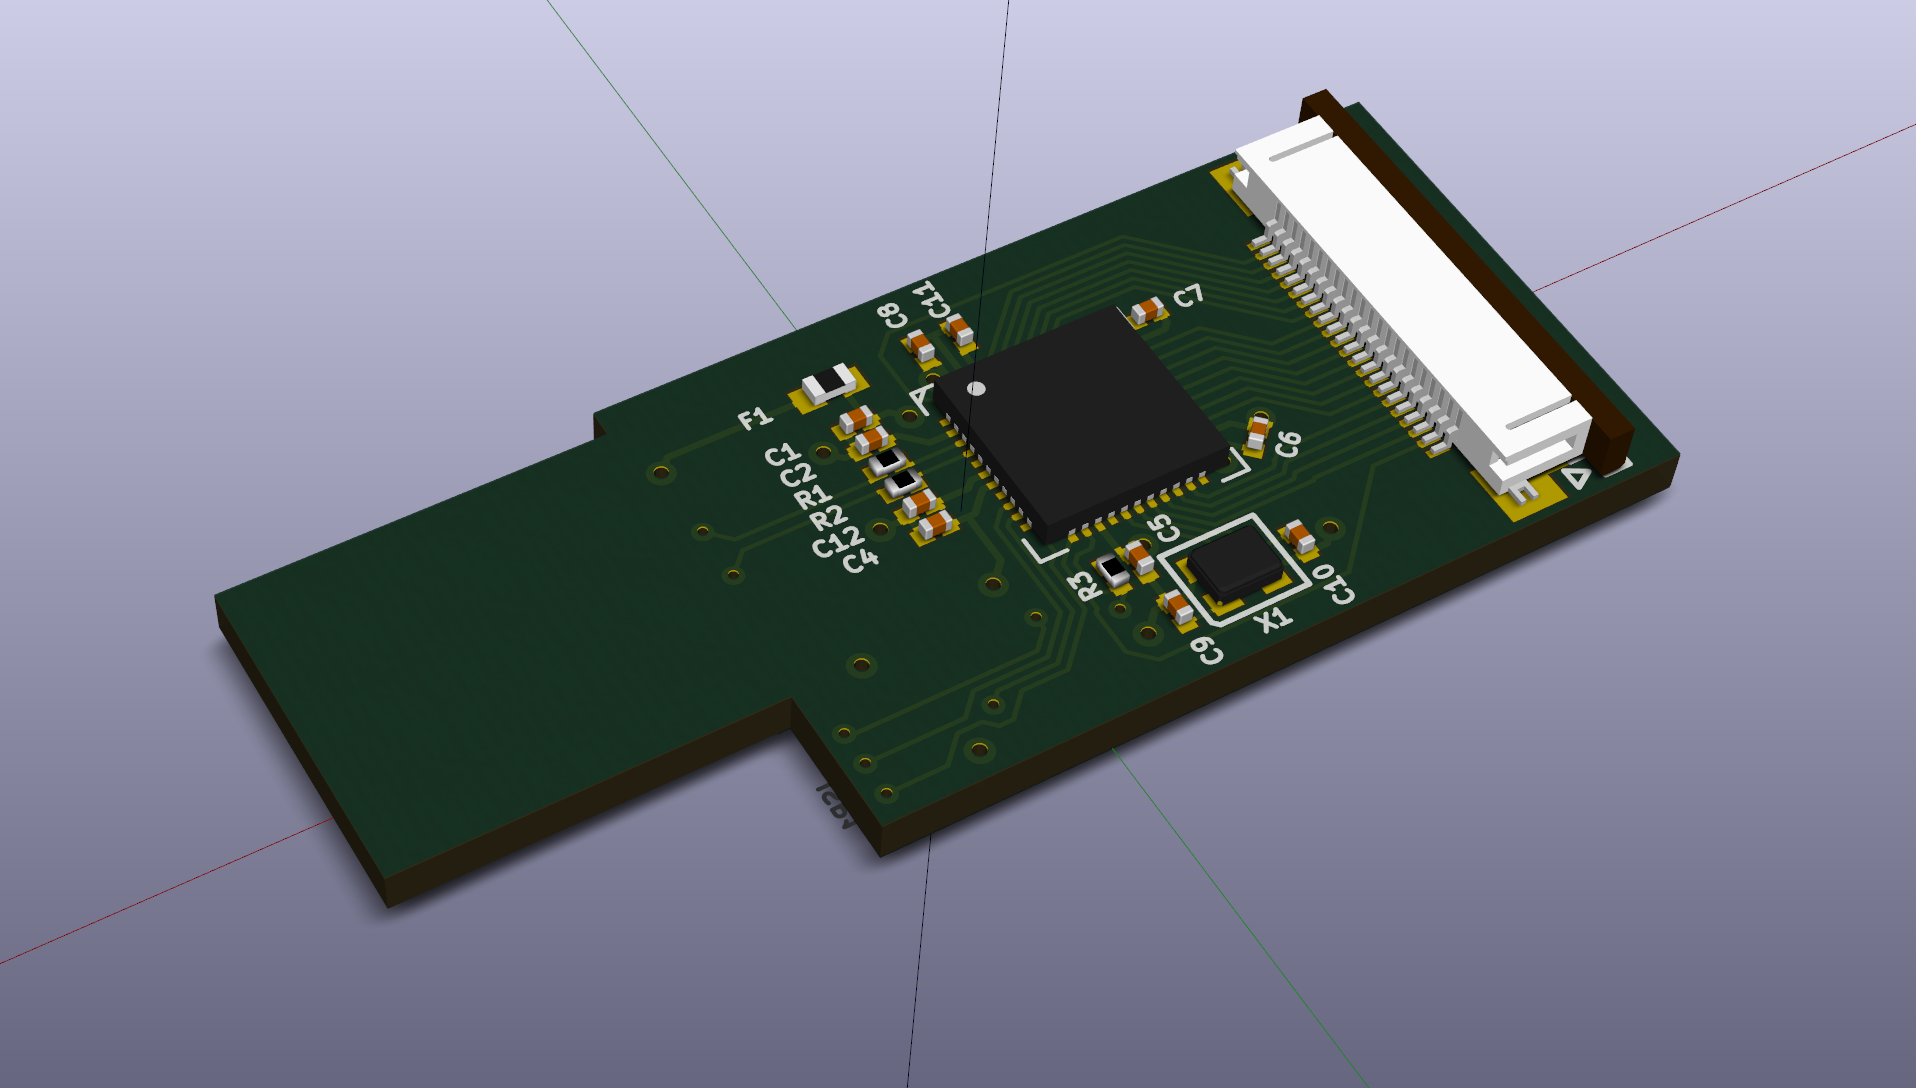
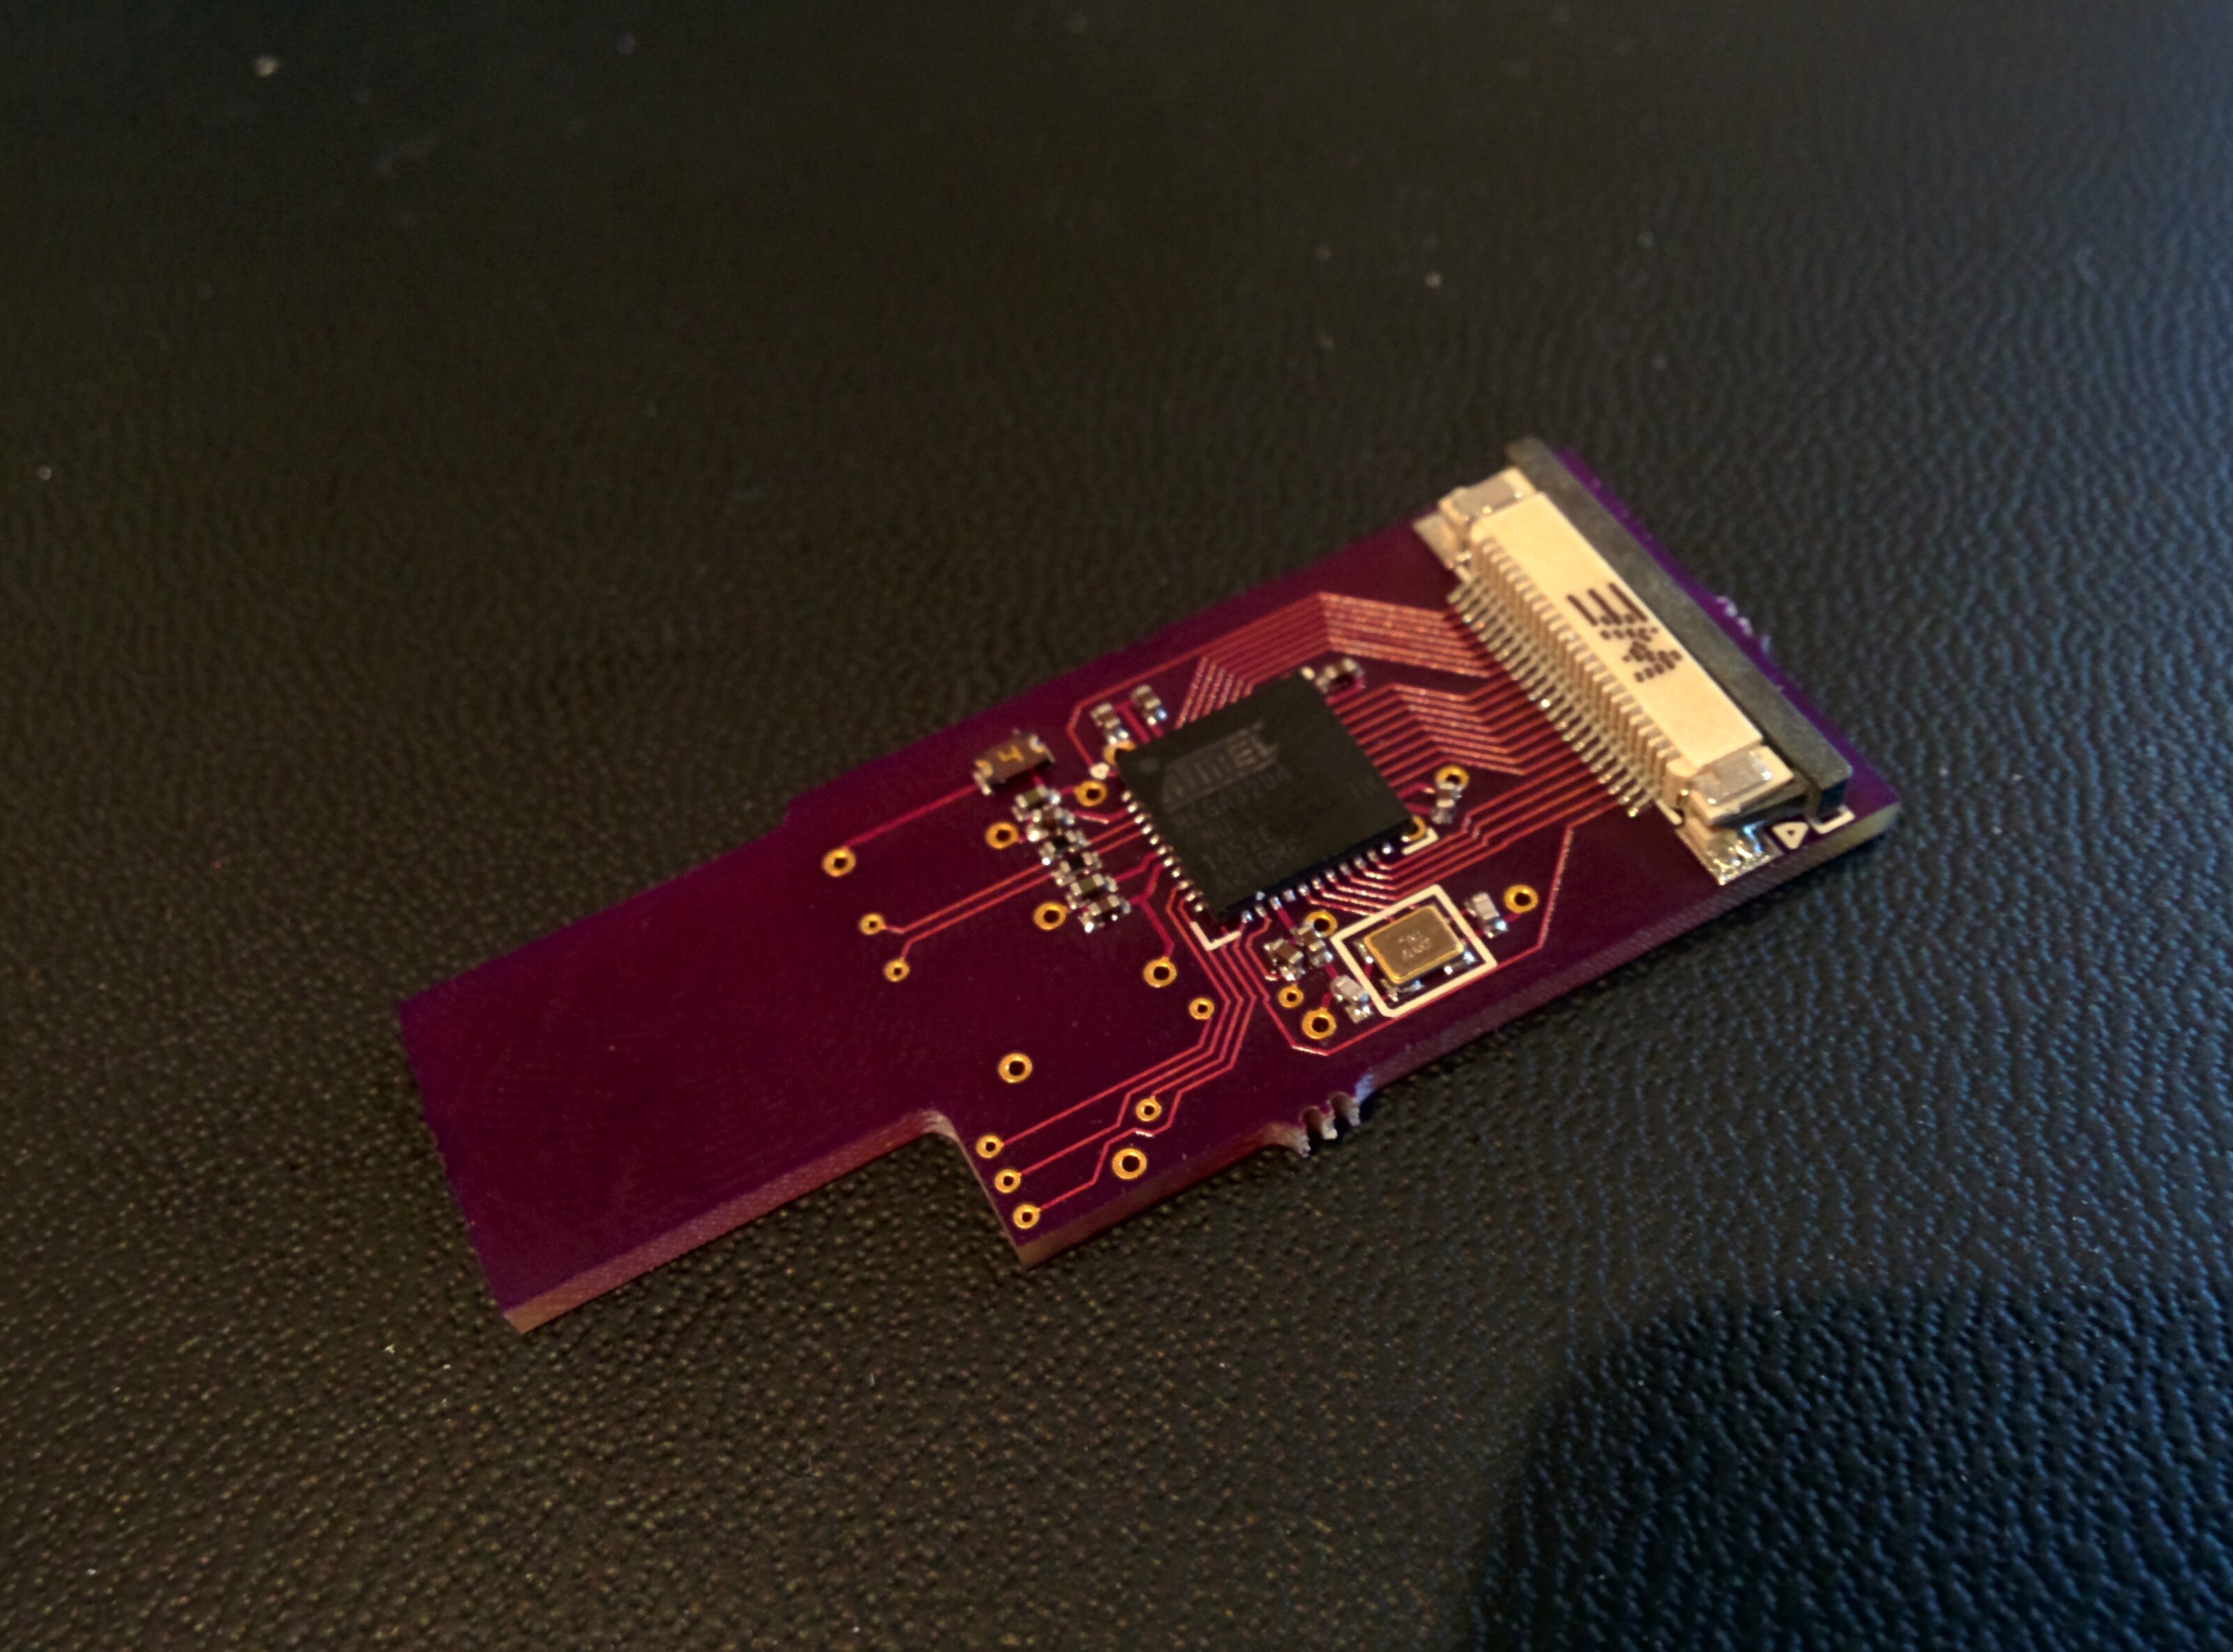
All discrete components are 0402 size, and the MCU is a 7x7 mm QFN package. I also ordered a solder paste stencil from oshstencils.com, which came out very nice as usual. The PCB was ordered from oshpark.com.
Assembly was relatively painless. I did battle a bit with the solder paste application because my solder paste had gone a bit dry. I tried using solder paste from the bottom of the container since that was less dry, but I still got "lumps" in the solder paste. On the third attempt I got it right, and I could place and reflow the components with my hot air rework station.
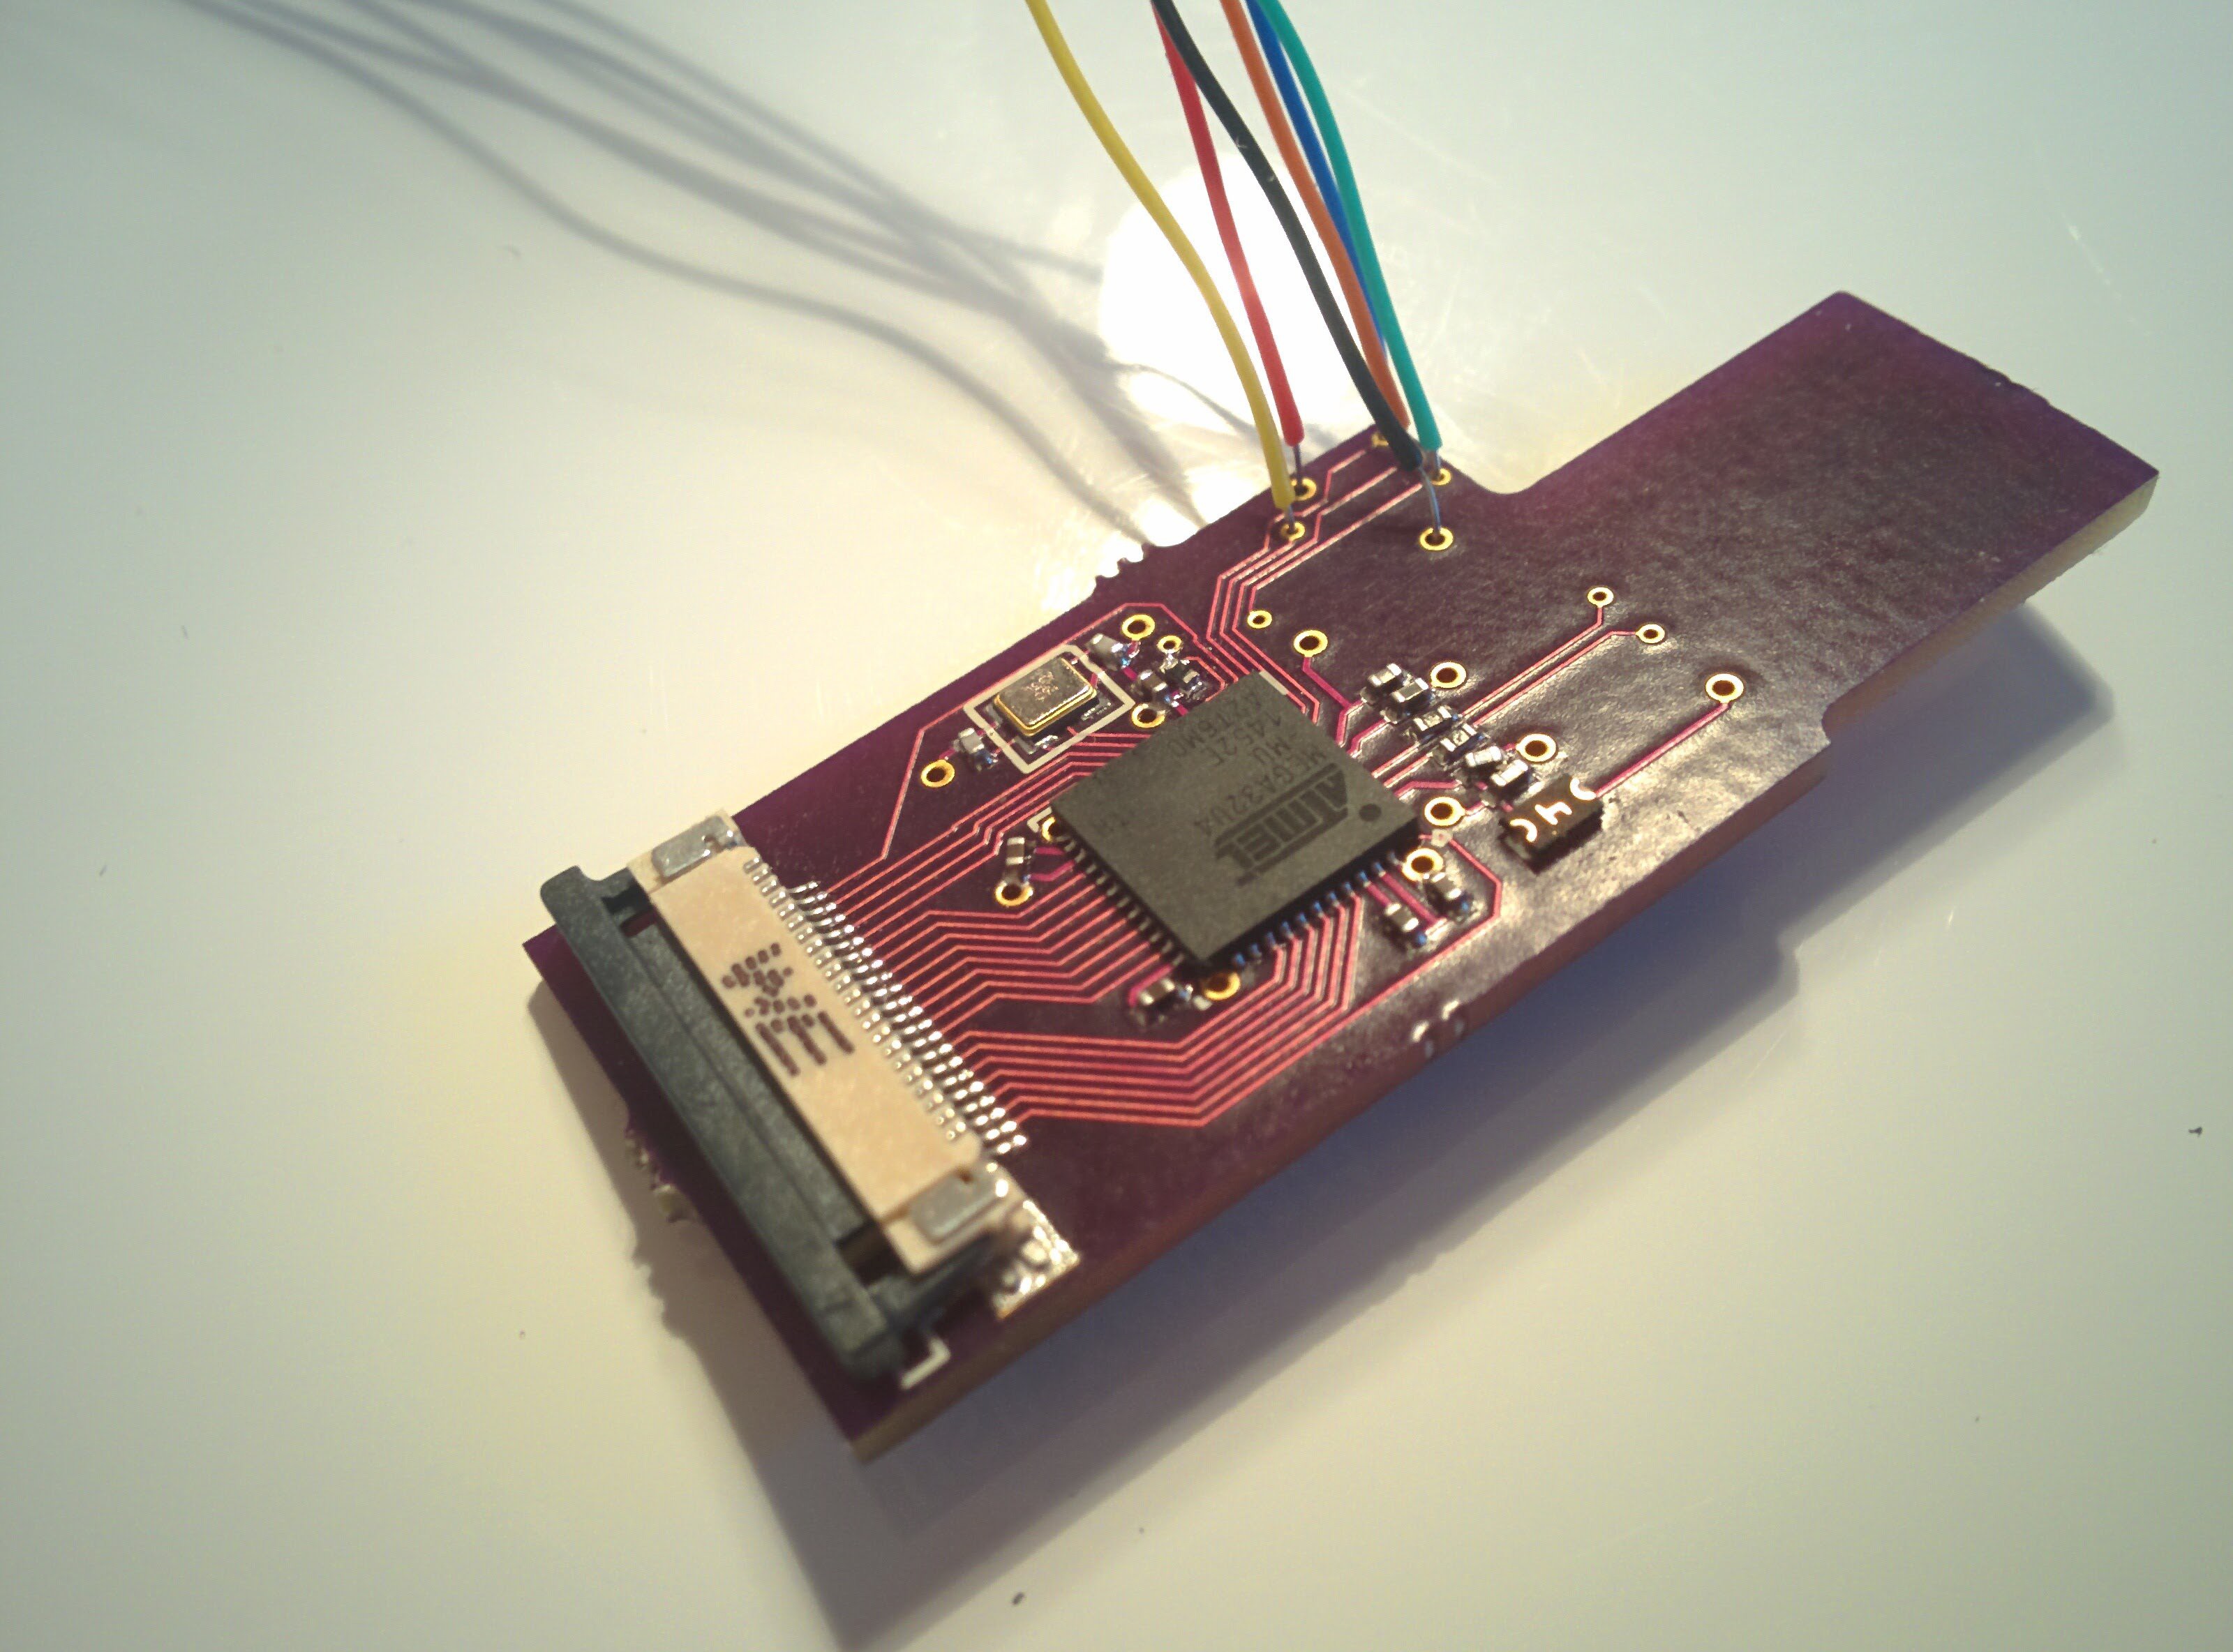
After doing a quick visual inspection with my microscope and checking for shorts, I needed to program the bootloader into the AVR. Then I could program it with my keyboard software through the USB interface. To do this, you need some kind of AVR programmer. I used my AVR Dragon.
I did mean to build a 1.27mm pitch pogo pin ISP adapter (which would go onto the pads marked "ISP1" on the PCB), but I haven't done that yet. I first attempted to just press a 1.27mm pin header onto the pads to flash the bootloader, but I couldn't get that to work. In the end I just soldered wires to the pads. This worked well enough, after I also realized that I had populated R3 with a capacitor...
To do the actual programming of the firmware, I did two things:
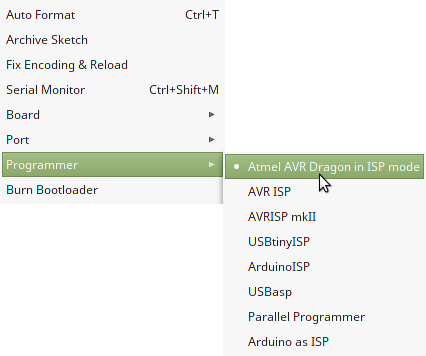
Add my AVR Dragon as an ISP programmer in the Arduino IDE
This is really simple. In the Arduino installation folder, find and open "programmers.txt" and add the following:
dragon.name=Atmel AVR Dragon in ISP mode
dragon.communication=usb
dragon.protocol=dragon_isp
The next time you start the Arduino IDE, it will show up under the "Tools" menu:
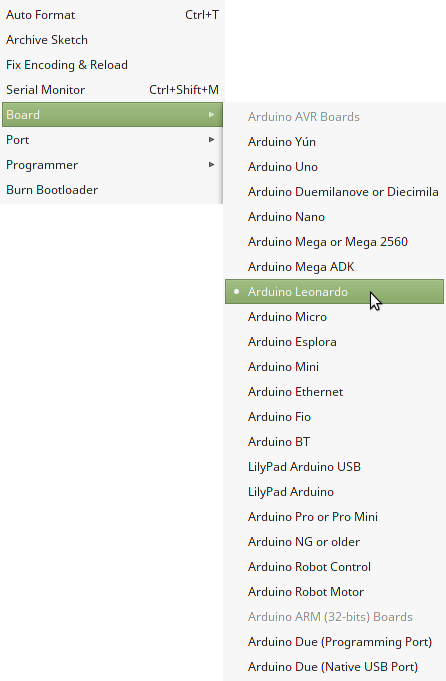
Program the AVR with the correct bootloader
I want to use the Arudino Leonardo bootloader, since that has the same MCU and clock speed as my board. It's as simple as setting the Arduino Leonardo as the active board:
... and then choose "Burn Bootloader".
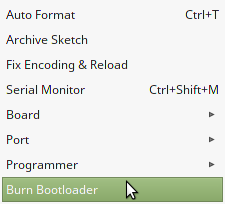
After that, I removed my soldered ISP cables since they are not needed anymore. Now my board looks just like a normal Arduino Leonardo to my computer, and I can upload new firmware through the USB interface.
Discussions
Become a Hackaday.io Member
Create an account to leave a comment. Already have an account? Log In.
Would this device work with a mobile device, that has a USB-C port?
Are you sure? yes | no
Great Project ! Thanks. I'm a nub in such projects, but would like to change the layout of the keyboard to the standard Psion Series 5 UK Layout.
Atm. i have some keys missing, and some are swapped.
Thanks
Are you sure? yes | no
And how much current does it draw? Sizing a battery.
Are you sure? yes | no
Sorry, I haven't measured the current draw since I don't have the proper equipment available.
If battery life is very important to you, I would recommend looking into the firmware. I'm sure there are a lot of optimizations that can be done to save power - I have not made any such attempts.
Are you sure? yes | no
I ordered one of these, and am looking a dimensional drawing, or even better, a CAD model of the board, of the final version, so I can add it to the space envelope.
Are you sure? yes | no
Hi Leon!
All the design data is on Github:
https://github.com/RasmusB/USB-Keyboard-Adapter
Are you sure? yes | no
A question - is there a service that allows me to get this adaptor for my own project? Thanks!
Are you sure? yes | no
No, not really. Everything is open source, so you can order a bare PCB from any supplier (I usually go for oshpark.com), but you'll have to get the correct components and solder it yourself. If you haven't made anything with surface mount components before, this board would be very difficult to solder.
An easier option would be to get an Arduino Micro (https://www.arduino.cc/en/Main/ArduinoBoardMicro), but you'll still need to solder the tiny header to it somehow.
Are you sure? yes | no
Ah.
My soldering level is best explained as the Raspberry pi starter OS image - n00b.
I may just jury rig the ribbon header connectors by hand to fit to the Micro.
I do need to read up on Arduino first tho - your adaptor is based on the Arduino right? Also need to read through your own step by step reverse engineering project for the keyboard - it IS the reason the PsionPi idea exists haha.
Are you sure? yes | no
Thank you very much!
Are you sure? yes | no
Hi, I was wondering if you could share your code for this keyboard. I'm having trouble with my project, you know the one with the Jornada keyboard. I'm not a coder by trade and I'm feeling overwhelmed lol. This is just a hobby and I'm learning as i go.
Are you sure? yes | no
Actually, I've been re-reading your project logs and lo and behold you already dealt with the same problem I'm facing. In your "reverse engineering the keyboard part V", you said you made an arduino sketch to scan all the pins and check which two pins are making contact. That is exactly what I need! Is there anyway you could share that sketch? I'd really really appreciate it!
Are you sure? yes | no
No problem, I just pushed it to GitHub:
https://github.com/RasmusB/PsioPi/tree/HW-proto-keyboard/Hardware/Prototypes/Keyboard/ScanTheMatrix
Are you sure? yes | no
Really glad to see you're still moving along with this. I was beginning to have horrible thoughts that you'd abandoned it. Have you found another suitable screen yet or decided on internals?
Are you sure? yes | no
Yeah, progress has been a bit slow for a while because of work, and I also had to make some changes to my home lab which took longer than expected. Now I'm itching to get on with this :)
I got tired of trying to find the perfect CPU / screen combo - there are too many variables still, I just kept getting stuck. Instead, I decided to start on the internals that are not the computer itself. Right now I'm reverse engineering all the internals of the case to figure out exactly how much room I have. I also need to test the placement of FPC connectors, LEDs, charging port, debug port, buttons and so on. I'm still working on the mechanical and electrical CAD for this, but I'll do a project update when I'm done with that :)
I also have a few ideas for the power supply - that is also something I can start working on before I decide on the screen and other parts. I'll try to make shorter and more frequent updates :)
Are you sure? yes | no