 Kert
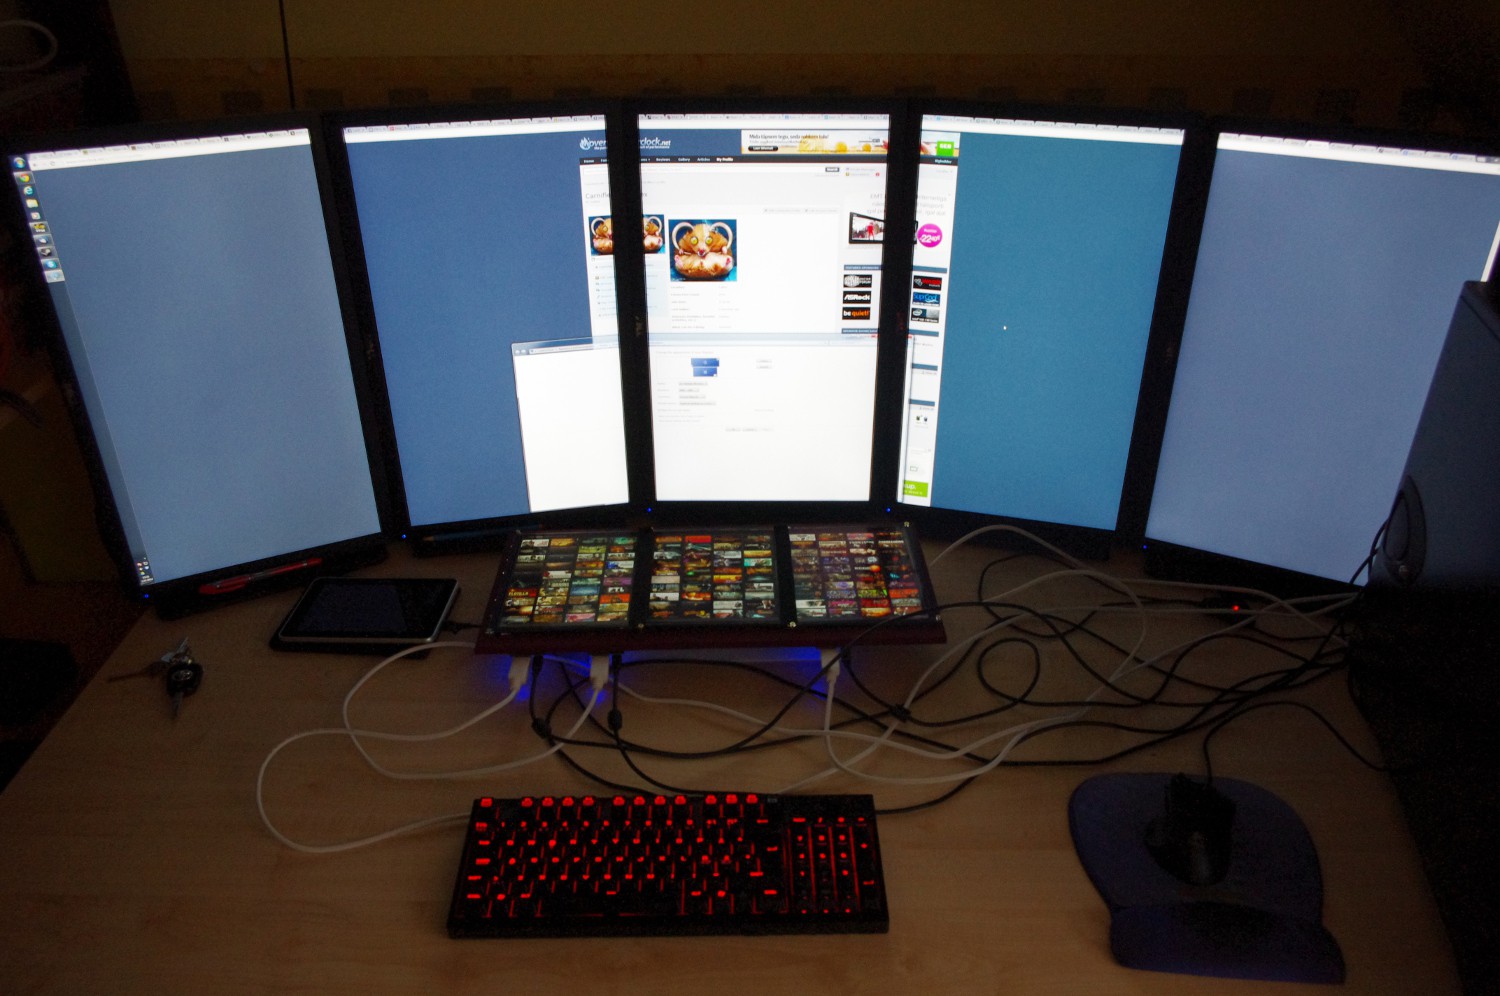
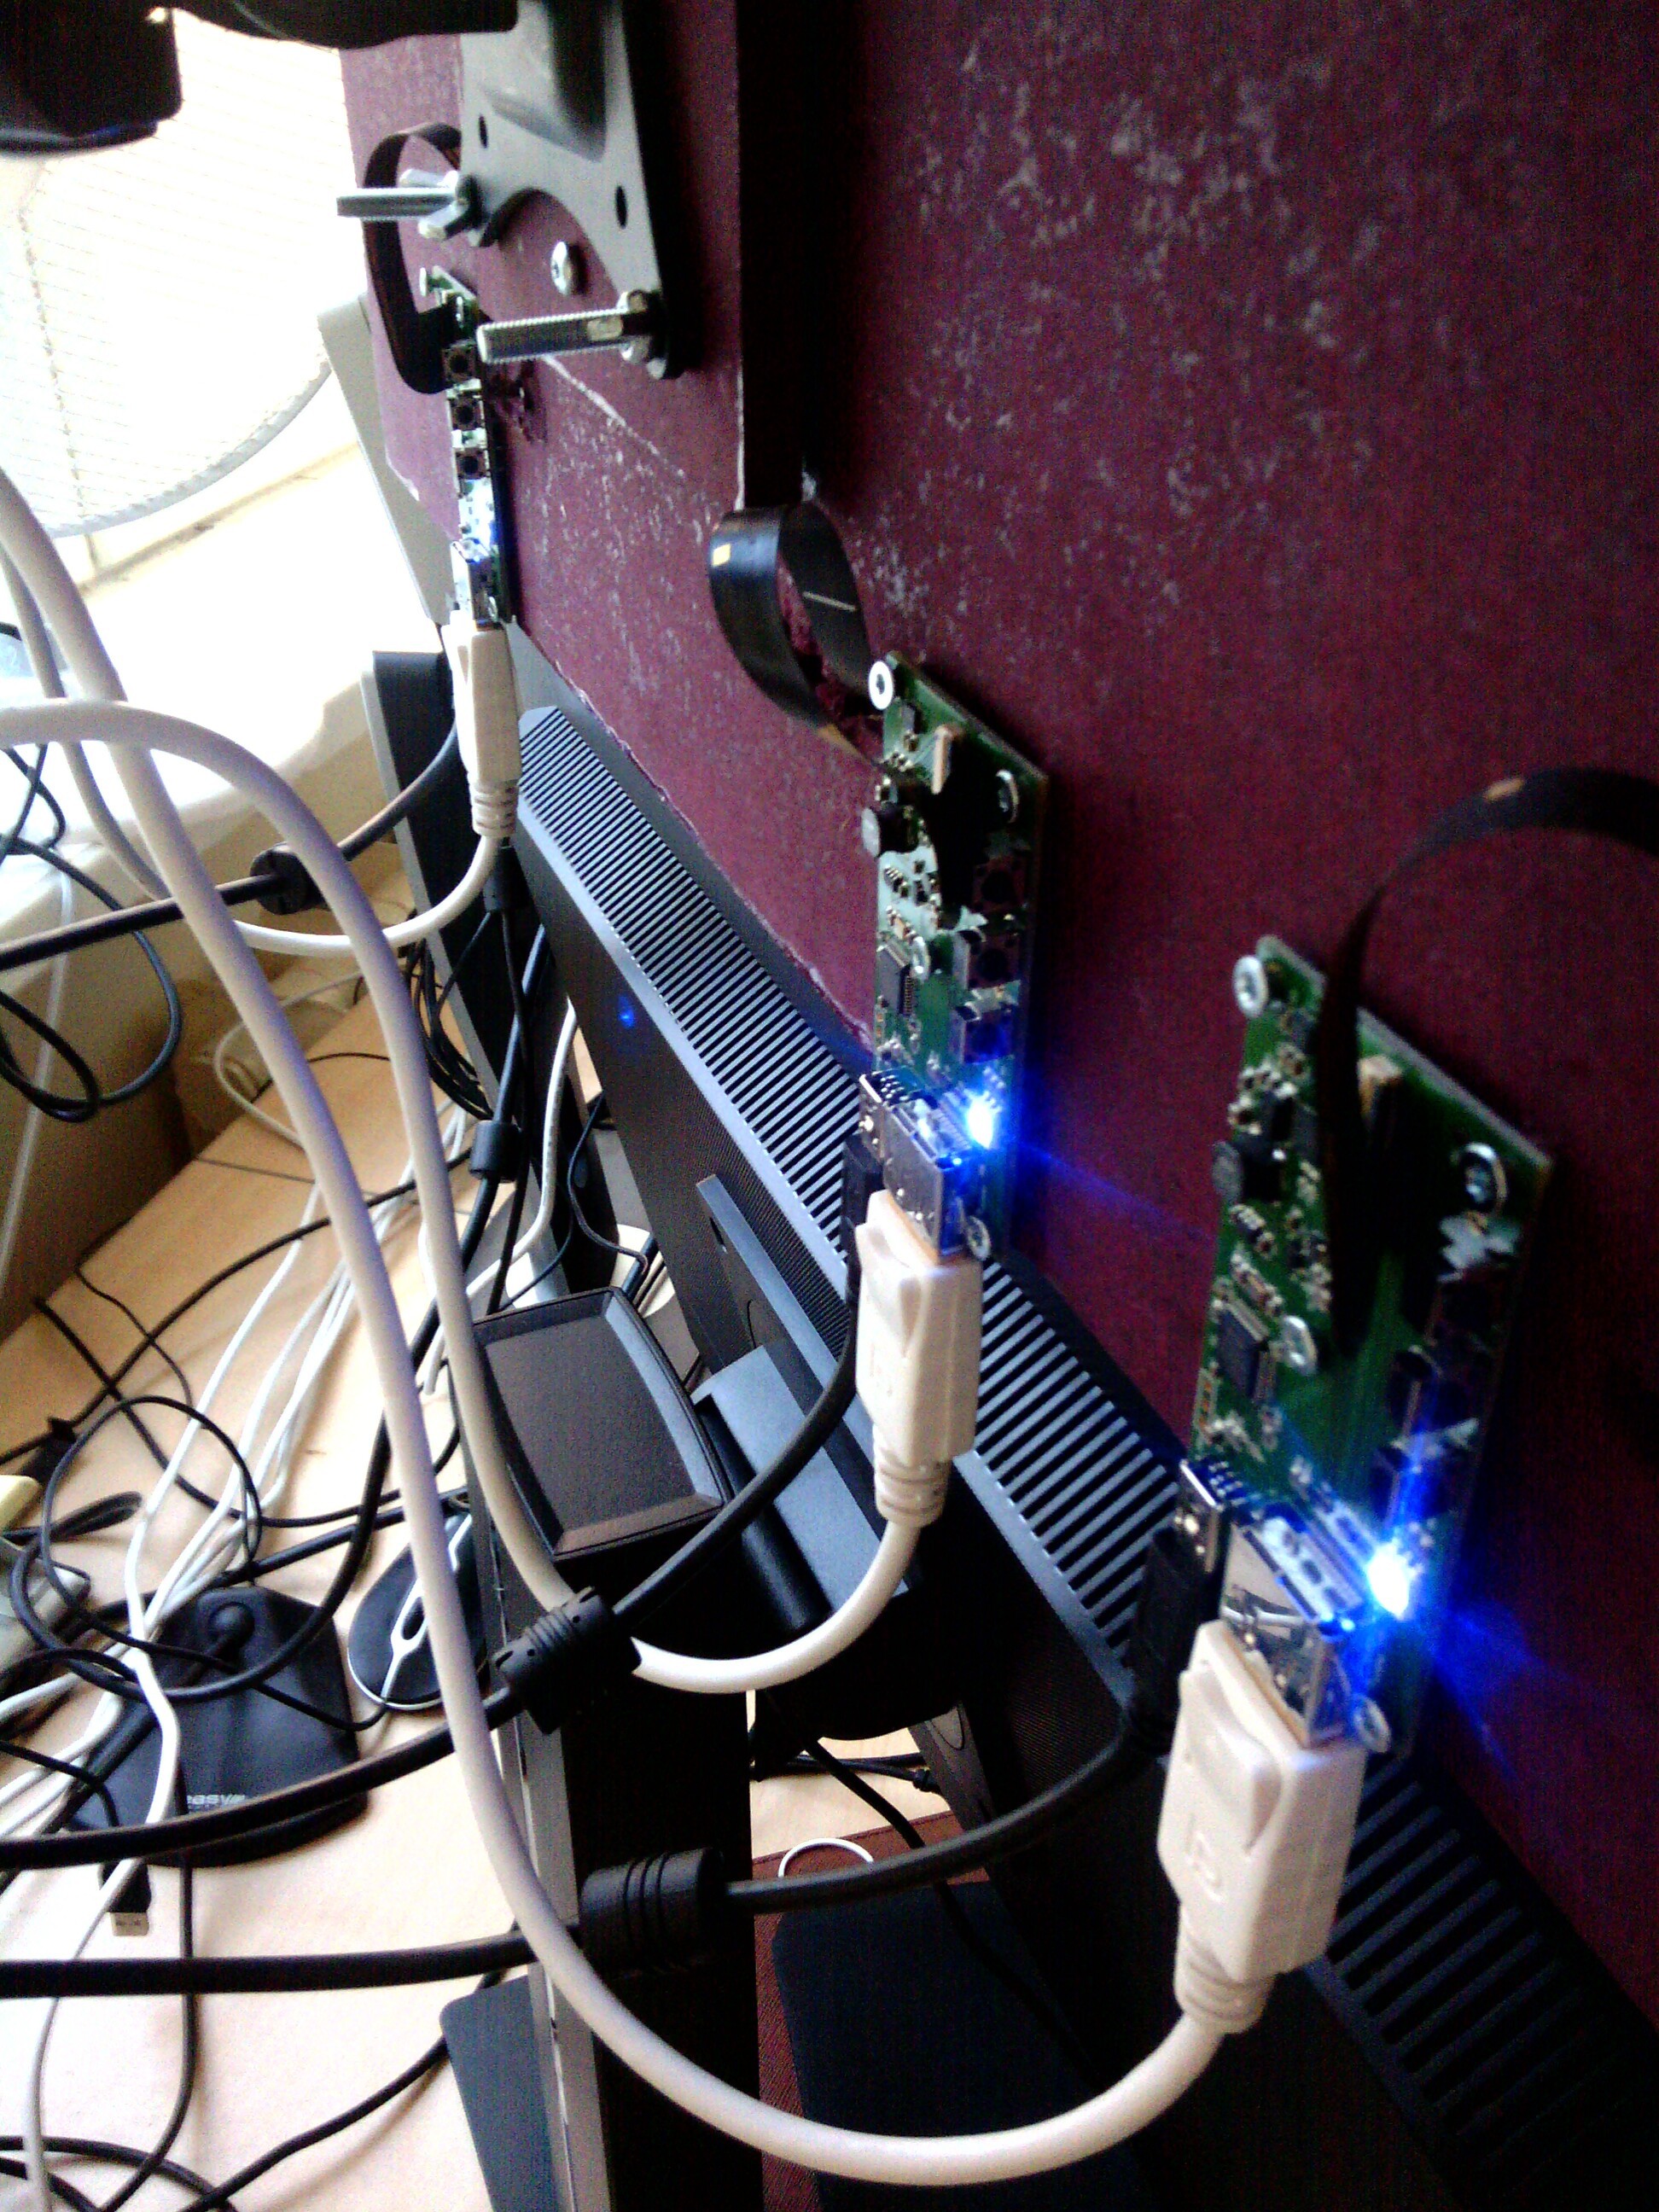
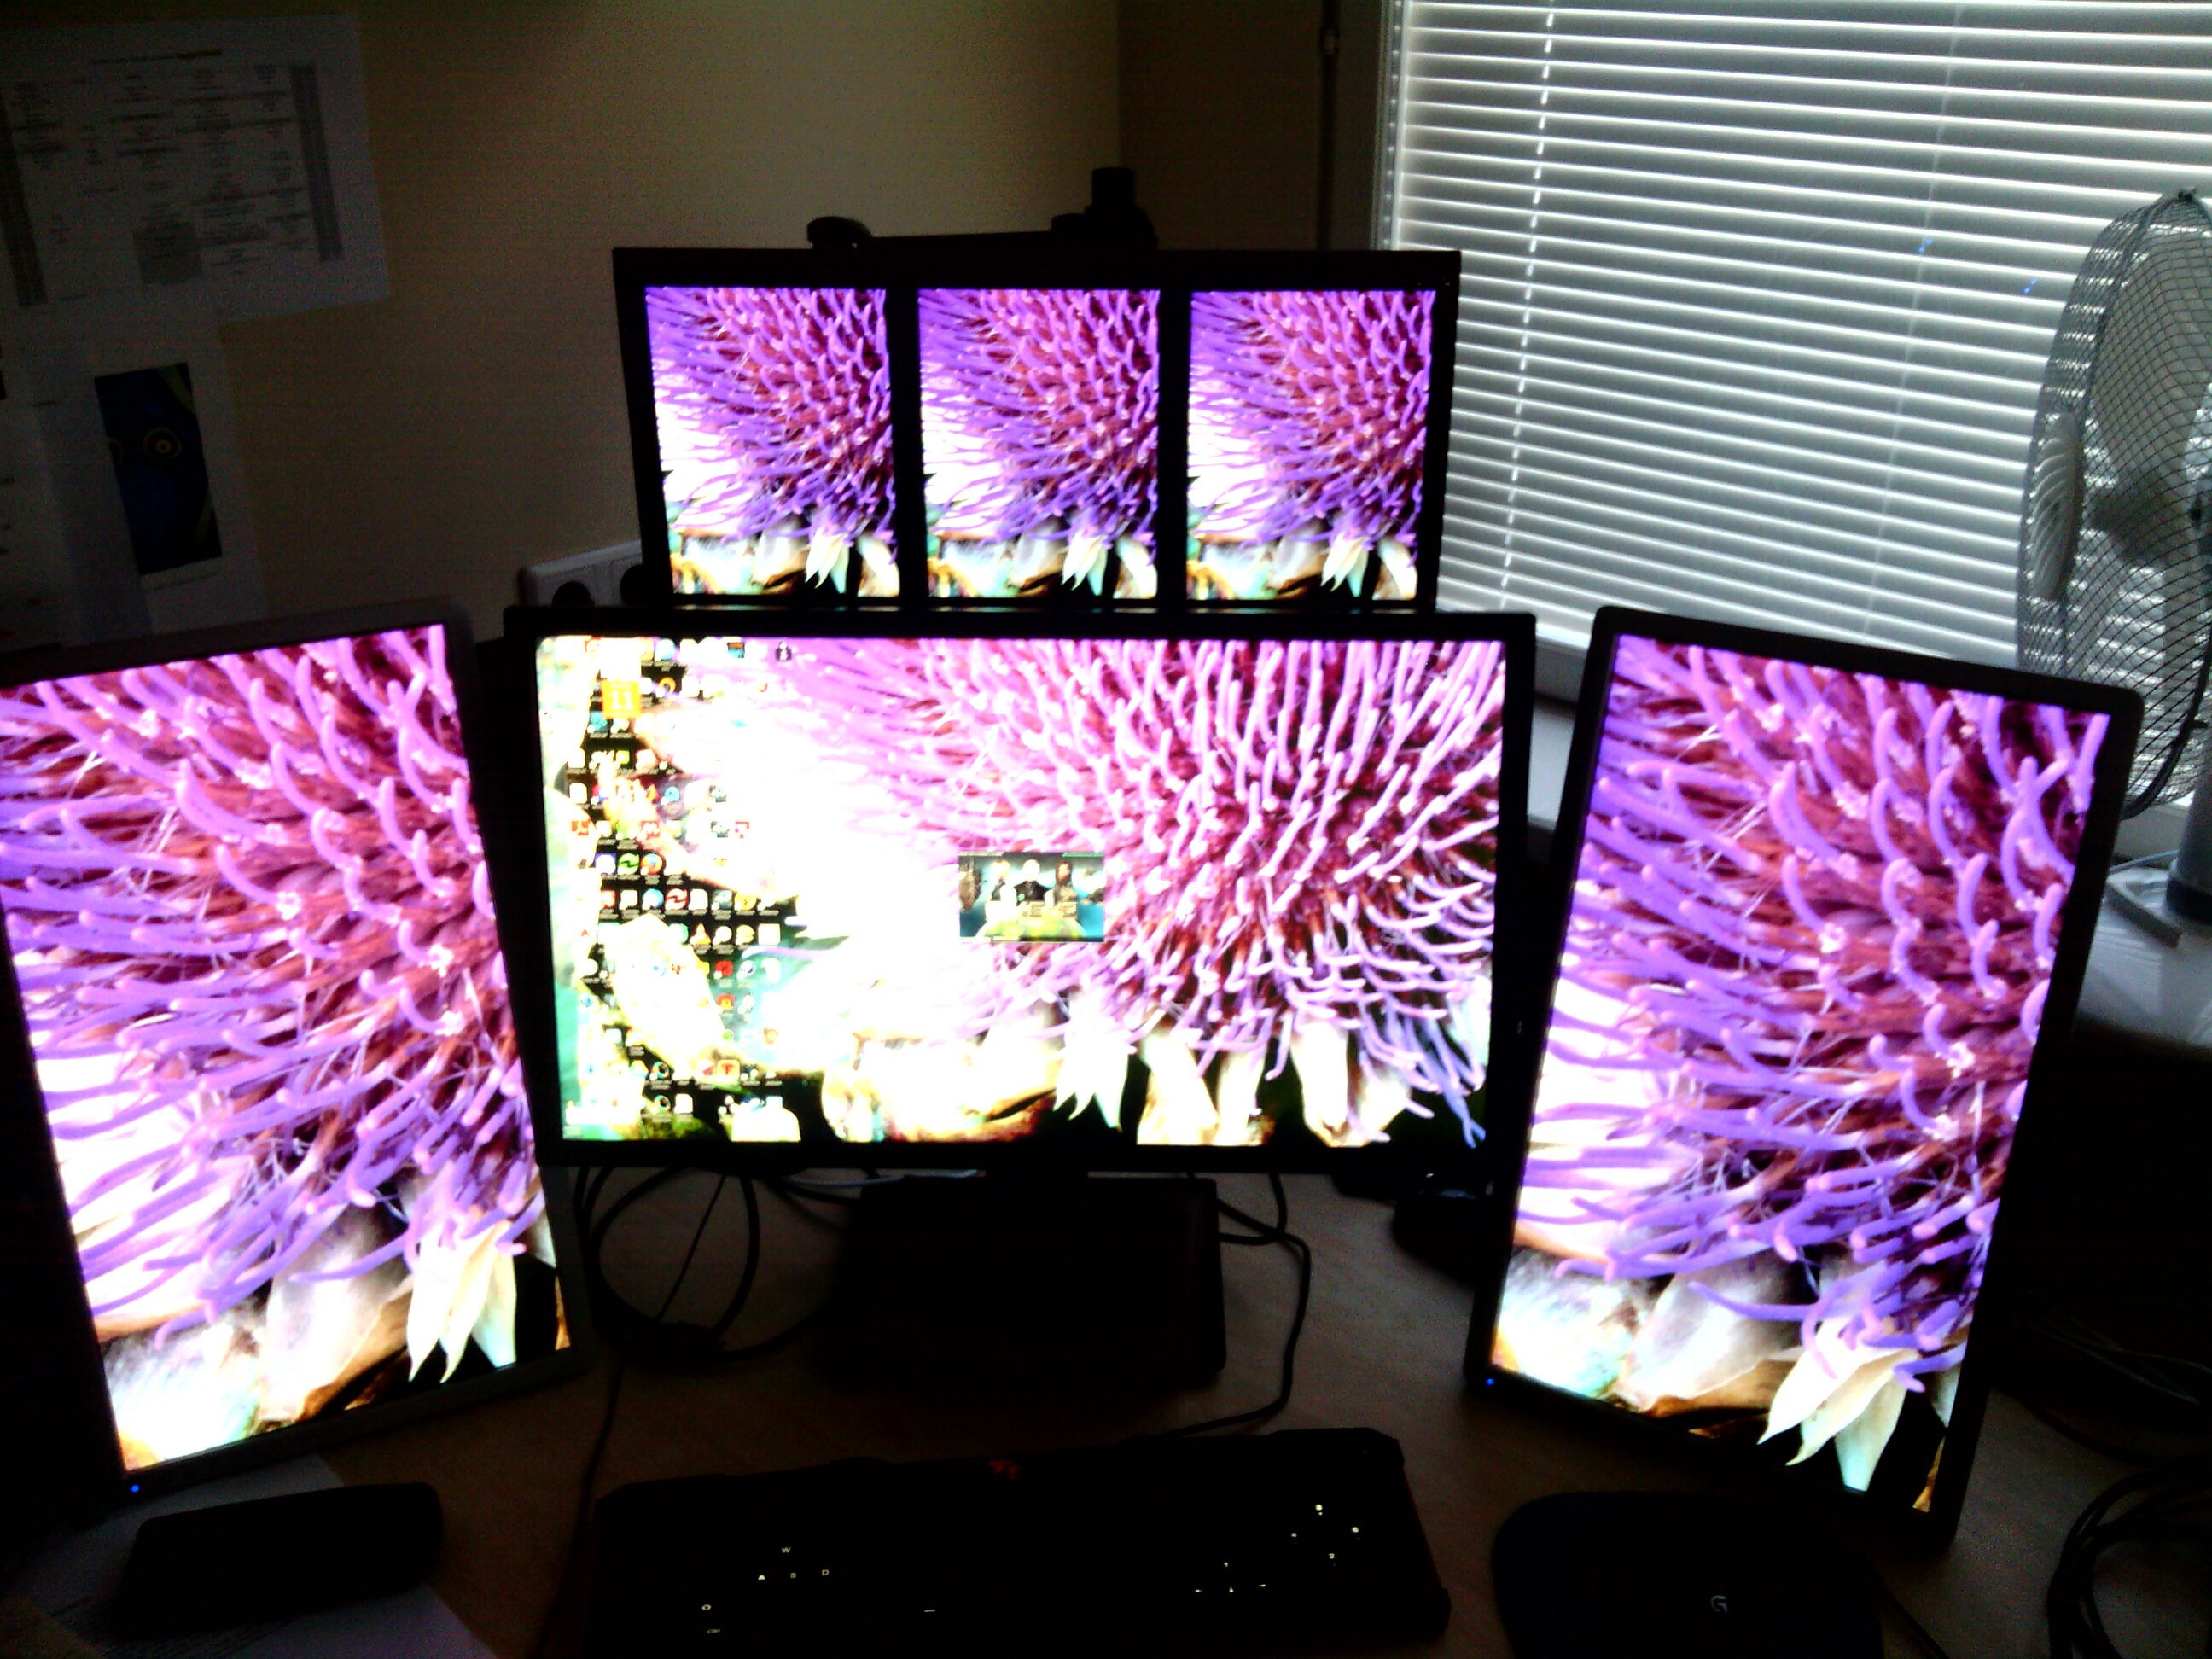
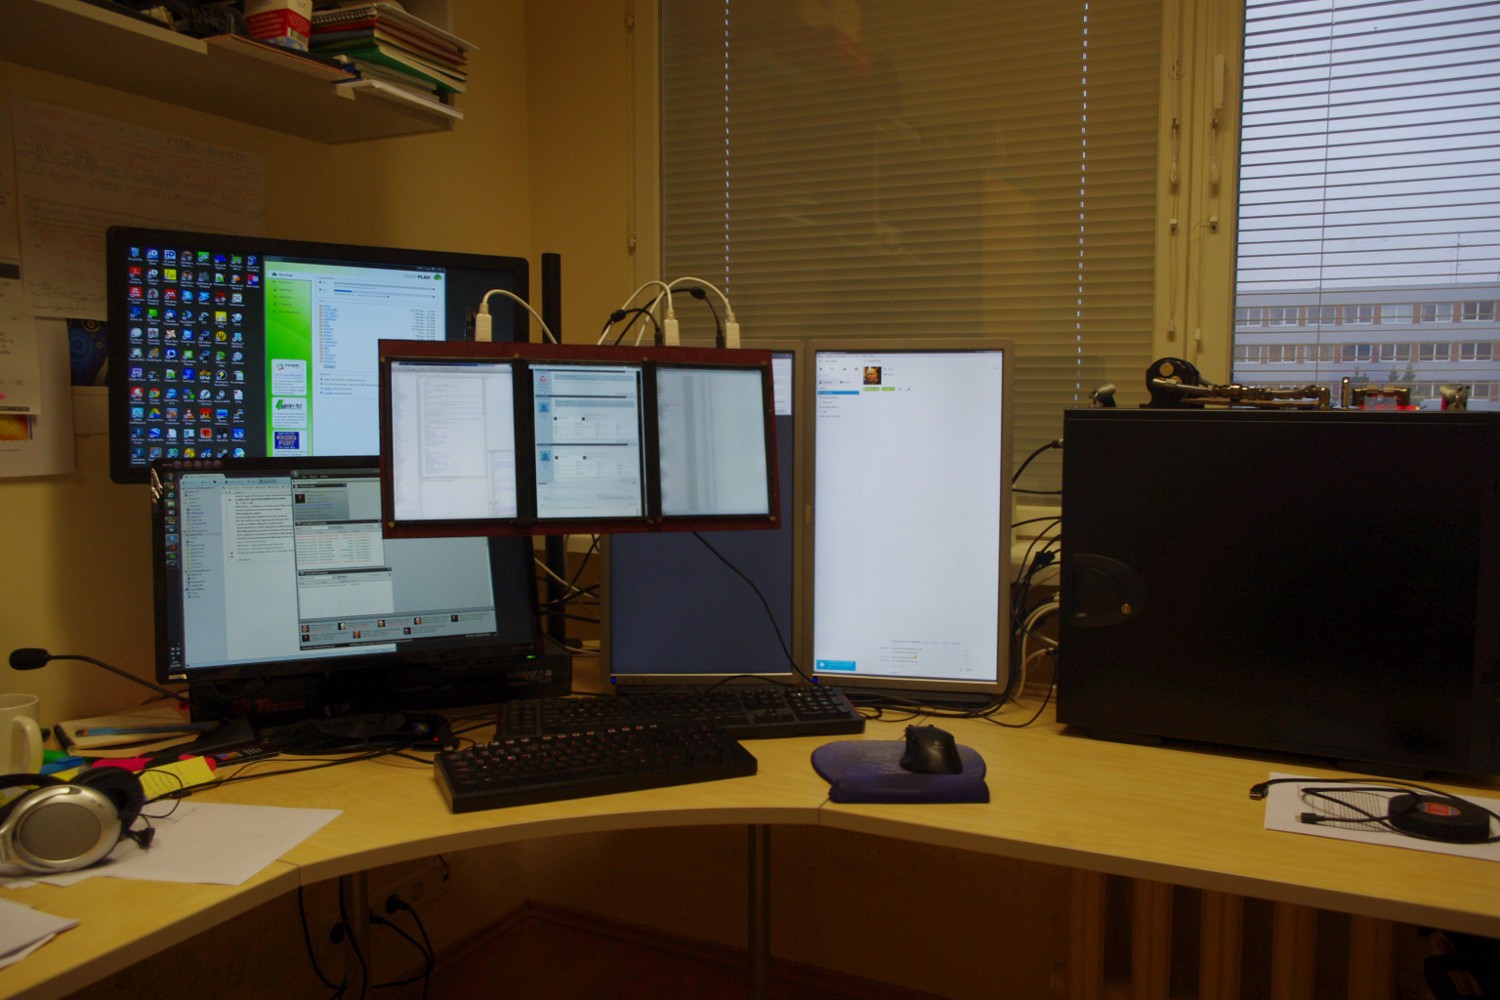
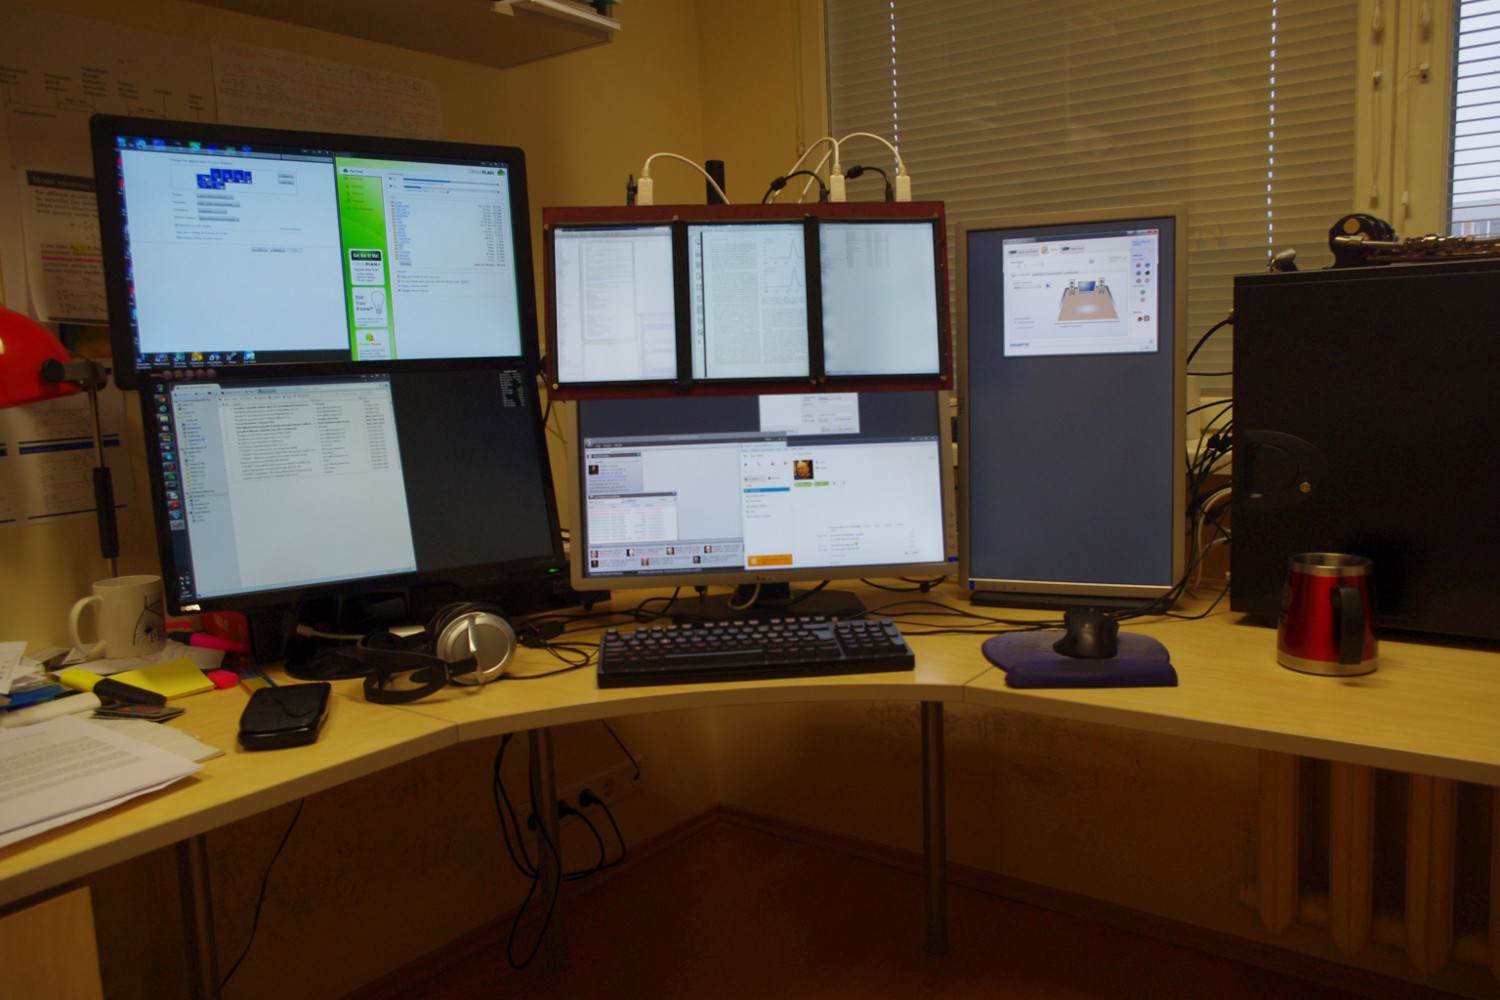
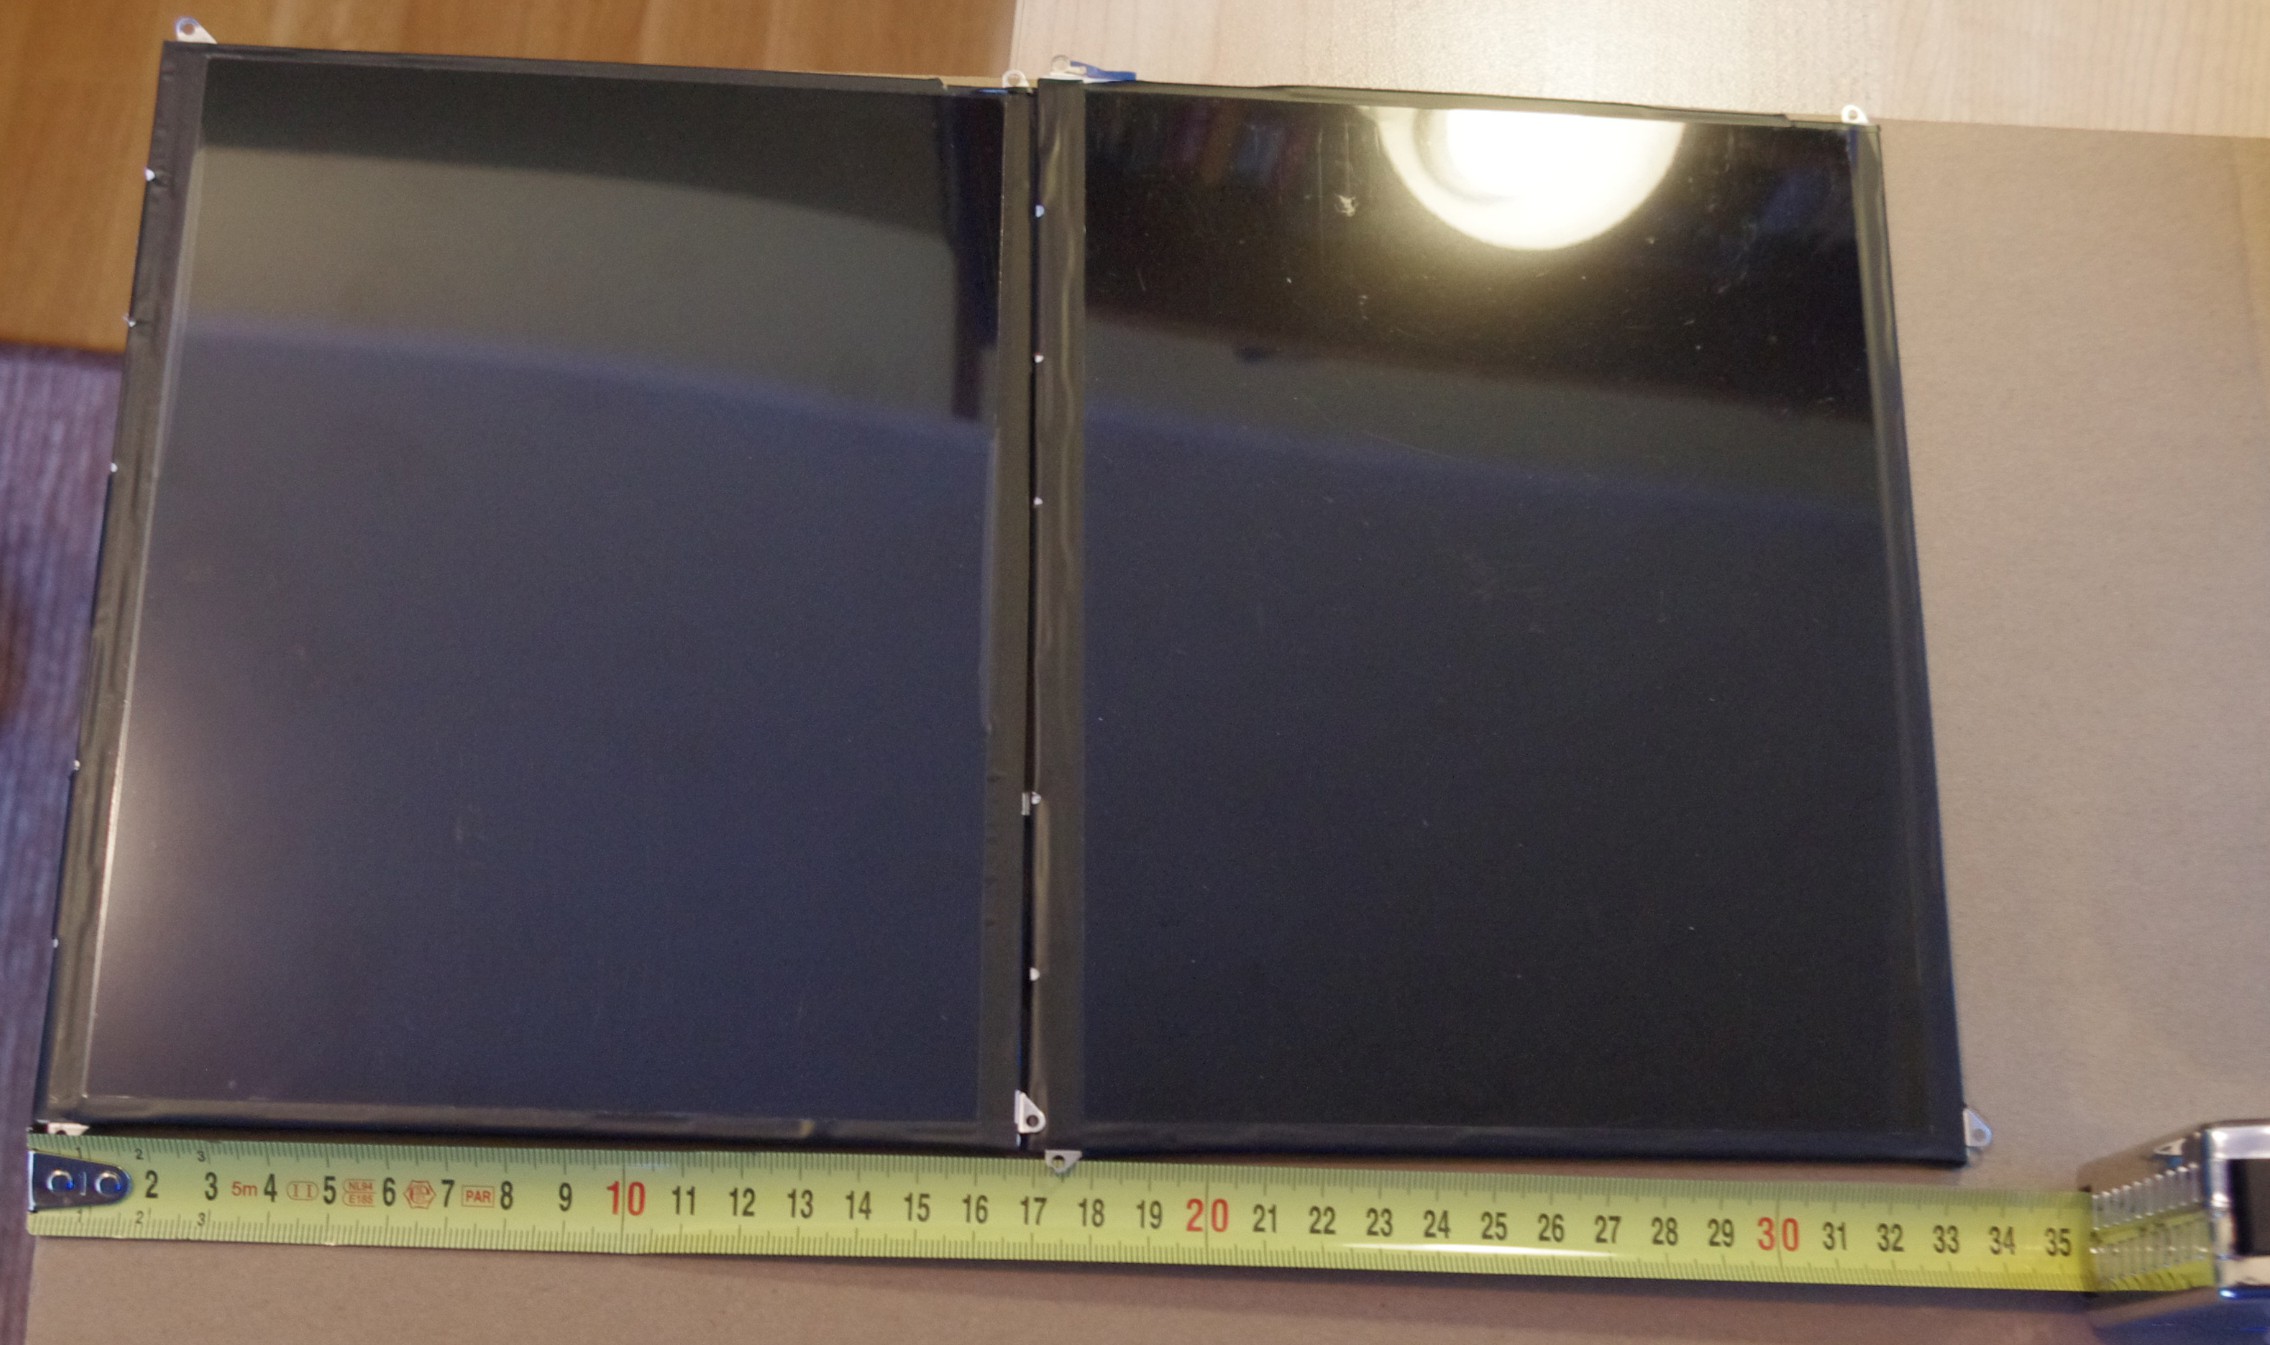
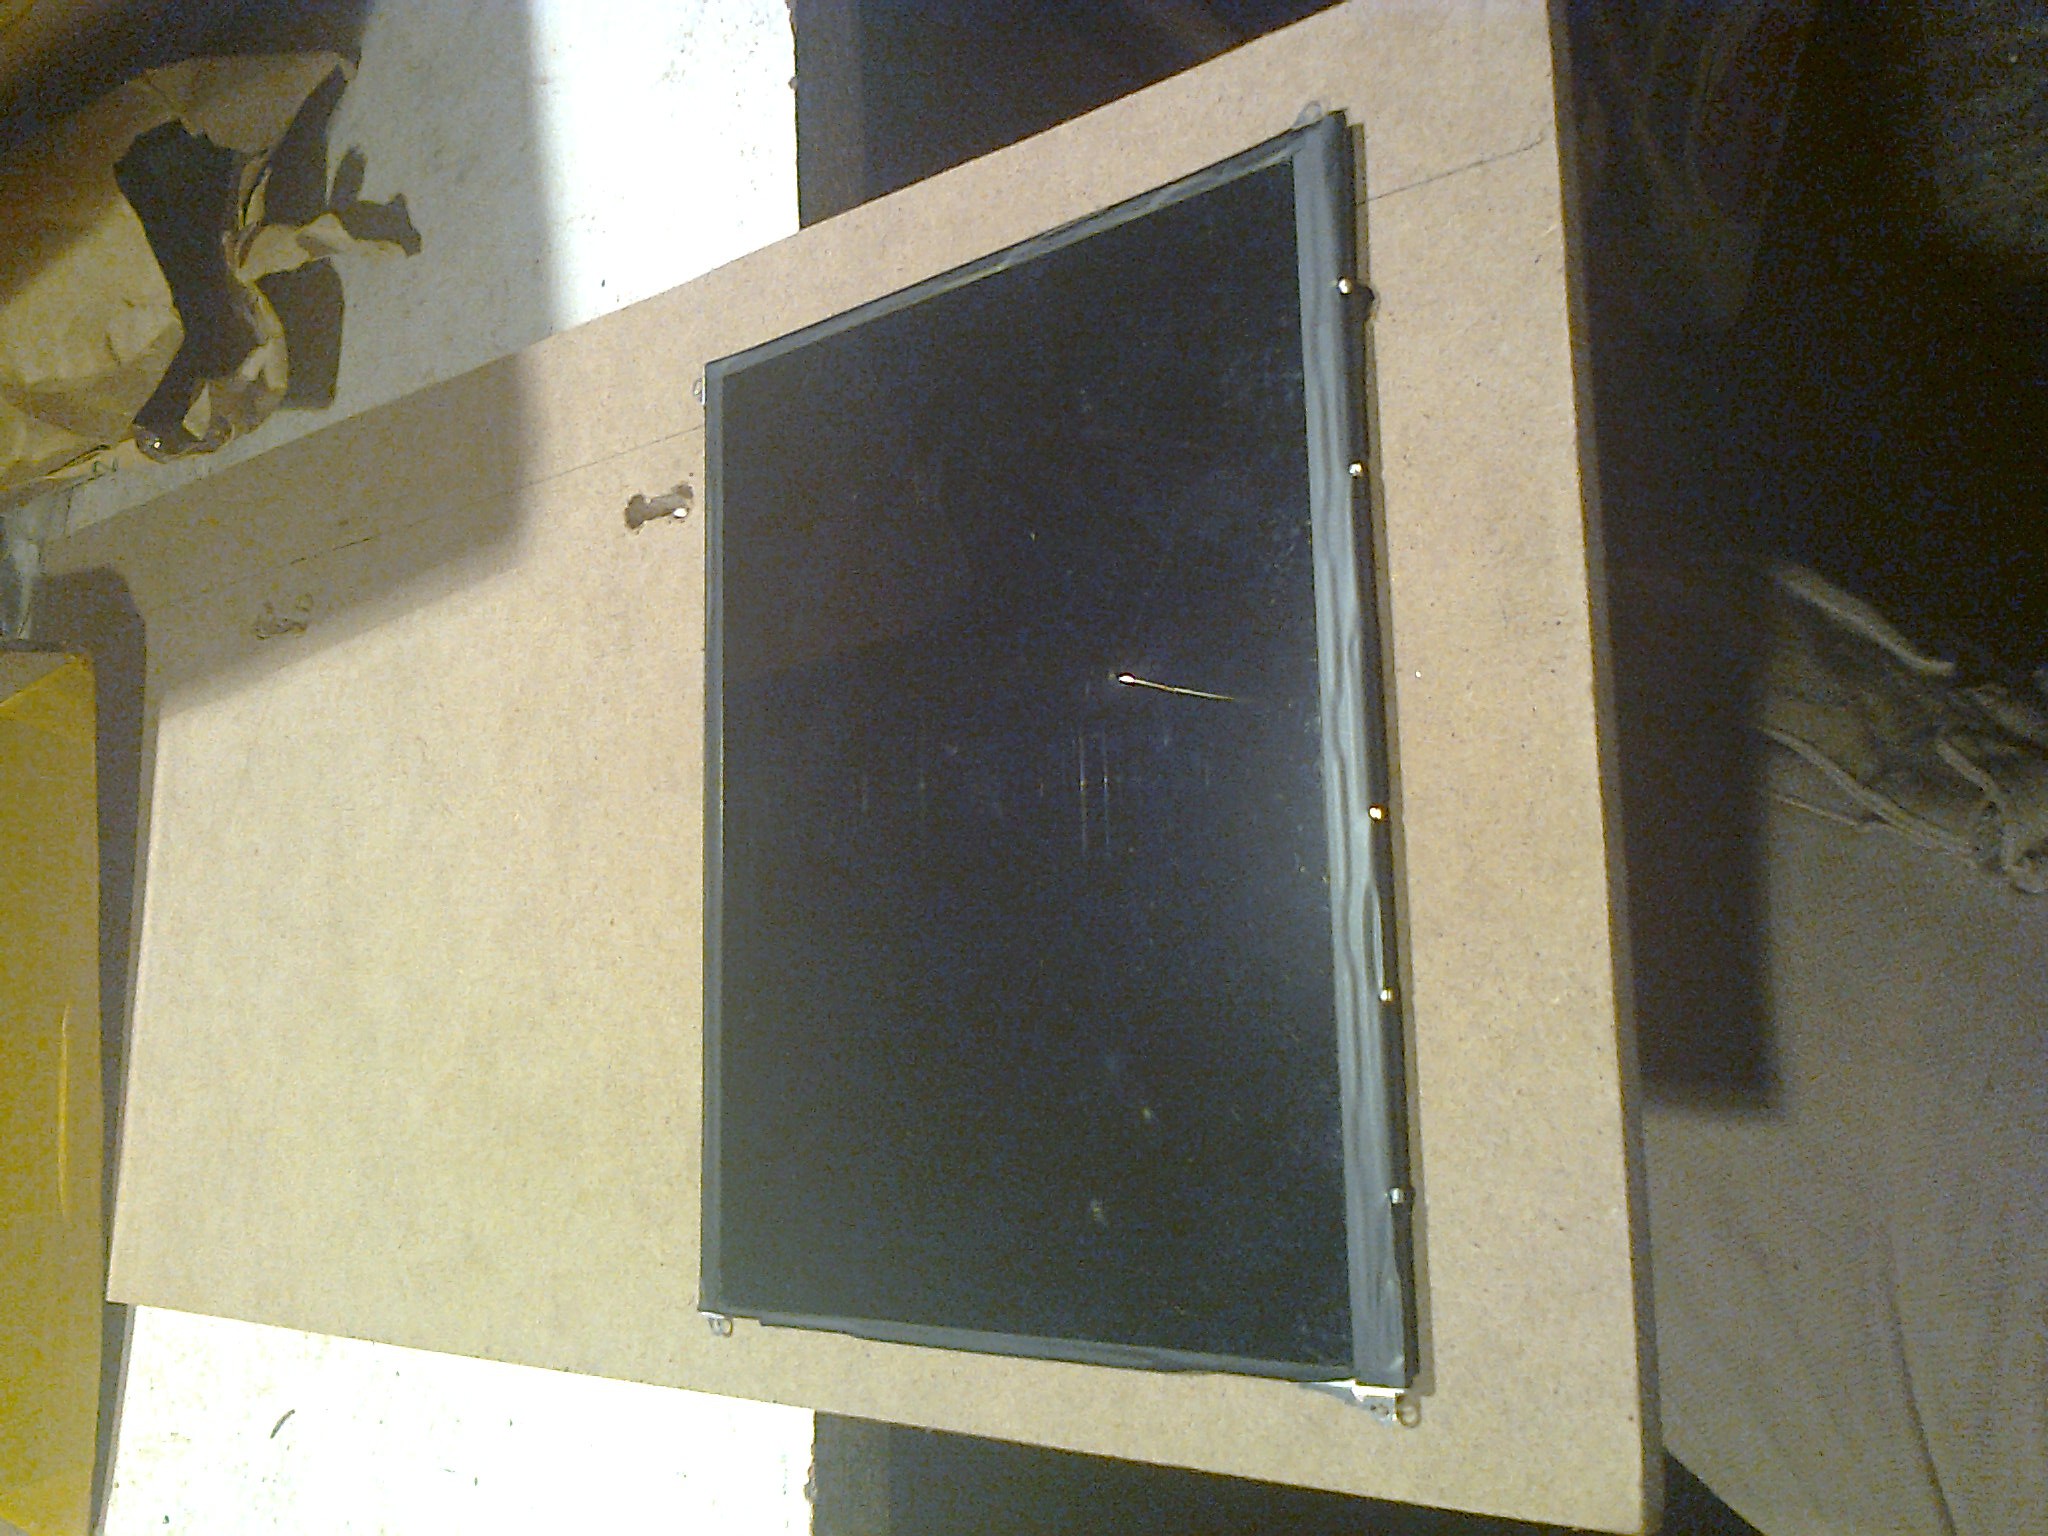
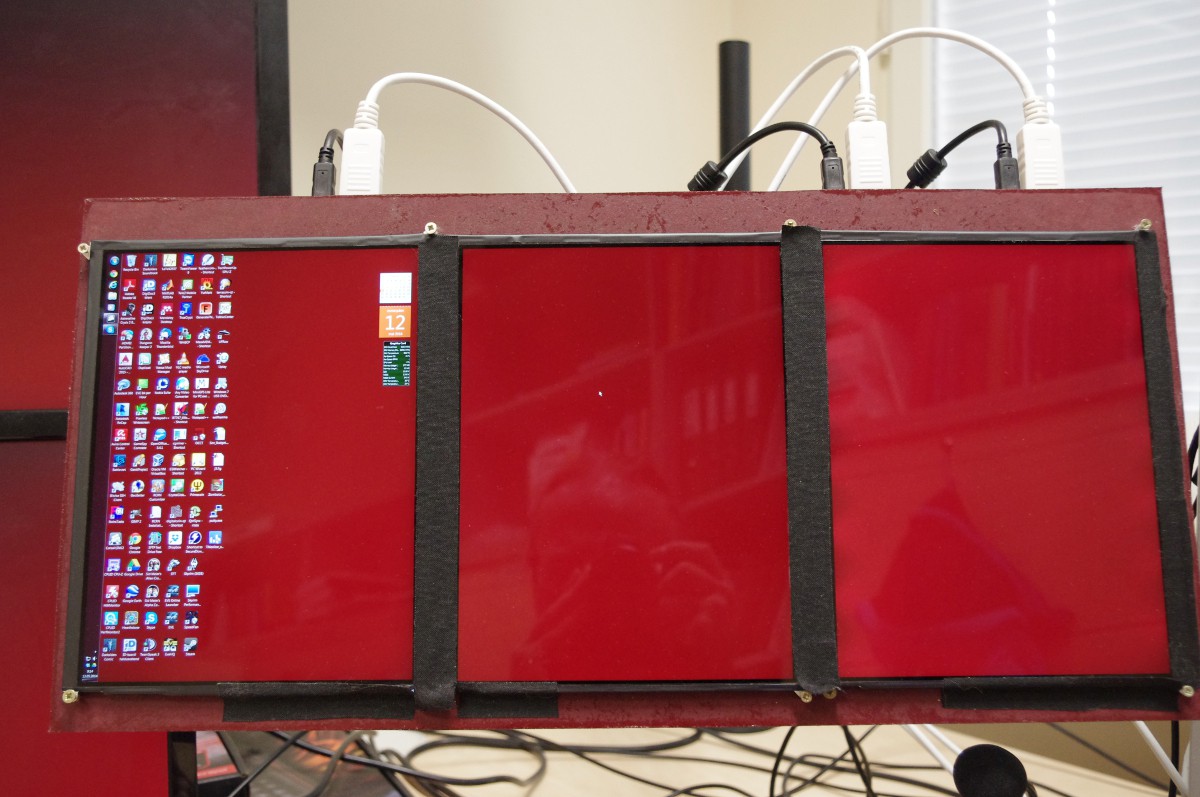
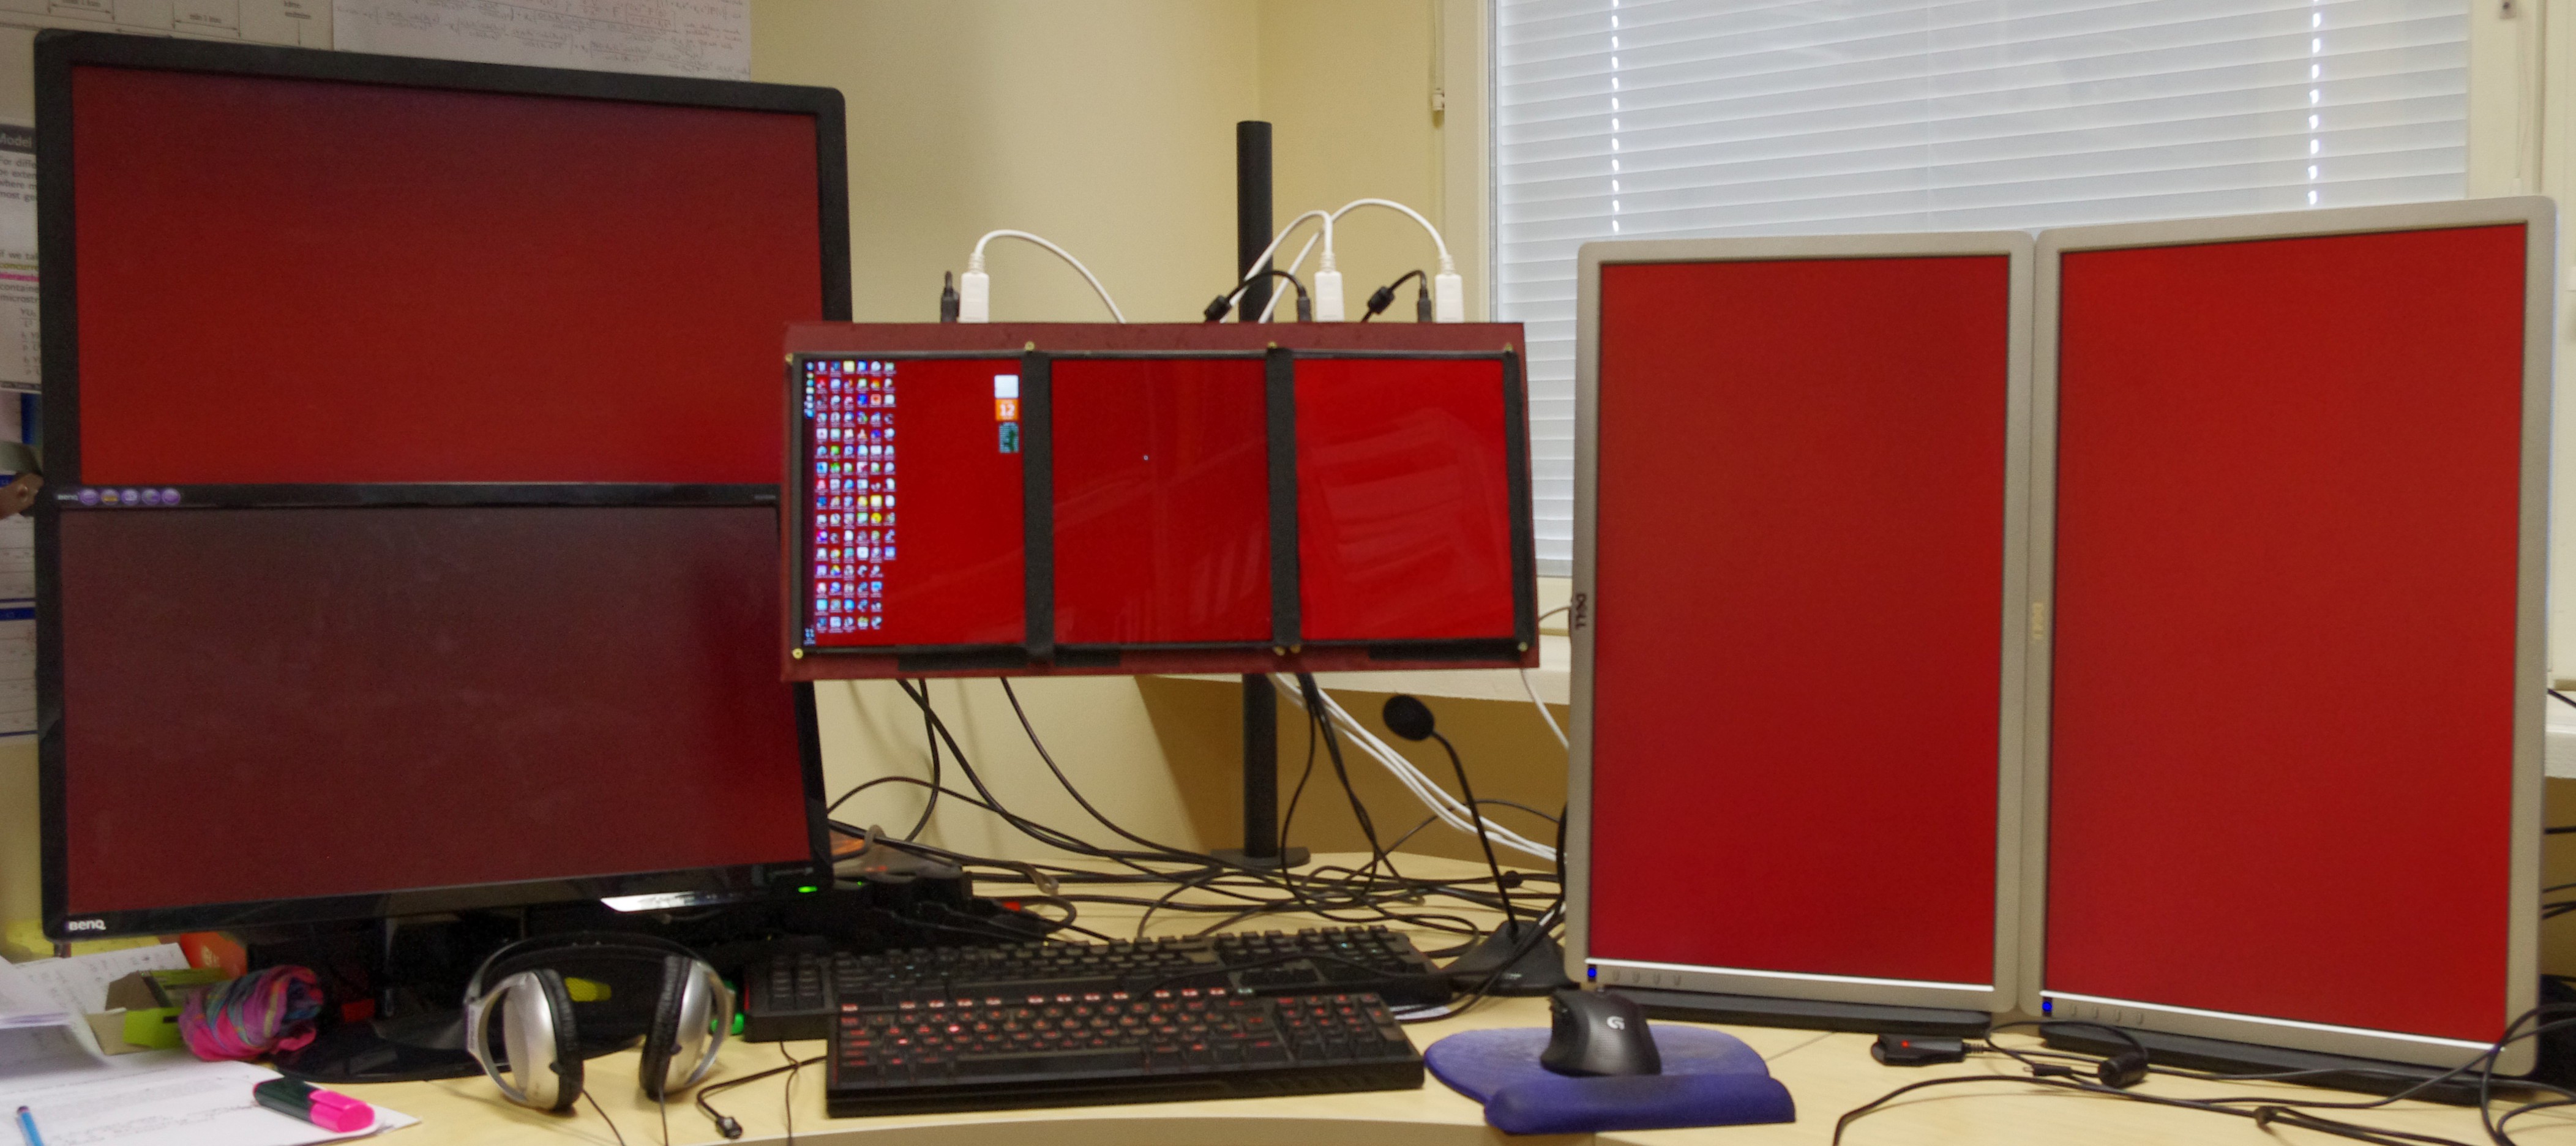
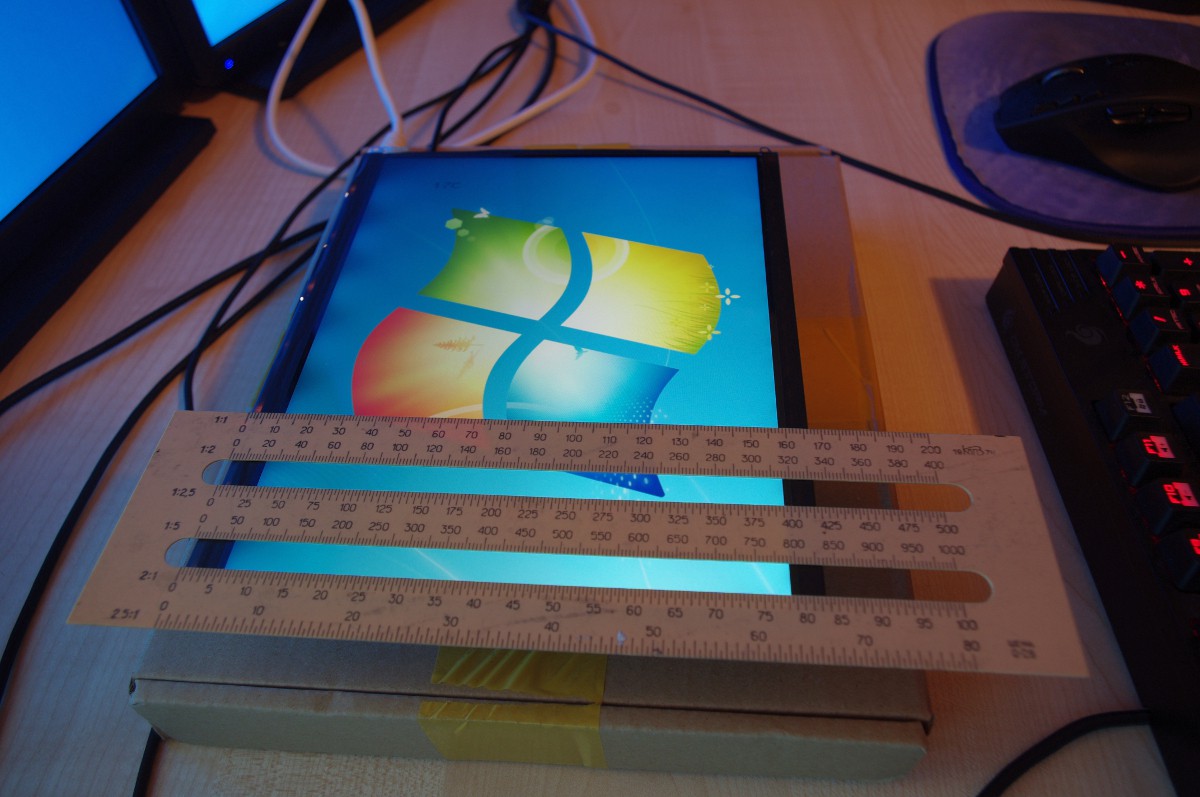
KertA while ago I noticed a forum thread on Overclock.net about a guy who had hacked a three cheap laptop replacement screens / spare parts off ebay togehter to work as a rather nice display for a PC. That inspired me to try something similar. After a while I succeeded - it was not the lack of technical skills or complexity of the job but just the plain old lack of time that dragged the assembly time of that project into a bit less than year.
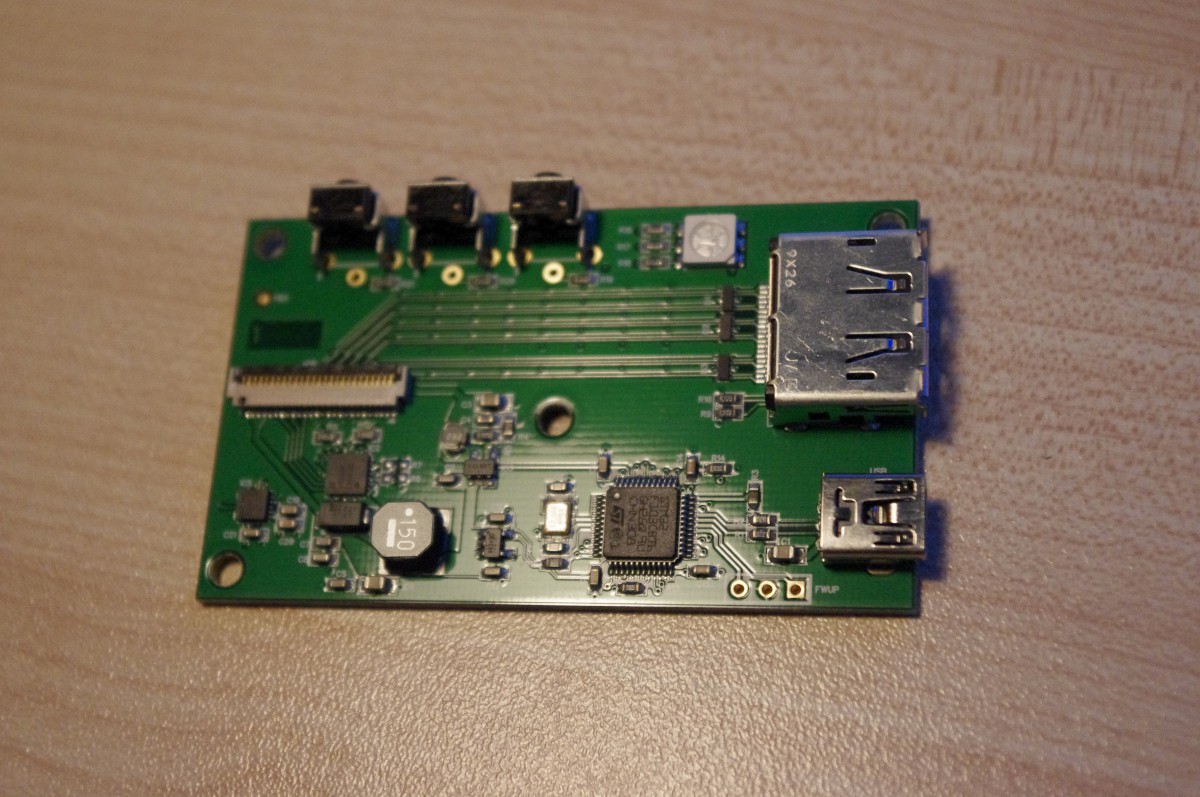
All the parts are pretty much plug and play so this kind of project is suitable for anyone including people that cant solder two wires togehter to save the world. However, with the price-per-pixel having dropped substantially with the introduction of cheap 4K screens incentives to undertake such project might not be as prominent as they were when I did this.


 Auron
Auron
 Matias N.
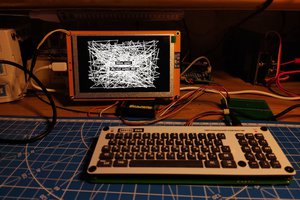
 svofski
 M.daSilva
Cool. Was searching for help to use a screen from a tablet/phone as a extra pc screen to show pc stats, email, etc. This is a good starting point. Just need some help to discover the right controller board for the screen. I have a Samsung Galaxy Tab S 7" and the original Samsung Galaxy S phone that I can use as screens. How can I find controller boards for these screens? Anyone has any tip? Tkx