 zakqwy
Nothing like a positive title, right? Spoiler: the first flight didn't go exactly as planned, but with any luck I learned a few lessons.
My 28 AWG wire assortment and liquid electrical tape (yup, this is a thing!) arrived earlier this week. I reinstalled the four motors into their mounts, threaded the wires through the arms, and soldered on appropriately colored extensions:
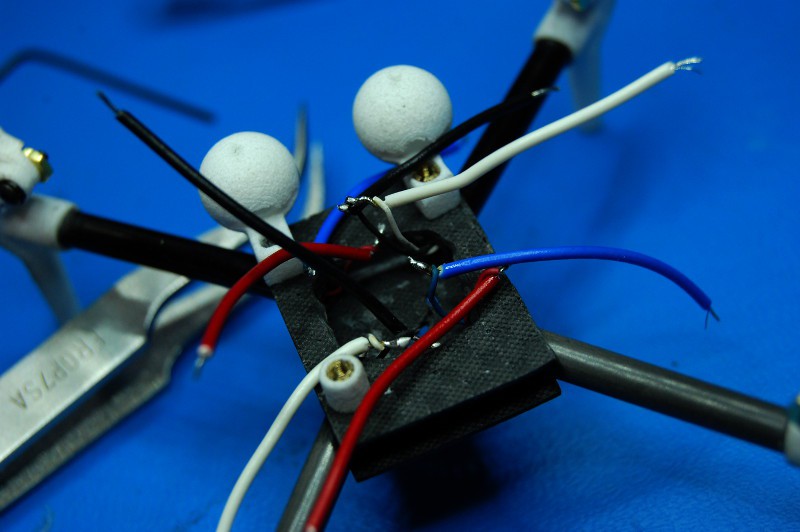
Lesson 1: don't assume you can estimate wire gauge when you're working on a scale you aren't used to. I totally could have gotten away with 32 AWG; the 28 AWG stock, partially due to its rather thick insulation, isn't terribly flexible. Oh well, time for some liquid electrical tape:

Now this stuff is cool. Doesn't smell great, but it's definitely superior to heat shrink tubing for tiny projects like this. After the insulation dried in a few minutes, I soldered half the board on:
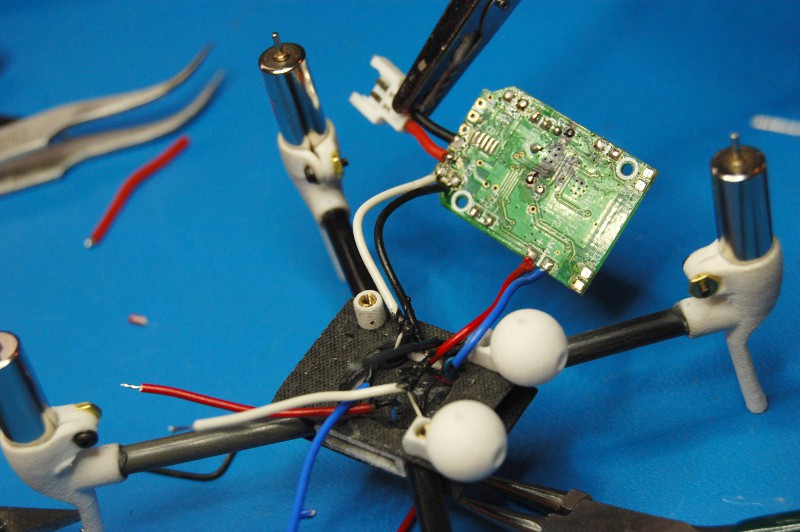
Plenty of space for soldering. Next, the remaining four motor terminals get soldered:
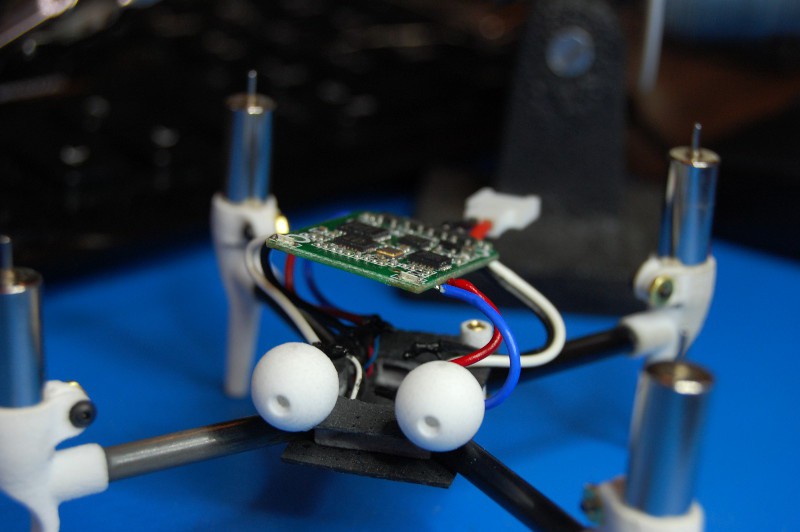
Lesson 2: just because wires were too short before doesn't mean you should use waaaay too much wire now. Once I got to this point I considered chopping the eight extensions back a bit, but I decided to bolt everything together to run an initial flight test:
Oh man, totally not good! Okay, so what happened?
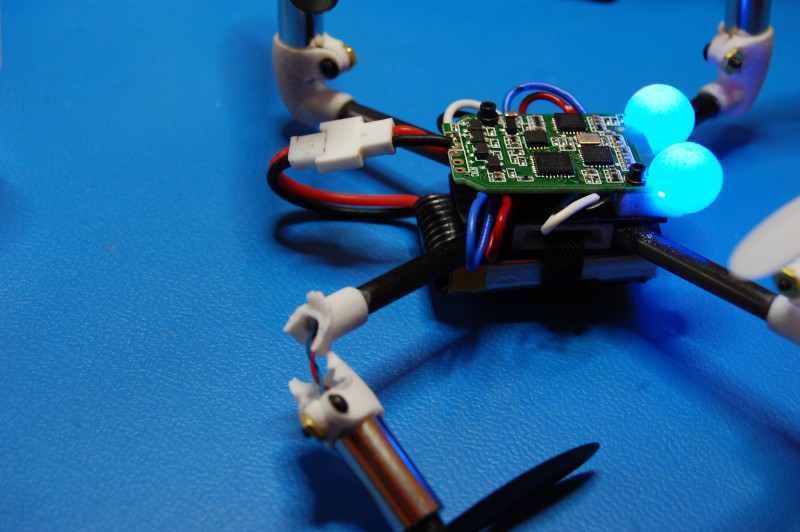
I initially paired the transmitter to the X4 and strapped the battery on with a cut down strip of tie wrap. I pressed on one propeller and slowly advanced the throttle to verify correct propeller pitch and motor polarity; after getting this right, I mounted up the other three props and verified operation of all four motors.
Lesson 3: Just because the props spin doesn't mean it's ready to fly. Having verified propeller orientation and motor operation, I blasted the throttle to 100% with the intention of flying a quick victory lap around the workshop. Upon leaving my desk the X4 immediately started yawing at a blistering rate--probably 8-10 RPM. I pulled the throttle back and tried for a heroic catch, but the quad hit the table and snapped off a leg. Undeterred, I clipped off the other three legs (gotta maintain symmetry!) and prepared for another try.
Okay, to be fair--at this point, I did try a few things. I triple-checked the motor and prop installation and verified that everything was rotating in the proper direction. I also recalibrated the X4's accelerometer per the Hubsan manual for good measure. Then I jammed the throttle forward again and watched helplessly as the craft once again spun to its doom; this time, I didn't pull back as quickly and the craft clattered to the floor on the other side of the room. The resulting damage shown above meant that this was the last test of the evening.
What other lessons have I learned?
Lesson 4: Quads are highly engineered and tuned systems. While I'm confident that my design is fairly balanced, I believe that the uncontrolled yawing was caused by angular errors in the motor orientation since I didn't constrain the mounts during glue-up:
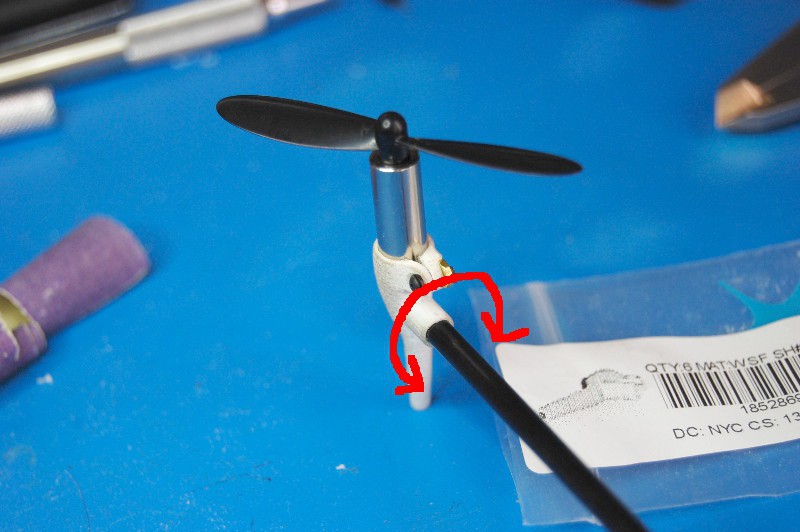
Maybe that's why most (okay, pretty much all) microquads constrain motor orientation precisely, either using a mass-produced housing (i.e. the stock X4) or a rigid circuit board (Crazieflie, etc). Either way, I knew I introduced some error here during glue-up; if the angular error was visible without a measuring tool, it was probably significant.
Lesson 5: Minimum wall thickness everywhere might not be the best design philosophy when designing a system that should survive moderate crashes. I obsessed over driving as much weight out of the 3D printed parts as possible; the motor mounts, for example, only have a printed volume of 0.52 cm^3. Based on the two observed structural failures, these bits need to be beefed up substantially for the next design iteration.
So what are the next steps? Well.. I'll probably take a break to work on a few other projects. When I feel motivated to return to the X4, I intend to redesign the frame incorporating the above lessons in mind. Comments/suggestions/critiques welcome!
Discussions
Become a Hackaday.io Member
Create an account to leave a comment. Already have an account? Log In.
Sorry about your X4. I really like the eyes. Thank you for posting this for all of us.
Are you sure? yes | no
Thanks--I'm glad the eyes worked as well as they did. I was worried that I might get weird shadows from the print steps; I even contacted Shapeways customer support to see if I could specify print orientation (not possible). Ended up not being an issue!
Are you sure? yes | no
Sorry to hear that things got broken, but it's cool to see projects that take a bit more risk and treat failure as a learning experience. Keep up the great work!
Are you sure? yes | no
I've learned a ton about 3D printing and managed to get a tiny bit better at solid modeling--definitely worthwhile, even if the silly thing broke. Thanks for the encouragement!
Are you sure? yes | no
What is the weight difference between the original frame and your version? Are the 3D-printed parts making the whole thing heavier or do you have room to spare?
Are you sure? yes | no
My scale isn't great at low ranges, but I estimate that I still have ~5g or so to play with before I hit the stock weight (which is a lot!). Since nylon is a bit over 1g/cc, I could feasibly increase the volume of each mount (currently ~0.5cc) by a few times before running up against that wall.
Are you sure? yes | no