 fl@C@
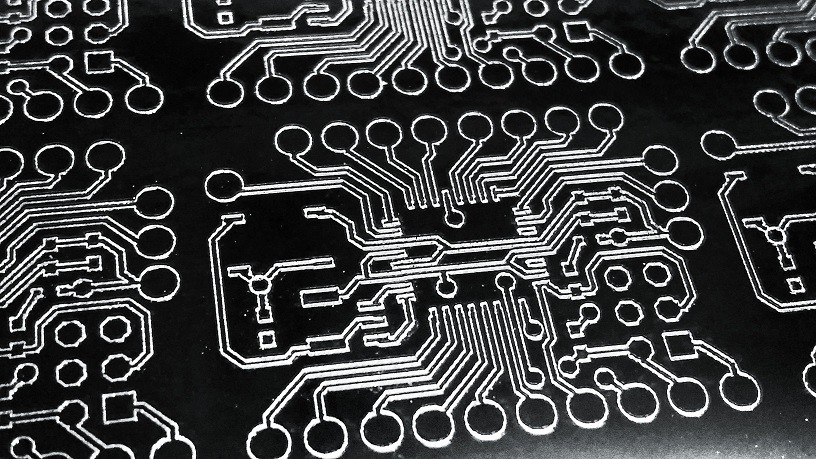
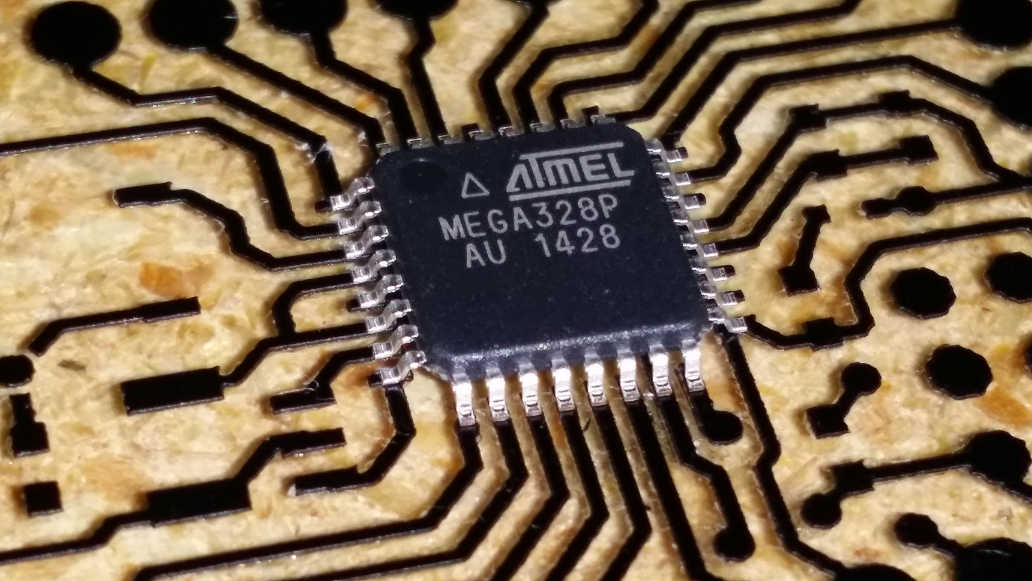
fl@C@This project is designed to work with the UV Oven in my projects list.. There are two plates of 1/4" thick borosilicate glass.. 9x6 inches. They are mounted in a 3D printed hinged frame that closes like a notebook on the PCB to be exposed inside and latches shut.. On the inside surface of both plates is a negative of your circuit board pattern.. The pattern is etched into an adhesive aluminum tape adhered to the glass using laser cut adhesive vinyl as an etch resist. In this writeup I will cover how to create the entire device.. The intent is to have a solid, reusable template for each board that you want produce multiple copies of.. the templates should last a very long time..no parts will be susceptible to the UV or heat inside the 'oven'..
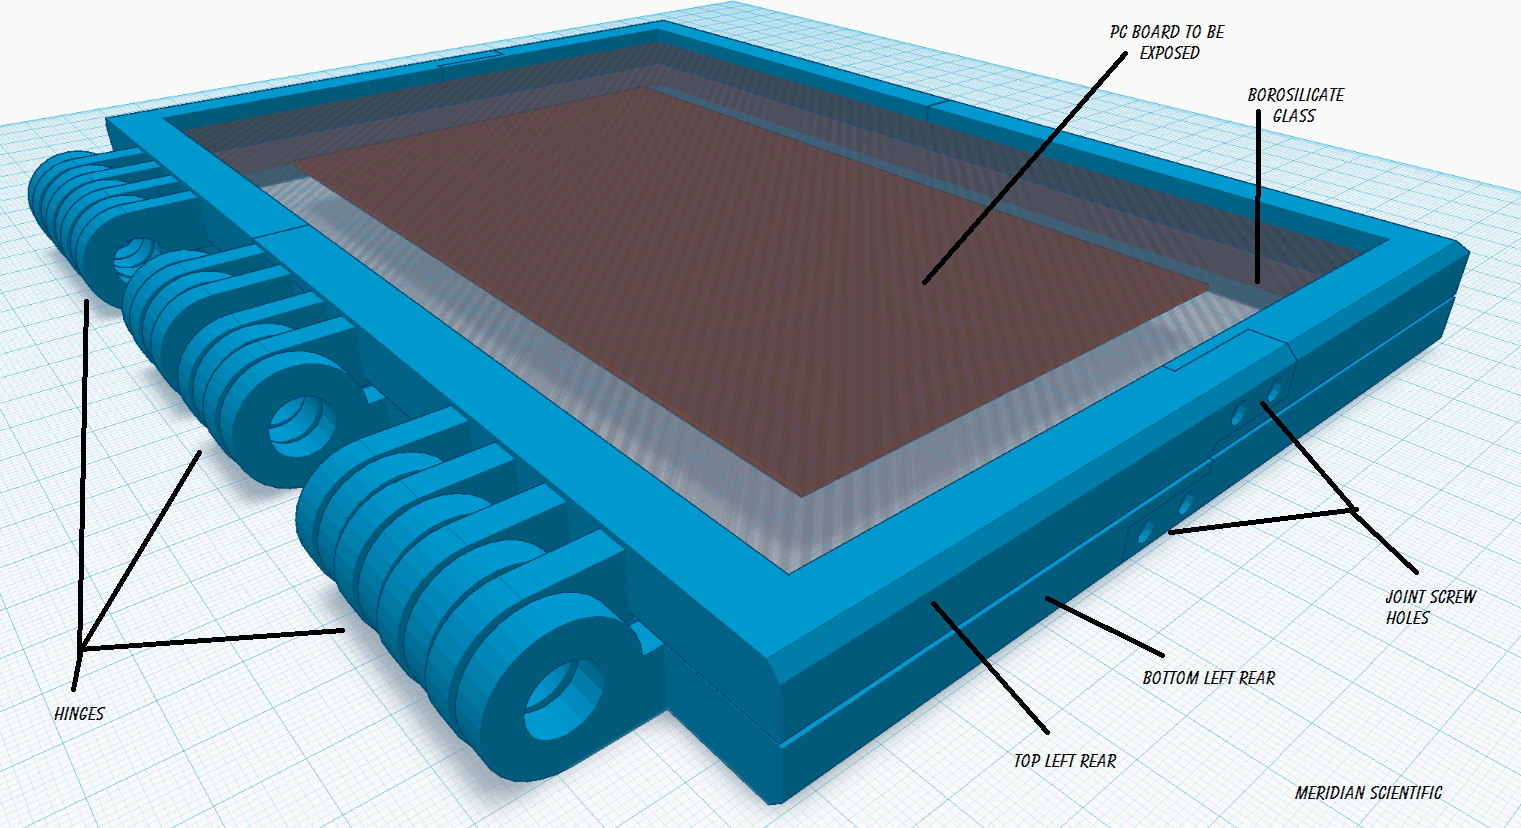
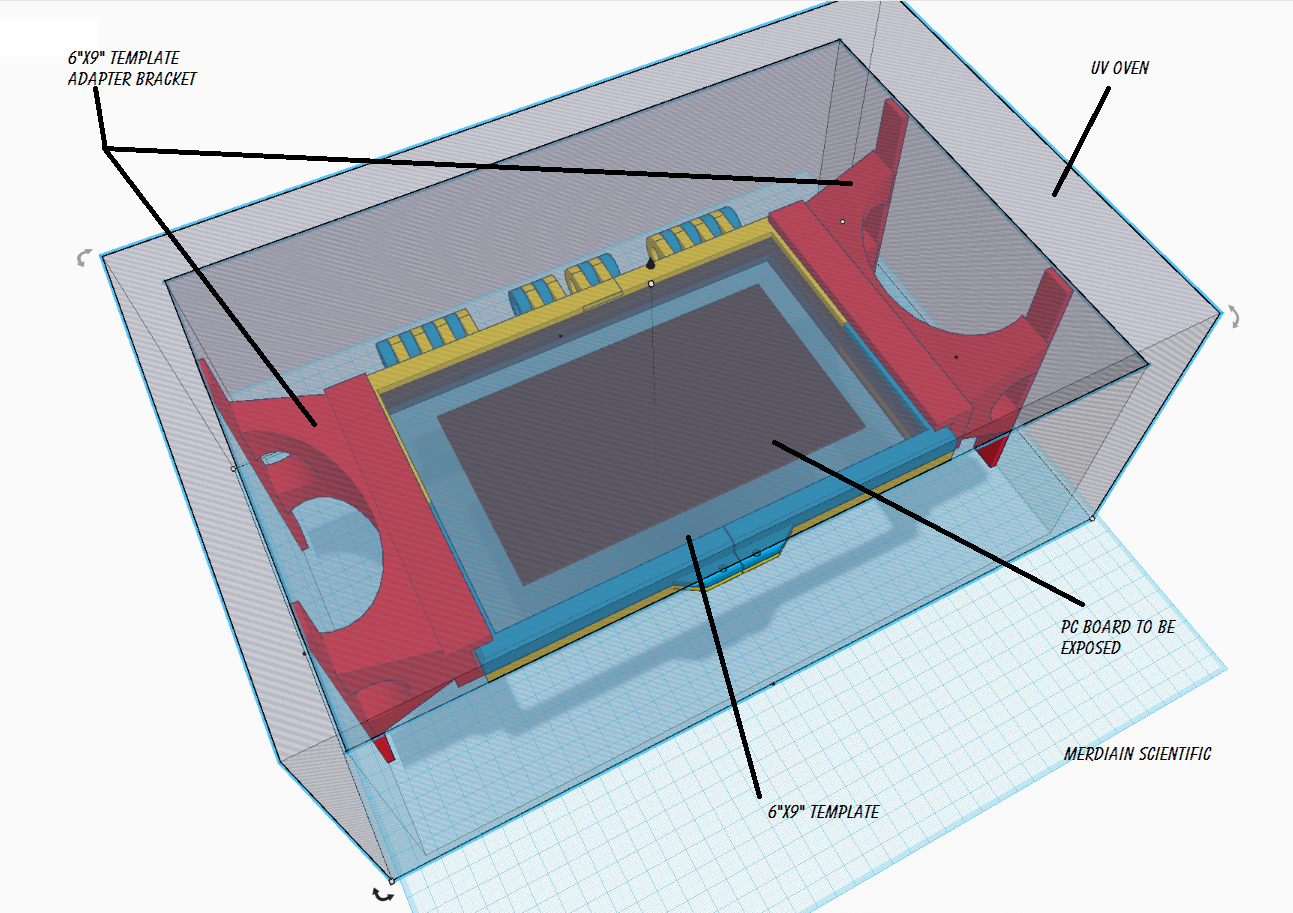
Here is a rendering of a pcb placed in between the glass plates before closing it down.. What isn't shown in these renderings is the negative of the pcboard layout (from the image above) layered on the inside of the borosilicate glass plates..

Another angle...

And the frame closed with the board inside..

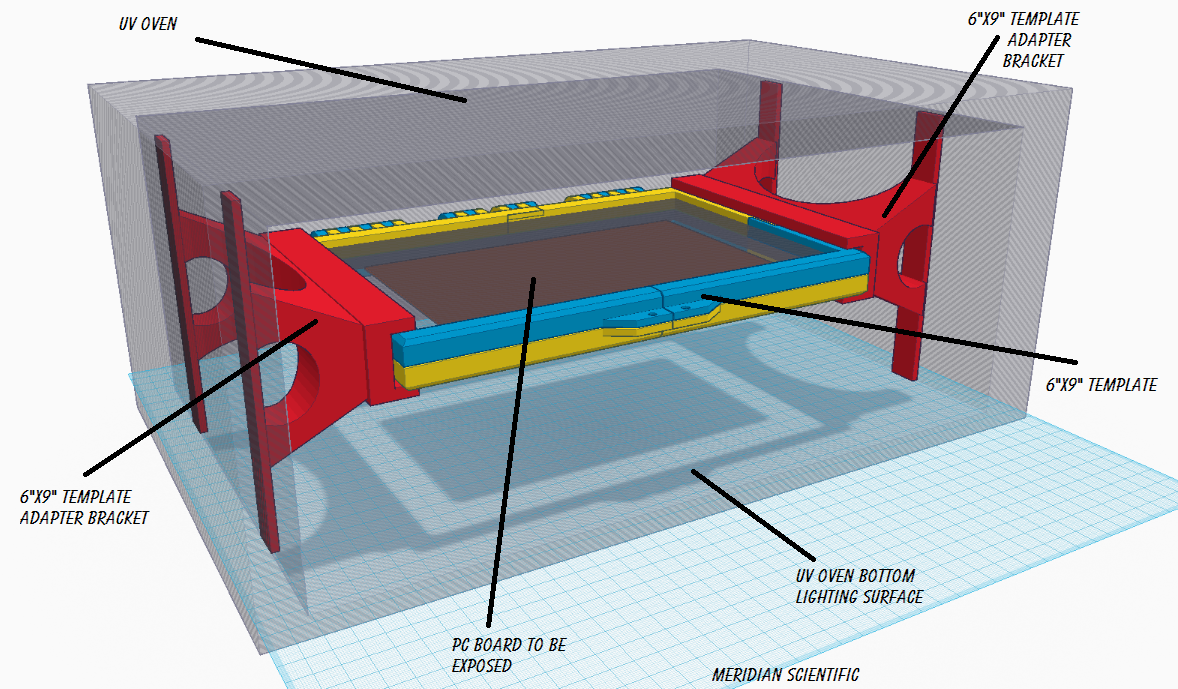
And another angle...
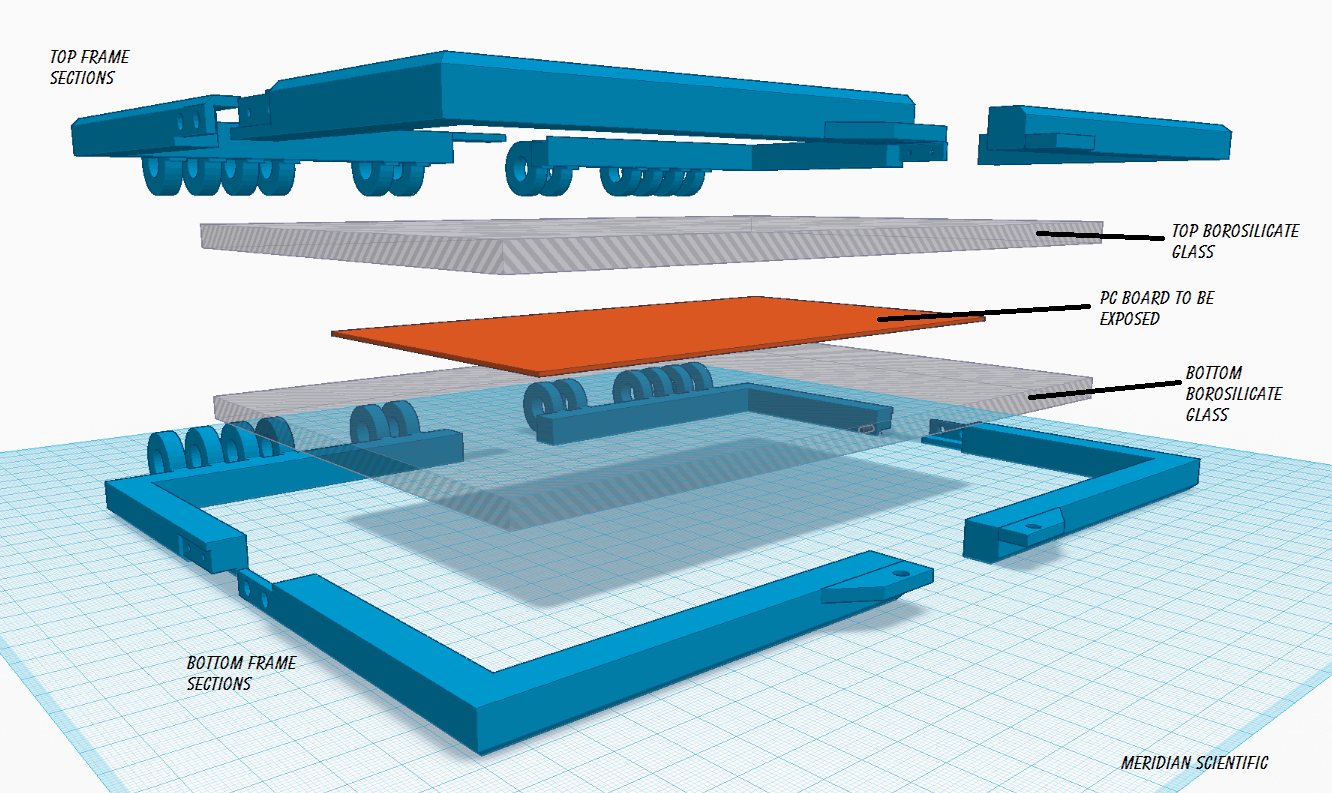
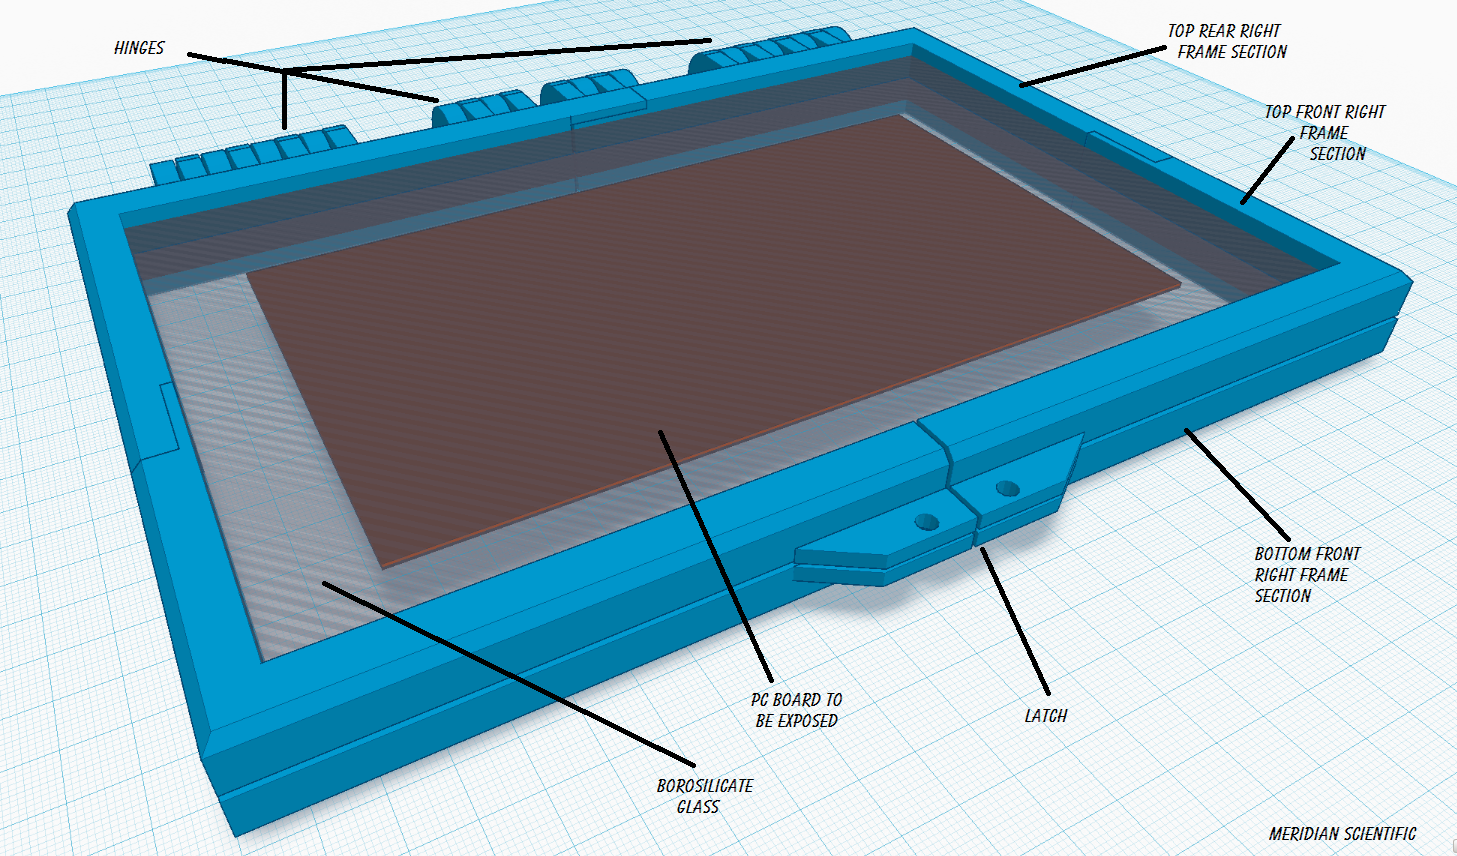
An a couple exploded views for fun... The frame is in sections to make it easier to 3d print...

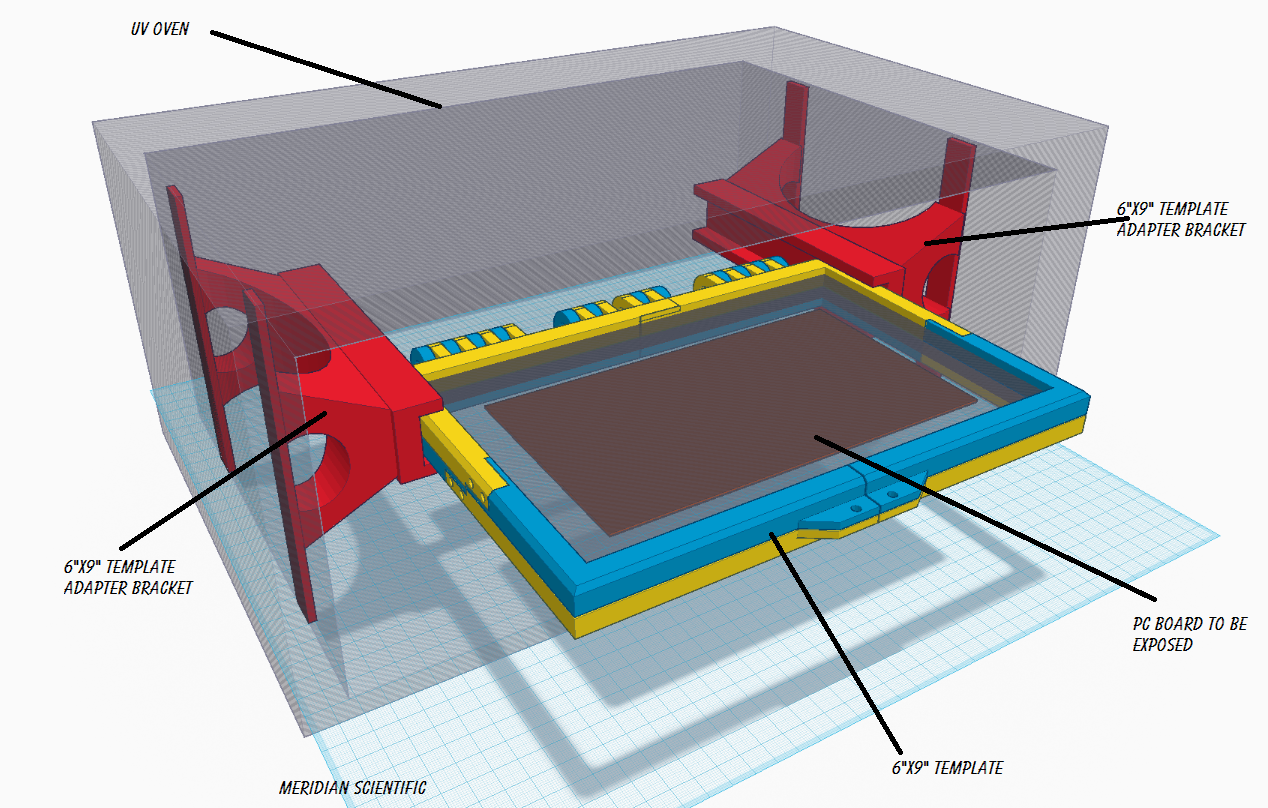
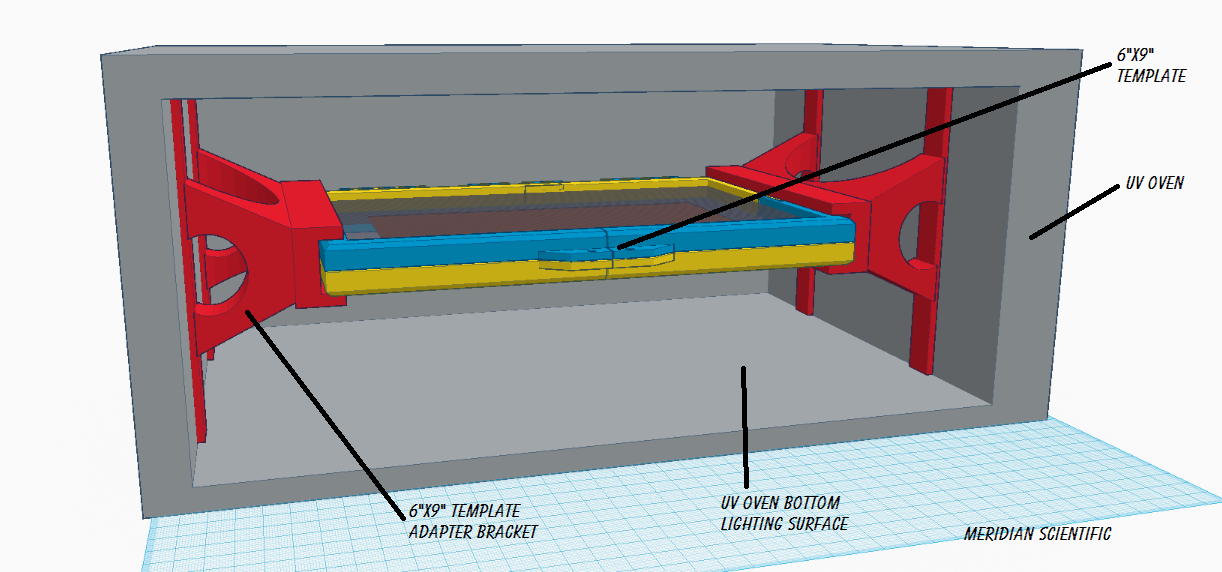
This template fits into the UV Oven project like this....

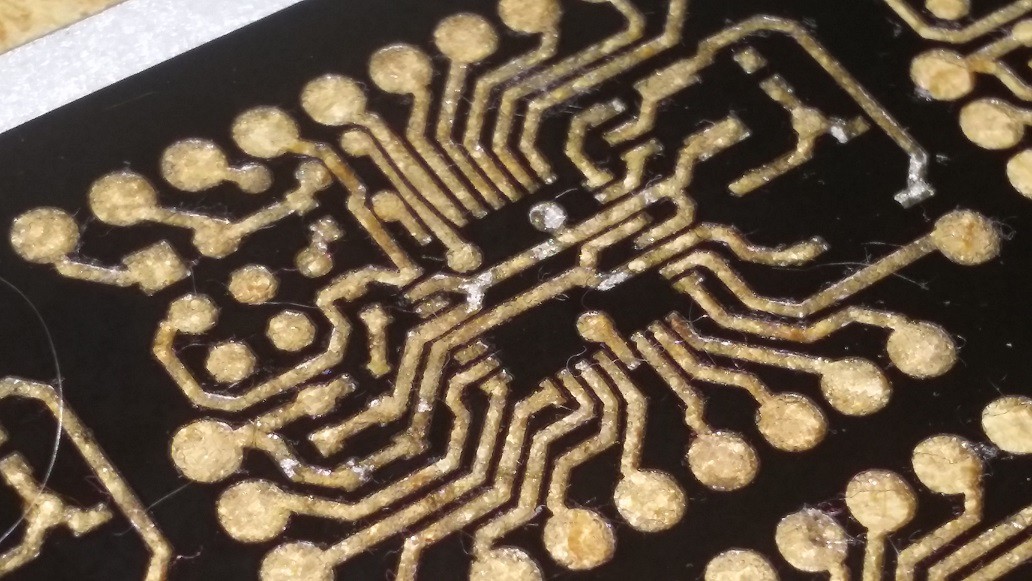
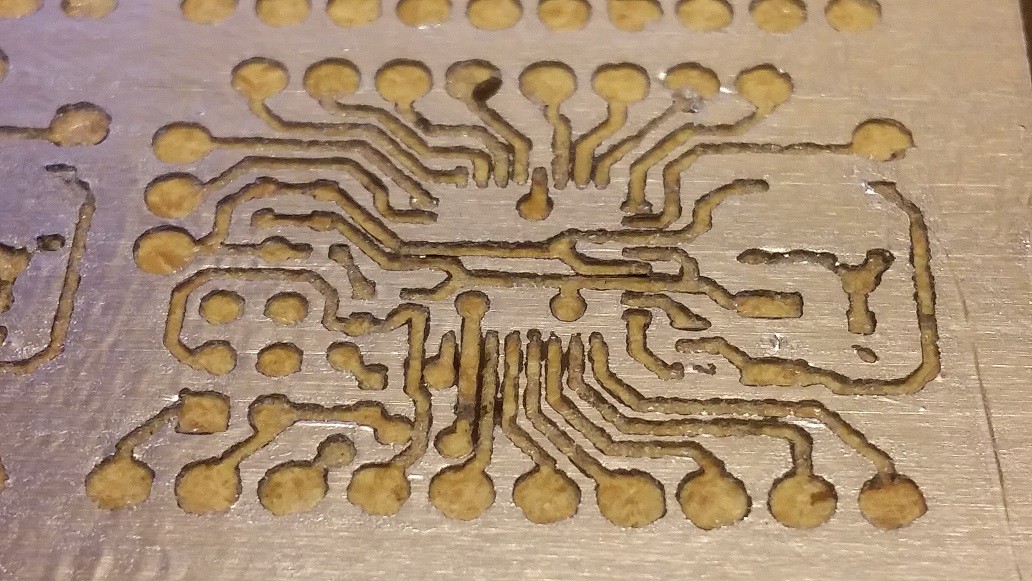
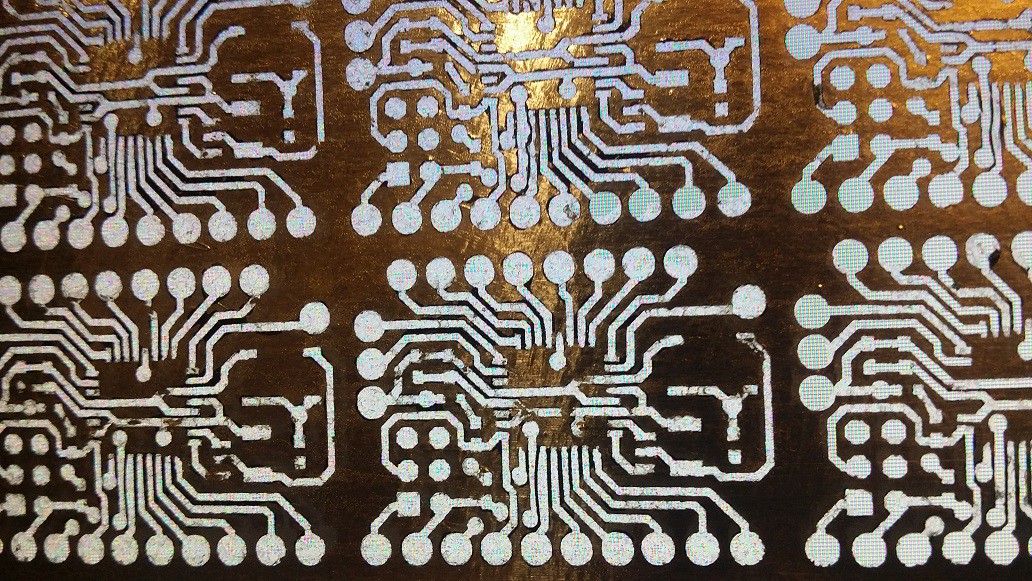
This is cut vinyl before removing the 'negative' bits...
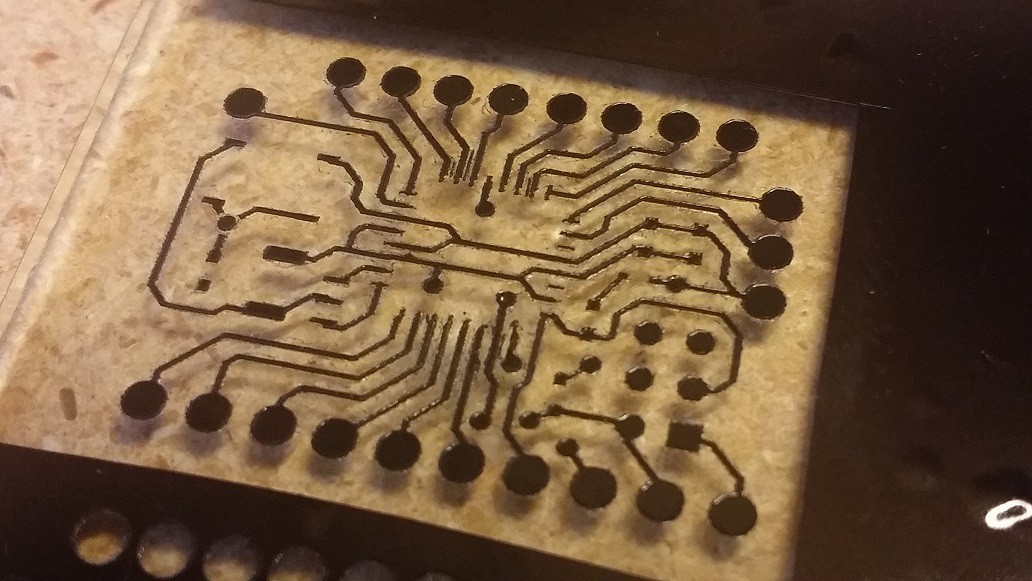
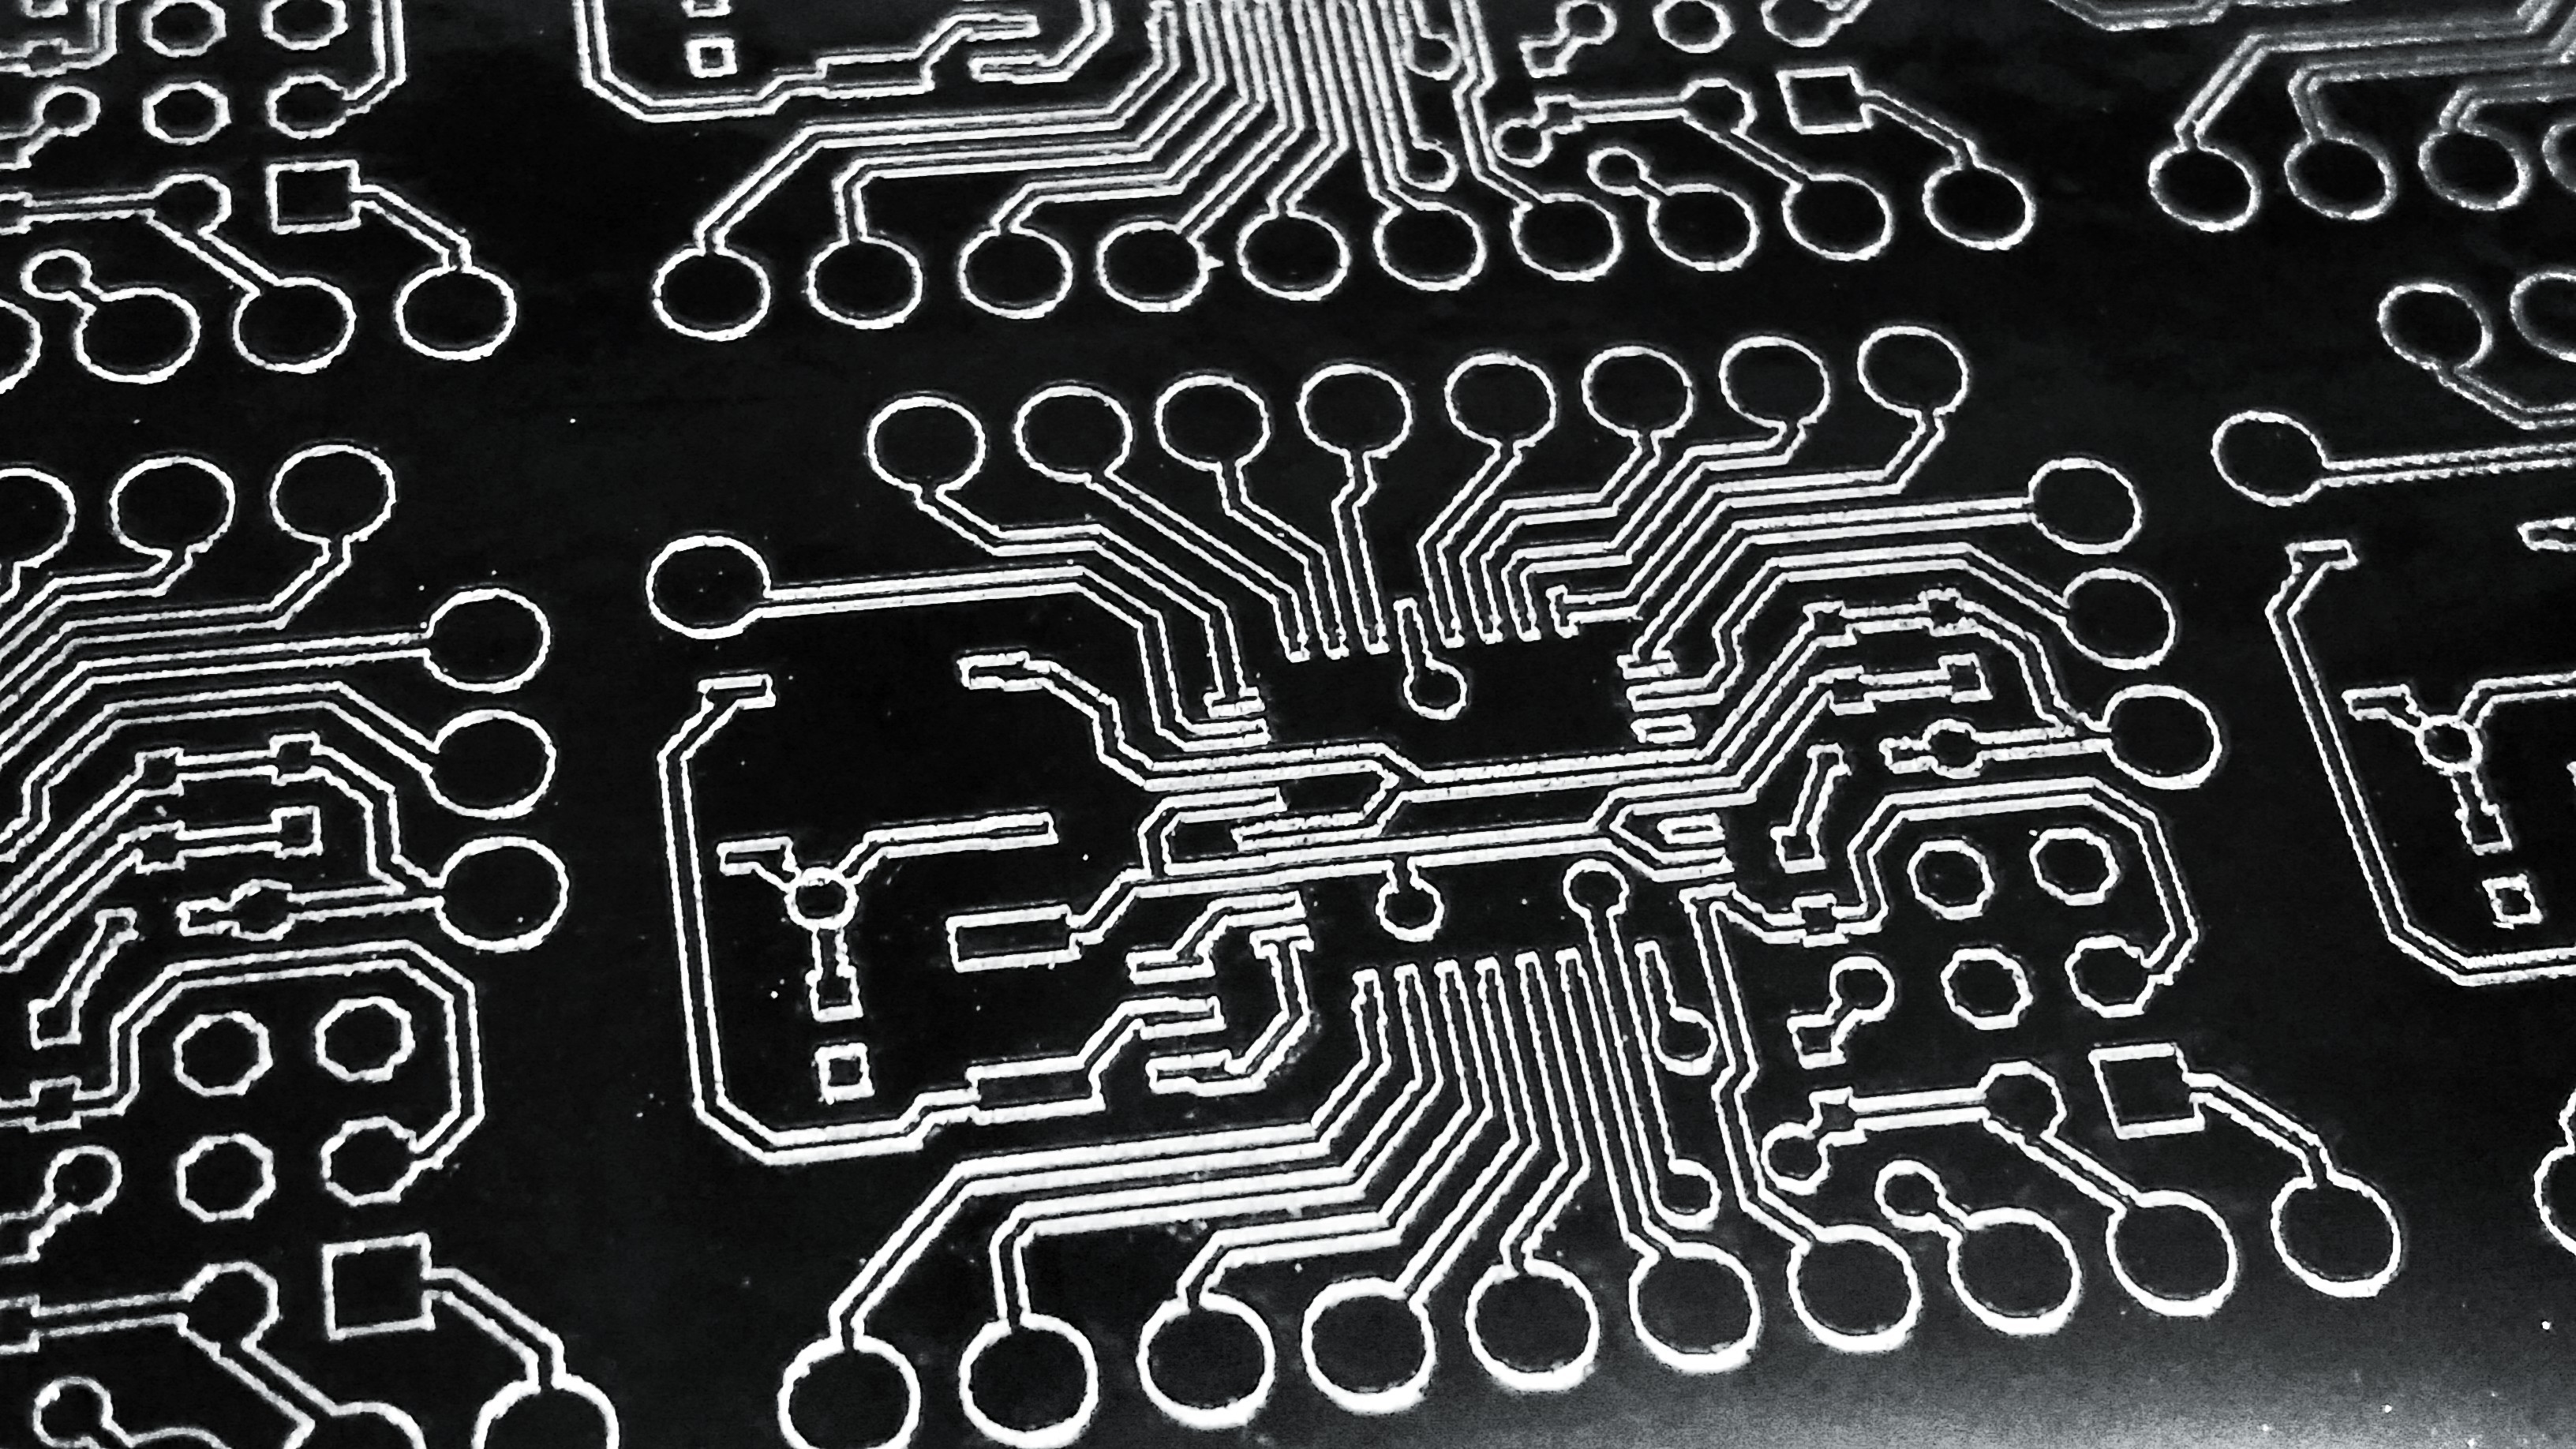
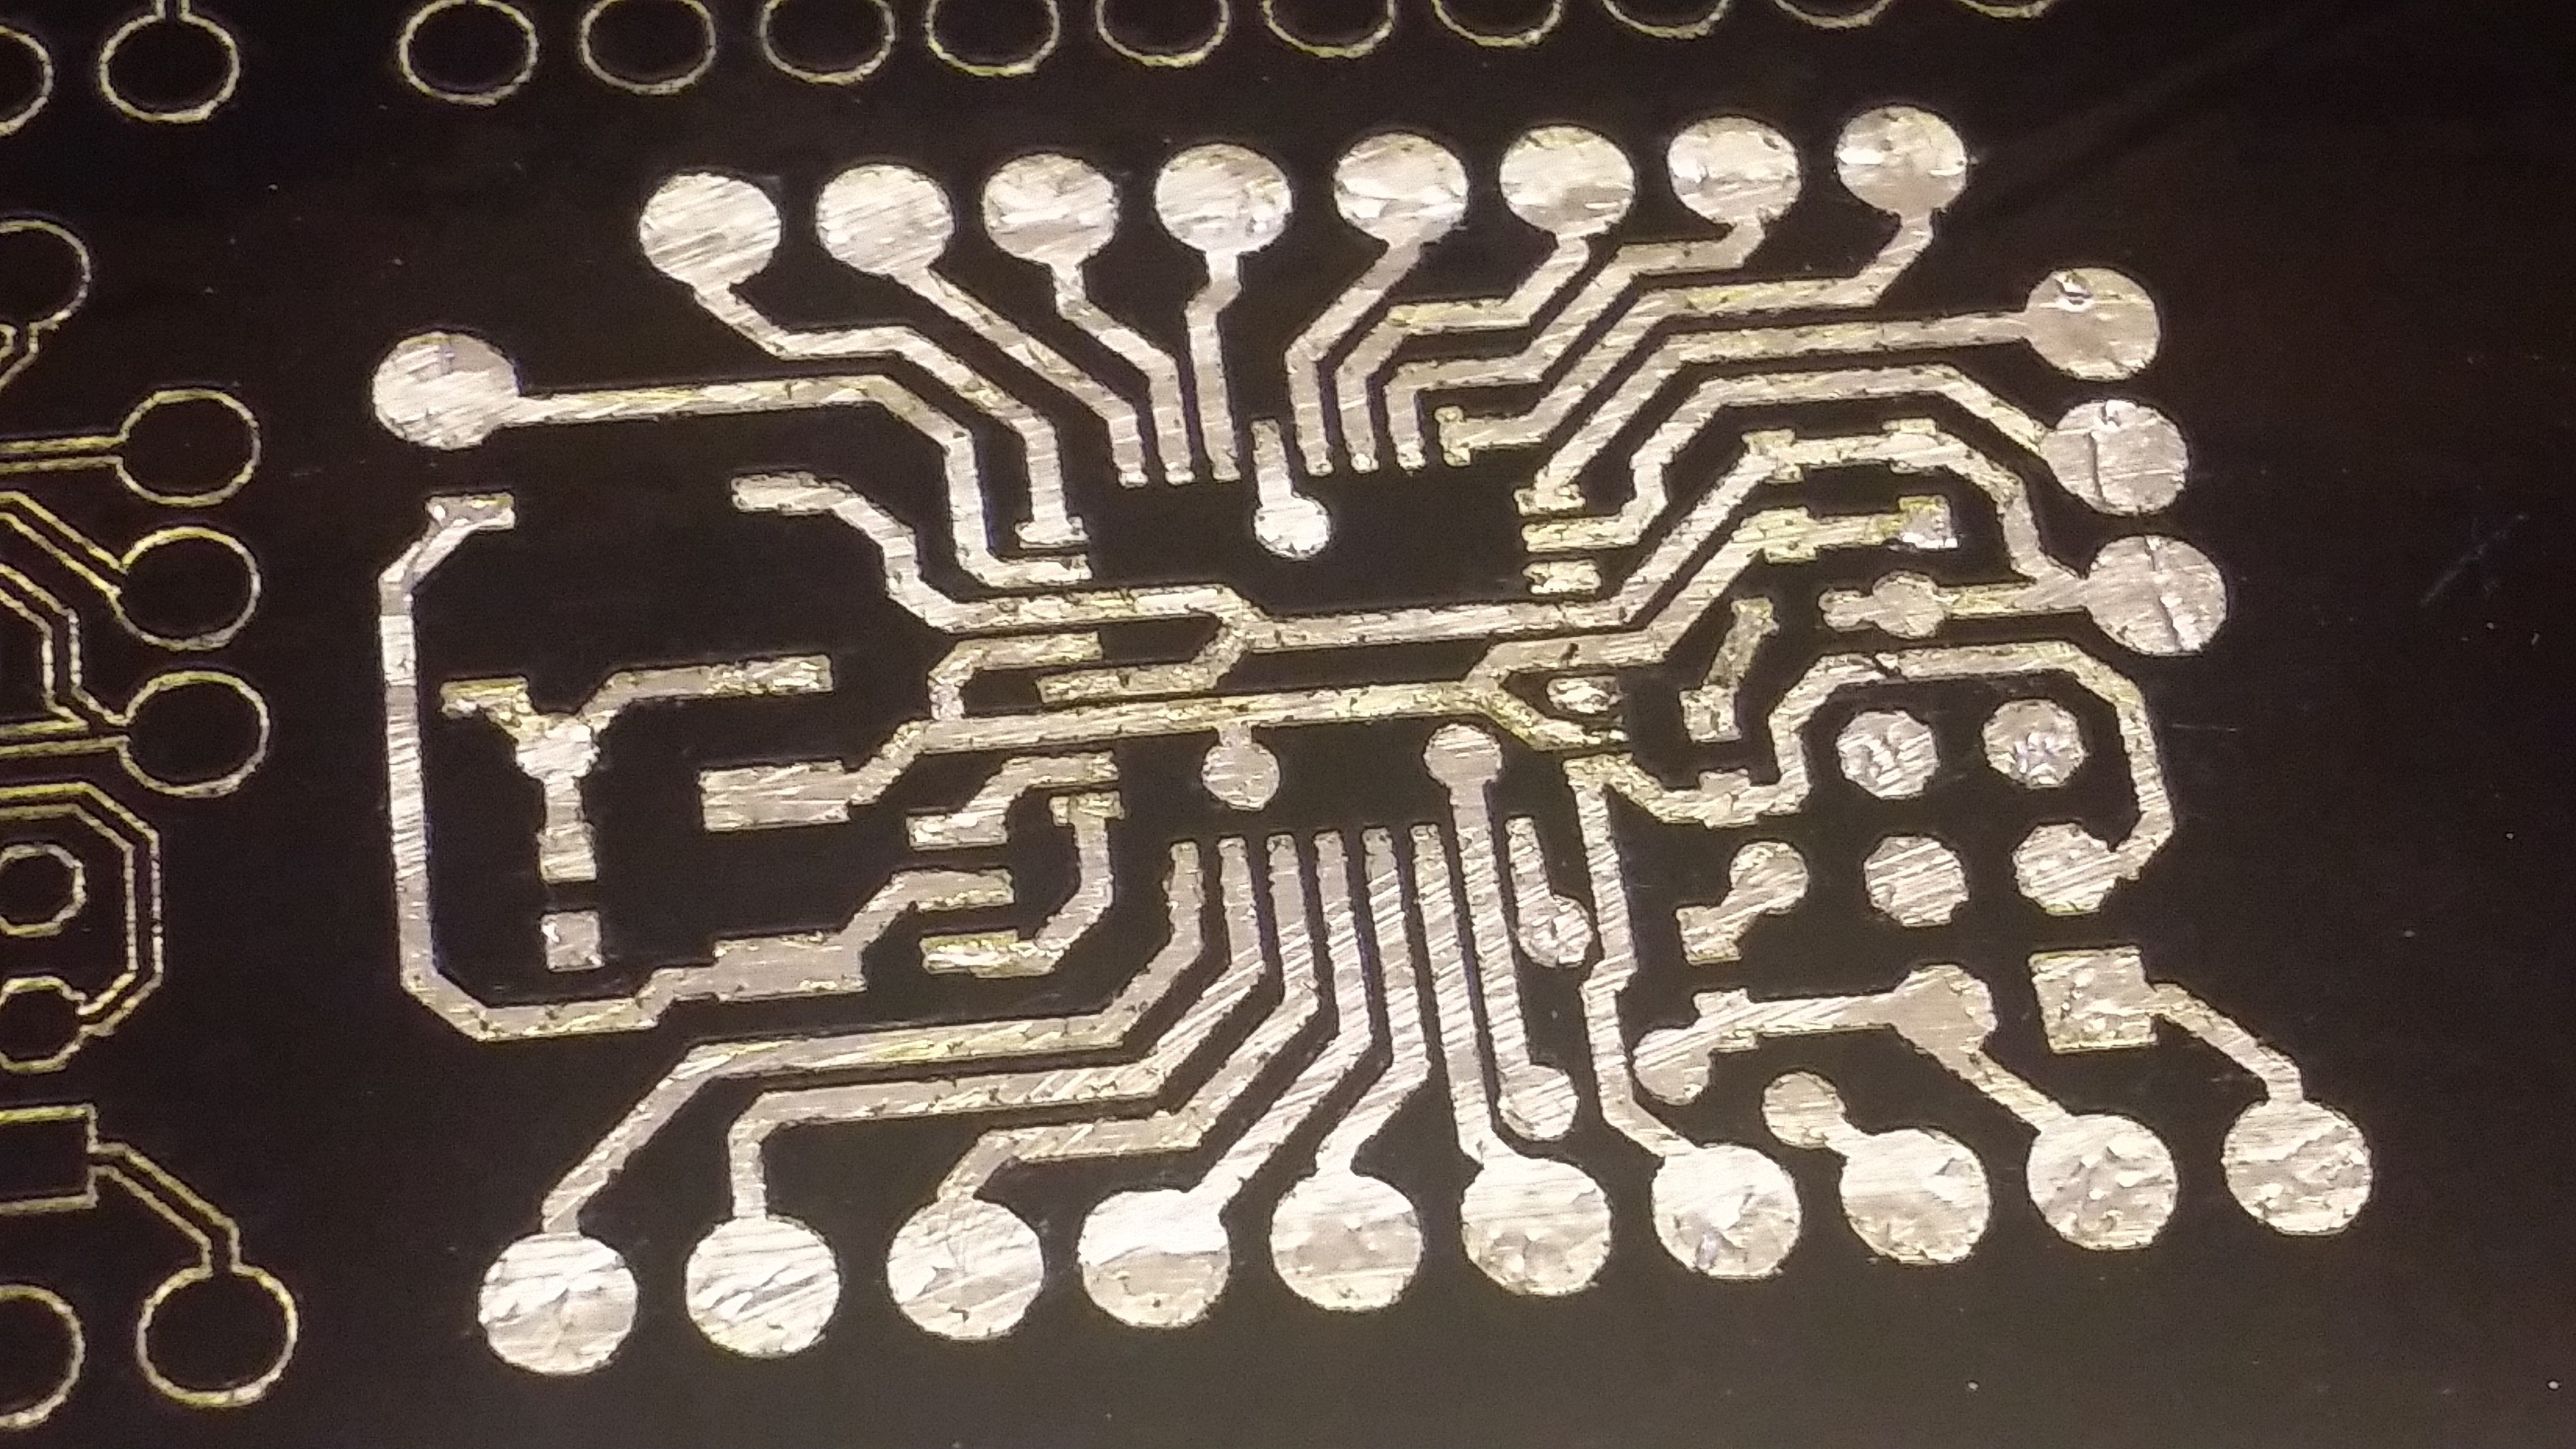
This is after removing the vinyl before etching....

So, as you can see the template should never wear out and you do not have to worry about toner transparencies being so bad that you have to print two of them and stack them.. The aluminum will block 100% of the UV and the borosilicate glass will transmit more of it than transparencies or regular glass...
I guess I forgot to put this same disclaimer on this page that I had on the other...... This goes without saying....
(Make note: cutting vinyl with a laser produces noxious and disgusting fumes and might harm you and/or end your days on this planet..make your family hate you and destroy your life.. Using this method means you understand the health risks and the nasty nature of the chemicals involved and their effects on your well being and peace of mind.....mostly, just make sure you do it in an extremely well ventilated area and don't expose yourself to unnecessary risks... and wear eye protection....!!! Also....most of all, understand that I won't be responsible for you losing an eye or a lung or a family member from misuse of anything involved with this project... =D )


 zittware
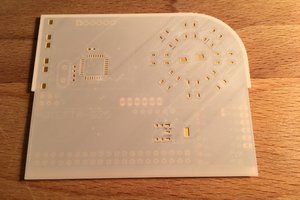
 Robert Kirberich
 Wudagem
 johnowhitaker
Which laser, specifically? I might build a similar one based on the CoreXY system