 Mark Langford
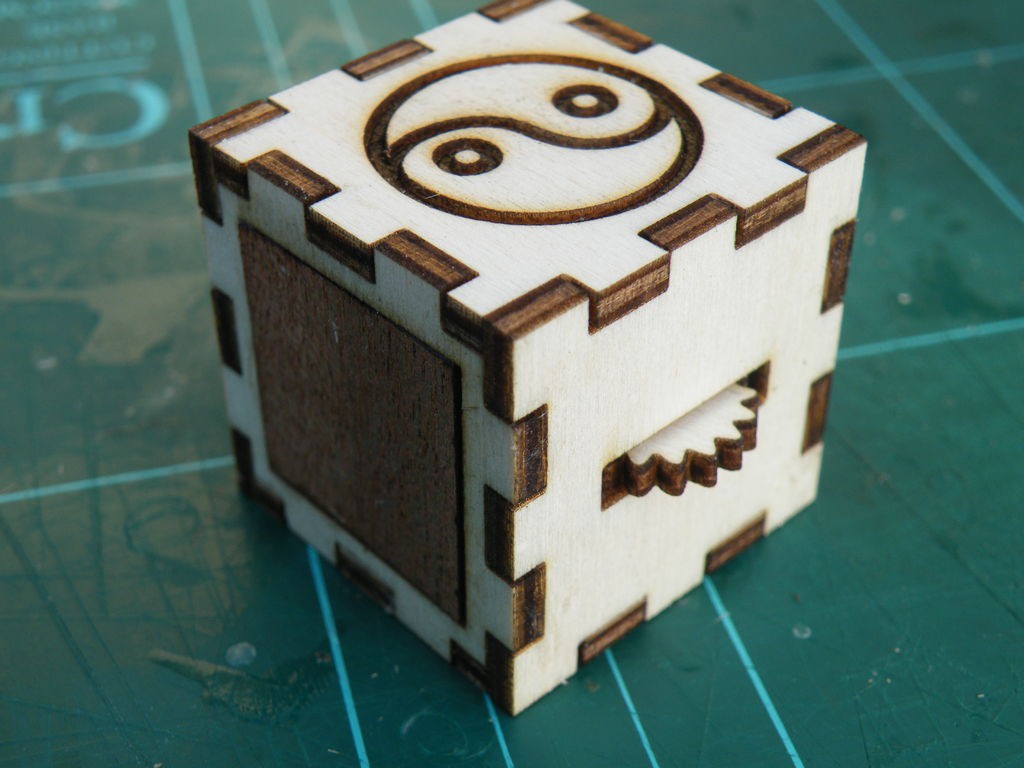
Fidget cubes and fiddle cubes are all over the internet,so I really needed to make one.
All it took was a bit of imagination.
And a laser cutter. Yes, a laser-cutter definitely helped...
Step 1: Needful Things
If you don't have your own laser cutter, you can get the parts cut by Ponoko - use the file attached to this step, and get it cut from a "P1" sized sheet of 3mm plywood from their laser cut wood materials range
If you have your own cutter, you can use a mix of materials - I used 3mm plywood and 1mm hardwood veneer. The files for the "mixed media" version are on the next step.
However you cut the parts, you will also need;
- A neodymium magnet
- Small rubber band
- Piece of bamboo skewer
- Small nuts
- PVA woodglue
- Laser cutter(or the Ponoko service)
- Sandpaper
- Sharp craft knife
- Clamps
- Tweezers
click here. Otherwise click through to step 2.
Download Fiddle Box P1 3mm Ponoko Ready.svg
Step 2: Cutting
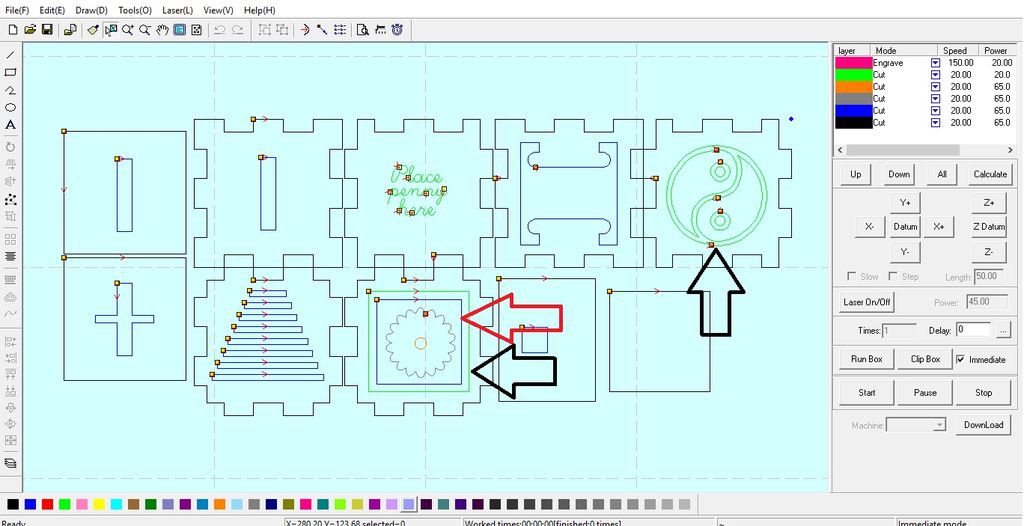
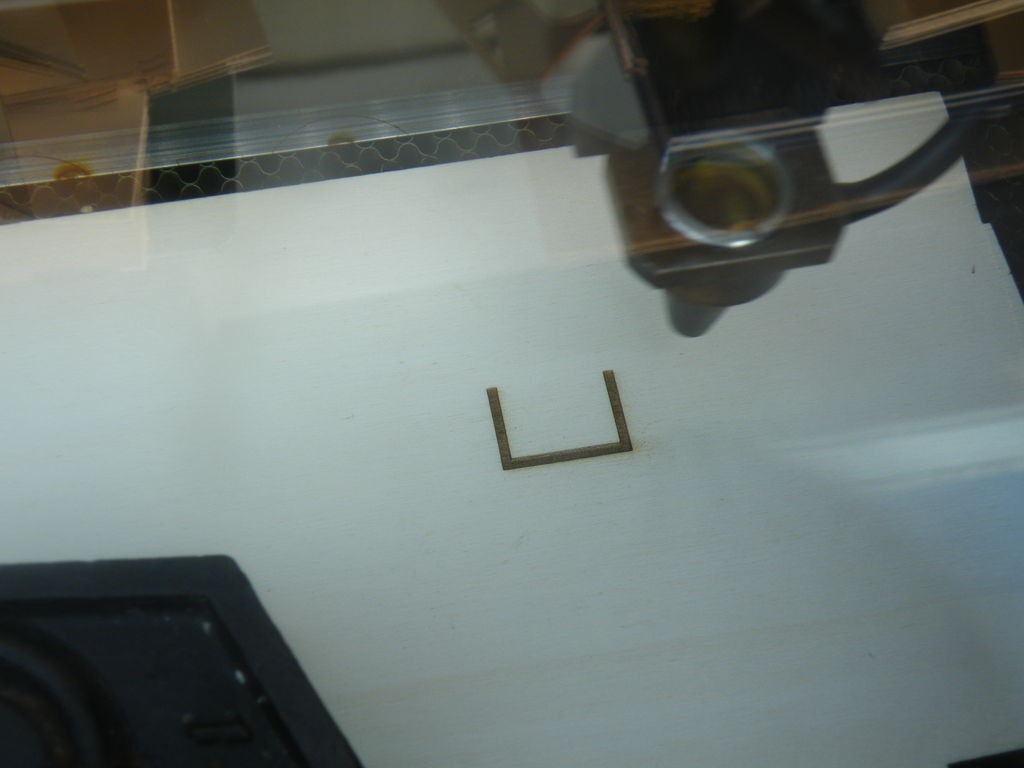
When cutting, part of the piece is engraved.
The engraving is done first, and then outlined with a low-power cut to give it a clear edge.
In the screenshot from my cutter software, the green lines are the low-power cuts. Those marked with a black arrow actually have a pink line hidden under them, to mark the area to be engraved.
The blue lines are cut through, but the one marked with a red arrow has another pink line beneath it, so that time isn't wasted engraving the whole square.
The files you need for your own laser cutter are also on this step.
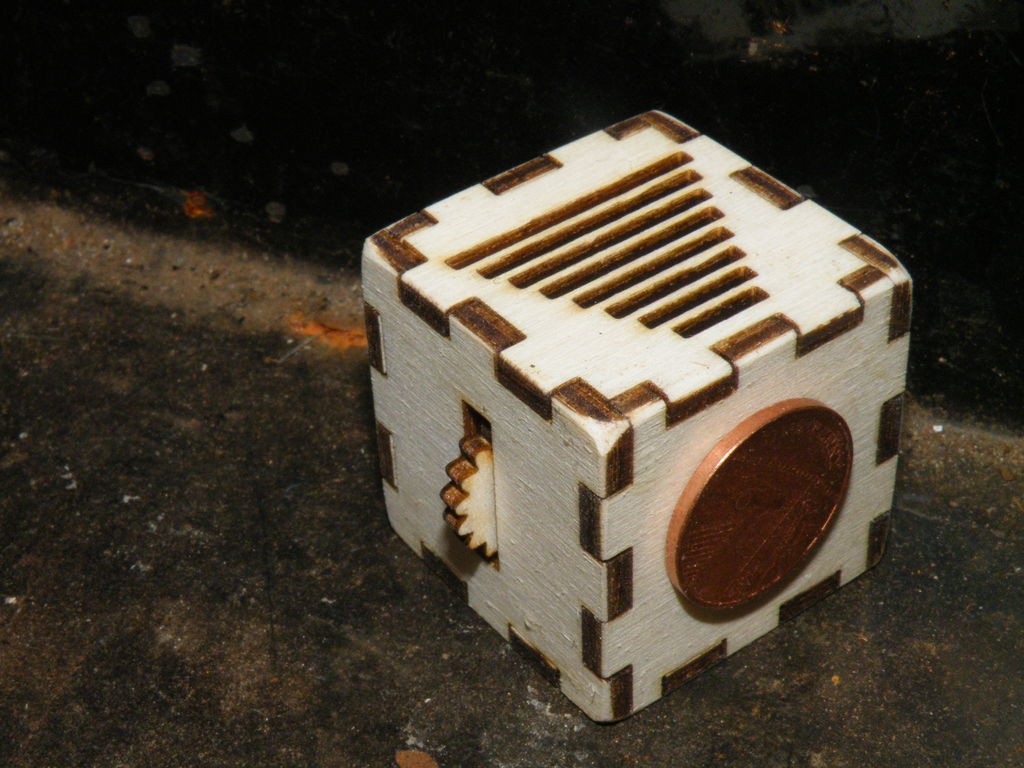
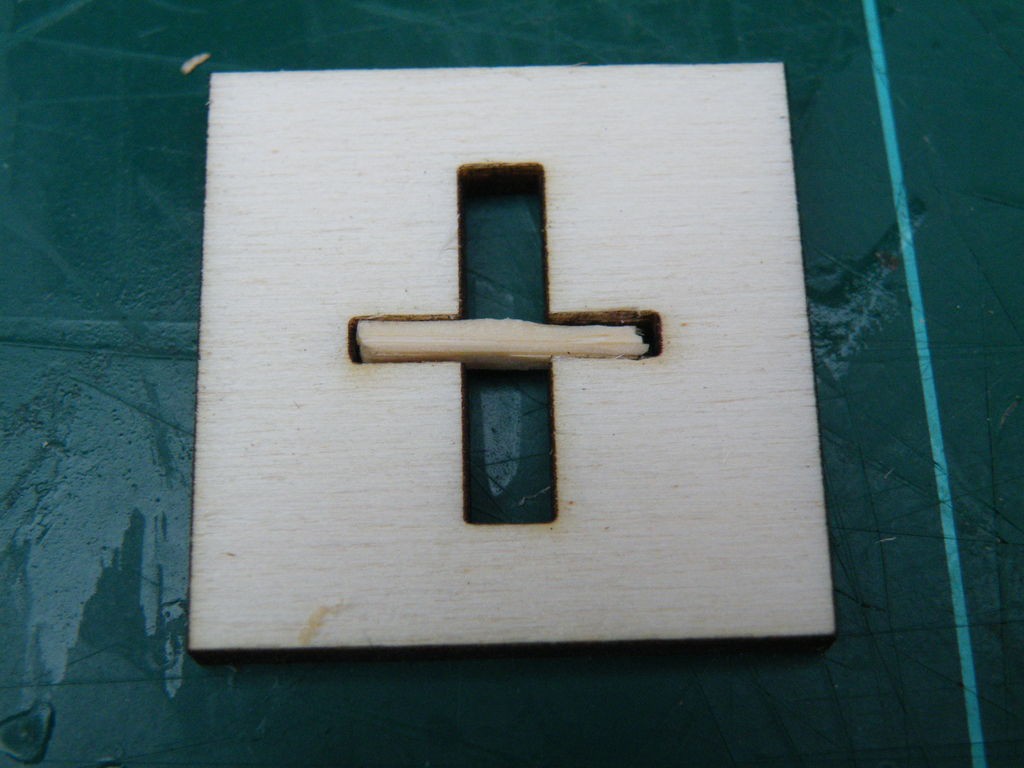
Step 3: The Cog Face
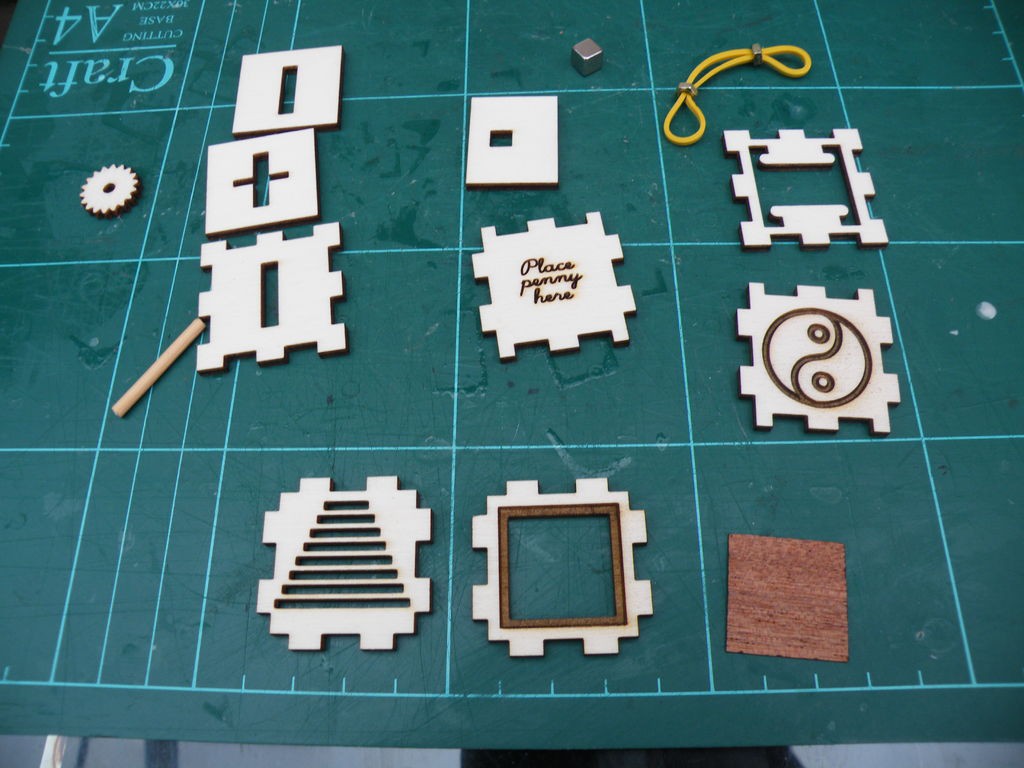
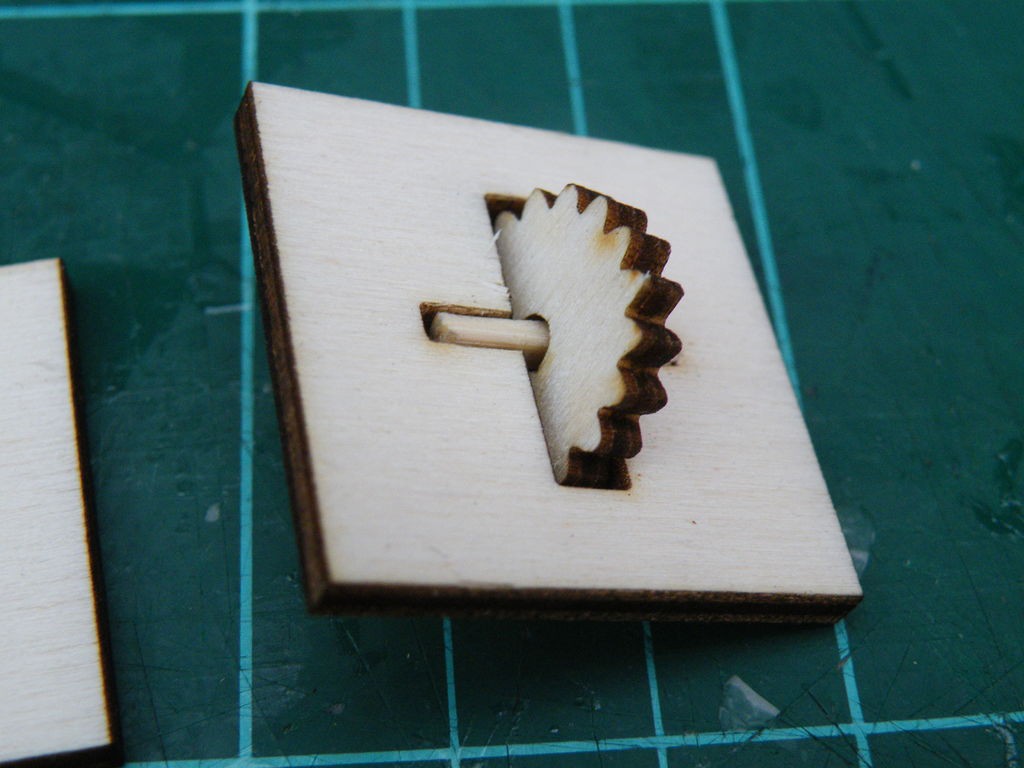
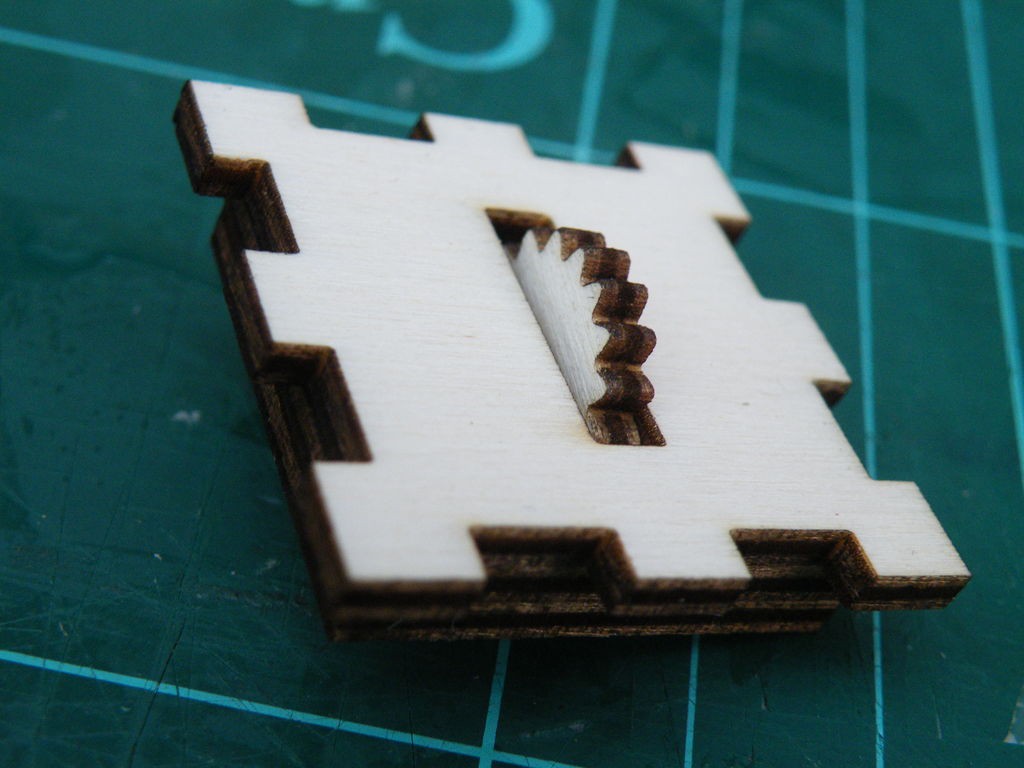
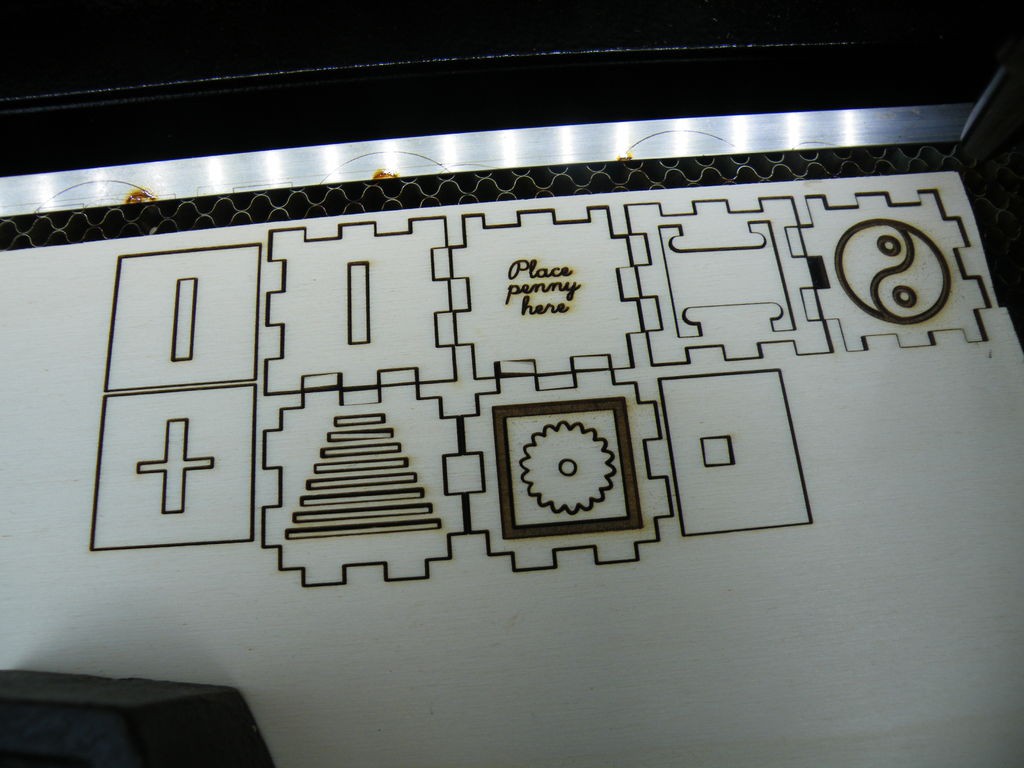
The parts of each face are marked in the first image.
Gather the parts for the cog face, as well as the glue, clamps and knife.
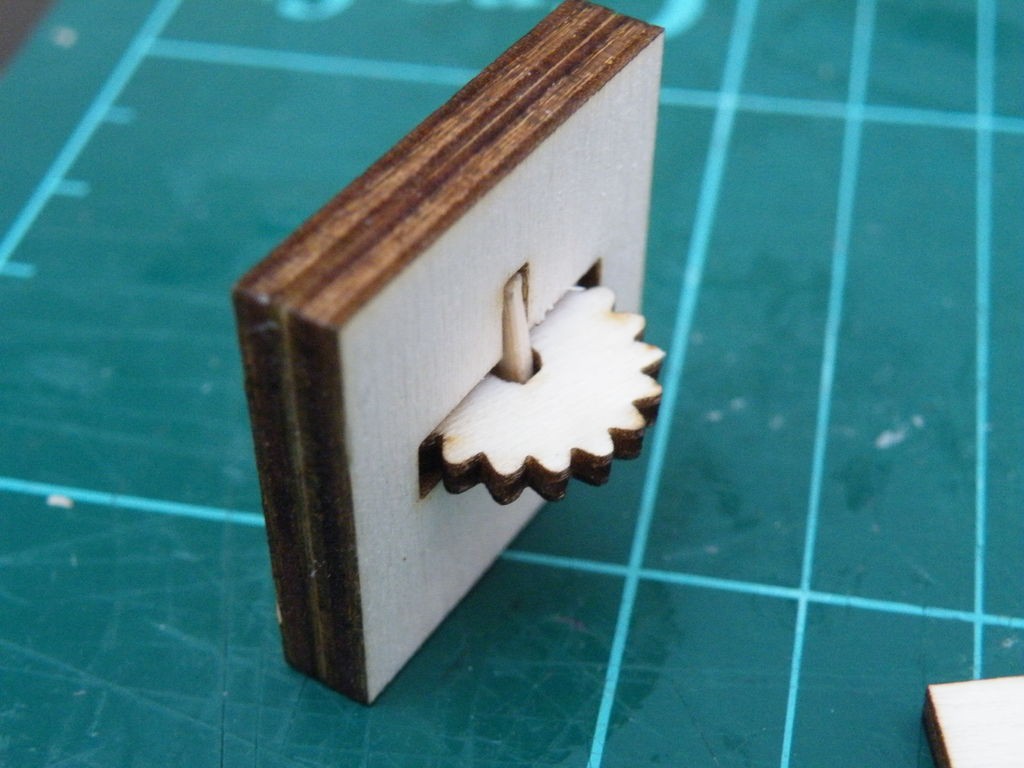
Trim and shave the bamboo to fit the cross-shaped hole in the middle layer of the face. Thread the bamboo through the cog wheel, then fit and glue the layers together - make sure the layers line up as closely as possible.
Clamp the pieces and set them aside to dry.
The finished cog can be inched round with a fingernail, or spun round with the flat of your finger/thumb.
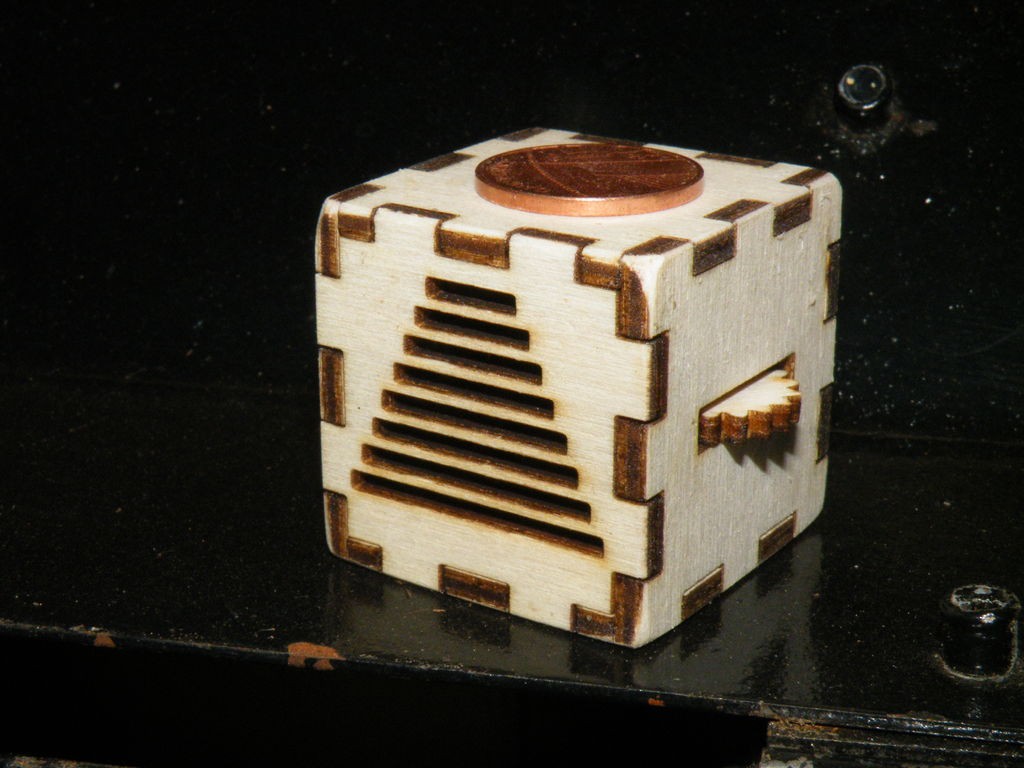
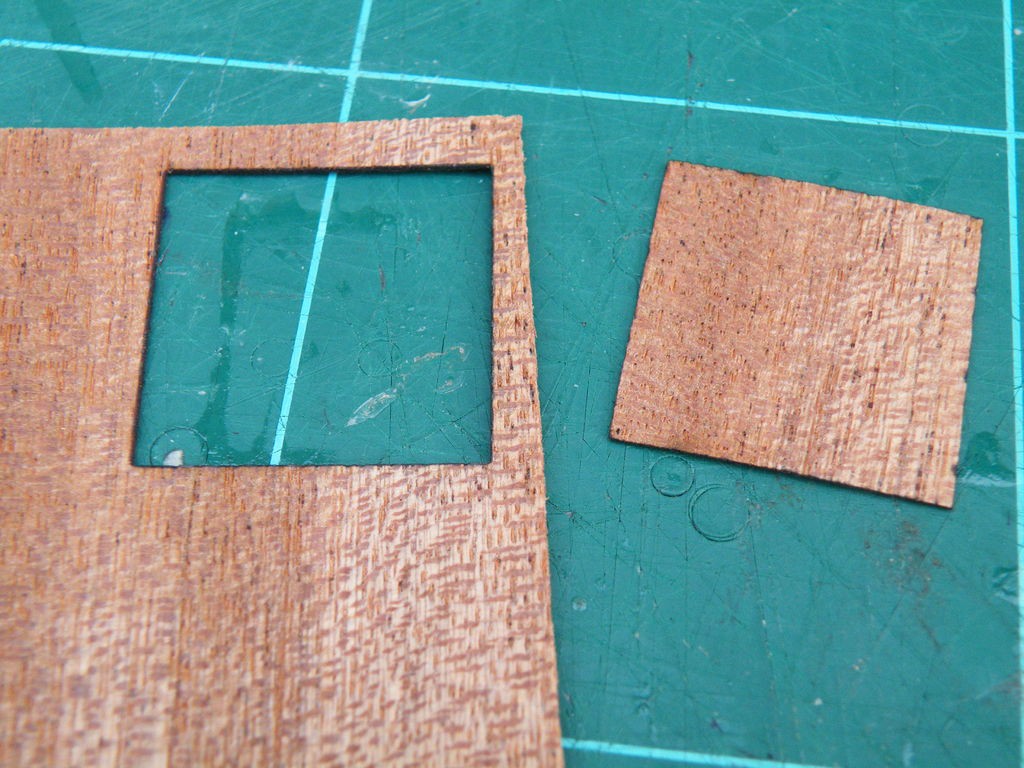
Step 4: Drum Face
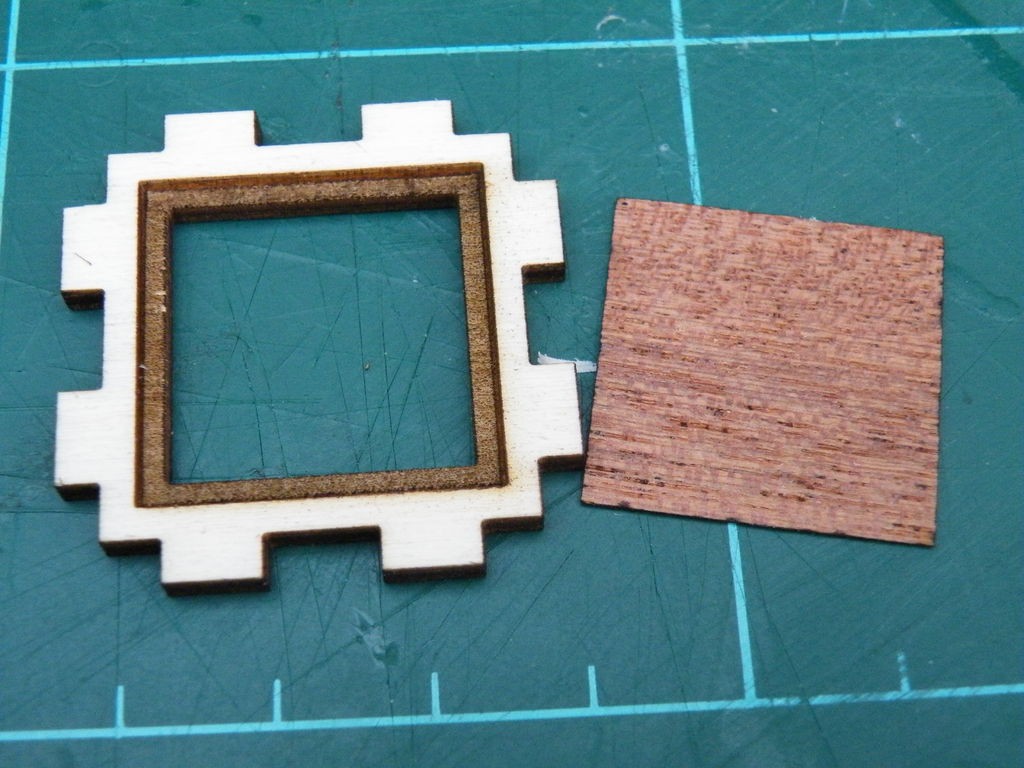
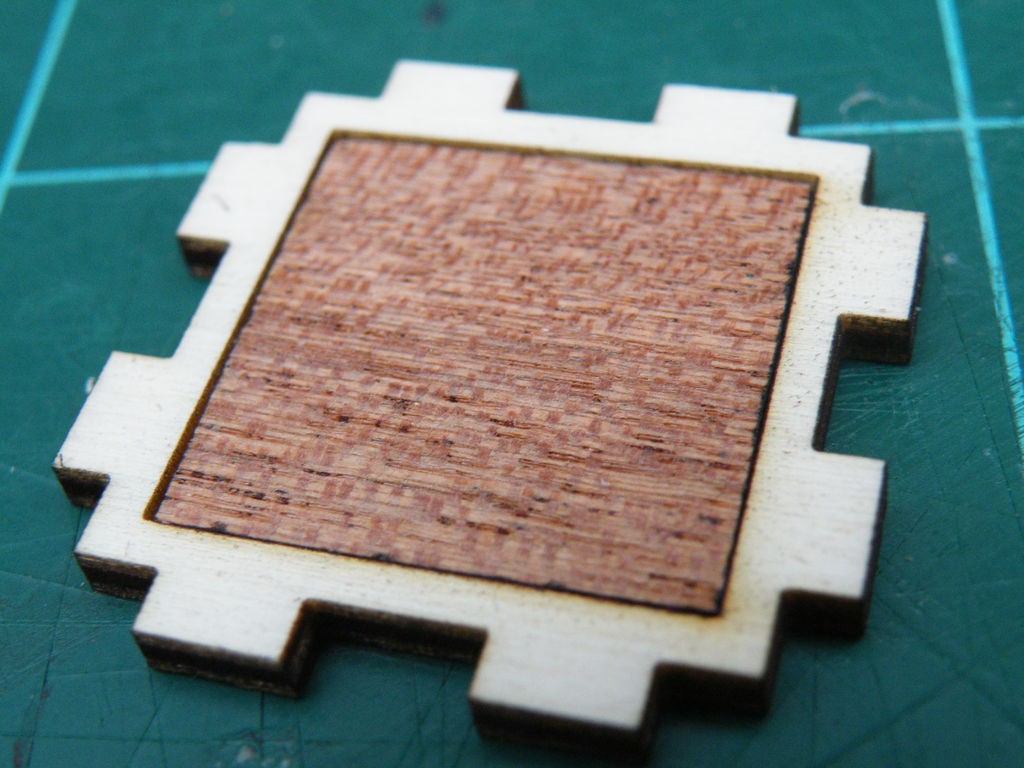
The piece of veneer fits snugly into into the recessed square - simply line the recess with glue, and leave a small weight on top while it dries.
The finished face can be tapped and drummed, and makes a horribly-satisfying noise when you drag a nail across the grain.
(If you're using the Ponoko files, then I replaced this face with a one-piece engraved and textured face to keep costs down.)
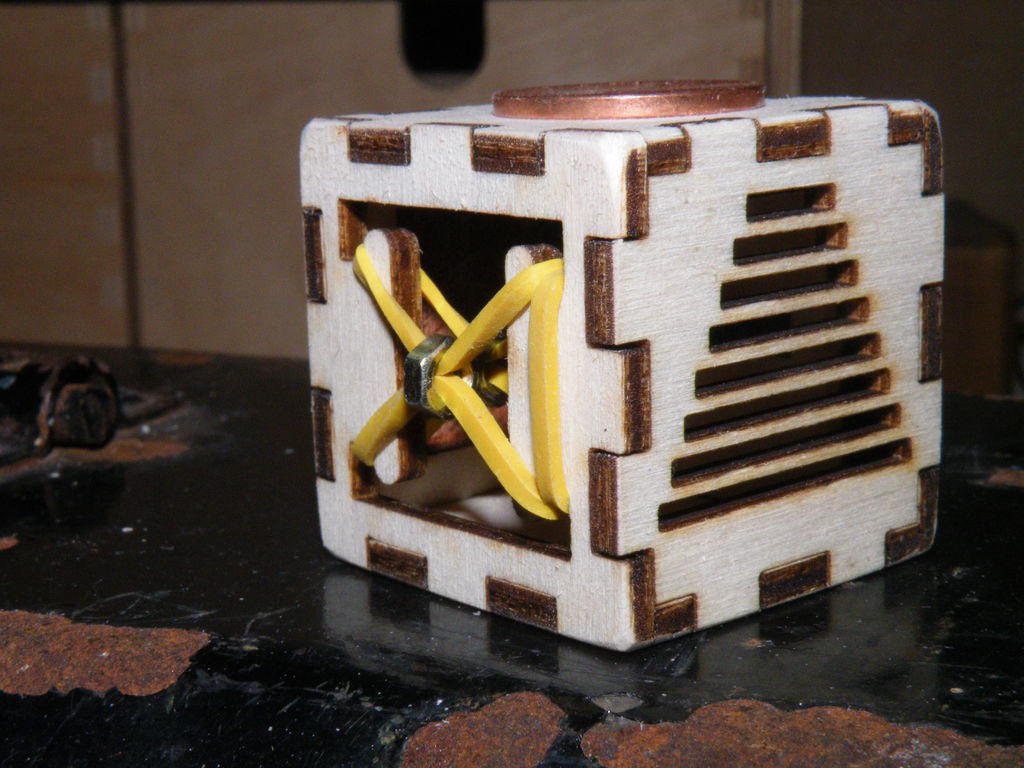
Step 5: Rubber-band Face
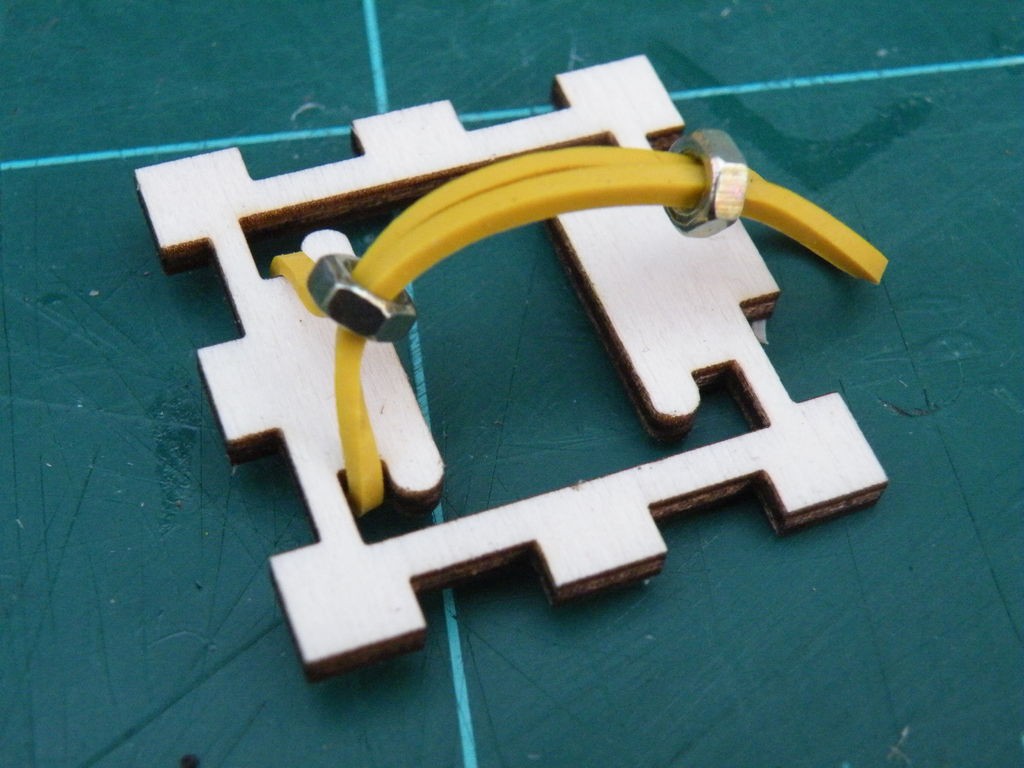
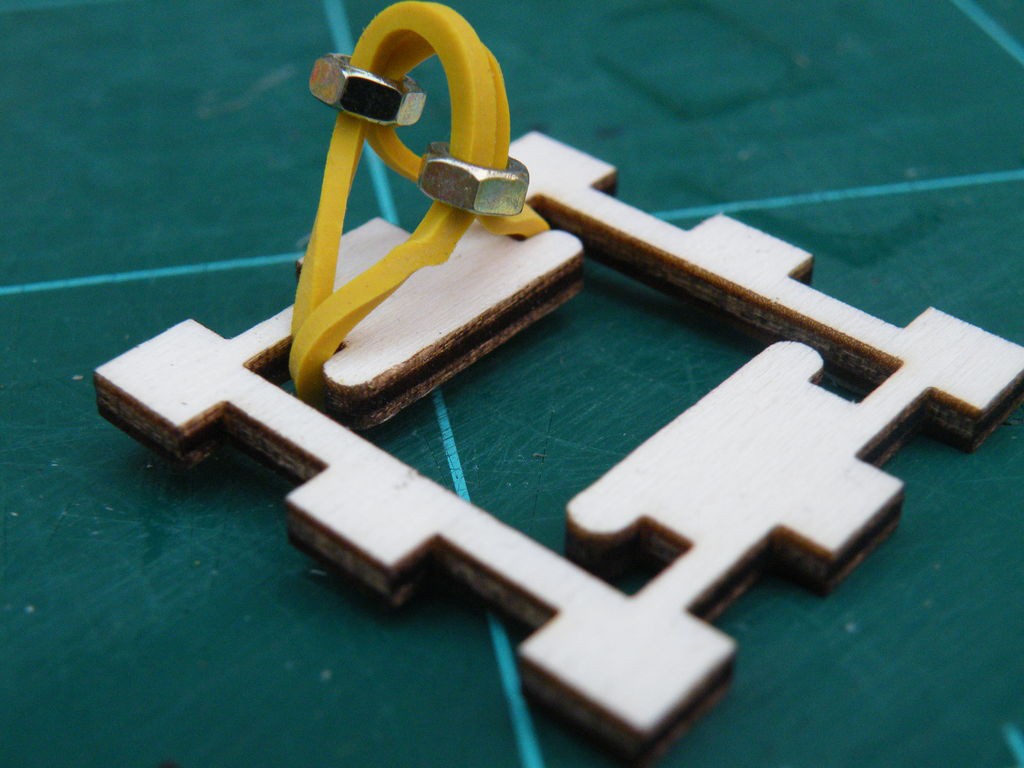
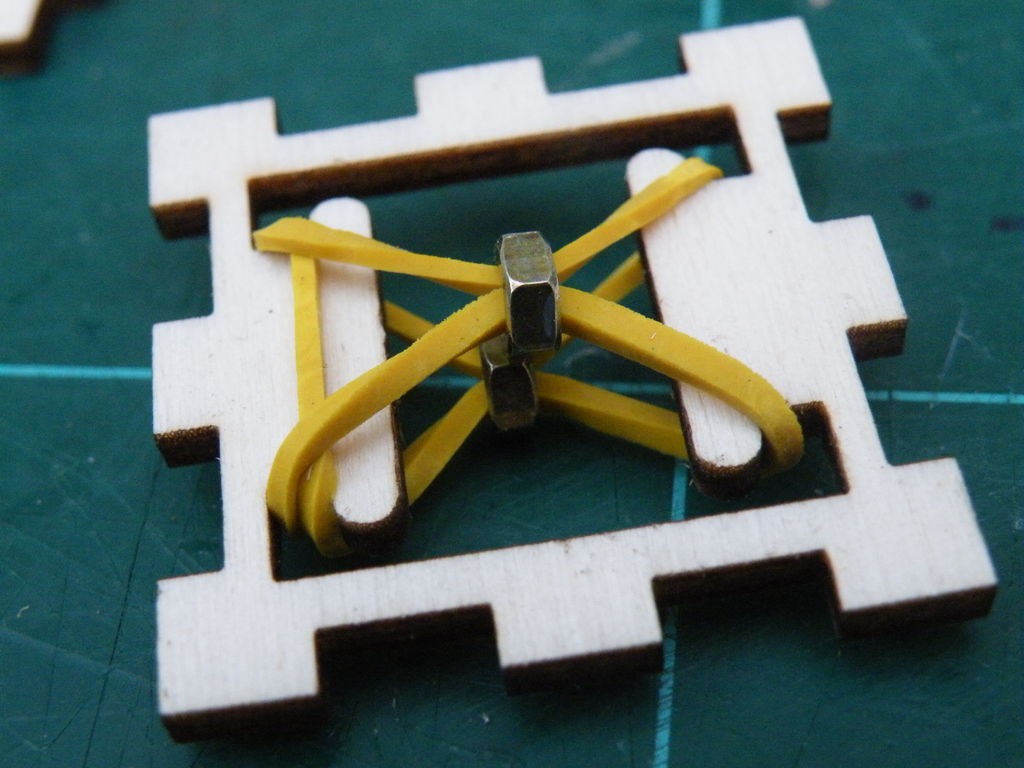

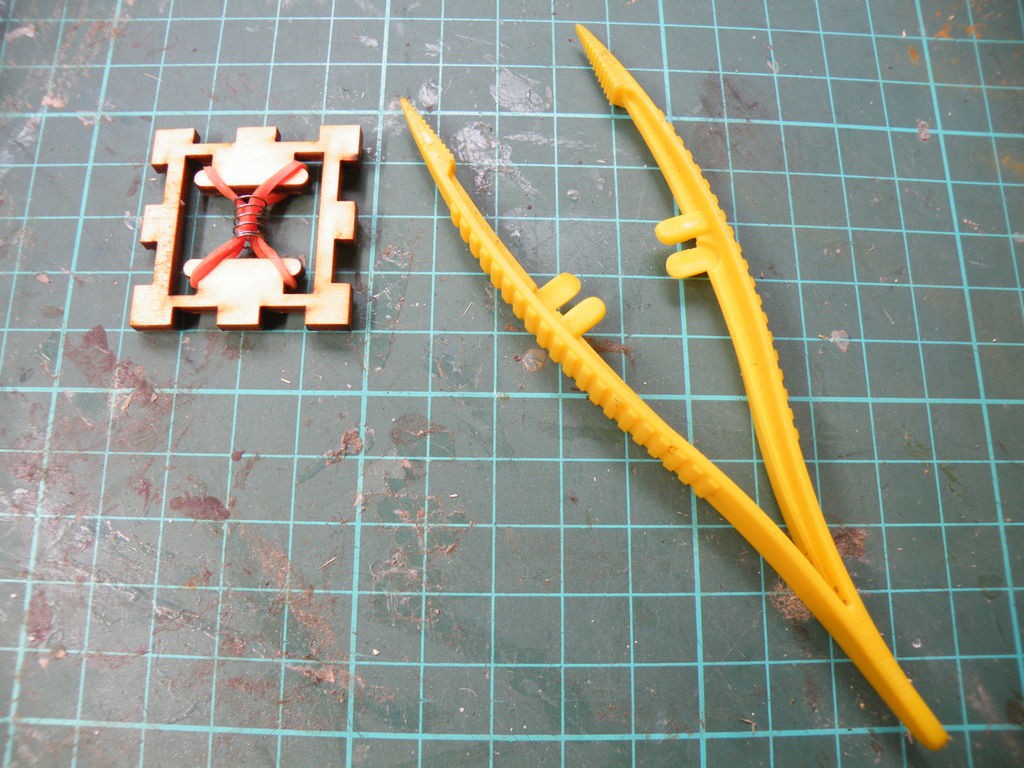
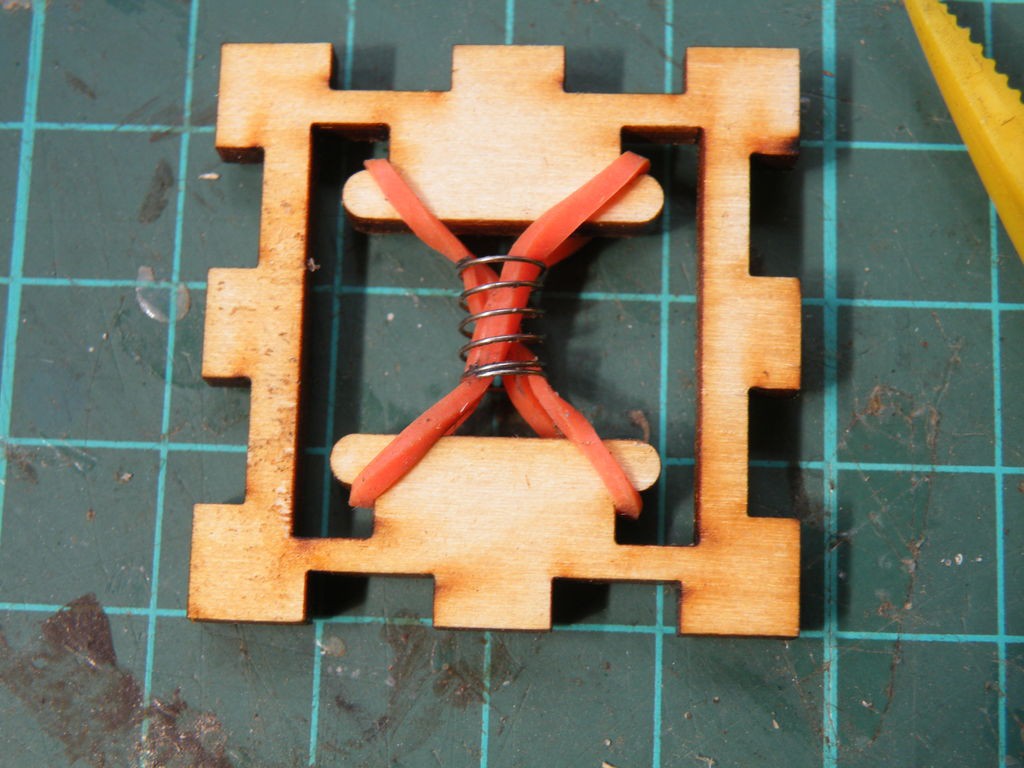
The way you set up the rubber-band face really depends on how long your band is.
In my first version, I threaded a couple of small nuts on my band to make a pinch in the middle of the band, and to give me something else to fidget and fiddle with.
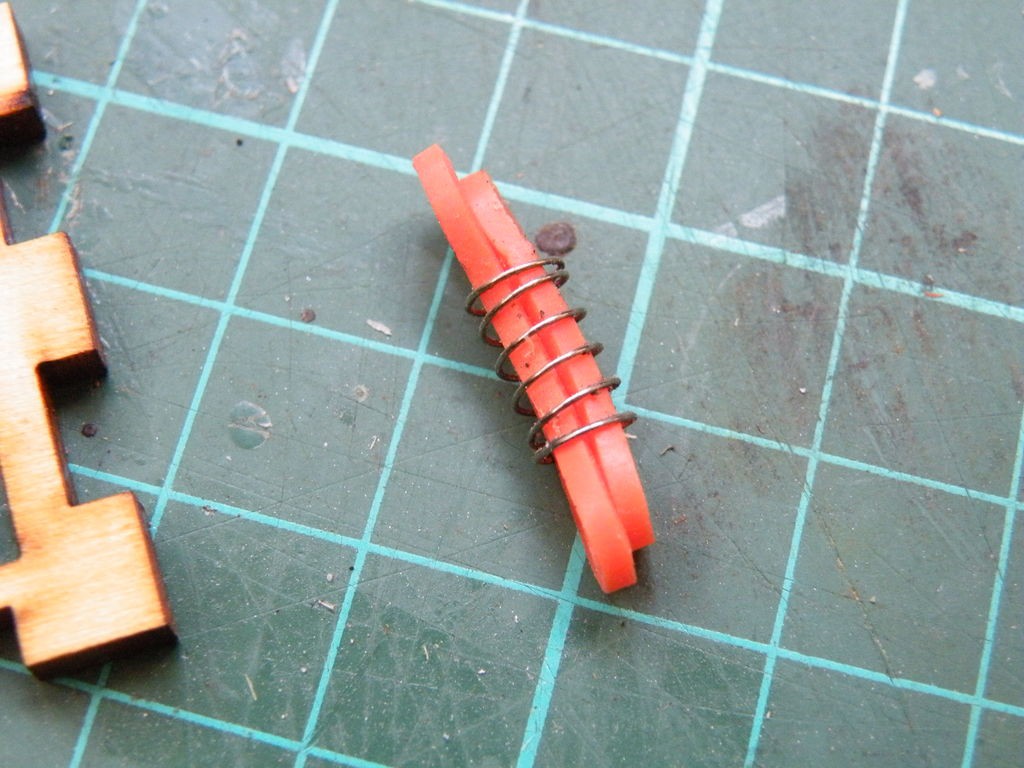
When I used the Ponoko parts, I used a pair of loom bands and a scrap spring from my stock of things that might be useful one day.
If the band you use is a bit too fiddly to get into place with bare fingers, a pair of tweezers or needle-nosed pliers might be helpful.
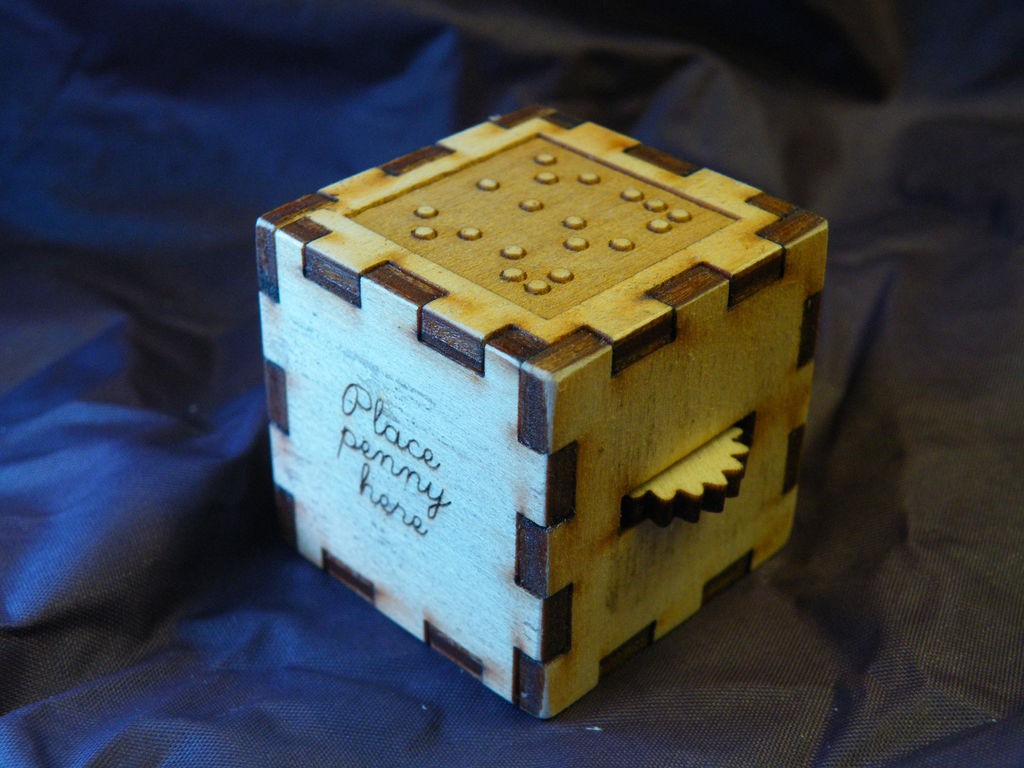
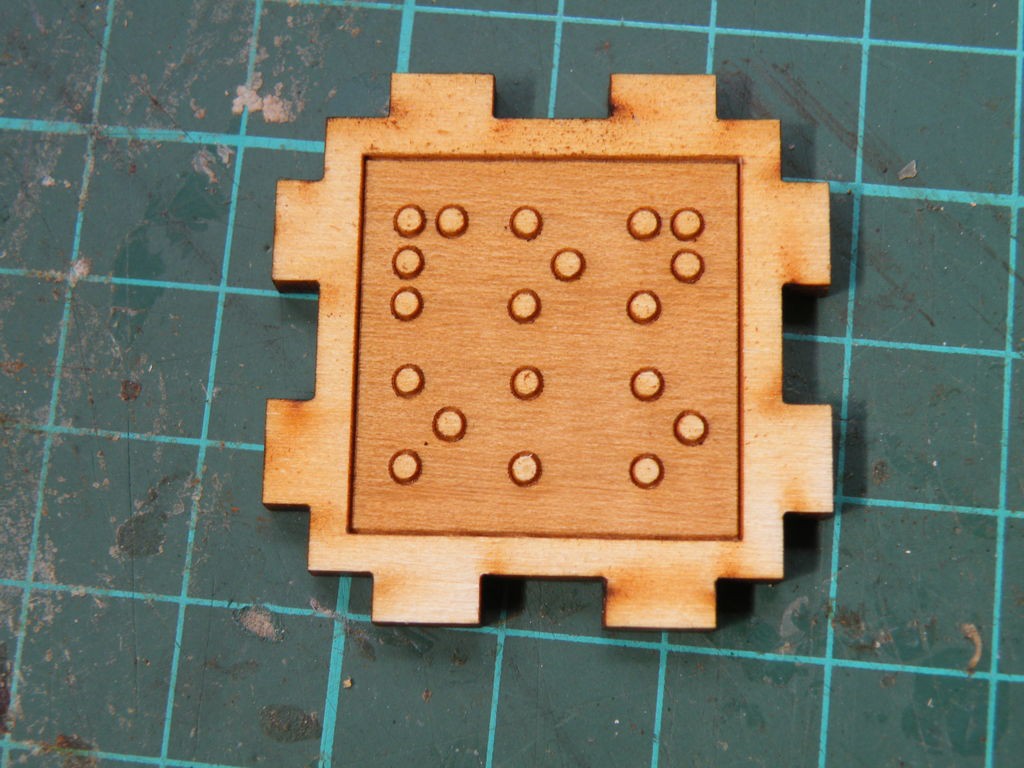
Step 6: The Penny Face
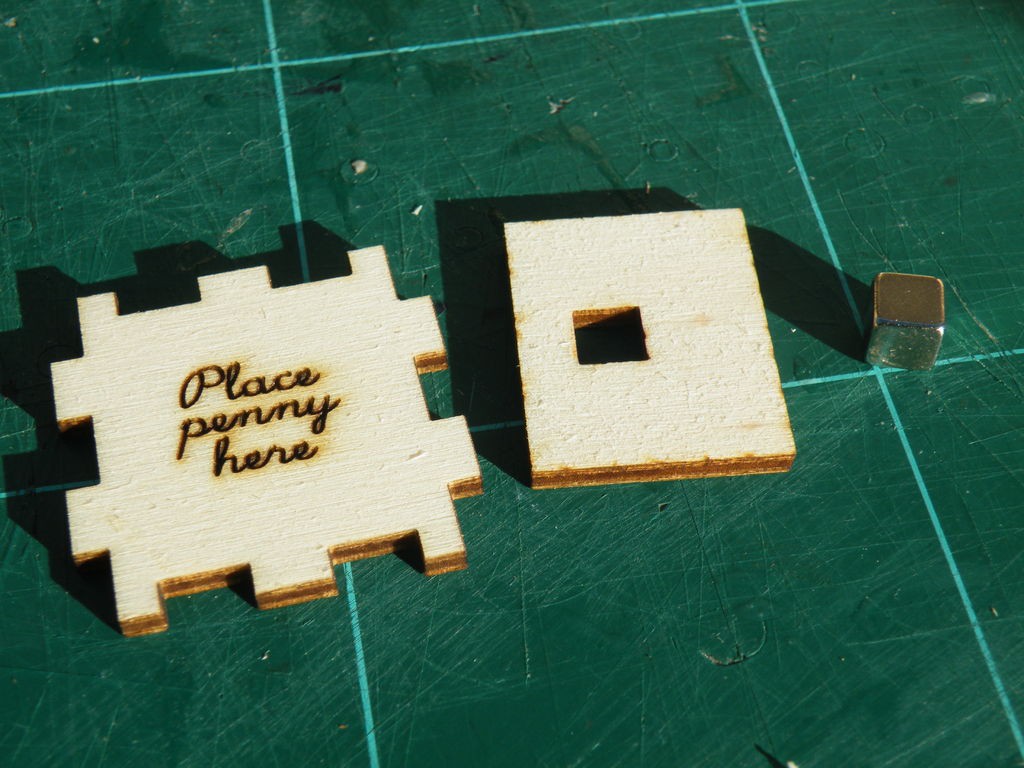
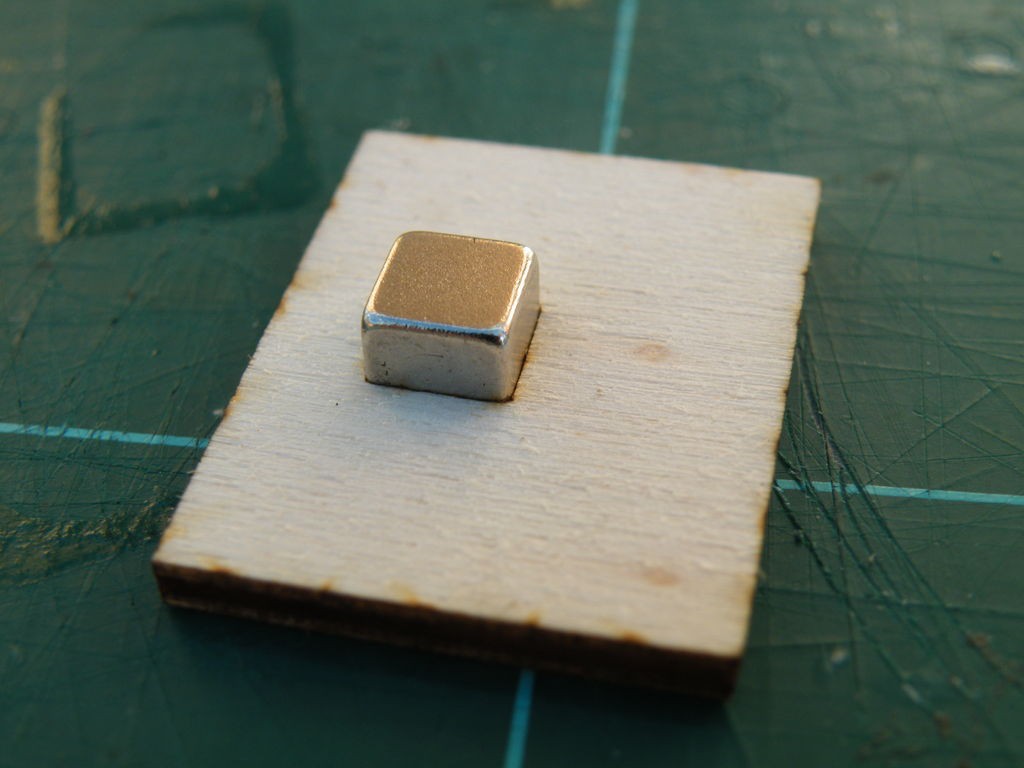
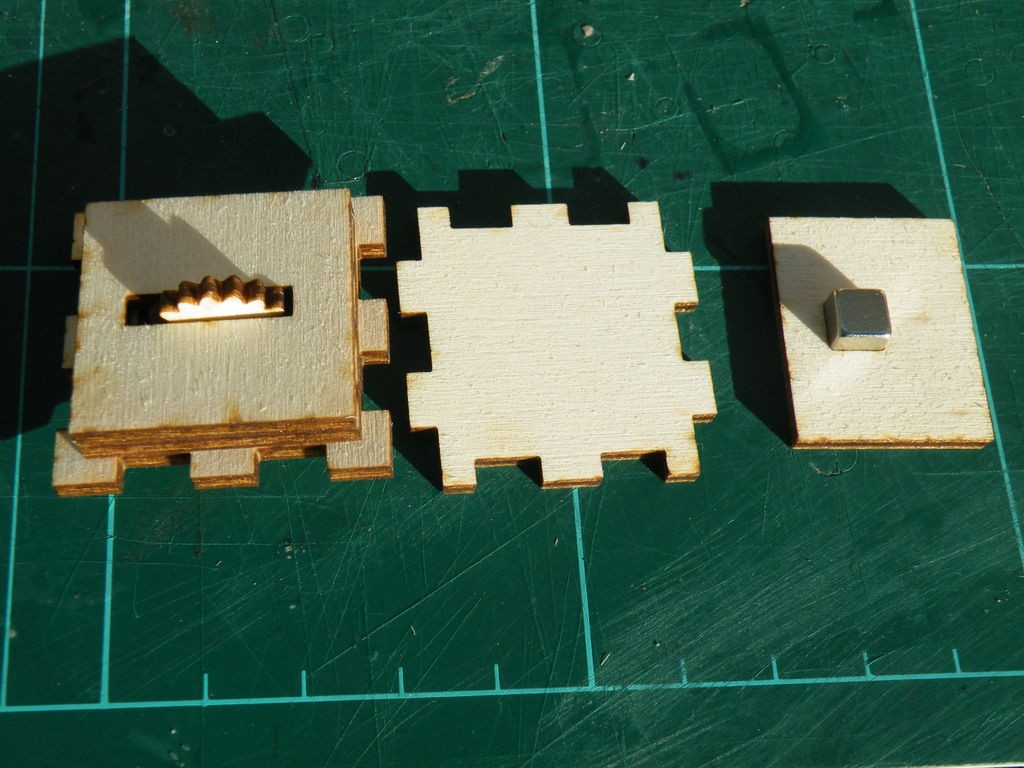
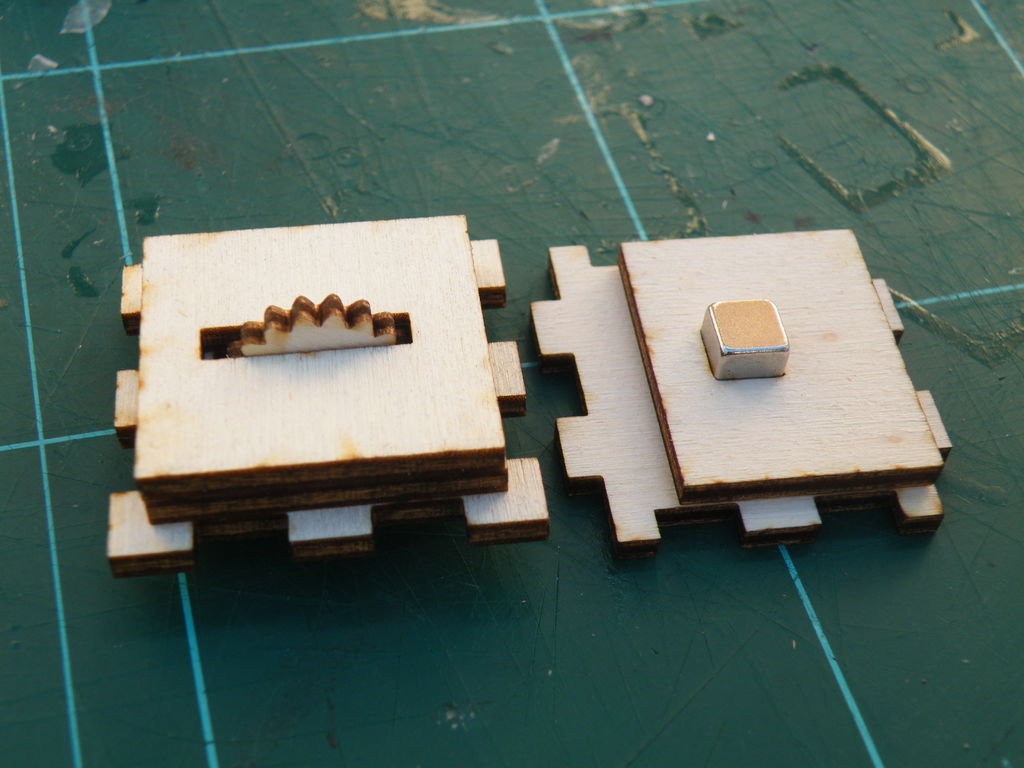
The penny face fits a small but very strong magnet behind the wooden surface.
The magnet is held in place by friction in an off-centre piece of ply - the hole I cut is exactly the same size as the cubic magnet, and it took some force to fit it.
The hole is off-centre in the rectangle to account for the thickness of the neighbouring cog wheel face.
When the magnet is firmly fitted into the rectangle, line up the face pieces so that they fit, then align the rectangle so that the magnet is in the centre of the face, and leaves a clear area near the cog face.
Glue, clamp and dry.
The other faces don't need any assembly, so now you're ready to assemble the whole cube.
Step...
Read more »


