Close
0%
0%

Open Source PIC Development Board for Newbies

This project is about learning how to use PIC microcontrollers. We will take what we learn and build an application for Amateur Radio.

Similar projects worth following

For a long time now I have wanted to learn how to use a microcontroller. Because I am a newbie myself, I figure who better to teach newbies about microcontrollers than a fellow newbie? One thing that impresses me about the Arduino community is the open source mind set which I would like to see emulated in the PIC community. You are welcome to follow along with my project as I learn how to use PIC Microcontrollers from the ground up.

Project Goals: (still in work :)

  1. Build 5 volt regulated power supply on breadboard.
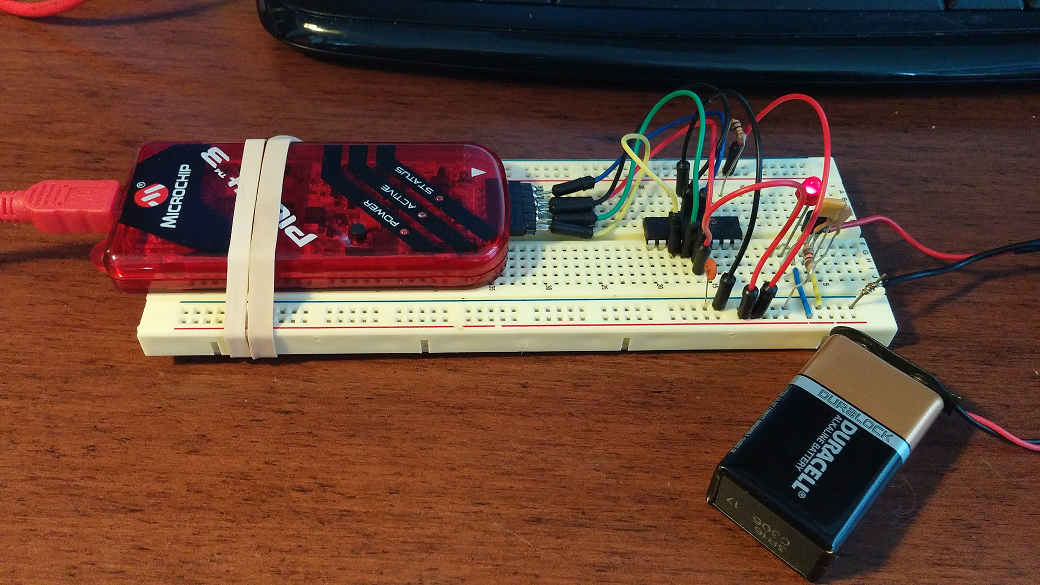
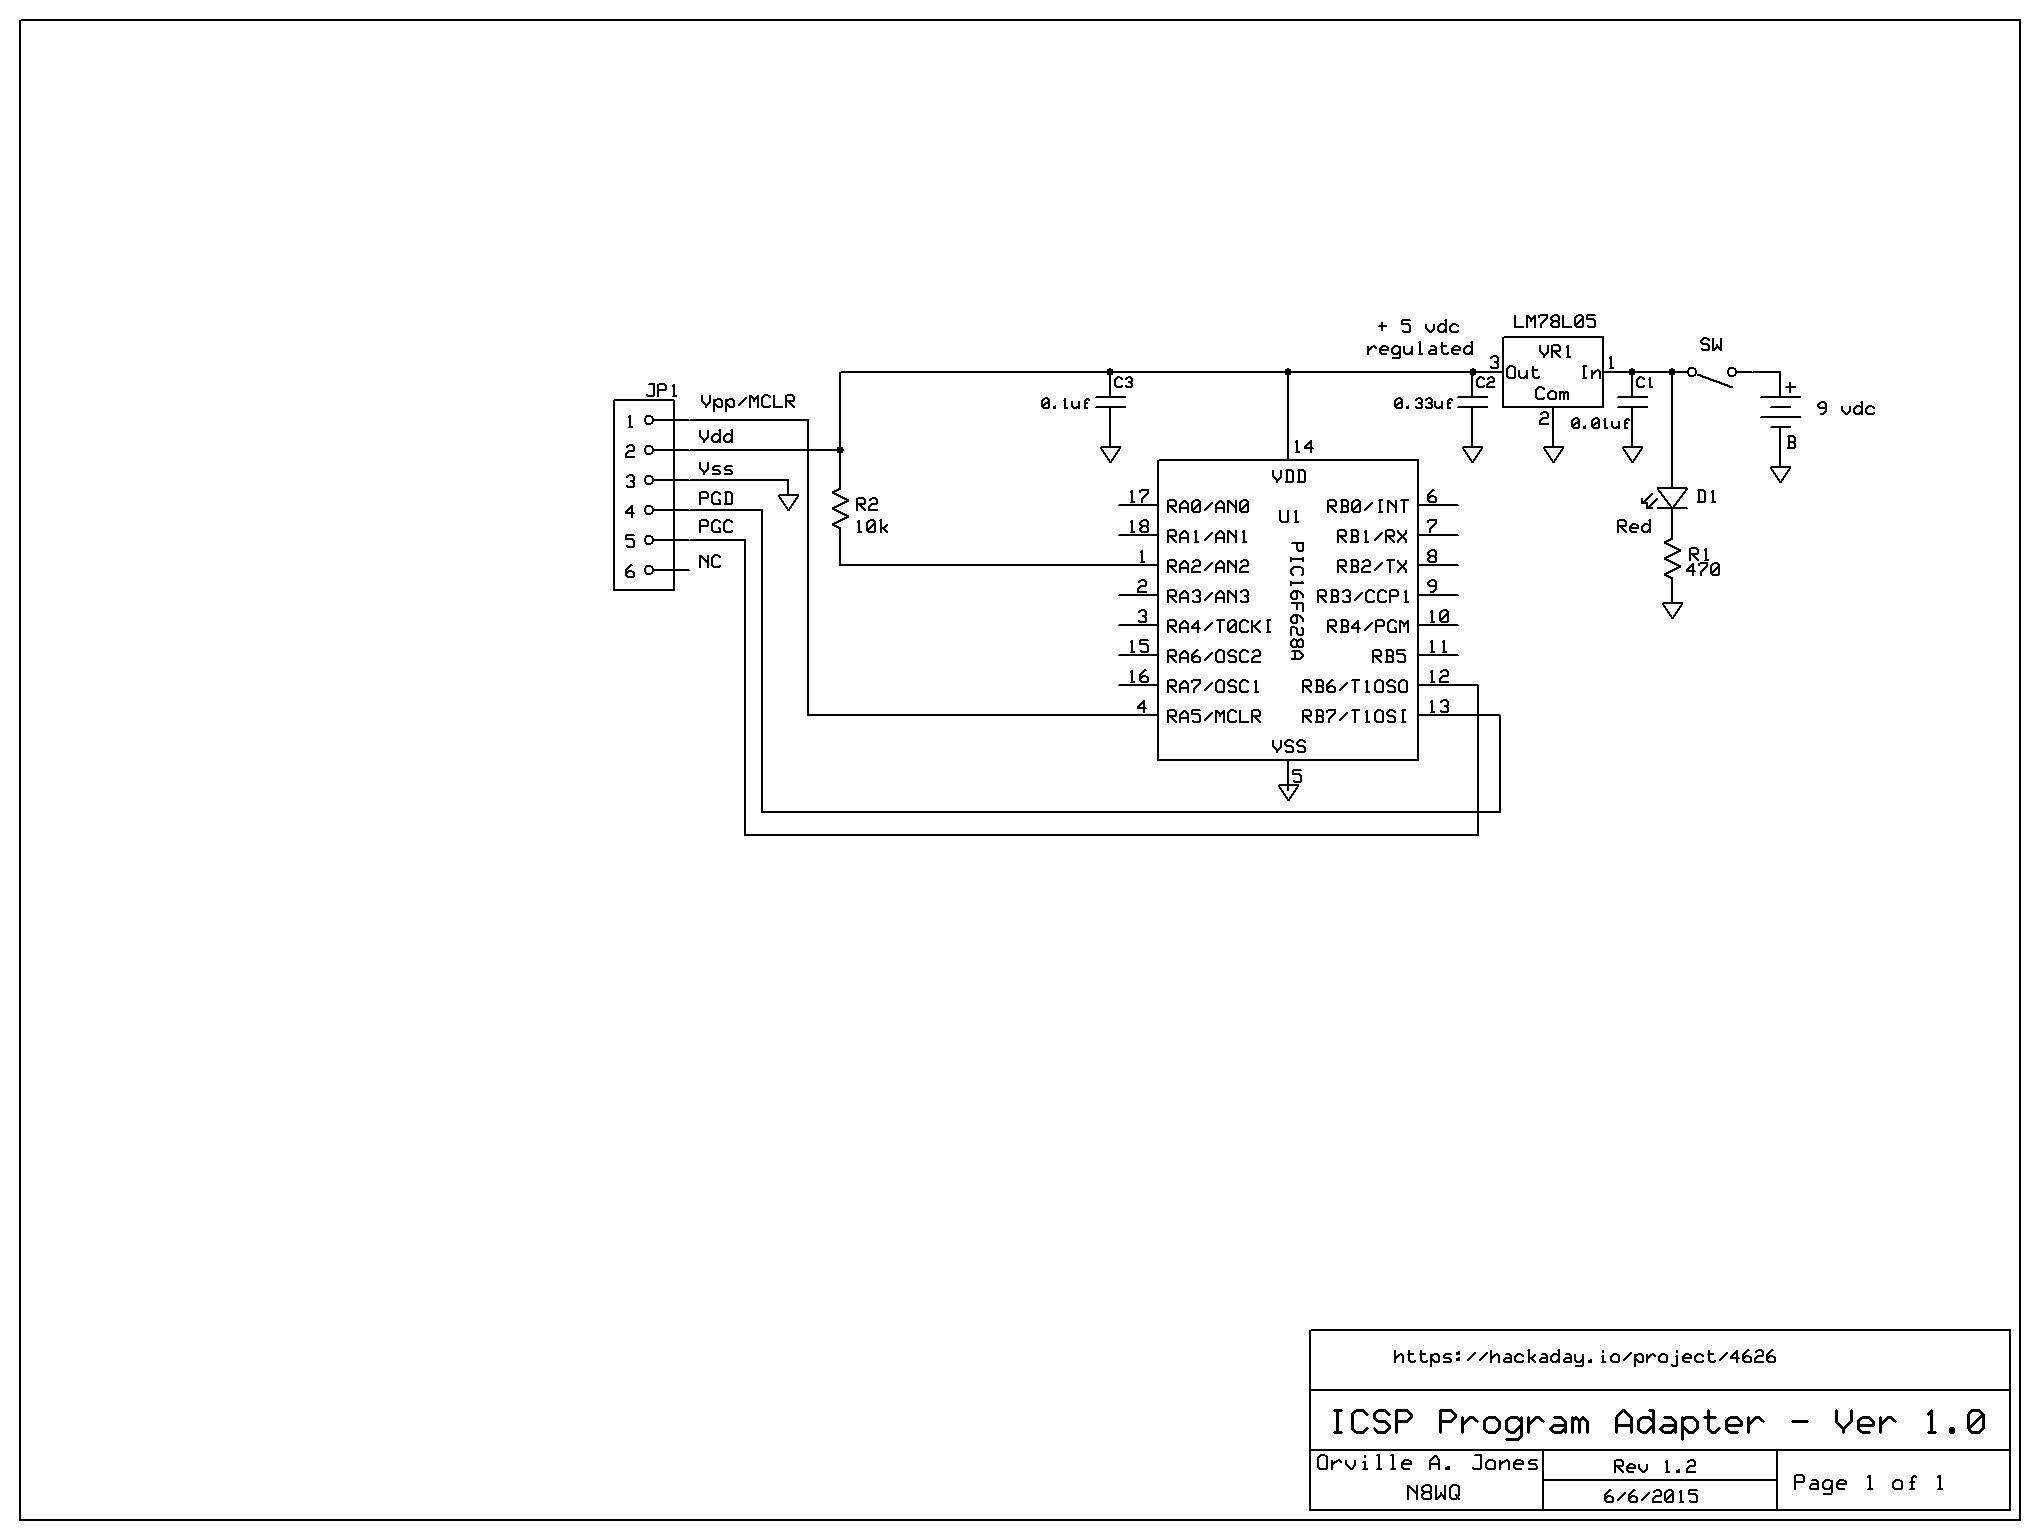
  2. Build ICSP Program Adapter for use with PICkit3 on breadboard.
  3. Layout and create pcb for ICSP Program Adapter.
  4. Build PIC Development Board for use with PIC16F628A microcontroller
  5. Apply knowledge learned and build an amateur radio application

View all 17 components

  • Components required for project

    O. Alan Jones03/12/2015 at 06:29 0 comments

    Please be advised that I am only suggesting possible sources for the components listed in my project. The vendors I listed are ones I believe have excellent prices and service and who I have gotten components from many times in the past.

  • Project Bibliography

    O. Alan Jones03/11/2015 at 05:11 0 comments

    Johnson, Craig. AA0ZZ. The PIC-EL III: A PIC Programmer and Test/Demonstration Board. 2010.

    Microchip. PIC16F627A/628A/648A Data Sheet.

    Predko, Myke. 123 PIC Microcontroller Experiments for the Evil Genius. 2005.

View all 2 project logs

  • 1
    Step 1

    Build 5 volt regulated power supply:

    For the complete circuit I will be using the following components:

    • 78L05 voltage regulator (TO-92)
    • PIC16F628A microcontroller
    • red led
    • 1 - 470 ohm 1/4 watt resisitors
    • 10k ohm resistor, 1/4 watt
    • 0.33 uF ceramic capacitor
    • 0.01 uF ceramic capacitor
    • 0.1 uF ceramic capacitor
    • hookup wires
    • 9 volt battery
    • 9 volt plastic battery holder with wires
    • 6 pin male header
    • 18 pin IC socket

    I will use the 78L05 voltage regulator to build the 5 volt power supply.

    According to the data sheet this is what the regulator portion of the circuit will look like:

  • 2
    Step 2

    Build ICSP program adapter on breadboard:

    Here is the schematic to my breadboard ICSP Program Adapter. I uploaded the correct schematic.

    I created my own ICSP cable by very carefully soldering hook up wire to a 6 pin male header.

    I chose to color code my wires like this: Blue = Vpp/MCLR, Red = Vdd, Black = Vss (GND), Green = PGD, Yellow = PGC.

    Pin 6 is not connected in our circuit. So the Blue wire, pin 1, will go to the white arrow on the PICkit3.

  • 3
    Step 3

    Layout and create pcb for ICSP Program Adapter:

    For this part of the project I used ExpressPCB software to layout my ICSP Program Adapter. Then I used Robot Room Copper Connection to flip the pcb design so I could create a single layer pcb with the copper on the bottom.

    I transferred the toner to the copper pcb using a laser printer and color paper. I then transferred the toner to the copper pcb with a laminator. Next I etched the pcb with a mixture of one part muriatic acid to two parts of hydrogen peroxide.


View all 5 instructions

Enjoy this project?

Share

Discussions

O. Alan Jones wrote 06/26/2015 at 04:40 point

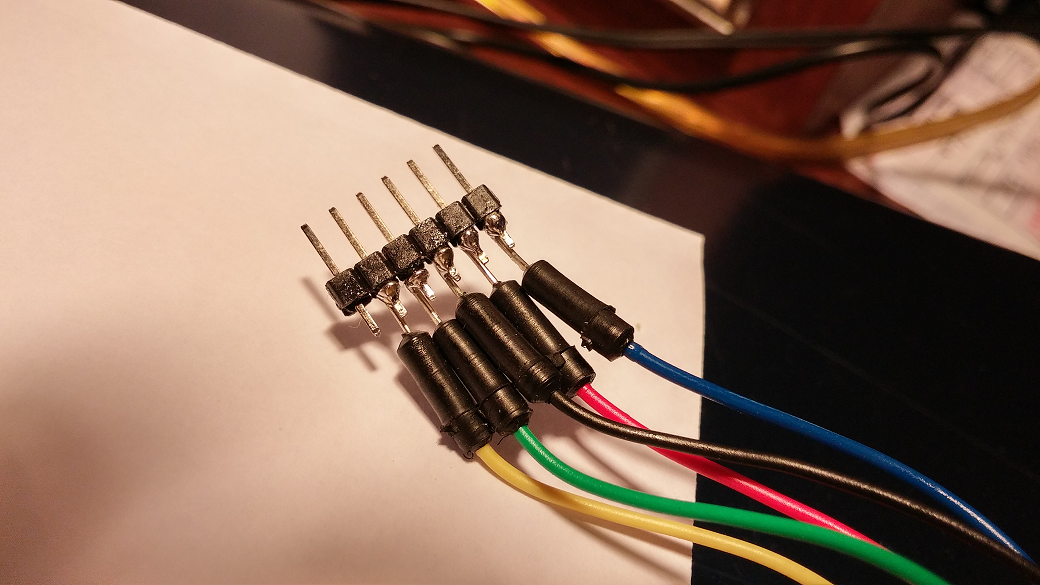
Tonight I updated the parts list and the schematic to the ICSP Program Adapter. I corrected mistakes I made in the schematic. If you build one let me know how it is working!

  Are you sure? yes | no

FrazzledBadger wrote 03/30/2015 at 20:41 point

Hi, 

     I've used PICs for ages, they are my go-to chip, I used to use Microelektronicas MikroC, which is a very nice IDE, but is code-size limited. For a noob its nice because it has a load of plugin libraries. I bought the full copy, but eventually moved to Microchips MPLAB X because I wanted to use some of their graphics and ethernet libraries.   I use mainly PIC18F chips nowadays, with a sprinkling of PIC24F as well for things like graphics controllers etc. I'm also using the ICD3 programmer/debugger, which is a great piece of kit and can program any PIC. The problem with Mikroelectronicas offerings is they have different programmers for different PIC ranges..

  Are you sure? yes | no

Daniel Mejía Raigosa wrote 03/14/2015 at 02:03 point

Hi, I'm a kind of PIC newbie learning all by my self. The tools I use is the PickIt3 and the MPLAB X IDE using the XC8 compiler, both resources offered by microchip. The microchip I work with is the PIC16F1824.

I've been woking on a JDM programmer that uses the serial port (a kind of dated protocol since the USB appereared) and has VCC control, Is not a design of me (It's easily found on internet), but a starting point cause I would like someday desing an open hardware PIC programer that uses the USB protocol.

  Are you sure? yes | no

O. Alan Jones wrote 03/11/2015 at 04:26 point

Artful Codger,

Thanks for your advice in helping me steer a successful path to learning about PIC's. I already have a PICkit3 and I will add that to the list of materials. I already ordered the book "123 PIC Microcontroller Experiments for the Evil Genius" a few days ago! :)  I will add that book to this project's bibliography. I was thinking of starting with the PIC16F84A, but you are right in that it probably would be better to use a more modern PIC. I will start with the PIC16F628A instead. The "sourceboost compiler" sounds interesting and I will be sure to check it out.

Kind Regards,

Al, N8WQ

  Are you sure? yes | no

Artful Codger wrote 03/10/2015 at 22:44 point

Some comments from a semi-regular small (8-bit) PIC user:

- I got alot of use and fun out of MicroChip's PICkit 1, which is now officially discontinued but still available. What really helped my PIC learning, and leveraged the PICkit 1, was Myke Predko's book "123 PIC Microcontroller Experiments for the Evil Genius" Stupid, stupid title. But the book was really useful for me.

- Most PICs use ICSP (in-circuit serial programming) so if you are making your own development board you should plan on getting one of microChip's USB ISCP tools - PICKit 2 or PICkit 3 (or a clone). Much easier than trying to make your own programmer.

- try to pick a small number of PIC parts to learn... maybe even just one to start with, then try other members of the same family. I currently stock and use: 16F684, 16F628A, 12F675 (8-pin) because they have good basic features and are popular online. You will find lots of projects for 16F84, but this is now an old part, so to me it isn't worth the effort to learn it. Once you gain experience, you'll be able to take such older projects and adapt them for a newer part.

- there are a number of choices for development environment and C compilers. MicroChip supplies MPLAB and some compilers. microelectronika are well regarded, and also have many dev boards.  For my small projects, I had the most fun using the sourceboost compiler. They provide a basic IDE and a feature-restricted compiler for free, but I found it quite usable for my small projects. For $20, they have some simulation plugins that are quite decent.

I know that many people like ATMEL microcontrollers, and arduinos are popular, but I've already invested time and money into PICs, and there's still tons of  PIC info and projects online.

Good luck and have fun.

  Are you sure? yes | no

Similar Projects

Does this project spark your interest?

Become a member to follow this project and never miss any updates