 Mark Langford
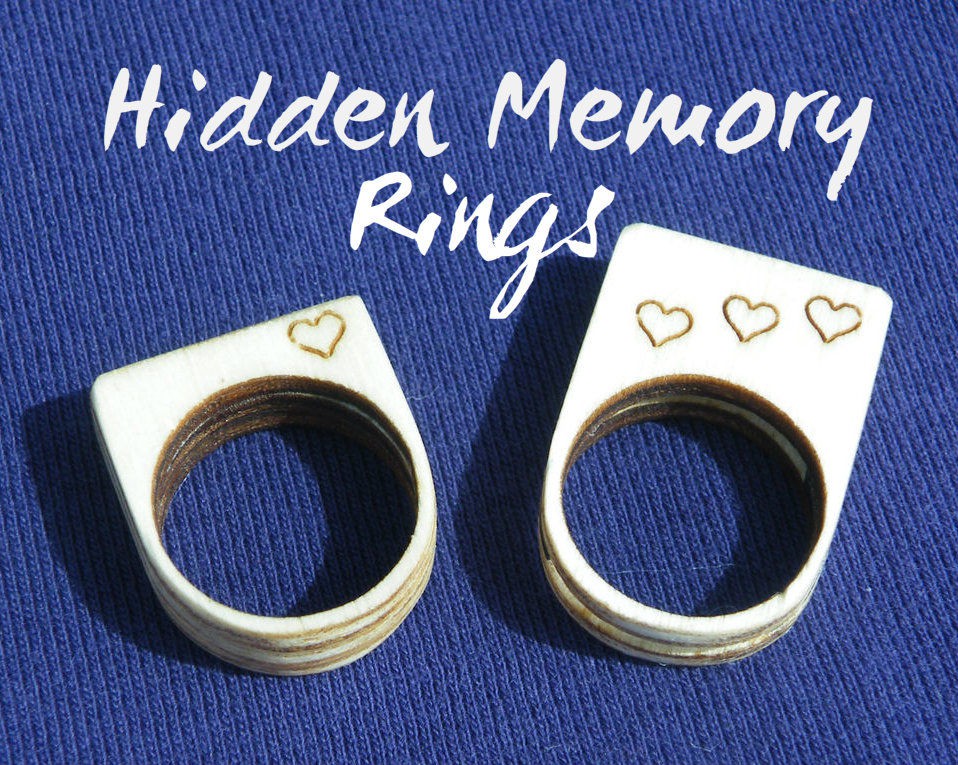
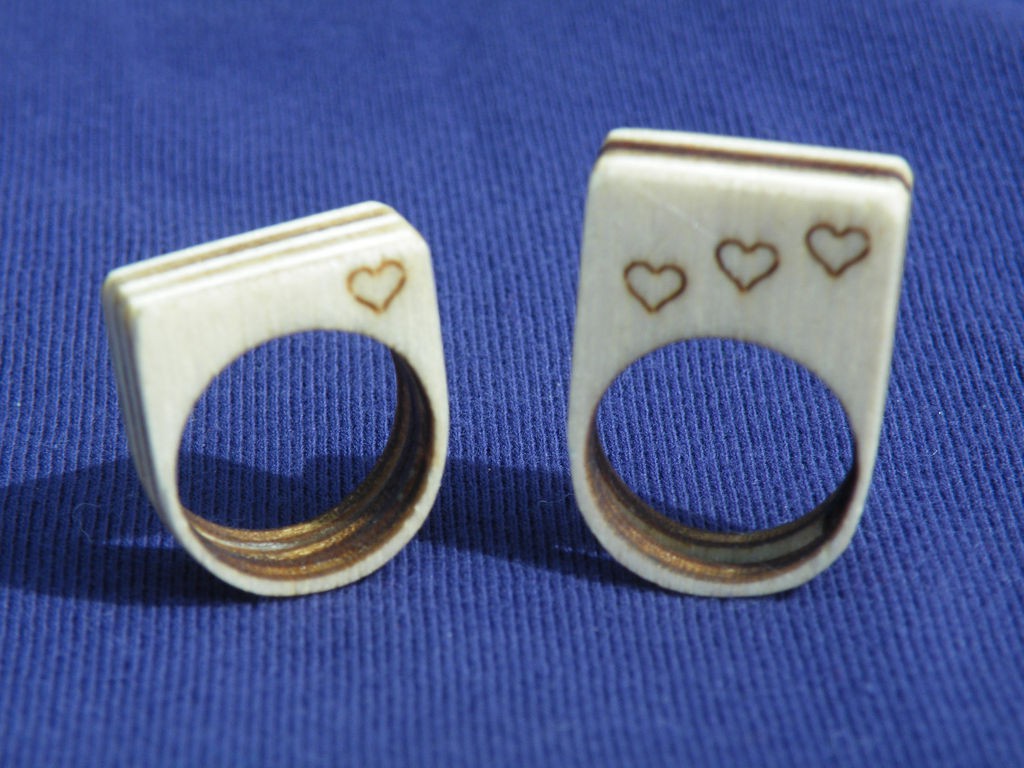
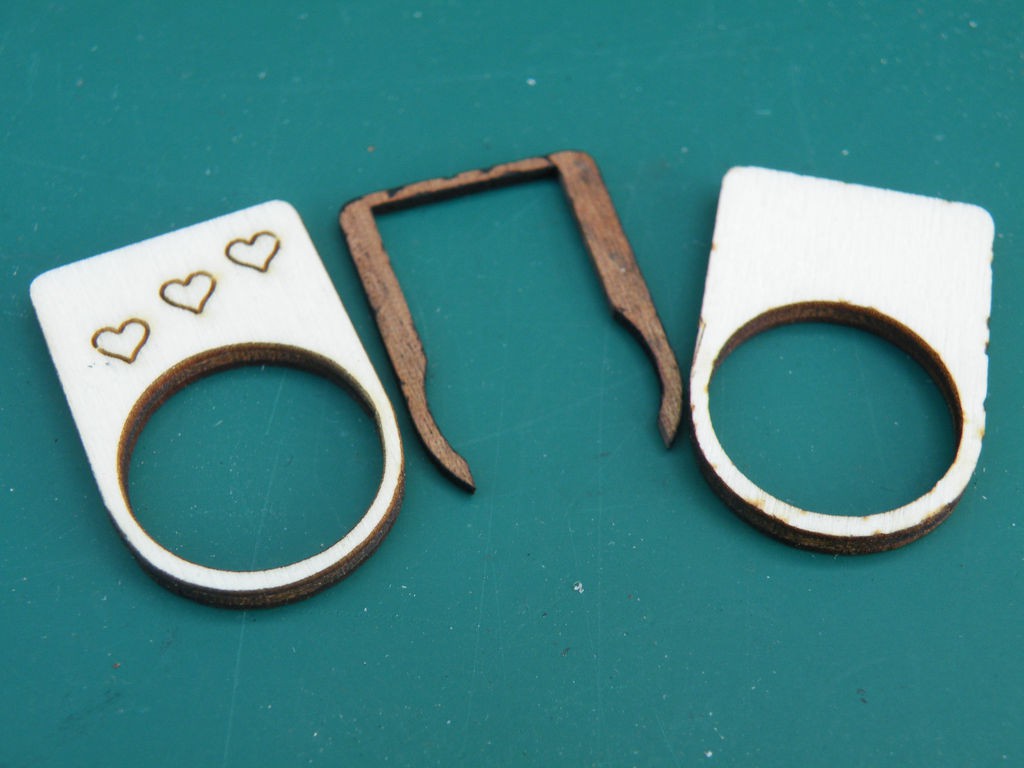
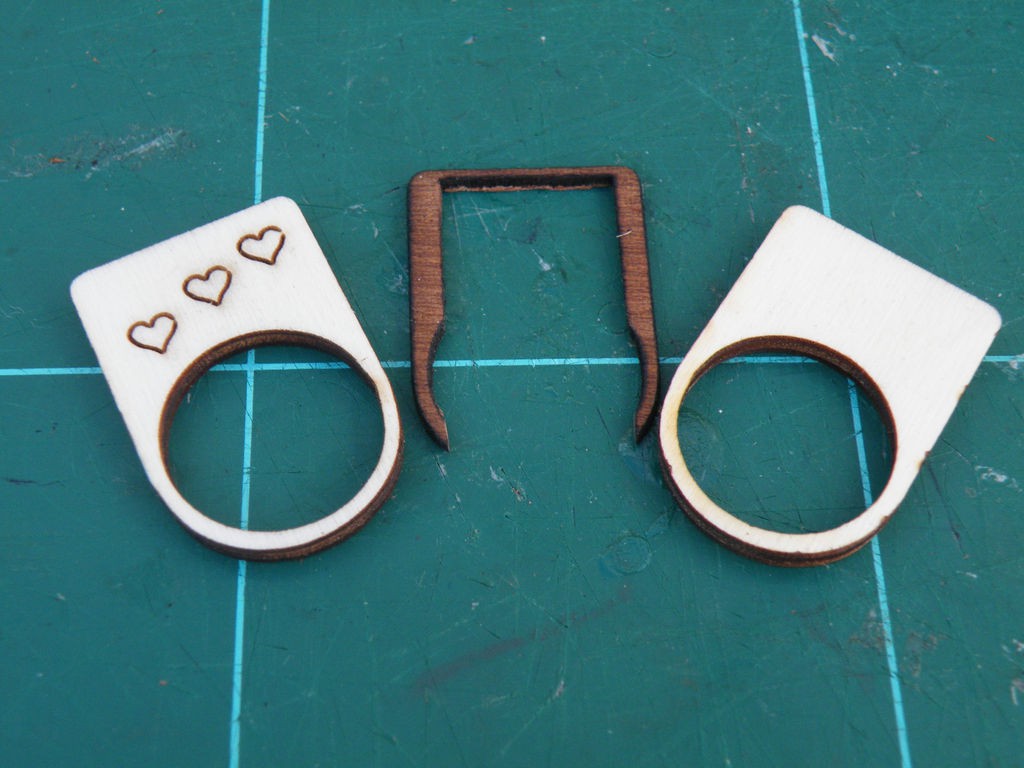
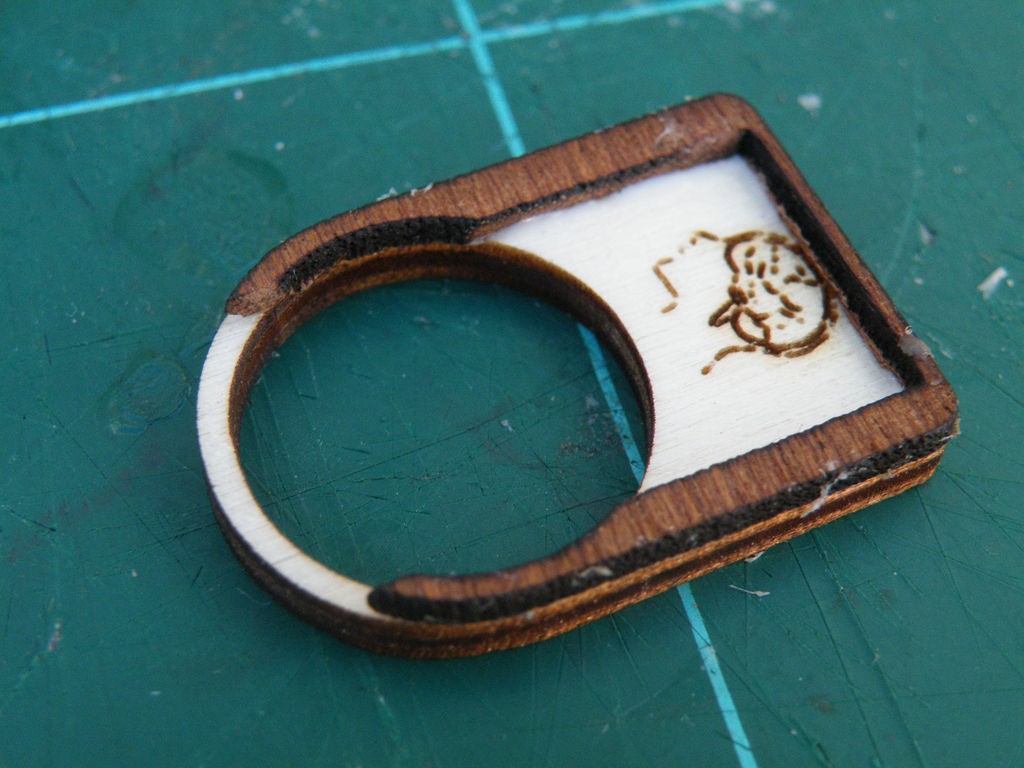
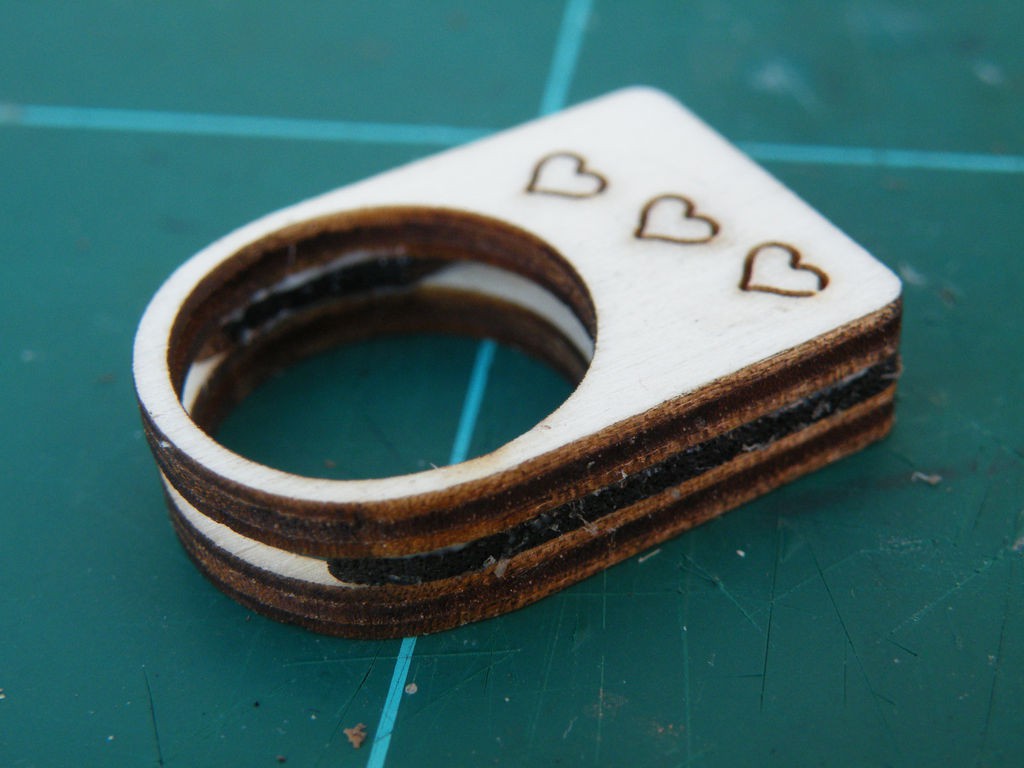
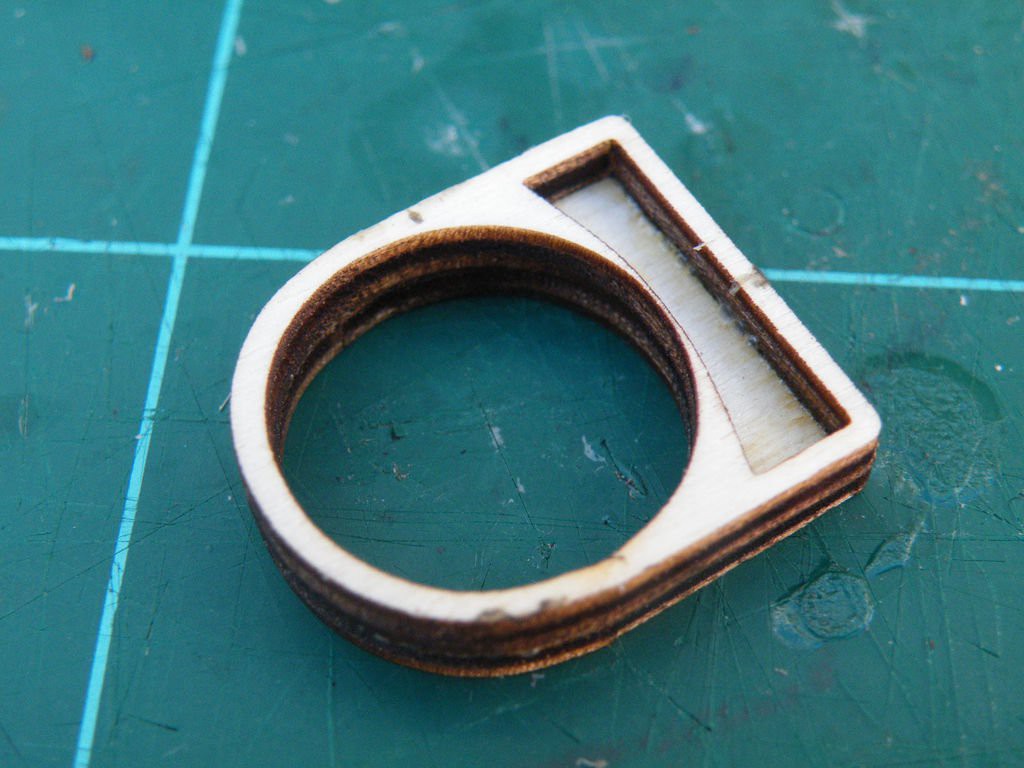
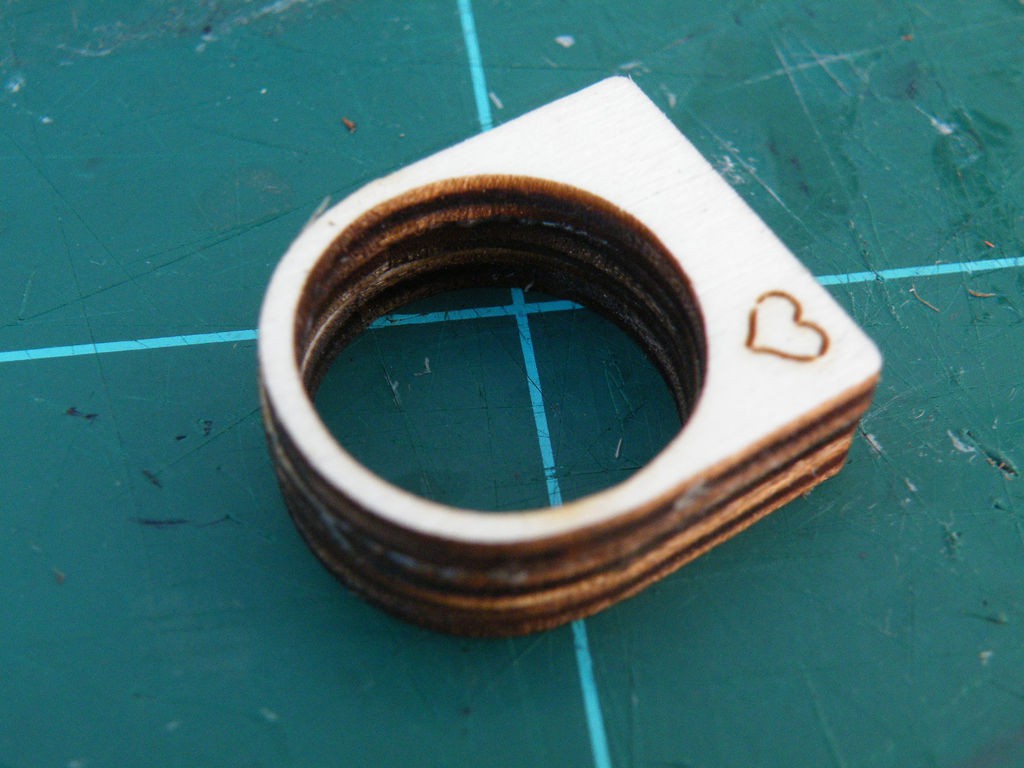
Playing with jewellery ideas, I decided I wanted to be able to secrete away something special. Heavily inspired by masynmachien's layered acrylic rings in form, I came up with a modern take on the Victorian obsession with locks of hair, and a ring for carrying a hidden micro-SD memory card.
I used poplar plywood and mahogany veneer for these rings, but there's no reason why you couldn't use acrylic for your versions, or even mix-and-match layers of both acrylic and wood.
So, on to the Hidden Memory Rings...
Step 1: Files
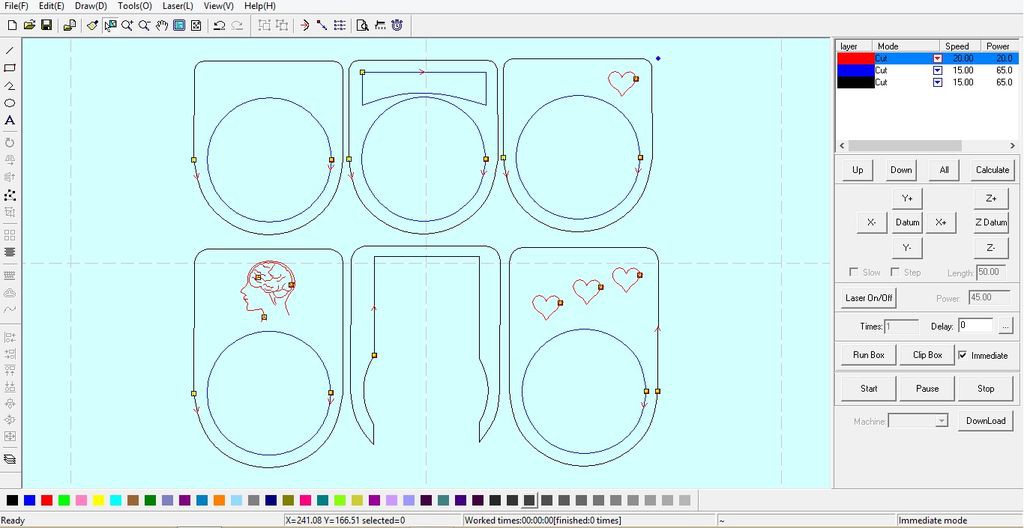
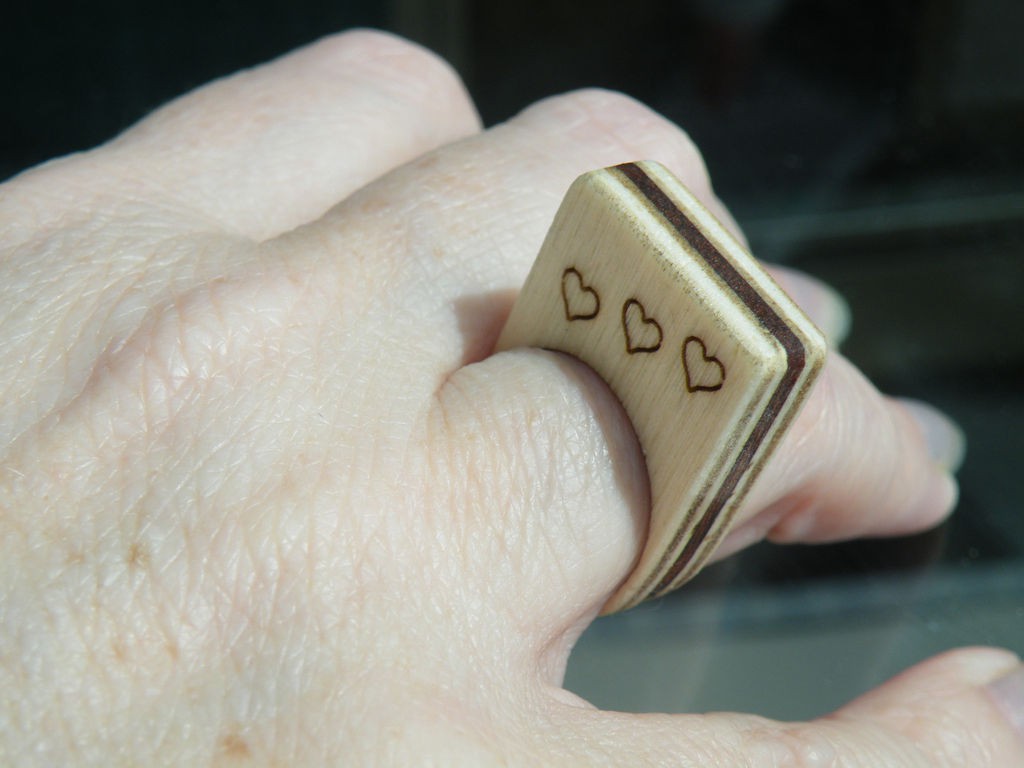
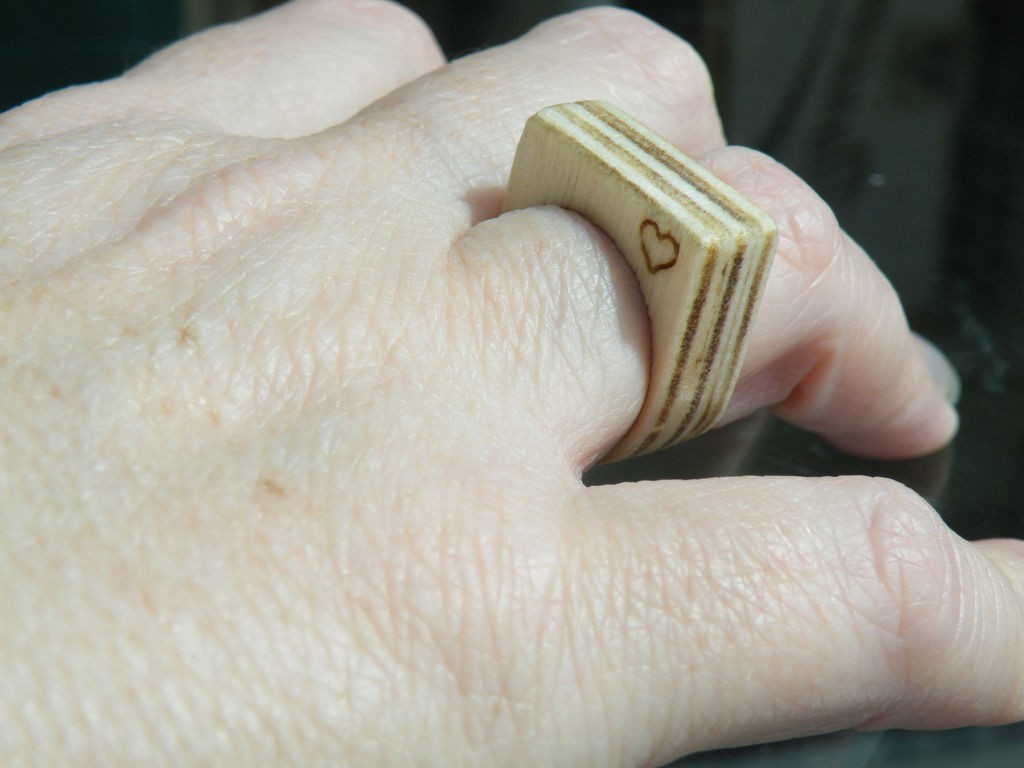
I draw my designs in InkScape, and they are scaled to fit Kitewife's slender fingers.
To save downloads, I've put both rings into the same files - SVG, PDF and the ECP files that my cutter uses.
A note on the colours:
To keep cuts in focus and aligned properly, I do the vector engraving first, then cut out the waste pieces, then the main pieces.
The way I set up my cutter, that means do red-lined engraving first, then cut out the blue-lined waste, then the black-lined main parts. That way, it's the waste that risks dropping through the cutting bed and getting damaged by extra cuts as the laser continues its job.
In case you haven’t got the facilities to do a laser wood-cut, I’ve created a file that you can use to get your files cut online (attached to this step, works out about $16 for the two rings). The file for online contains parts for both rings, in 1.5mm plywood instead of the mix of plywood & veneer. That means you’ll need to glue them slightly differently - see step six.
Download Memory Ring 1_5mm P1 Ponoko Ready.svg
Download Secret Compartment Rings.svg
Download Secrets.ecp
Download Secret Compartment Rings.svg
Step 2: Materials and Tools


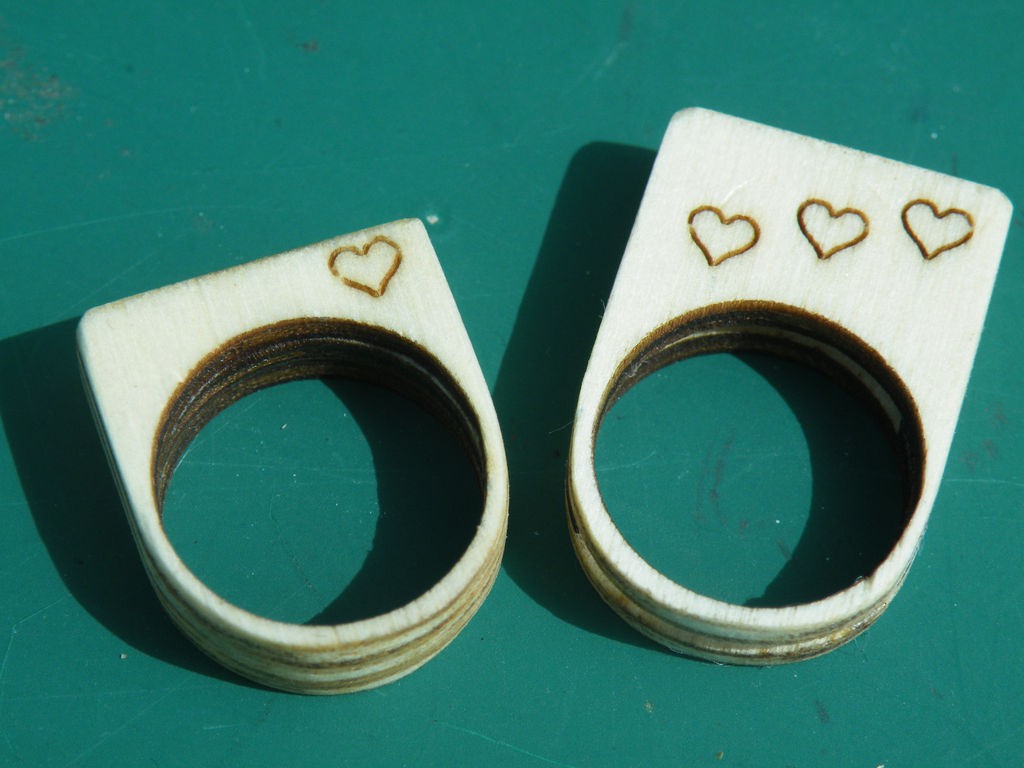
I used 3mm thick poplar plywood for both rings, with a piece of 1mm thick mahogany veneer in the Memory Card Ring.
The glue is ordinary PVA wood glue.
I did my cutting with a laser cutter, but if you don't have access to a laser cutter, you can use the PDF files to cut rings with a fine coping saw.
The rings need firmly clamped, between scraps of wood.
You'll need a range of sandpapers, and your personal choice of finishing - wax, varnish or (if you are using acrylic) you may want to flame-polish the rings (see masynmachien's instructable, or this fine example by Steveastrouk). I used a nice oil finish.
Step 3: Cutting

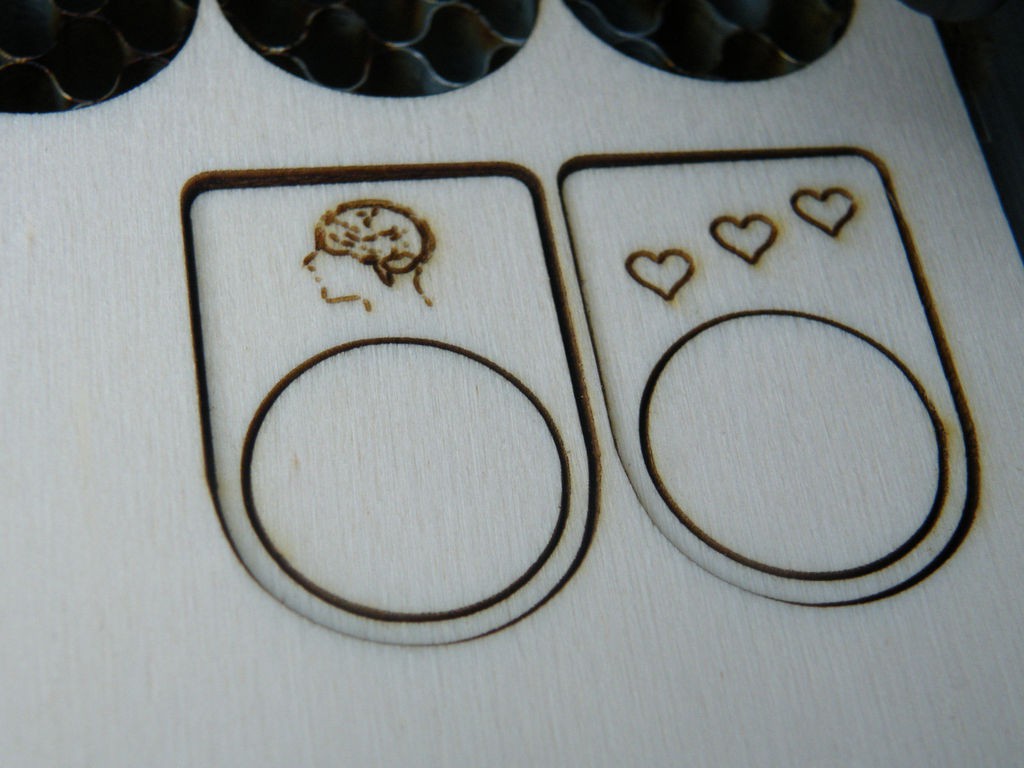

Don't forget to delete the parts of the cutting files that you don't need (for instance, if you're cutting the Locket ring, delete the memory ring pieces).
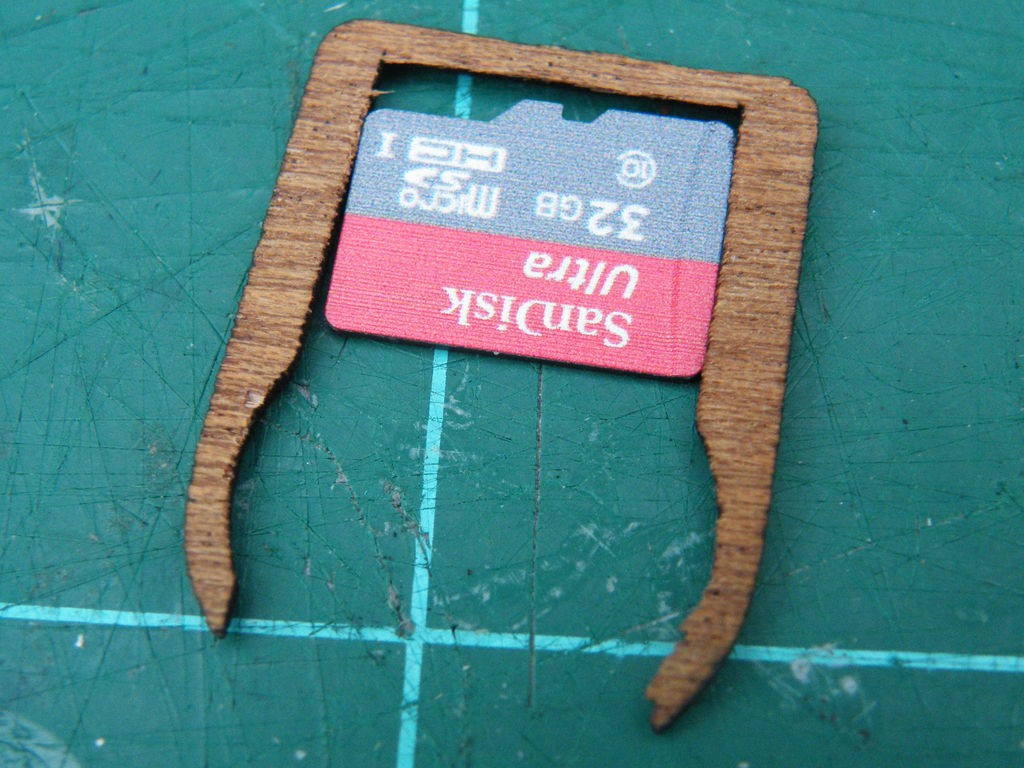
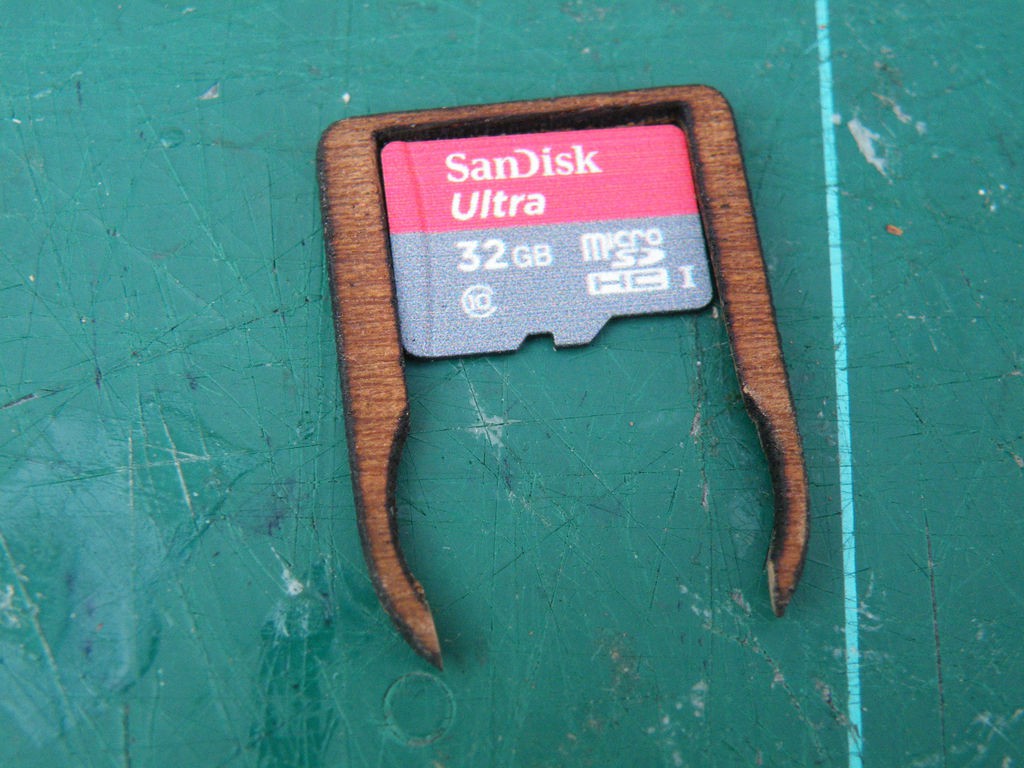
Also, if you are cutting the Memory Card ring, you'll have to cut the central layer of veneer separately, otherwise you'll end up wasting materials.
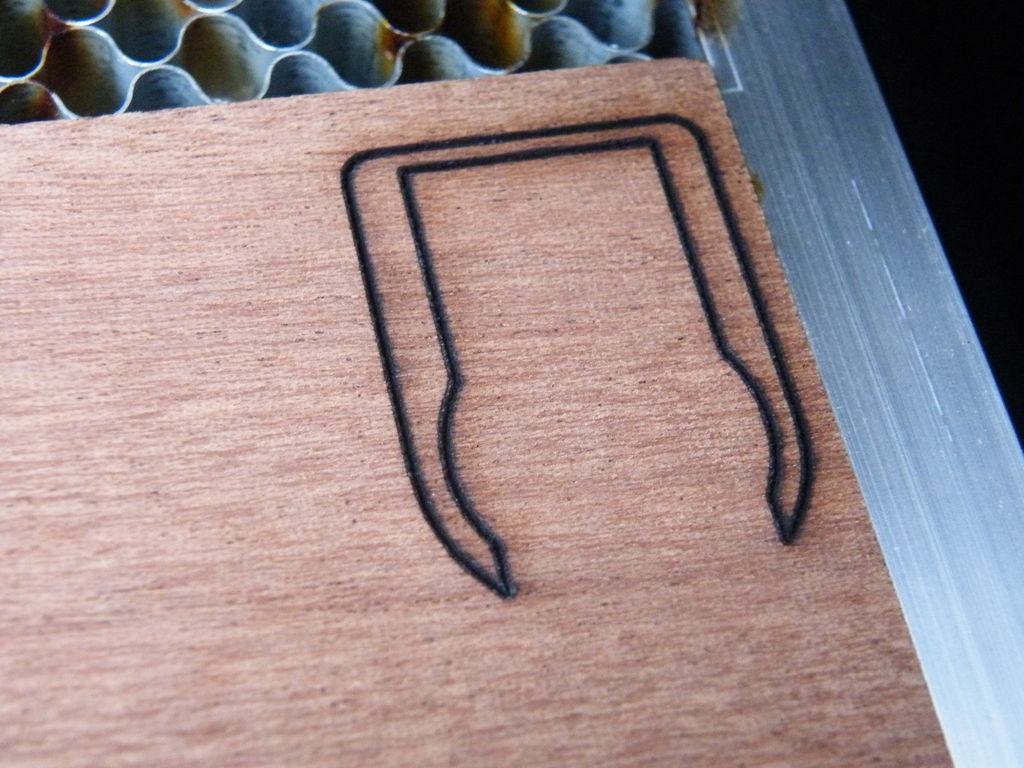
(Interesting observation: the 1mm mahogany veneer took as much power to cut as the 3mm poplar ply, and the flare at the cutting point was much brighter than it is for the ply.)
Step 4: A Lesson Learned
I hadn't used mahogany before and I learned:
- Mahogany is hard - it took the same power settings to cut 1mm mahogany as it took to cut 3mm softwood ply.
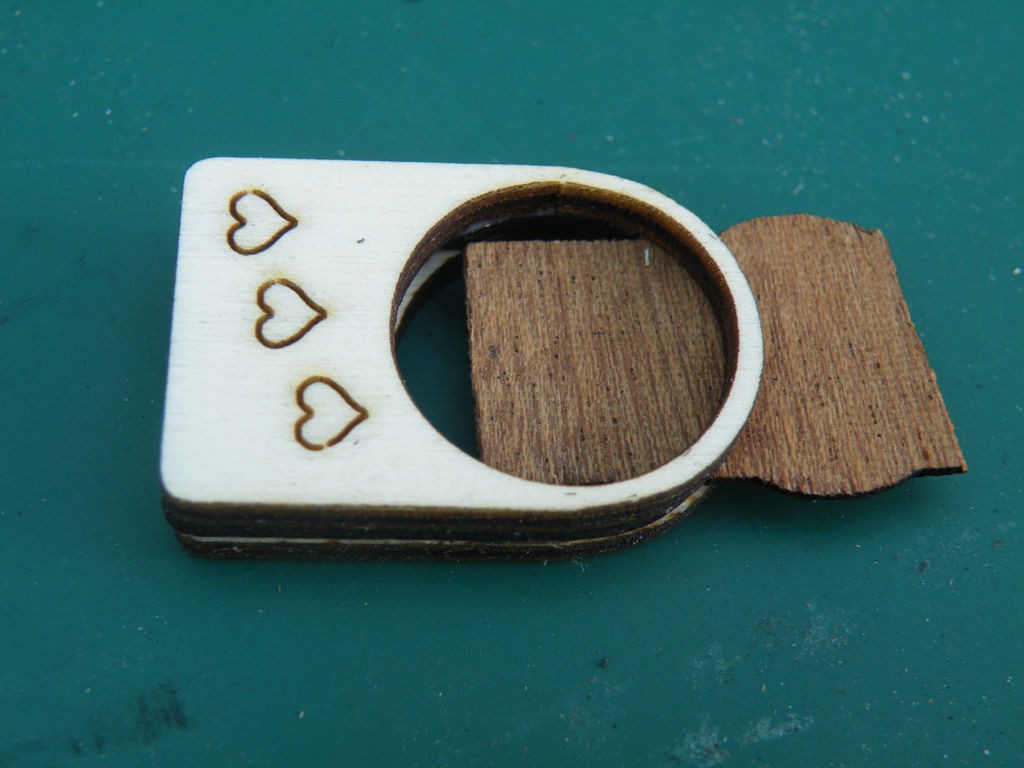
- Mahogany has a thick char layer - the sizing to fit the memory card was very neat, and while it worked first go in a card prototype, the char layer in the "real" version was thick enough that it made the gap too small (see the first photo).
- Veneer is not plywood - even though the wood is very strong in blocks, it is brittle when the grain crosses thin sections. Gently sanding off the char layer caused the demise of more than one piece of veneer.
- Thin layers are sensitive to moisture (more on that in the gluing step).
Step 5: Gluing
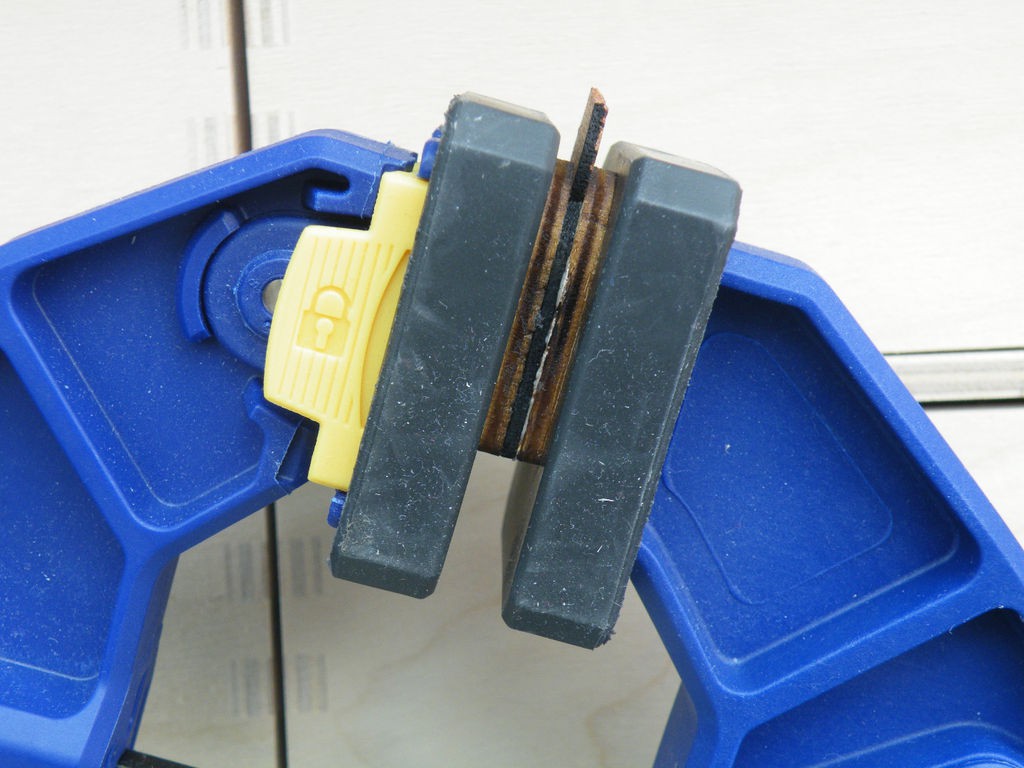
Line up the layers, apply liberal amounts of glue, and clamp the layers.
If your clamp has metal faces, use scraps of wood to stop your rings being marked. As you clamp it, the glue will ooze, but you can wipe the excess off easily with a scrap of tissue or a damp cloth.
REMEMBER:
If you are making the Locket ring, you should only glue the central layer to one of the...
Read more »

