Around the beginning of December 2014, a friend of mine, Adam Klotblixt, told me about people building physical pinball cabinets with monitors as playfields, running the free Visual Pinball software. I decided this was the next project I wanted to do.
The first step was to see if I could find cheap used monitors. I got lucky, and bought one 23" and one 24" Dell IPS widescreen monitor for about €16 each. IPS monitors are good because they have good viewing angles. I ended up using the 24" monitor as playfield, exchanging the 23" monitor for the 20" IPS screen my desktop computer used, and using the 20" monitor for the back box.
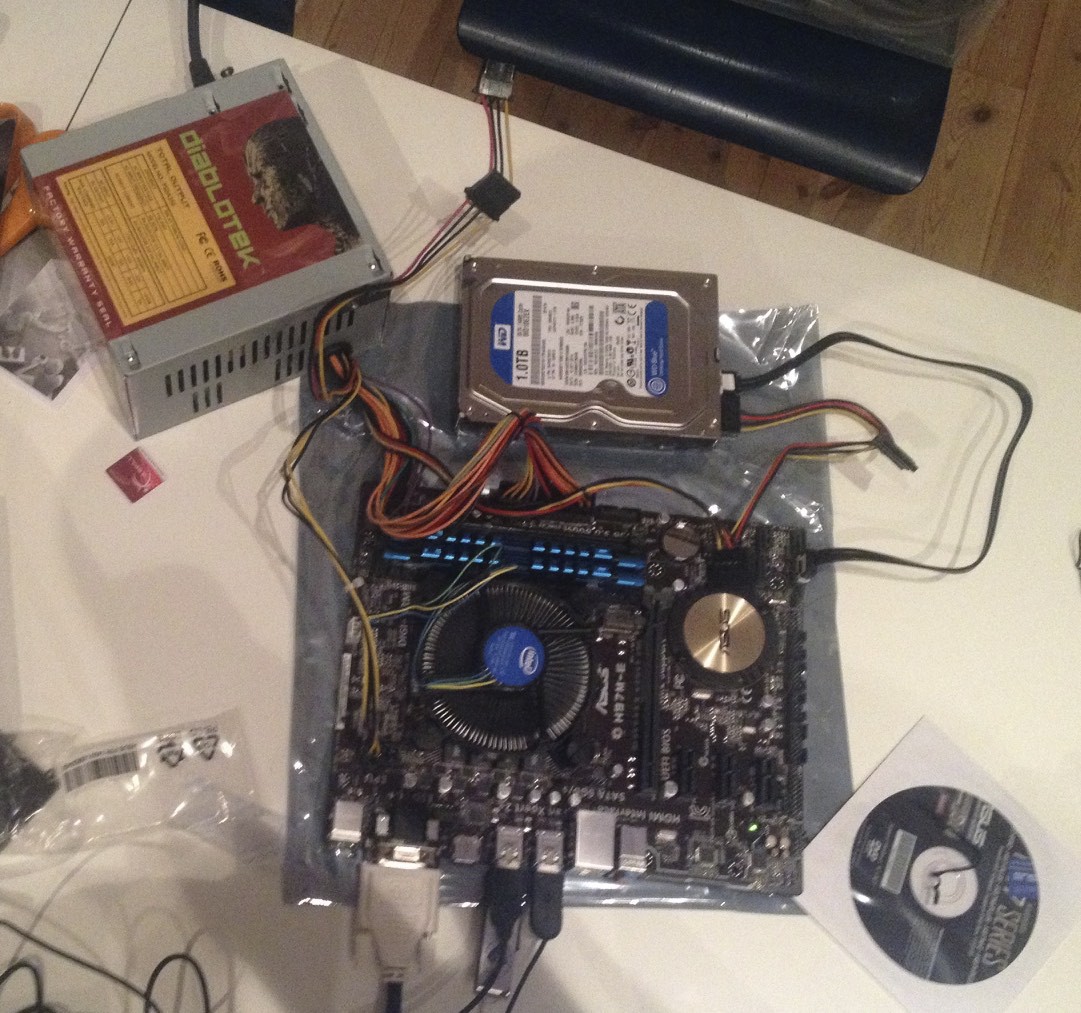
I also bought the single most expensive part of the project - the guts of a new computer. I chose an Asus H97M-E motherboard with an Intel i3 4150 3,5 GHz CPU, 8 GB of fast RAM, and a 1 TB WD Blue 10EZEX mechanical hard disk. I used a power supply I already had. Total cost: €348.
I wasn't sure if the Intel 4400 integrated graphics would be fast enough, but it works fairly well. If neccessary I'll add a discrete graphics card.
Also, I didn't think the motherboard / CPU would be able to drive three external monitors at the same time, but it turns out that it did.
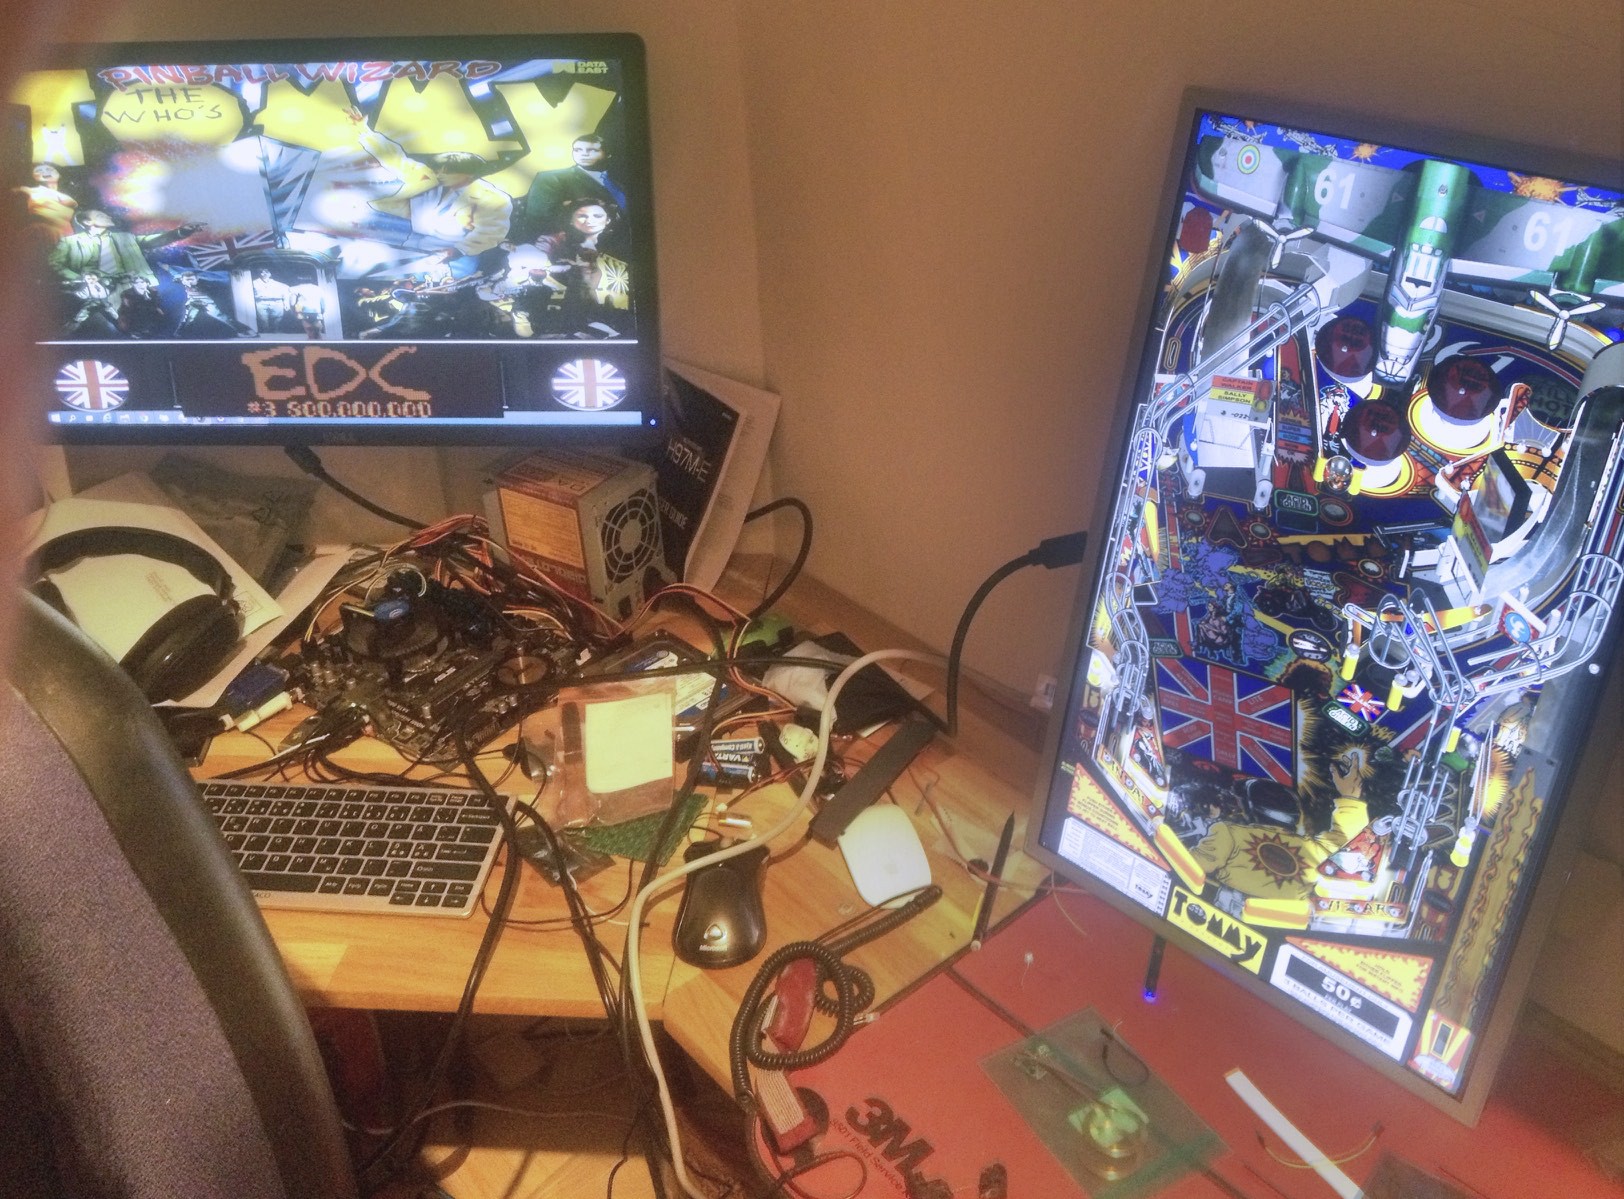
Up to this point, I had never run the Visual Pinball software, so I installed it to try it out. Unfortunately it only runs under Windows. Instead of paying hundreds of euros for Windows, I downloaded the free Windows 10 technical preview. My favorite pinball game, Tommy, worked fine, so I decided to go ahead with the rest of the project.
Discussions
Become a Hackaday.io Member
Create an account to leave a comment. Already have an account? Log In.