 Alessia Ianni-Palarchio
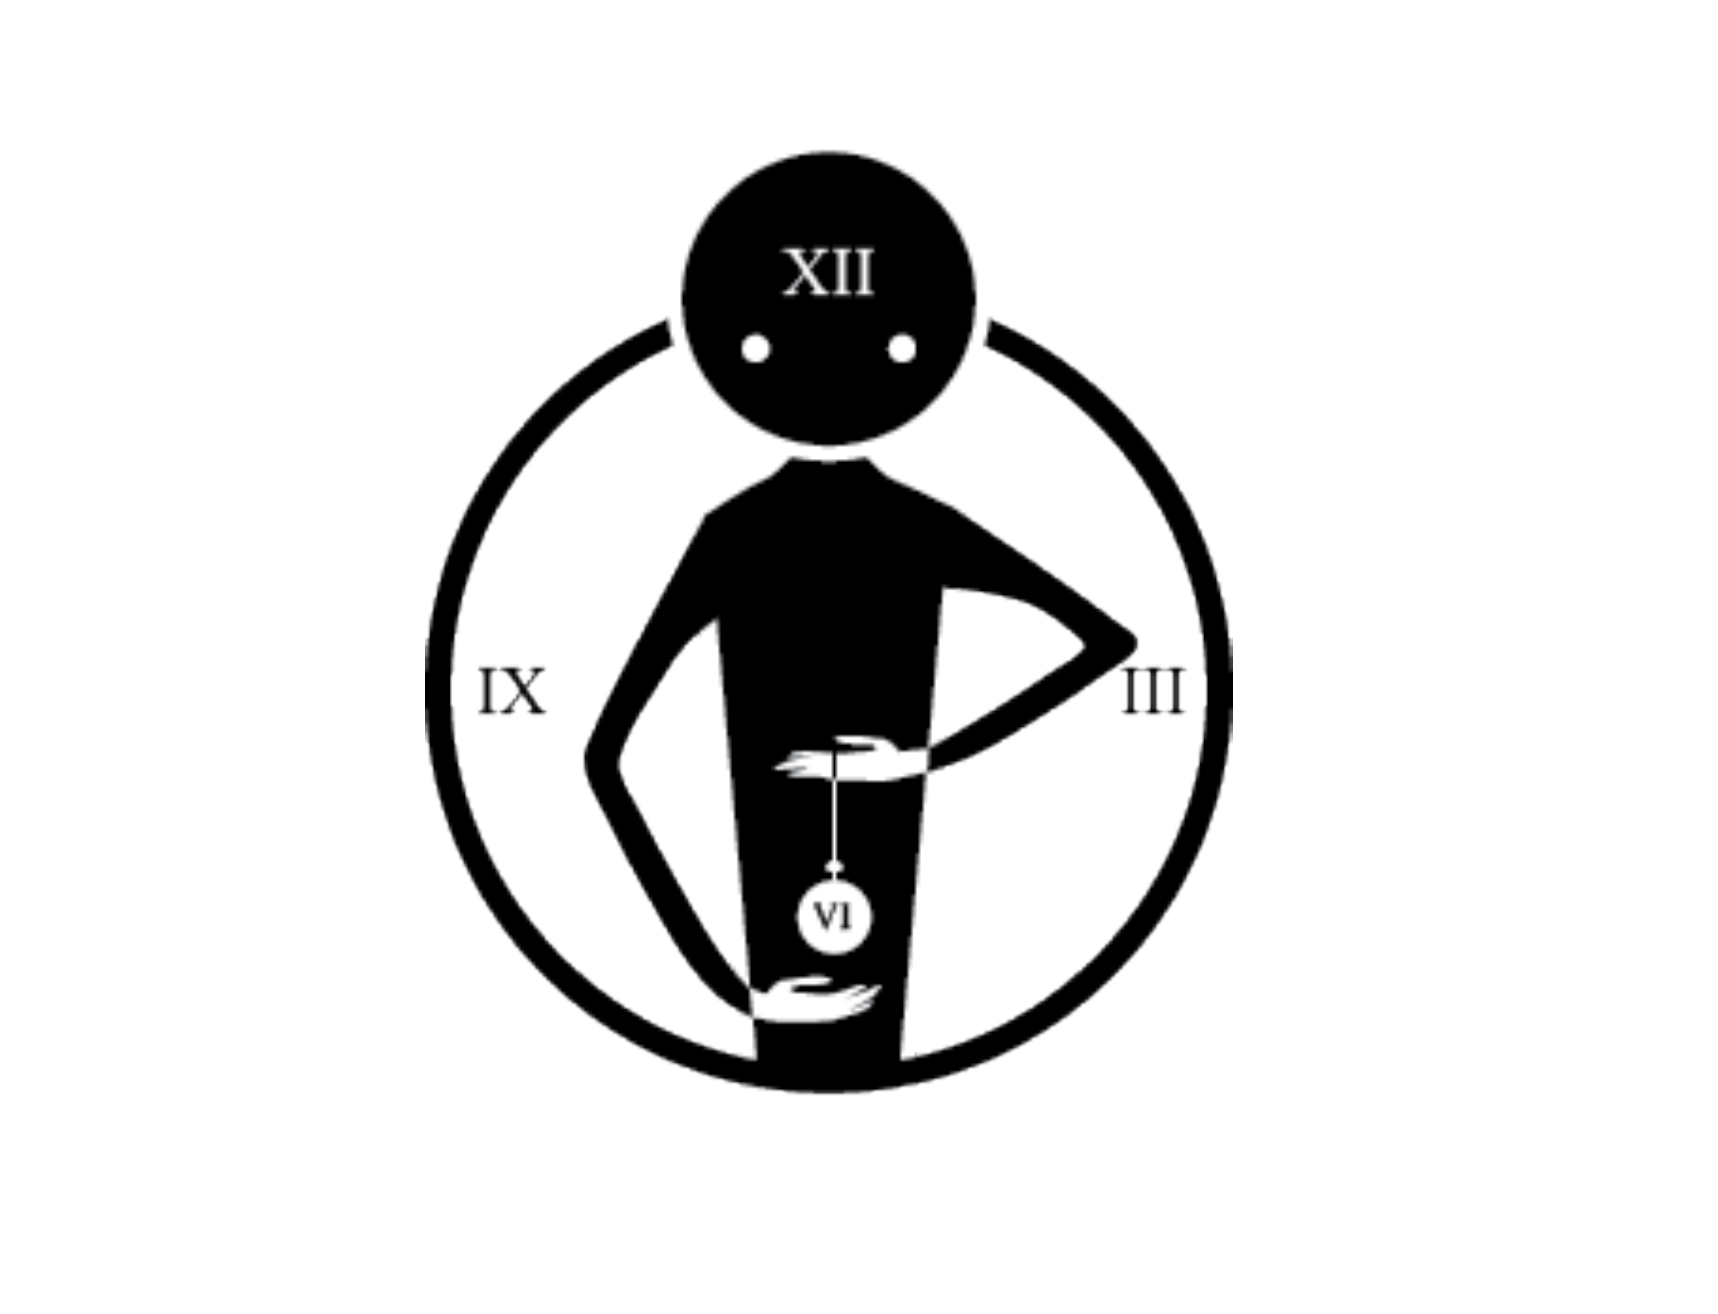
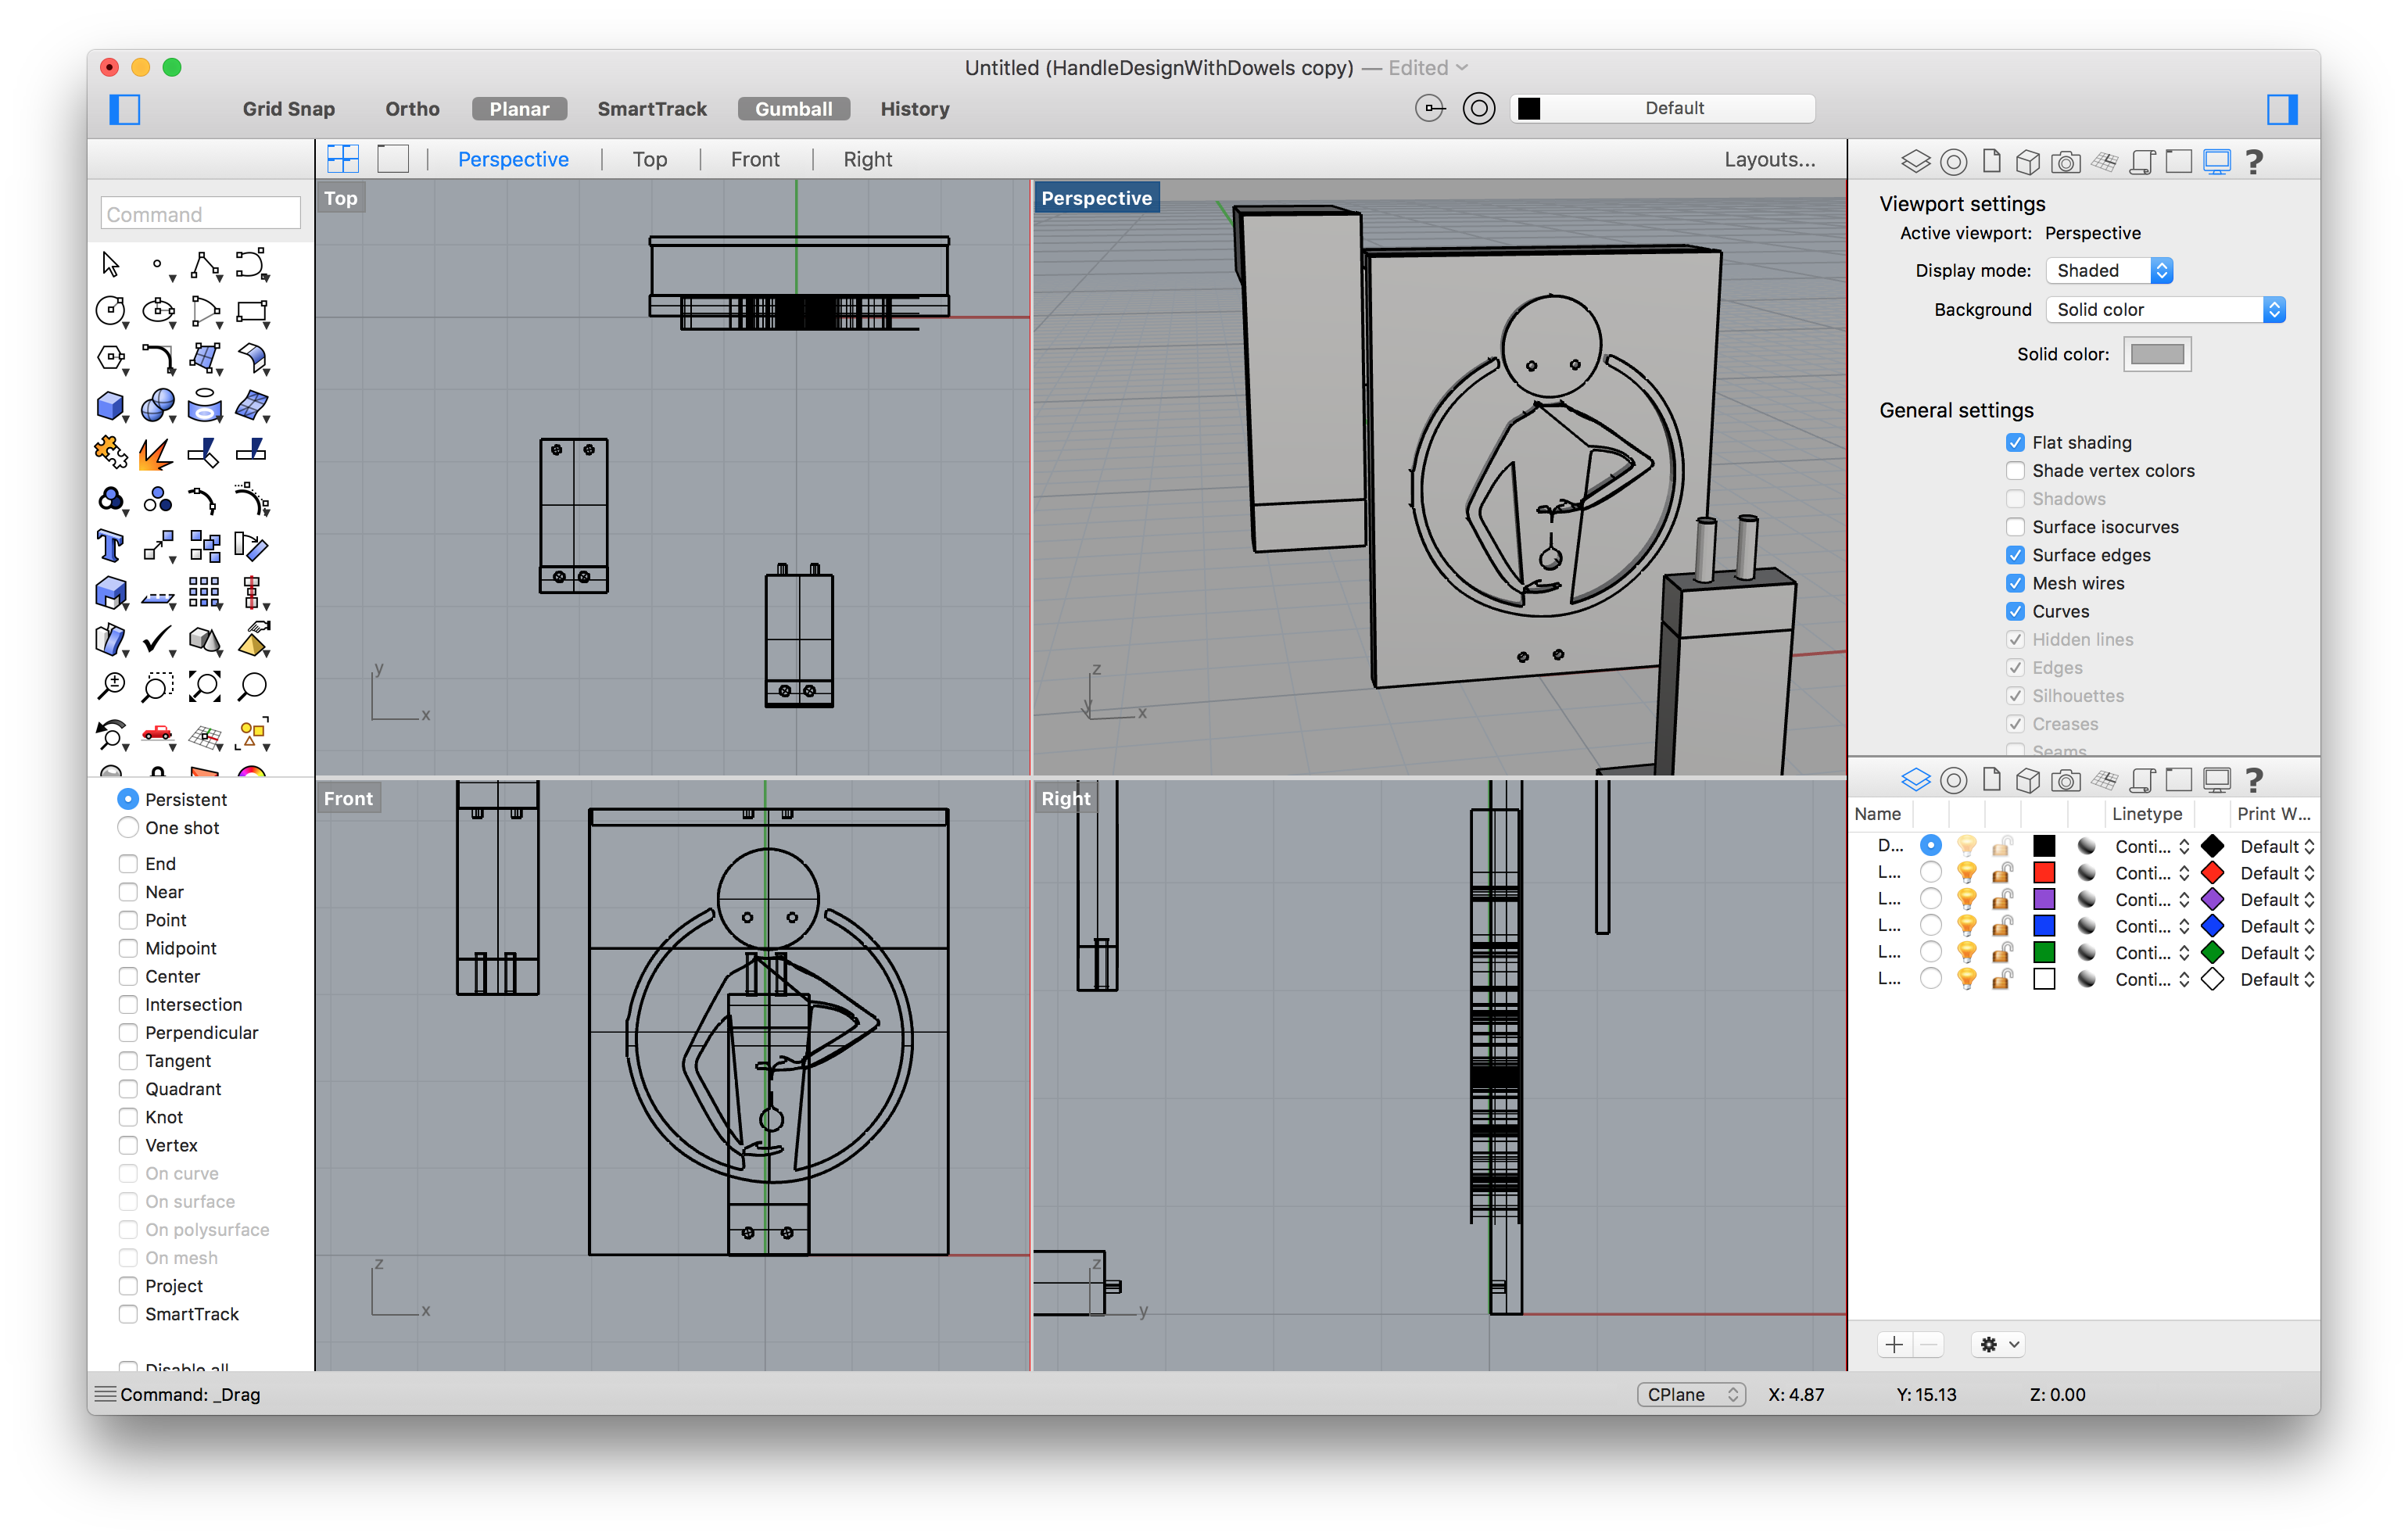
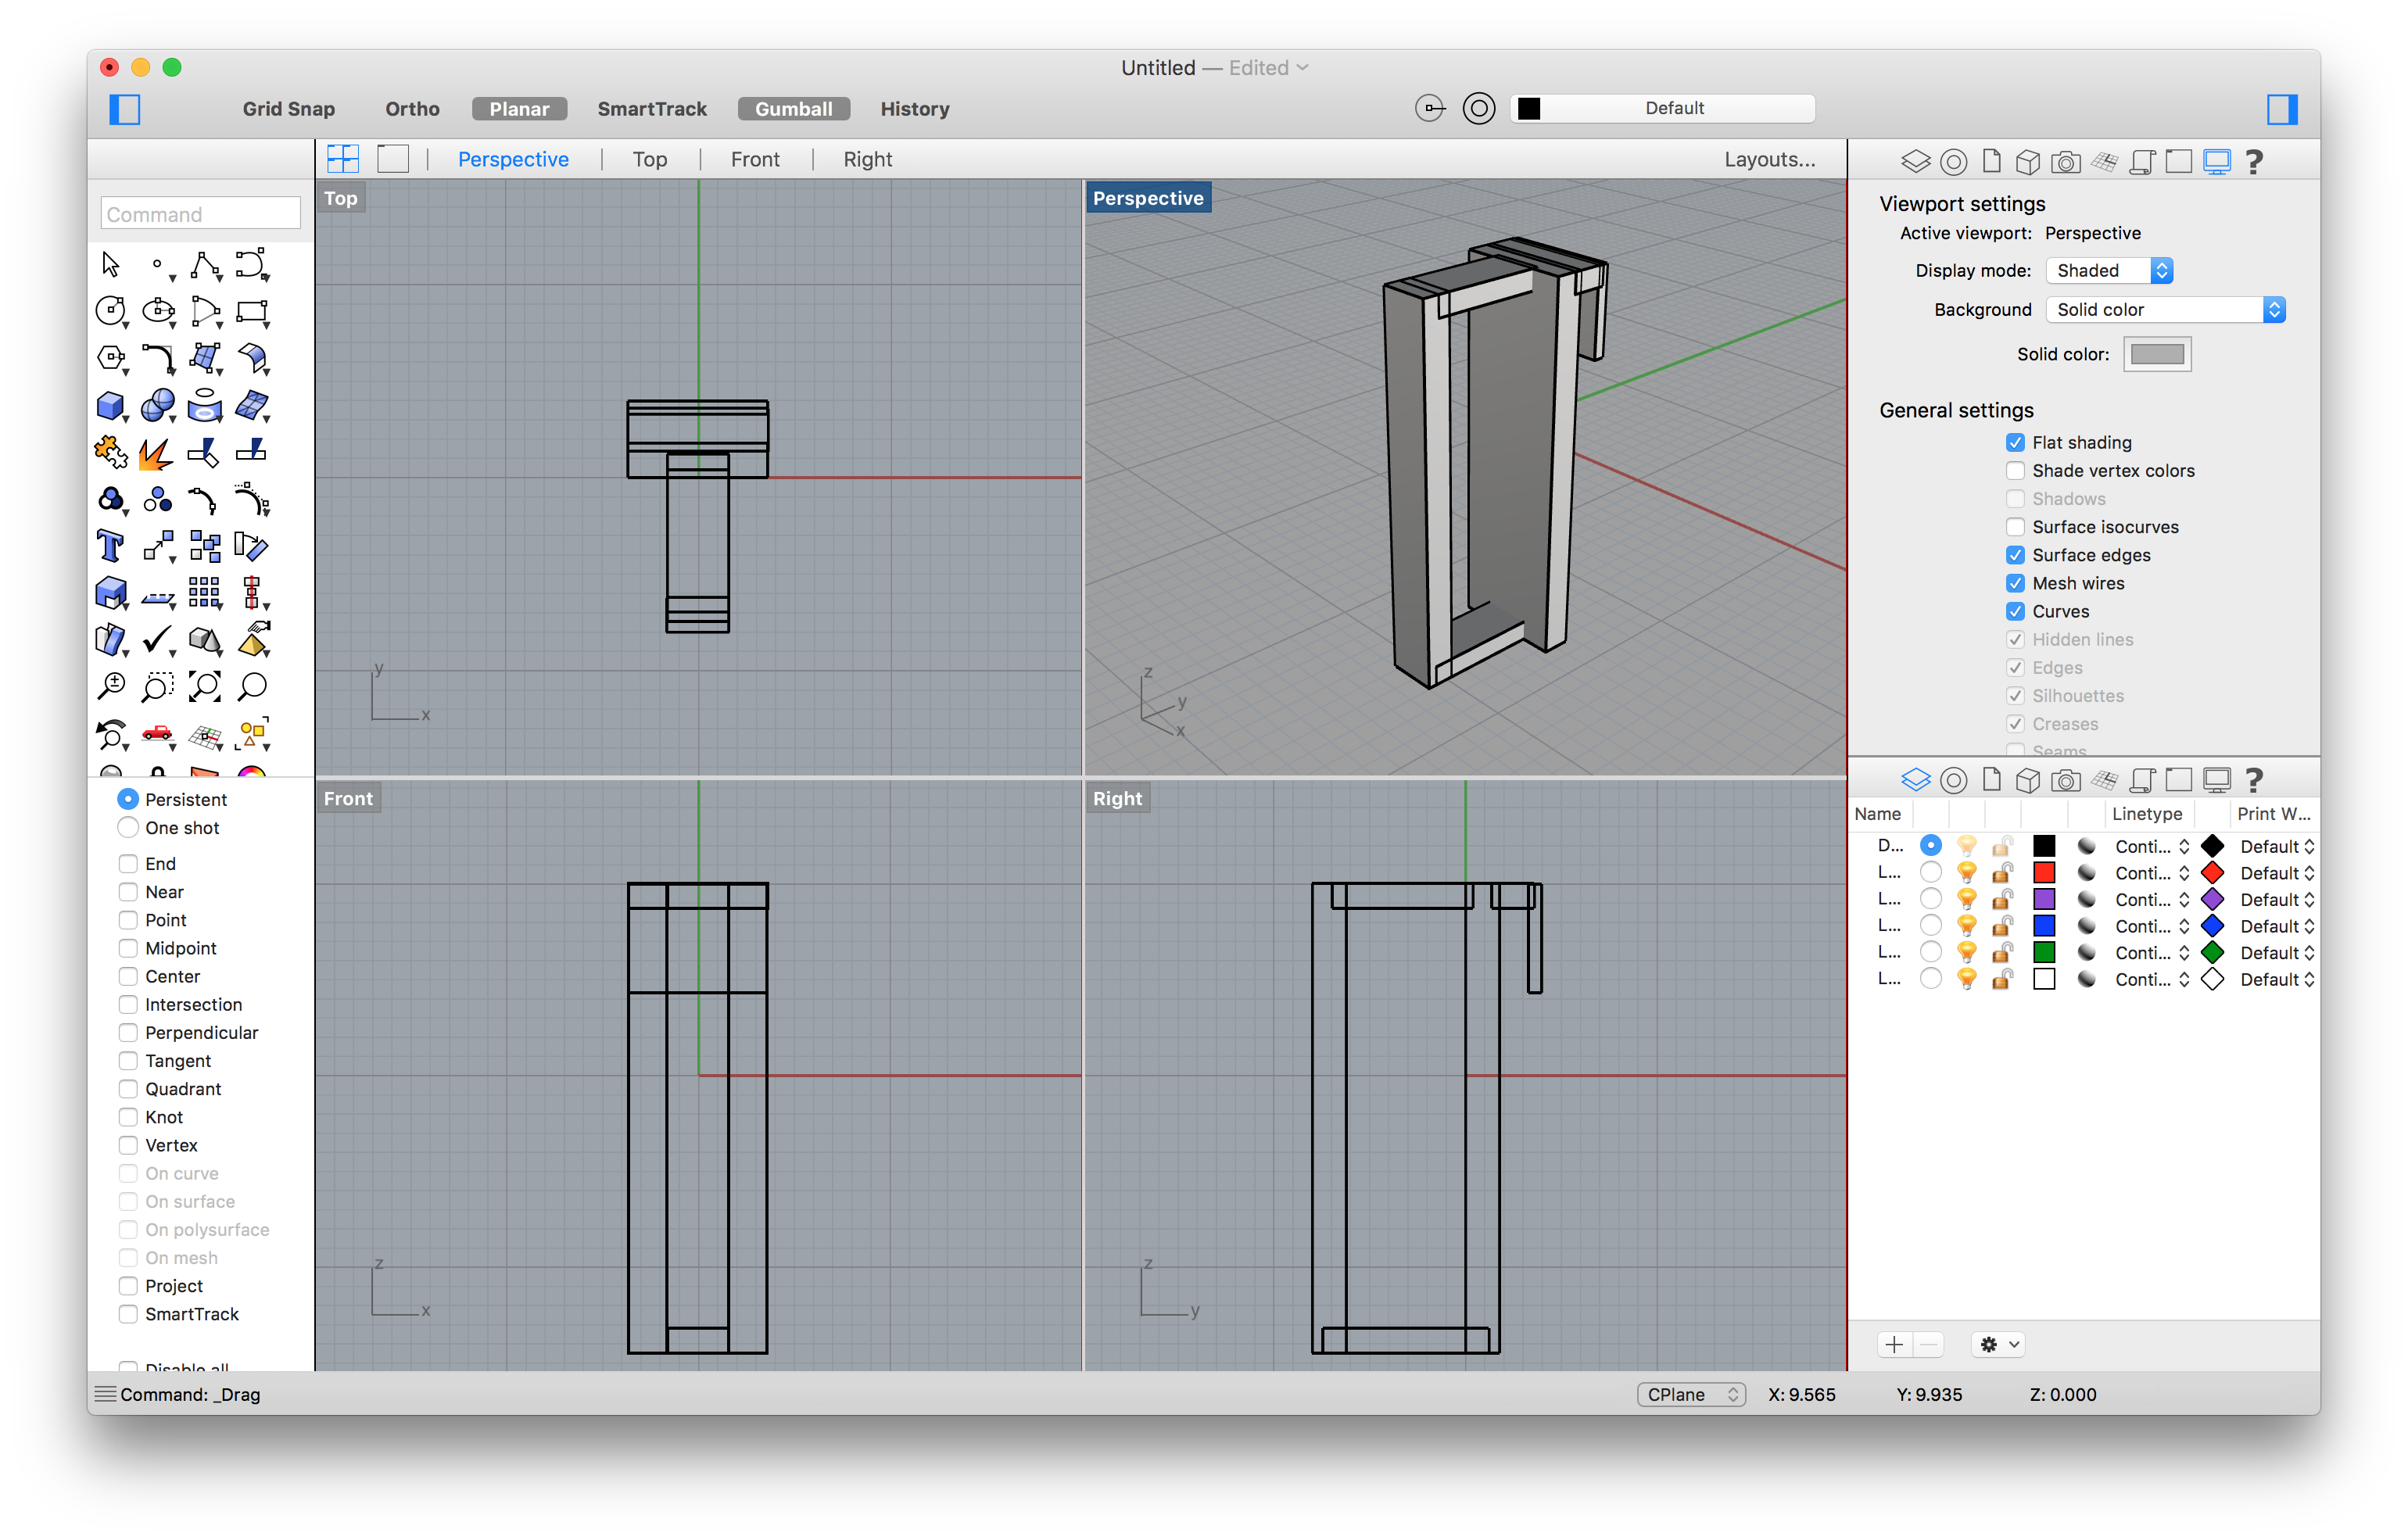
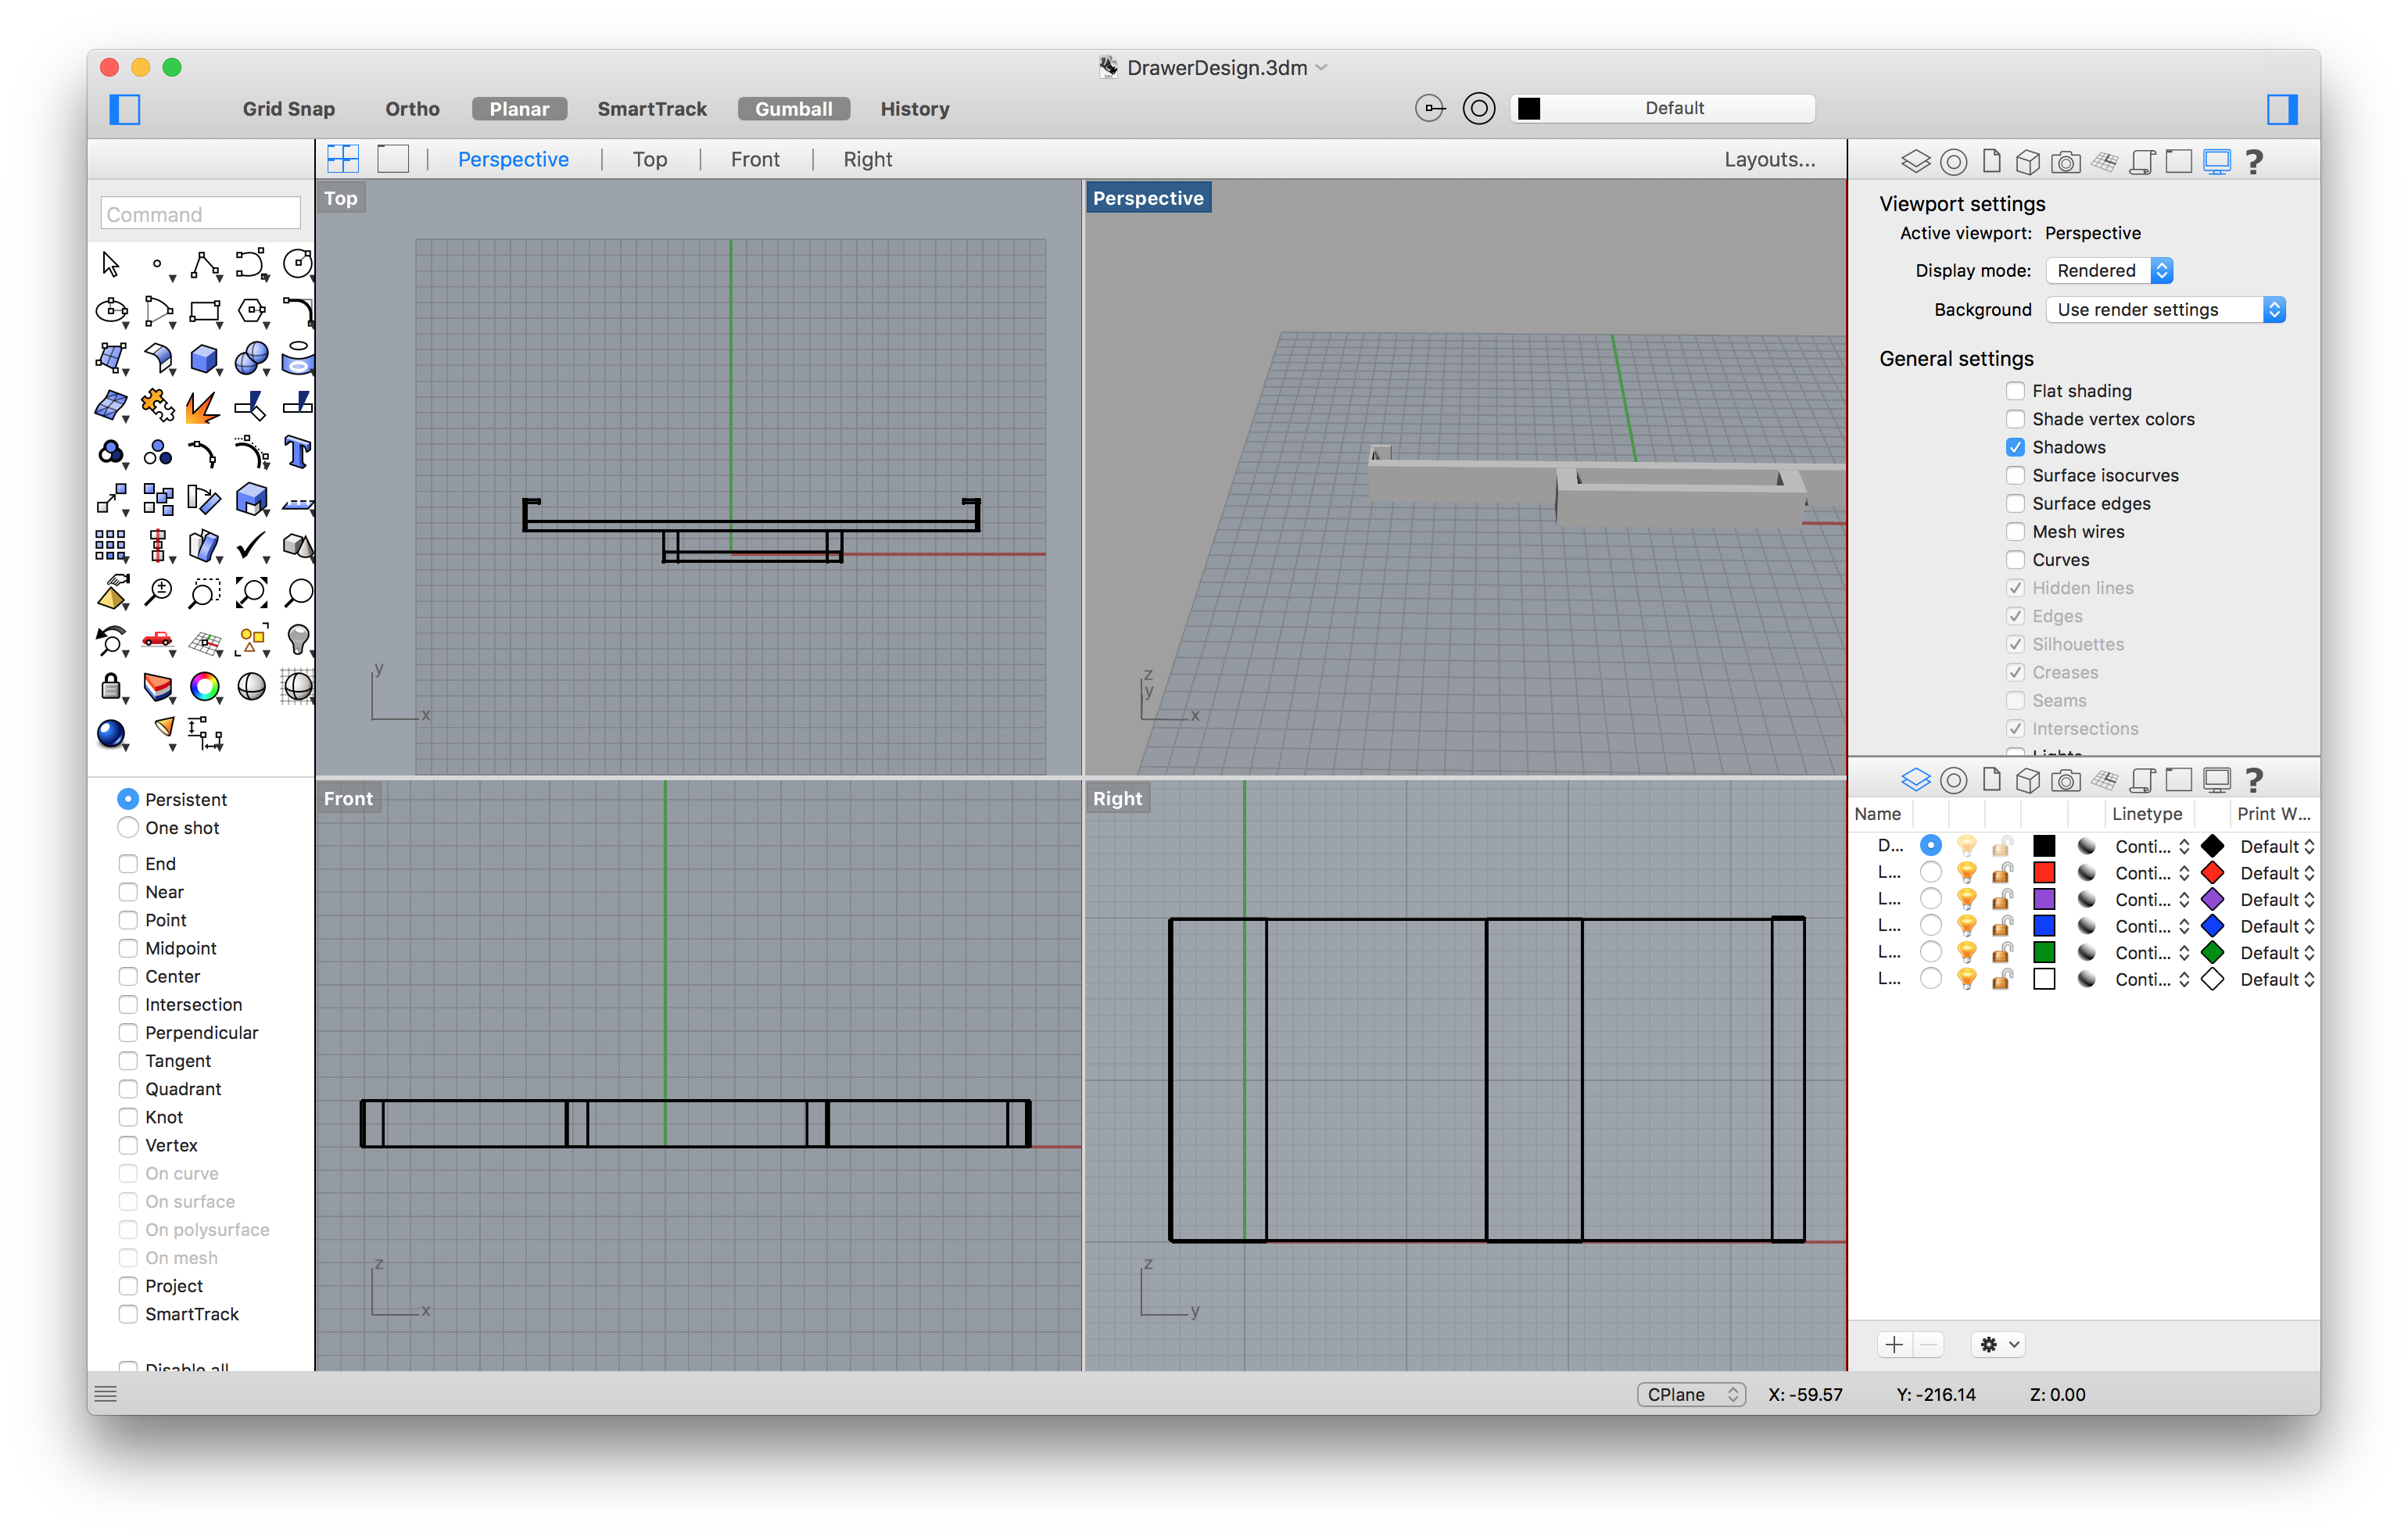
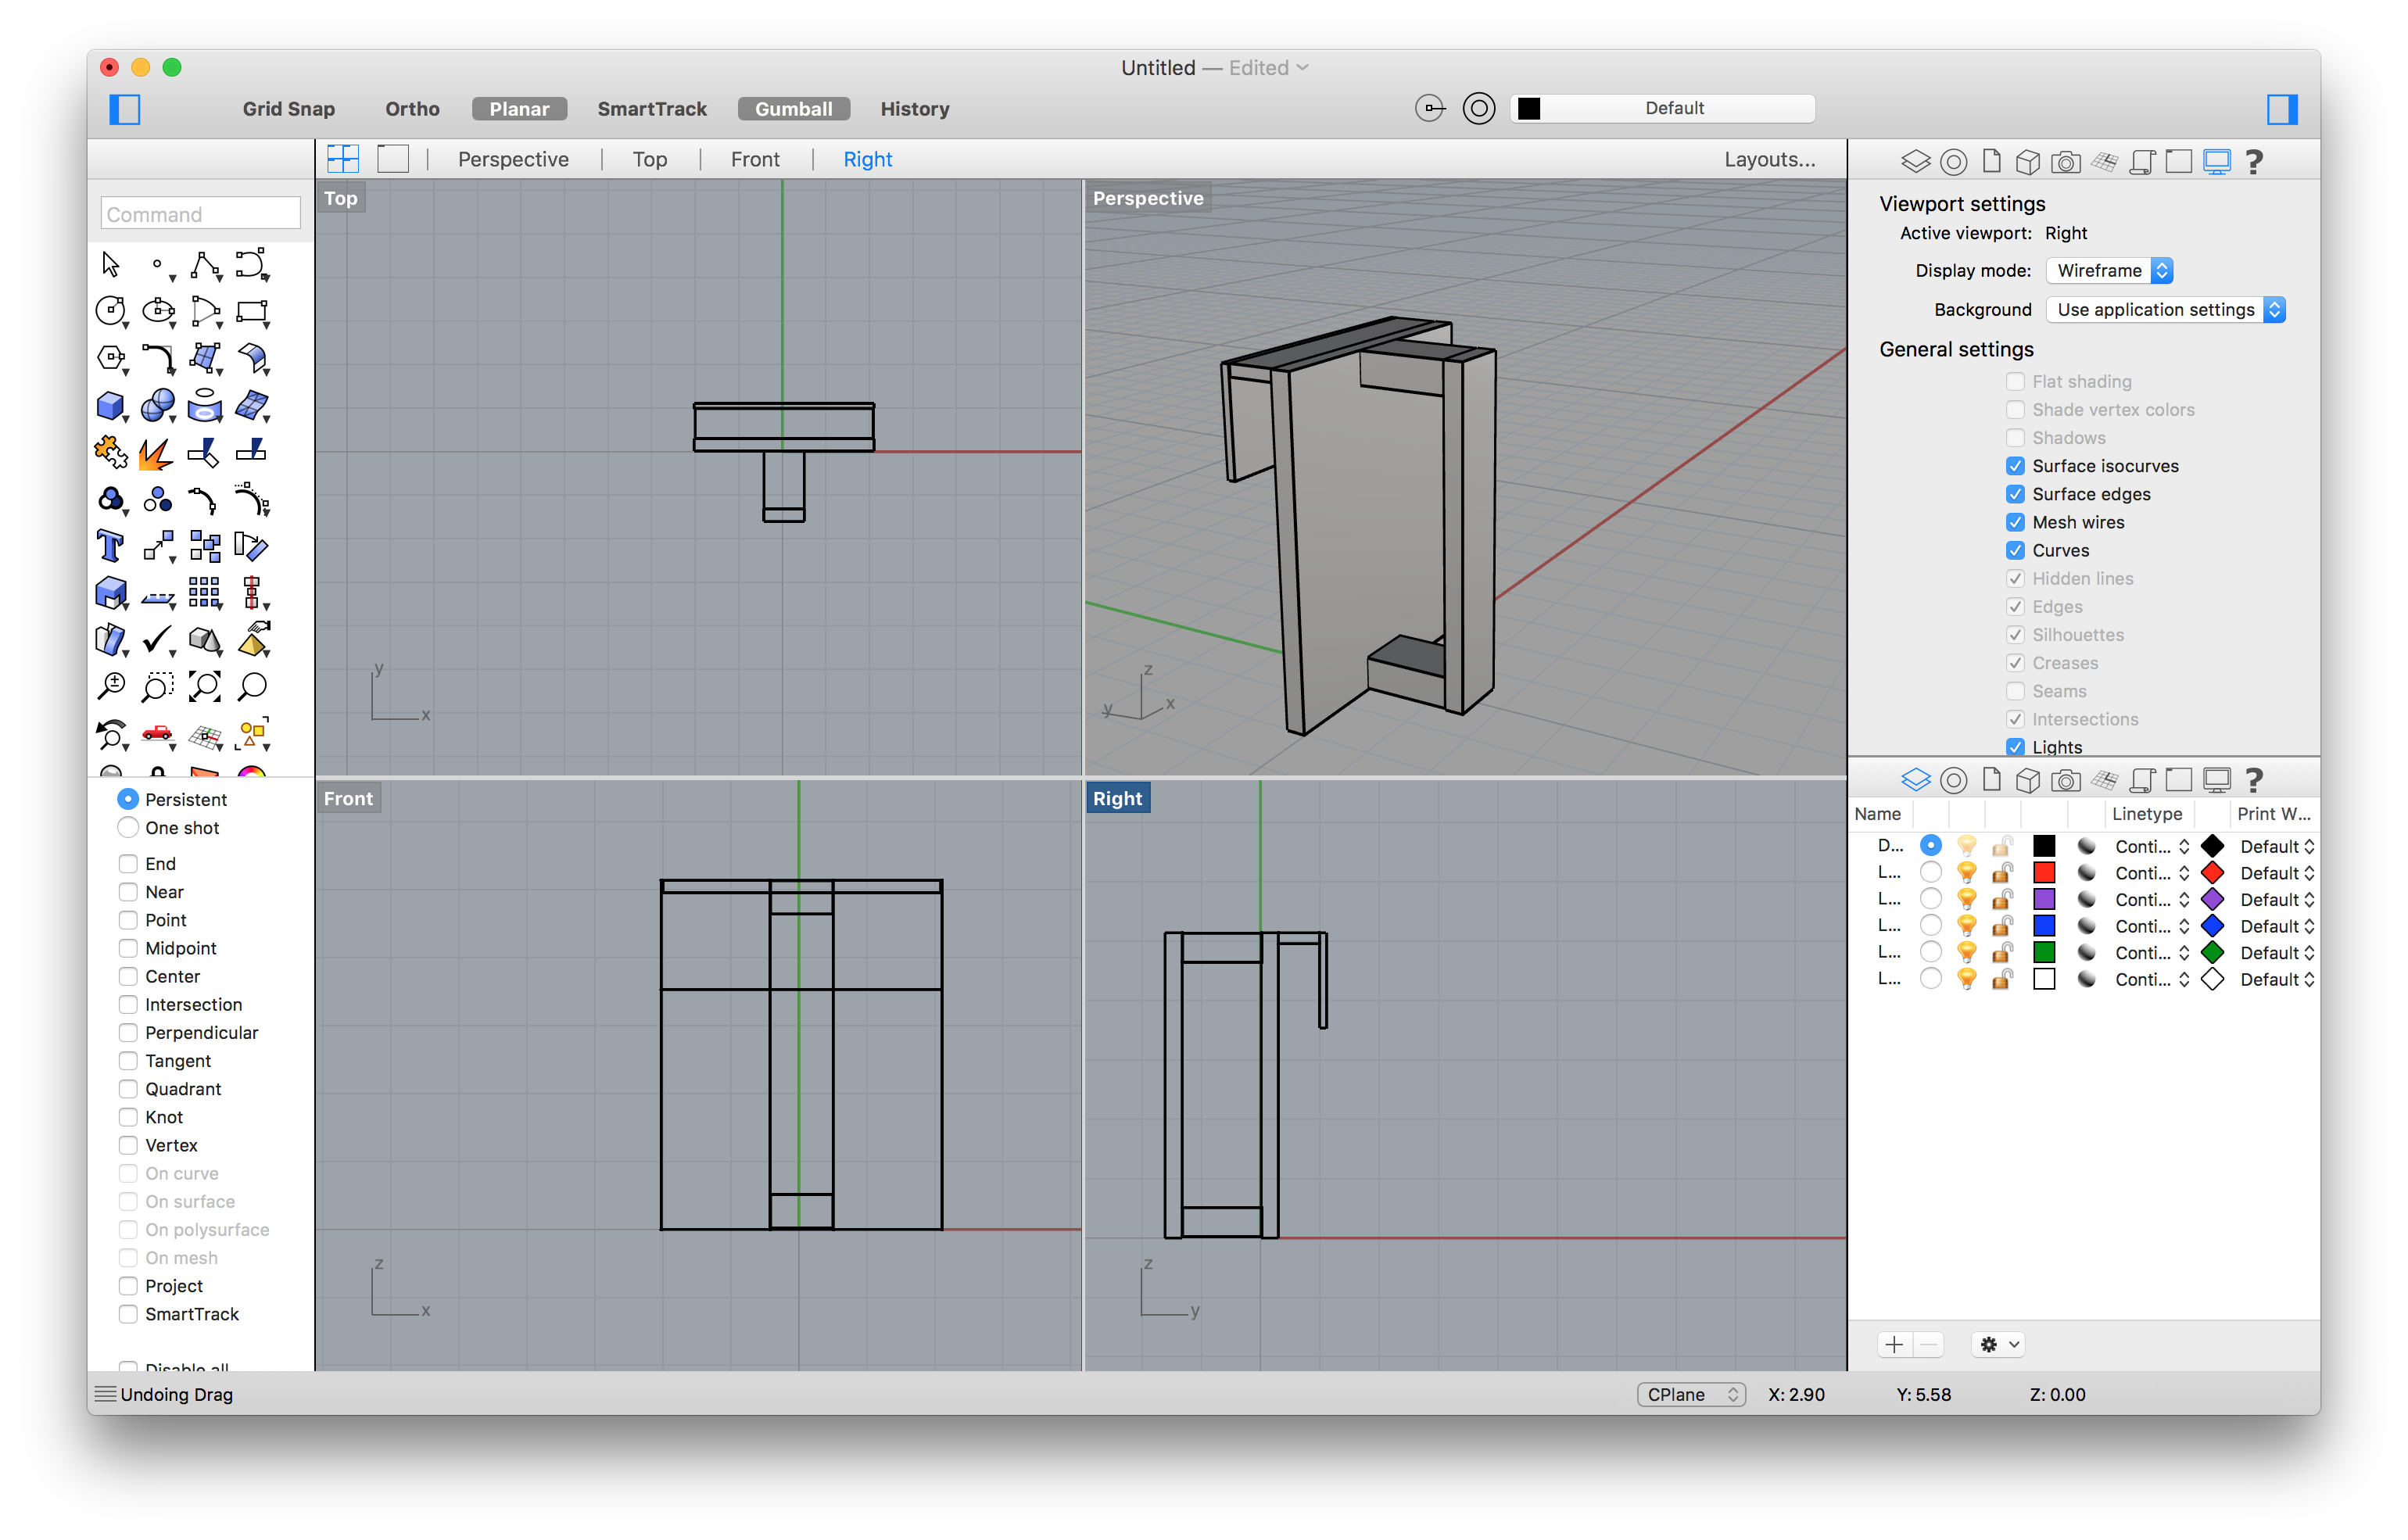
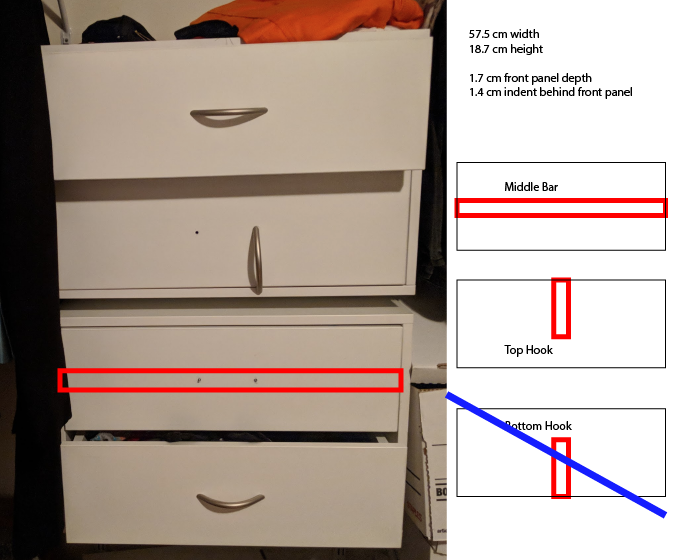
My clothes drawer has a major issue - no matter how many times the handles are screwed back on, and no matter how tight, they always end up falling off. One of them is already missing, along with the screws that attached it, and there is a second handle that is going the same route as the first missing one. This project is my solution to the issue - hopefully a more permanent one than reattaching the original handles and hoping for different results.
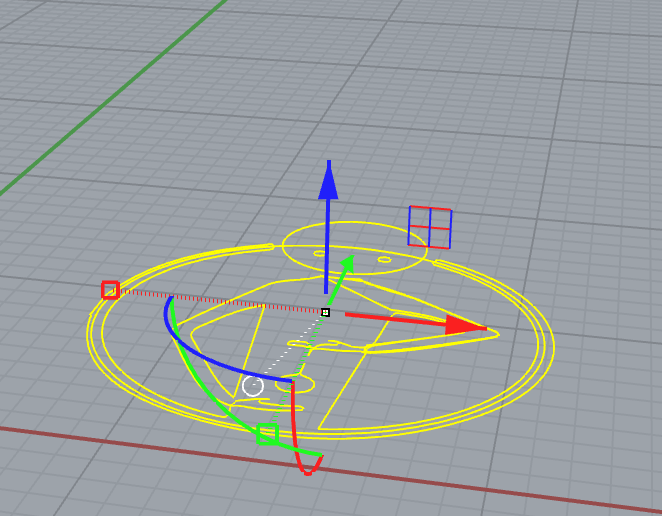
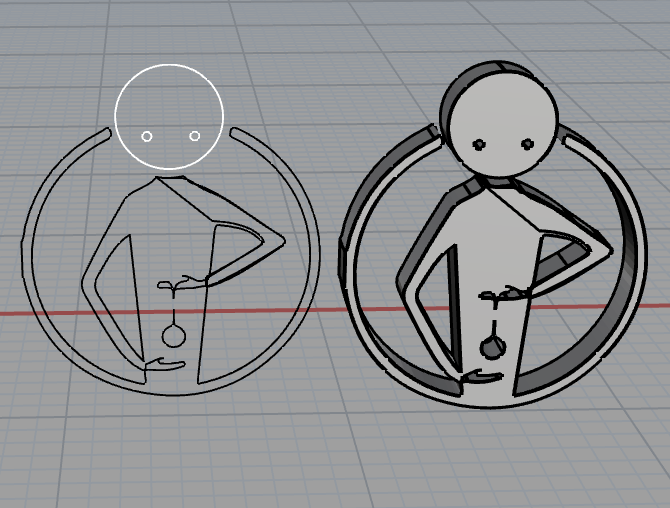
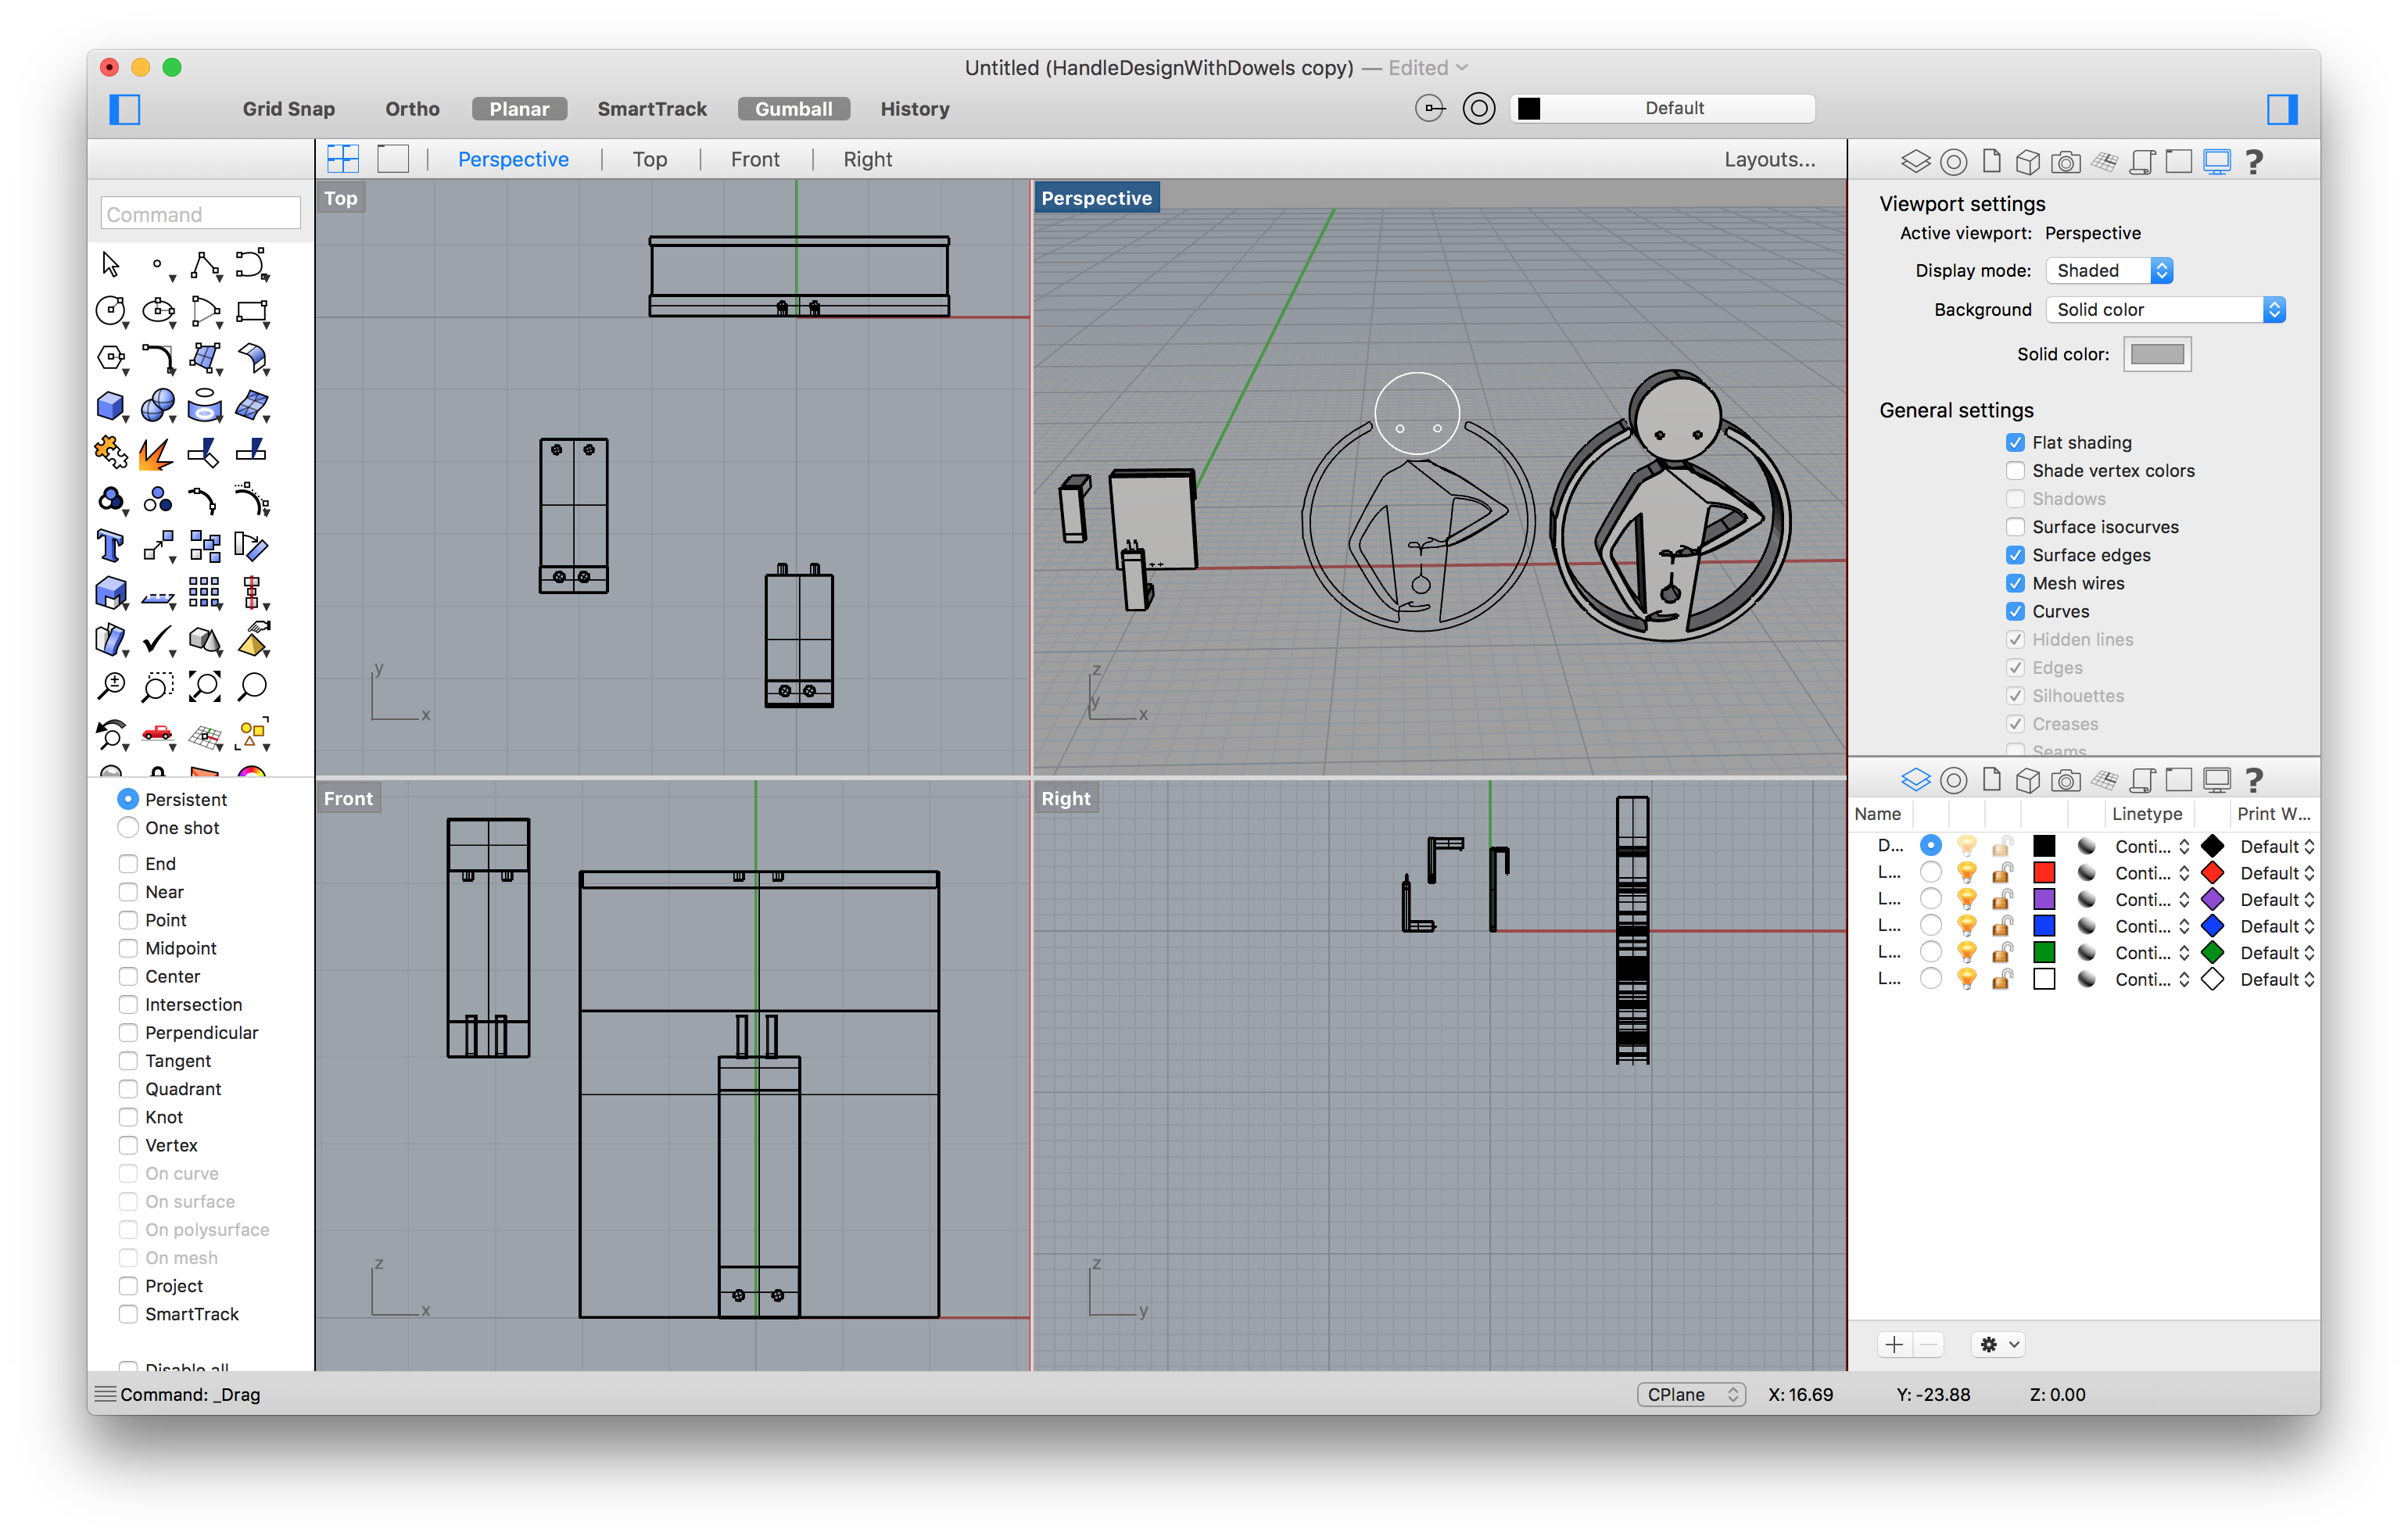
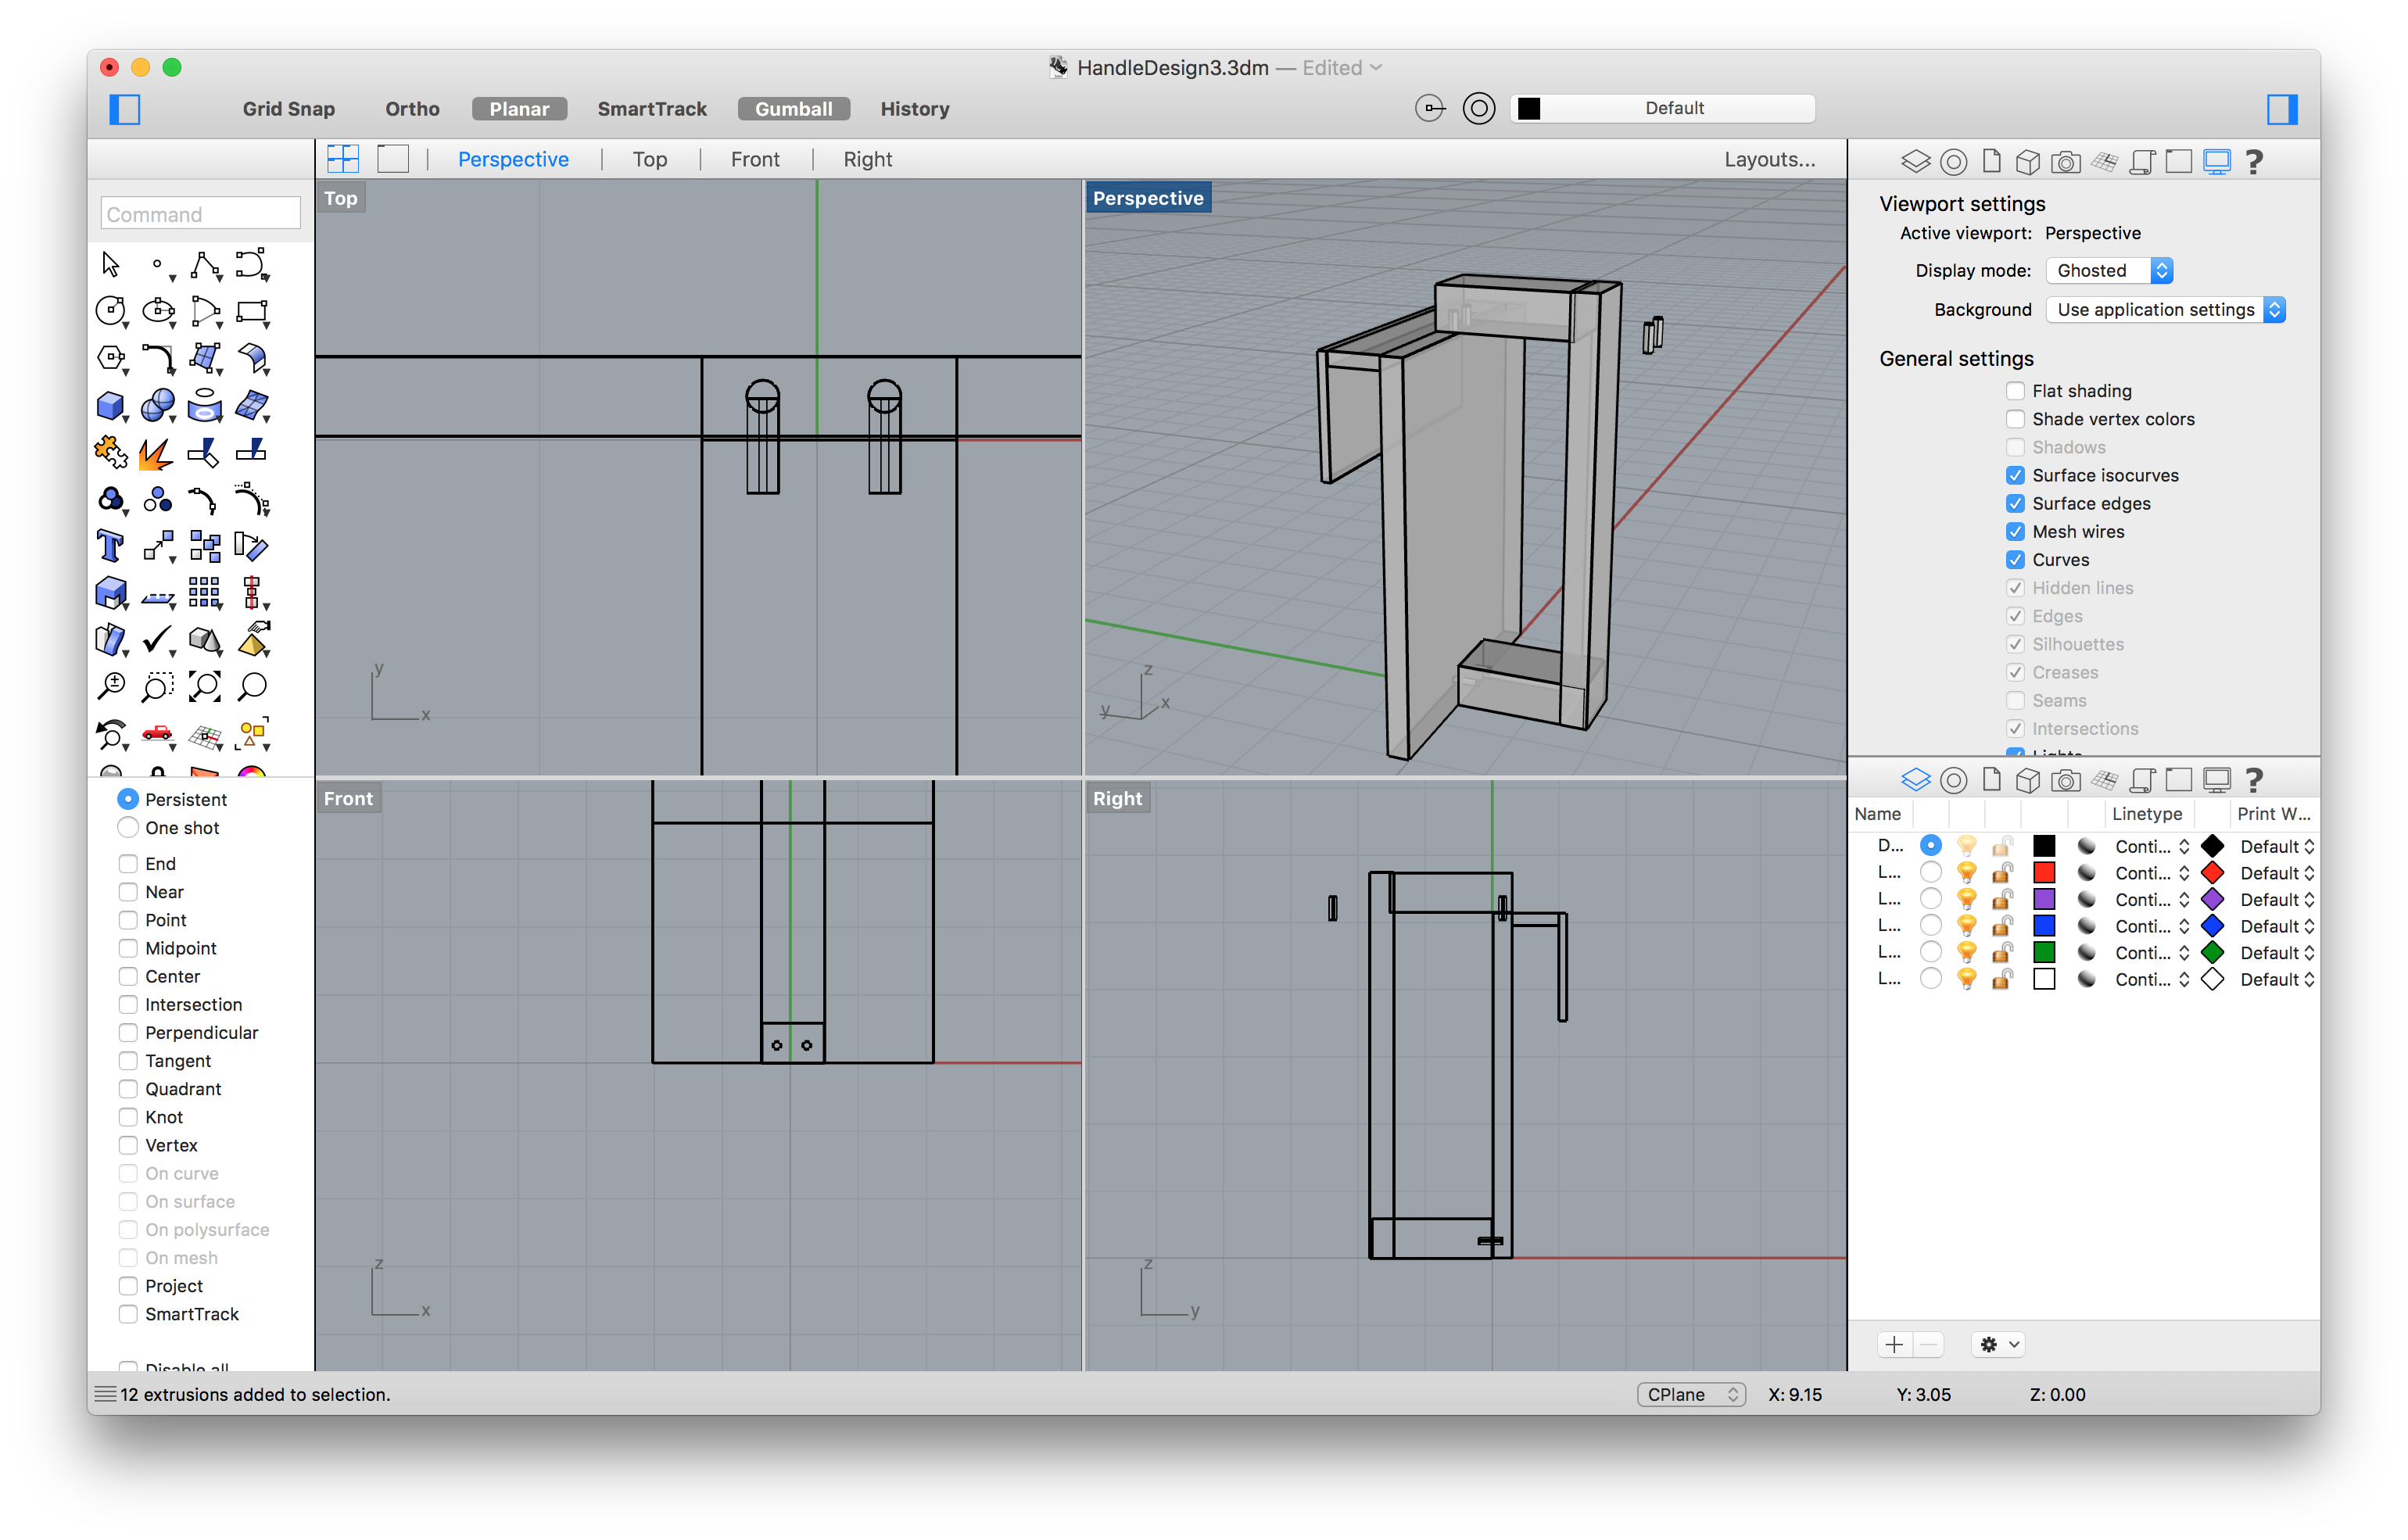
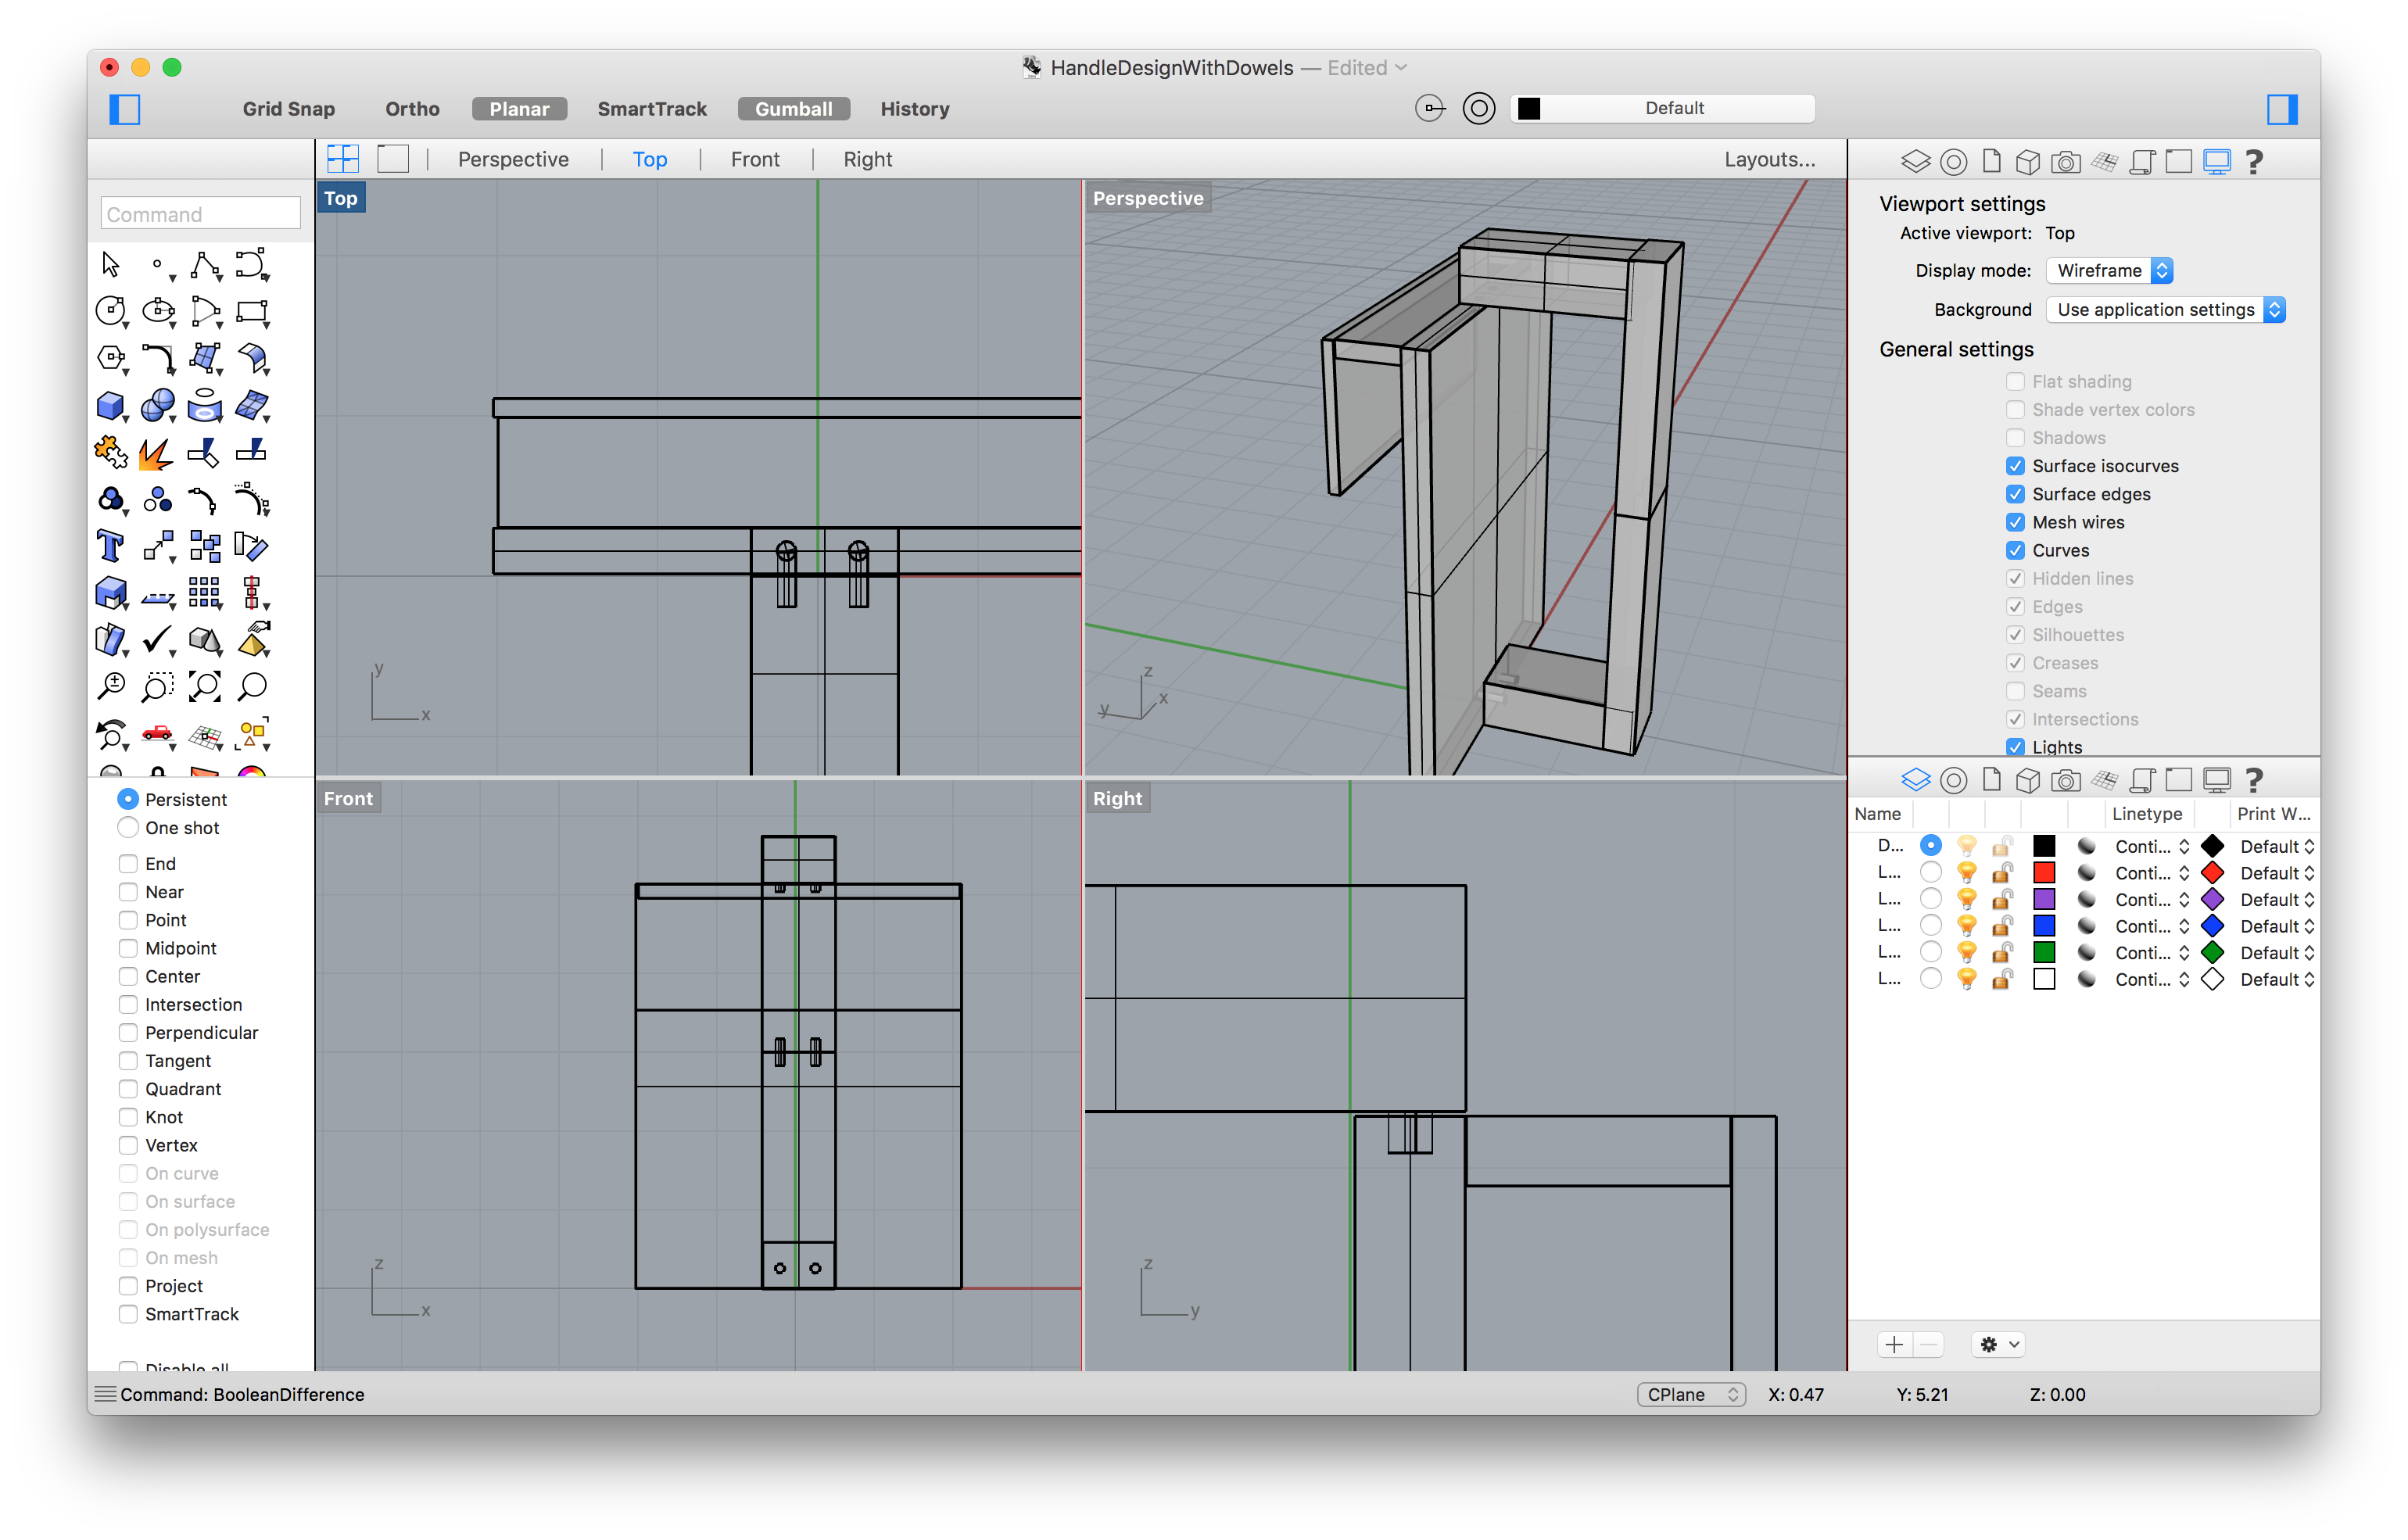
The file work is thus far being done in Rhino 3D, as there is a tool in it to allow for a length measurement on edges. The more precise the final print, the more likely it'll be to stay on when used, so the feature is handy enough. It also can easily deal with naked edges and non-manifold edges, as well as making them easier to locate. This will help speed up the creation process as the checks along the way can be done with ease, rather than find holes in the final stl at the end of the build.
This project was also submitted to the Repairs You Can Print contest, and I would like it to be considered for the best student project!


 Daren Schwenke
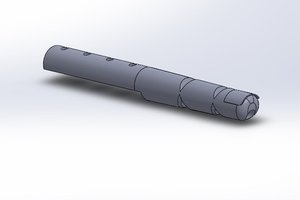
 Alan Chambers
 PixJuan
 Jason Cho
Projects like this can be a nice excuse to play around with Rhino 3D. I enjoy using it to make models of real world objects. As to an alternative solution for the other handles, have you tried using lock washers?