 johnowhitaker
This is basically my continued experimentation along the same sort of theme. So far I have completely rebuilt this thing far too many times :P
This is a fun project, and I hope more people try something like this.
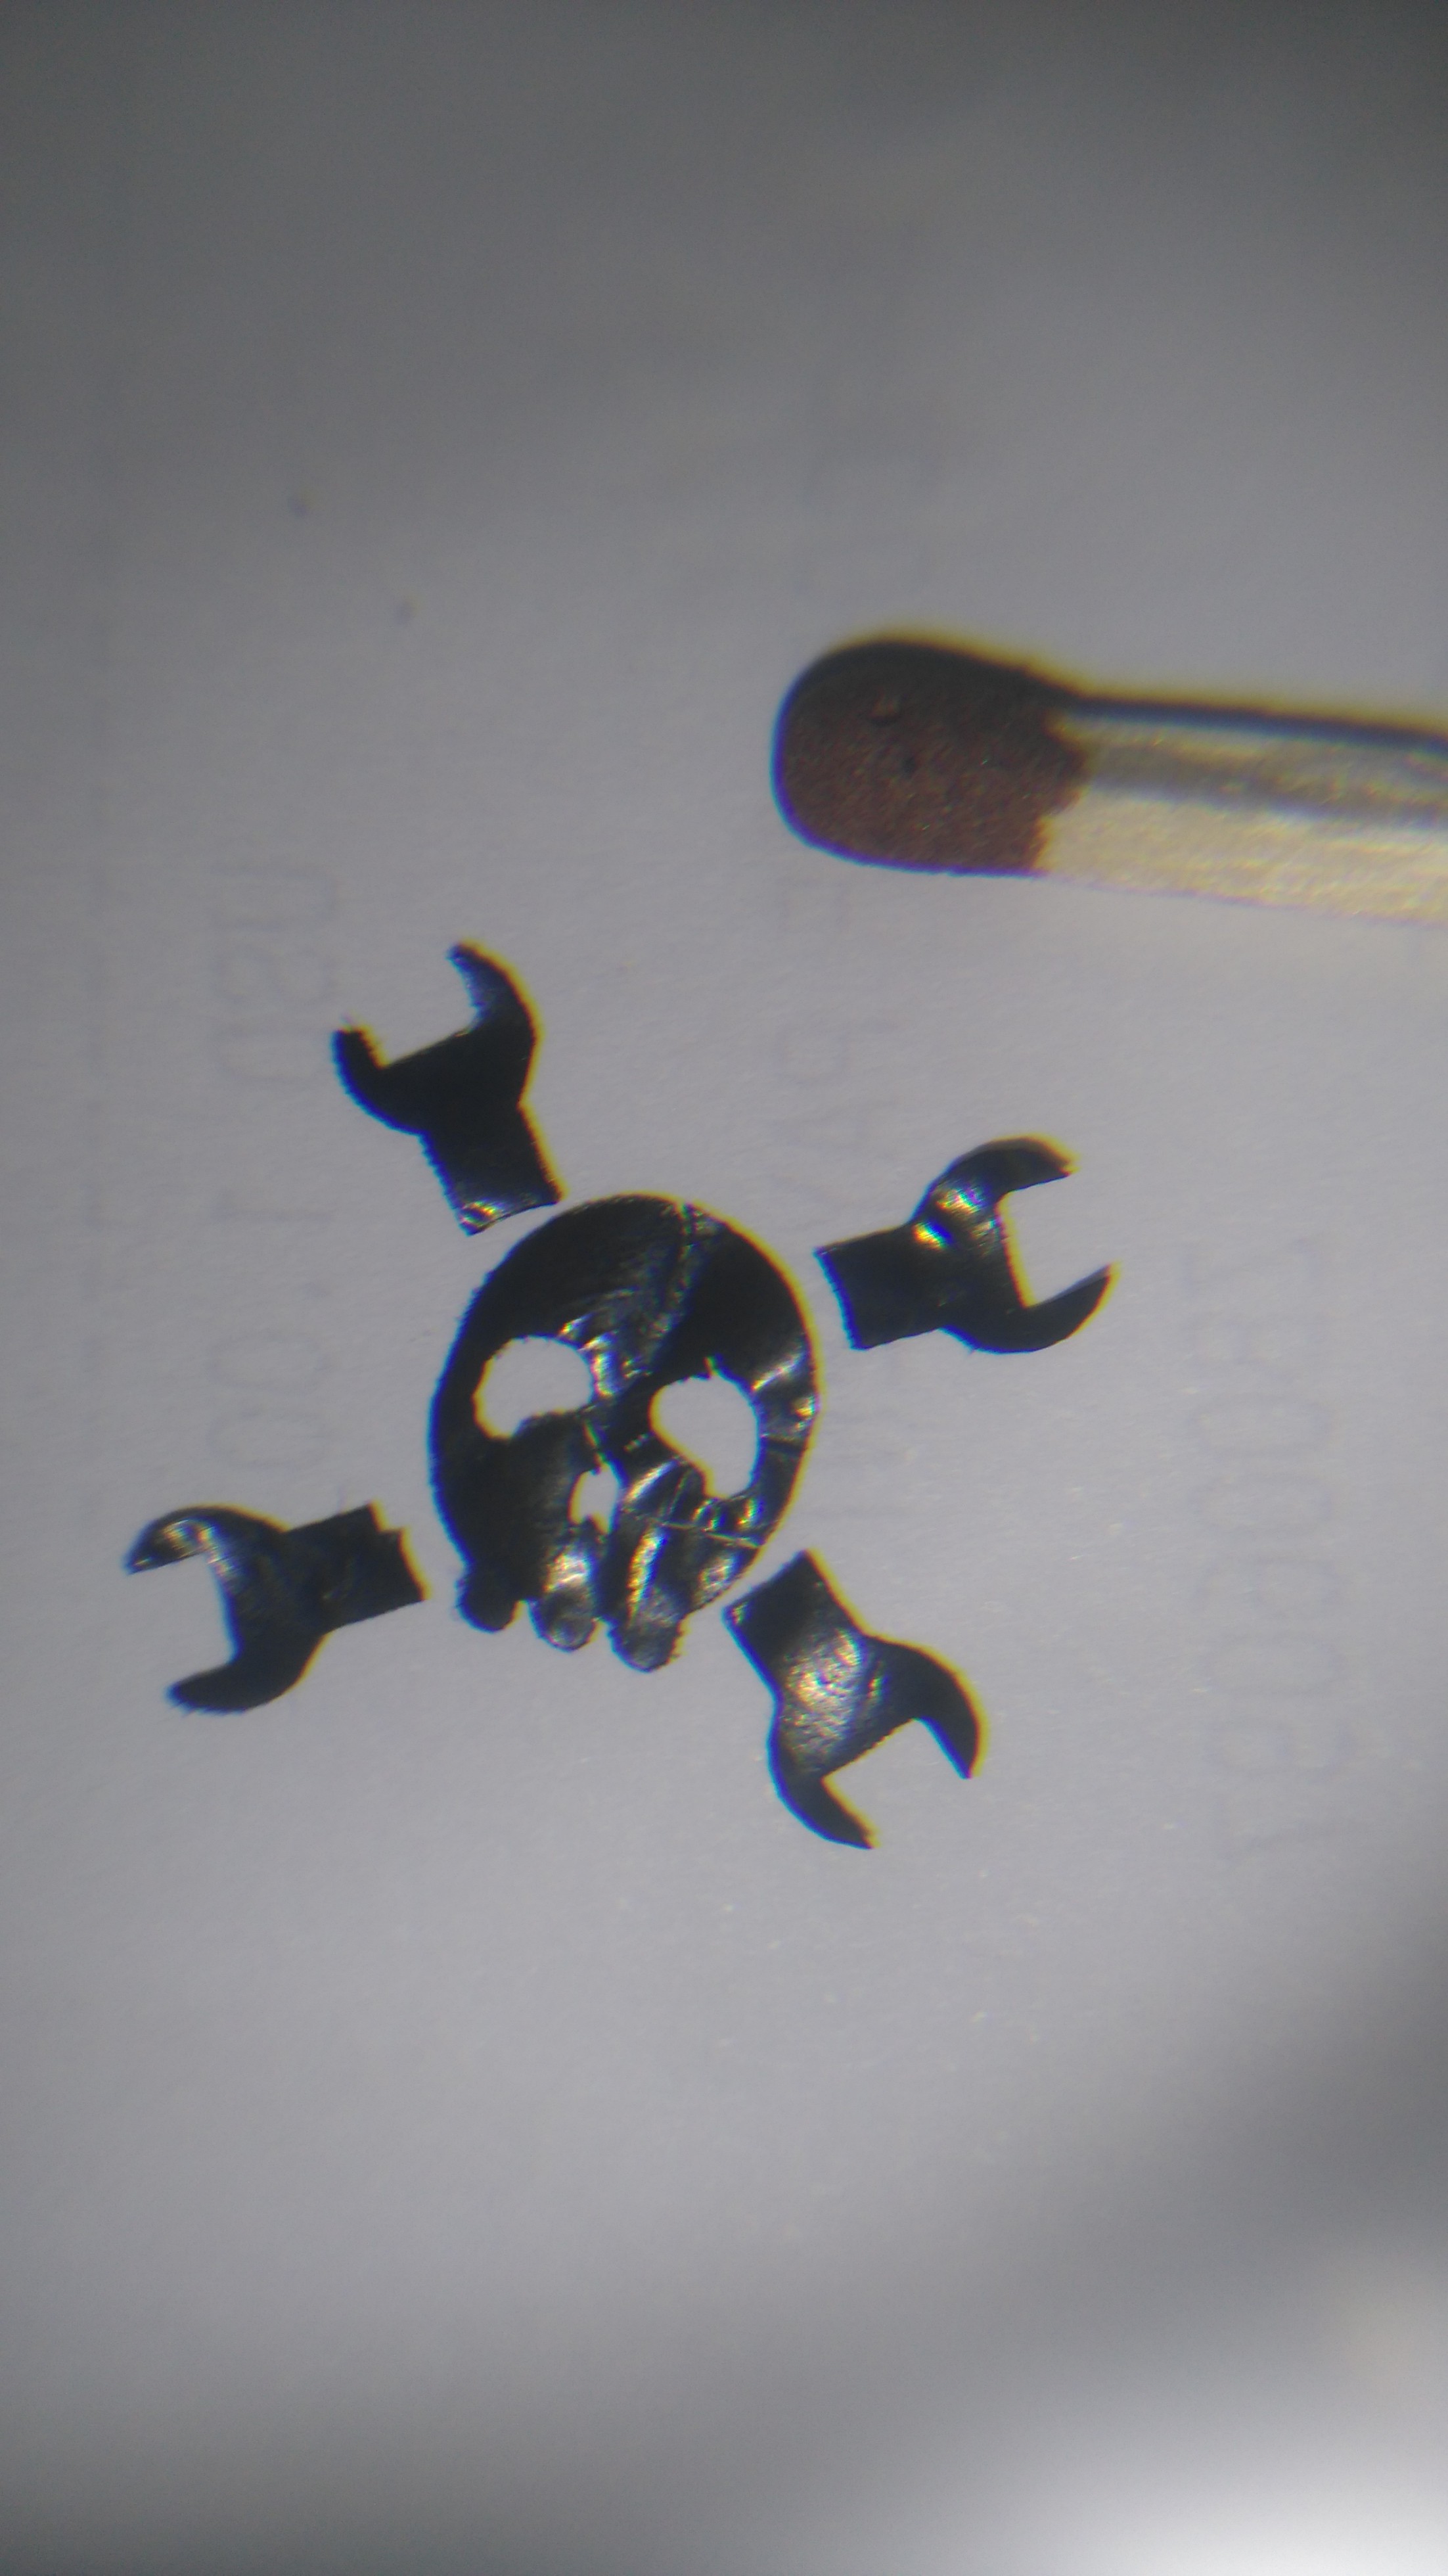
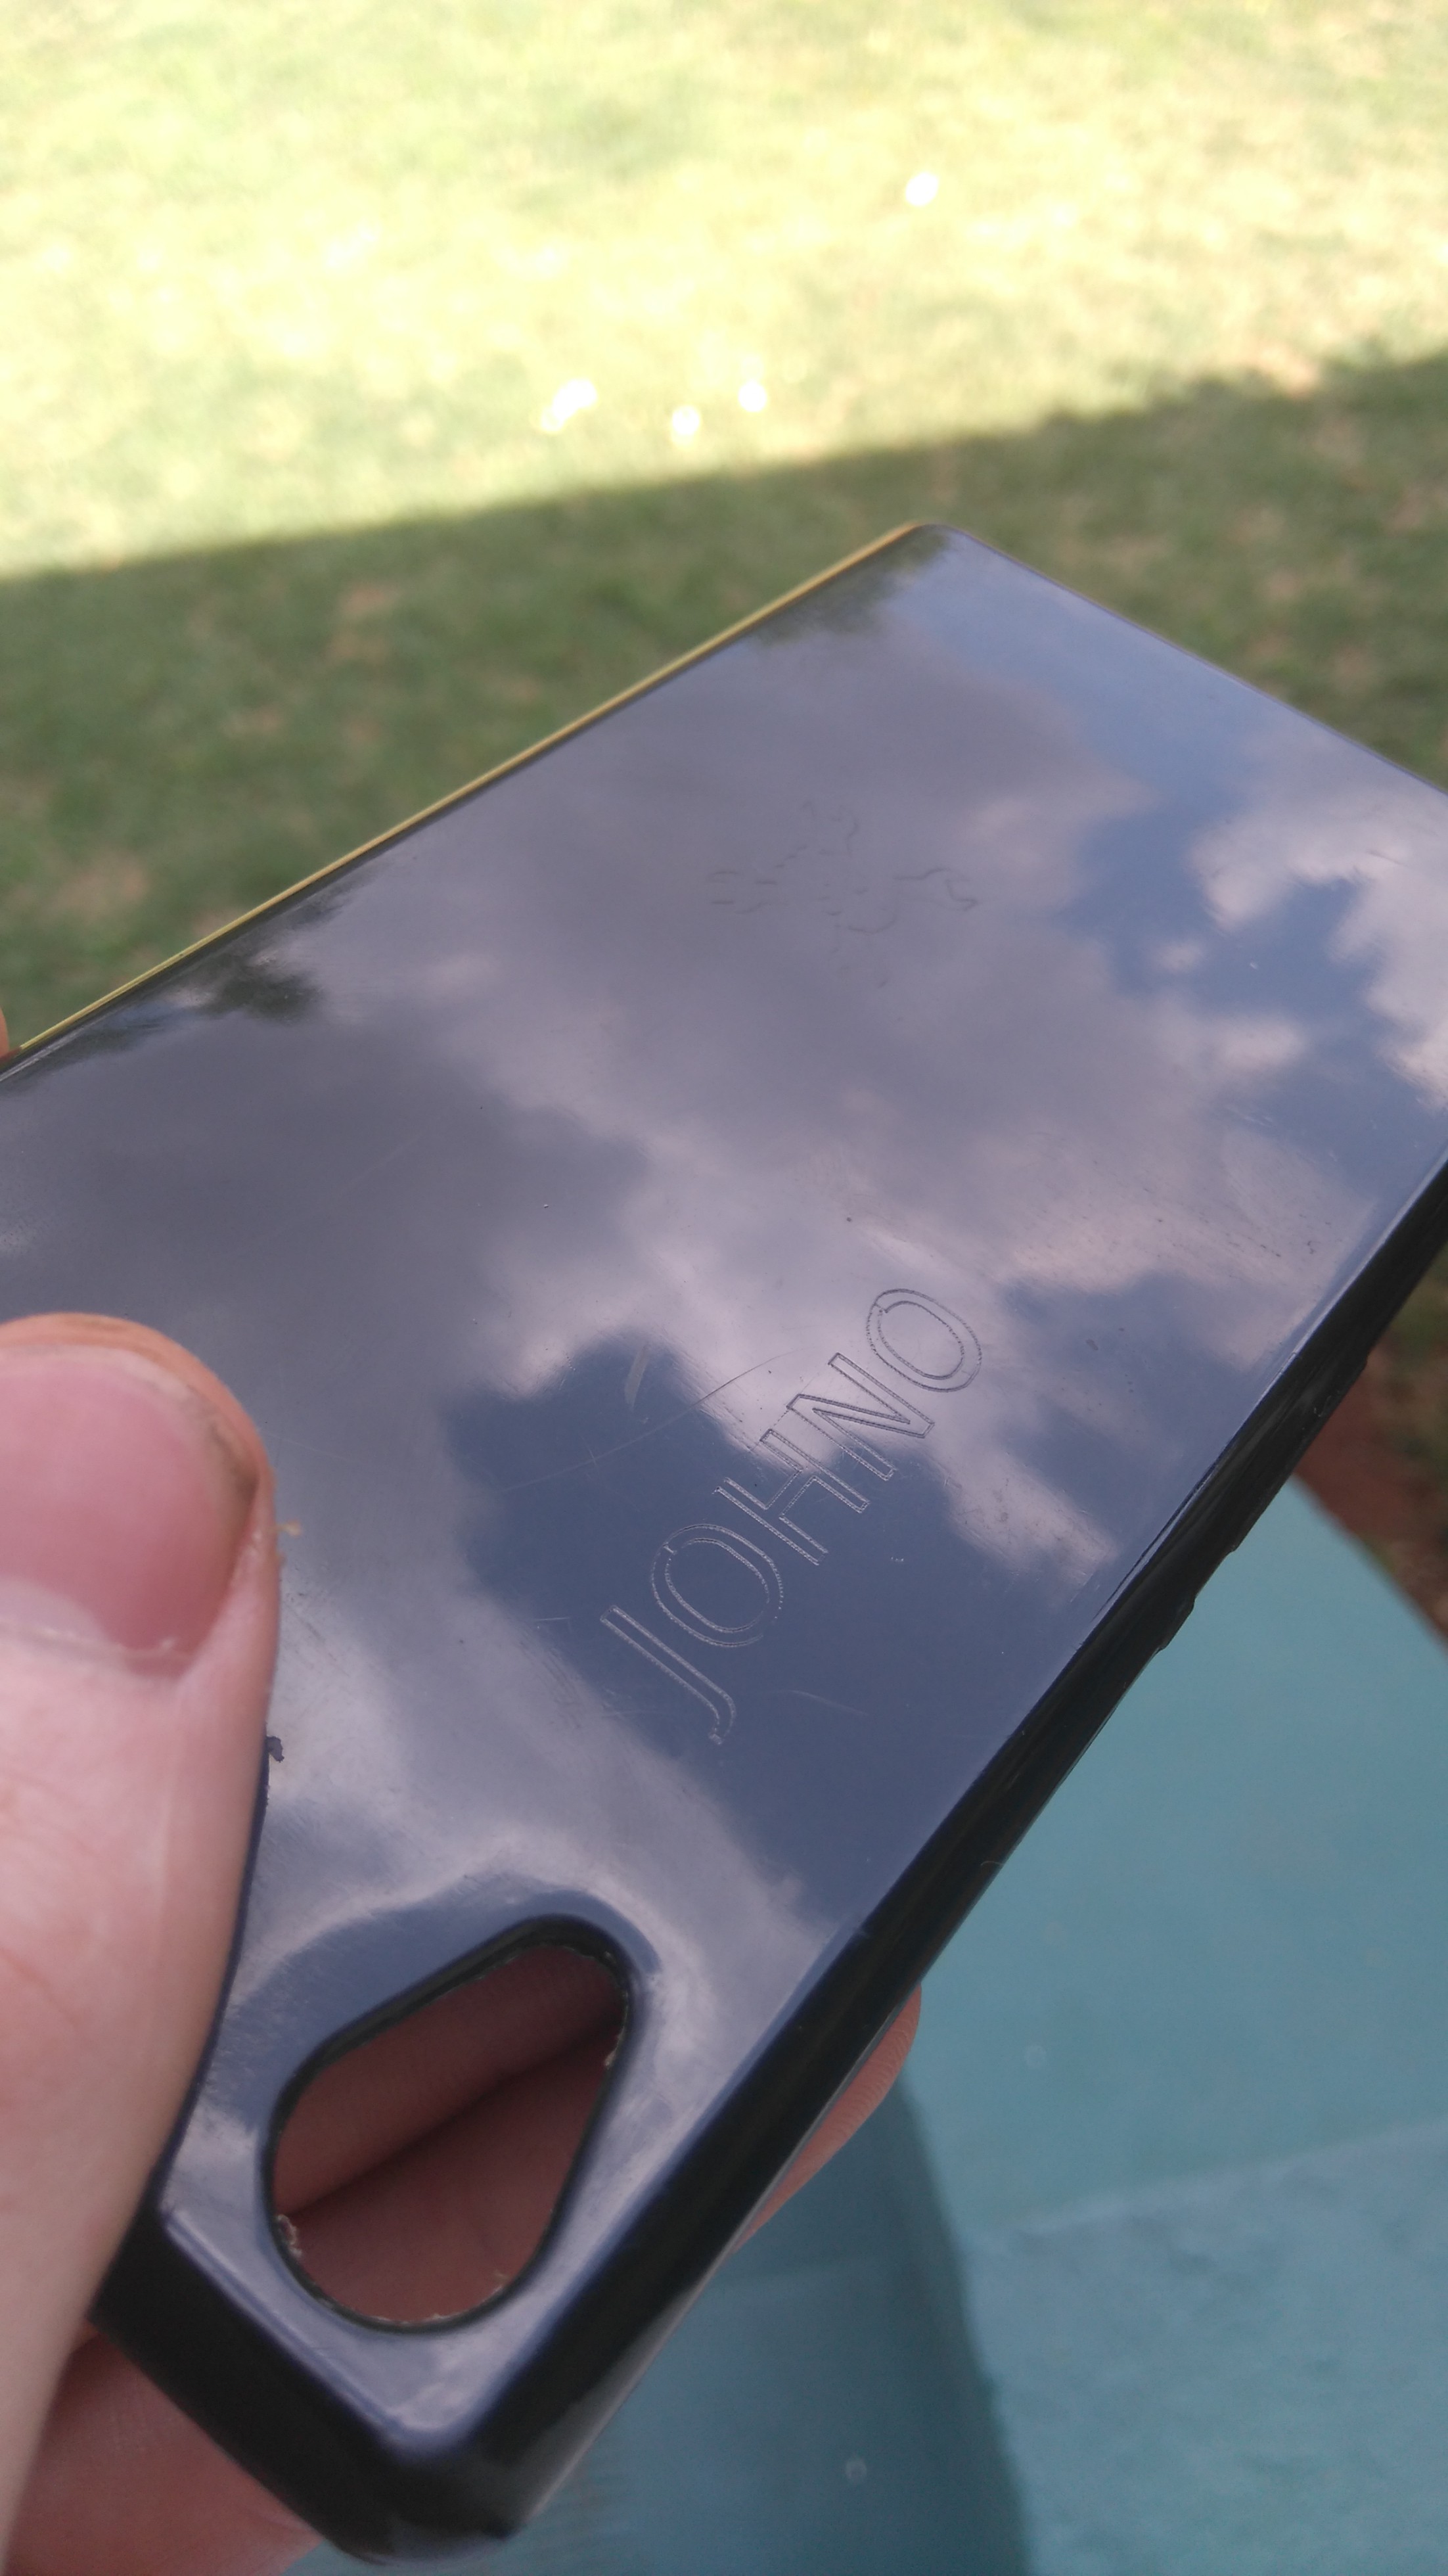
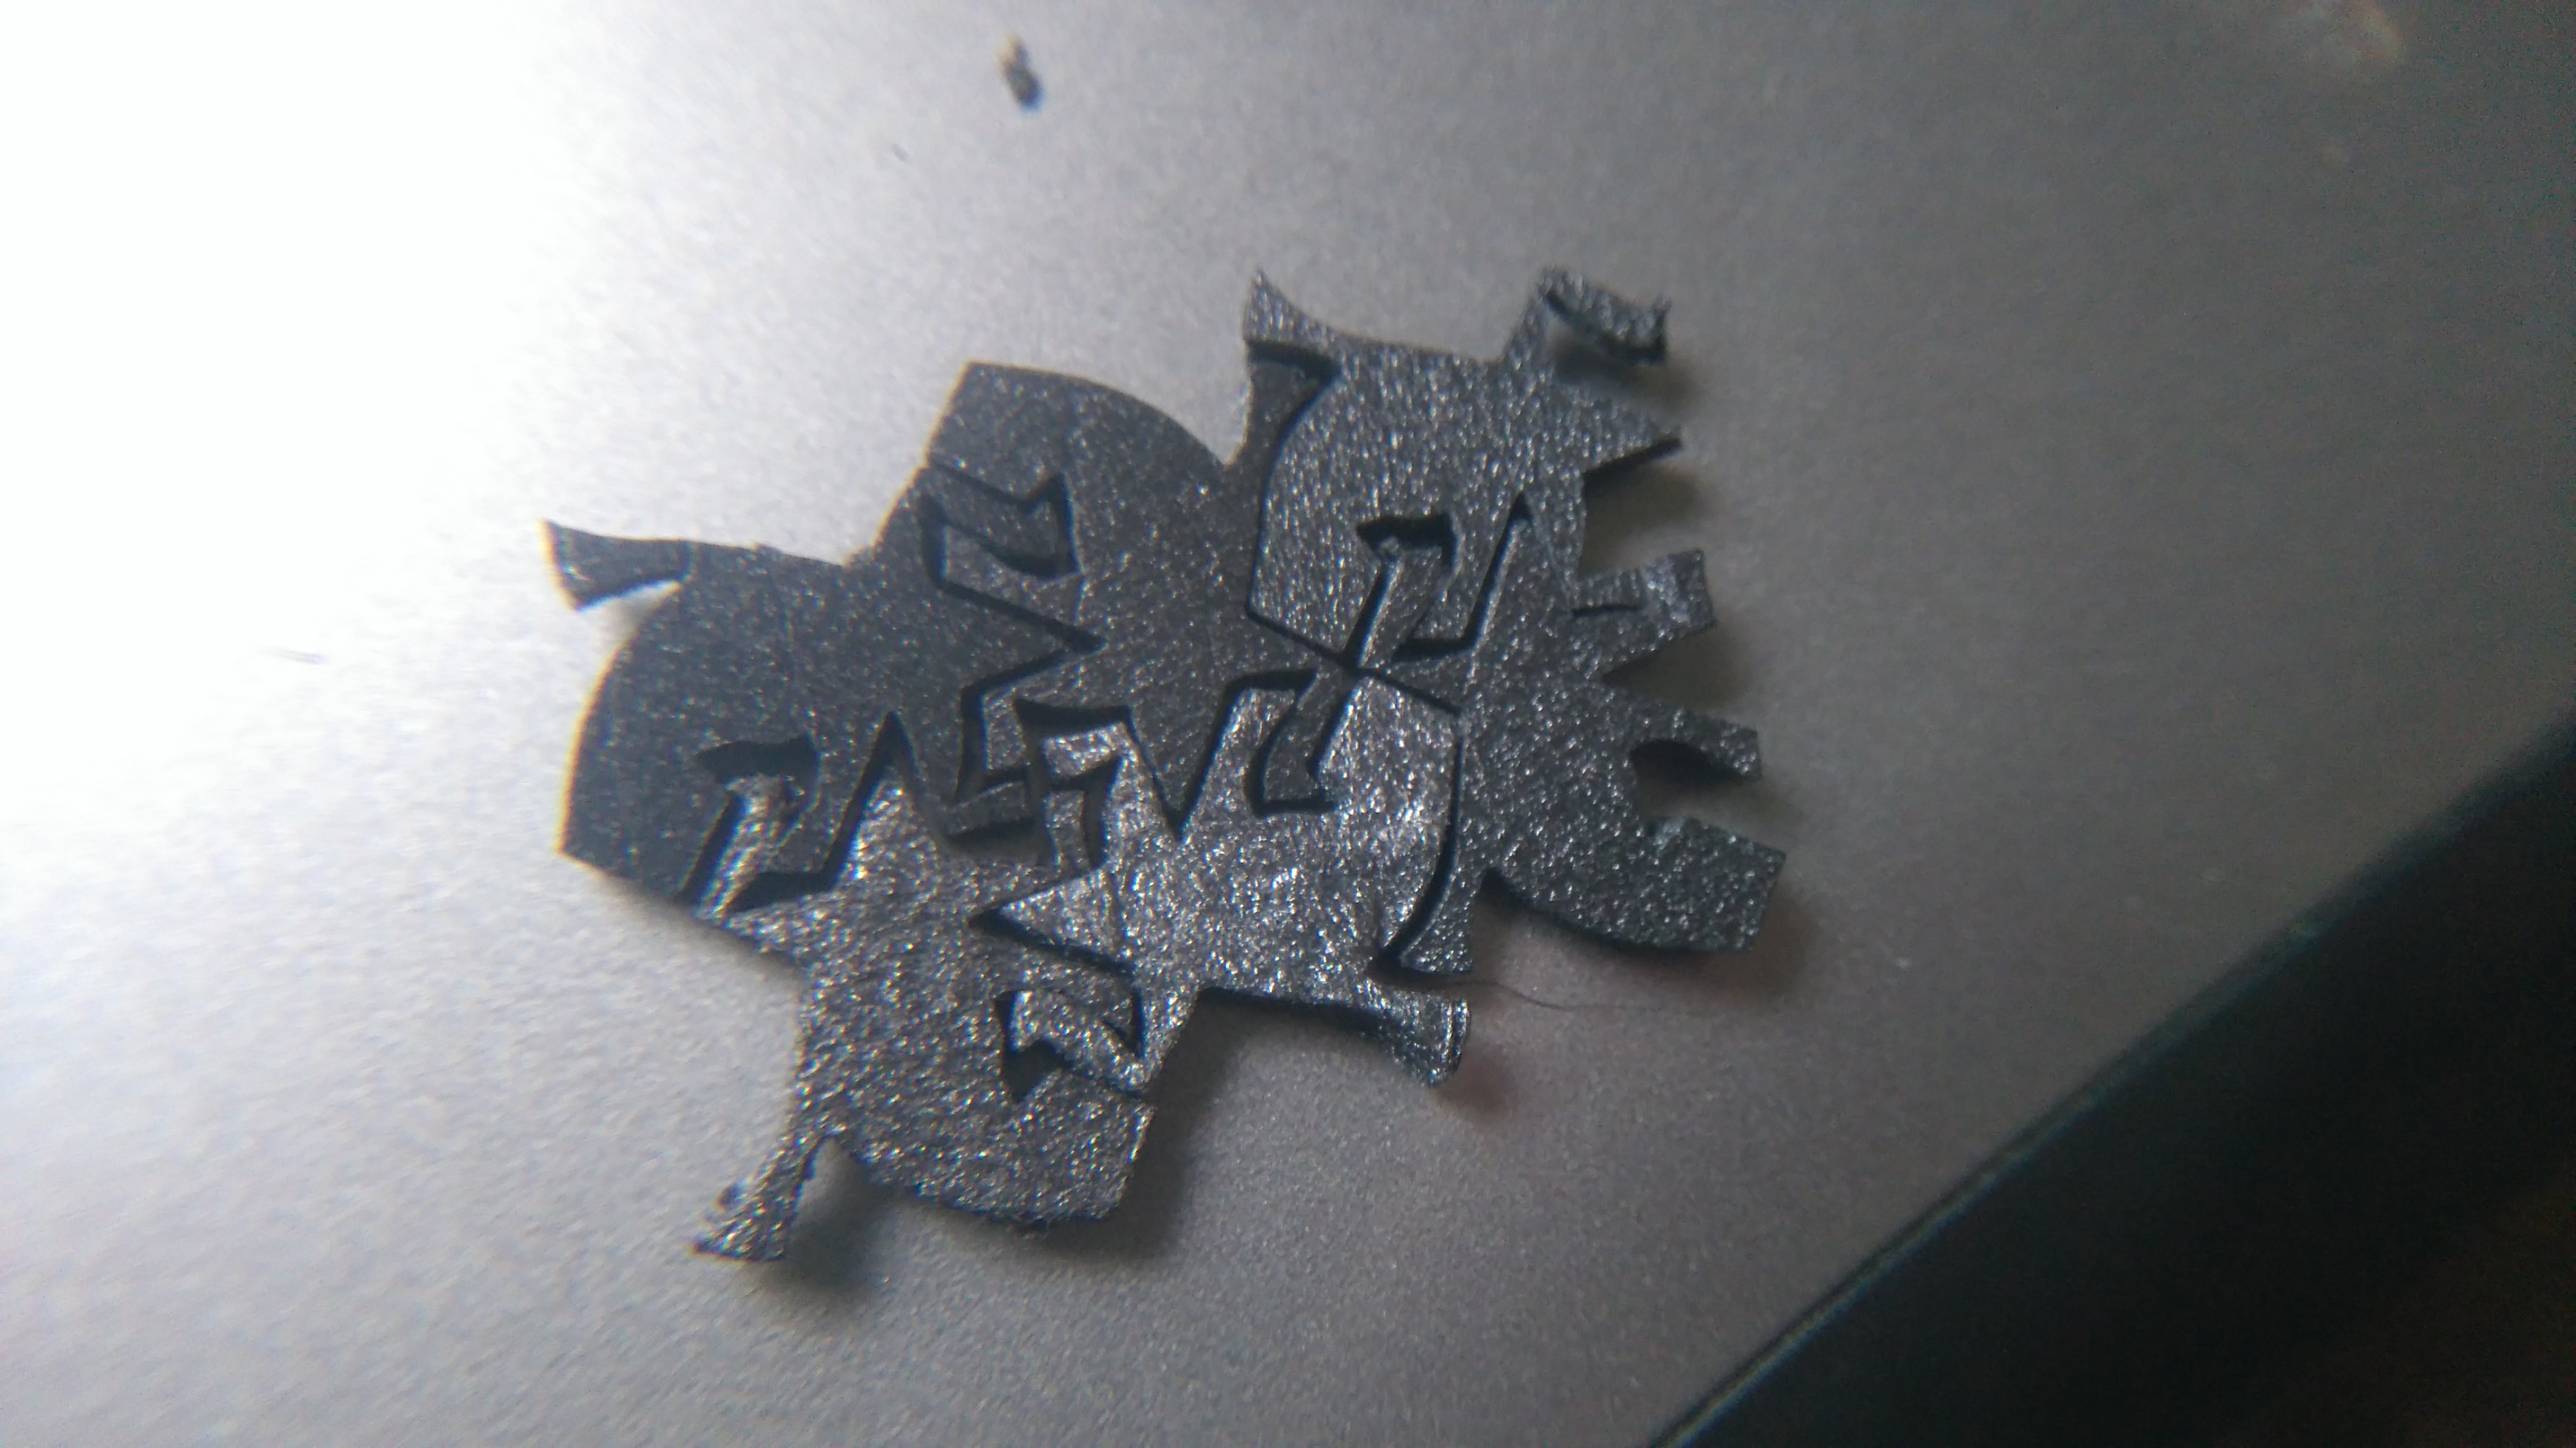
I used it to melt toner onto PCBs (https://hackaday.io/project/7535-cddvd-mechanisms-and-cartesian-thinggies/log/28947-pcb-fab) which is a pretty cool (and novel?) use. Need to write details up and make an actual PCB at some point.
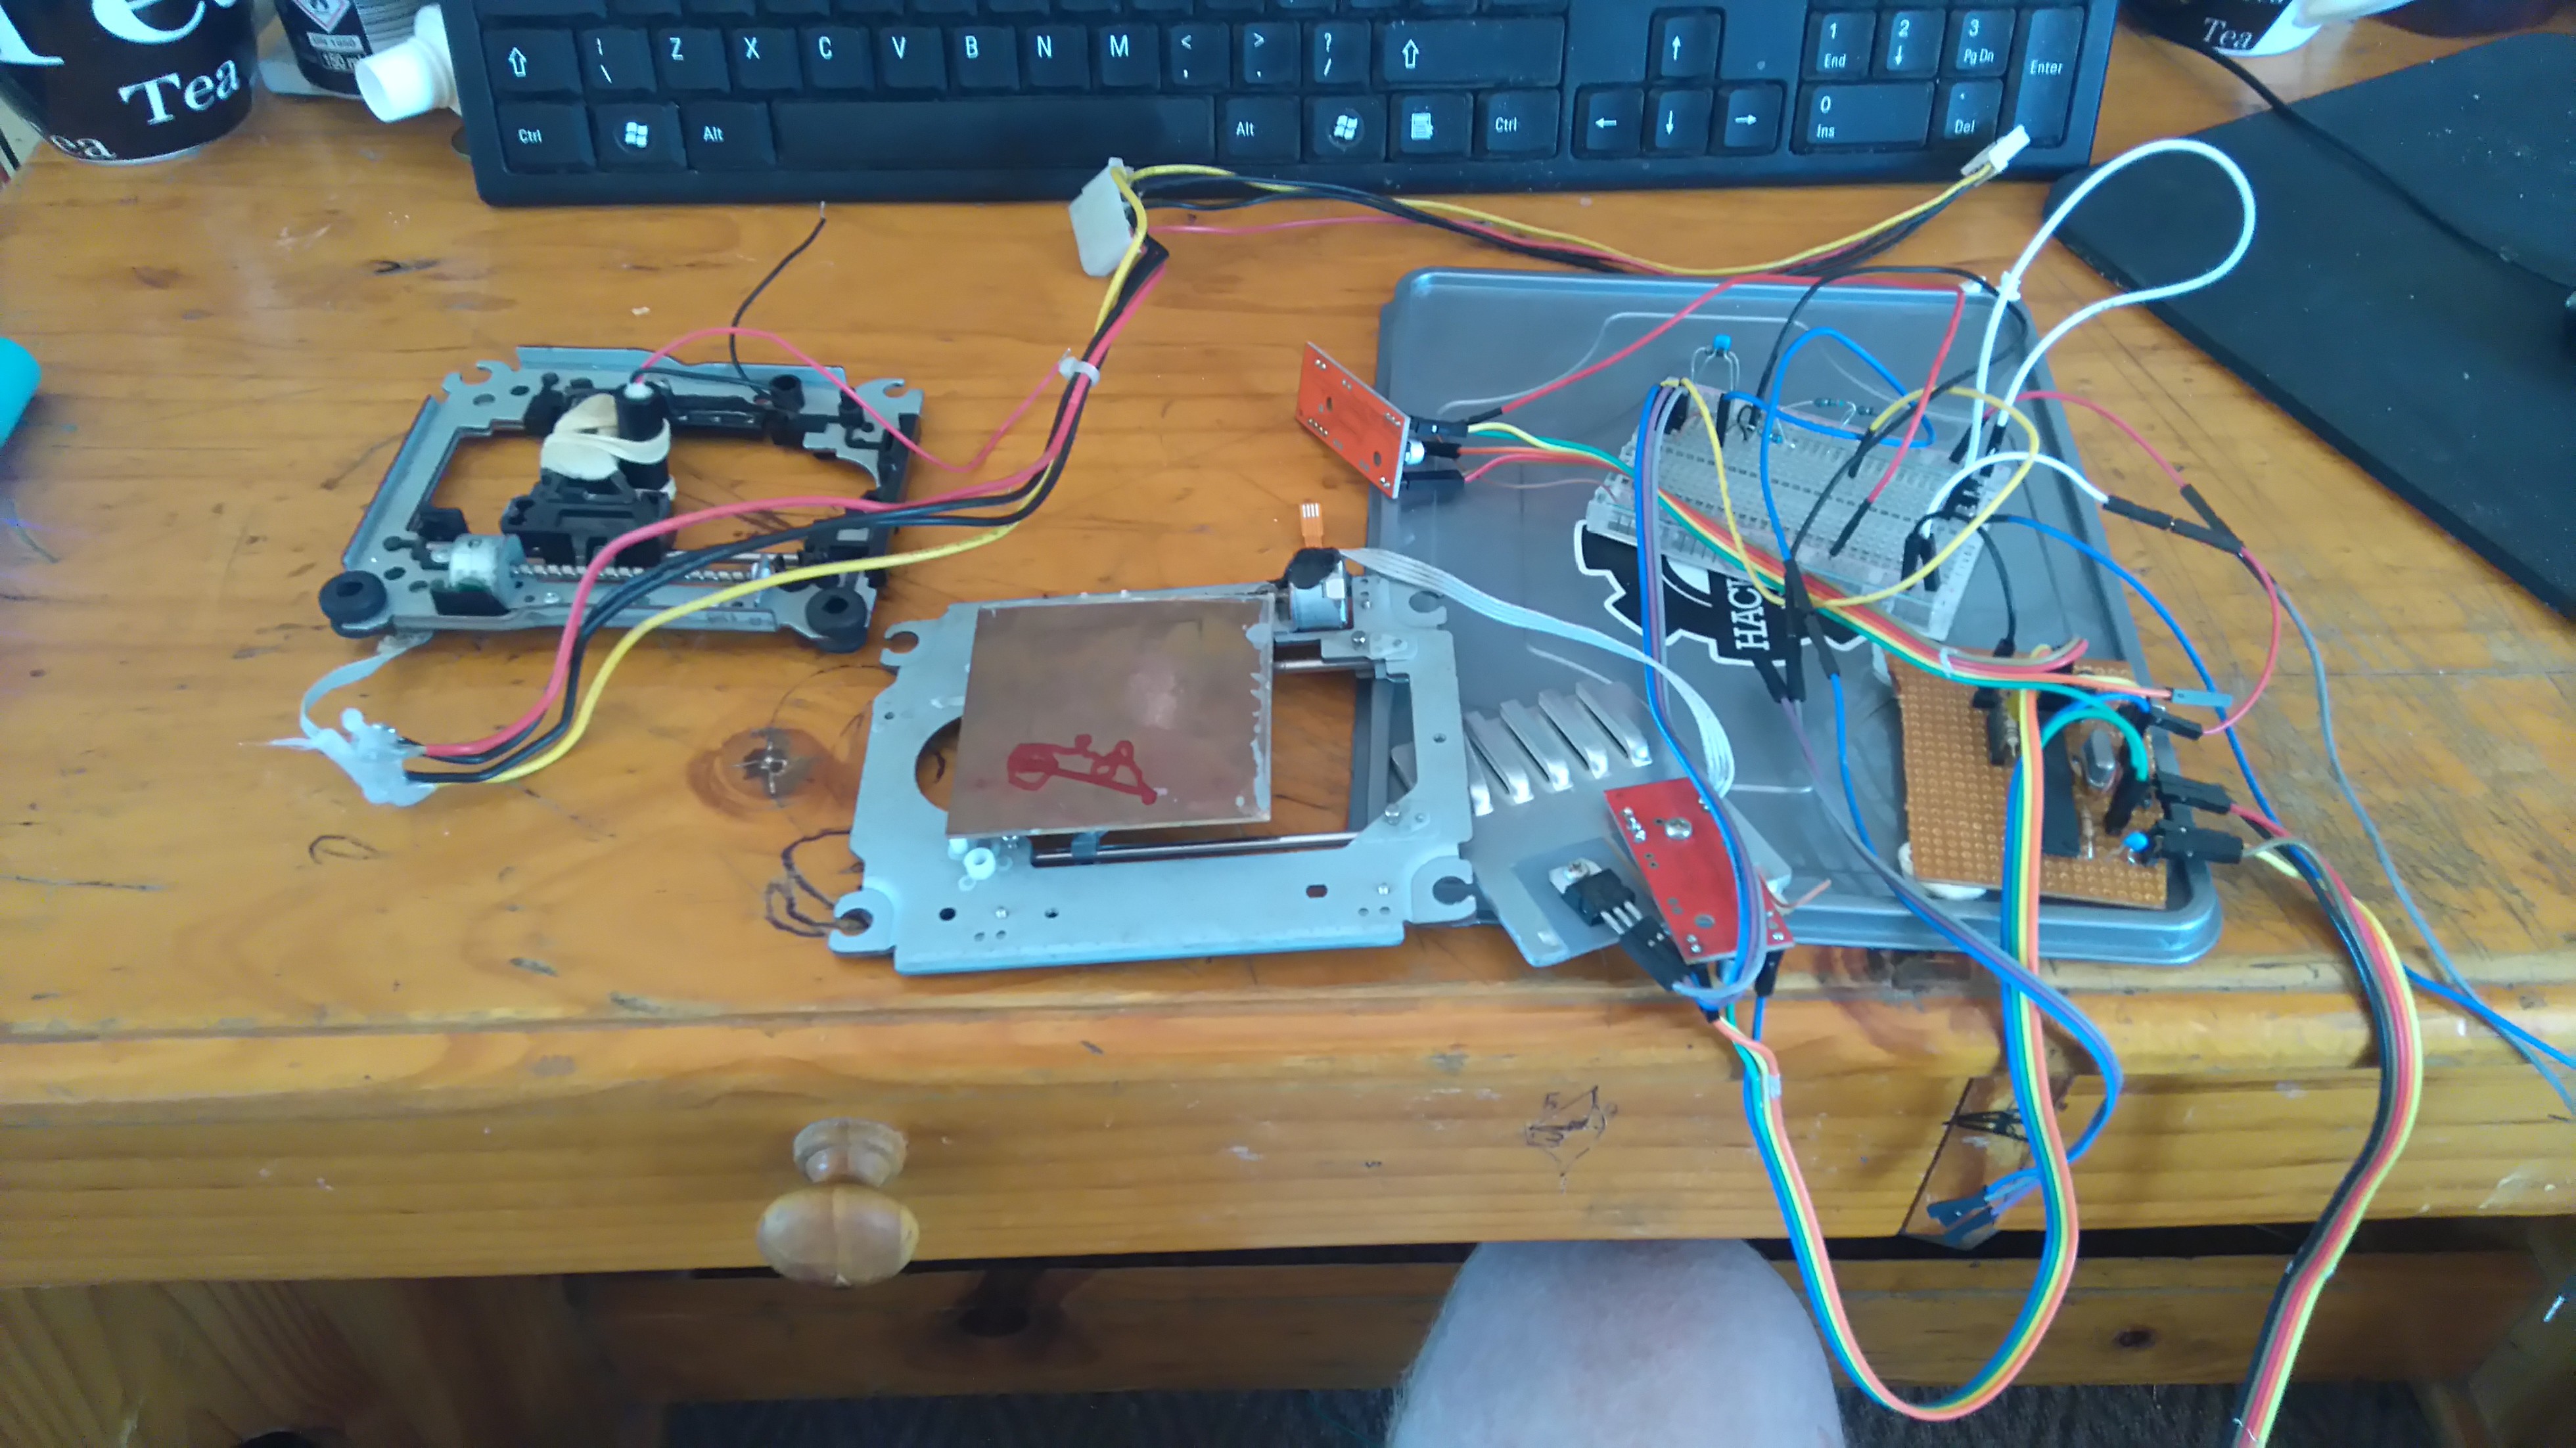
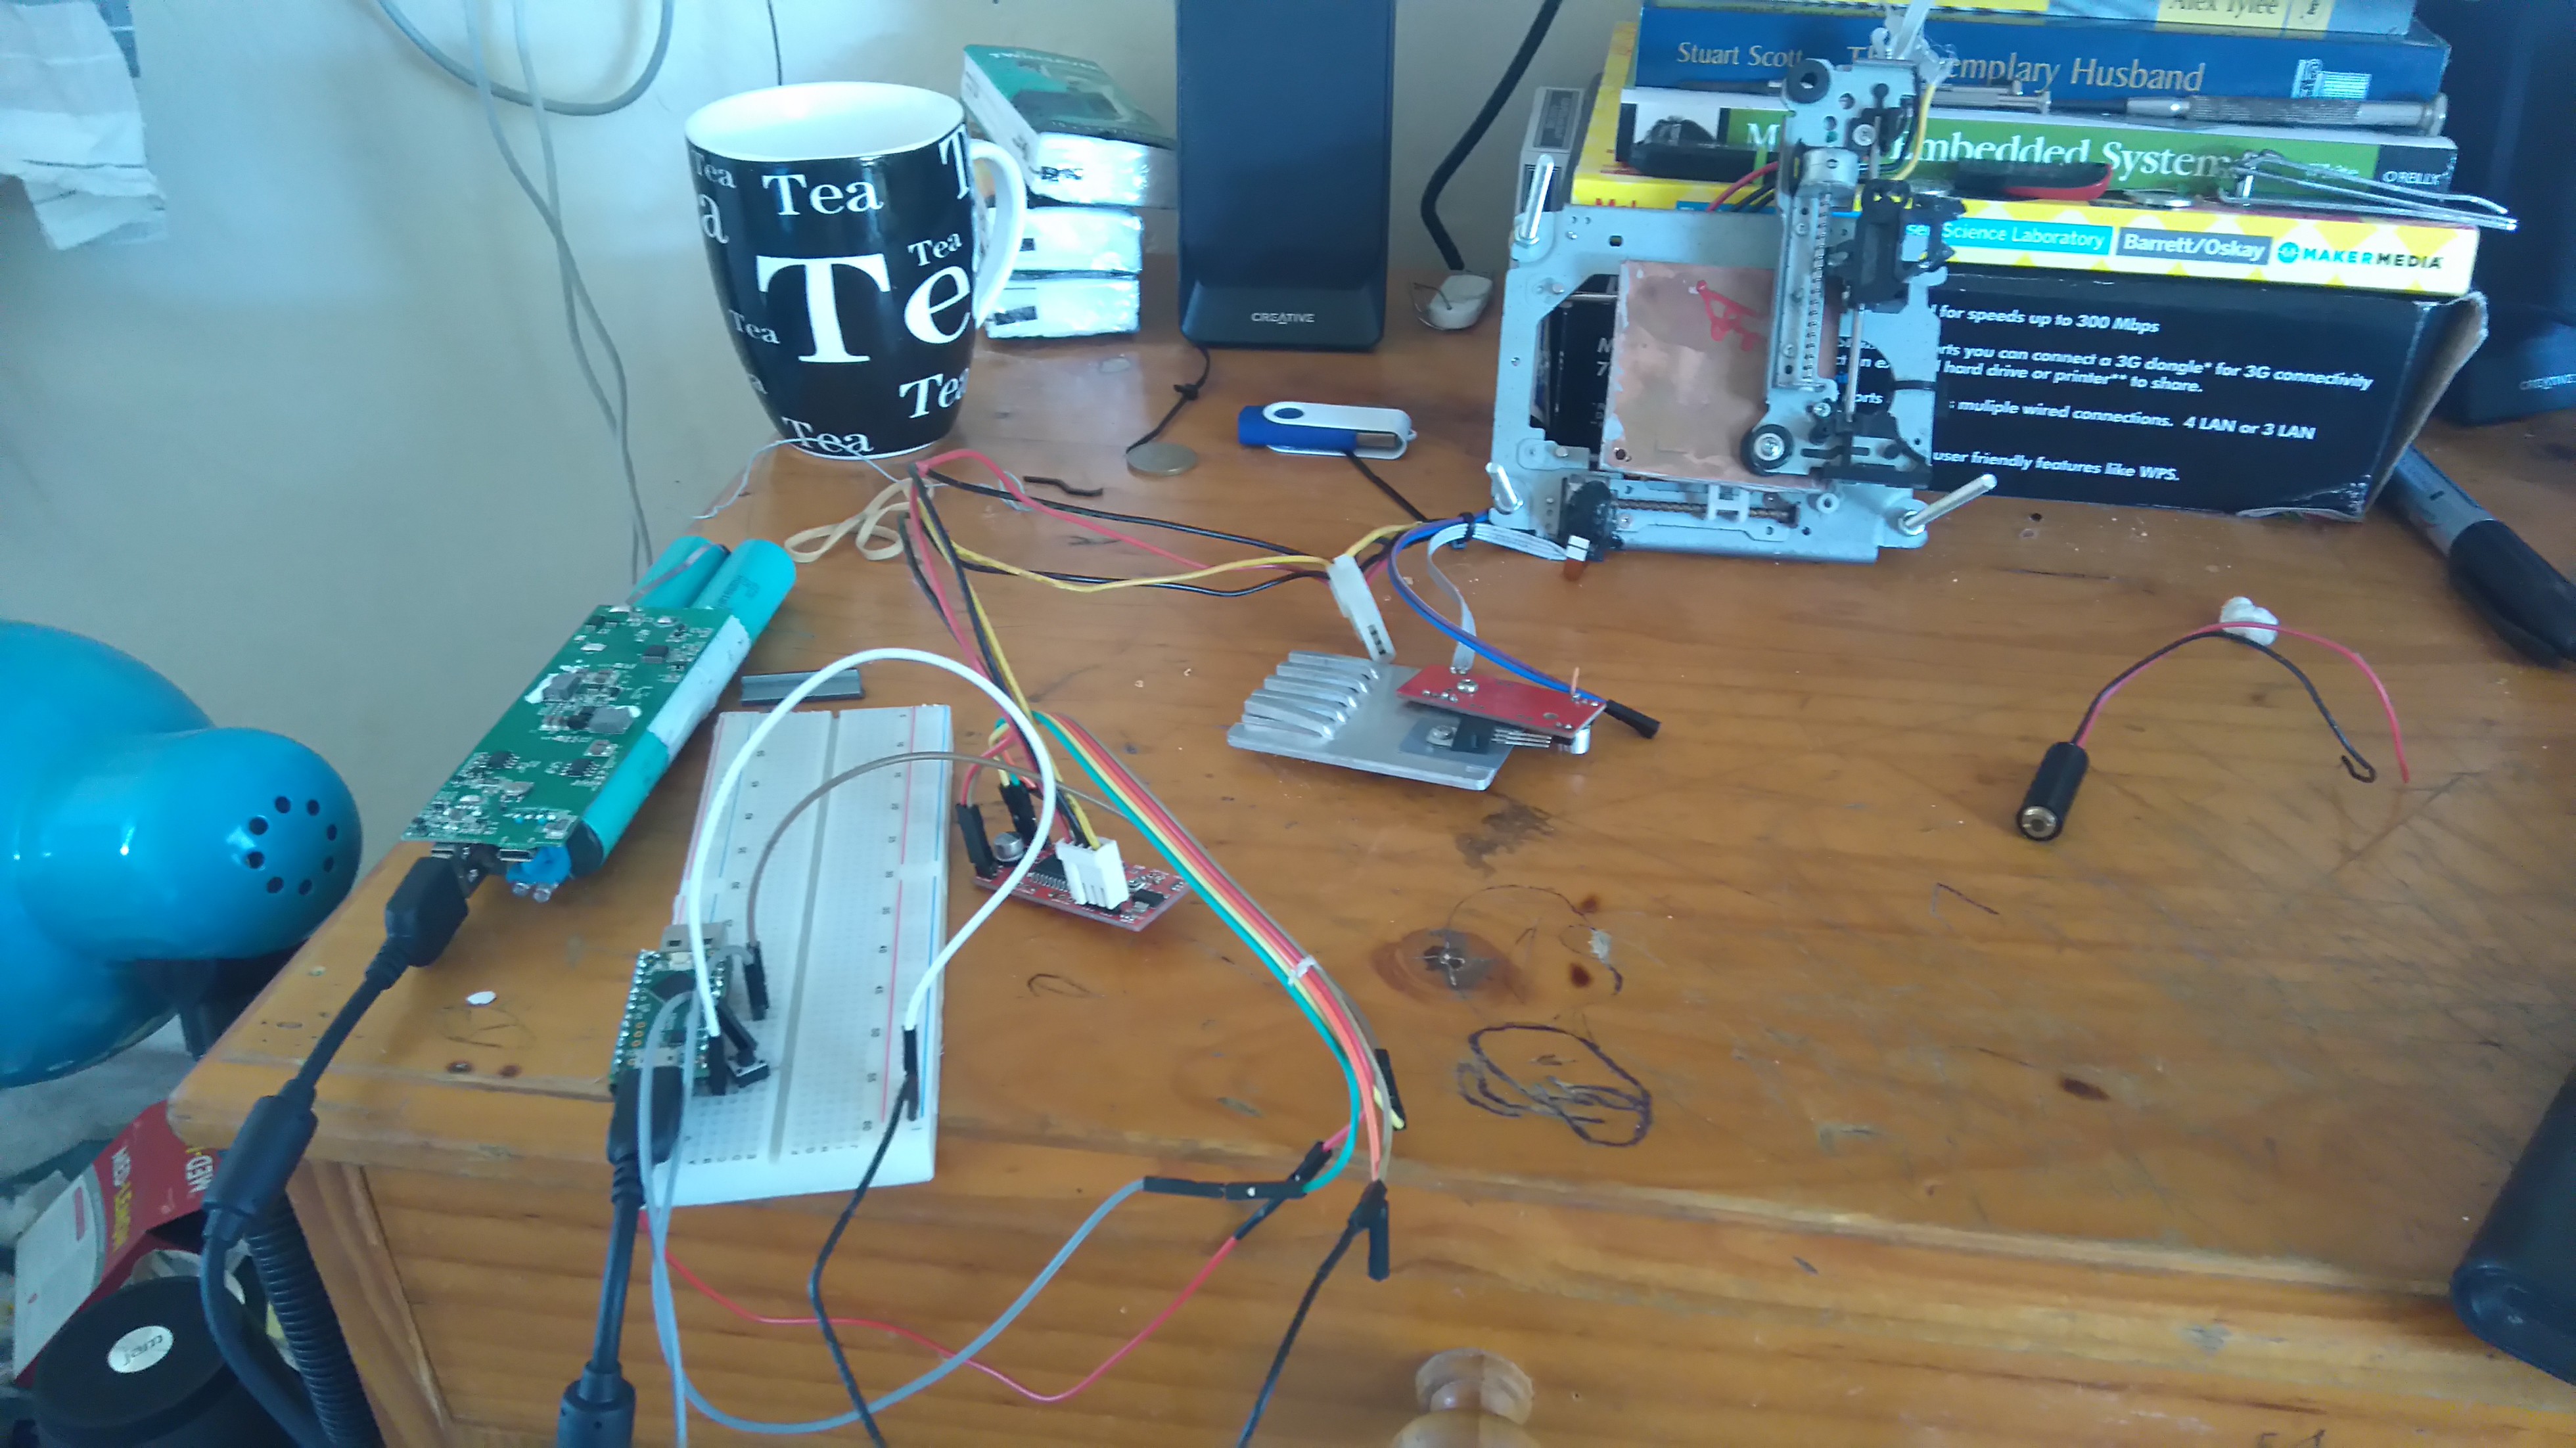
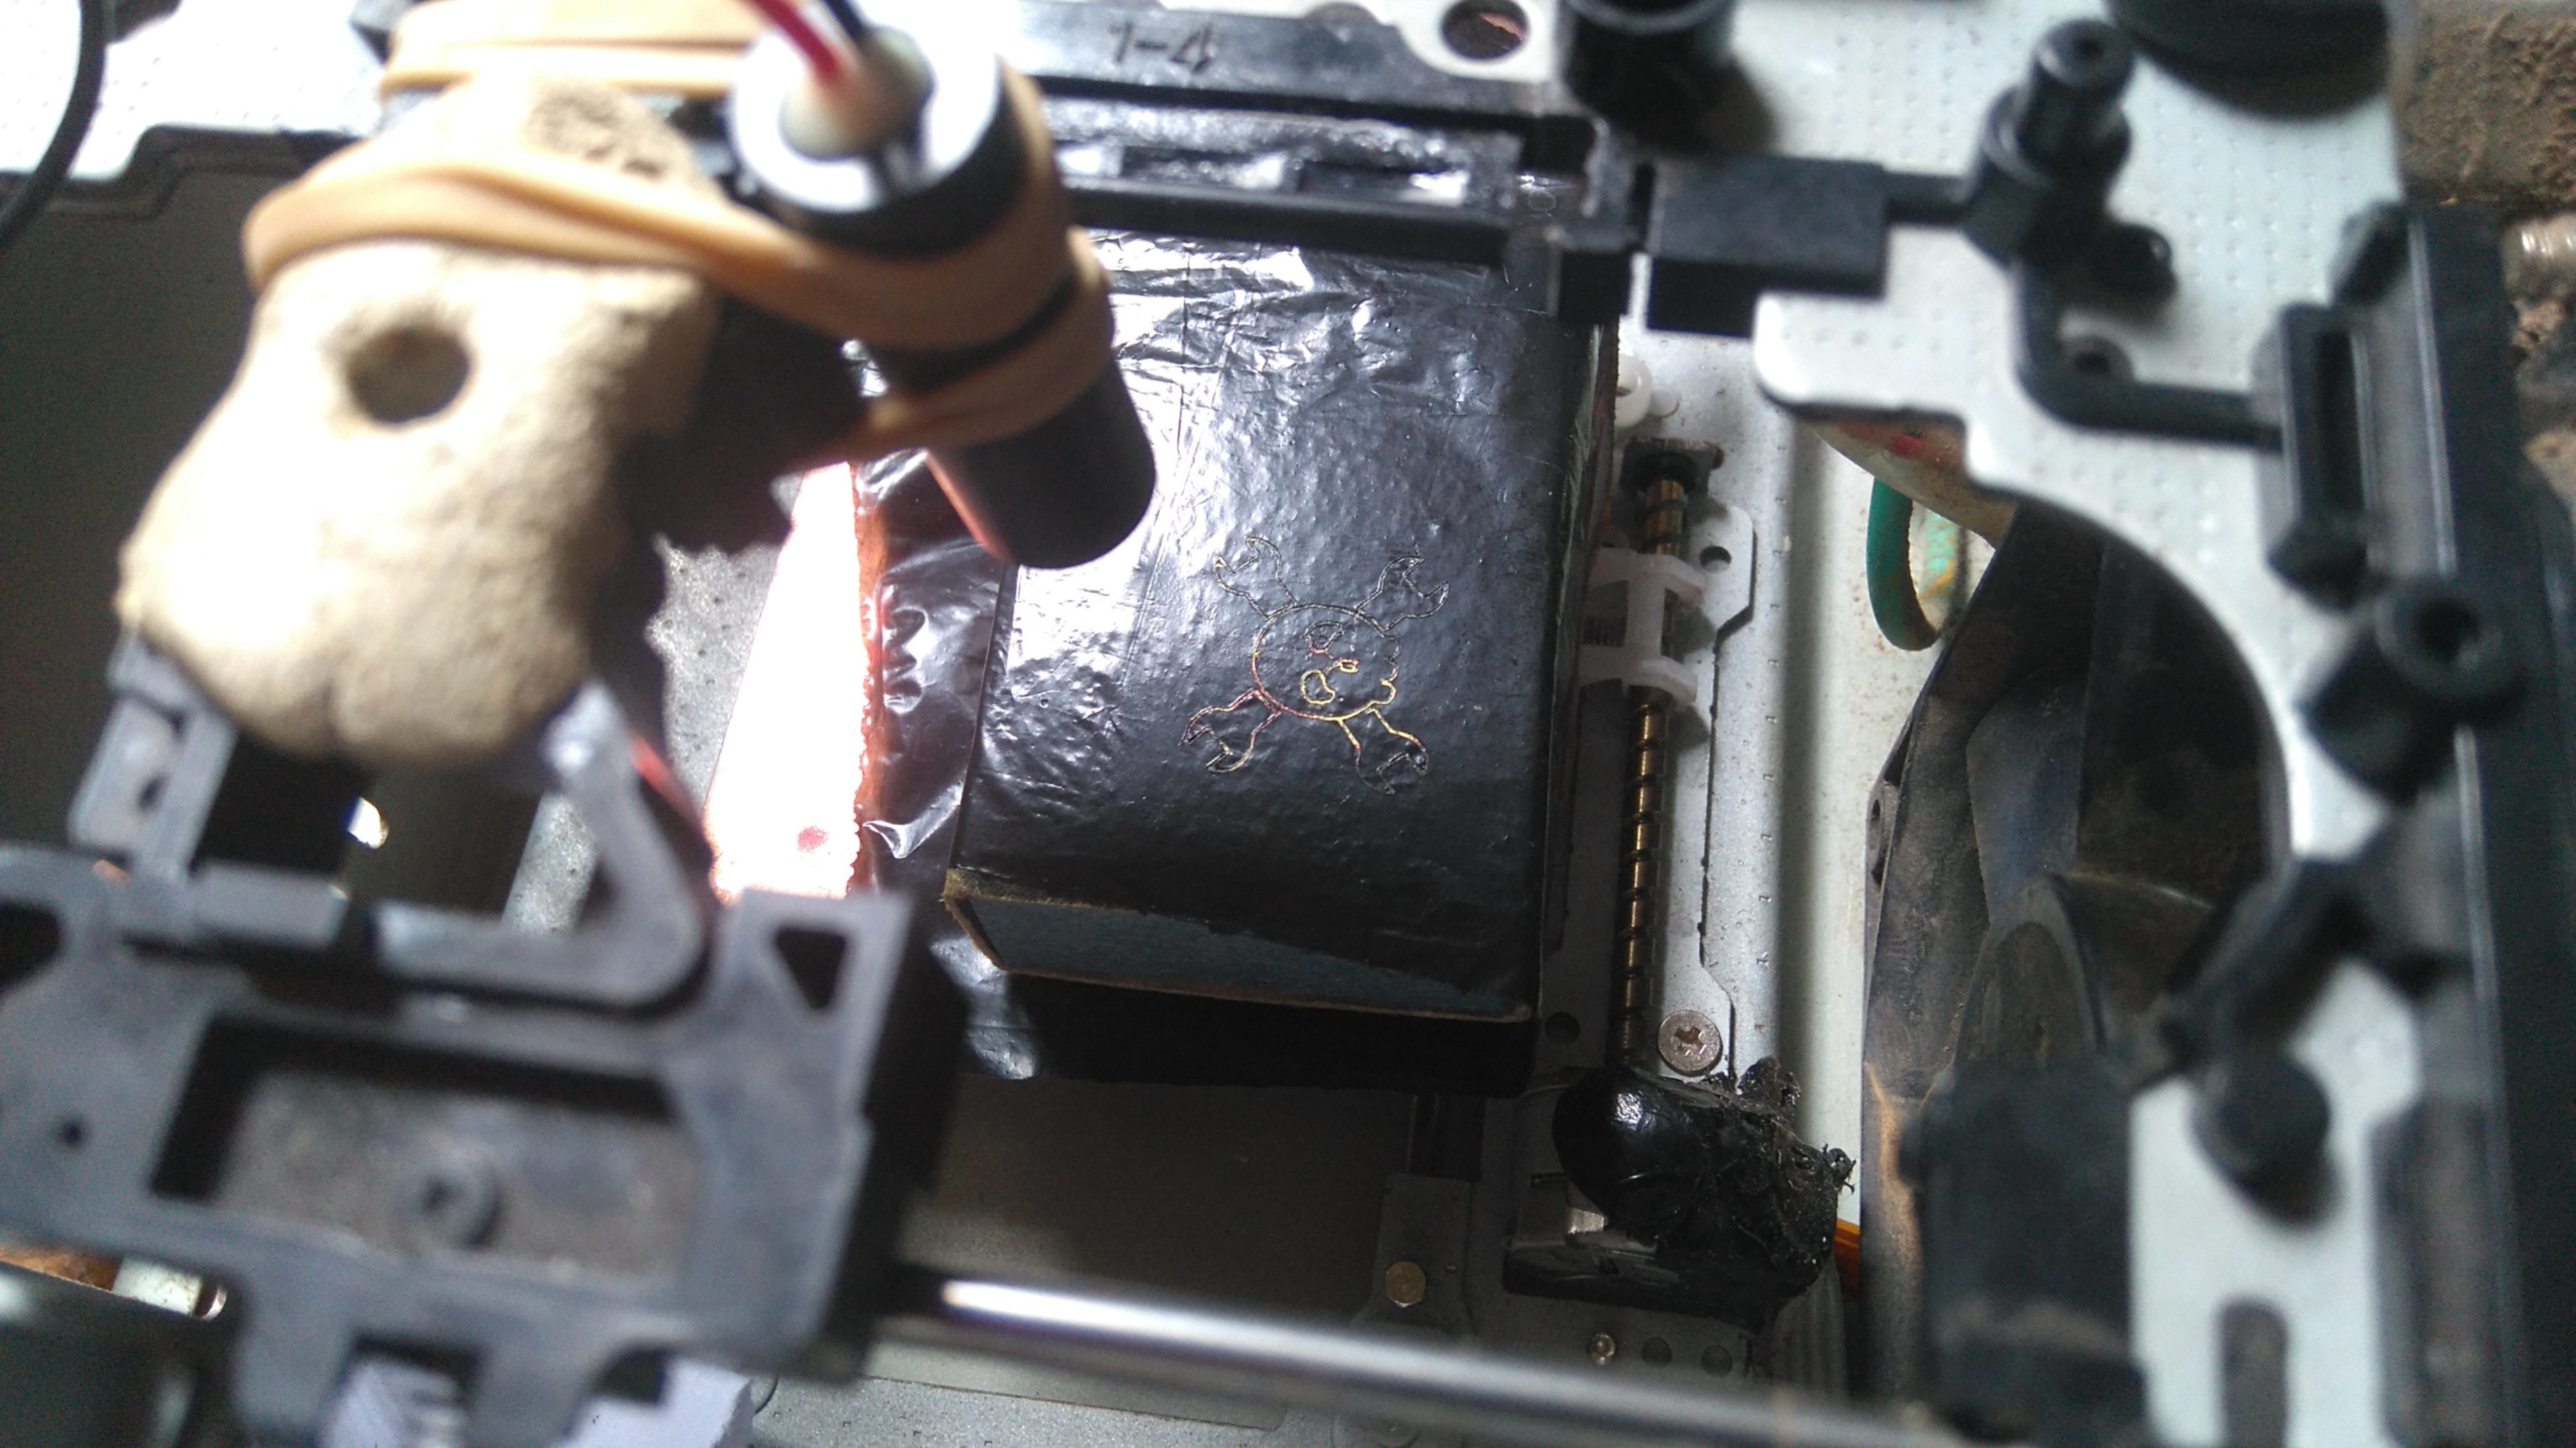
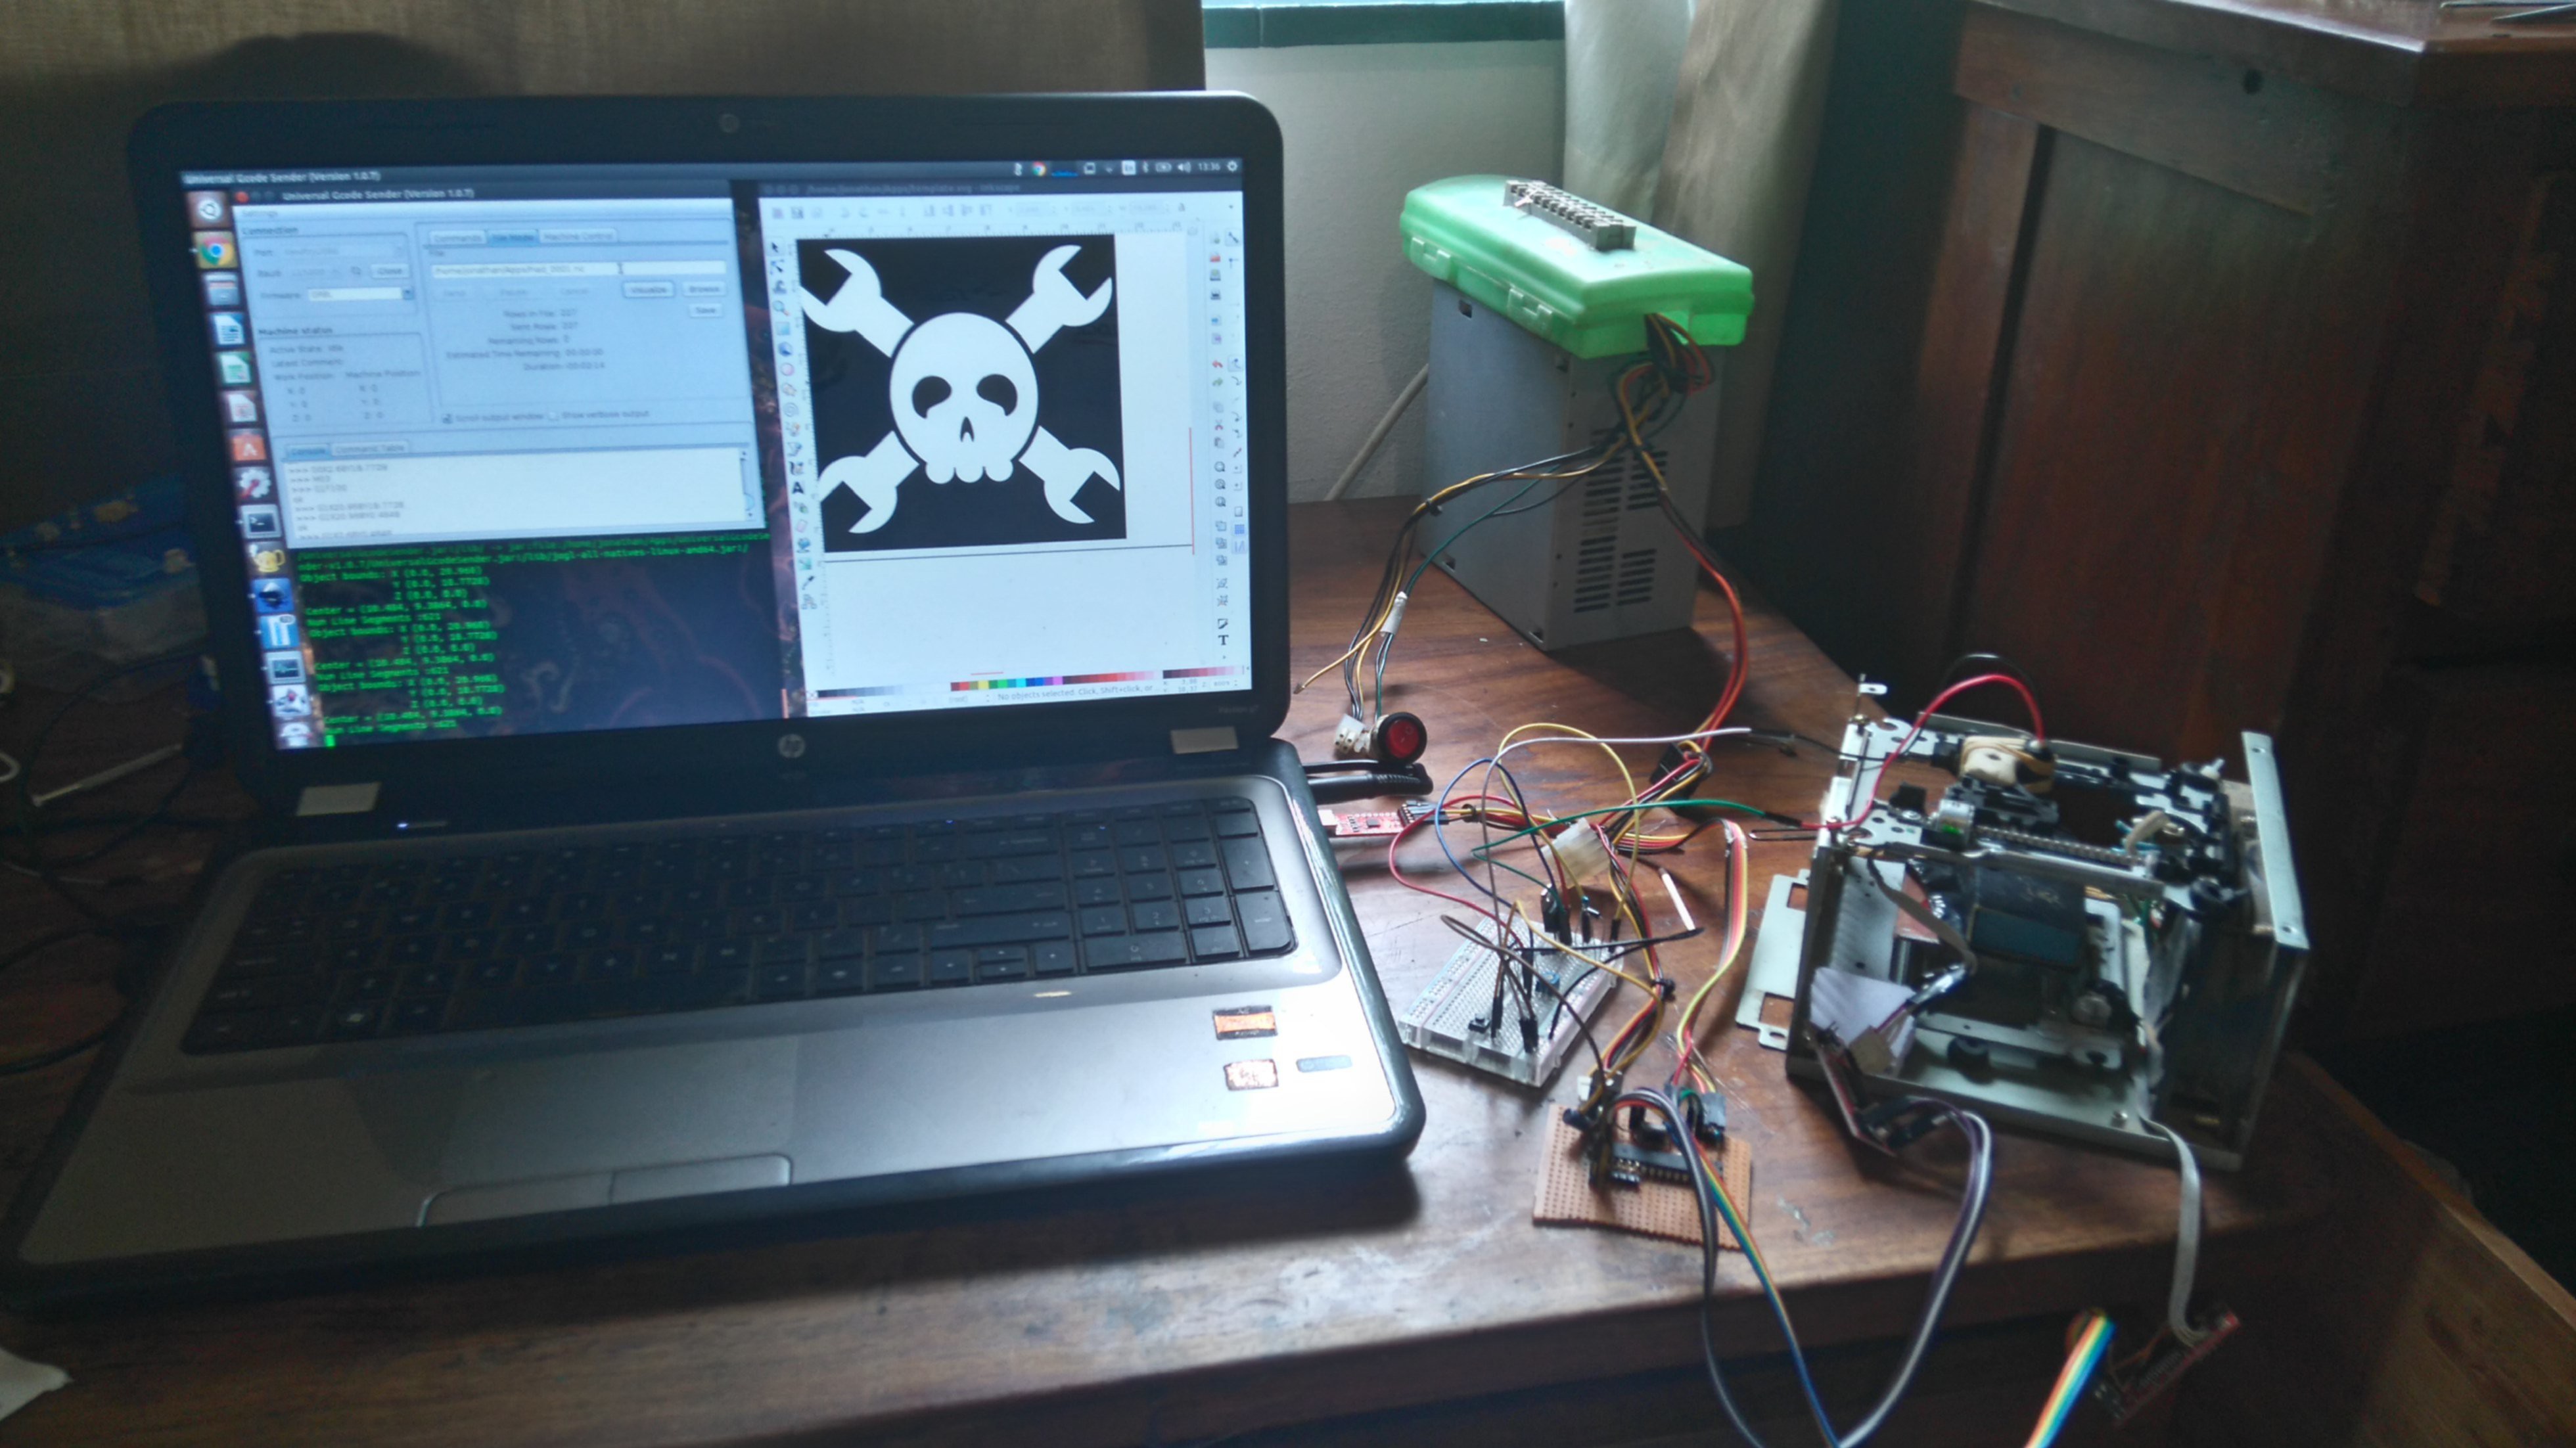
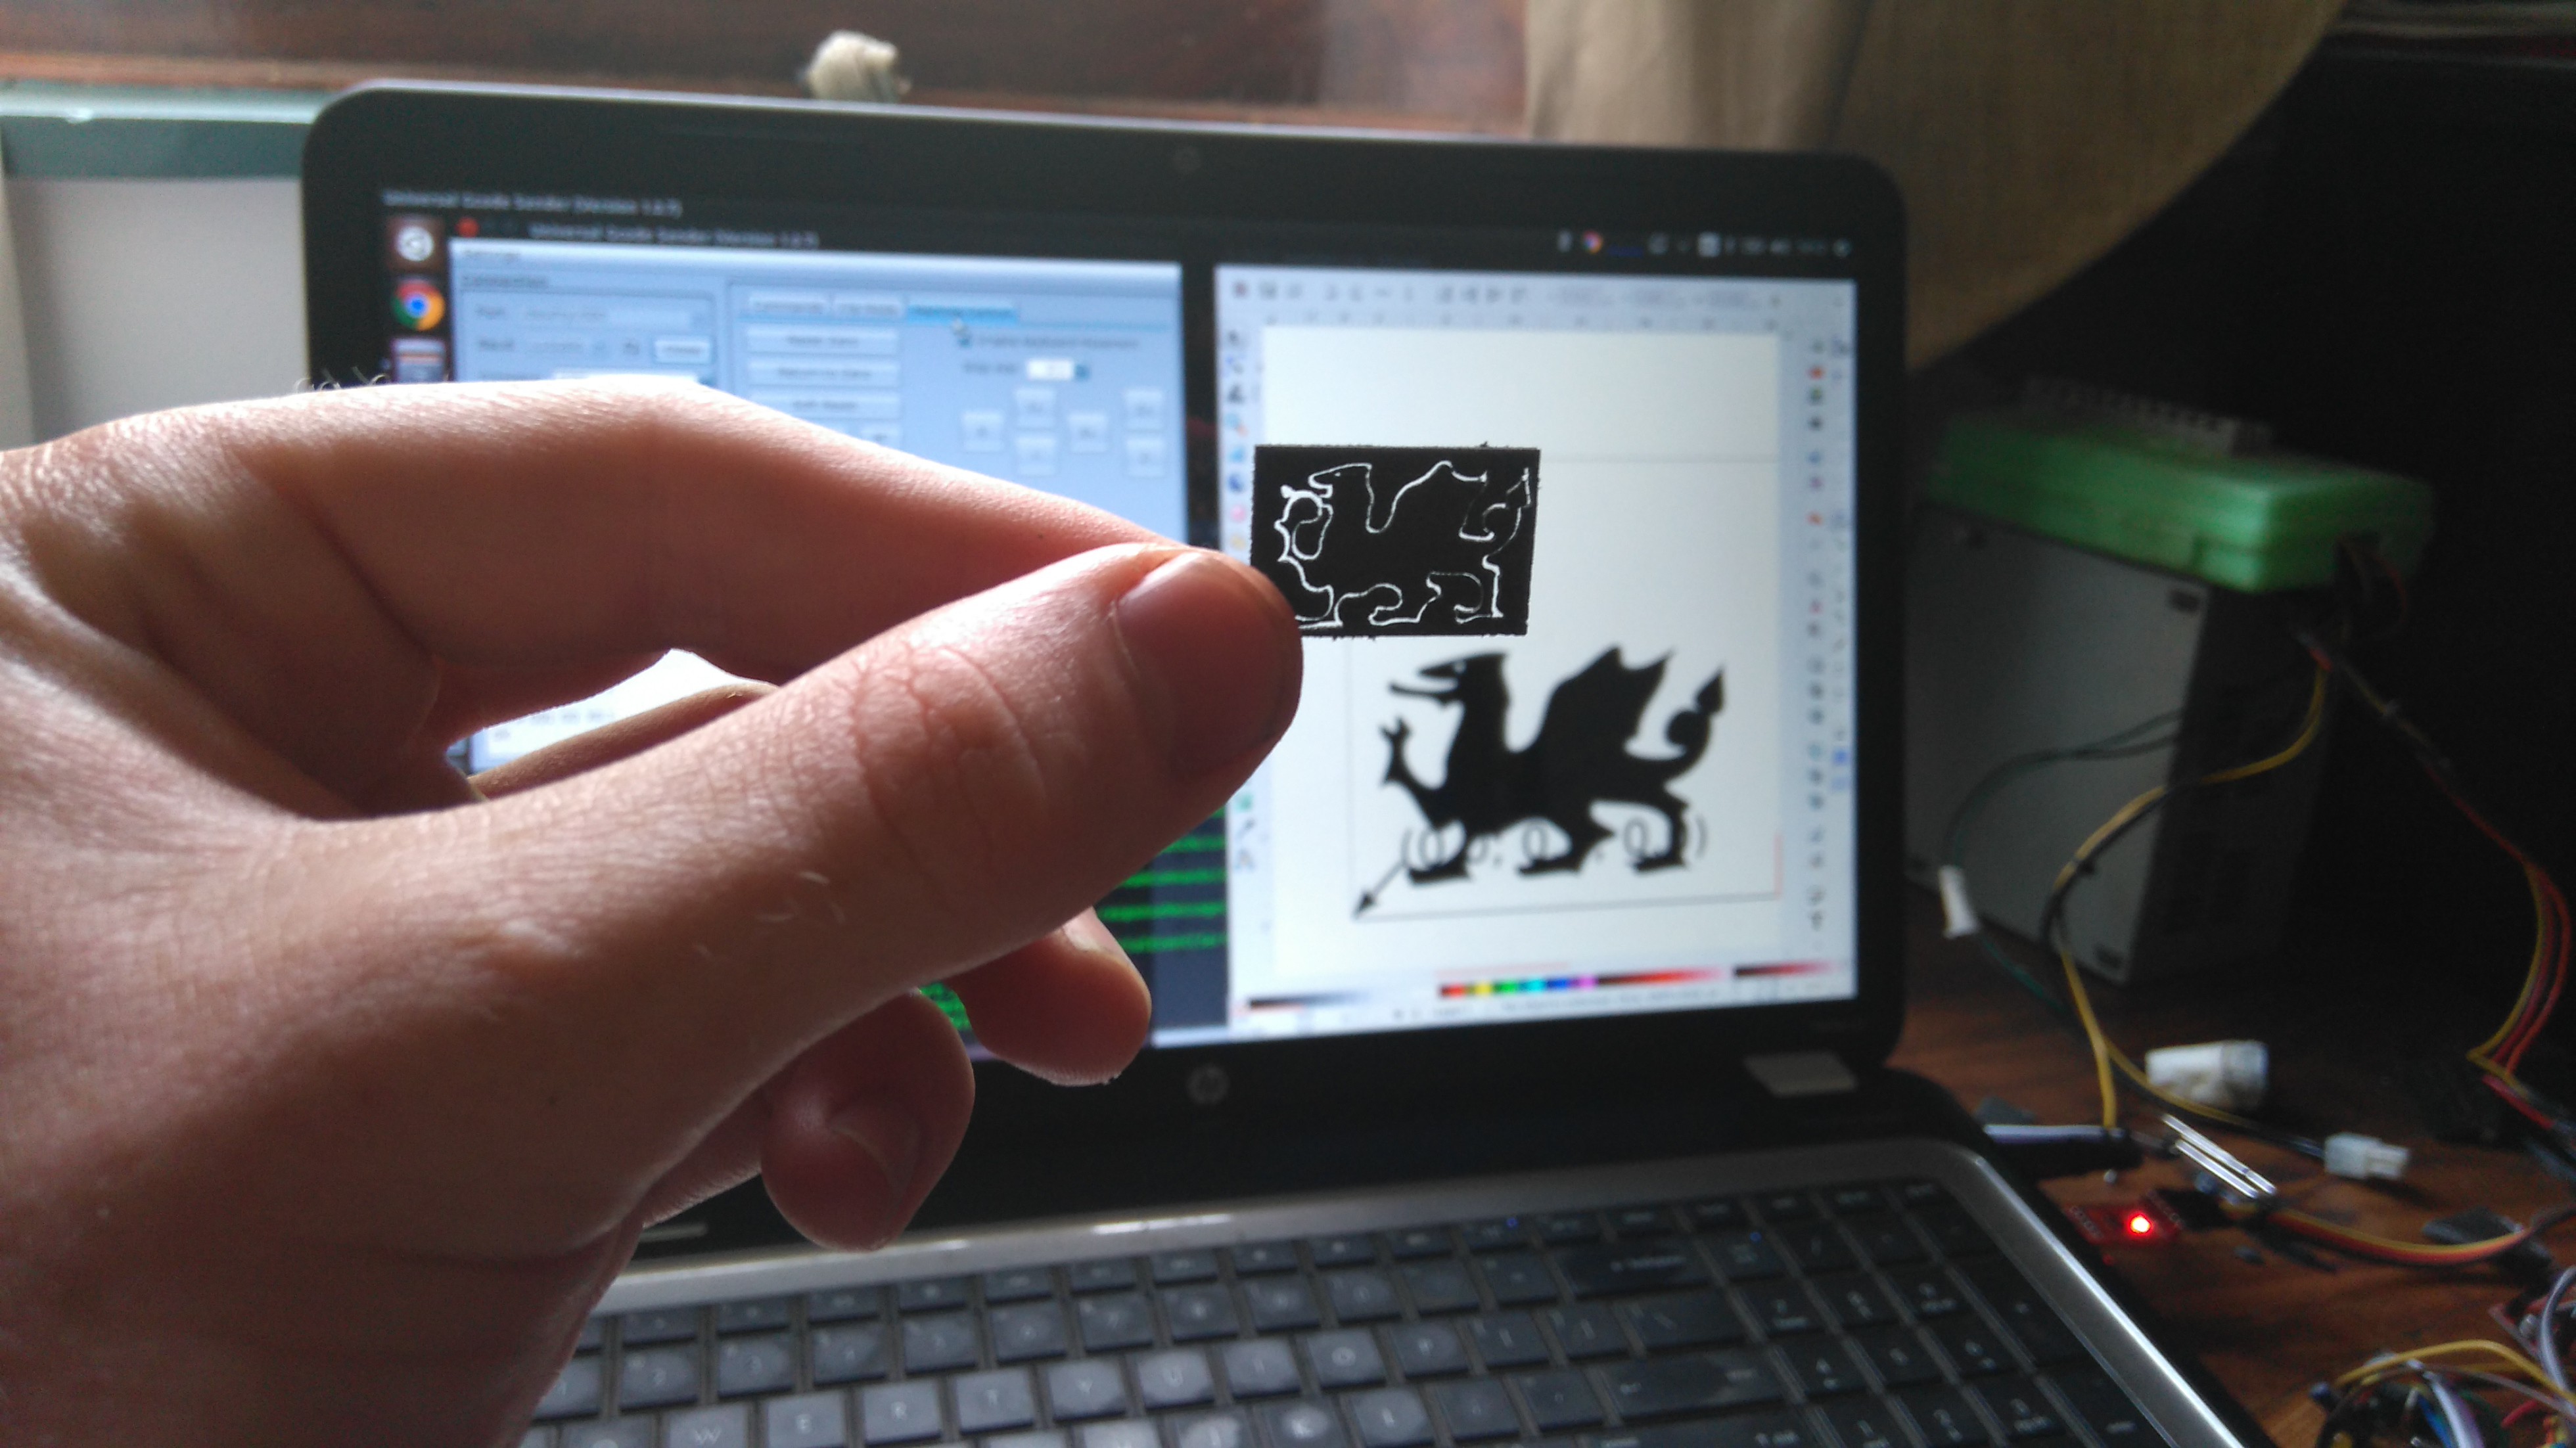
The log https://hackaday.io/project/560-mini-laser-cutter/log/28767-getting-there has the most info on what it can do, and an overview of the last (working) setup. It's also described at https://hackaday.io/project/7535-cddvd-mechanisms-and-cartesian-thinggies/log/28905-newbie-his-setup-and-the-sun
As you can see from the latest log, I'm in the process of updating it but in need of parts. Anyone around Cape Town with old drives or DVD players please get in touch!
[JUDGES PLEASE READ}: I know I need a new project for THP2016 entry. If I don't get parts I won't make one, and you judges can please ignore this old thing :) I REPEAT DO NOT JUDGE THIS! You're welcome to read it for fun though :)


 Timescale
 agp.cooper
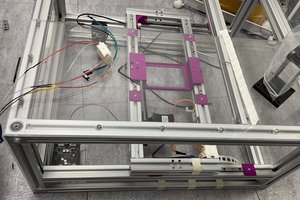
 liugodric
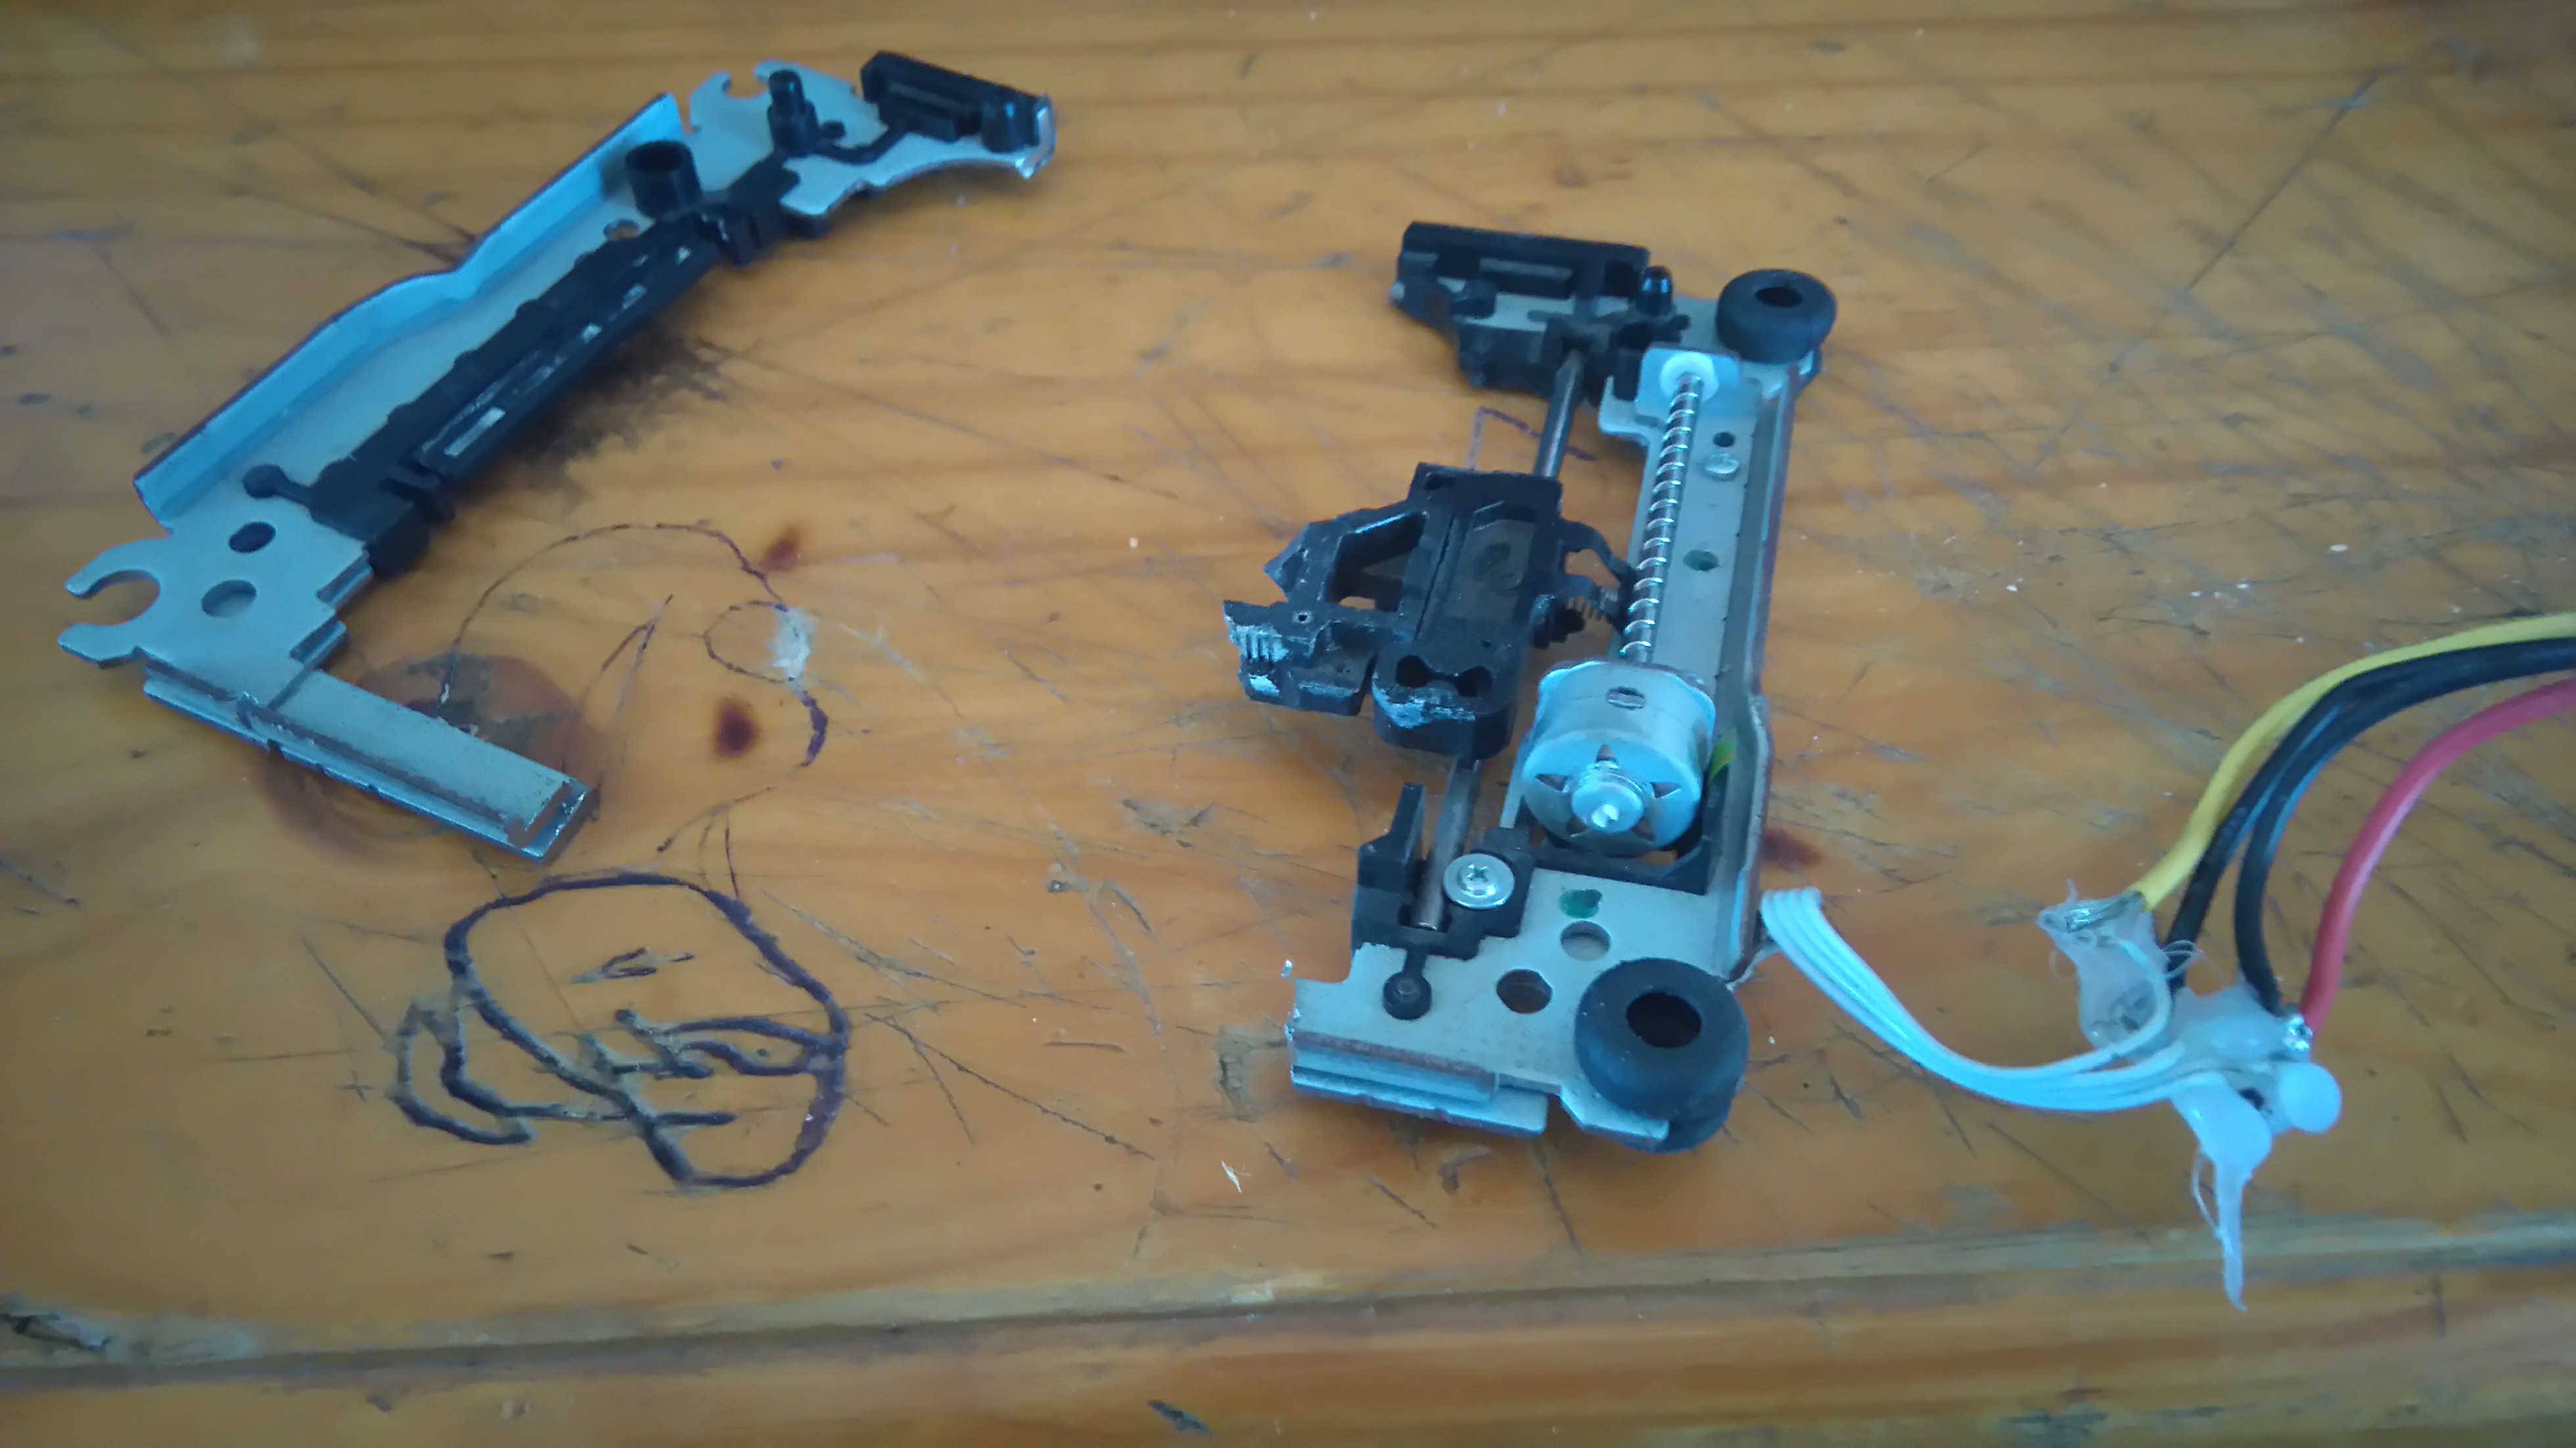
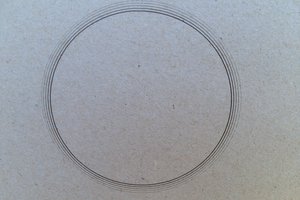
That is epic! My build would be much simplified by leaving the sled optics intact - which is the plan for v2 :) so your project will be super useful! My strategy for finding the max current was to shine the laser with no optics onto a wall and increase the current slowly. It gradually gets brighter, suddenly jumps (starts lasing) and increases a lot, then as you get too high the beam shape distorts, at which point I immediately back down a little. Much less scientific ;p