0%
0%
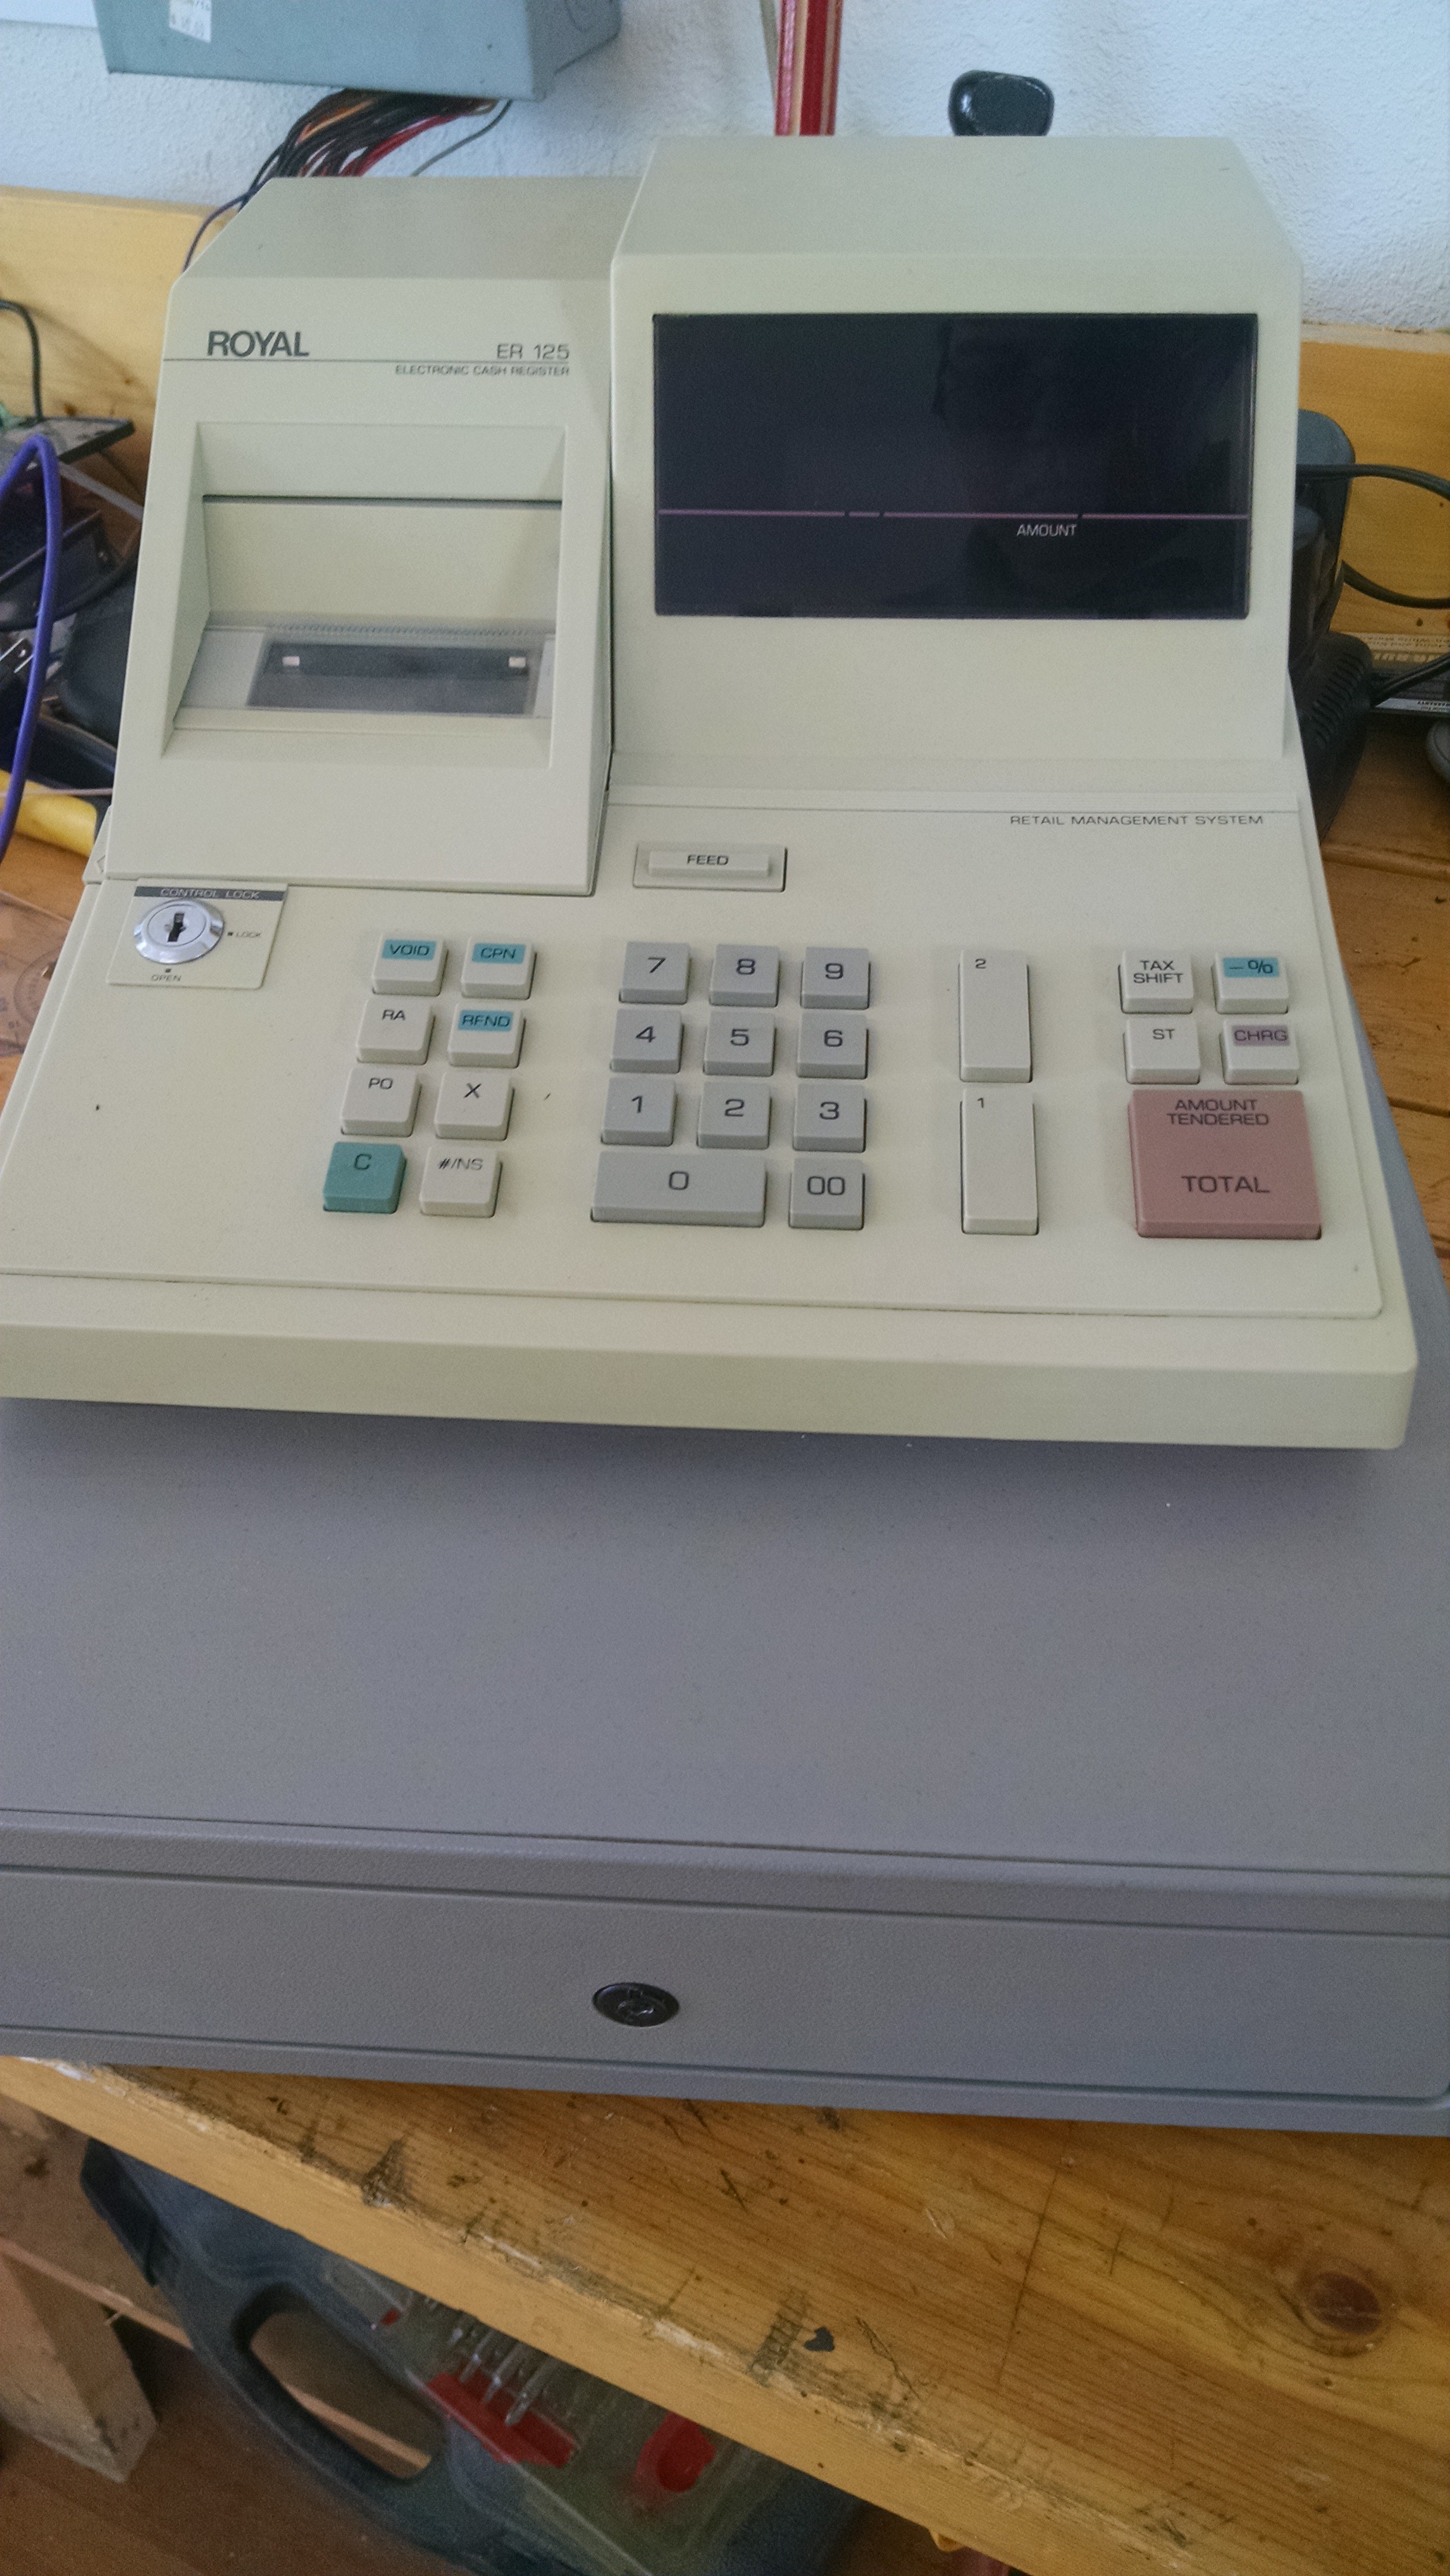
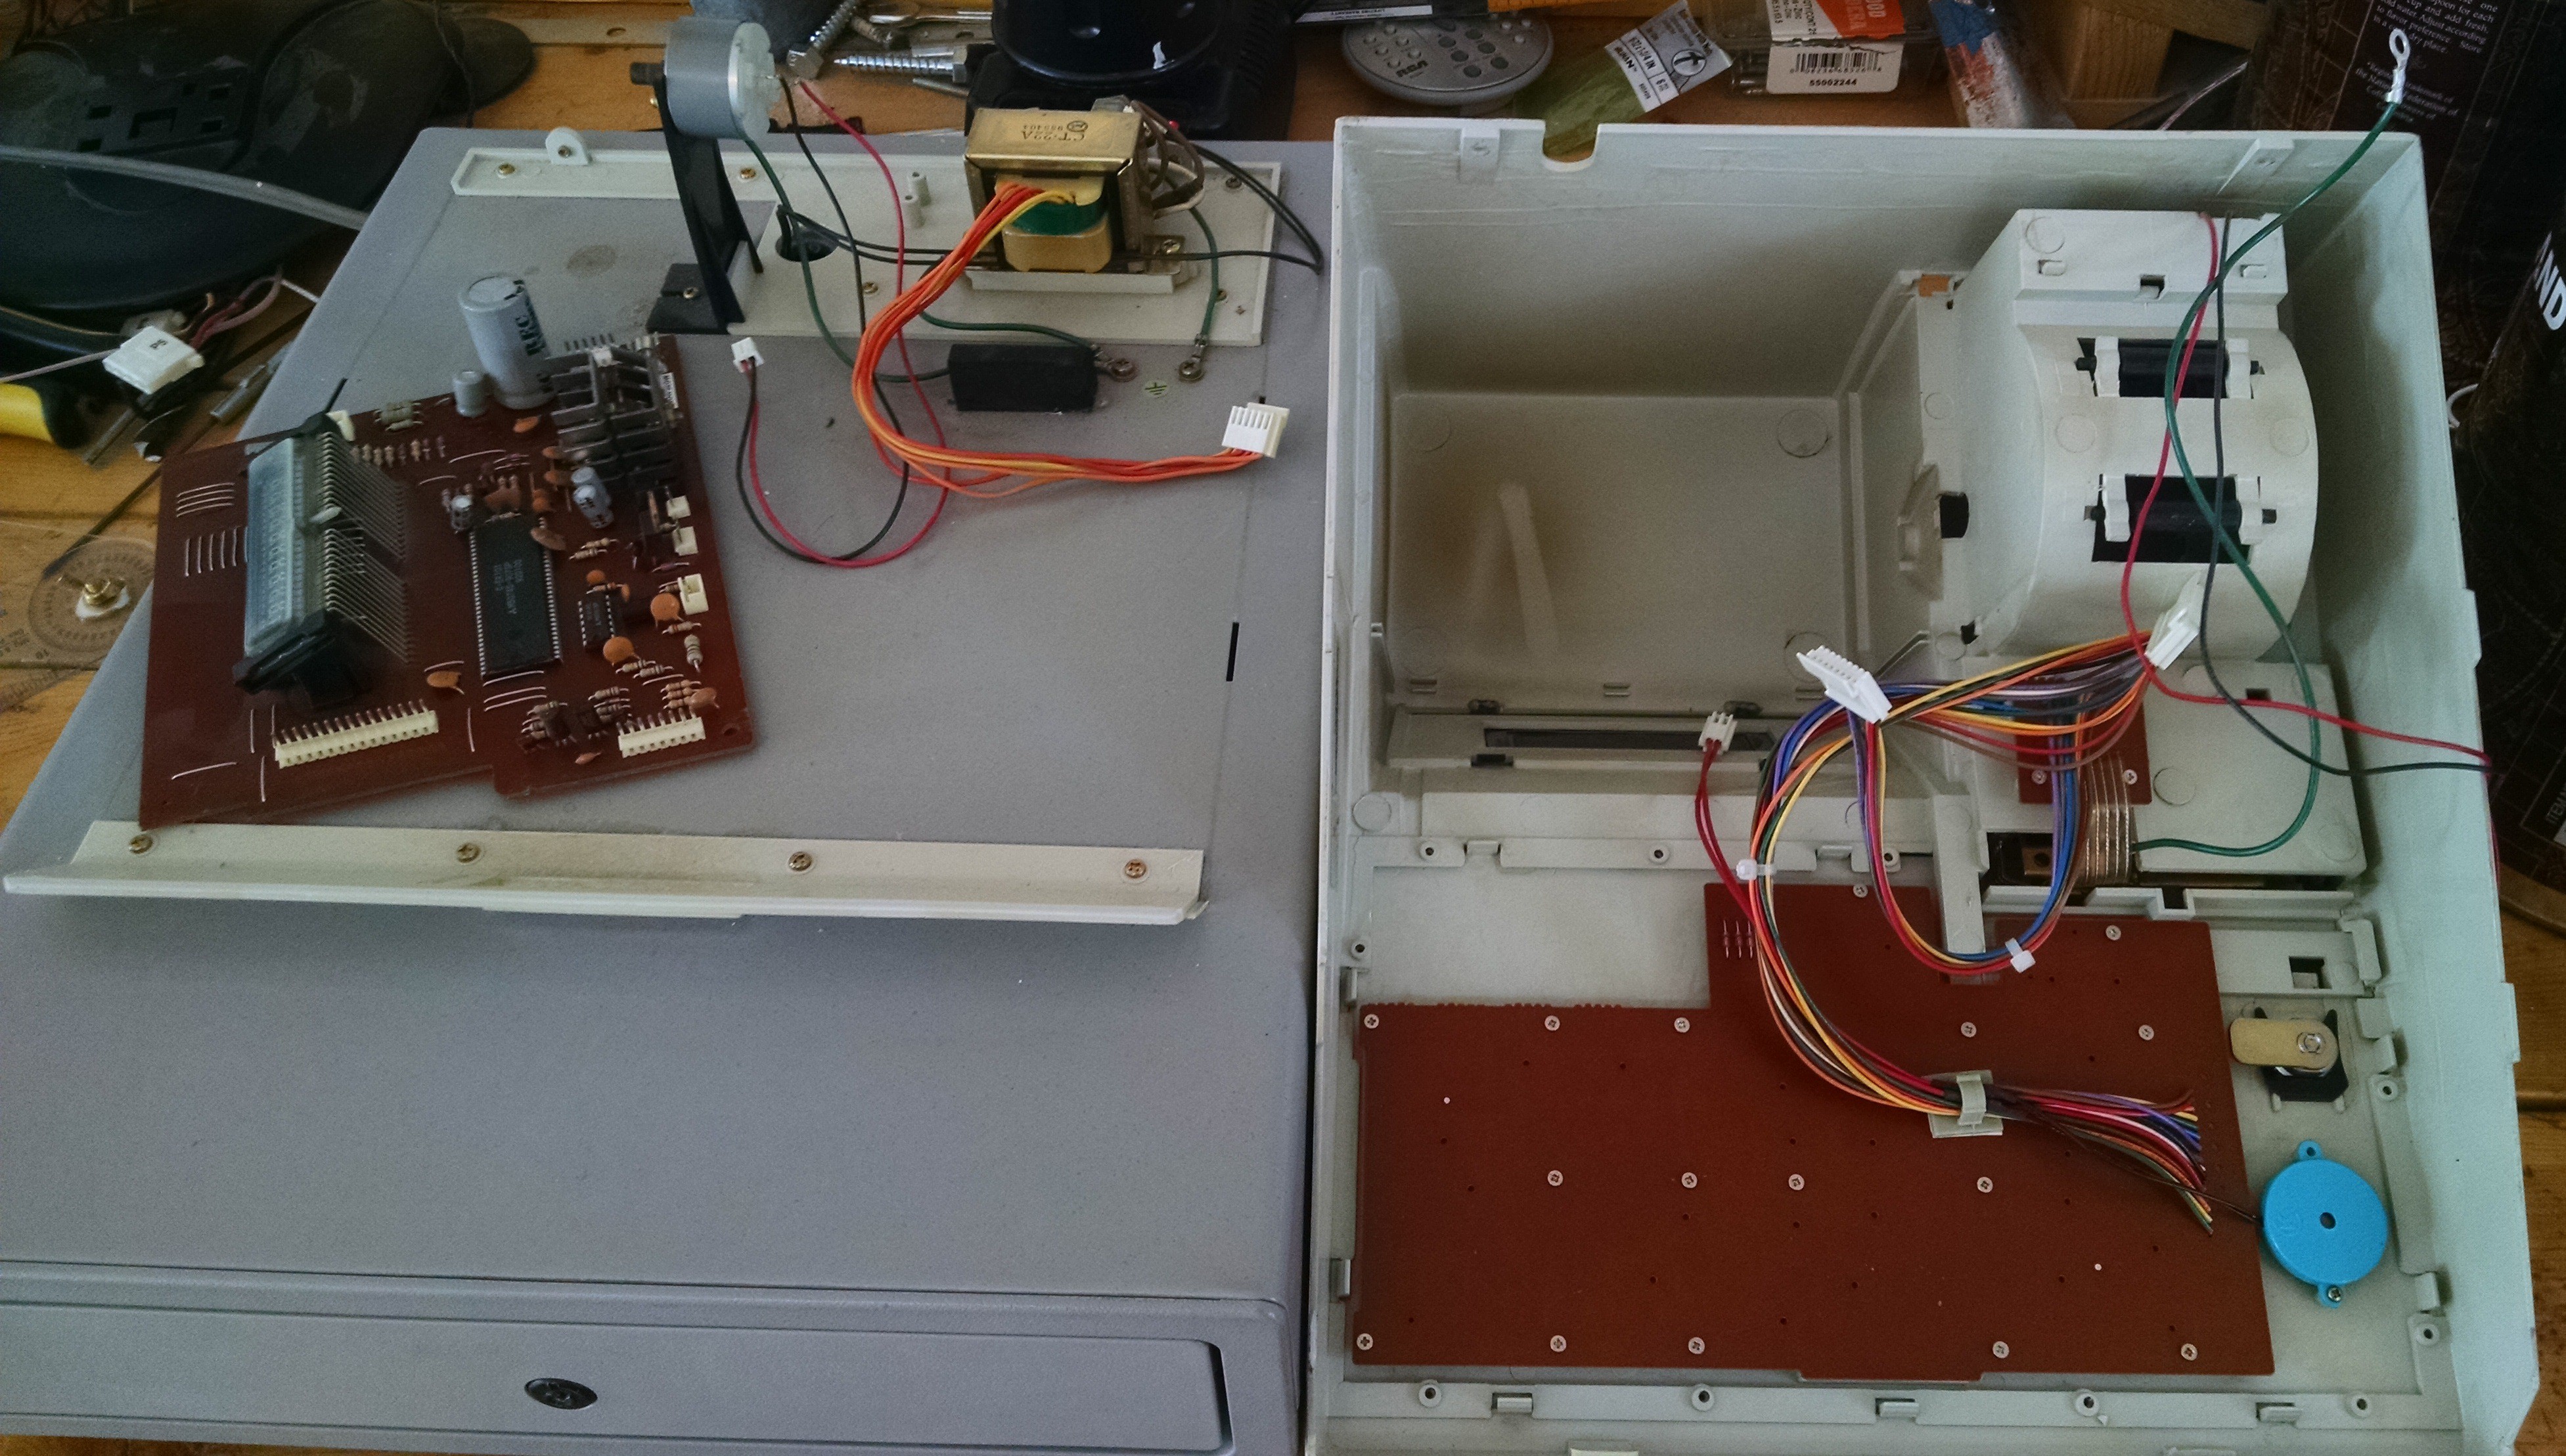
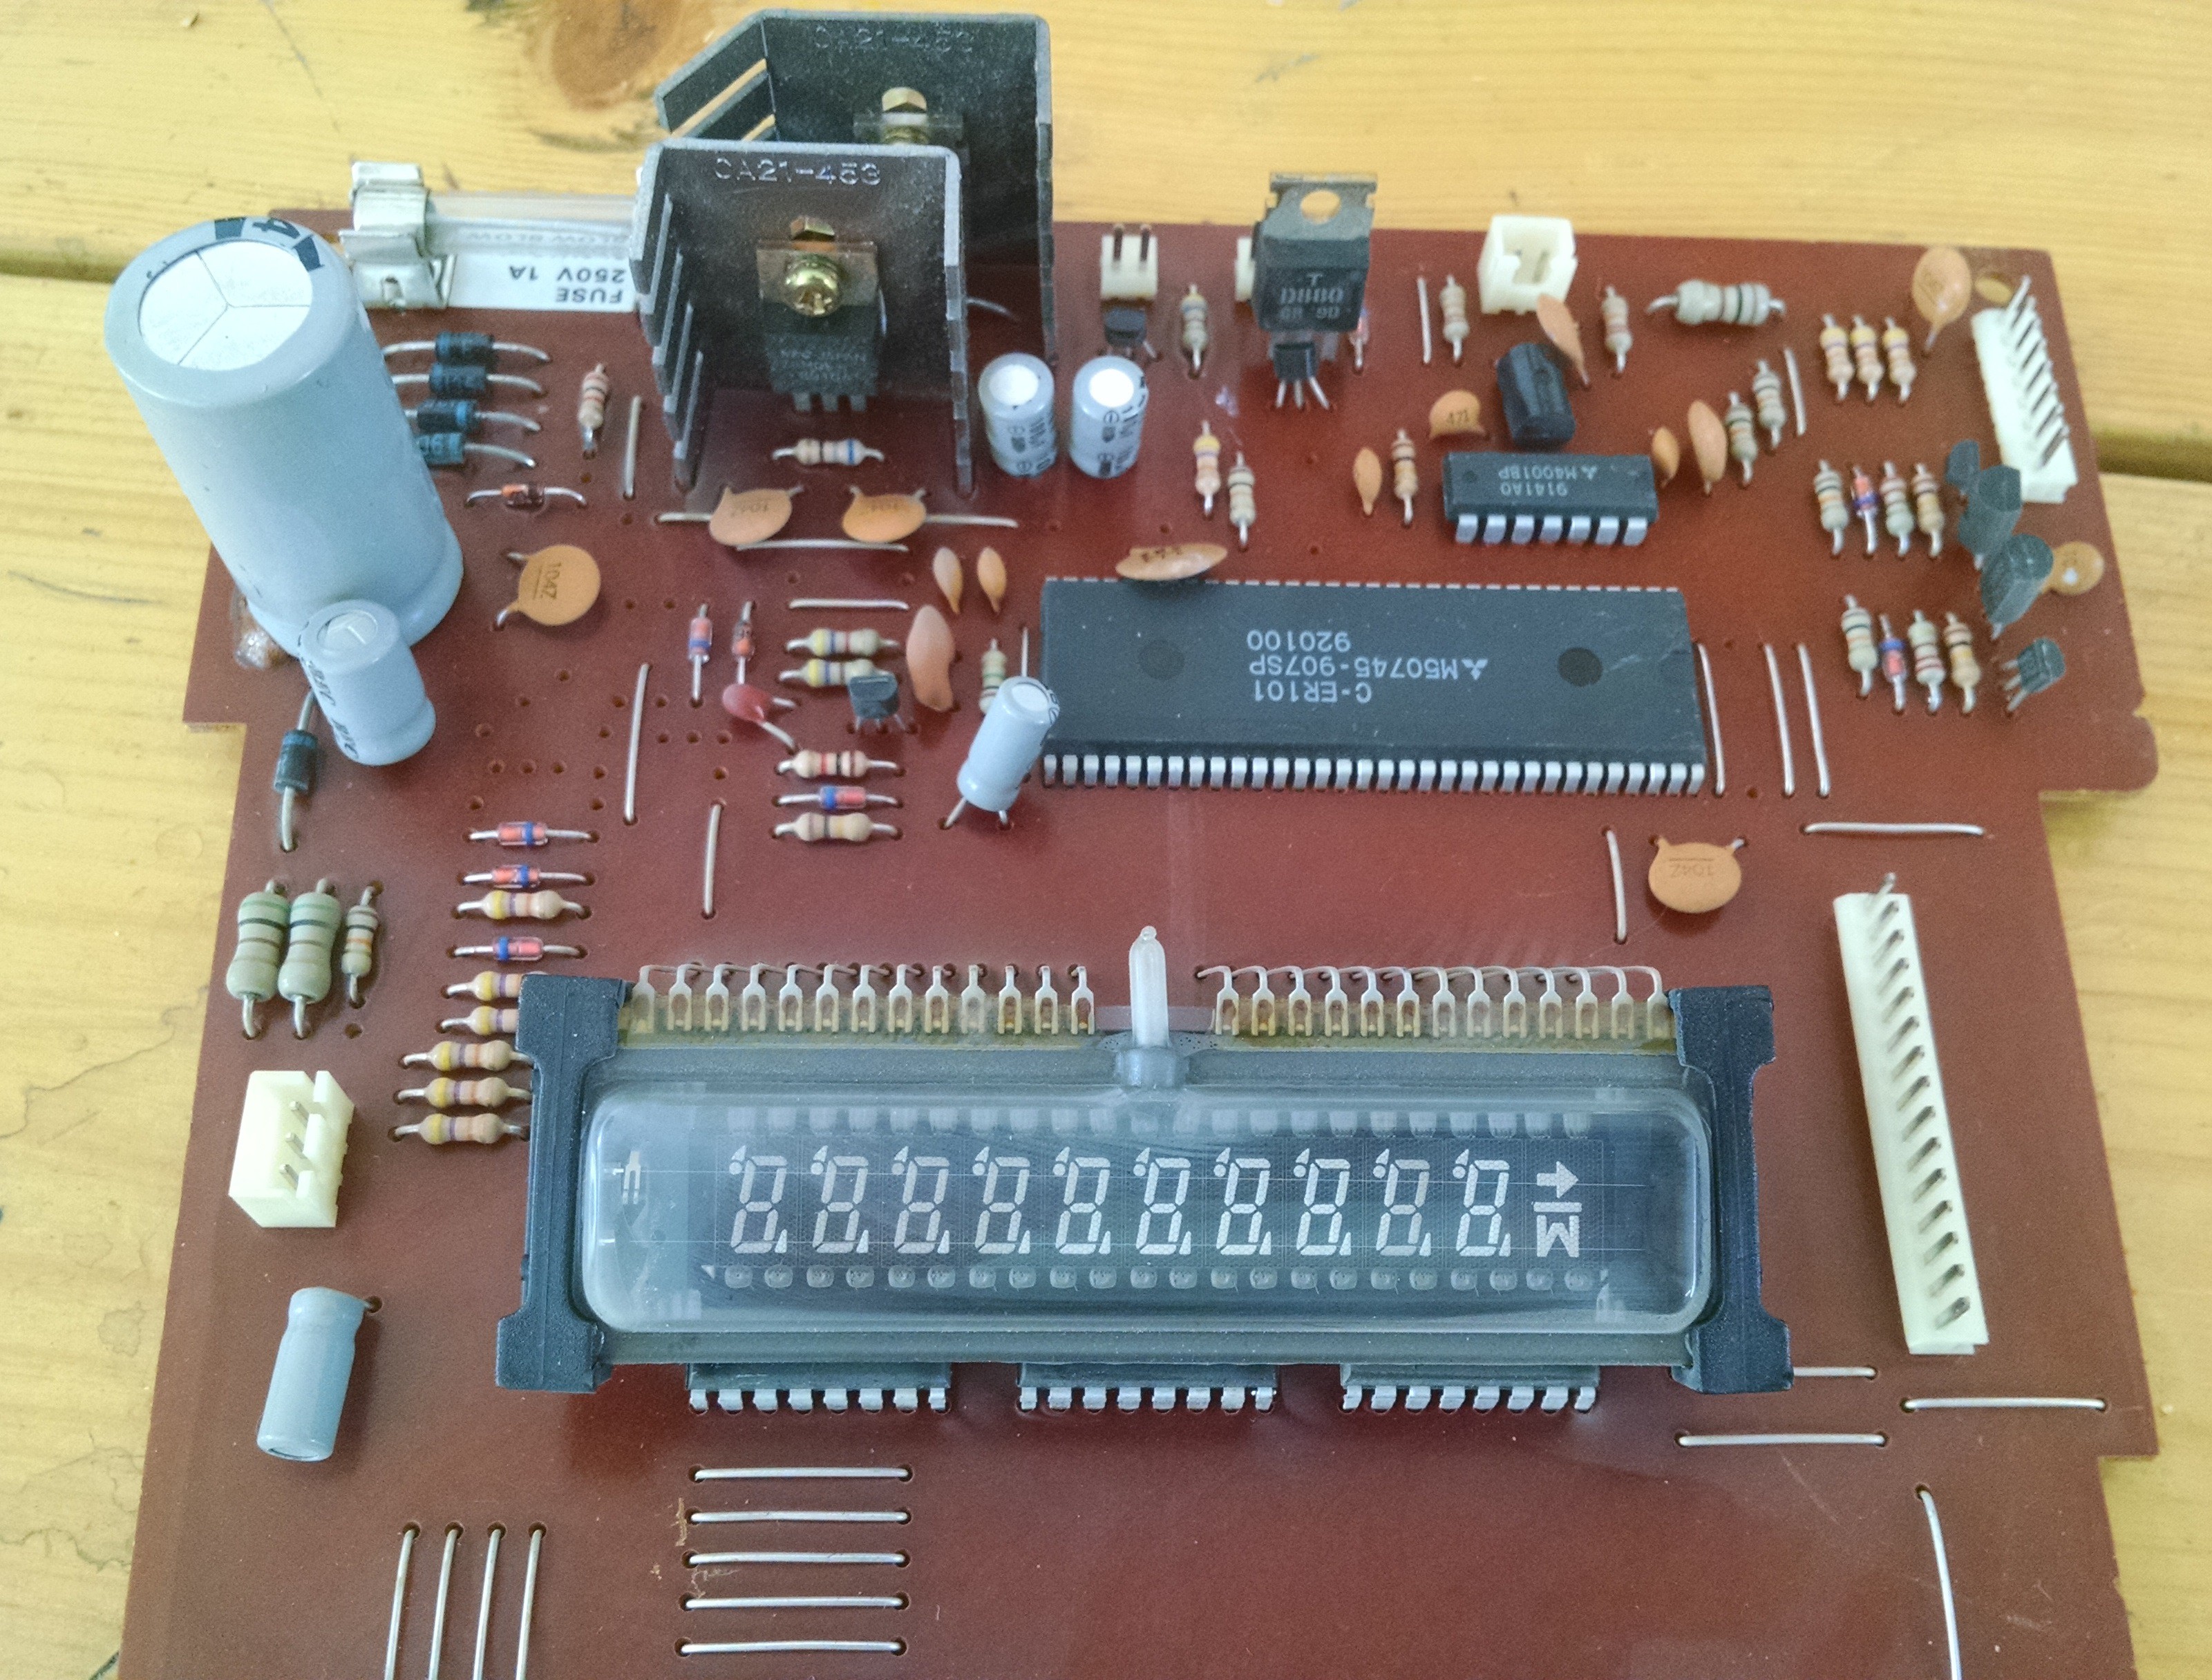
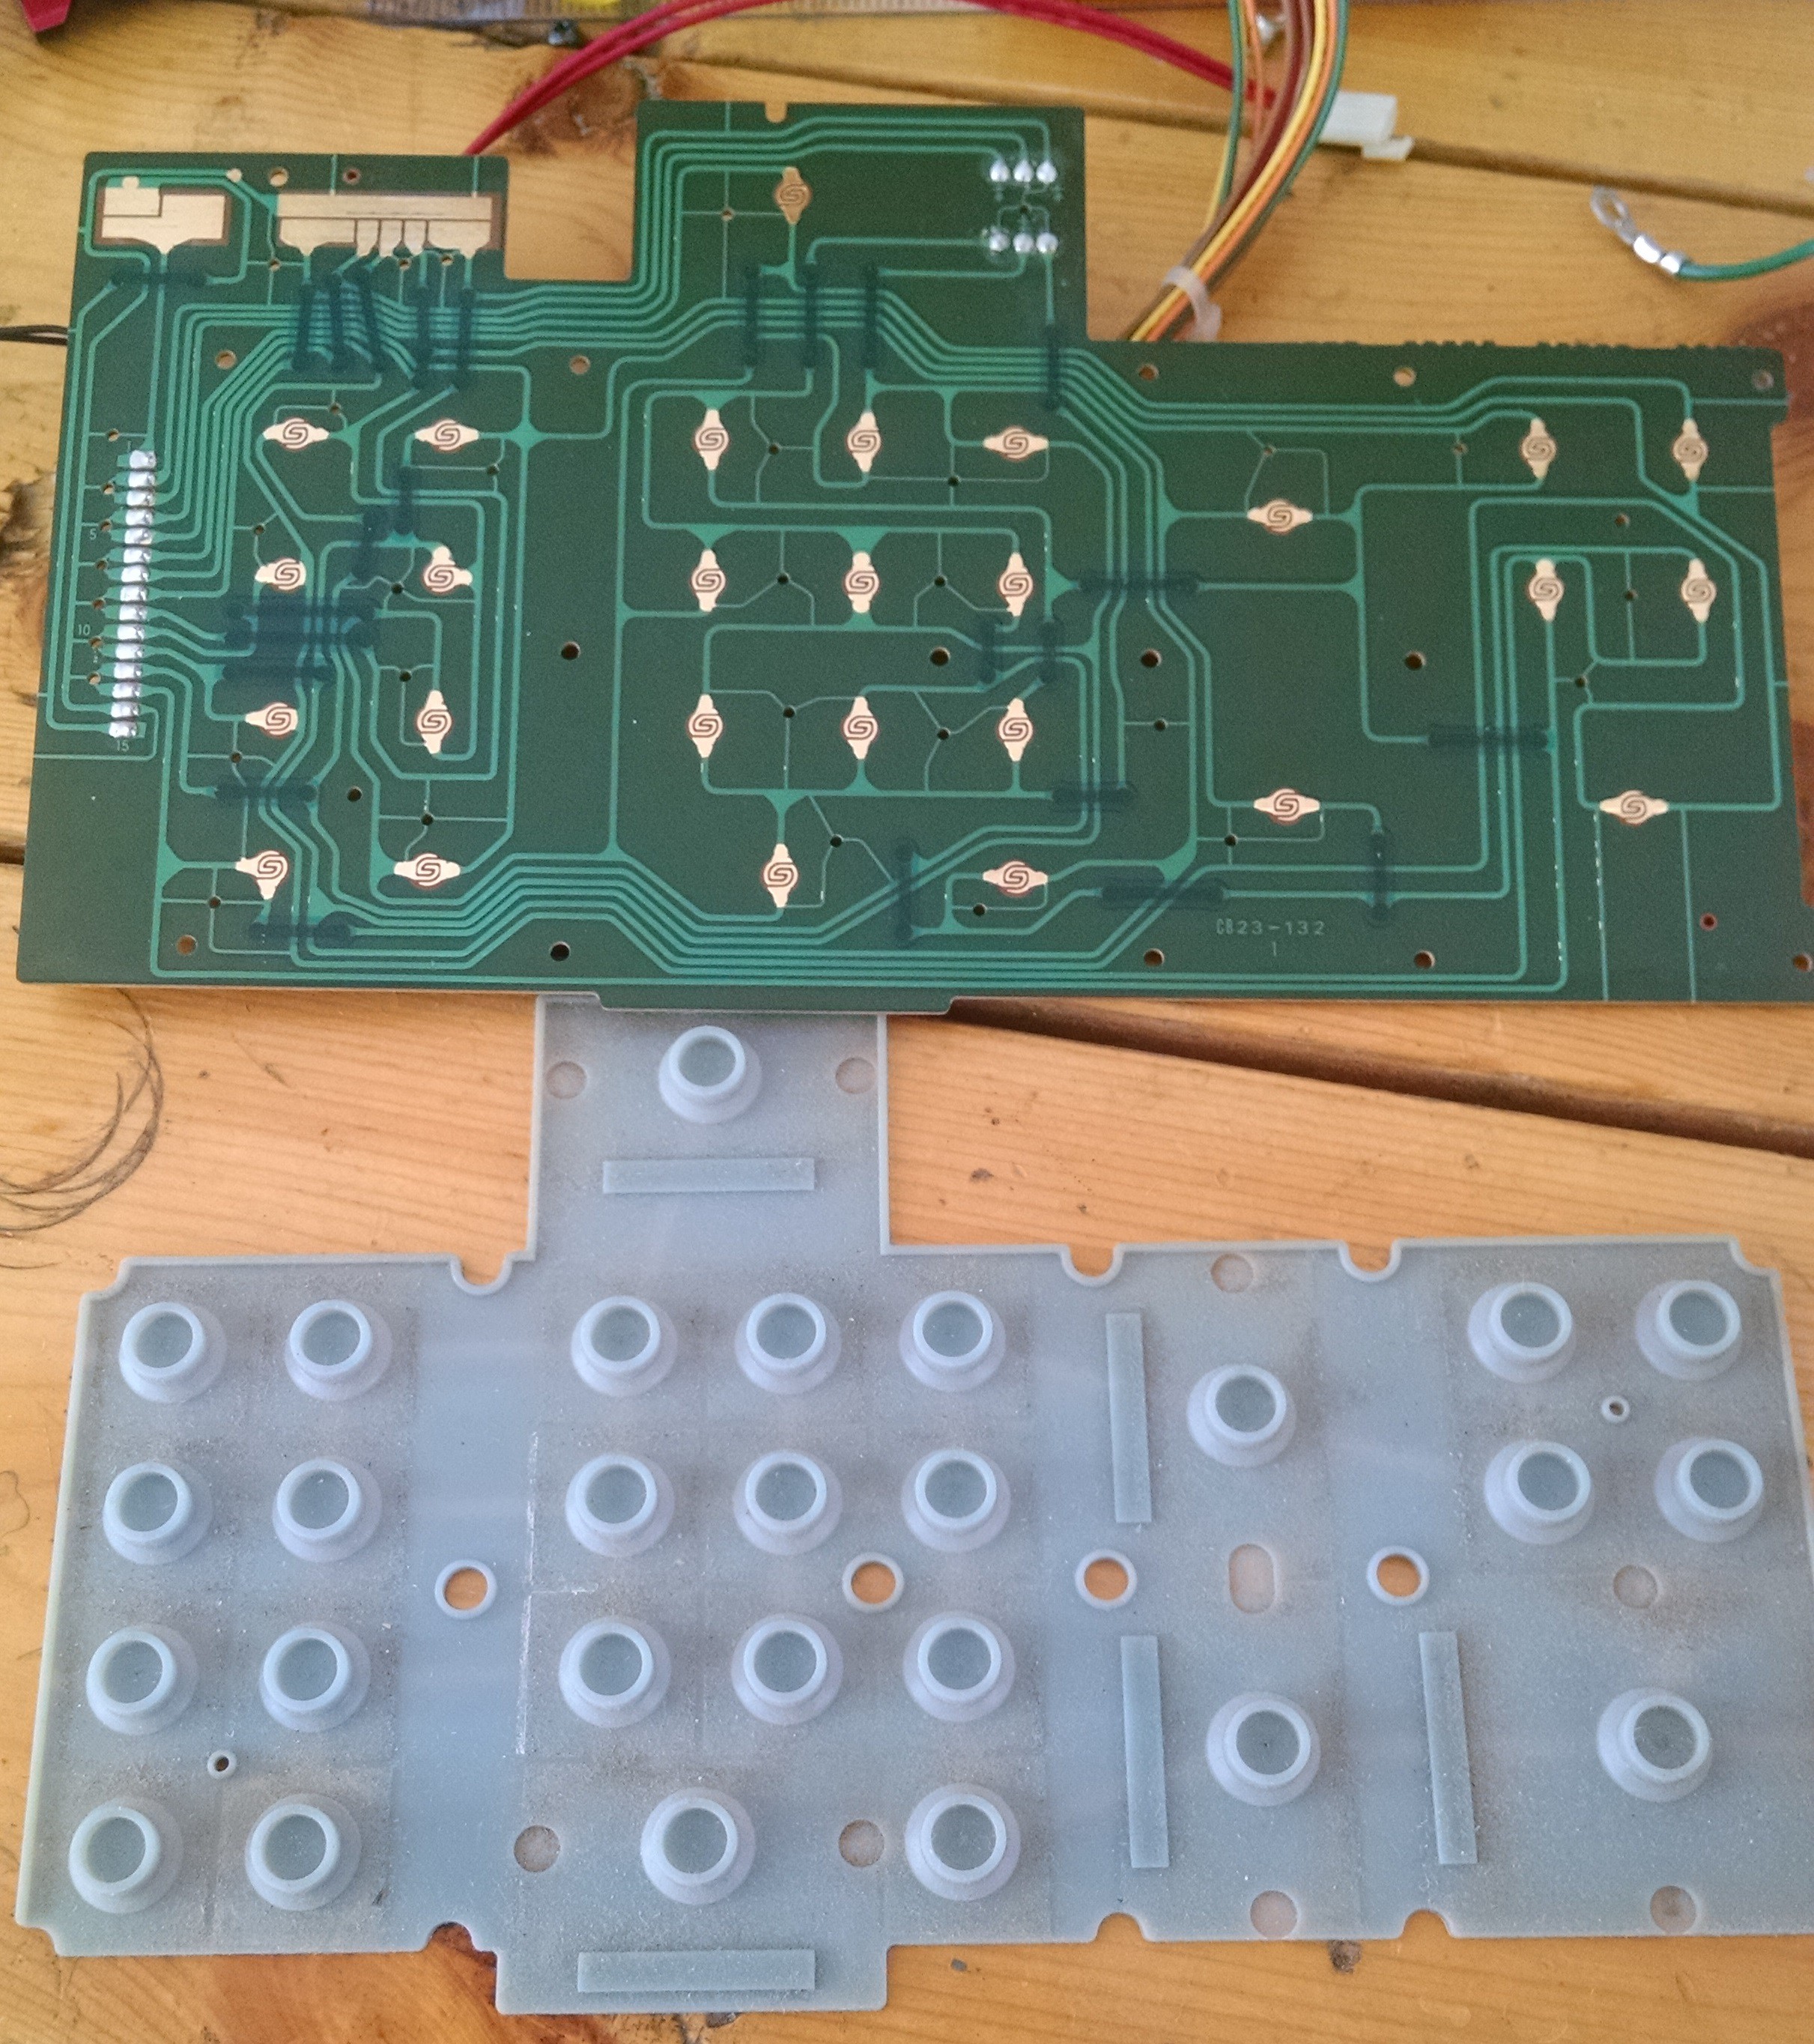
Cash Register Upgrade
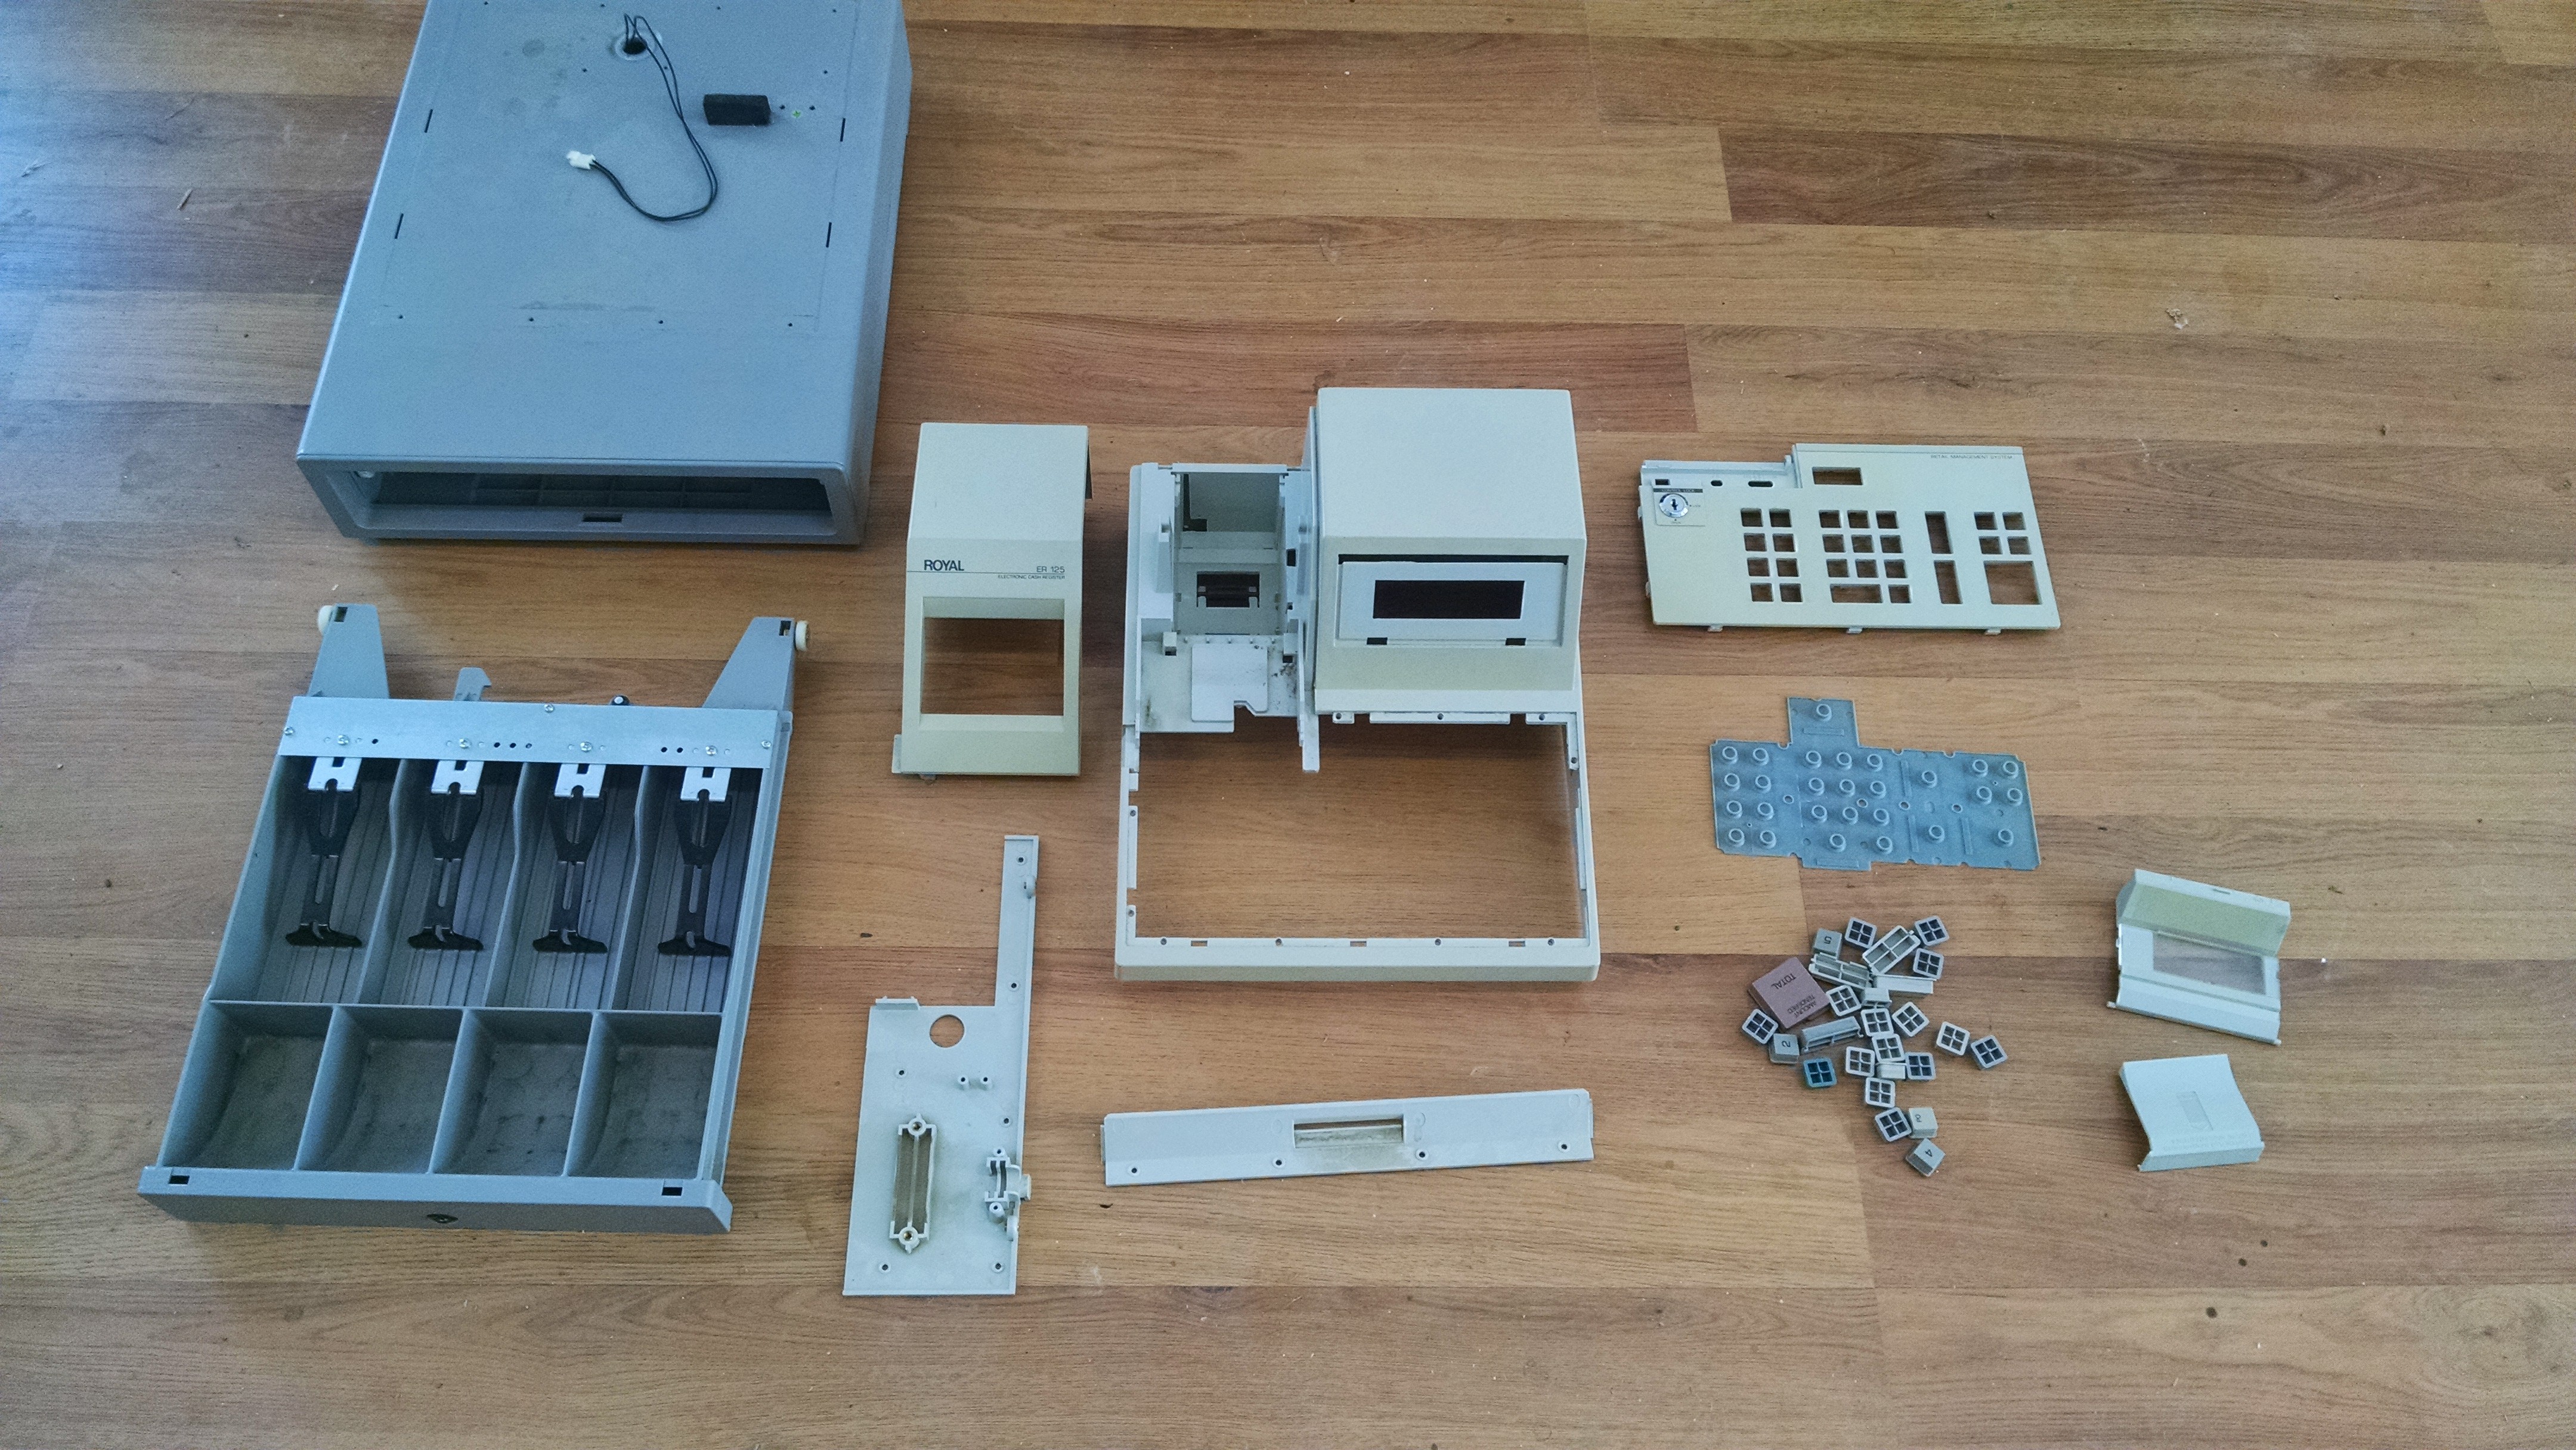
I found a $2 cash register at a thrift store. I'm putting my phone in it and making it portable.
 skylarmt
Become a Hackaday.io member
Already have an account? Log in.
Just one more thing
To make the experience fit your profile, pick a username and tell us what interests you.
Pick an awesome username
hackaday.io/
Your profile's URL: hackaday.io/username. Max 25 alphanumeric characters.
Pick a few interests
Projects that share your interests
People that share your interests


 Moritz Wenzel
 Snegovick
 Uriel Katz
 Pavel
Pavel
How did the cash register end up? I have one on my coffee van I have to open with a key at the moment. I'm looking to install a simple hidden button to trigger it. Did you try that?