 jupdyke
The design has come to the point where 3d printing treads was no longer practical. For starters I have been printing parts out of ABS plastic, which is quite a bit different from the production material. I plan for the treads to be made from a rigid rubber material similar to what car tires are made from. These will be over molded around a threaded stud. The threaded stud will add support. Additionally it is going to take quite a few treads to make a usable section of track. 3d printing these is just too slow.
I decided to give a shot at resin casting. I ordered some 2 part silicone and 2 part polyurathne rubber from http://Smooth-On.com. Then I used the 3d printer to print some positives. I 3d printed a few versions of the part. I wanted my mold to have two cavities. I printed two top halves of my tread connected by a support. I used this to cast the half of my mold. Once cured I removed the halve part, and replaced it with a full tread. I coated the first half of the mold with mold release and cast the second half.
After it was all said and done I had a silicone mold that I could put 4 threaded rods into and cast two tread parts. Having never worked with silicone molds or resin casting, it was a learning experience. I am sure that the next time I make molds they will come out much better. But they worked and will let me continue prototyping my design.
This is the resin I used: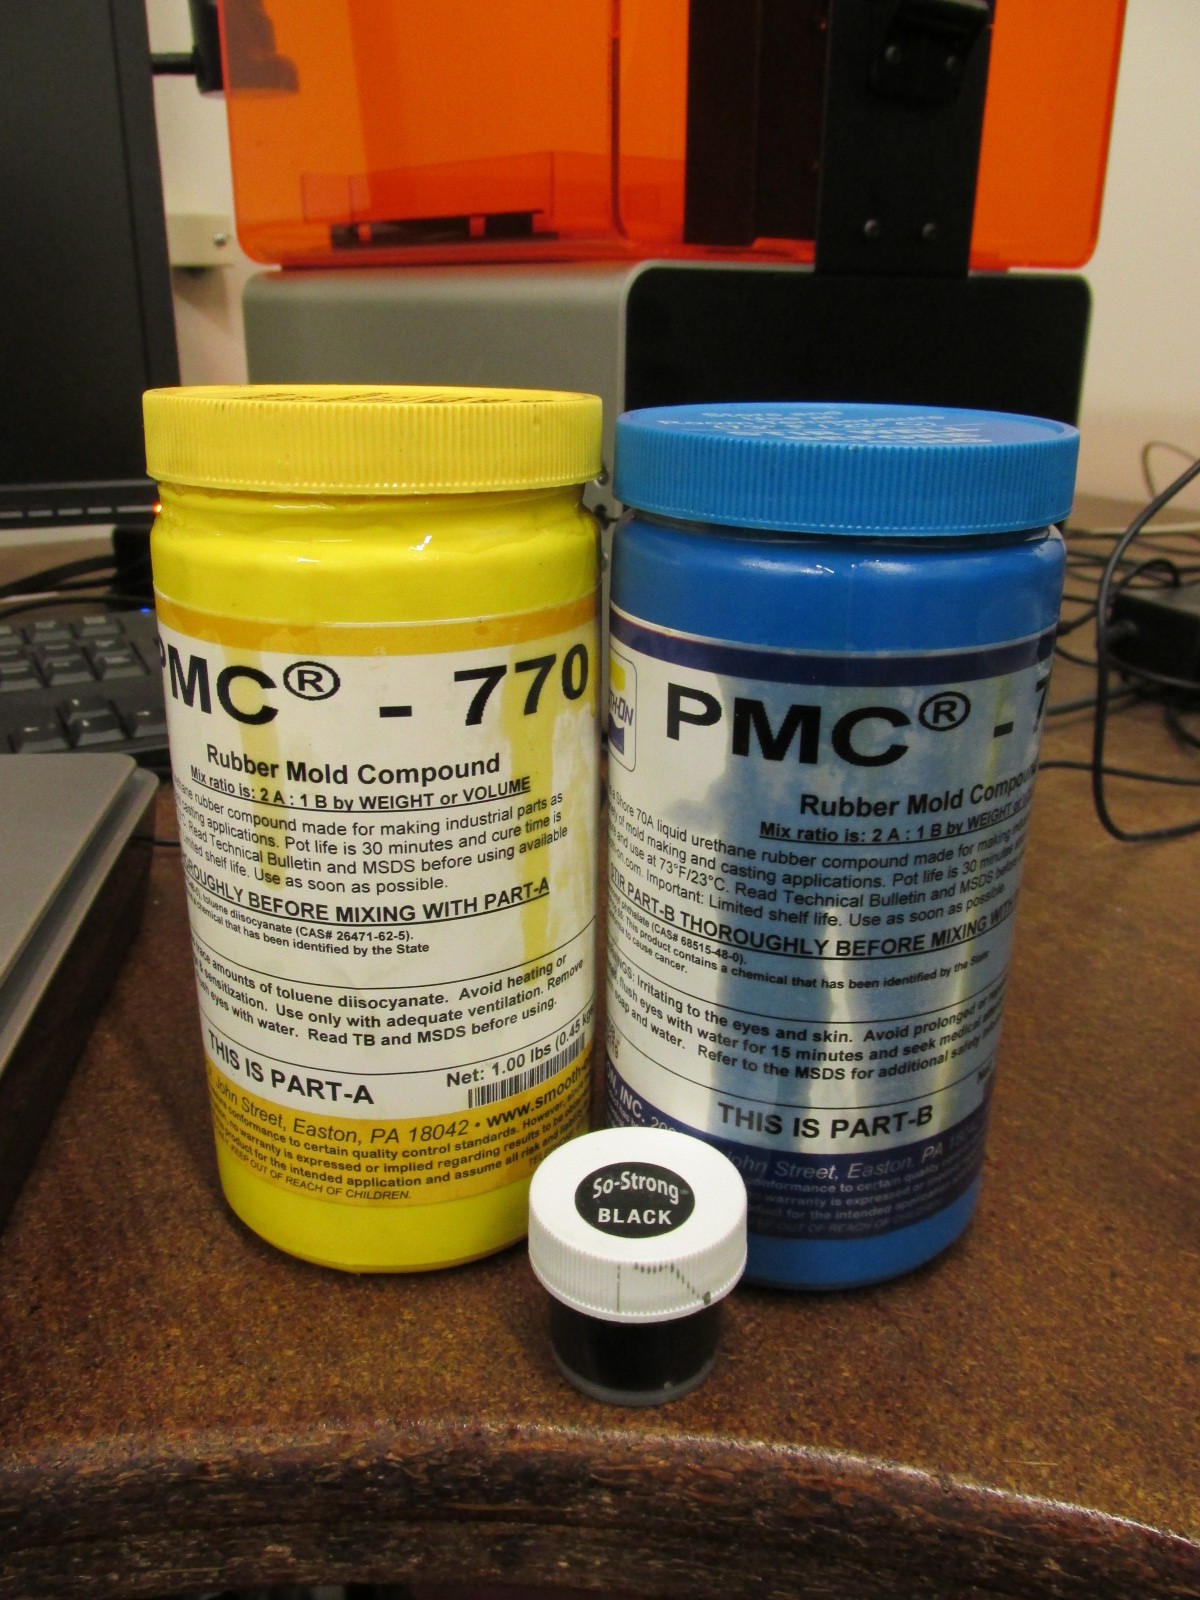
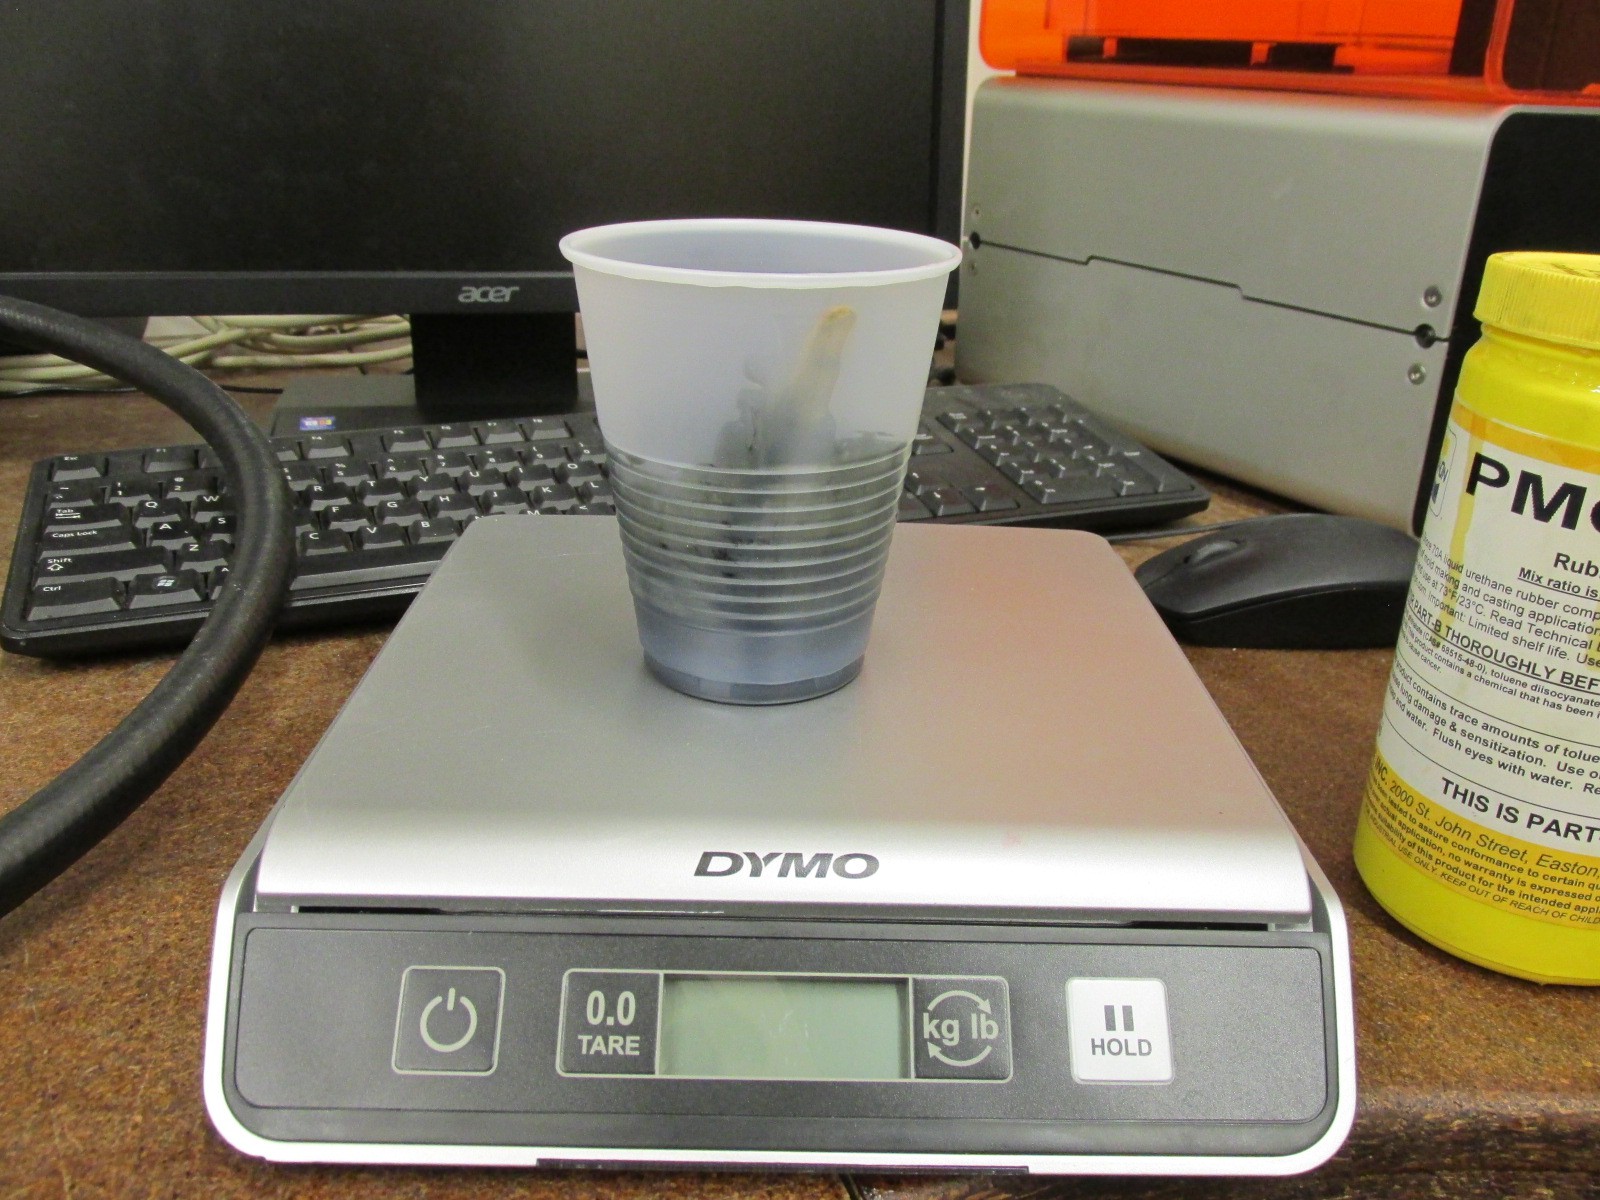
I weighed the parts and mixed them in a plastic cup.
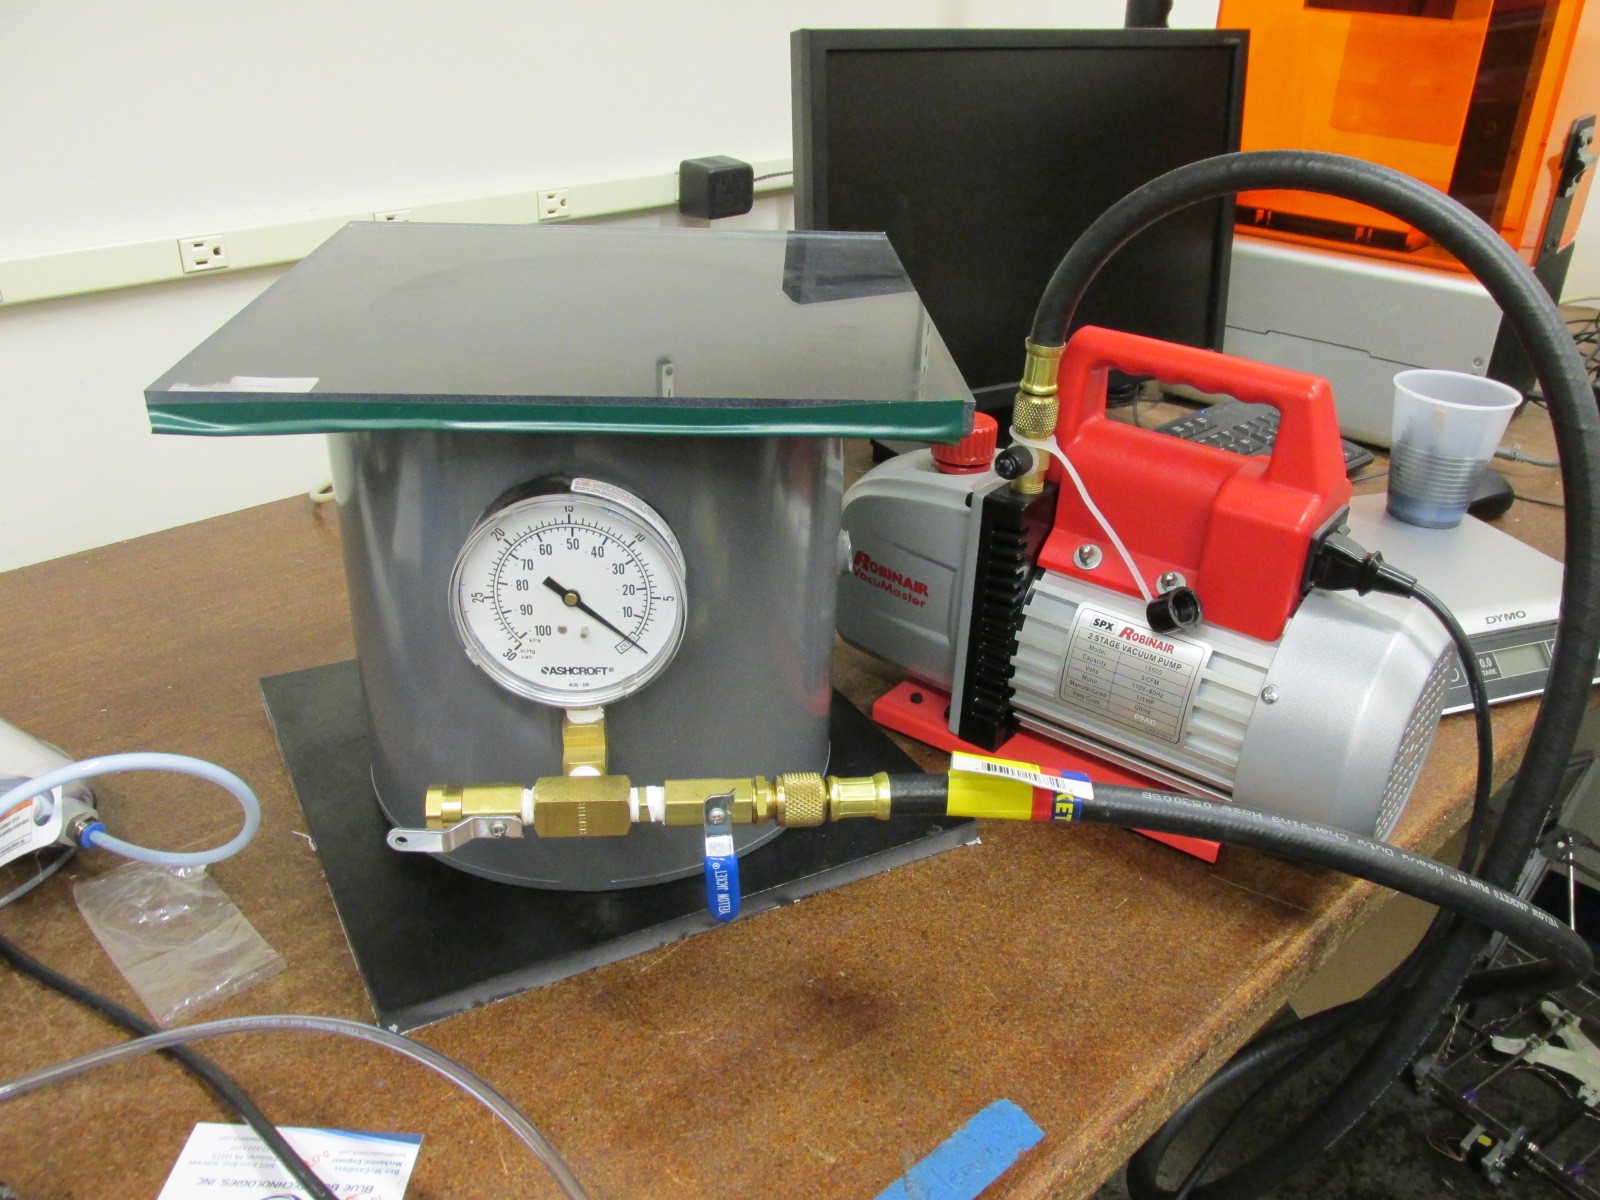
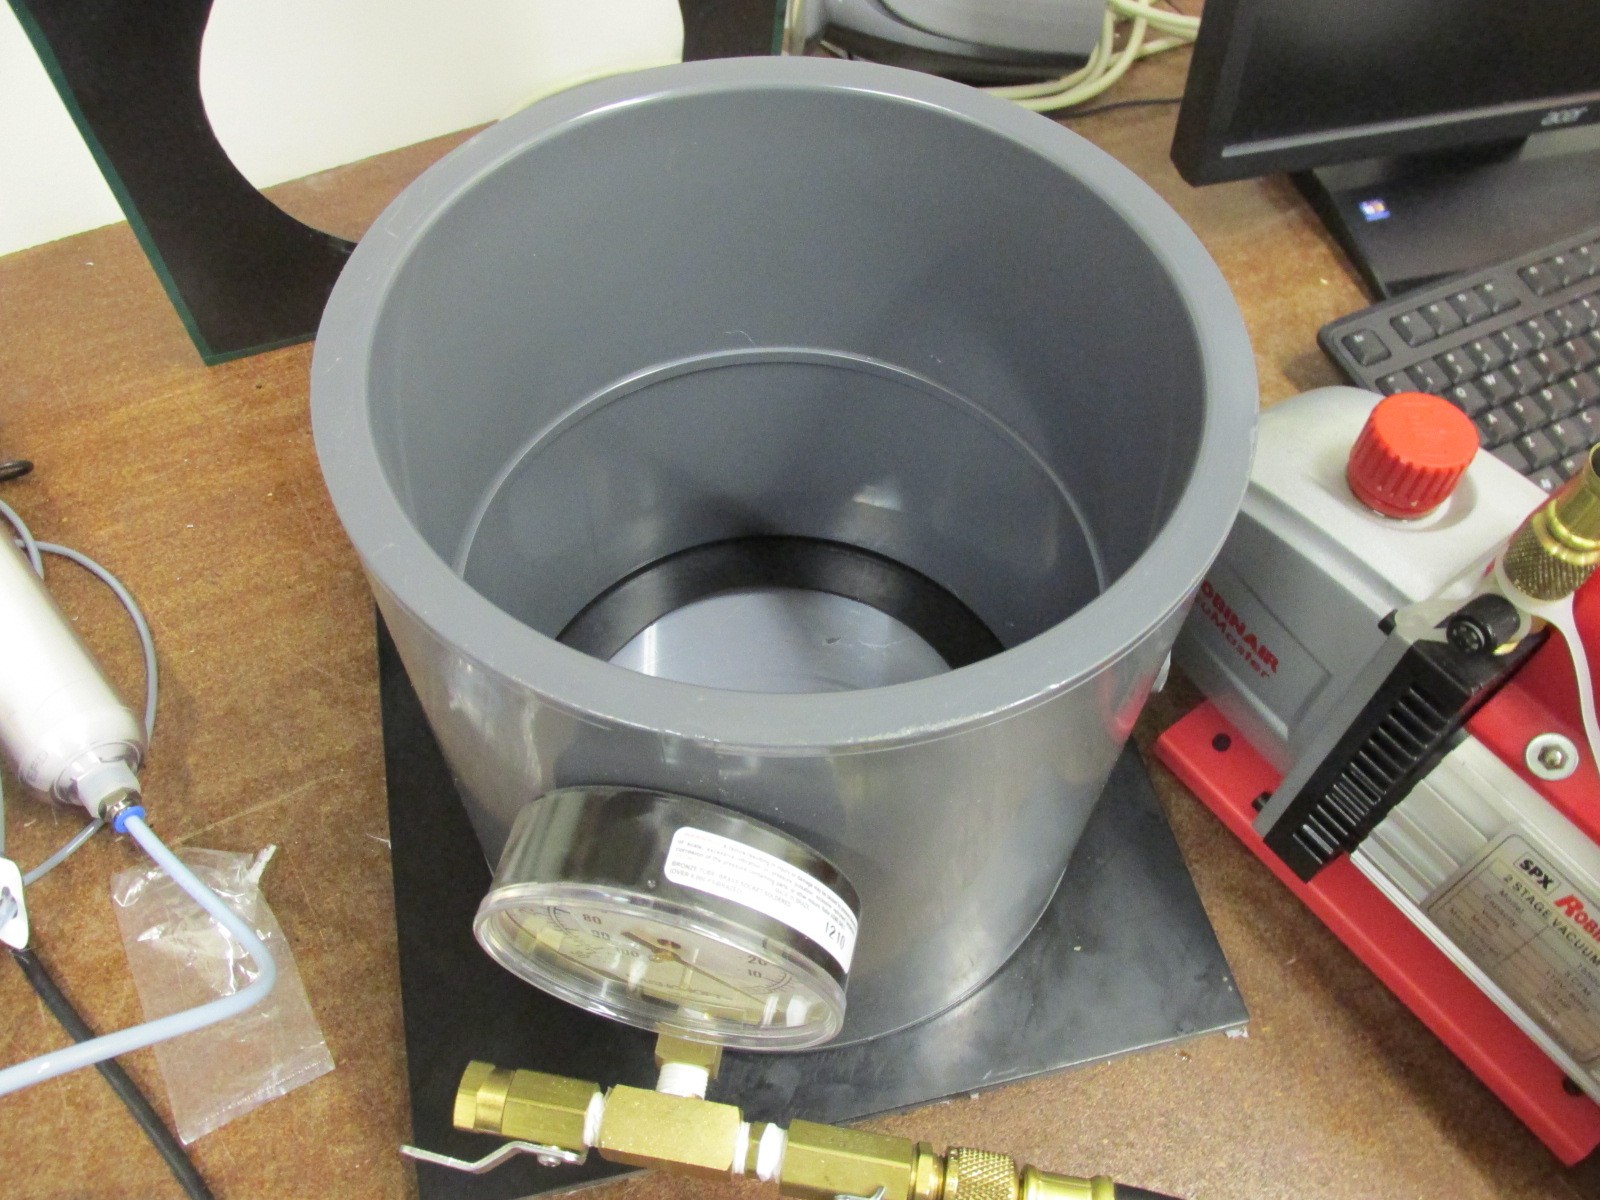
Then I put the cup into a DIY vacuum degassing chamber that I had. It is nothing too fancy, but it does the trick.
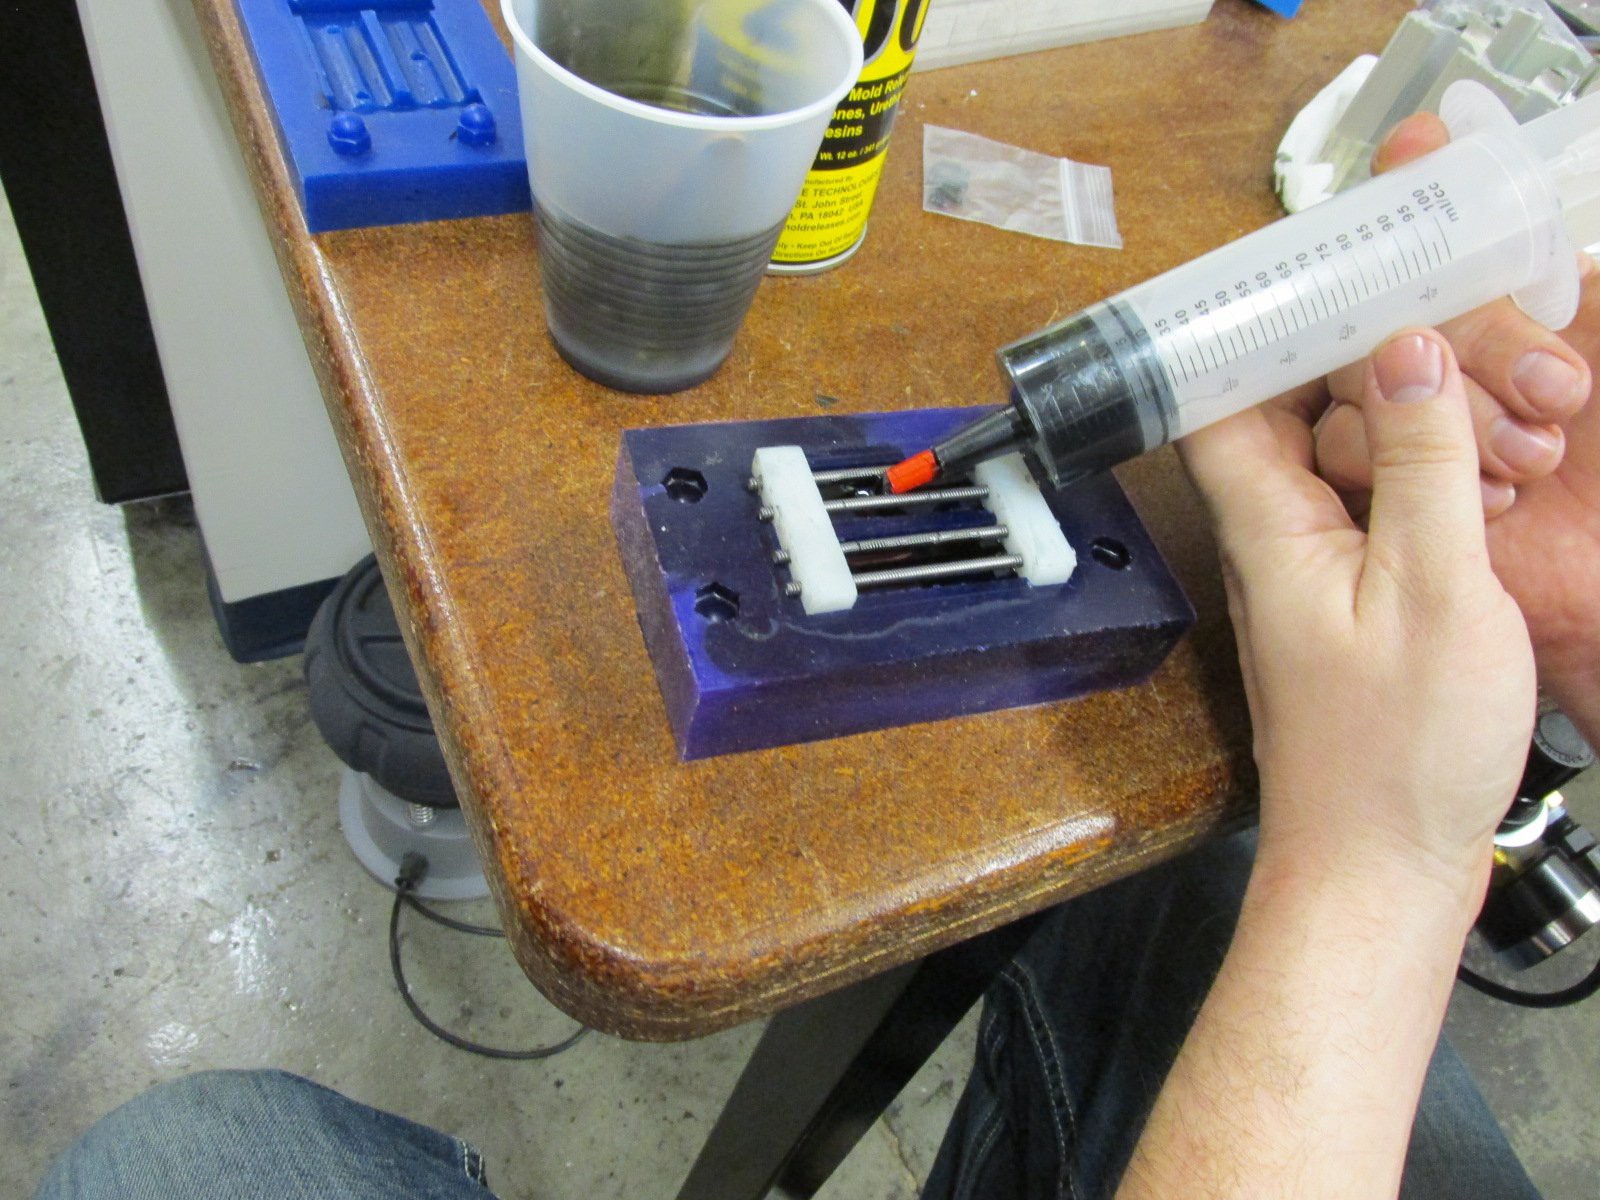
Next I filled up a syringe with the resin trying to be careful not to add any air bubbles. It might work better to transfer it to the syringe before degassing, but it would spill over the syringe during the process, holding the syringe upright was a pain, and without the plunger the resin will flow out the tip and make a mess. So I didn't worry about it. I filled the bottom half of the mold while it was open. It was much faster and easier than filling the whole mold through the sprue hole.
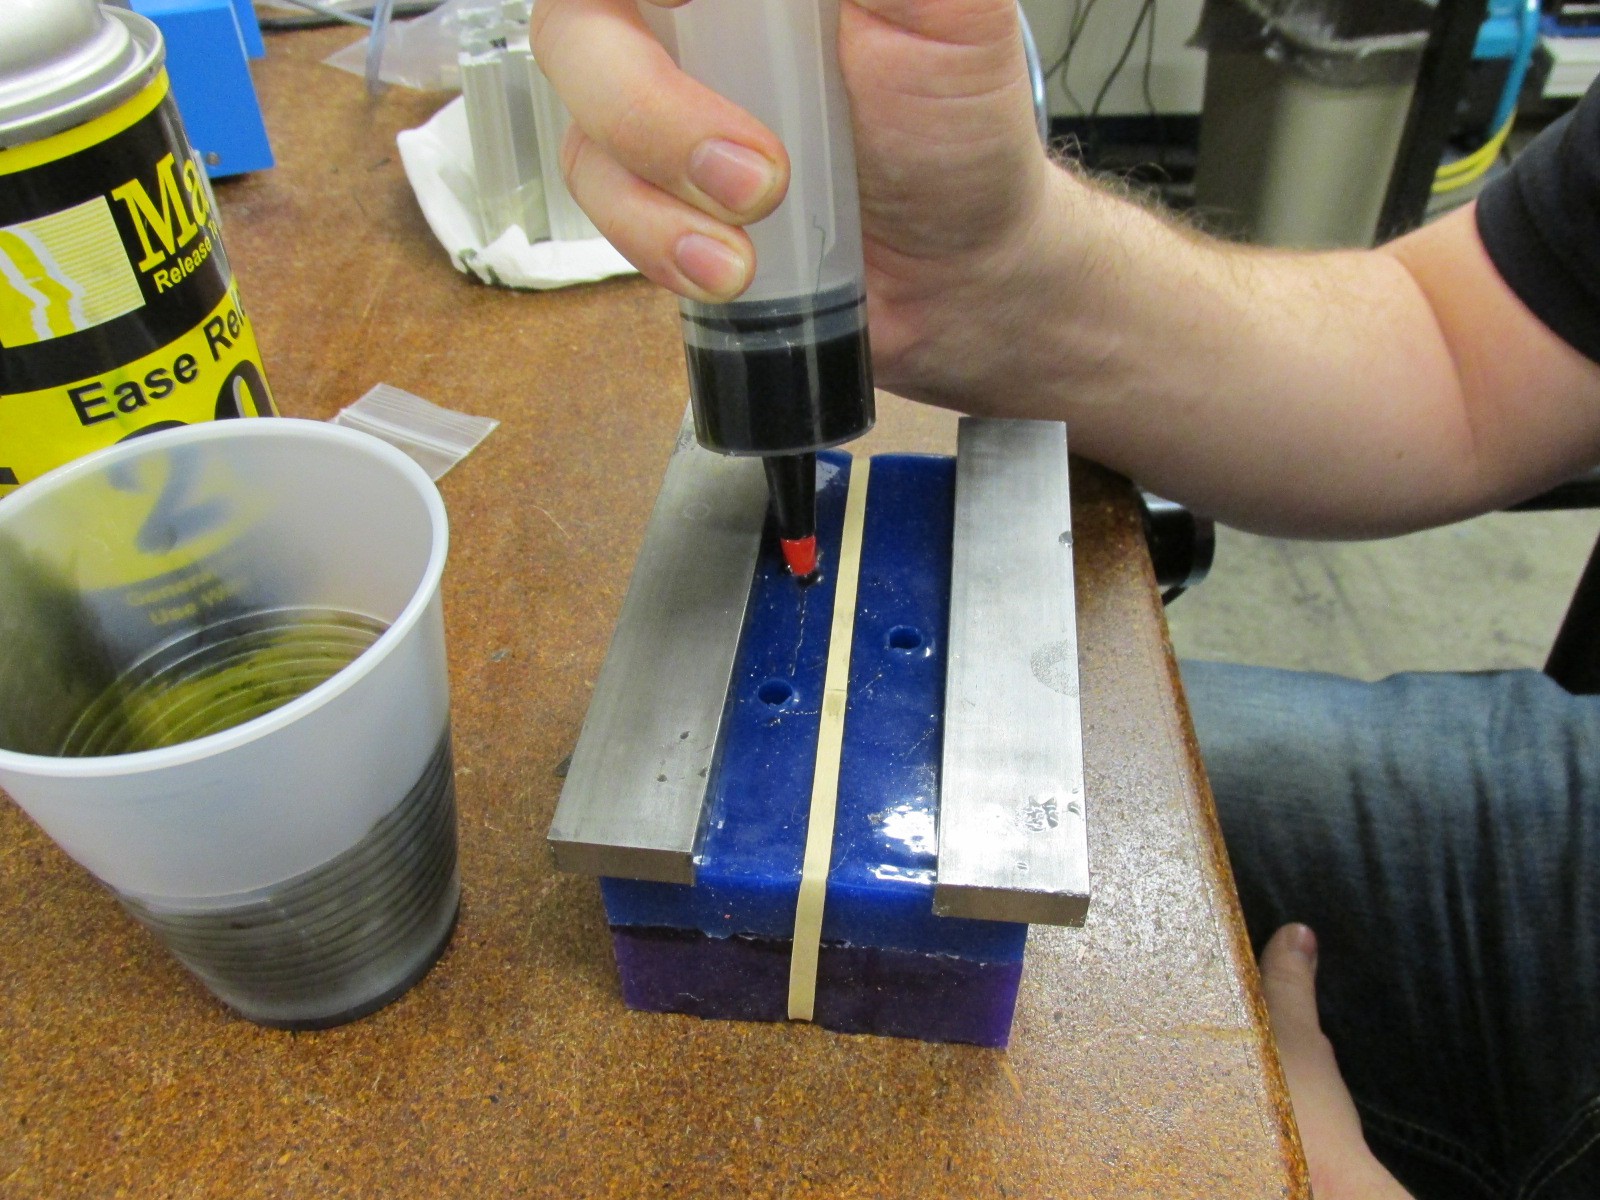
Then I carefully put the top half of the mold on and used a rubber band to hold it together. The mold has keys built into to help with alignment. I set a couple pieces of steel bar on top to hold it down even more. When I made the mold I was not sure if I needed one or two sprues. So I tried both. This is my first time working with silicone molds and I wanted to learn as much as I could. I did find that the two sprue method worked slightly better and was less prone to having large voids in the part. But you have twice as many sprues to cut away.
I learned that you have to fill the mold very slowly because the resin is thick and will build up enough pressure to separate the mold. When you fill the bottom half of the mold while it is open you can fill it much faster, and that is the actual tread profile. Many of the first parts I made had voids on the top half of the mold, but since this is not a functional surface it didn't cause a problem for testing.
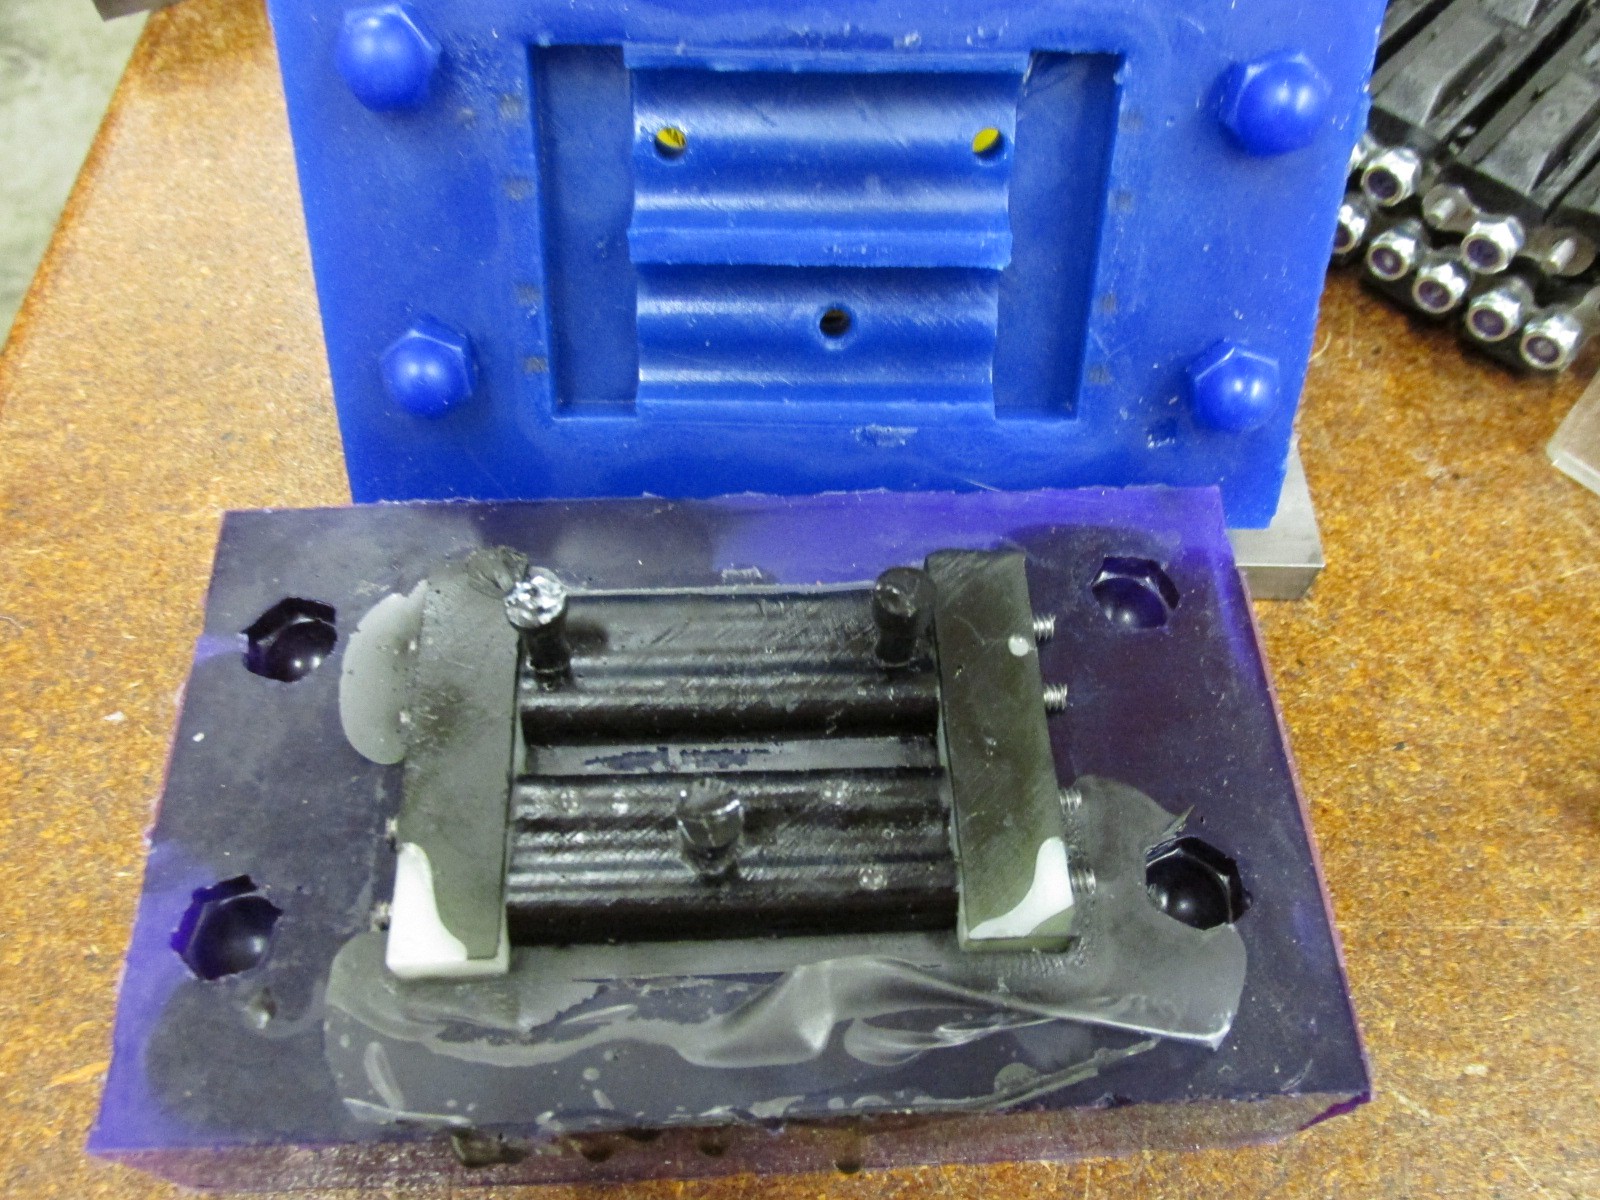
Here is what the finished mold looks like.
Discussions
Become a Hackaday.io Member
Create an account to leave a comment. Already have an account? Log In.