 Kevin Uhlir
Introduction
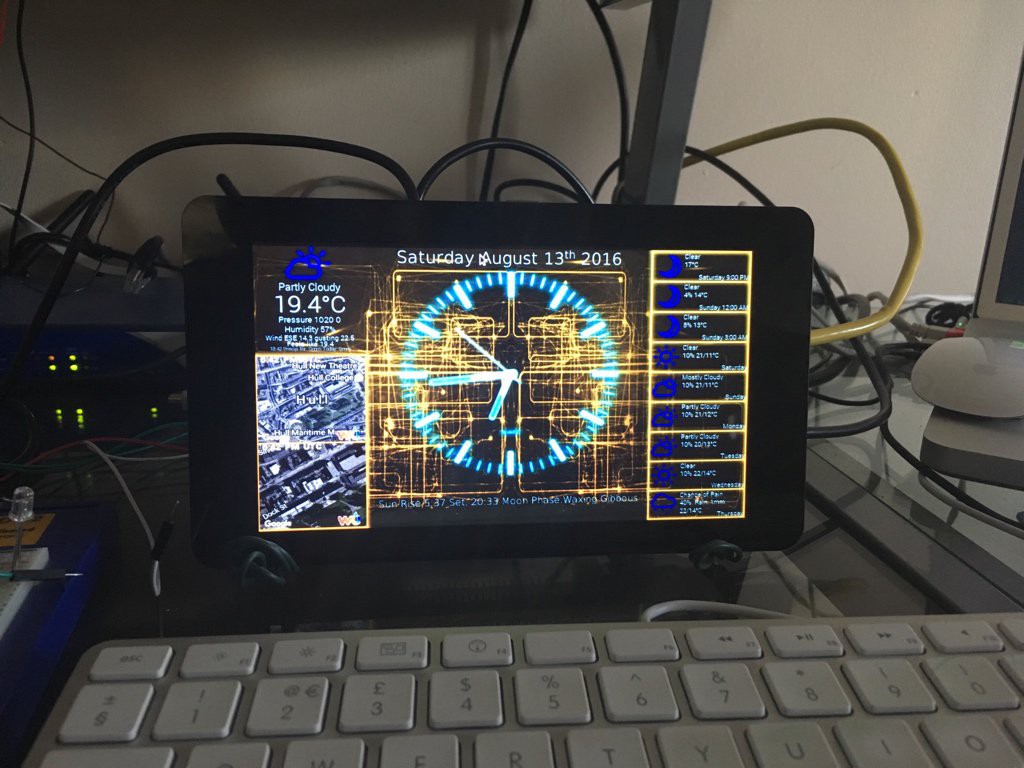
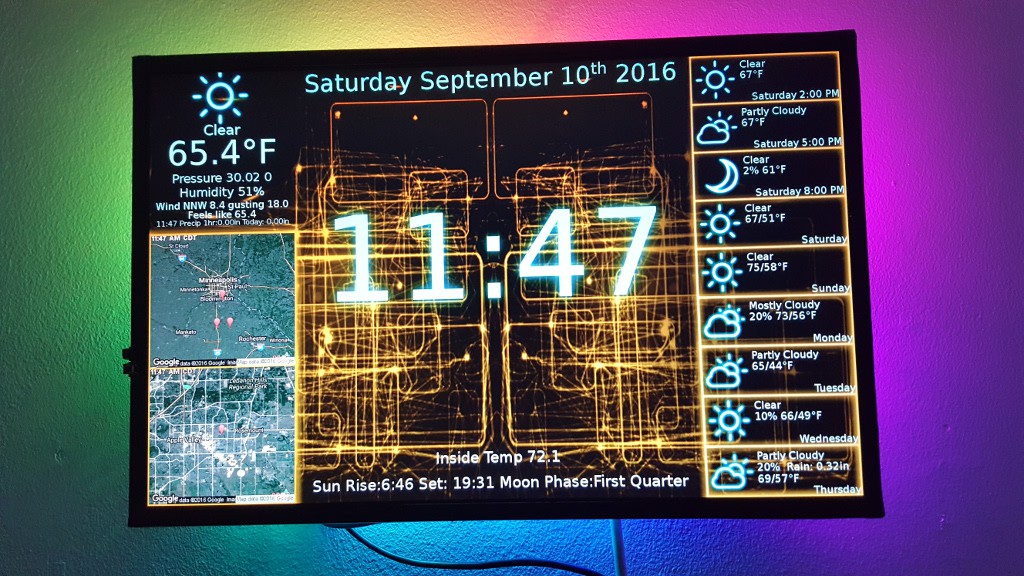
The PiClock is a clock (duh), weather forcast, and radar map display based on the Raspberry Pi and a display monitor. The display monitor is assumed to be an HDMI monitor, but it will probably (possibly) work with the composite output as well, but this is not a design goal. The main program (Clock/PyQtPiClock.py) will also run on Windows, Mac, and Linux, as long as python 2.7+ and PyQt4 is installed.
The Weather data comes from DarkSky using their API ( http://darksky.net/dev/ ). The maps are from Google Maps API. You must get API Keys from DarkSky and Google in order to make this work. It is free for low usage such as this application.
The Weather data comes from OpenWeatherMap or Tomorrow.io. The maps are from Google Maps API or Mapbox. You must get API Keys from OpenWeatherMap or Tomorrow.io and Google or Mapbox in order to make this work. It is free for low usage such as this application.
The PiClock can be customized with several supported additional things:
- RGB LED strips (NeoPixel) to create an ambilight effect
- gpio buttons for changing the view
- IR Remote Control for changing the view
- Streaming the NOAA weather radio stream for your area
The power usage I've measured is about 35watts with a 19" HDMI Monitor, 27 LEDs and the Pi. The LEDs contributed 3 or so watts, and I think the Pi is about 2-3 Watts normally.
This is the basic PiClock, with some options added. 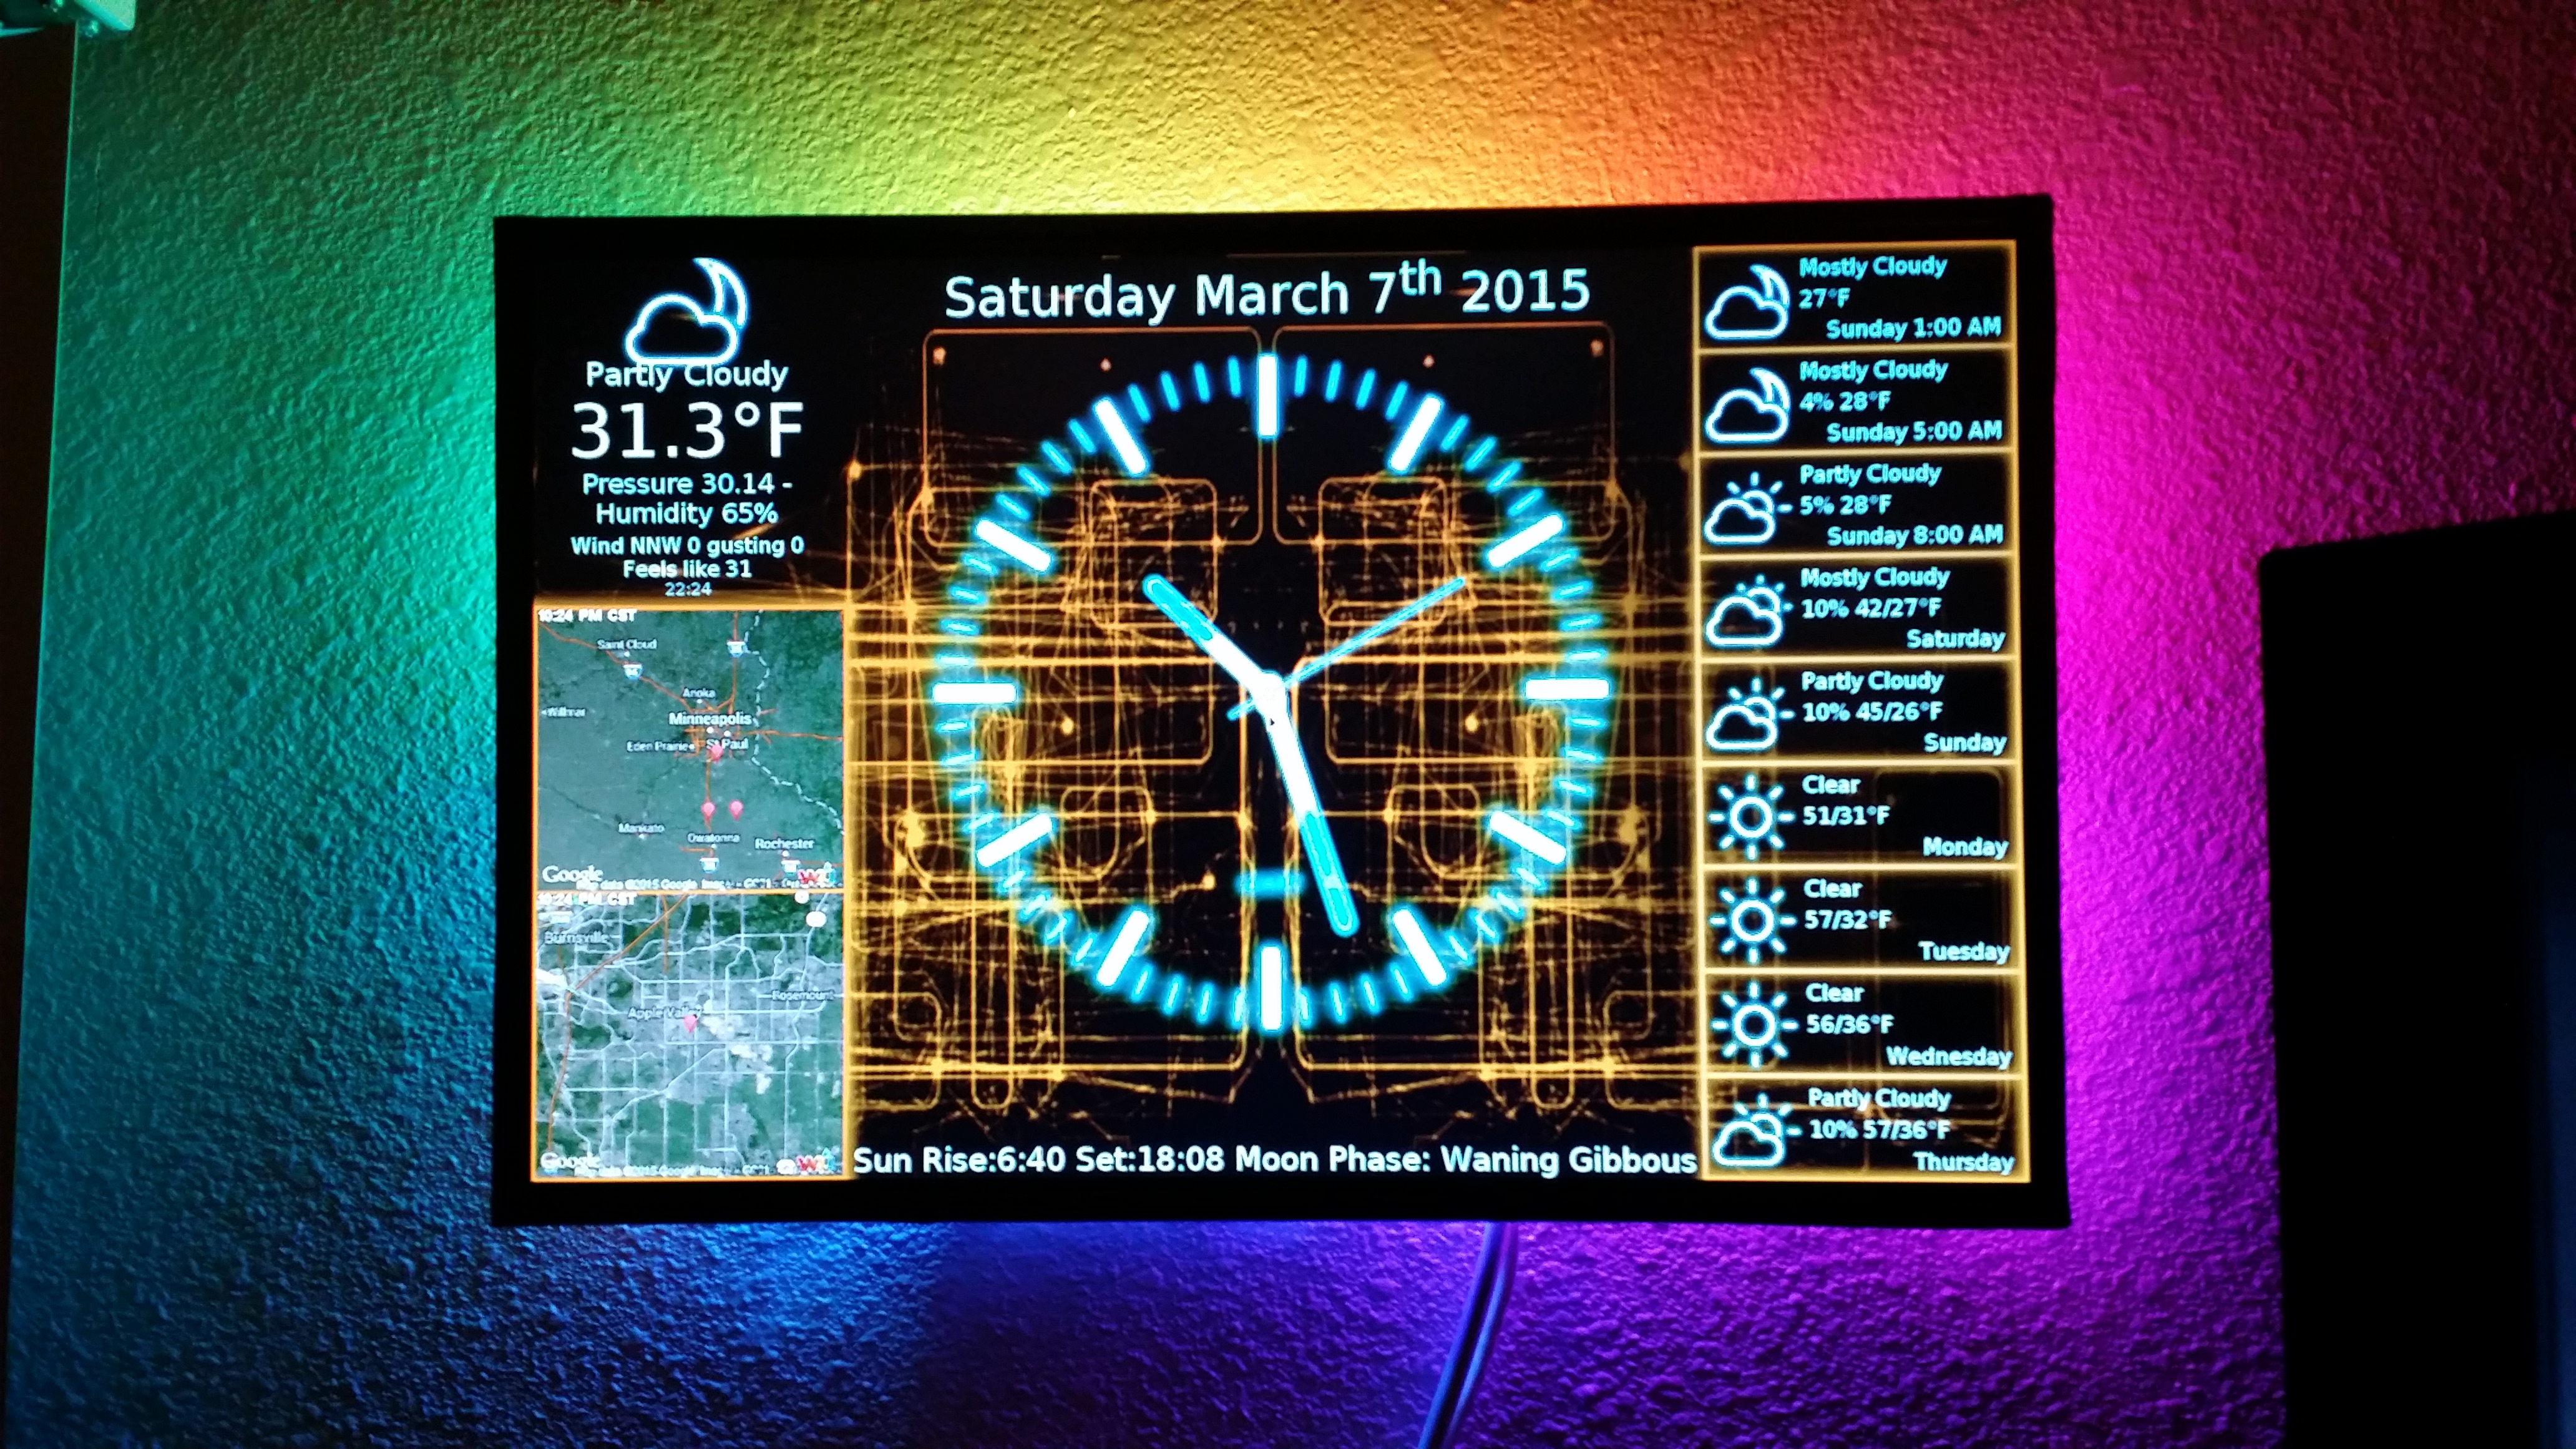
I chose to remove the plastic frame from my monitor and mount the Pi directly on it, as well as tap power from the display's power supply. 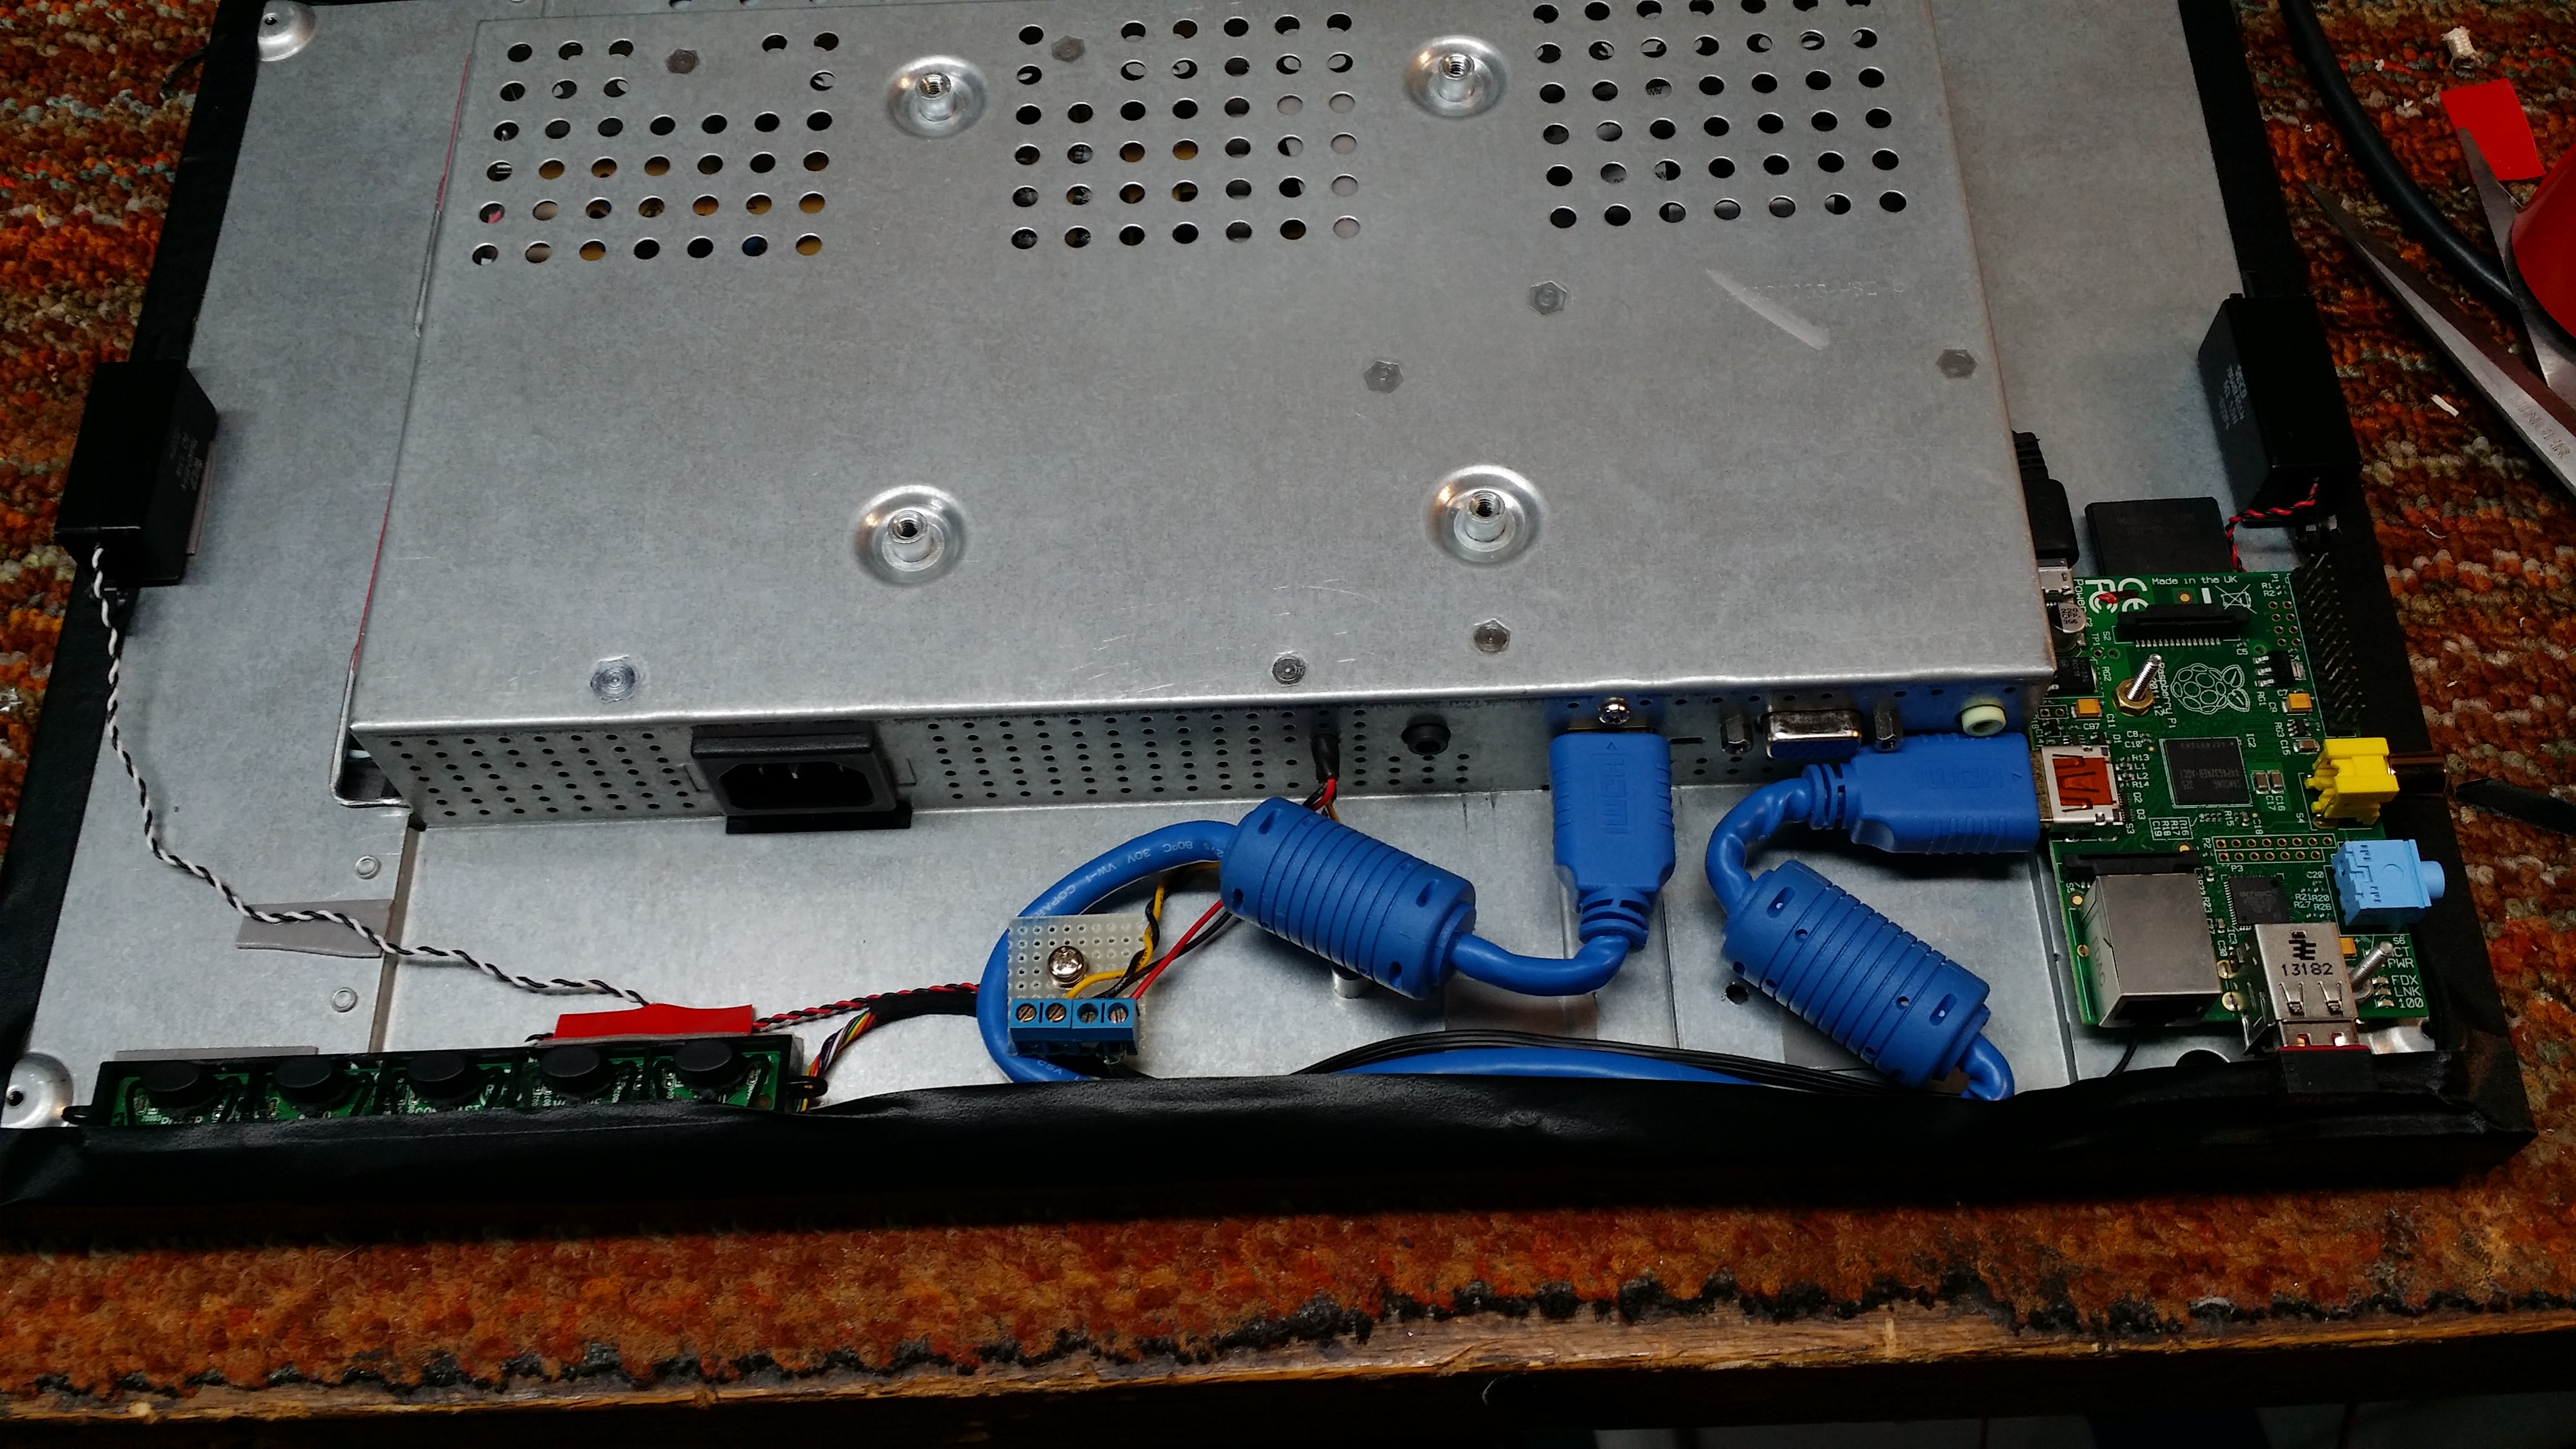
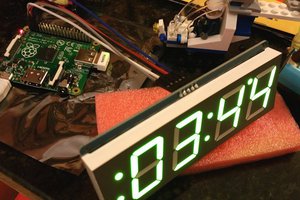
I've made it work on multiple platforms and form factors. 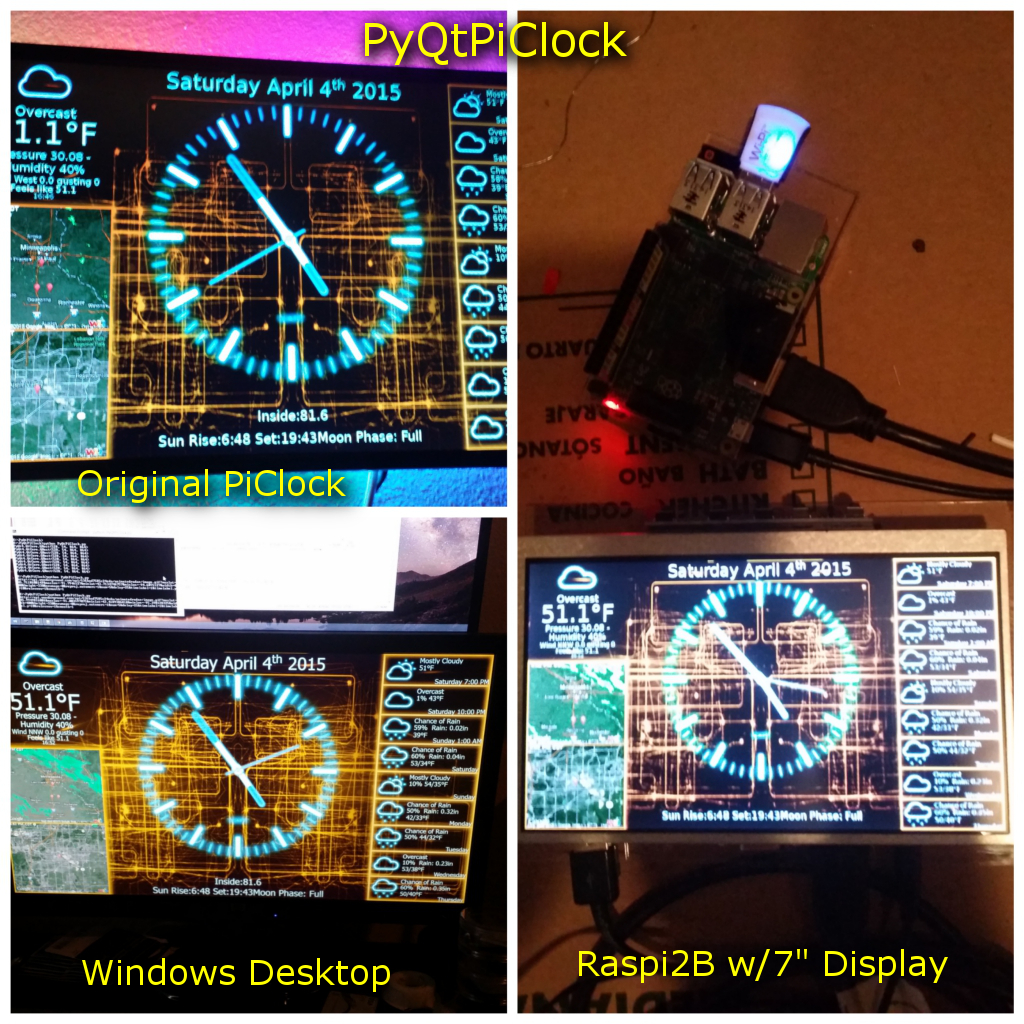
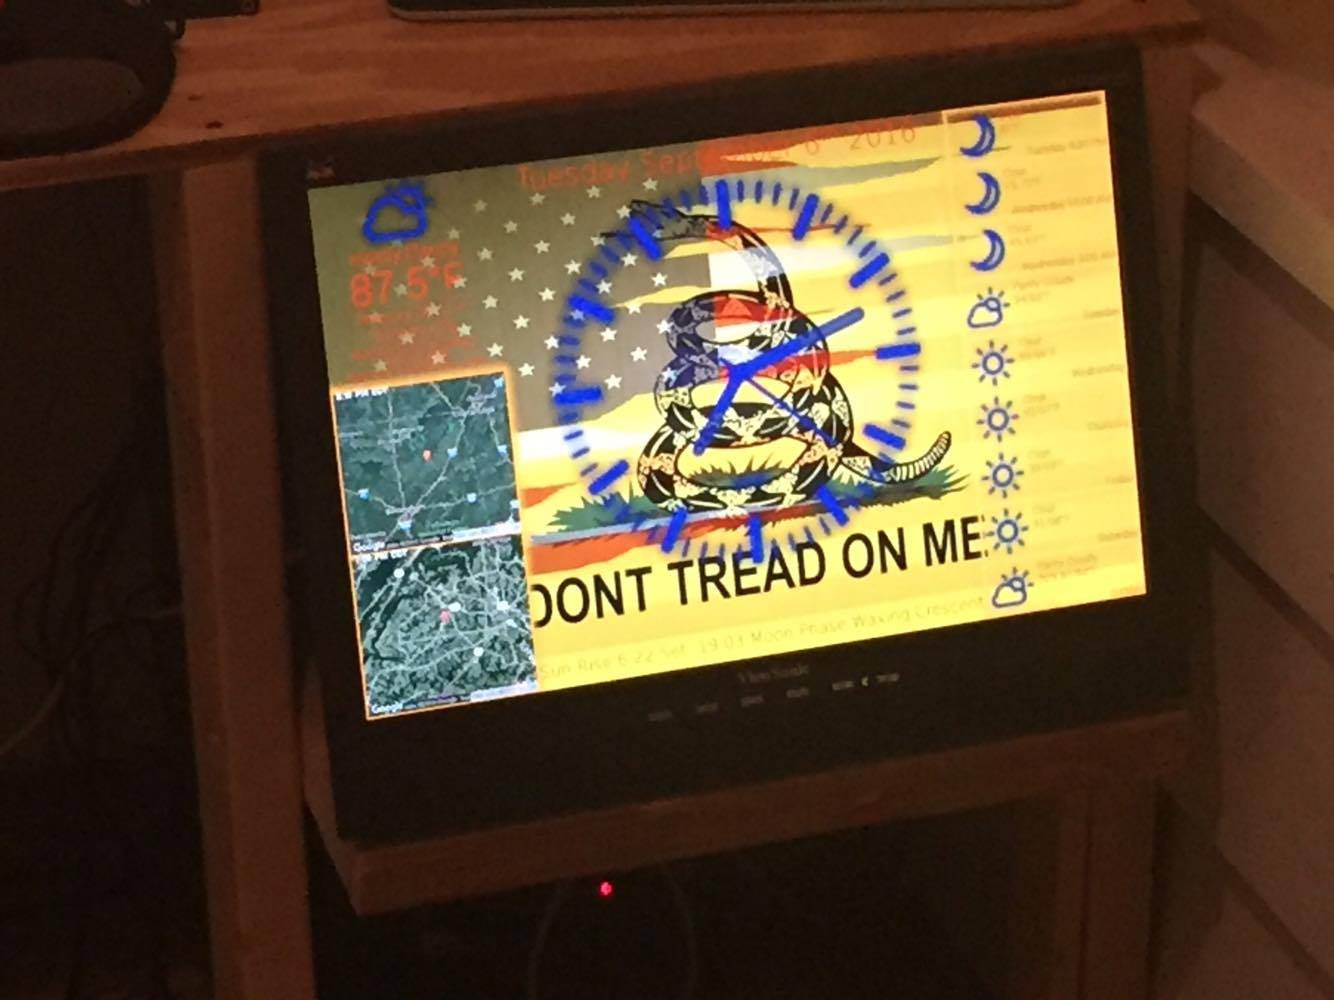
And I've made some for friends and family with different customizations. 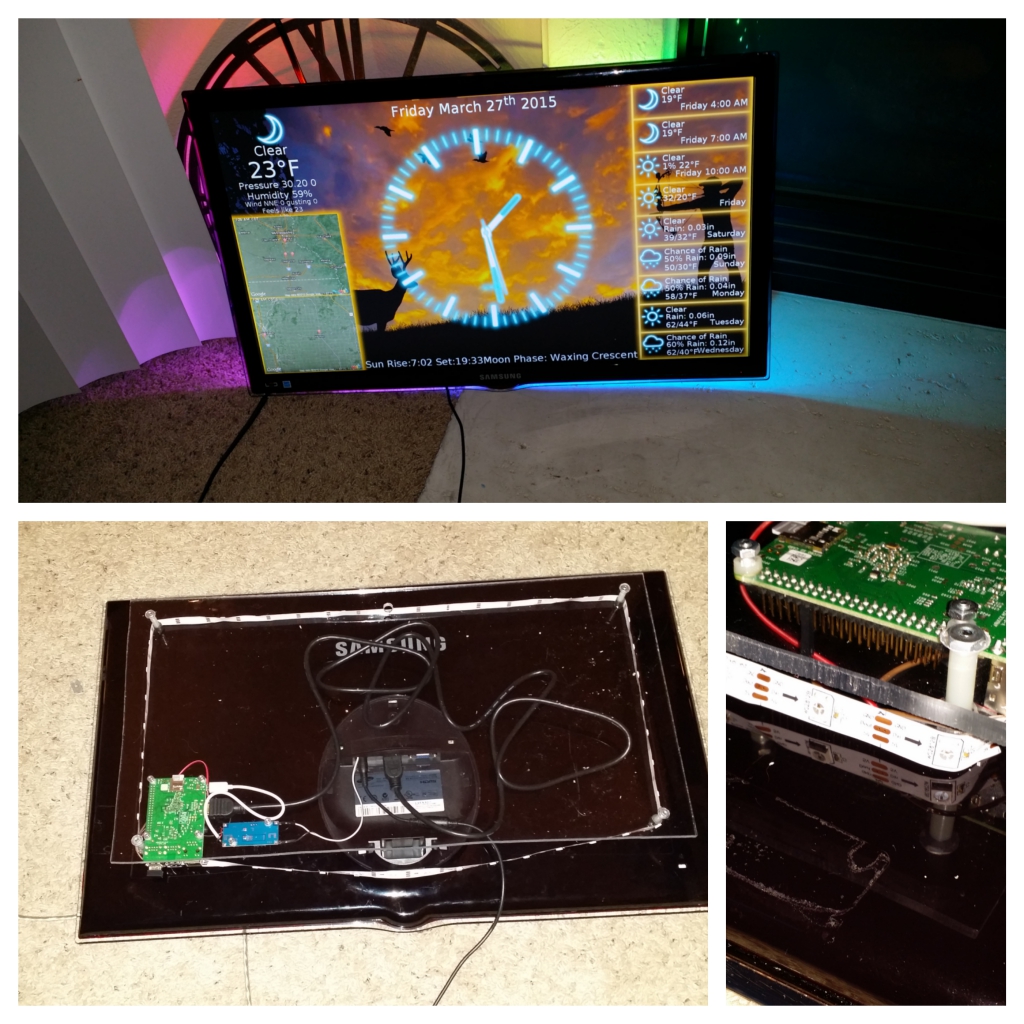
Overview on GitHub
There's an overview, install guide and hardware guide along with the source on GitHub. https://github.com/n0bel/PiClock/blob/master/Documentation/Overview.md
PiClocks have been successfully built and proudly displayed around the world by many people. Some examples can be seen on closed github issues, as well as my public facebook page. I can't tell how many PiClocks are out there. The github page shows 123 forks and 395 stars. Here on Hackaday.io, there are almost 273 skulls (likes) 158,000 views and over 2,000 followers. As well as 189 comments in the form of questions and answers.
I try to answer questions mostly on github, open new issues here: https://github.com/n0bel/PiClock/issues.
I've made several PiClocks for friends and family. A few friends have made their own as well.
Maybe you'd like to give it a try.
Here are some successful PiClock build pictures.
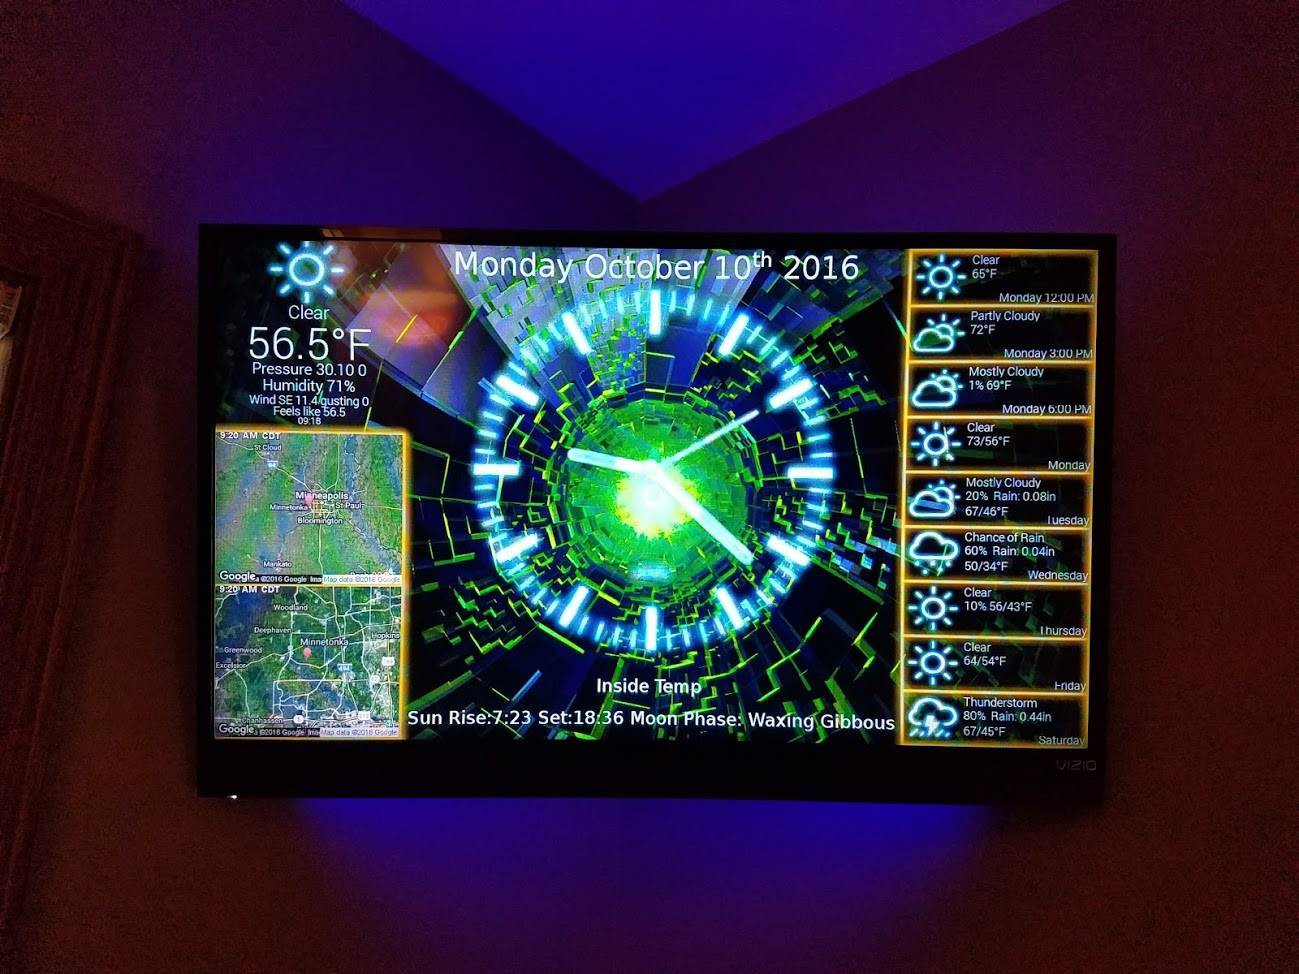


 DeckerEgo
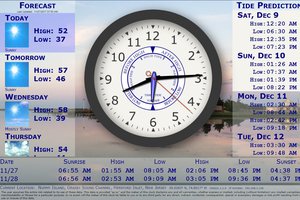
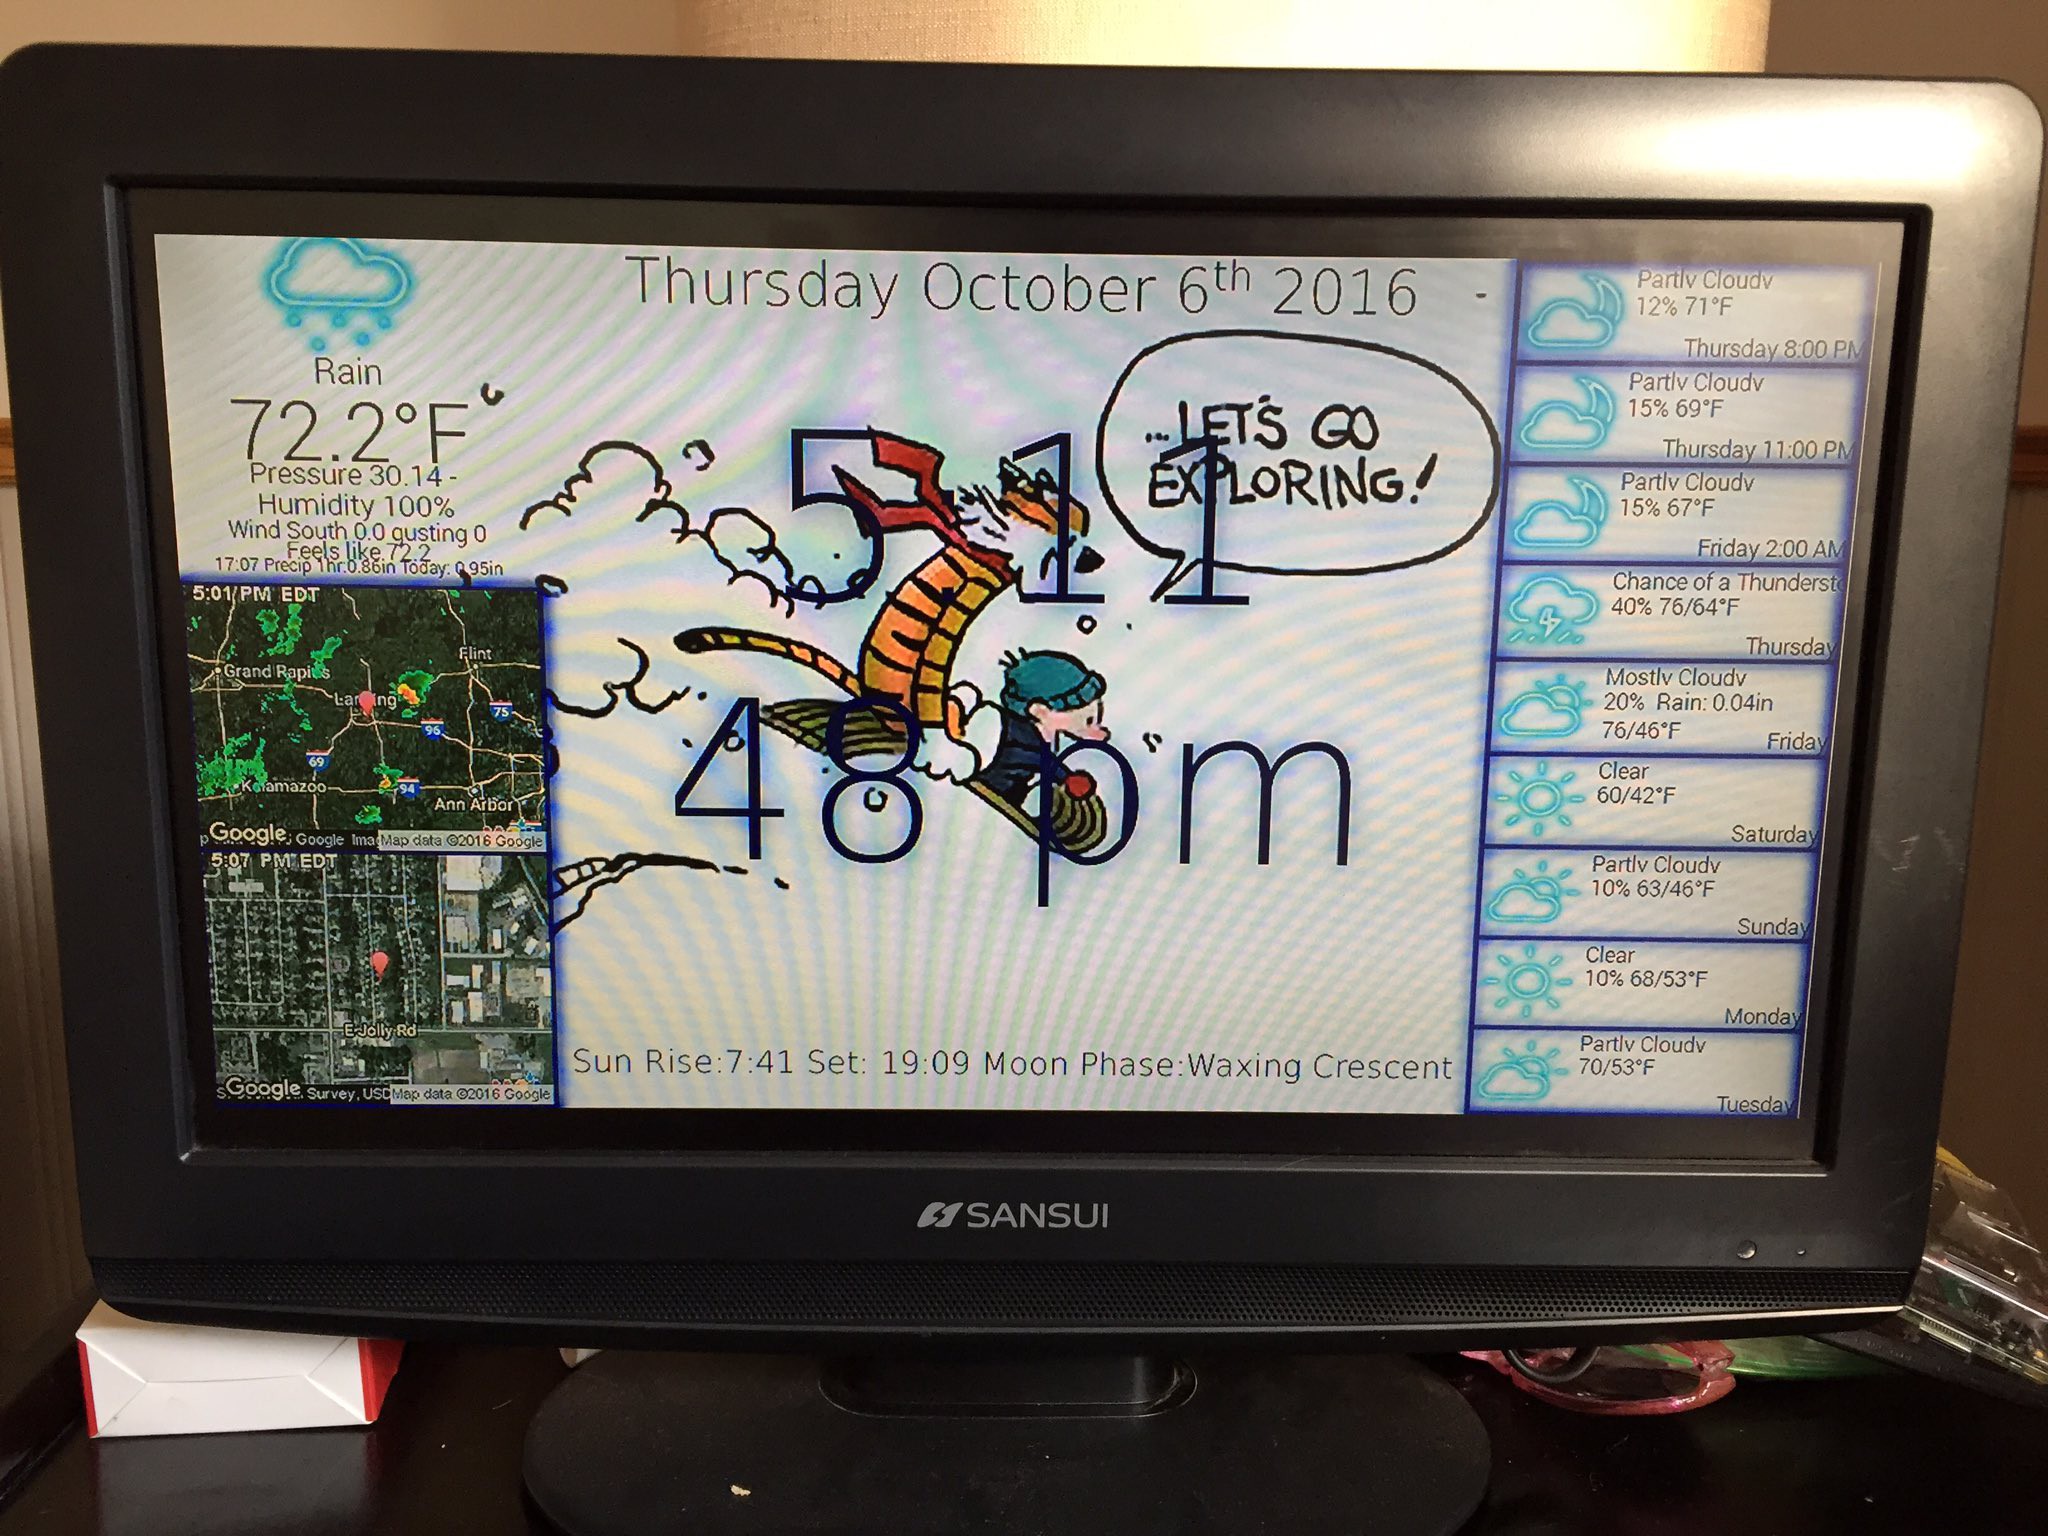
 Thomas Snow
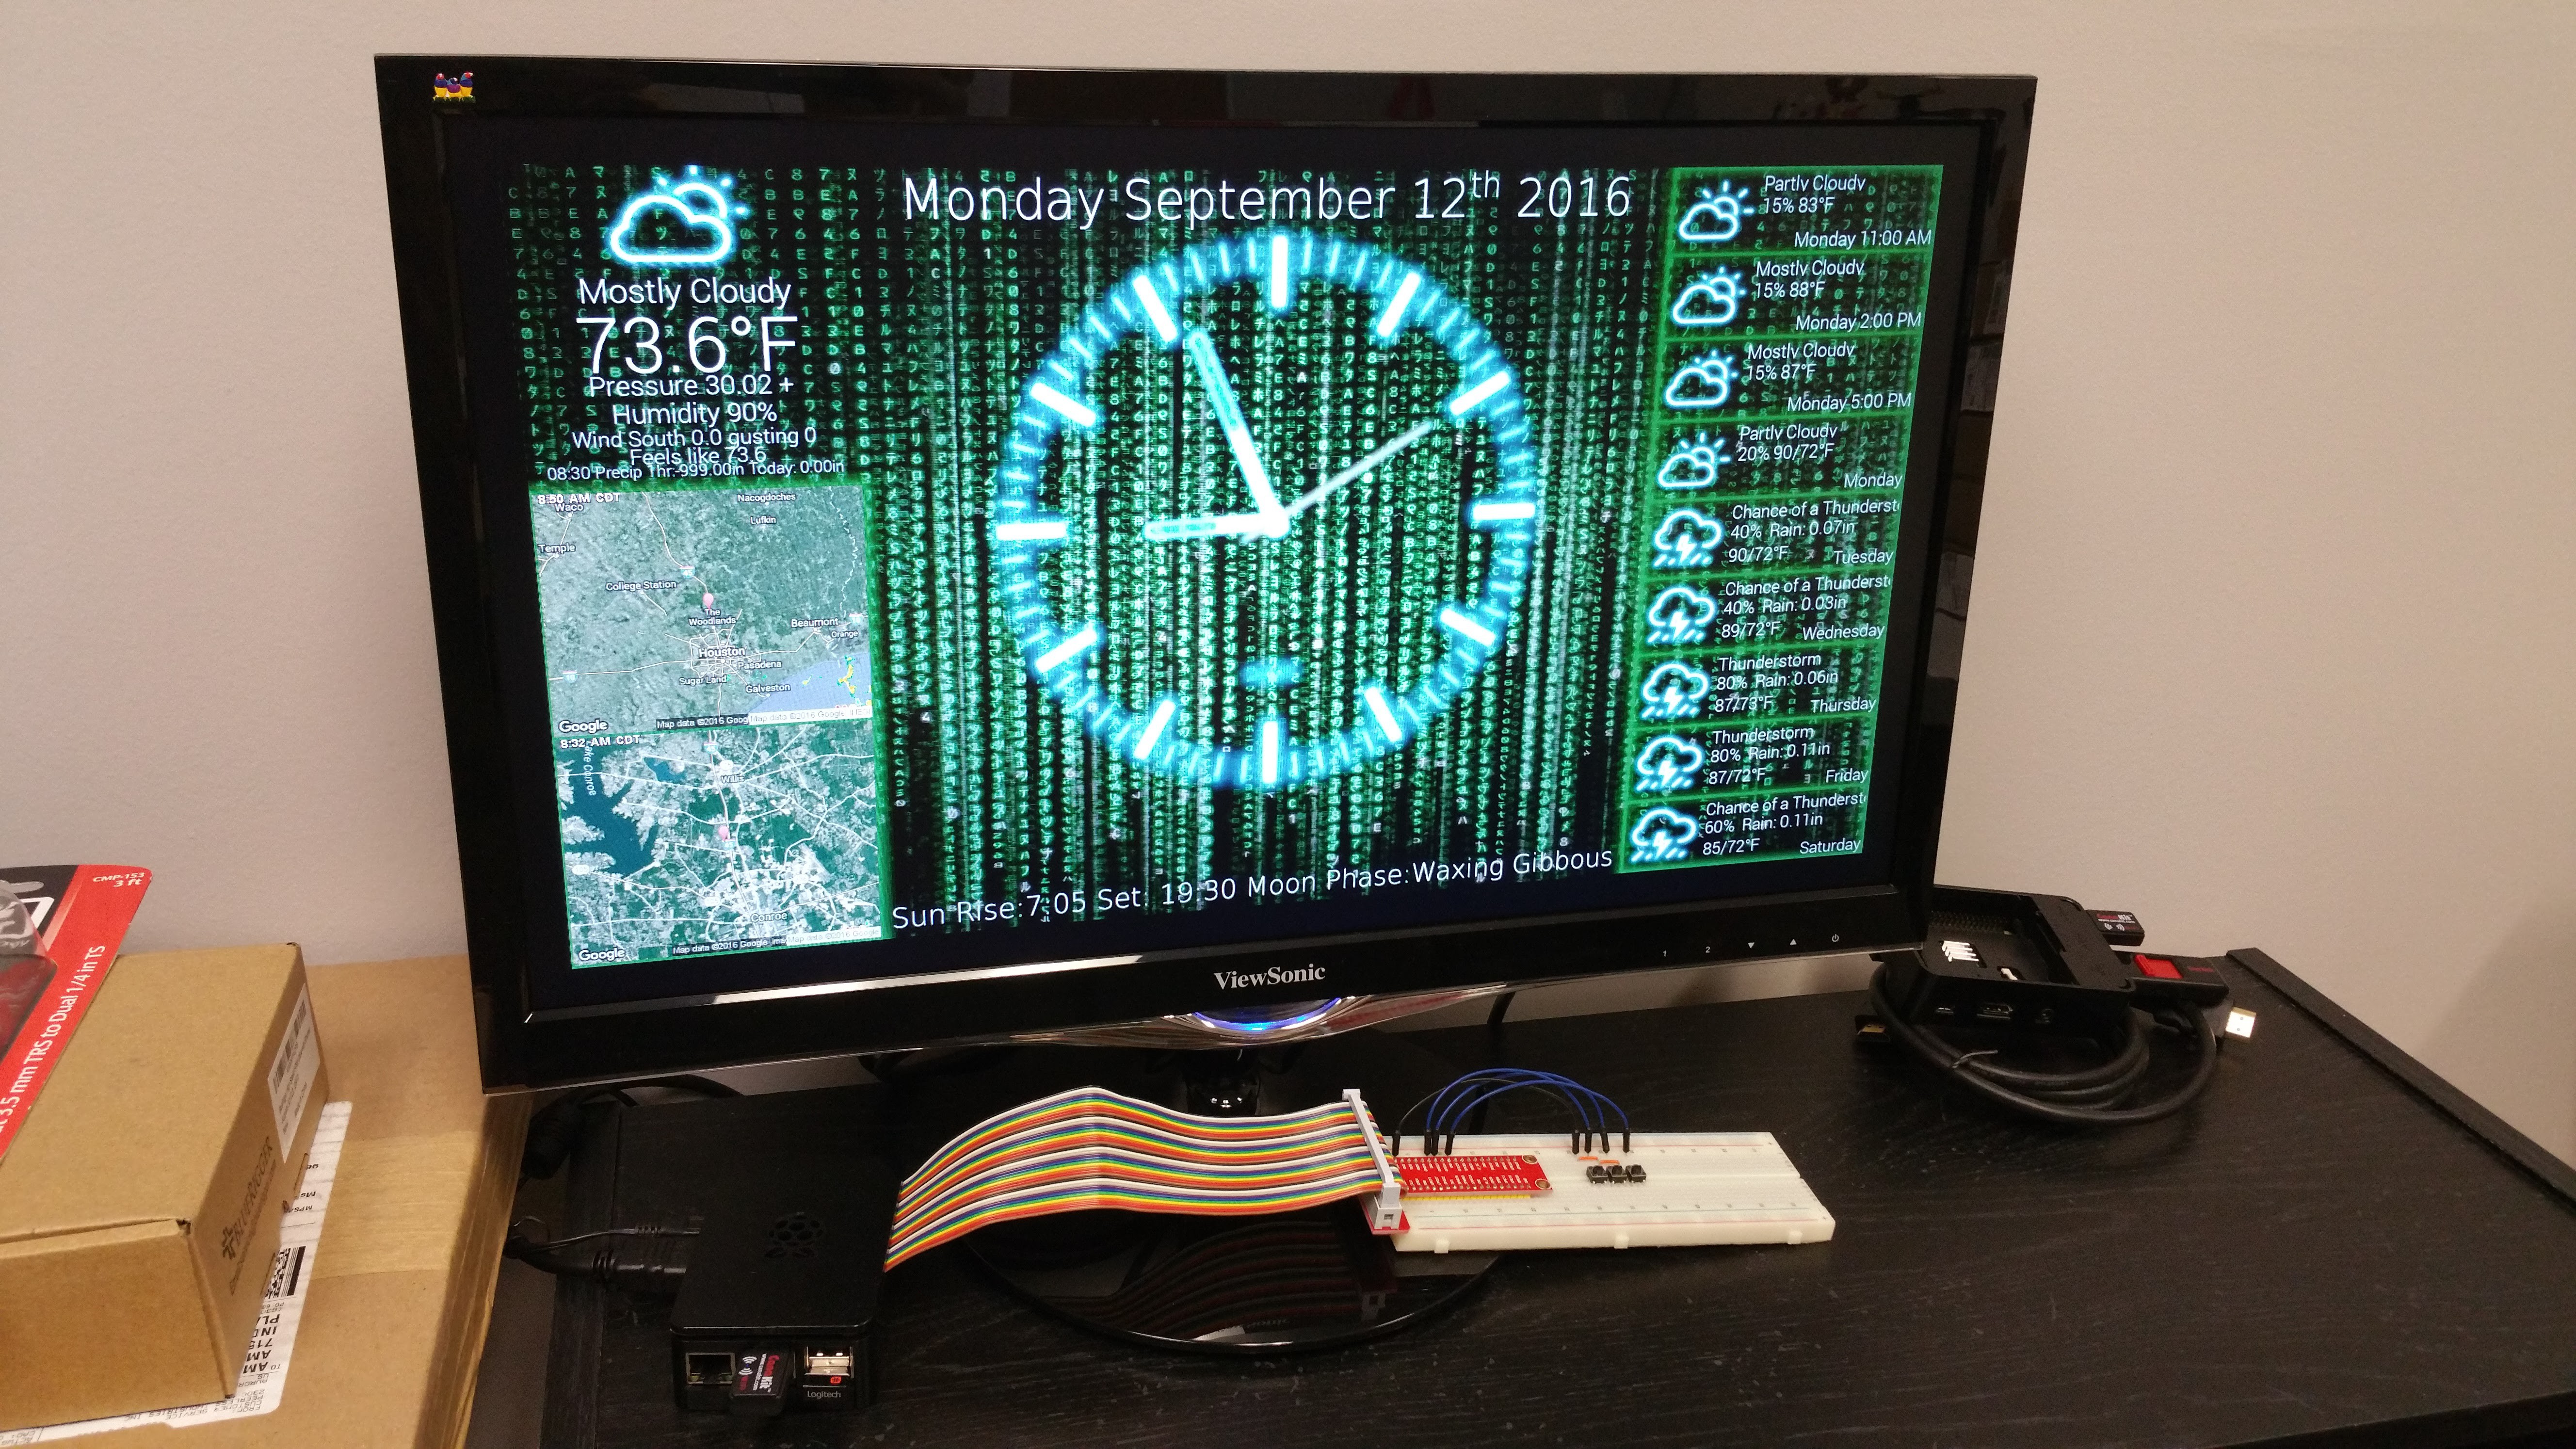
 Phil
Phil
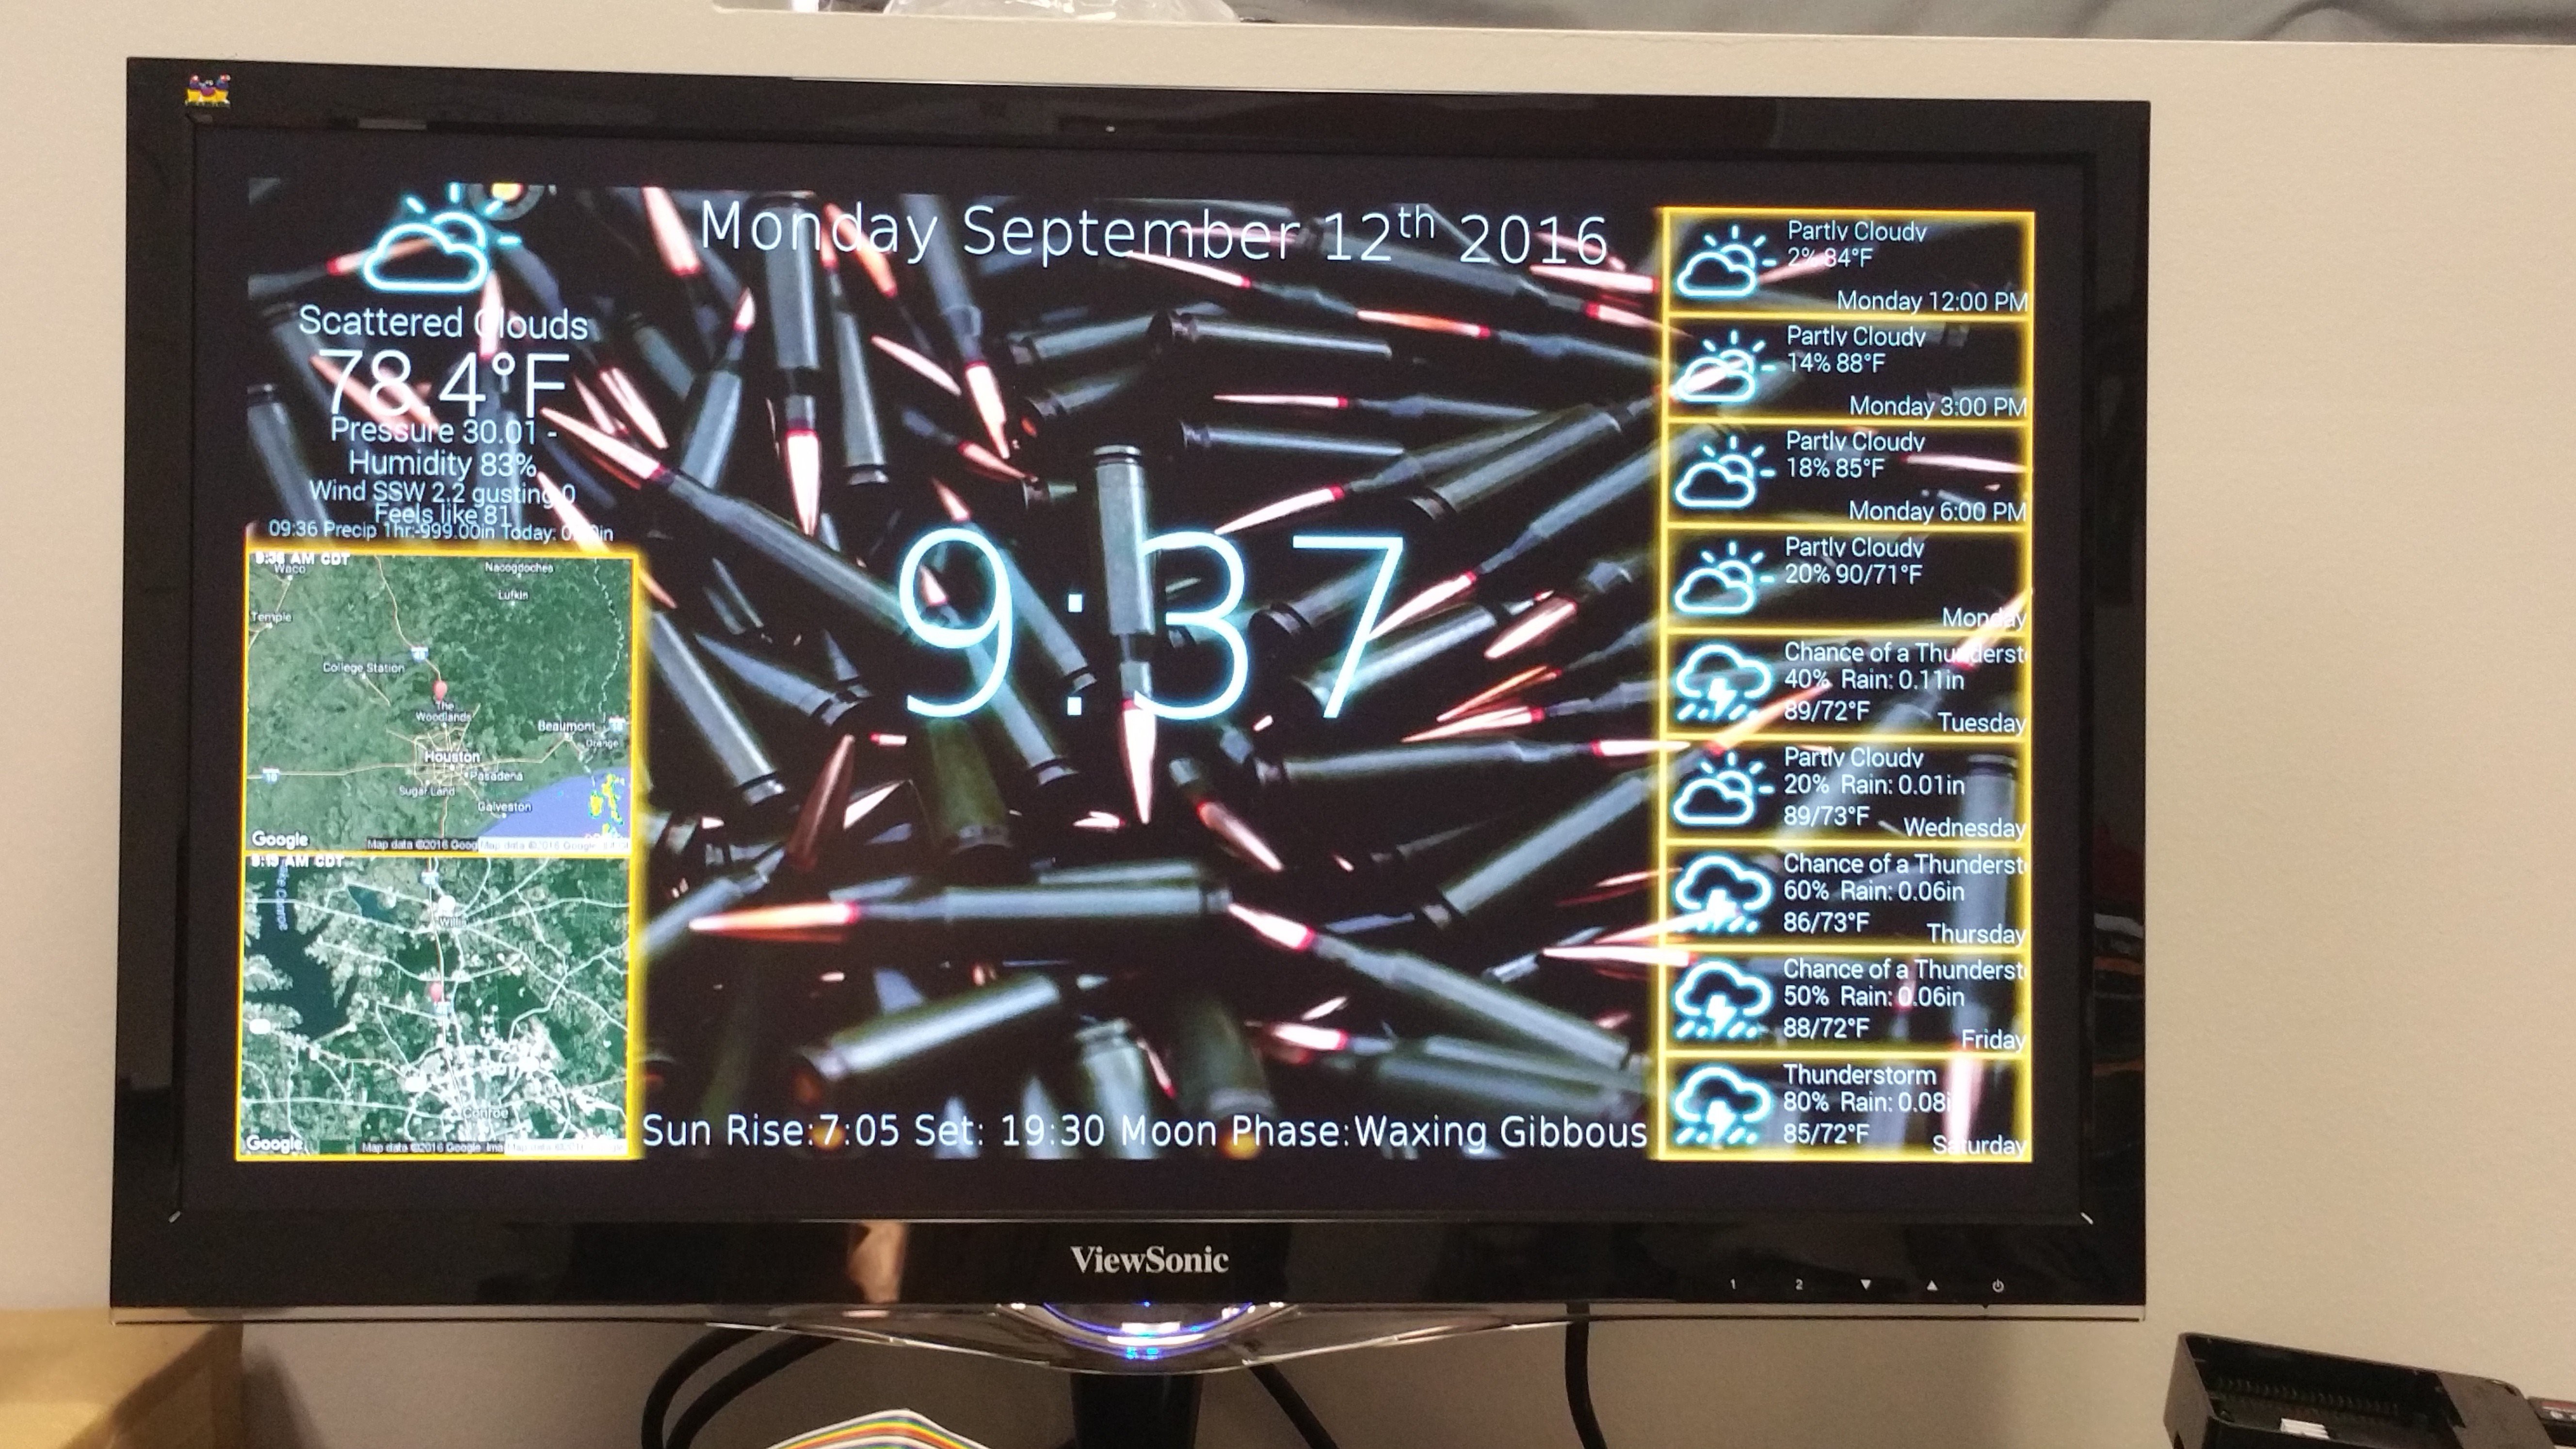
 Andrew Lee
Hello Kevin:
I am trying to get the LED strip to work with the PIClock. I have tested my strip and all is well with that. I have installed the following:
apt-get install libboost-python1.49.0
I have searched all the discussions and don't seem to find any references to the LEDs, I did some research on NeoPixel Ambilight, but not sure this is what I want to do. Do you have some code or option to select that turns on the lights, or should I just set up a python script to start at boot and use that? Any help would be appreciated, again thanks for the wonderful project.
Danny