 Mark Arnott
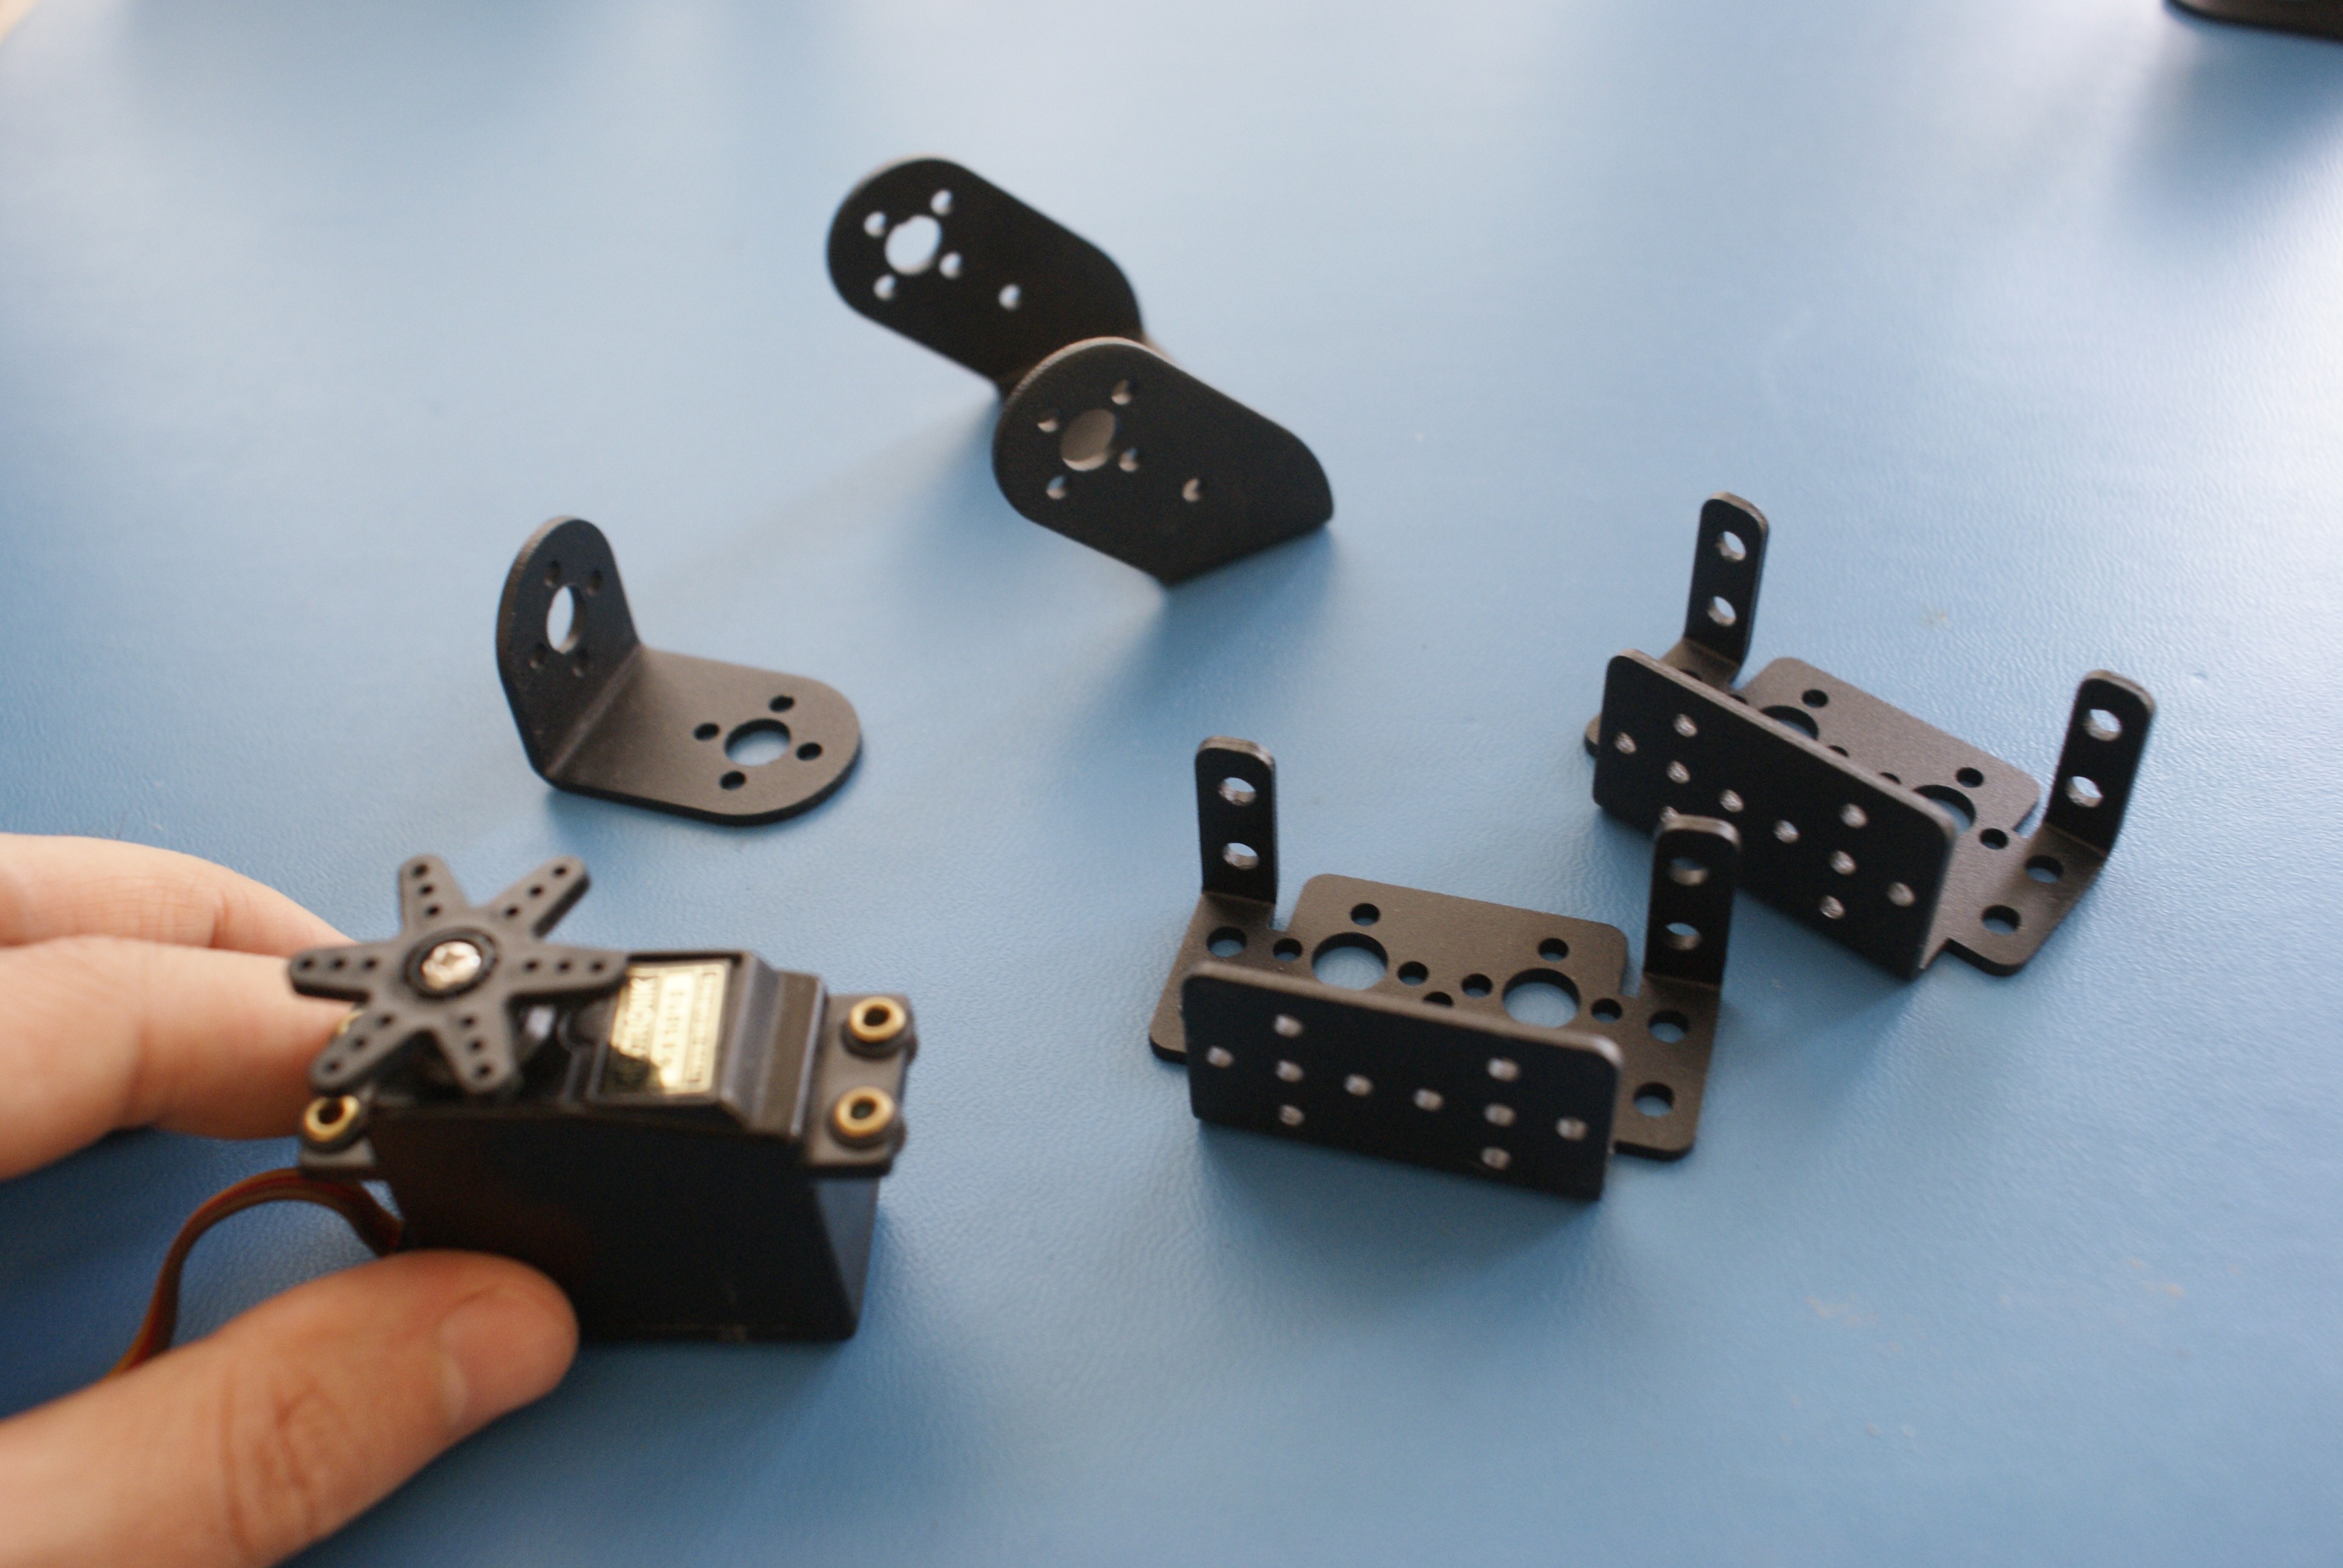
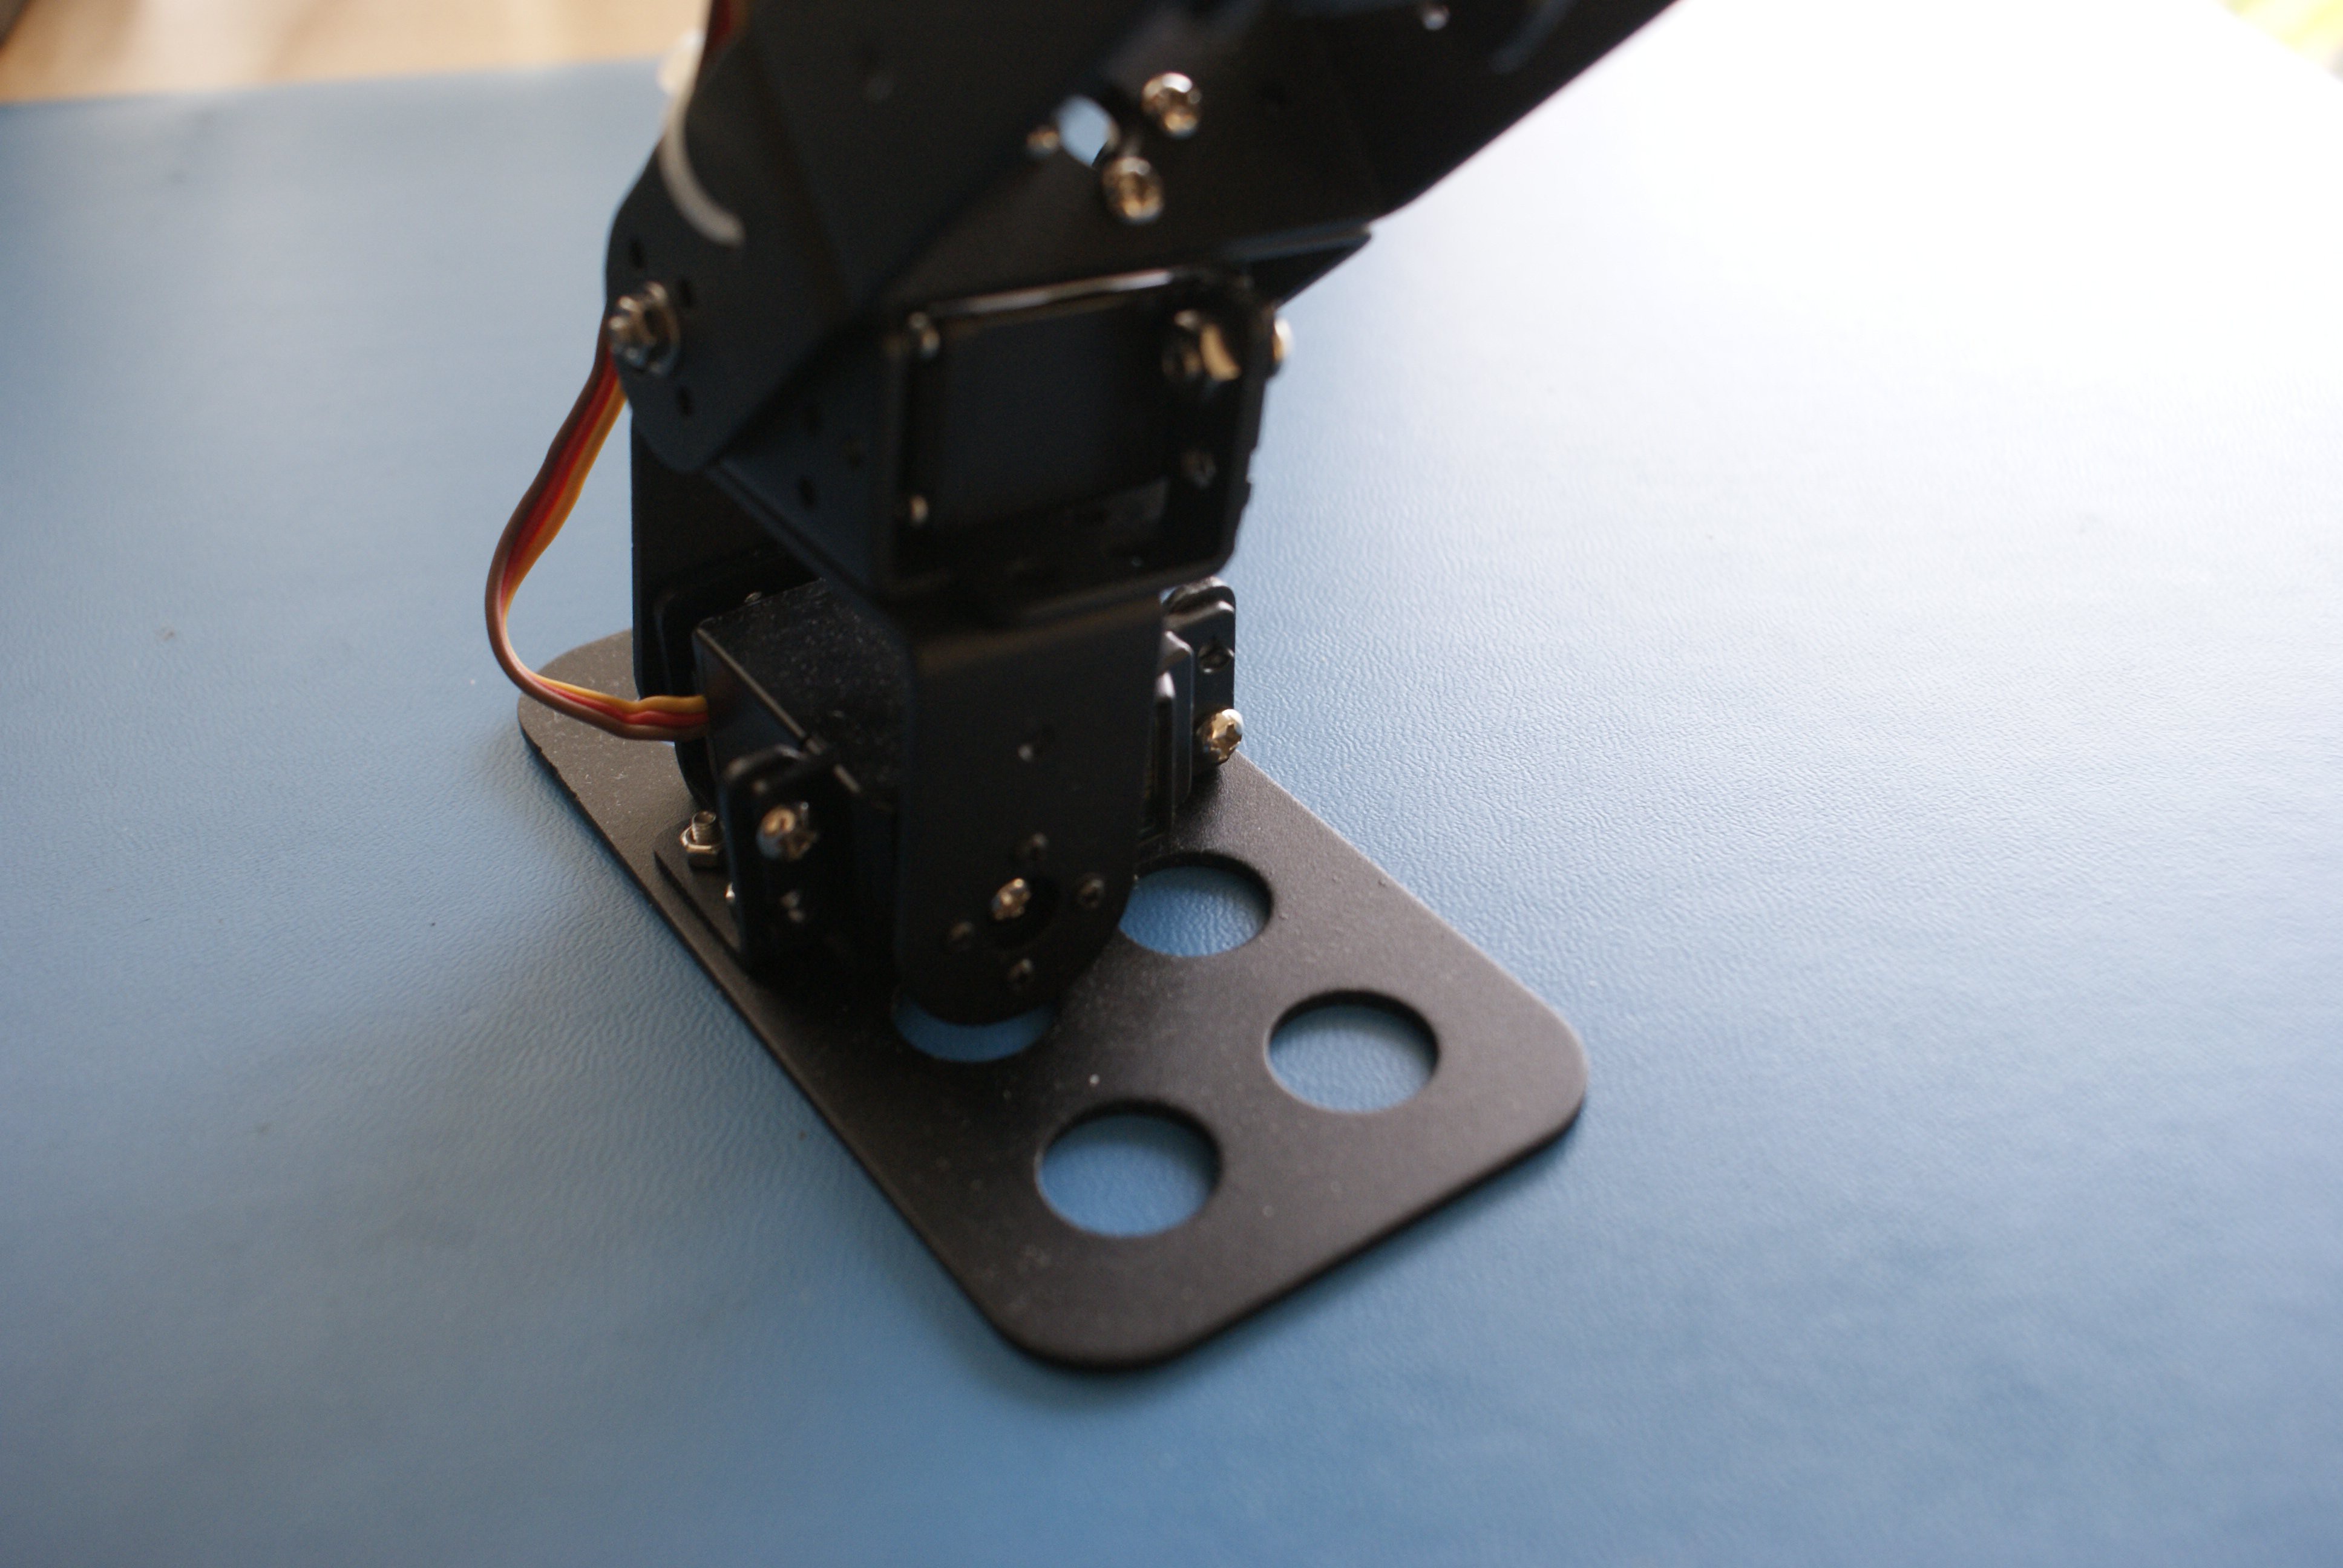
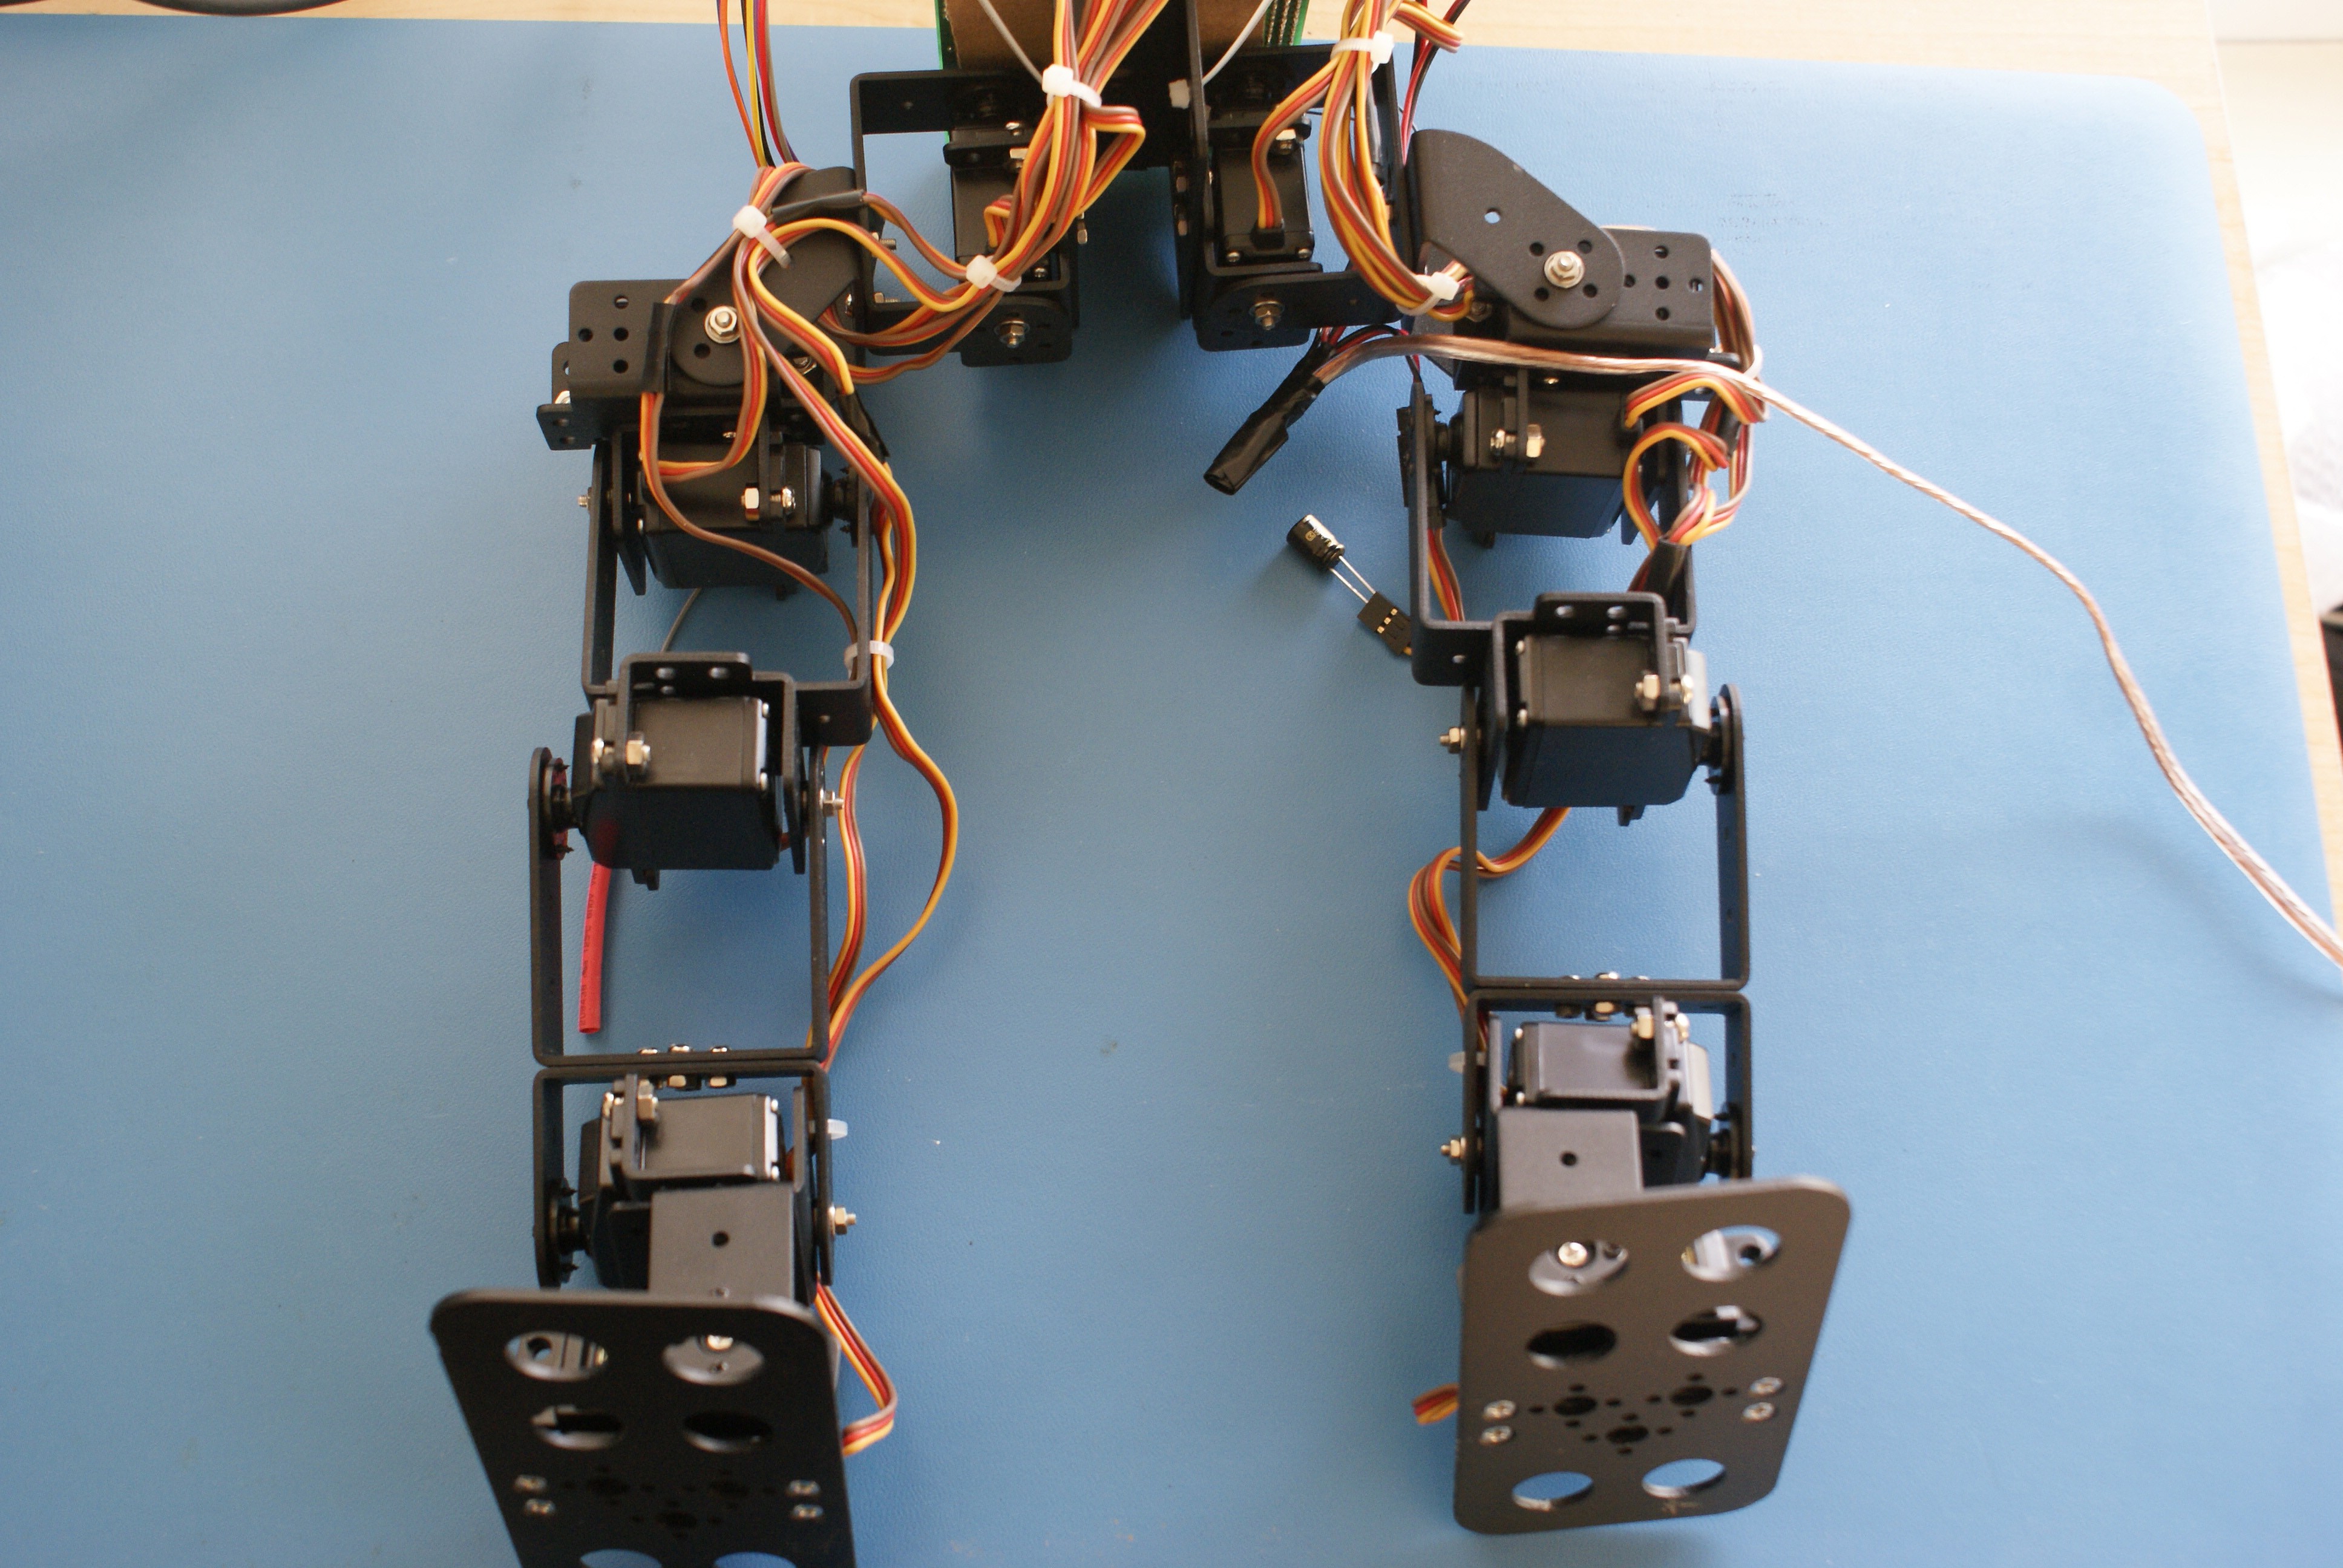
To build the robot I used a kit of servo brackets I got off ebay. I assembled them into a two legged robot that kinda resembles a mechwarrior. Each leg is built with 6 servo motors. I used a 6 channel RC radio to send the movements for walking, leaning, standing and tilting. These signals are fed into the Smart Servo Controller where it maps and mixes the signals to the different servos.
With a little bit of practice I can get the robot to walk across the floor. The reason I built the robot was to show how easy it was to use the control board I designed. With the control board you don't have to write code to get the robot to more. It is based on rules. The parameters can be set quite easily and intuitively.
I have a couple of videos that show how easy it is to map an input to different servo motors. I also have a video showing the robot walking.
For more detailed information on the controller checkout my kickstarter campaign for it: https://www.kickstarter.com/projects/143152889/smart-servo-controller
Also check out the facebook page for the latest progress and projects on the Smart Servo Controller: https://www.facebook.com/smartservocontroller
 pat92fr
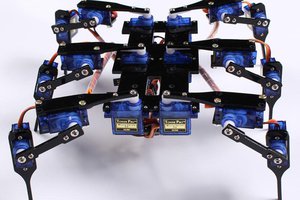
 icstation
 jimrd
jimrd
 Tim Wilkinson