Close
0%
0%

OX CNC

OX CNC from OpenBuilds

Similar projects worth following
OX CNC router from Op[enBuilds. Your Basic low res router project..

OX CNC Large frame build

  • Swapped to a different spindle controller

    charliex07/21/2015 at 03:13 0 comments

    Picked up a different spindle controller, about $10.

    old one below, new one above.

    Says it is good for 300W,,spindle claims 400W, we'll see about that ;)

    Wired it up power nearest the blue pot, and motor goes to LOAD, set the blue pot to zero and switched it on, spindle didn't turn so good so far. Turned the pot and the spindle popped into life.

    This one actually says 0-5V PWM, but what the heck lets try it anyway

    PWM + GND from TinyG

    Added to motor controller and moved yellow jumper to J21

    fired up chilipeppr

    https://github.com/synthetos/TinyG/wiki/Gcode-Support

    M3 S2000

    and it jumped into life, set it to off with

    M5

    and it turned off, so great so far! Much better than the other one which would have the spindle on all the time.

    Here are the settings i have.

    $p1
    
    [p1frq] pwm frequency              5000 Hz
    [p1csl] pwm cw speed lo               0 RPM
    [p1csh] pwm cw speed hi           10000 RPM
    [p1cpl] pwm cw phase lo           0.000 [0..1]
    [p1cph] pwm cw phase hi           1.000 [0..1]
    [p1wsl] pwm ccw speed lo           1000 RPM
    [p1wsh] pwm ccw speed hi           2000 RPM
    [p1wpl] pwm ccw phase lo          0.125 [0..1]
    [p1wph] pwm ccw phase hi          0.200 [0..1]
    [p1pof] pwm phase off             0.000 [0..1]

  • Making a 52mm spindle mount

    charliex07/19/2015 at 23:18 0 comments

    Spindle mount i made for the OX cnc with a band saw, drill press and a bi-metal wood hole saw ( even thought it claims to cut metal ok) 2" hole saw is 51mm , motor is 52mm so it is fine.

    3d printed out of PLA

    giant teeth !

    no pics of the bandsawing, since i was bandsawing and can't run the camera at the same time ;)

    rear plate , fuzzy! drilled it out on the drill press again.

    came out ok, temporary wiring since i'm swapping out the speed controller and seeing how it all goes.

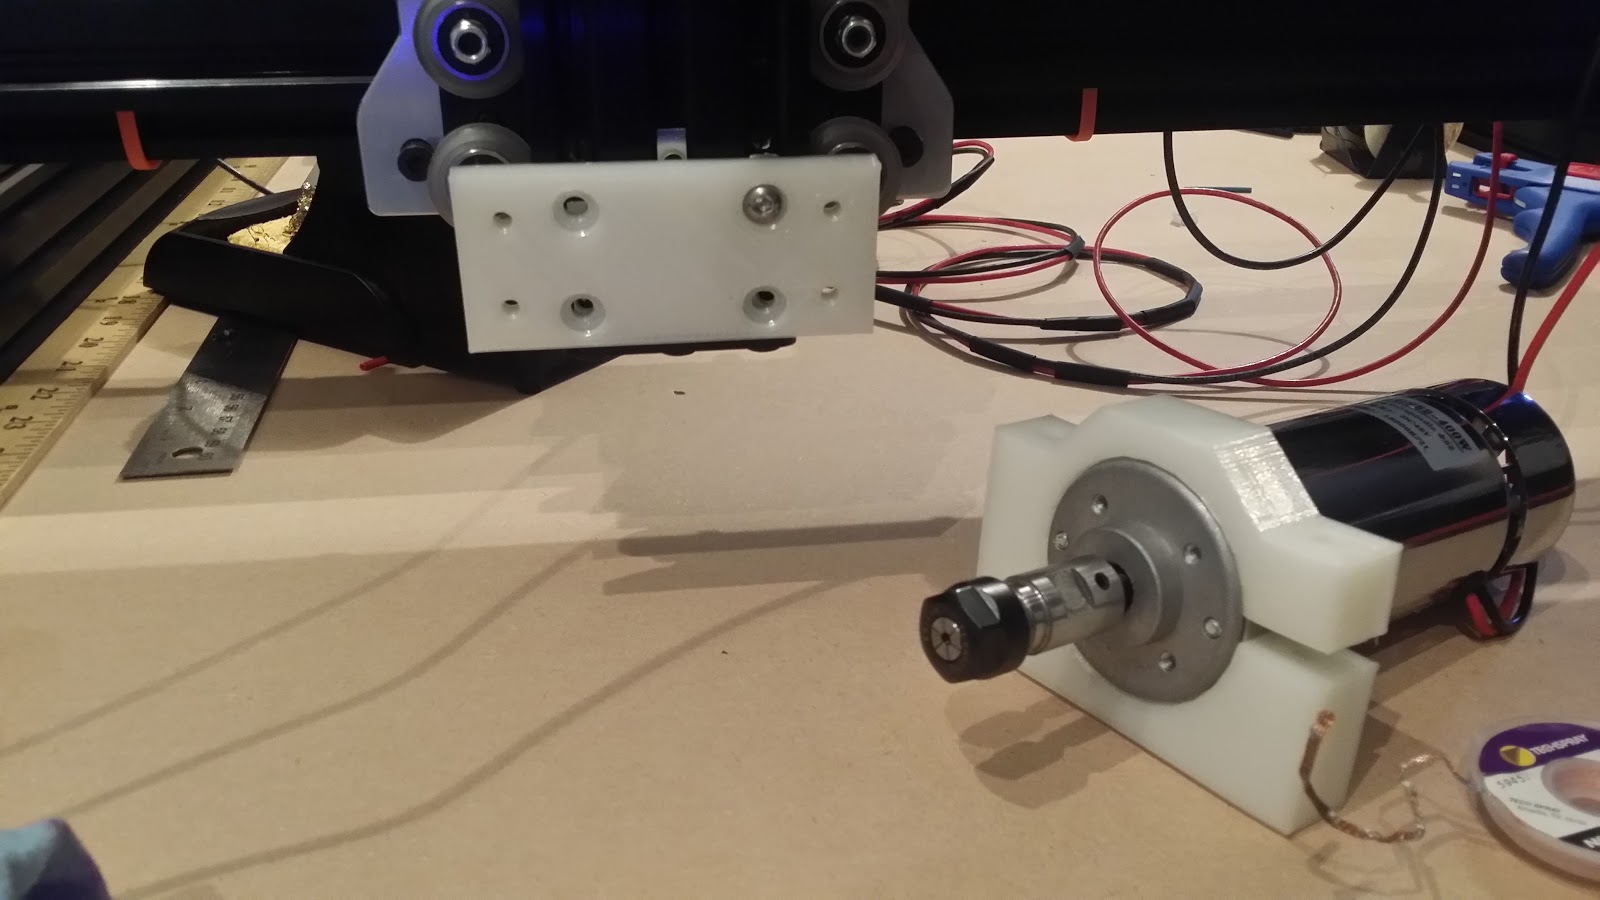
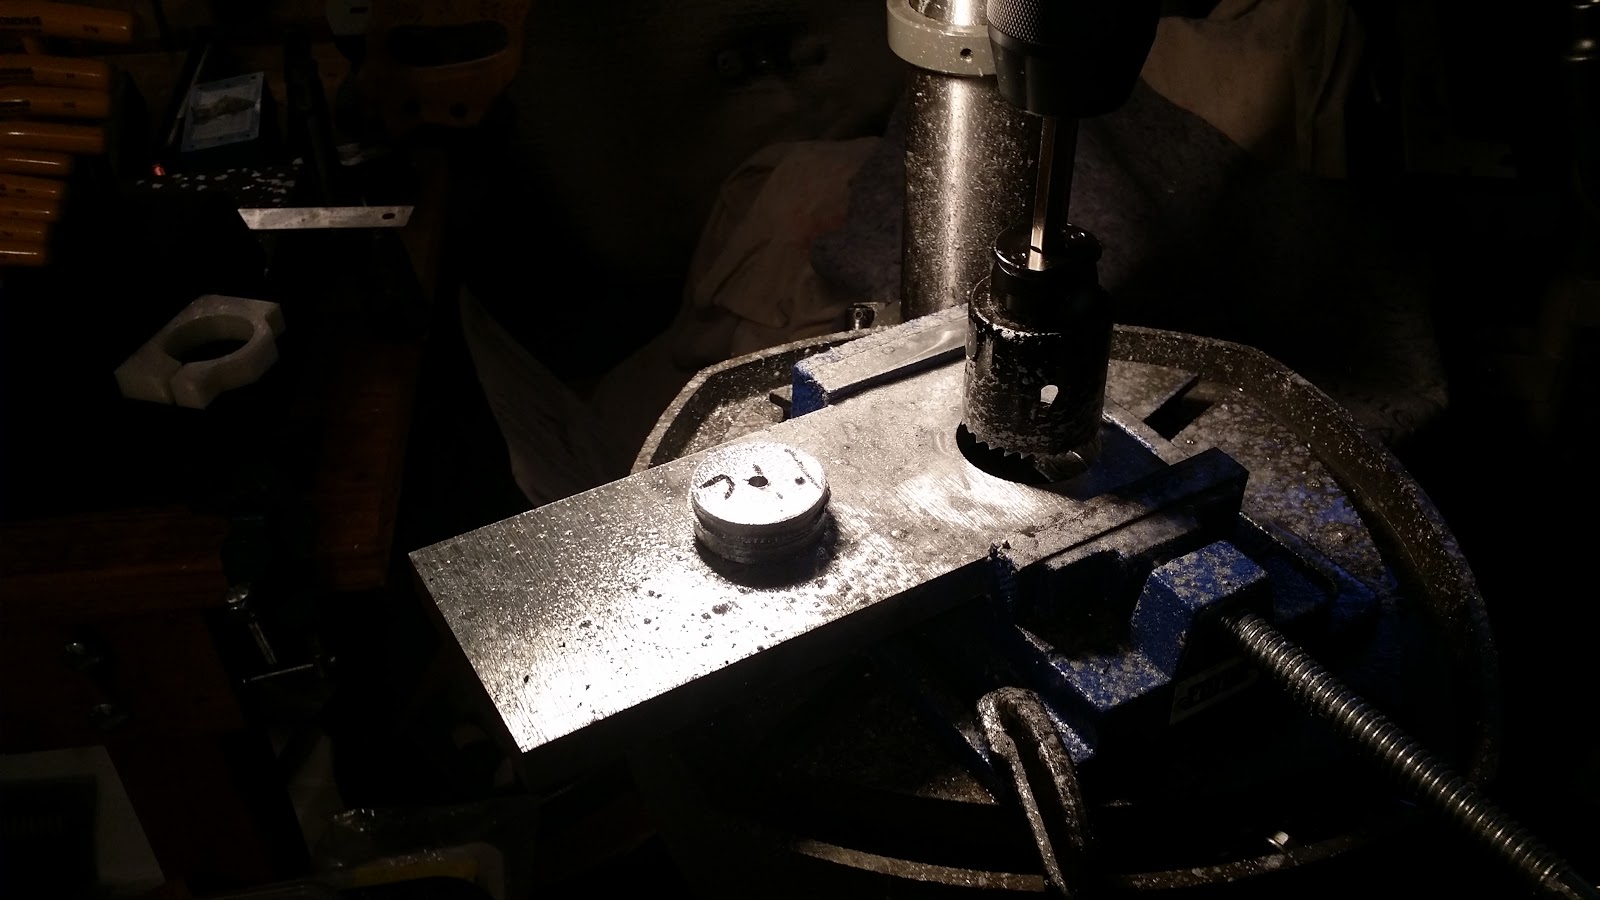
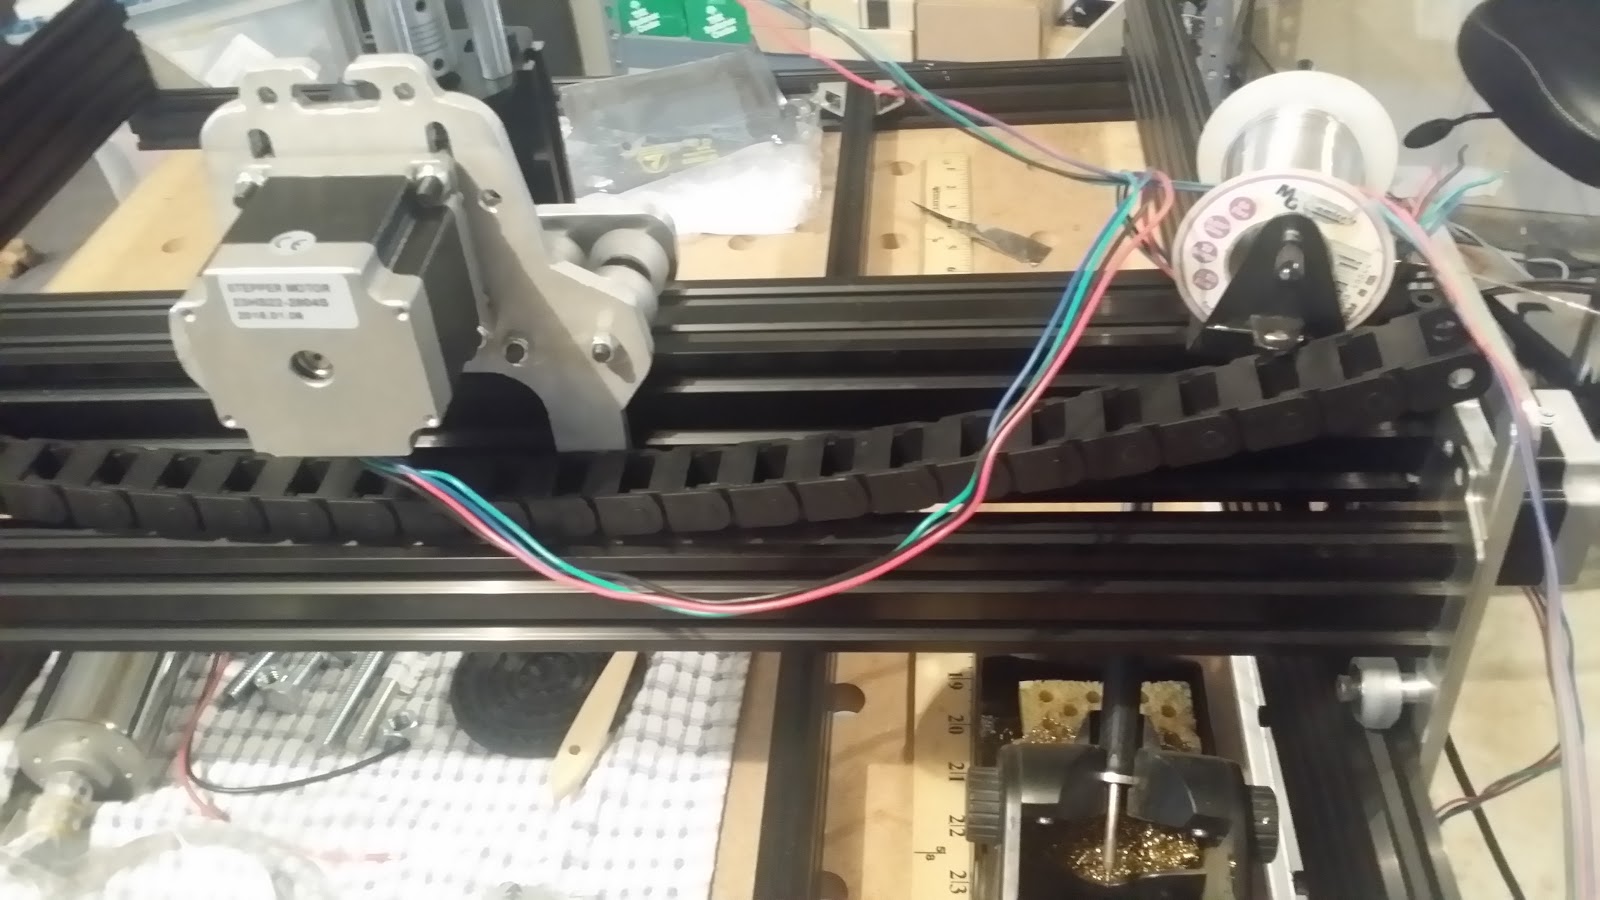
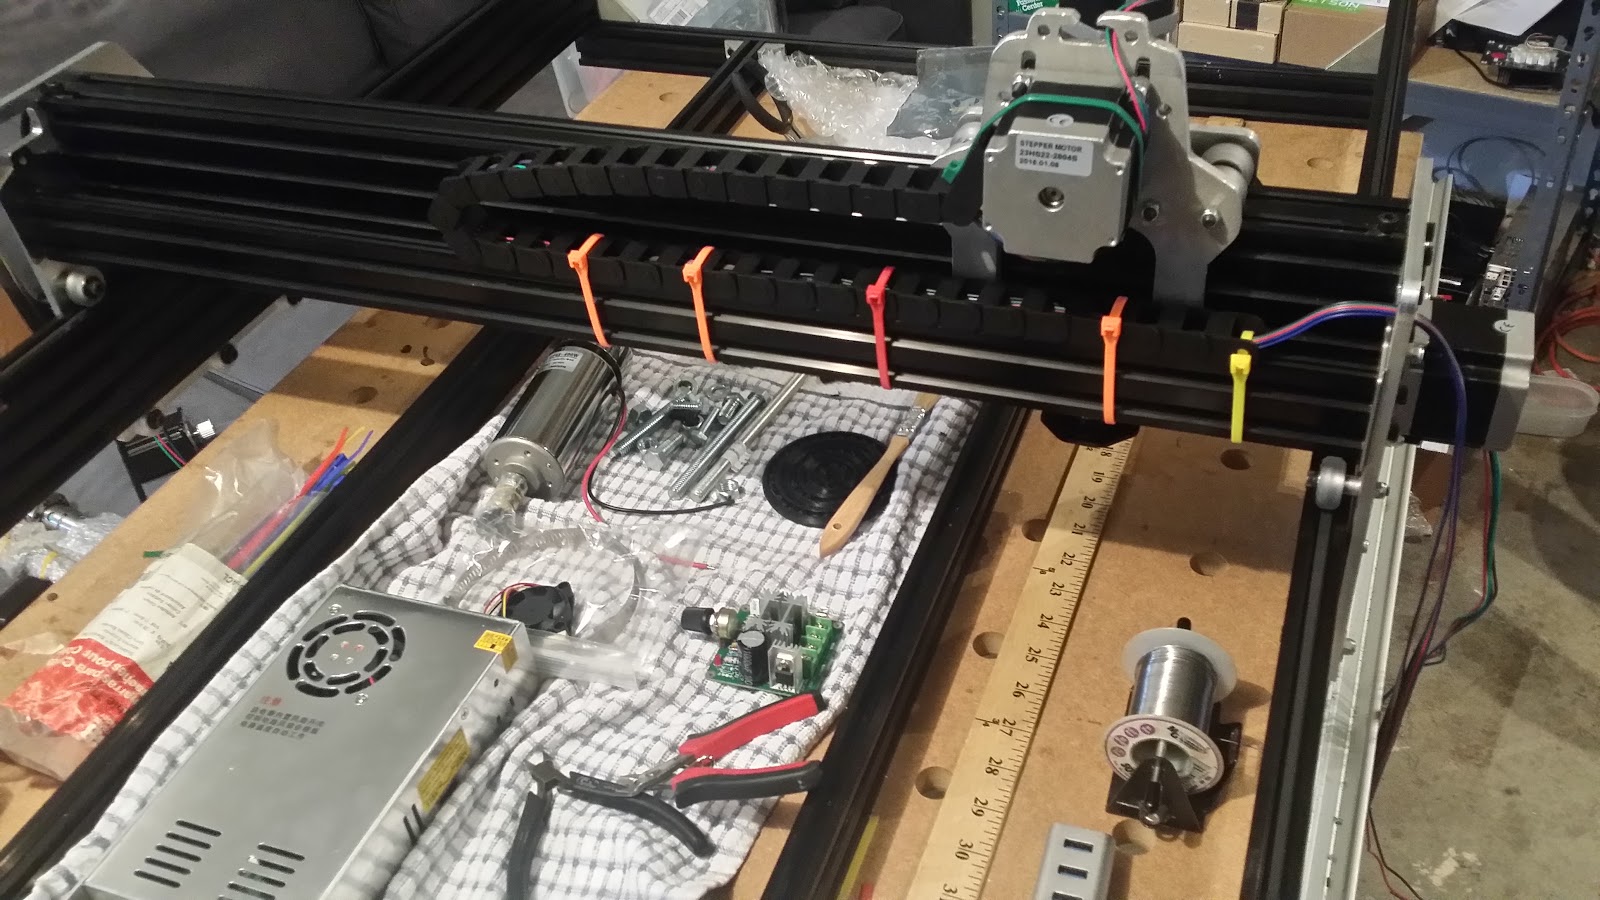
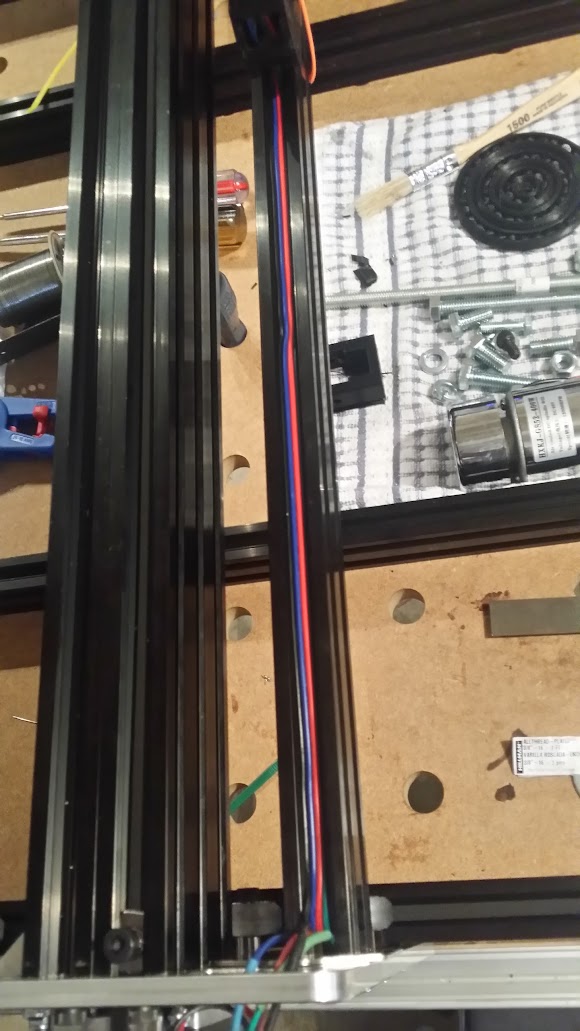
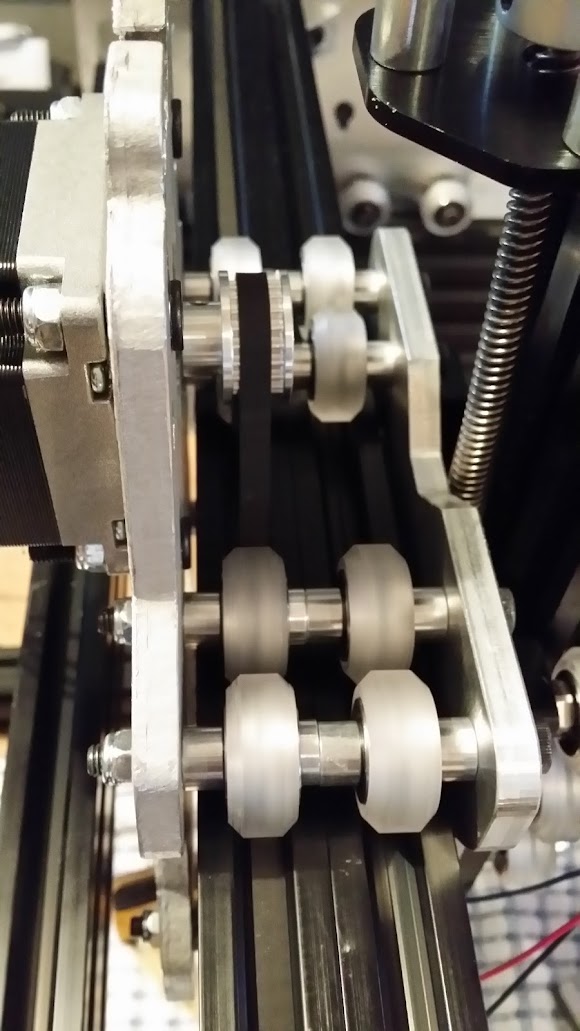
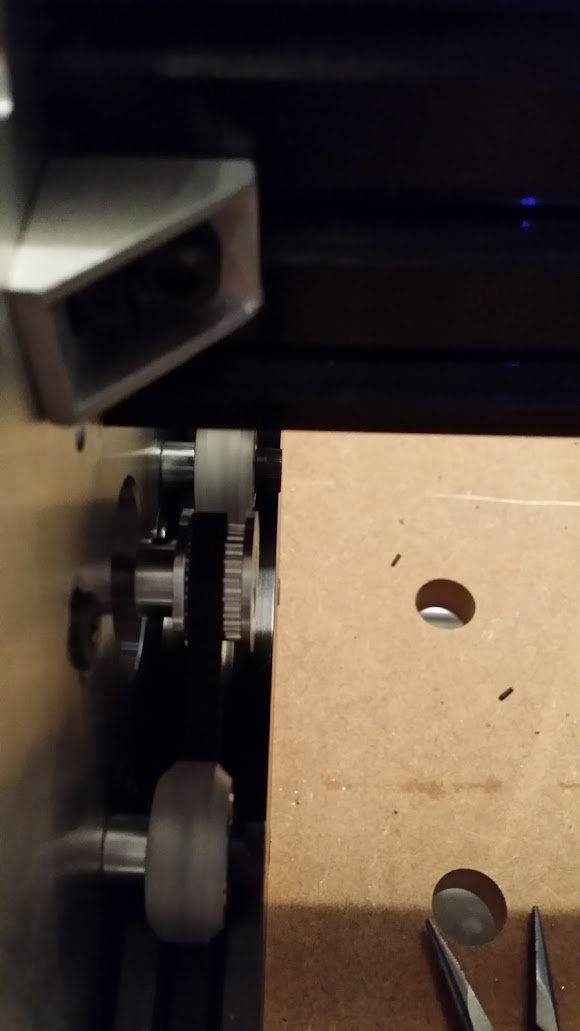
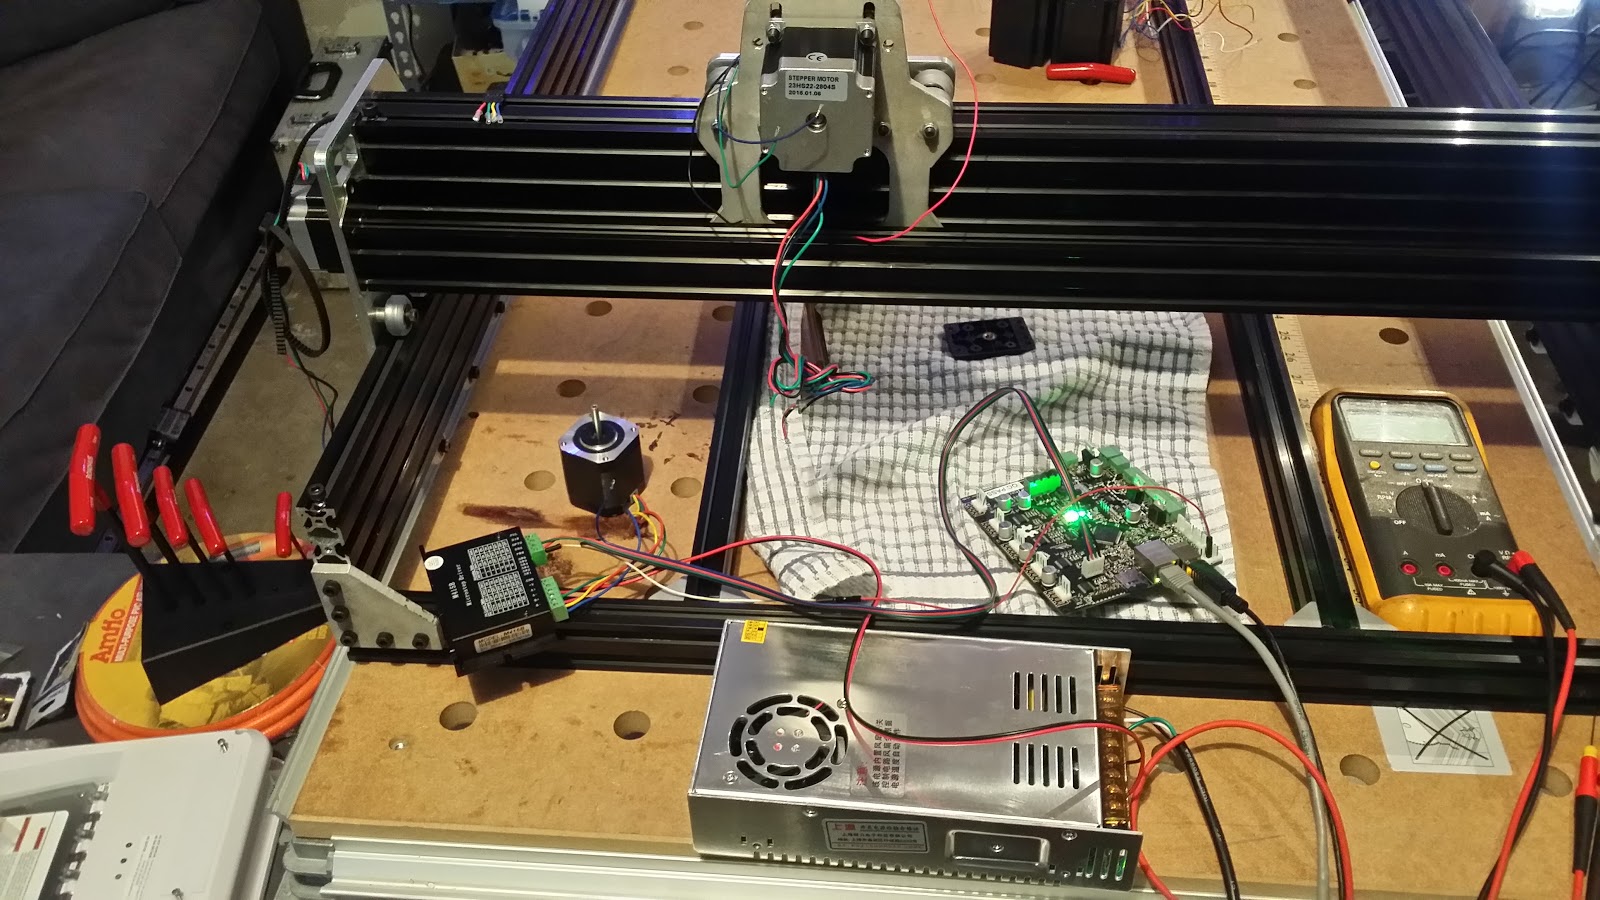
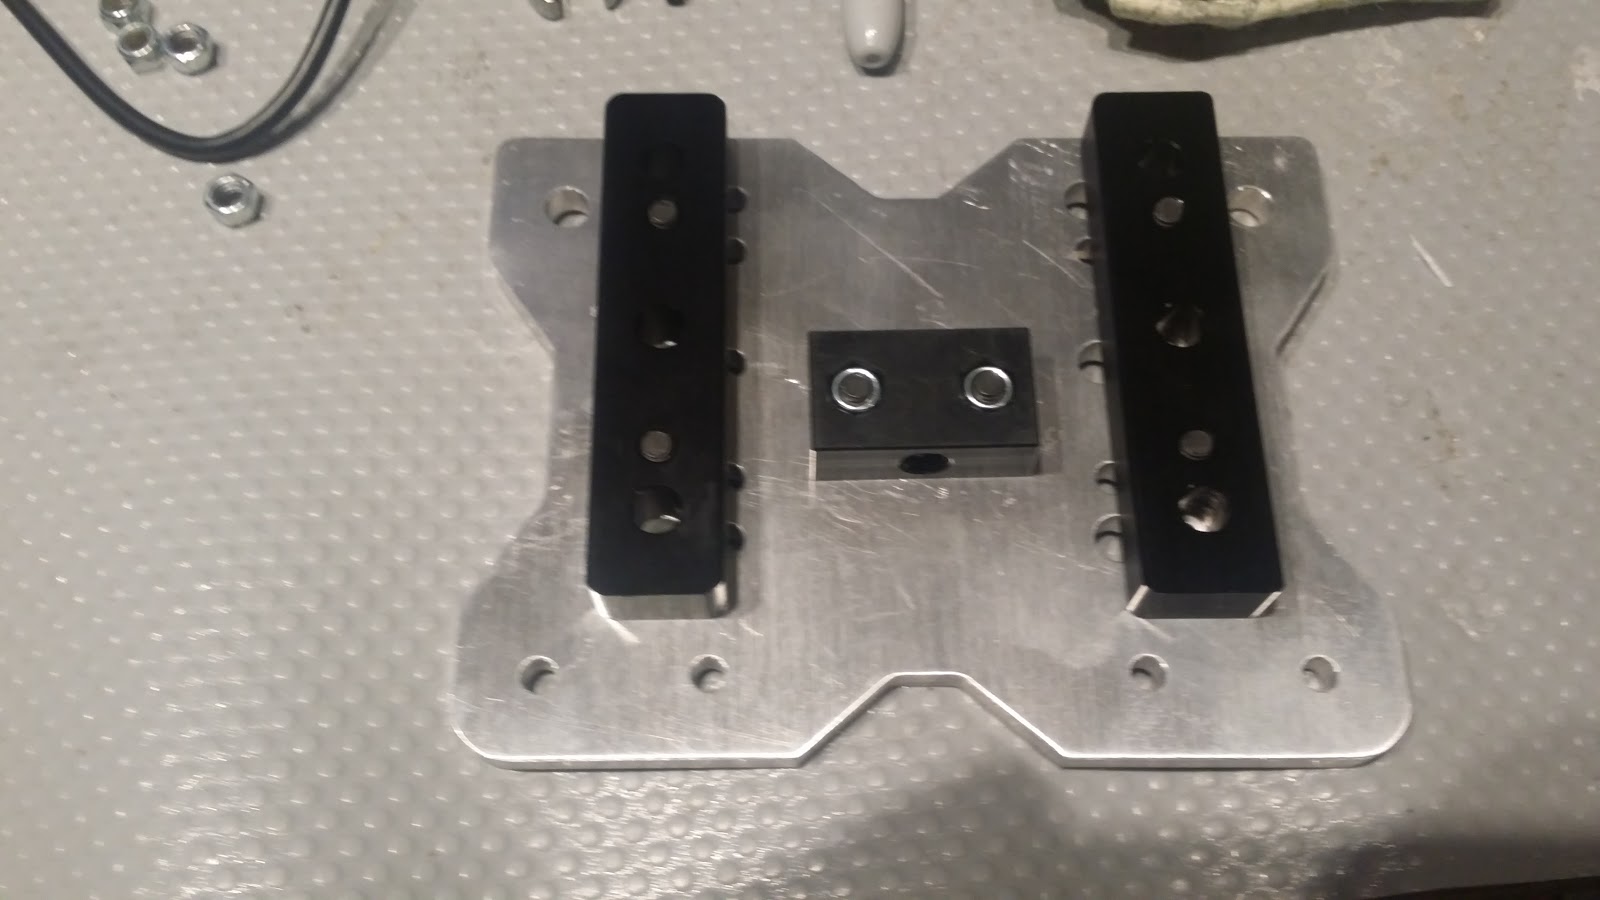
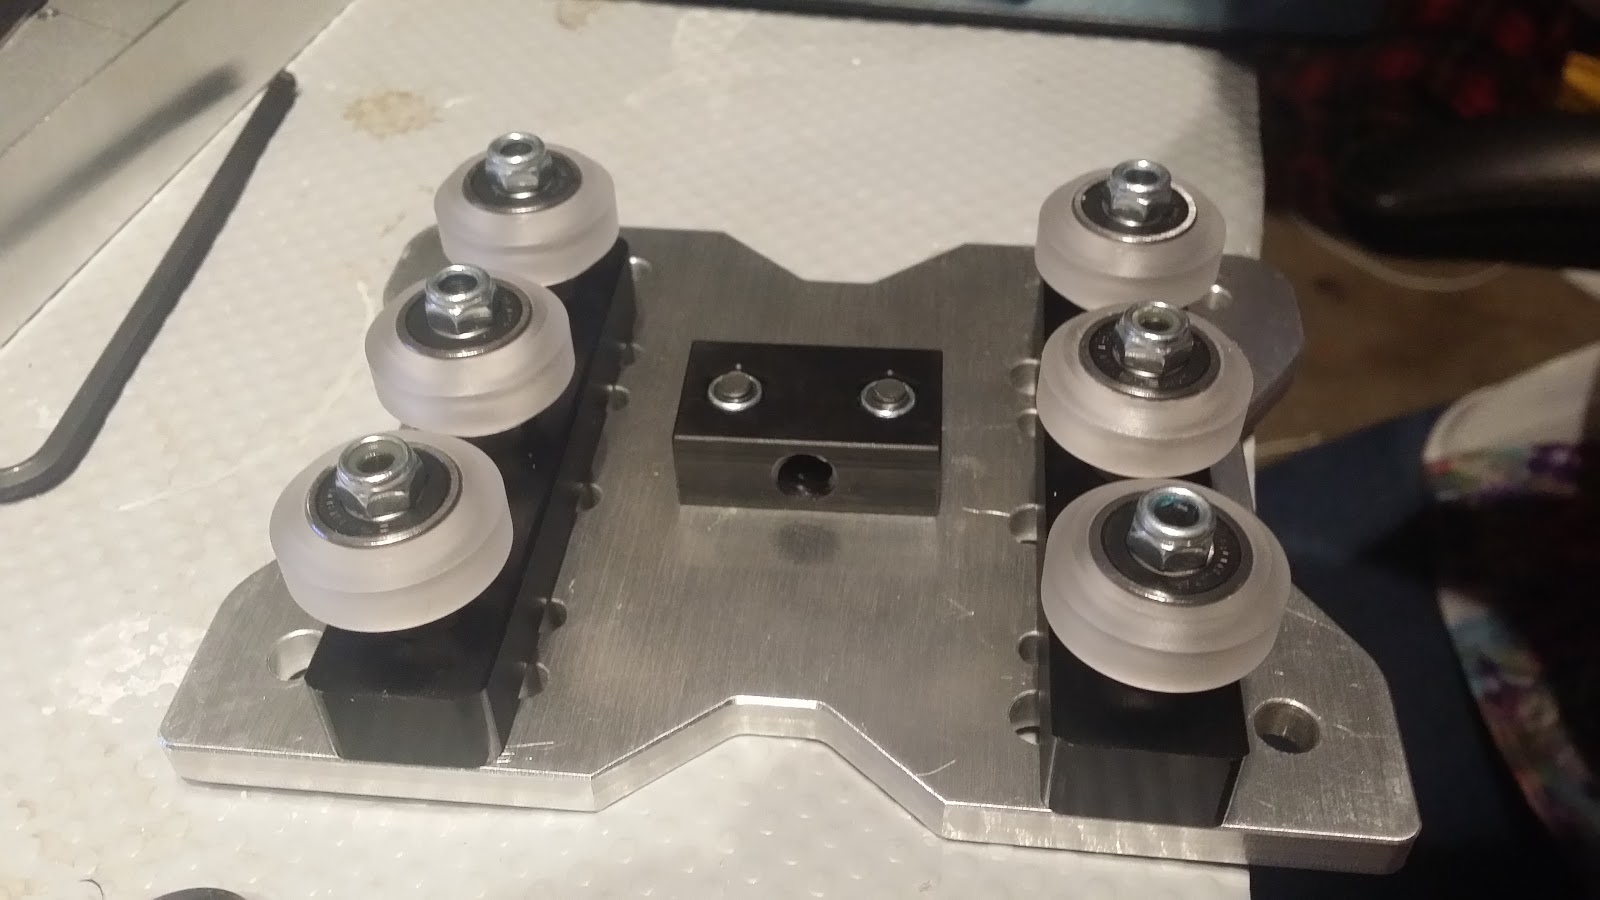
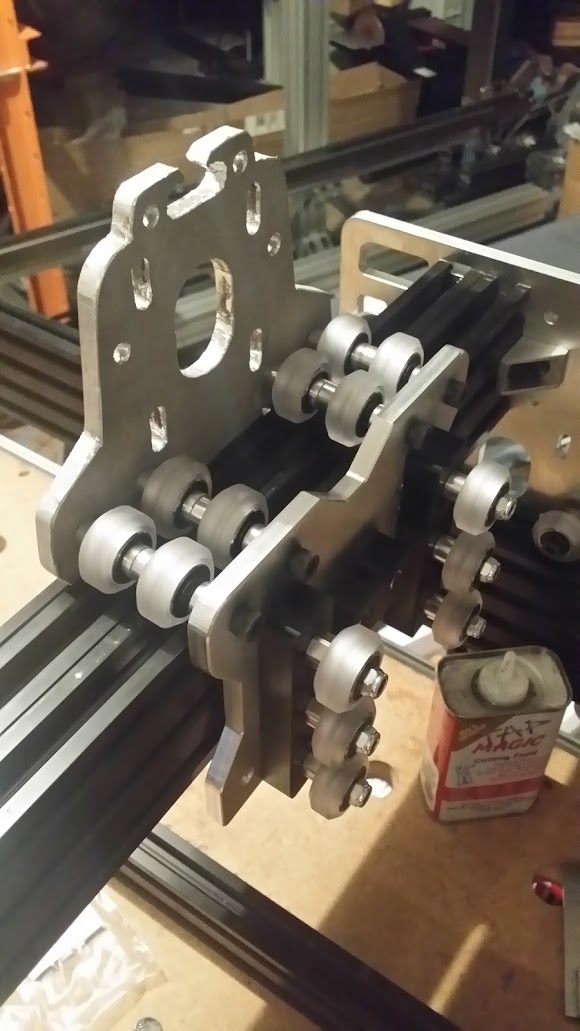
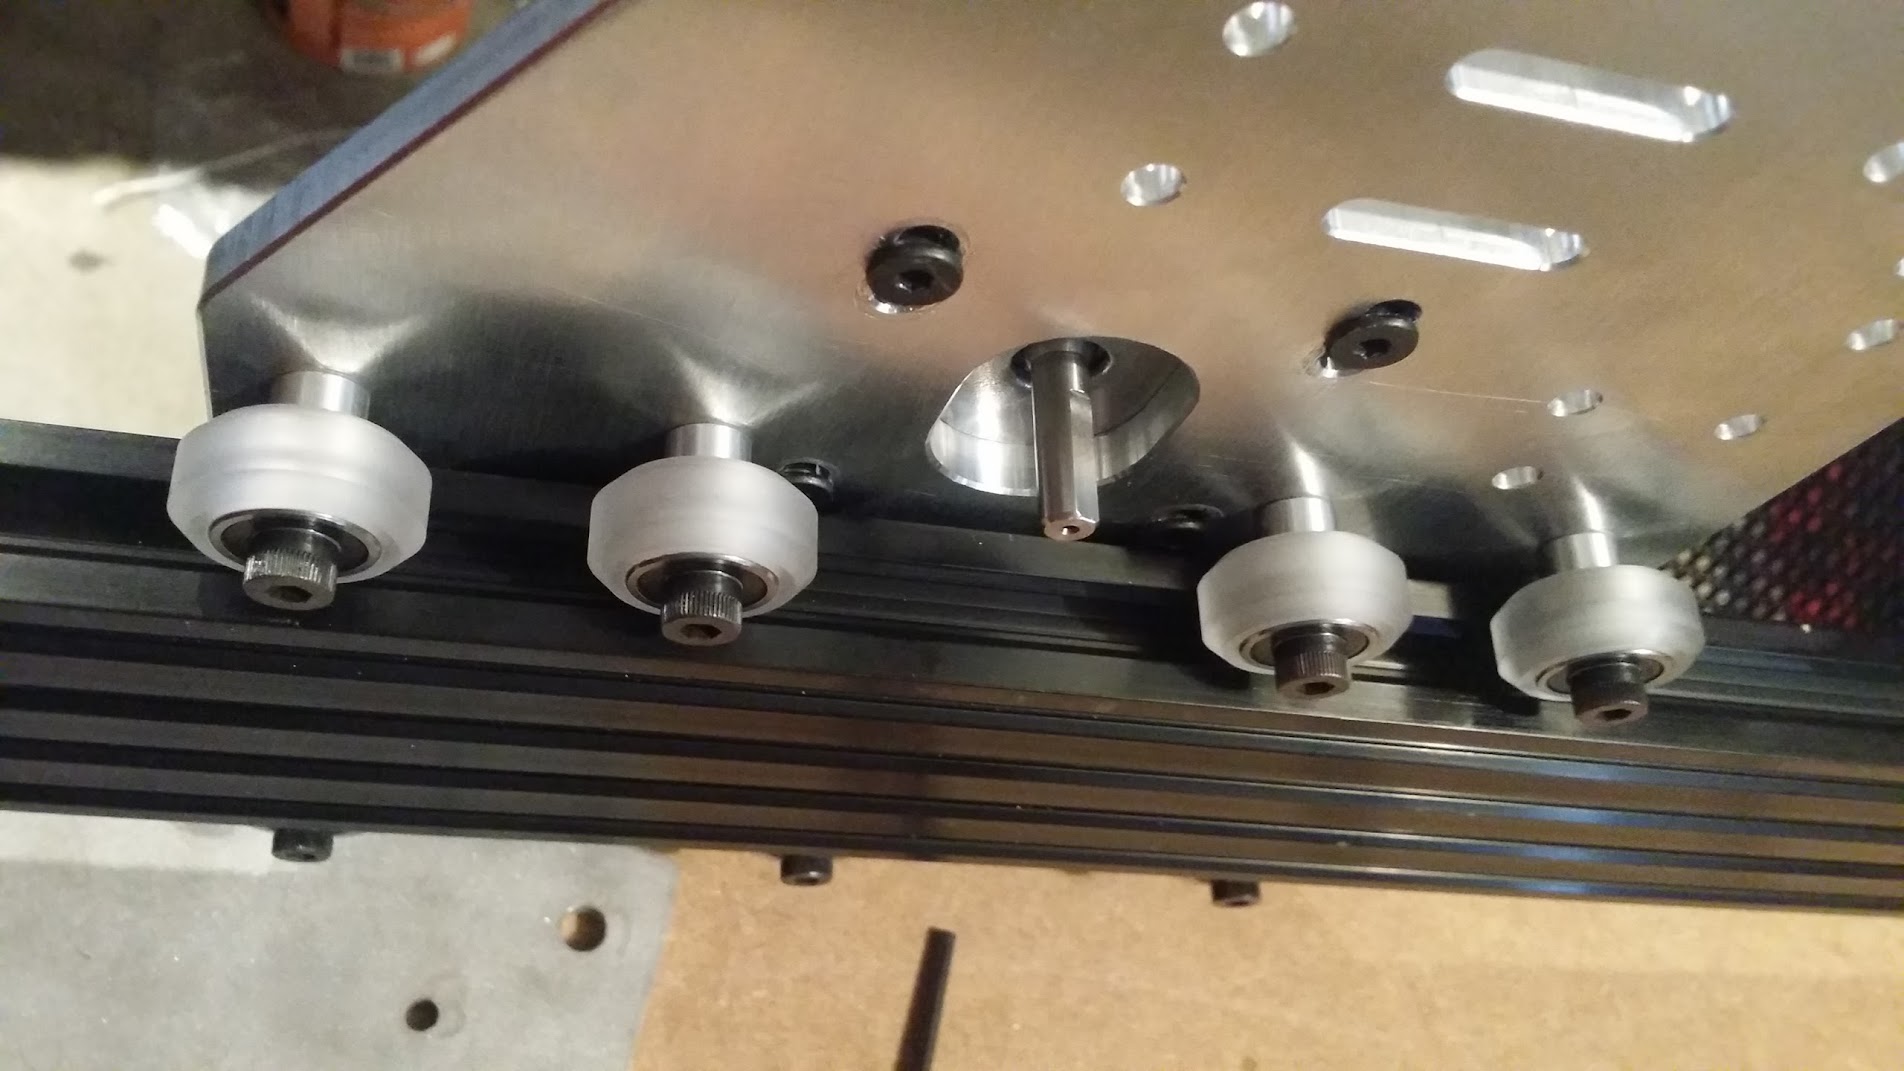
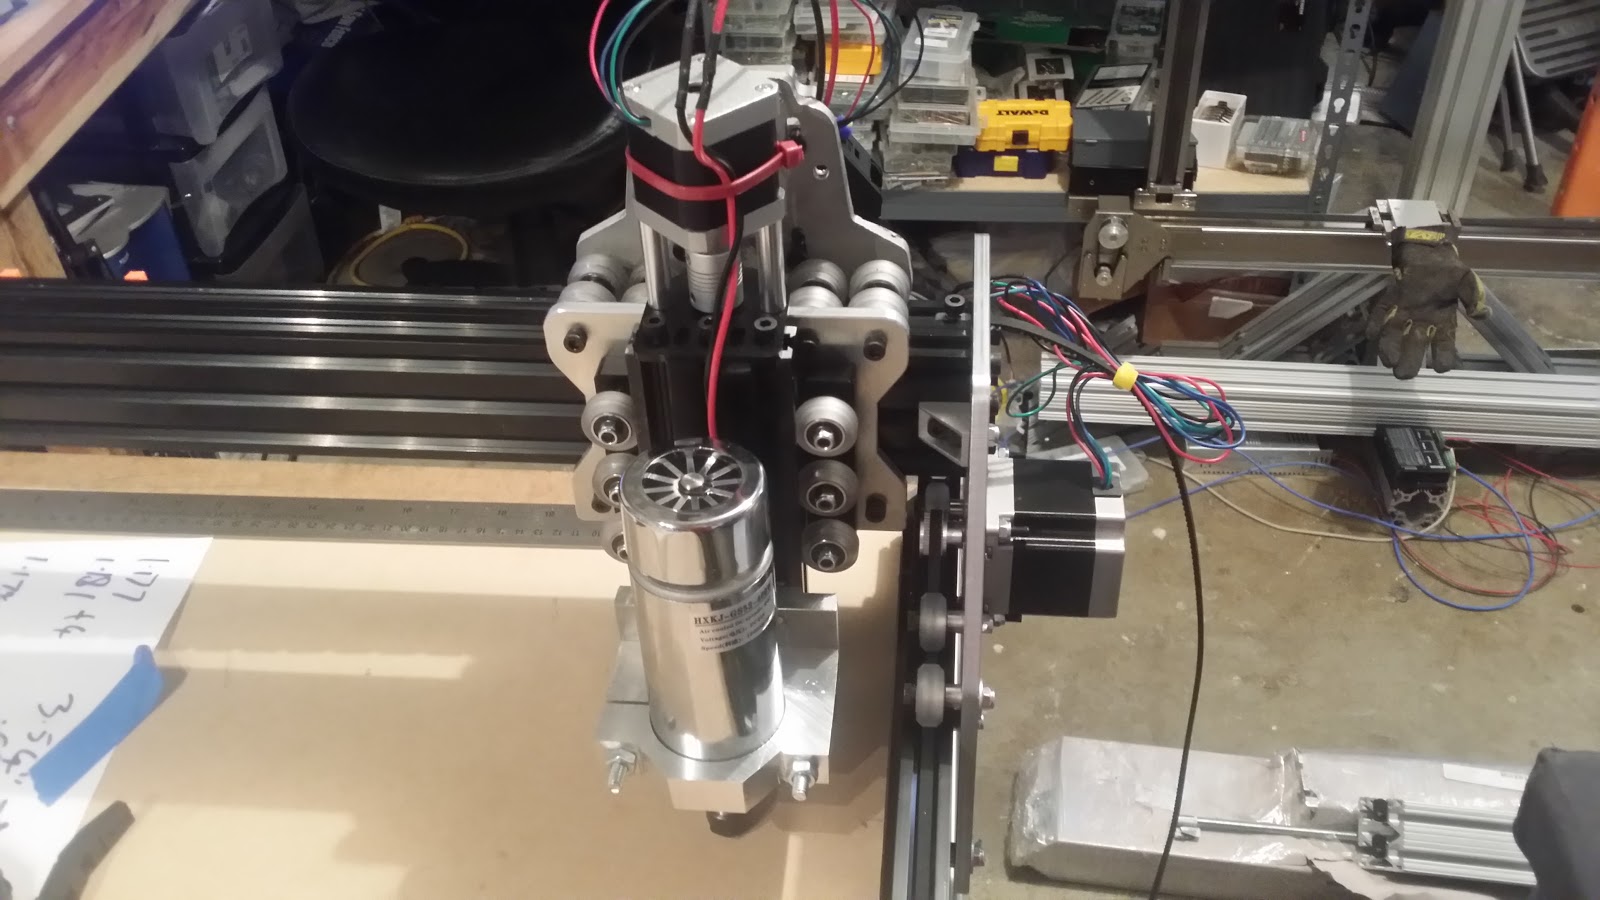
    so we're ready to make our first 'chips/cuts'

  • Spindle setup, Some Eagle and using a CNC to make a CNC

    charliex07/17/2015 at 21:19 0 comments

    I was setting up the spindle driver, which has zero docs, this is my journey. I suddenly decided to vlog it and then tried to figure out the best way to do it, which lead to all sorts of things and make it a 3 times longer process.

    Also my shuttleXpress just arrived, hopefully the Z touch off will arrive too. I'm probably going to ditch the current speed controller as well for something else

    I also 3D printed a temporary holder for the spindle, since all i have is a jubilee clip with the kit... It is glow in the dark since that's what was on the machine when i printed it.. Since its PLA it's only really good for a test mount while i CNC out a new one.

    https://github.com/dhylands/3D-Printed-Parts/tree/master/OX

    I'm still rendering the video, the production software keeps crashing at the very end after a 45 minute render... Third/^H^H^H^H^H fourth/fifth/sixth time a charm?

    I was hoping to steal 5V from USB VBUS for the logic level converter, but no such luck since its not broken out on the TinyG.

    Probably best to watch it on the youtubes directly.

    Now to put together the converter, find 5V etc.

  • MDF waste/spoiler board

    charliex07/16/2015 at 22:19 0 comments

    i had lowes cut me up some 39"x29" 1/2" 0.75" MDF, they don't account for the blade though, luckily i only had them cut me one to length so the rest i can do myself, 3 from one piece of MDF.

    now to cut holes , lots of holes.. lots of lots of holes. if only i had some sort of automatic hole cutting machine.

    also now the OX is done, openbuilds sent me an email this morning say hey check out this C build CNC, so yeah... i need help.,.

  • Back to the OX

    charliex07/15/2015 at 19:53 0 comments

    After a crazzeee work week where I ended up the las vegas NBA summer season doing a shoot, which was bizarre experience for me, my first stadium/sports experience, i've got a few hours to do some work on my OX build.

    My TinyG arrived, I'm using it over the the smoothieboard, which i do really like because ethernet and not USB, but the TinyG apparently has some better motion control recommended to me by @Ben Delarre and it seems to be able to handle more amperage per coil. I do have a not yet very far along project to port TinyG edge to the smoothieboard, since i really dislike USB, ethernet is so much better.

    Wired up the TinyG to a 24V Power supply.


    I also picked up some track from amazon, its a tad bigger than I needed, but it'll work.


    Soldering up extension wires for the steppers, these will run inside the track.


    tie wraps til i figure out where it all goes

    ended up a little short here, can just add another.

    so while wiring up the two steppers for one side of the X and the Z i was moving it back and forth and thinking hmm while the strange resistance, of course since i was adding one piece of 4 conductor wire to the same place, i just soldered one motor to one end, then other motor to the other end of the wire then i'd pull them through and cut the wires. Of course that meant one motor was feeding the other....

    Now to go back and add tho two Y motor's , i now realised i hadn't got that far yet and looking to see if the TinyG supports a dual mirror mode like the smoothieboard does, and it does https://github.com/synthetos/TinyG/wiki/Dual-Gantry-Configuration great, also noted that of course the other motor runs the opposite direction...

    Right Y motor wiring added, leaving it with lots of cable for now in case of reasons.

    threaded it into the extrusion then into the trunk , in the middle where it stops moving for the X.

    out the other side, the holes below are for the wires to come out neatly but my awesome shims are blocking them.

    ready to wire into the TinyG now.

    Desktop setup of the TinyG

    awesome 24V power supply holder.

    and powered

    testing the X motor first, connected to the right port at 115,200,8,n.1 with handshaking! awesome.

    decided to type G0X10 which it immediately jumped into life and i thought here comes the crash and it stopped right before the end, which is amazing given that the gantry was just wherever it was left.

    ok rest of the axiseses and then onto the spindle.

    so i wired up the rest of the motors, did a quick config set a Y share on motor 2 and 3 with one inverted, the nema17 on the Z wouldn't budge, just quietly whine. so i googled around tried different stuff then came across

    http://chilipeppr.com/ and i see Ben's been here too, so i grabbed the serial port json server, connected it up and it said firmware was too old, looked up firmware, came across gui flasher, it didn't want to do anything but main or edge, and not let me select the branch chillipeppr wanted. so i reset the board with the button and ran avrdude

    avrdude -p x192a3 -c avr109 -b 115200 -P COM17 -U flash:w:TinyG-440.15.hex

    so firmware upgraded, and settings all reset back into chillipeppr and the serial json server

    configured CP the same as i had it before, and no change on the Z, it isn't binding and i've tested the motor already, wiring seems ok. Turns out the step was so small it was barely moving.... sometime later x.x.x.x.. I switched the A coils and it jumped into life . I also remembered to add some slack for the Z servo wires.

    here's the settings in CP for my setup, swm3d large ox.

    http://pastebin.com/sUGsakE4


    so next is the spindle!


  • Back to the OX

    charliex07/15/2015 at 19:10 1 comment

    After a crazzeee work week where I ended up the las vegas NBA summer season doing a shoot, which was bizarre experience for me, my first stadium/sports experience, i've got a few hours to do some work on my OX build.

    My TinyG arrived, I'm using it over the the smoothieboard, which i do really like because ethernet and not USB, but the TinyG apparently has some better motion control recommended to me by @Ben Delarre and it seems to be able to handle more amperage per coil. I do have a not yet very far along project to port TinyG edge to the smoothieboard, since i really dislike USB, ethernet is so much better.

    Wired up the TinyG to a 24V Power supply.


    I also picked up some track from amazon, its a tad bigger than I needed, but it'll work.


    Soldering up extension wires for the steppers, these will run inside the track.


    tie wraps til i figure out where it all goes

    ended up a little short here, can just add another.

    so while wiring up the two steppers for one side of the X (now realising i missed the other X motor) and the Z i was moving it back and forth and thinking hmm while the strange resistance, of course since i was adding one piece of 4 conductor wire to the same place, i just soldered one motor to one end, then other motor to the other end of the wire then i'd pull them through and cut the wires. Of course that meant one motor was feeding the other....

    Now to go back and add the other X motor...tie wraps!

  • Z Section, testing X

    charliex07/04/2015 at 03:03 0 comments

    I forgot to detail the photos as much on the Z

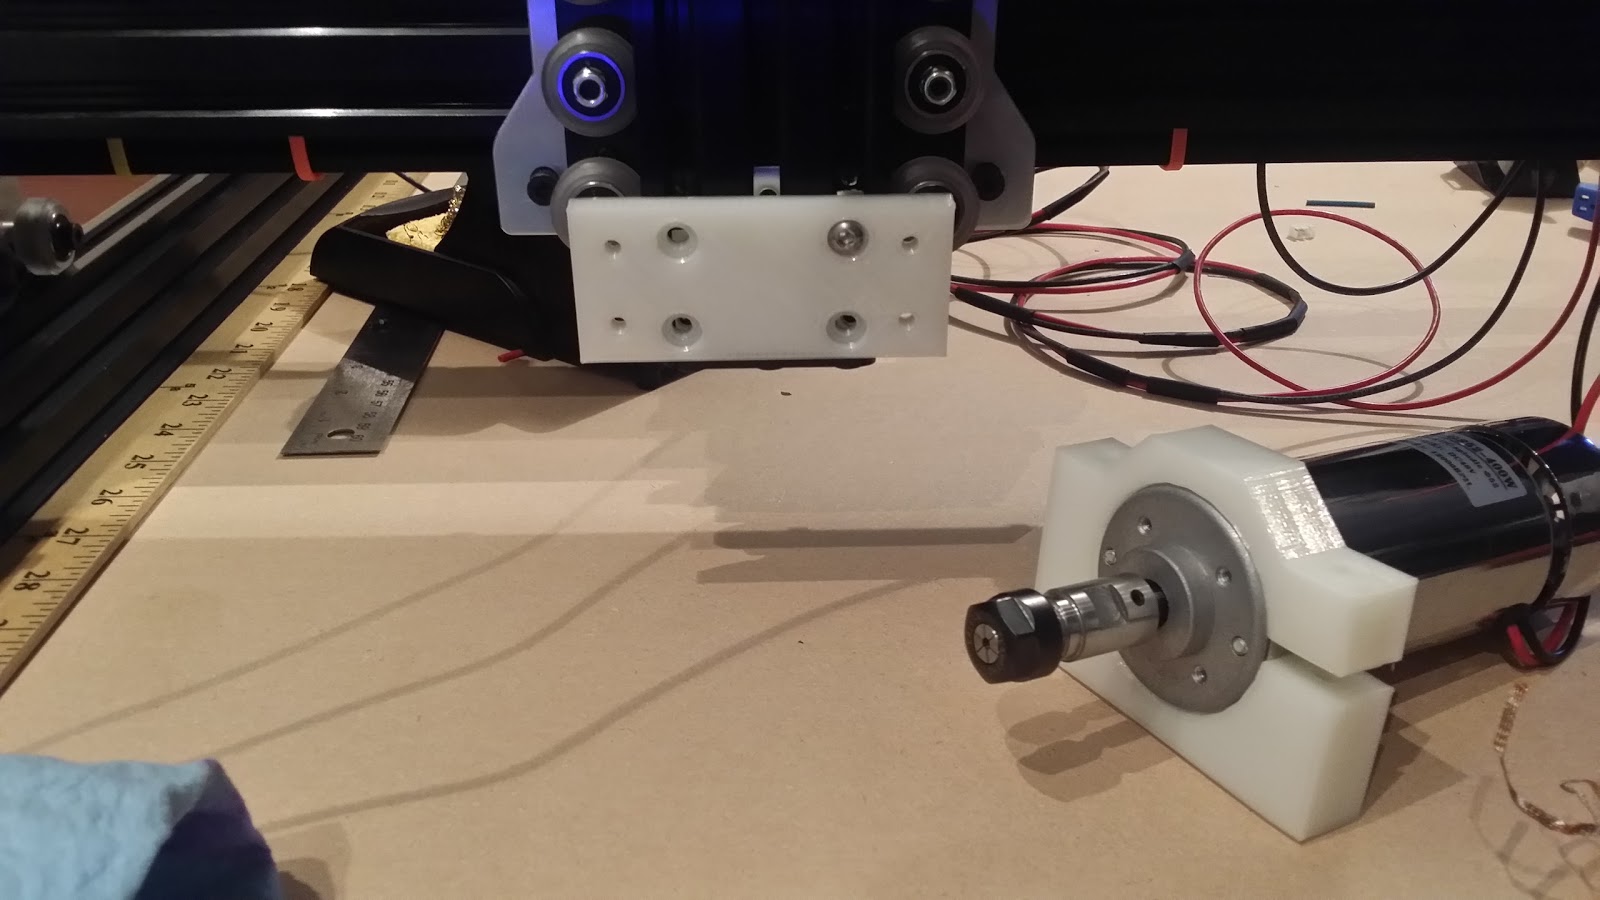
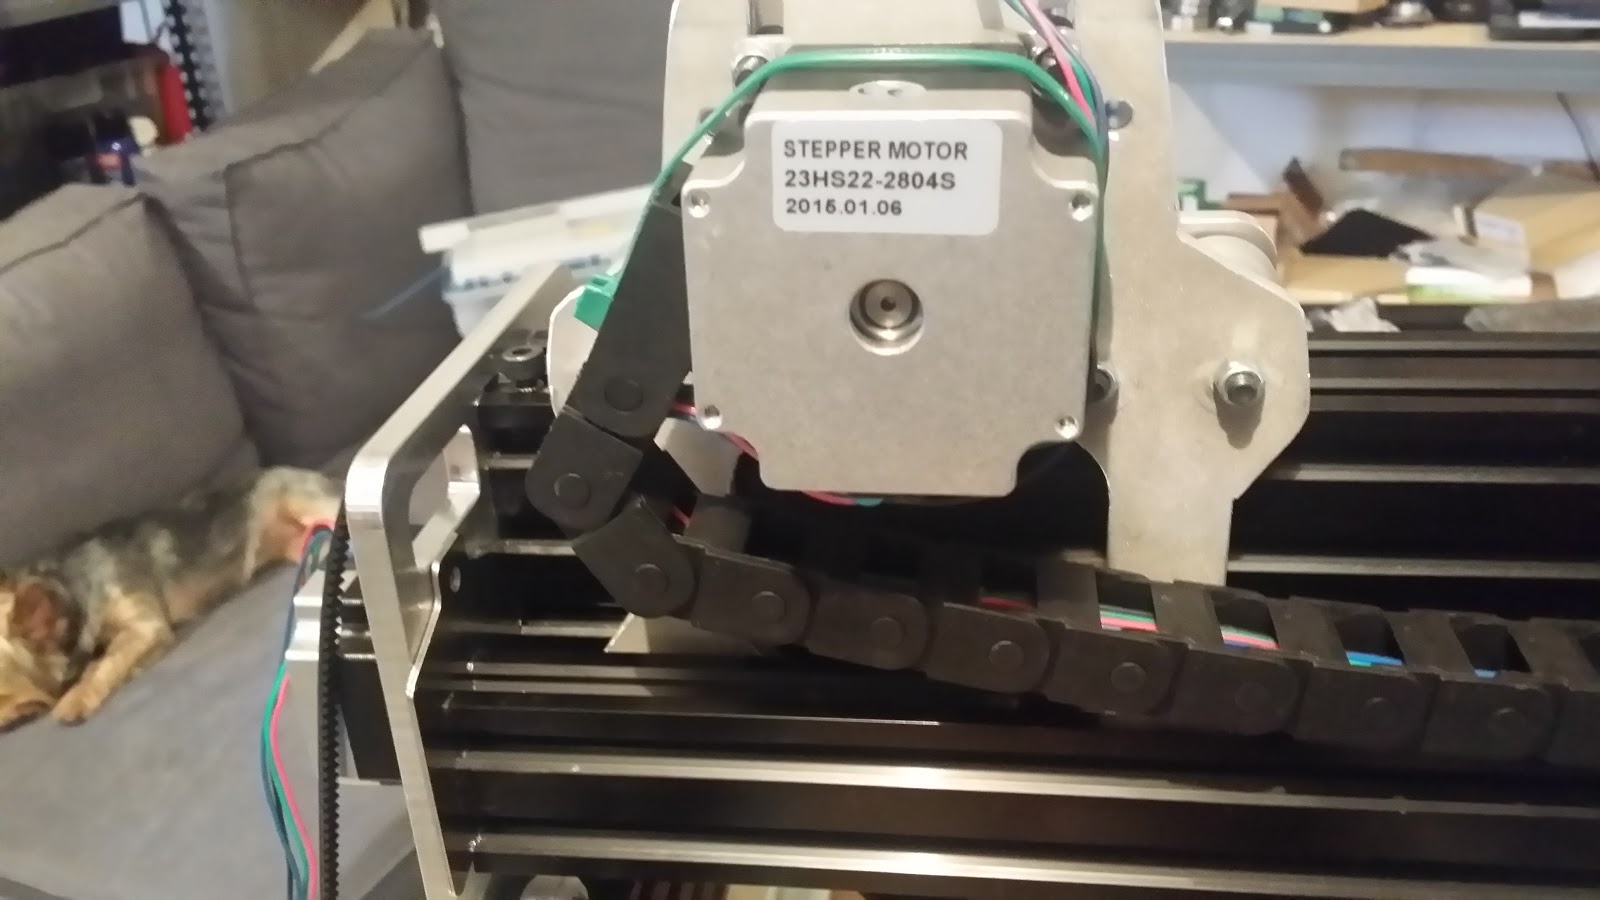
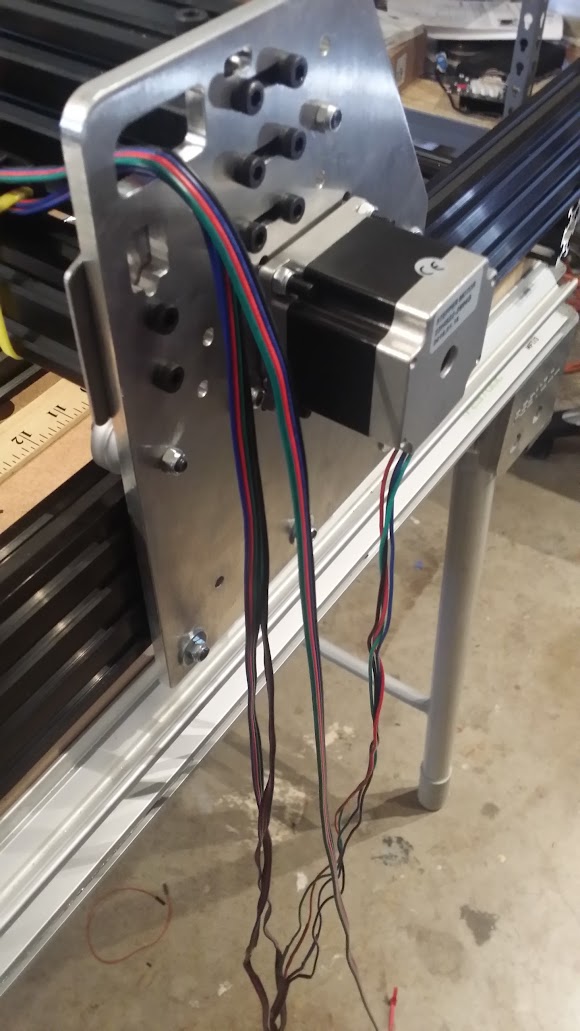
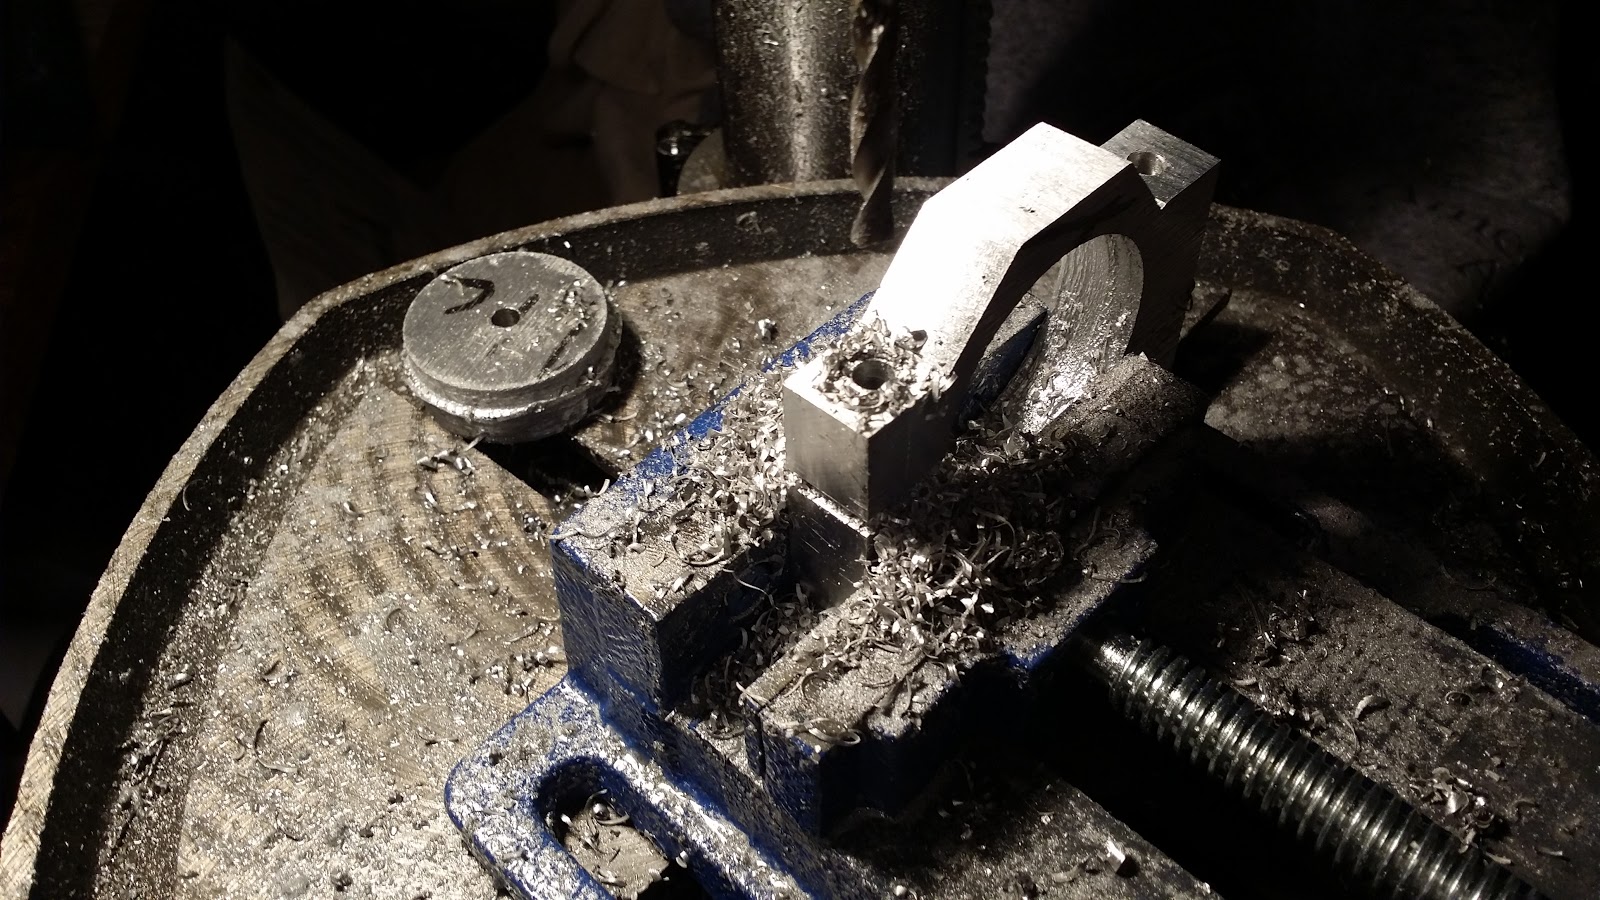
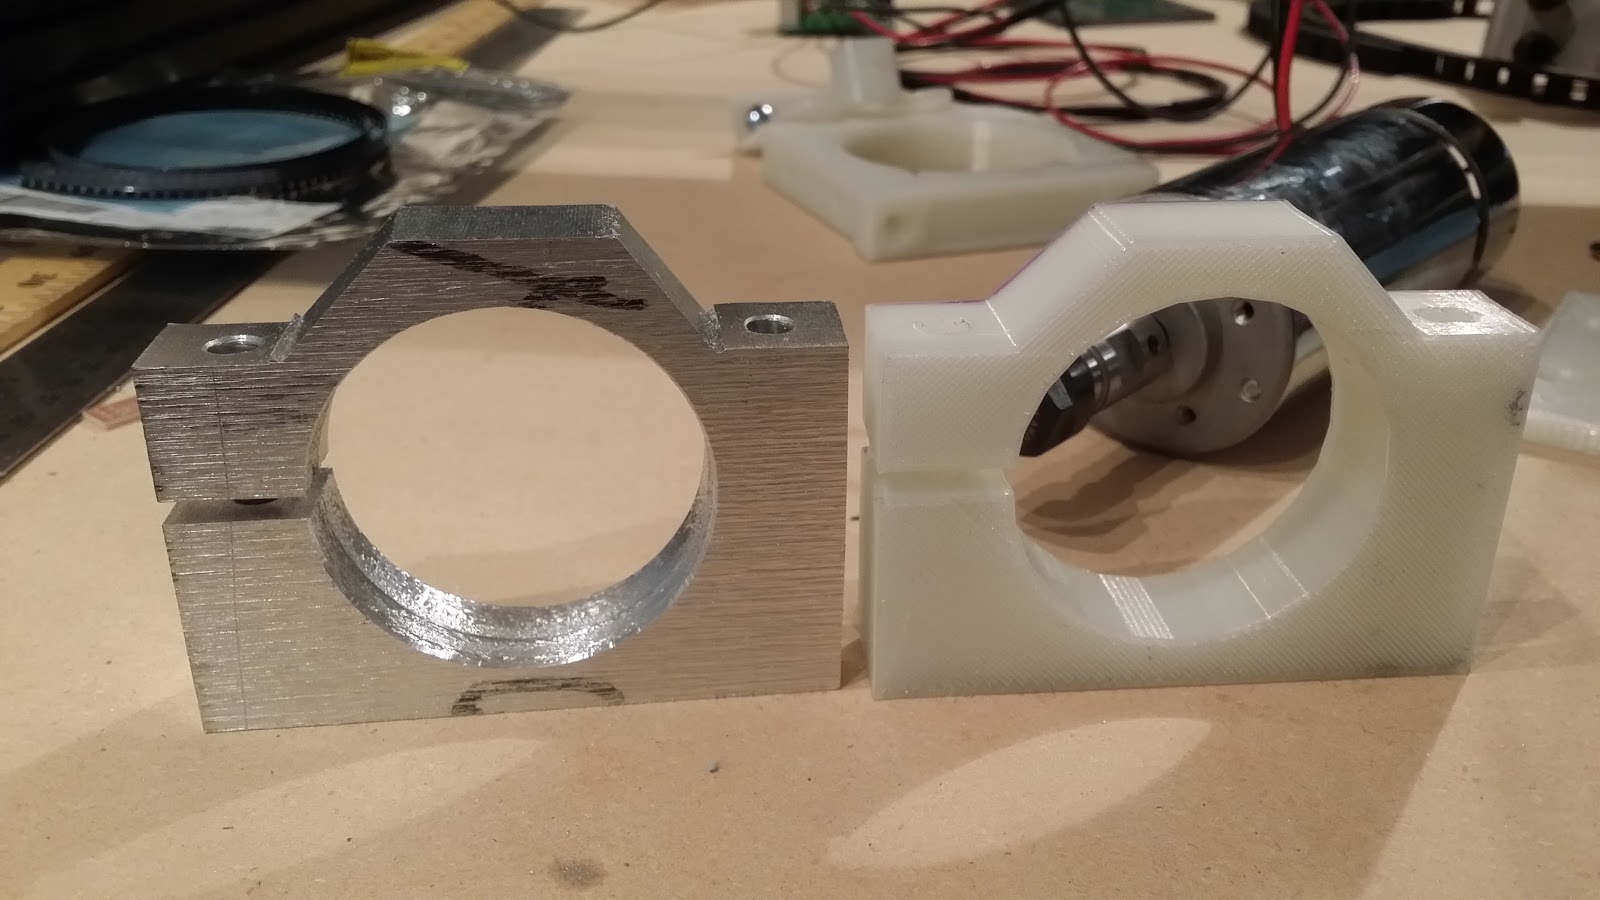
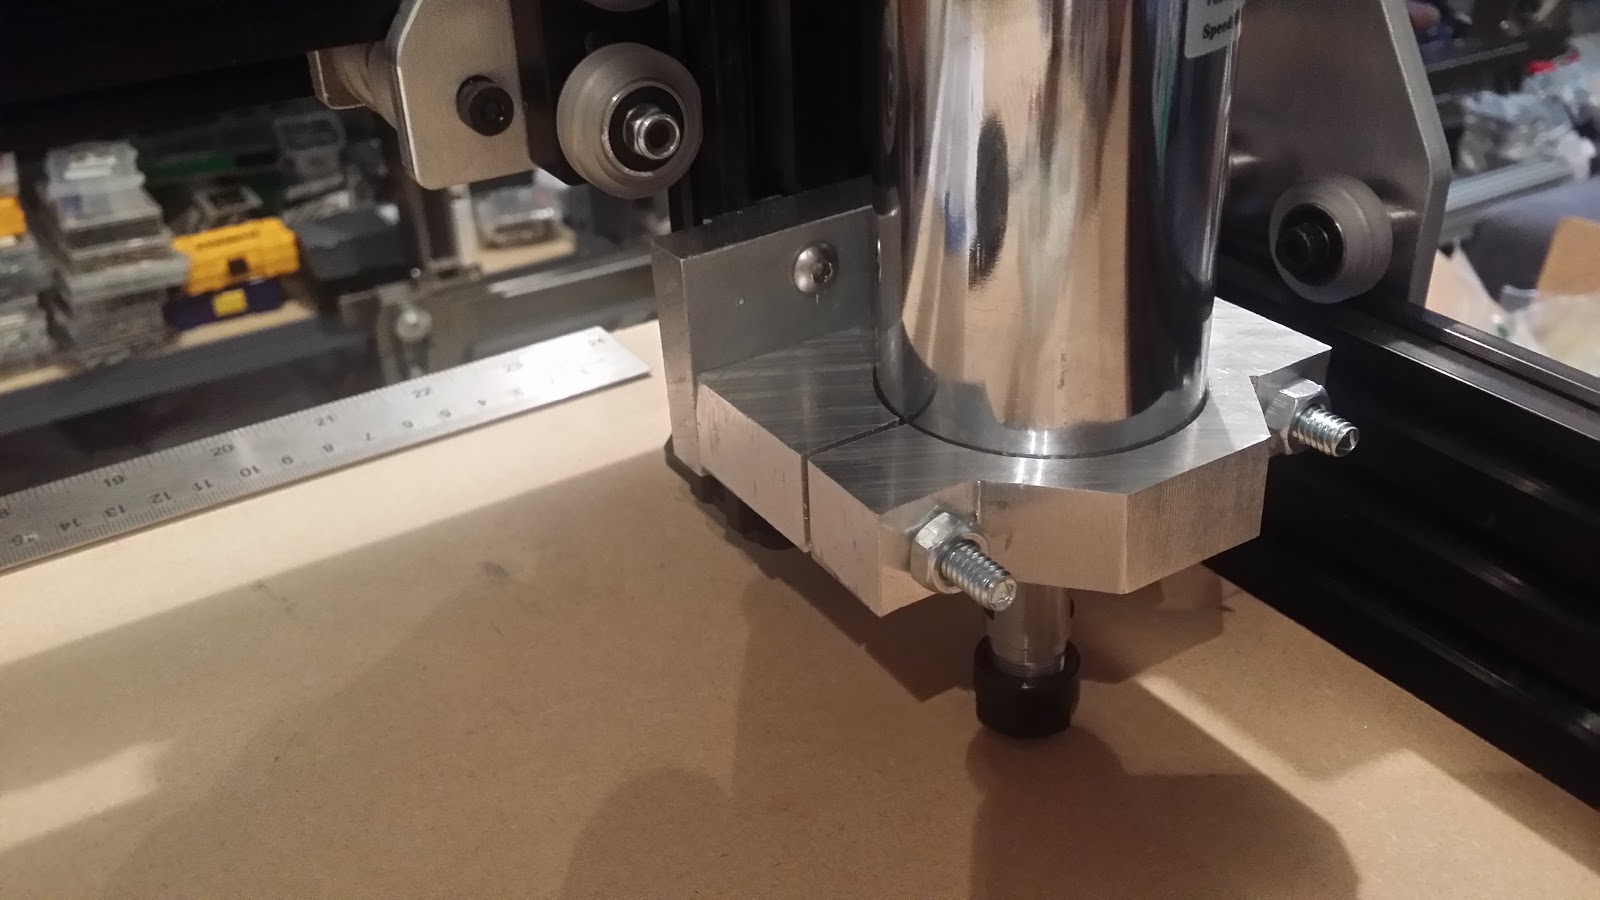
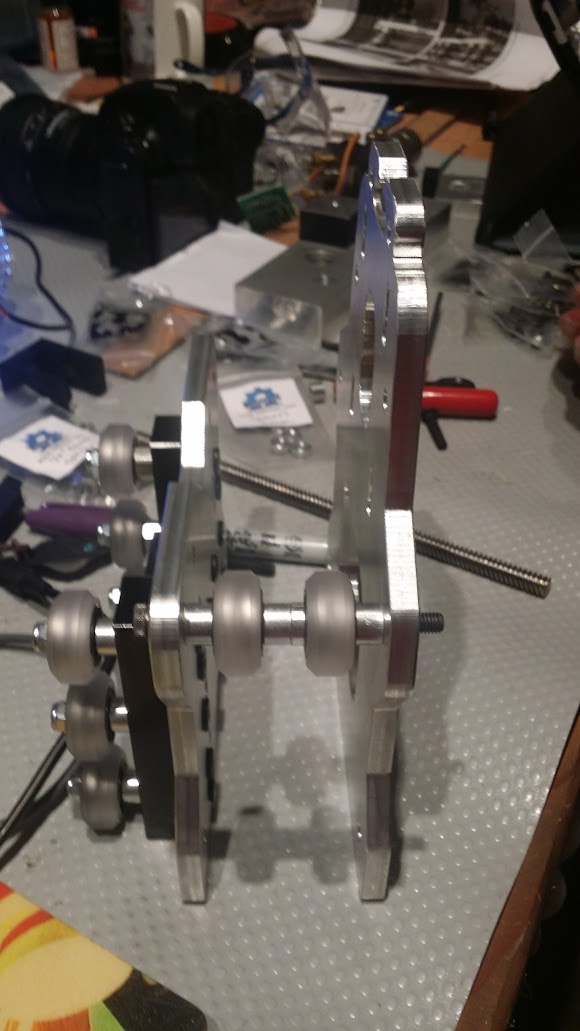
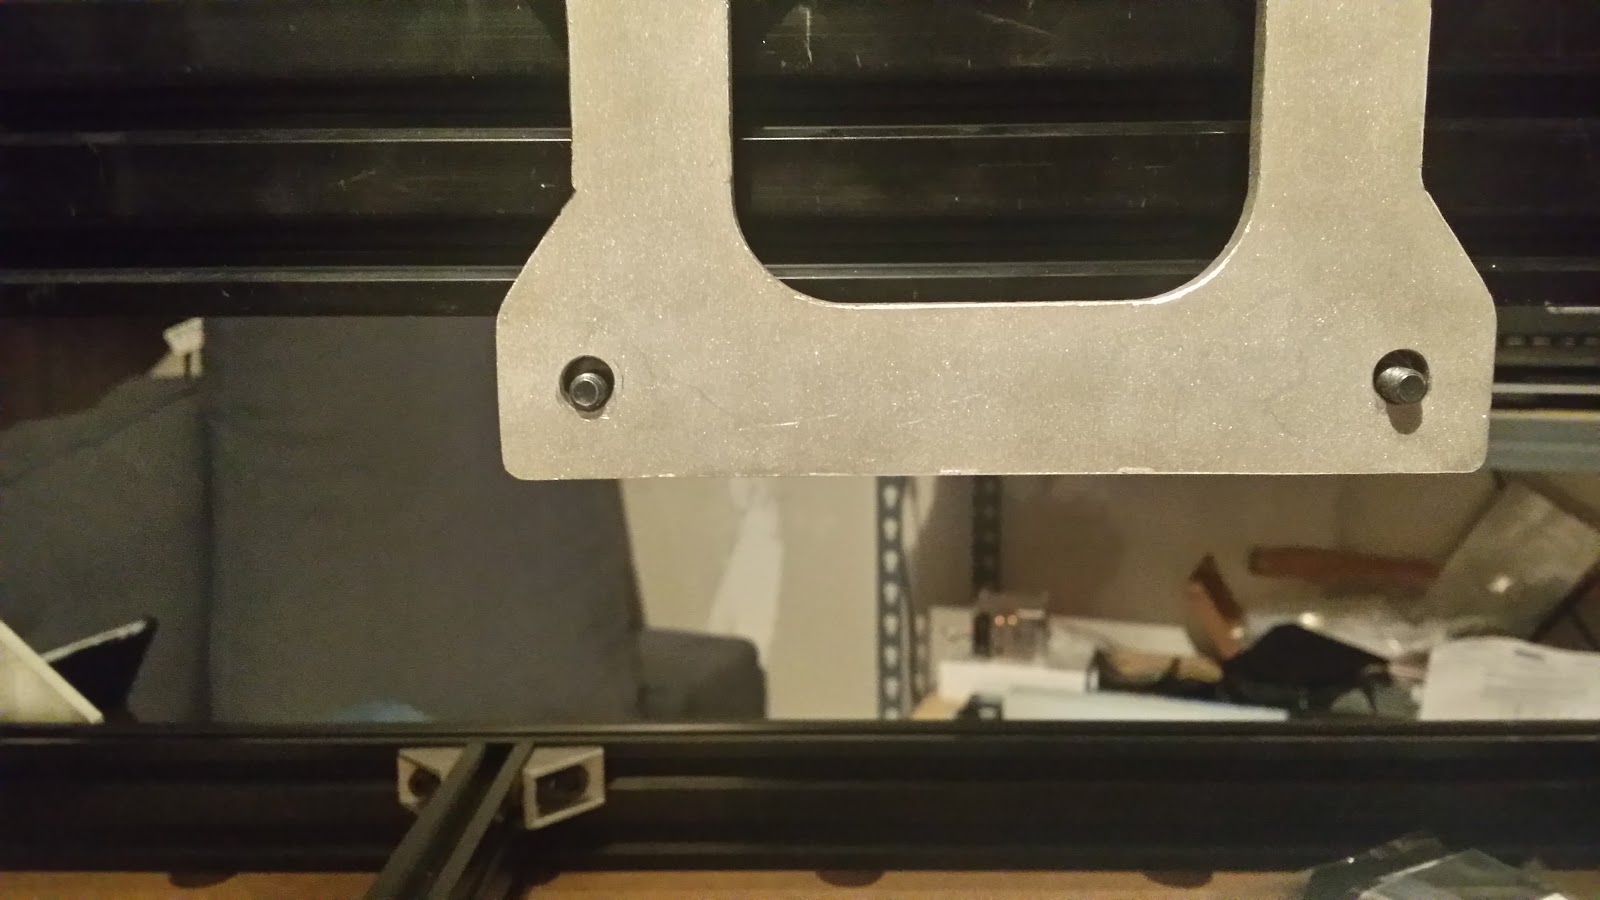
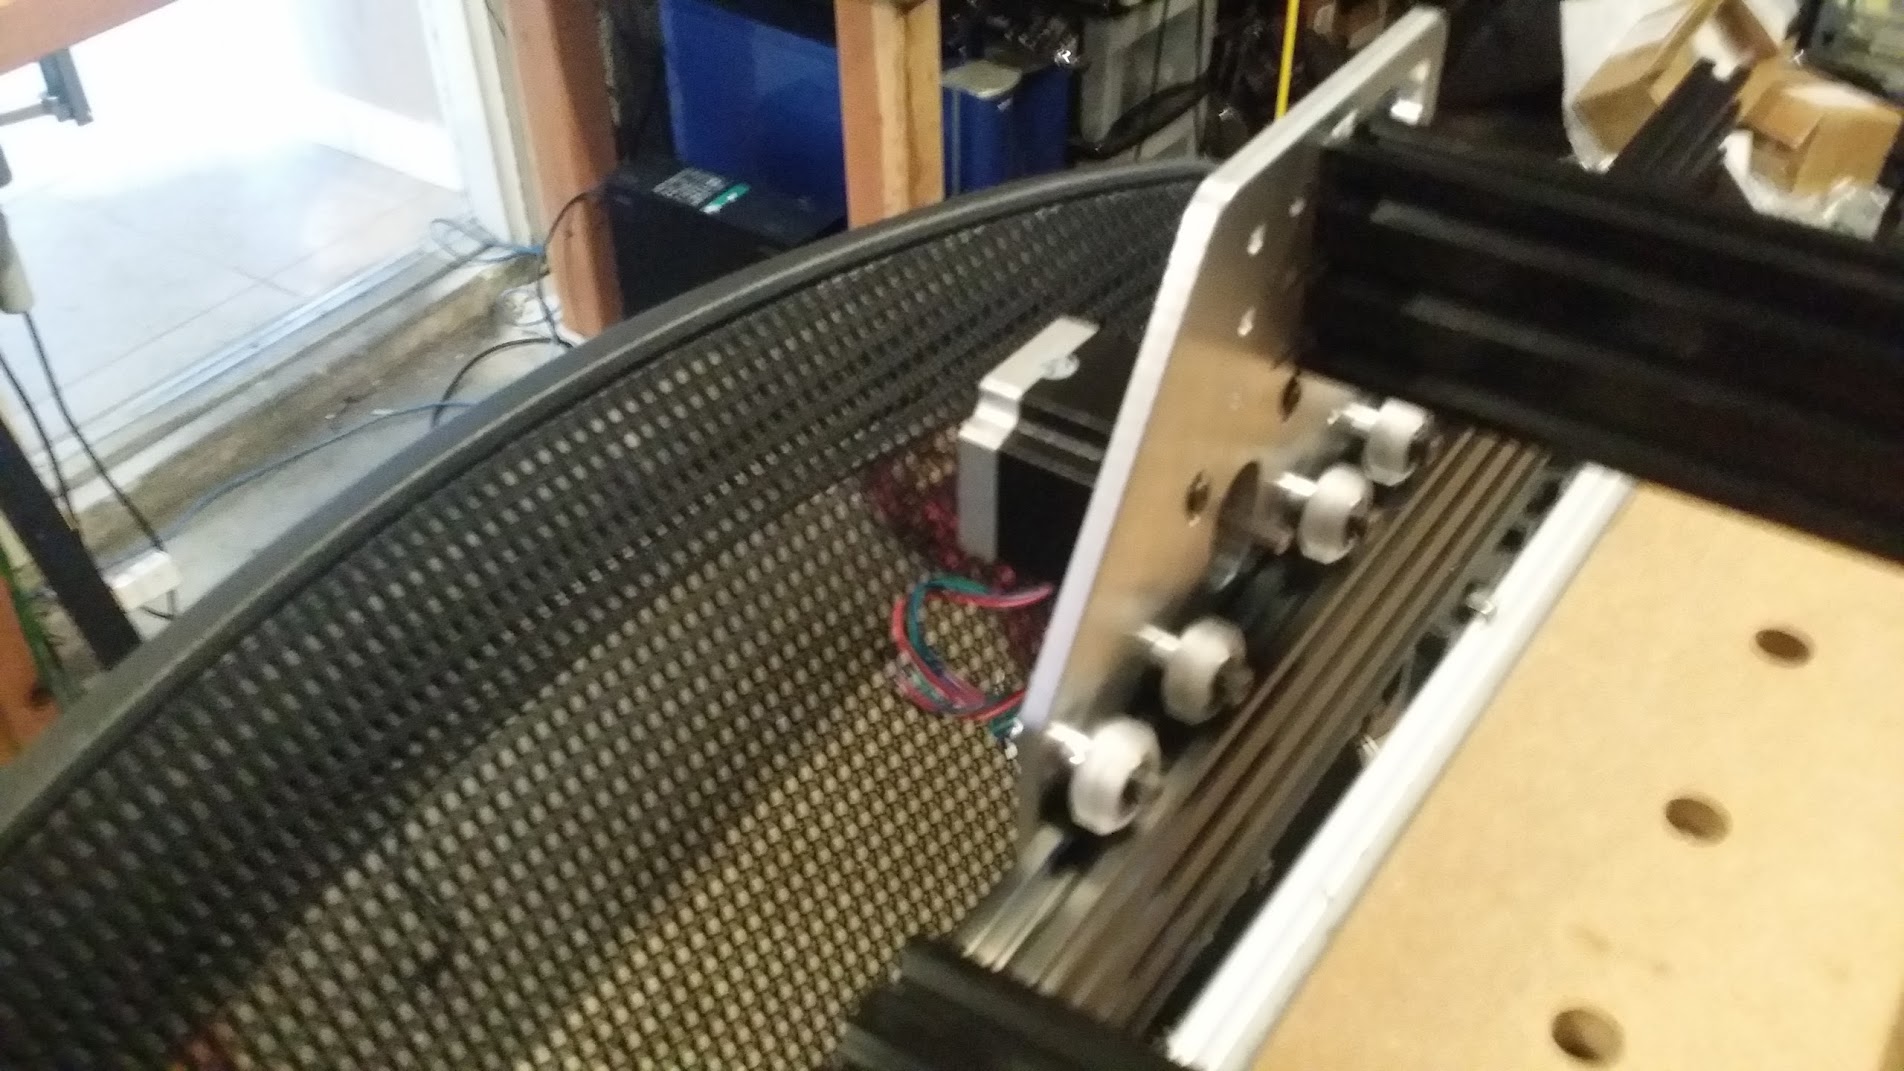
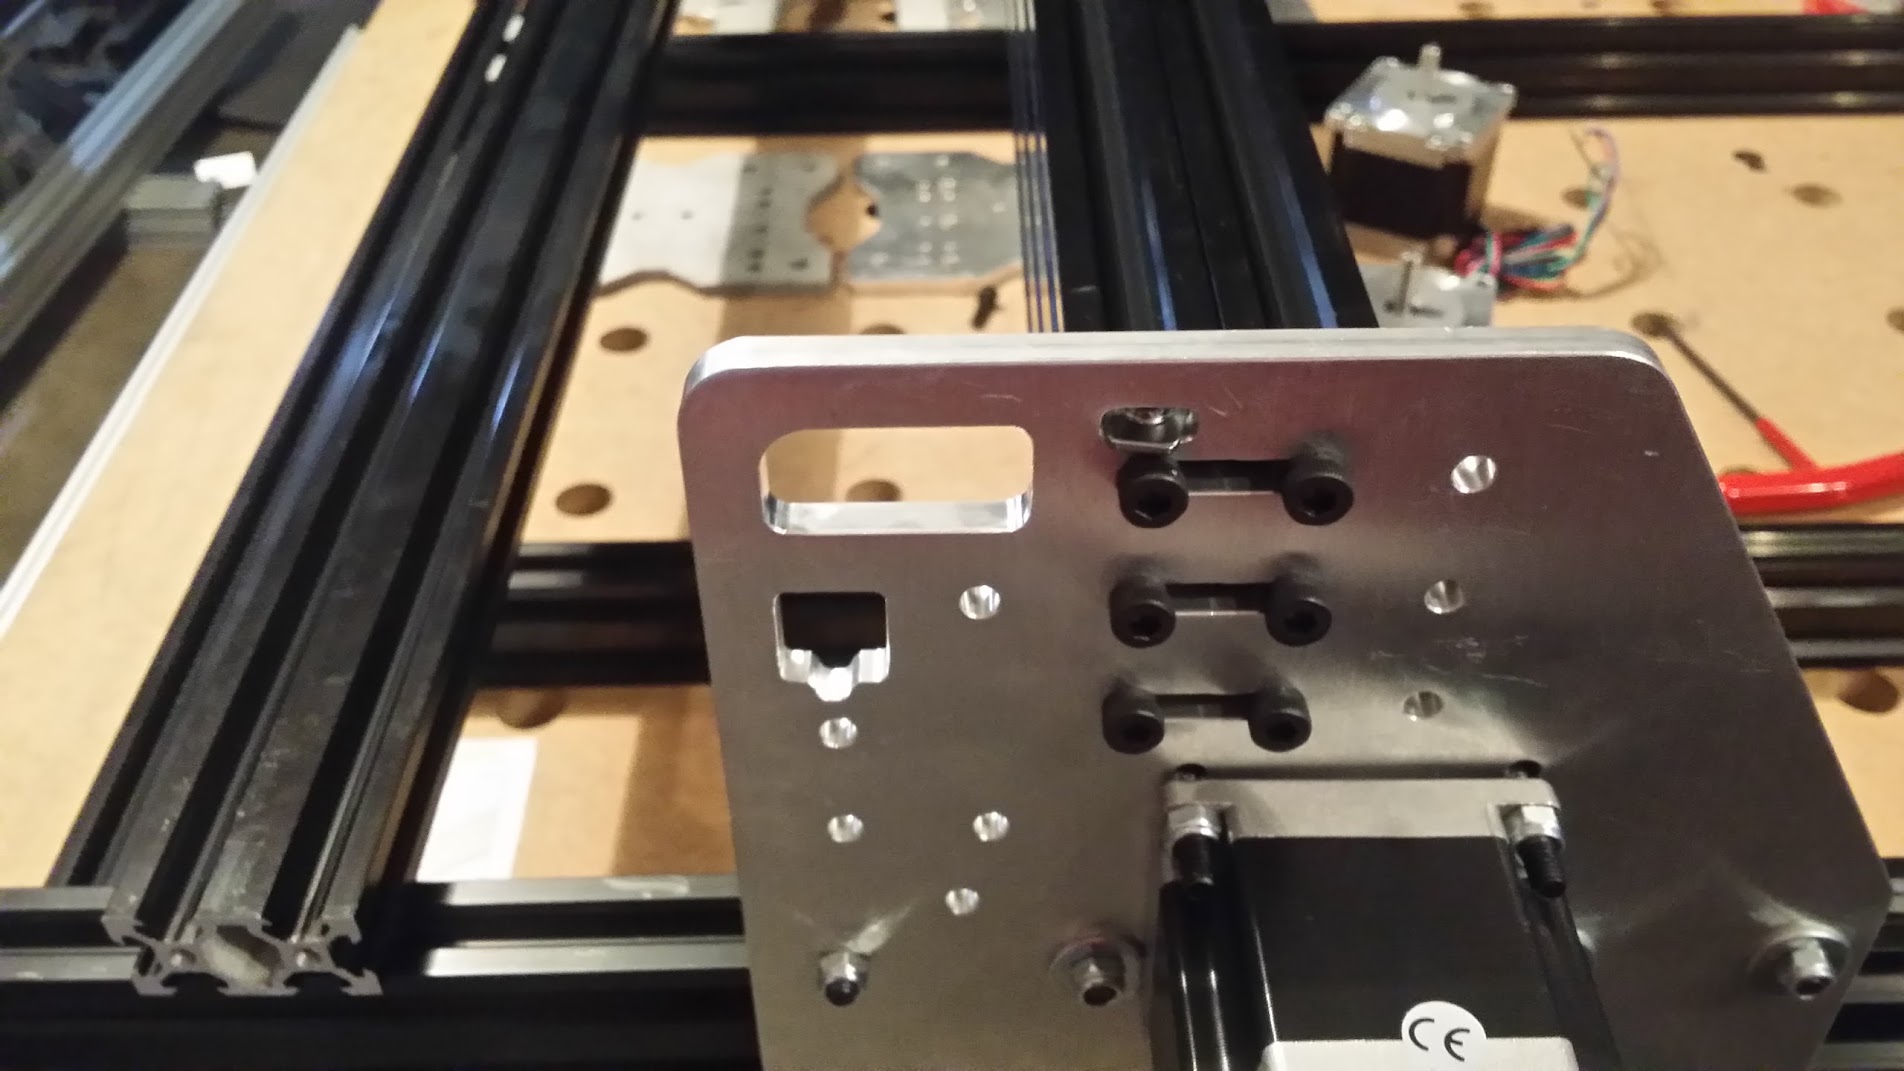
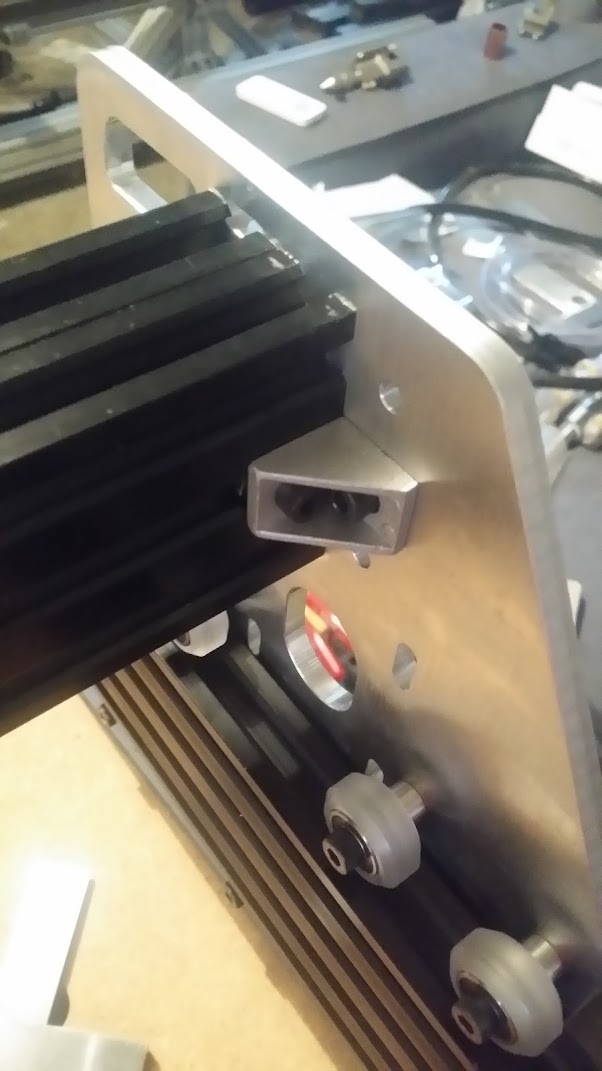
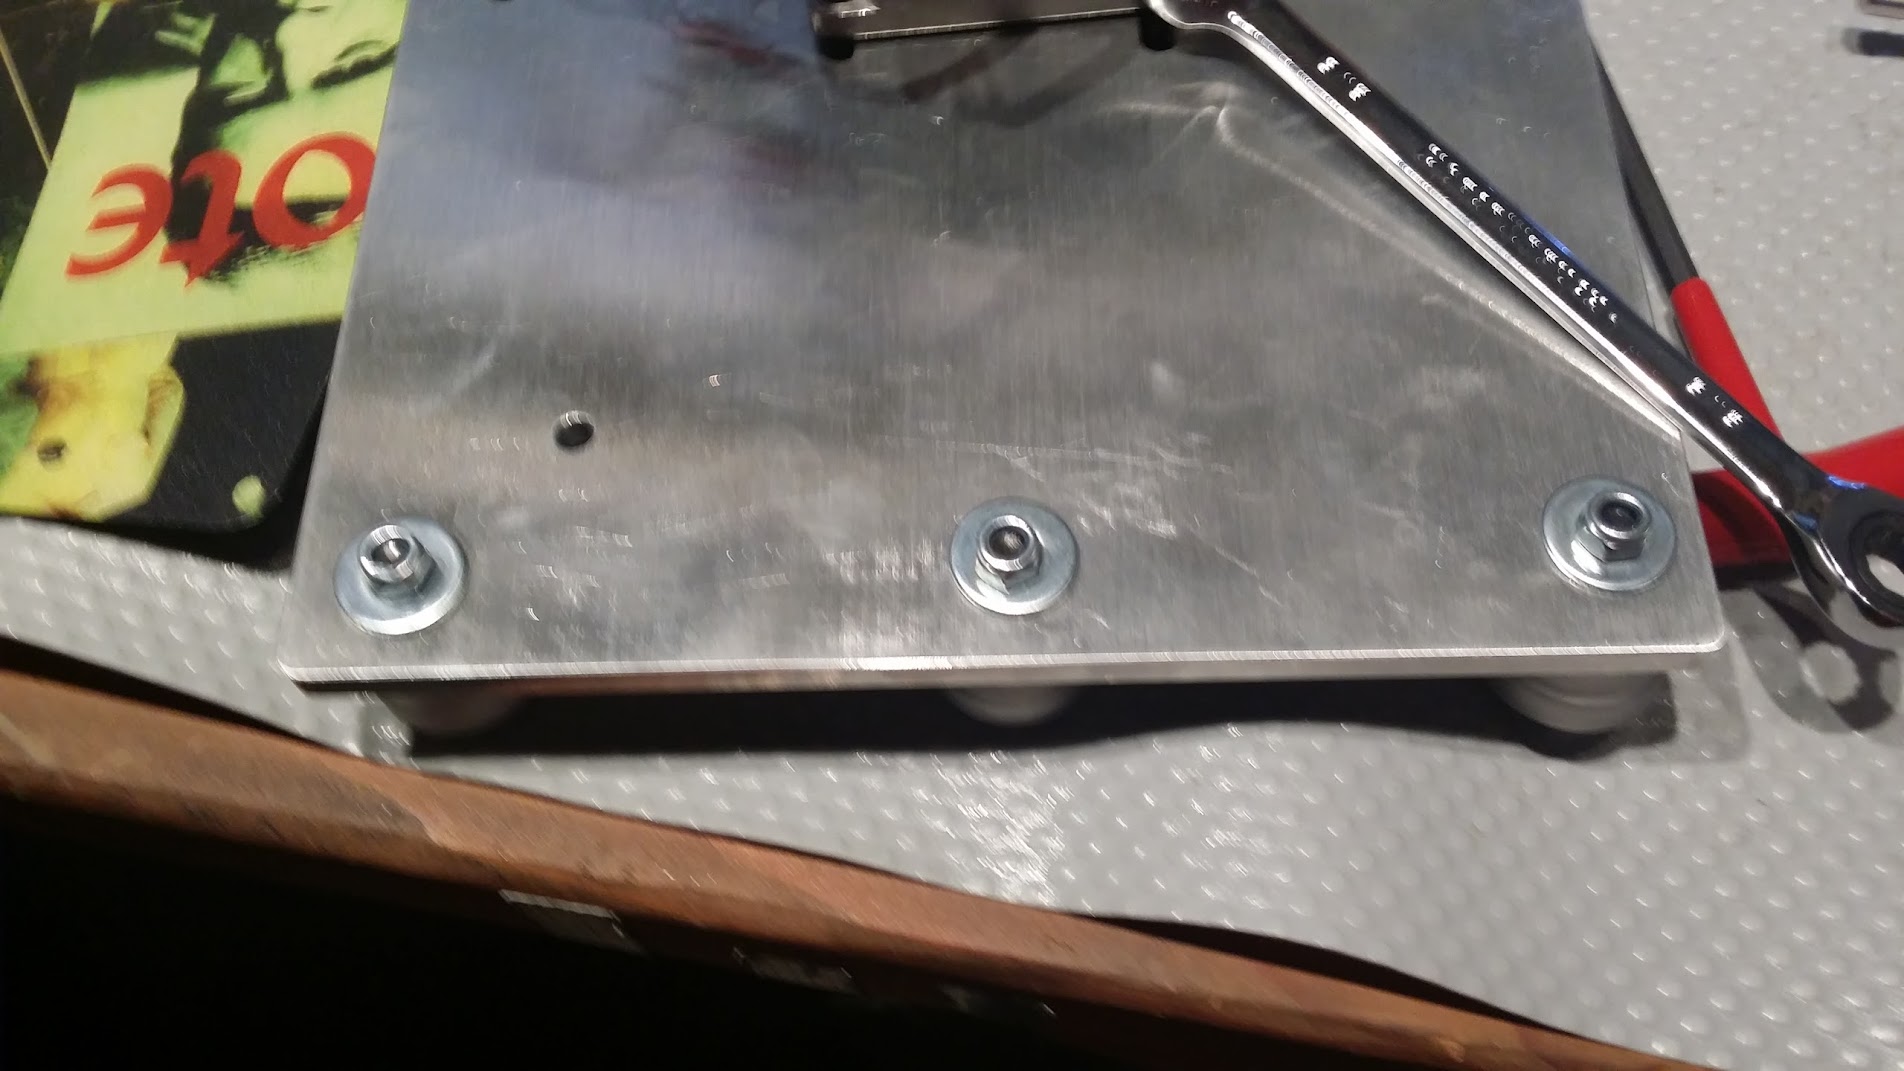
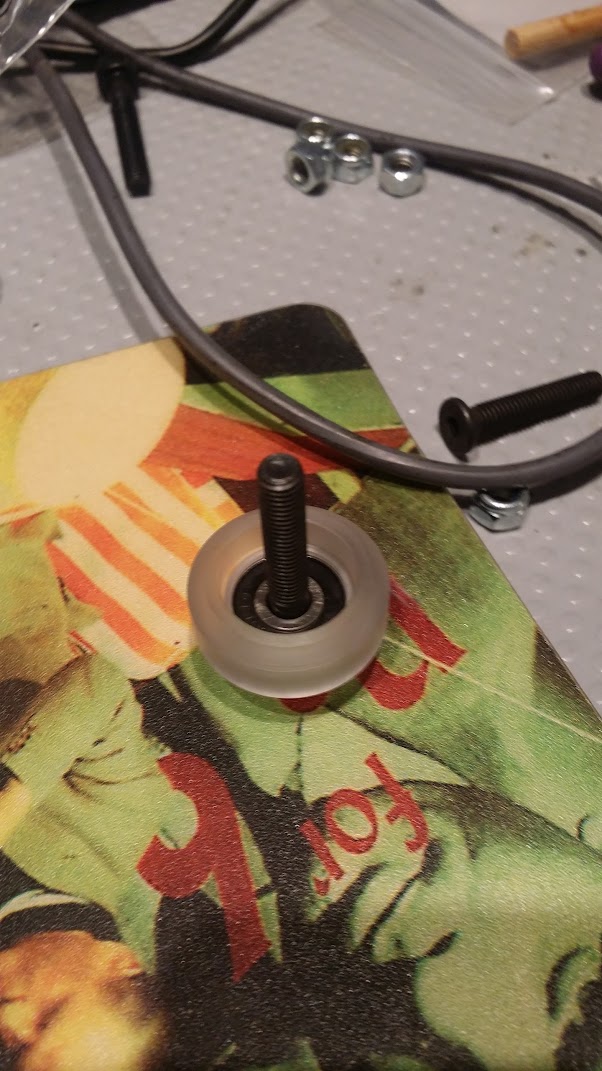
    it's a pain to put together, i used a nylon block to hold up the bolts protruding on the lower side of the gantry, then it popped into the hole.

    added the z column, it was tought to move up and down but i'd forgotten to go back and let it all settle in place, the bearings are cheap and one of the sides was missing on one, so i'll come back and replace those.

    motors are a pain to mount and bolt down.


    used these to bolt down the tracks

    looped over the motor and straightened it out

    the belts have a habit of wanting to go diagonally since when you screw them down the bolt twists the track. so move it around so it doesn't bind

    rather than file one of the insert able t nuts, i used it elsewhere and took one of the flatter ones.


    replaced one of the frame mounts.


    Z's mostly together


    shim's for that cross bracket on the gantry, it's way off and i have a box of these crazy expensive stainless steel shims that i thought, i'll never need ones these big.. guess again..


    wiring up for testing

    smooothieboard v5, the smoothieboard is only 2A which is enough to test with, but i had a 2.5A driver lying around so i used that instead. the Z motor wasn't playing along so i tested with another nema17 i had lying around so that i had the configuration right, i cloned my laser config and it was too aggressive, it has three phase hybrid steppers that are nicer. i'm using the smoothie as a very expensive step/dir, but i much prefer using Ethernet instead of USB serial/etc


    wiring up motors is mostly straightforward, especially for 4 wires, measure the pairs til you get an ohm reading, that's a pair, connect them up if it moves, check if reversed, if reversed swap the order of each pair, if it doesn't move swap one pair around. so if red/black make it black/red.

    motor model number datasheet


    setup for testing. added power 48V to power of stepper driver, added enable to smoothieboard and inverted it in the config, use ! after the number of the pin in the alpha enable. added dir and pulse, and used enable to drive the optocoupler, i did initially run it off the 5V from the smoothieboard, but less wires this way.


    X moves fine.


    Z is moving as well, haven't wired up the double Y motors yet. need more stepper drivers, so picked those up from lightobject, i have a stack of three wire hybrid drivers, but no normal ones. The smoothie should be ok to drive it during testing though. it has a slave function where instead of chaining the Y motors, I can use two drivers, since they're only 2A...


    i like the section of the manual where it talks about mounting the spindle, it says it'll be short, its about 3 lines of text... the spindle mount seems to be a jubilee clip so i think we'll change that. Next part test the motor driver and "400W" spindle, see if we can get the smoothieboard to PWM it.


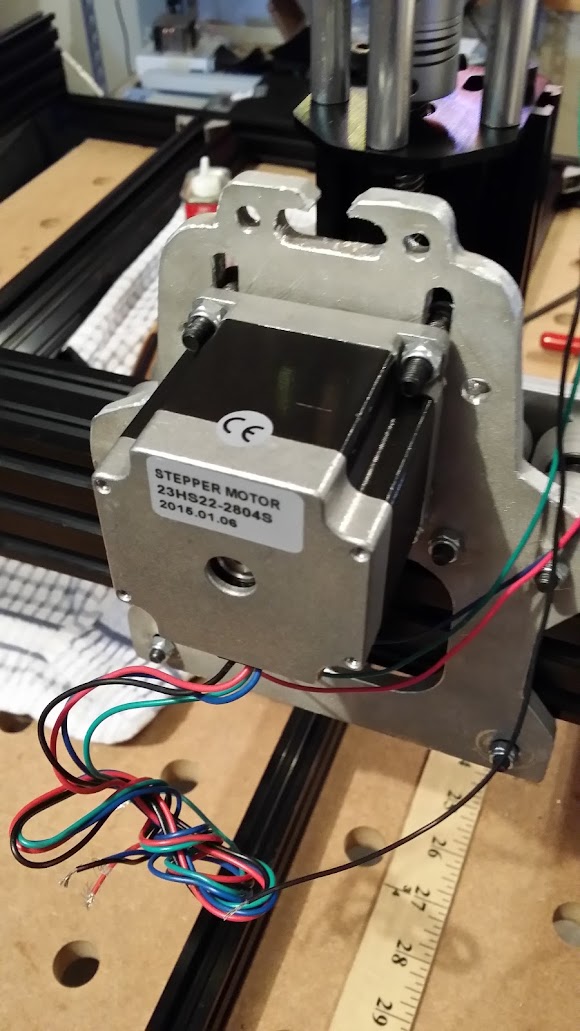
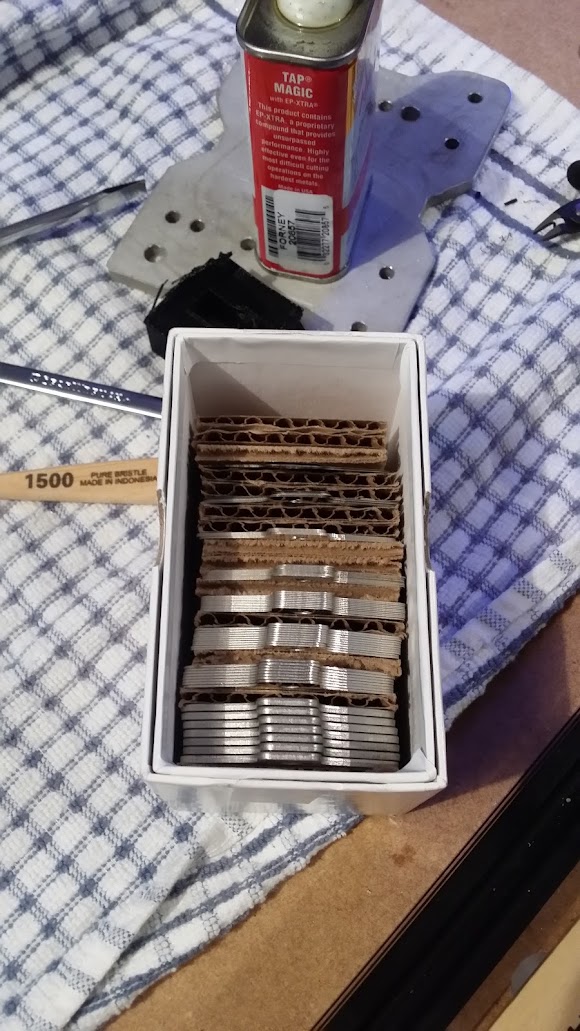
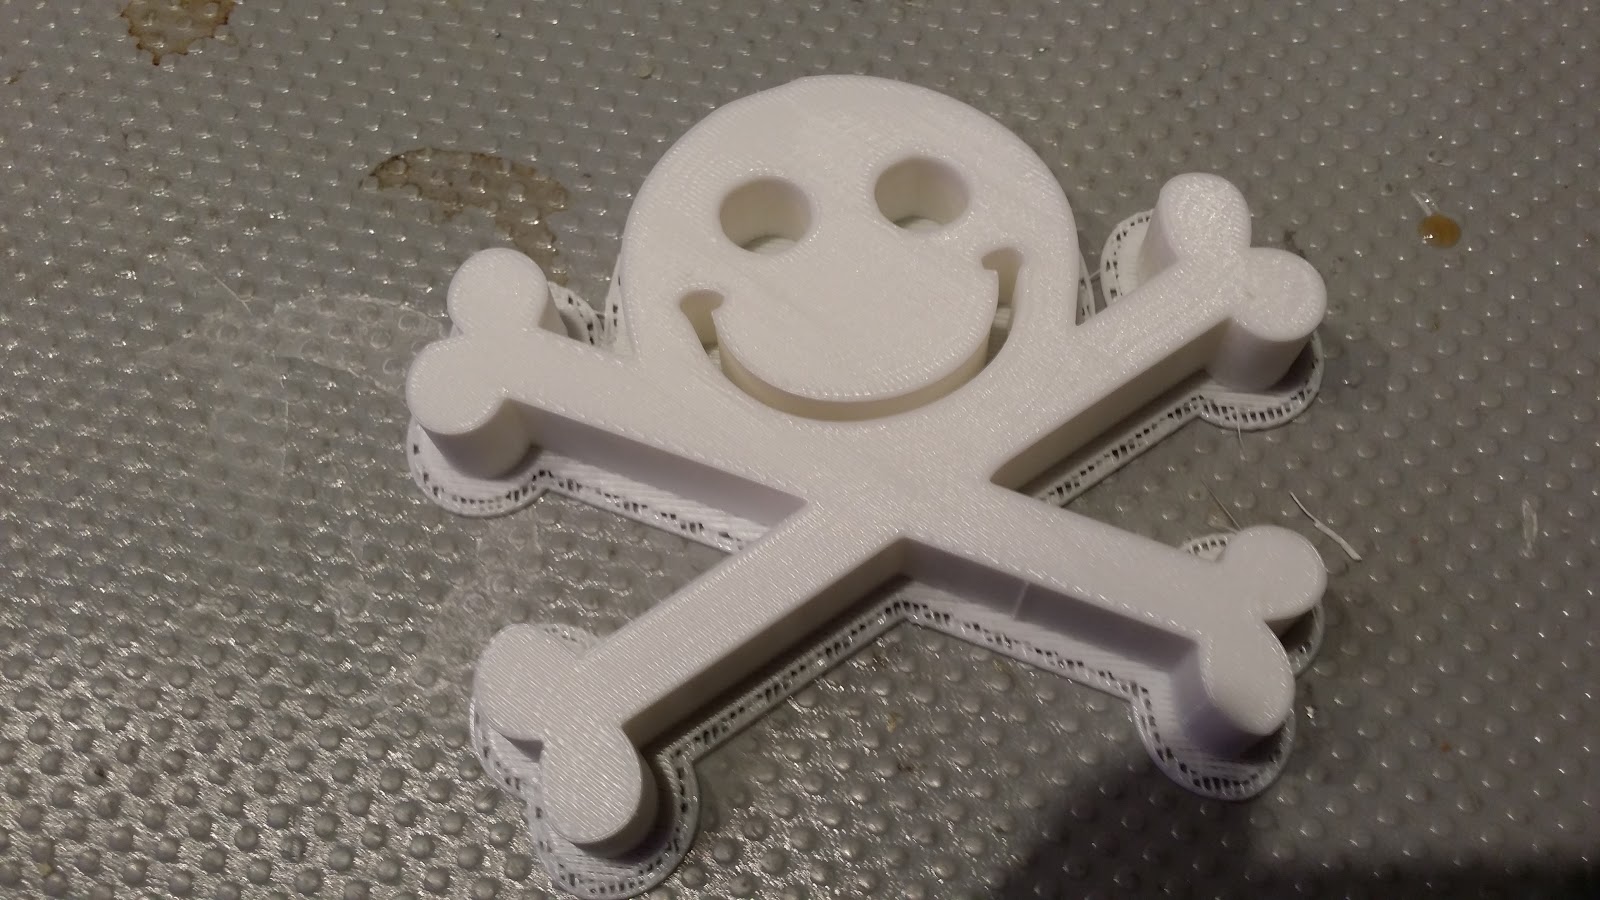
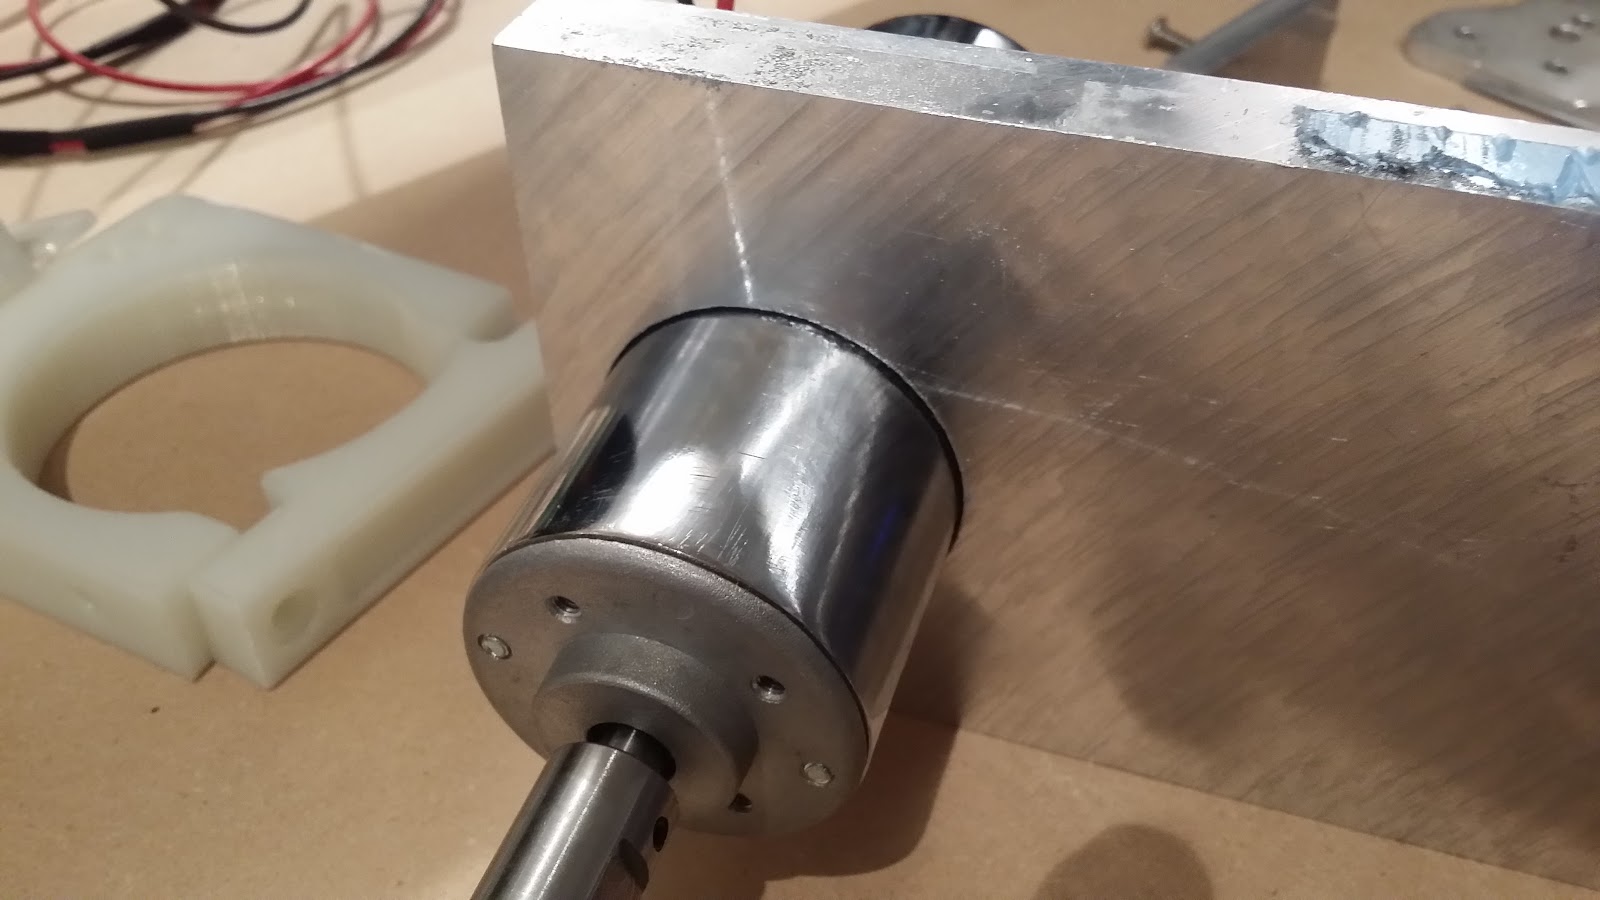
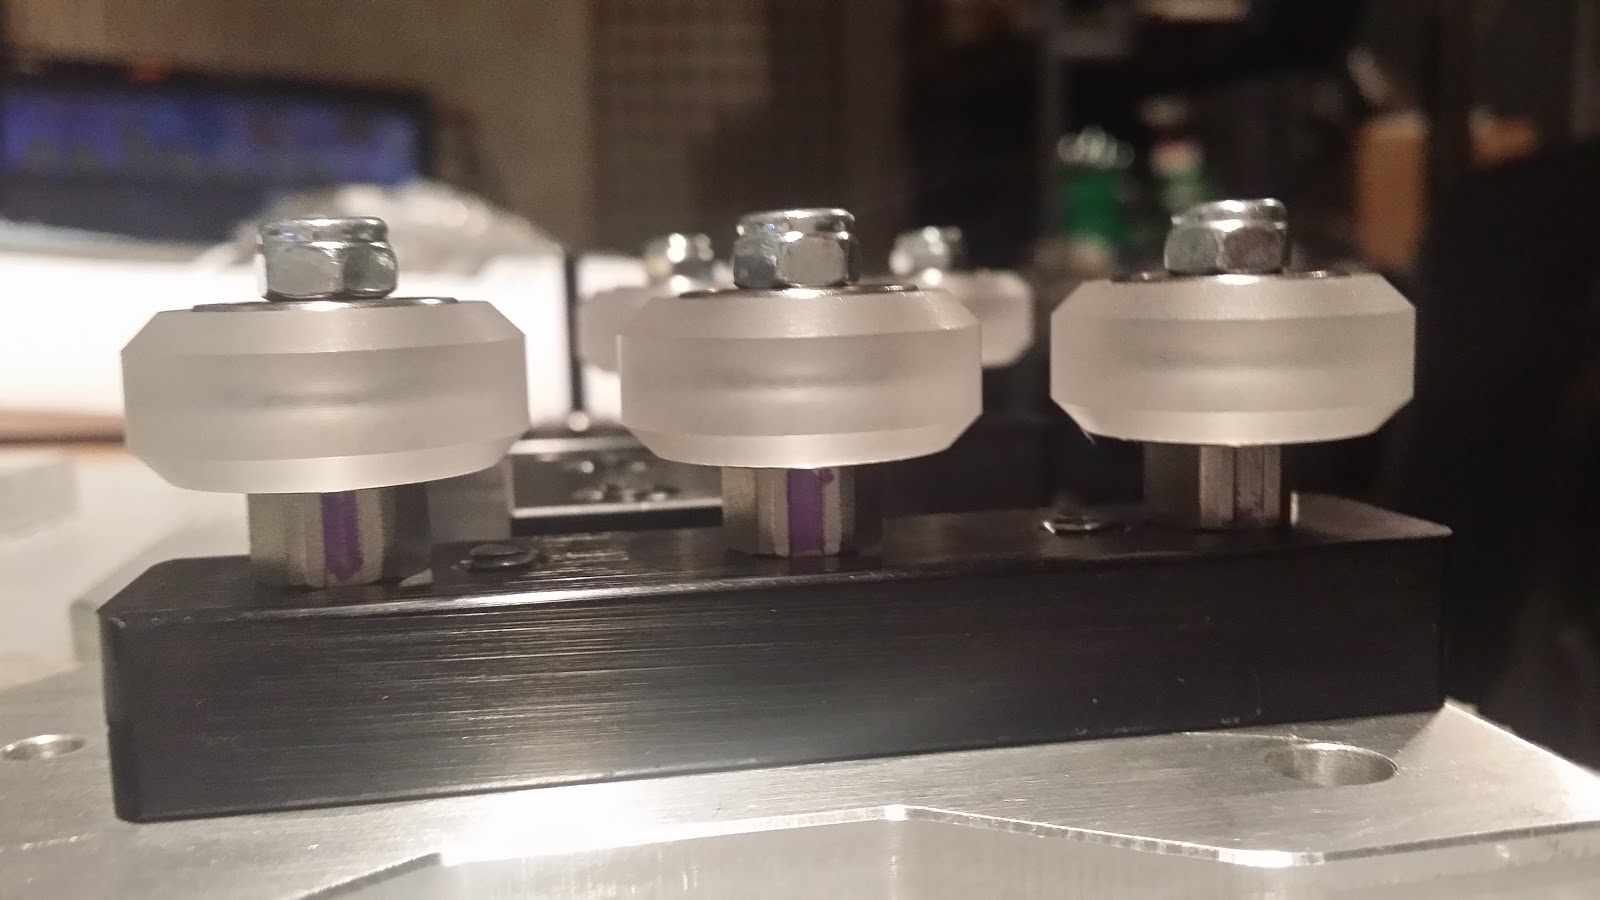
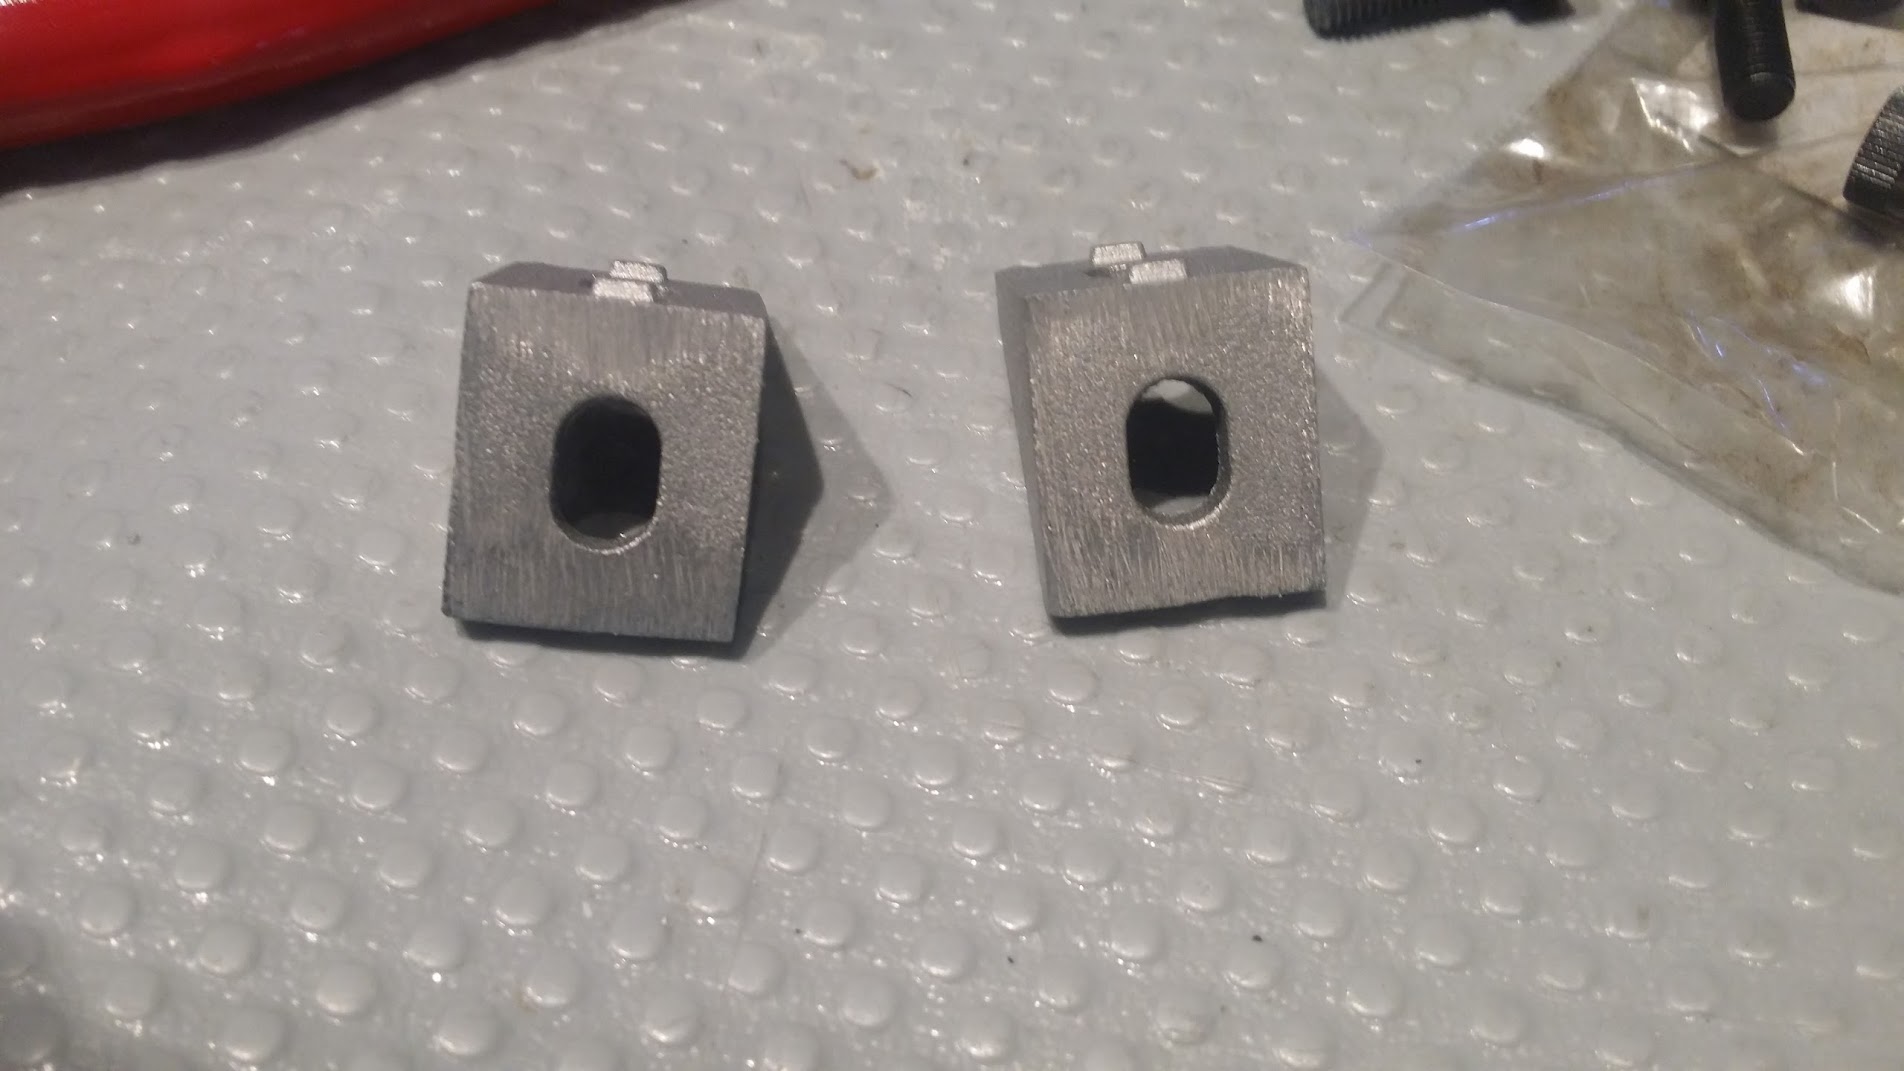
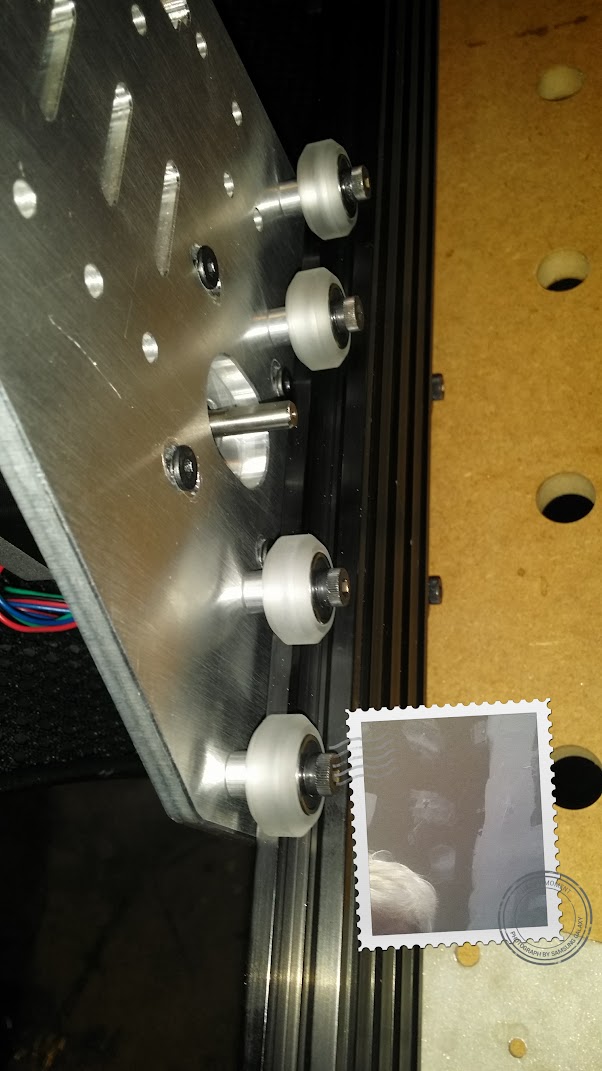
    I found a seller for it, $5 @ alibaba brand "qook"

    http://www.aliexpress.com/item/Pulse-Width-Modulation-PWM-DC-Motor-Speed-Control-Switch-9V-55V-10A-13khz/2035792880.html

  • y gantry

    charliex07/02/2015 at 03:58 0 comments

    putting together the Y/Z

    i put this on the opposite side by mistake.

    how much swarf comes out of the delrin

    right way around, all but one wheel installed.

    the bottom ridges of the eccentrics are shown

    complete

    started feeling out the back plate.

    add the wheels

    and there's a problem, the nice cnc plates have two holes missing, there are four upper wheels, and only two holes.. so i figure lets try the badly made ones, whilst thinking to myself, this is going to be a mistake i should just add the holes.

    two holes bad, four good.


    so on to the other plate then, how bad can it be, its just finish rght? get the top side on, fits ok.

    then fiddle around with it, take off the top wheels they all pop off, try to align bottom screws and eccentrics, take off back beam to able to get to the bolts.


    sure enough, the holes don't line up so pretty much impossible to get those eccentrics in there without squishing the wheels, quick eyeball of the nicely CNC'd plate and it looks like it matches, so next adding holes to the back plate....i could just oval the holes but i'm sure there are other issues waiting for me with these SW3D plates.

    and with that, time for a break. hung out in the HAD prize channel for a bit, that was interesting saw some cool projects.

  • crossbeams and Z

    charliex07/02/2015 at 00:14 0 comments

    Started off tapping the 12 holes for the 20x60 cross beams , and the 4 for 20x40's

    don't forget to clean up the swarf from the tapping

    add two of these t nuts , into the "front" top 20x60 (and after its bolted together , i've put them in the wrong place here, they should be on the front side either middle or top slot... )

    the SWM3D 20x40 is about 8mm too short... its the same length as the frame pieces, or alternatively the 20x60's are too long..

    not sure what to do about that i'll measure the plates and see if they're square vertically, if not the 20x60's are too long, if they are square and riding the v slots correctly then the 20x40 is too short.. also switching on phones "smart stabilisation" feature !

    much better, but now i realise the two t nuts are in the wrong slot, the picture in the manual is rotated.. so it wants them in the vertical top slot at the front to mate with a right angle bracket, and not on the top.... i thought it was showing me all three together, the manual is a phgotocopy or poor printer so its hard to see some of the detail, he says.

    handily there is a slot cut in the side to allow me to remove the t nuts, but not so handily no such slot on the place its meant to go.

    ground down the tabs on the 90 brackets.

    and mounted, in the middle as Dave suggested.

    next i'll go over and resquare things, the lengths of the beams definitely aren't great, they're off by a lot in key places, luckily i should have some spare misumi/80/20 lying around.

    starting to look like a thing now

  • motor, side plates and wheels

    charliex07/01/2015 at 20:58 0 comments

    added the lower wheels.

    motor and lower wheels with erratic offsets

    adding top wheels.

    managed to switch the camera to double pic mode..

    i found it easiest to put the wheels together this way, bearing, bolt.

    then add washer, and next bearing

    right side gantry plate

    mounting them on the rail, pull out bolt til its flush, put the wheel in the V and push bolt into hole on plate. sorry about blurrycam.

    All mounted, time to adjust the eccentrics and have it slide and not have up and down movement.

    the right side upper wheels don't seem to be properly aligned holes or such, since two engage, and two ride free.

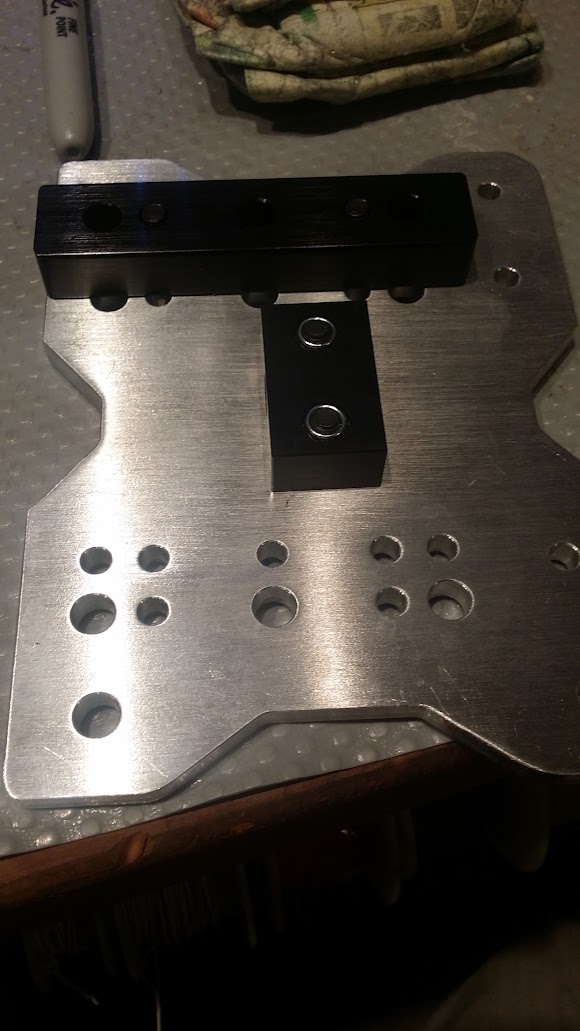
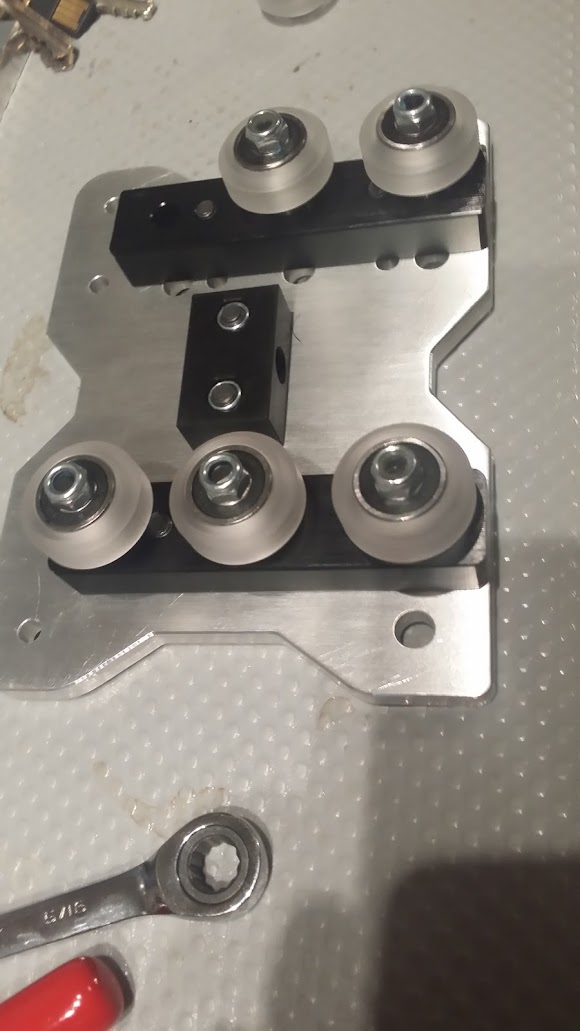
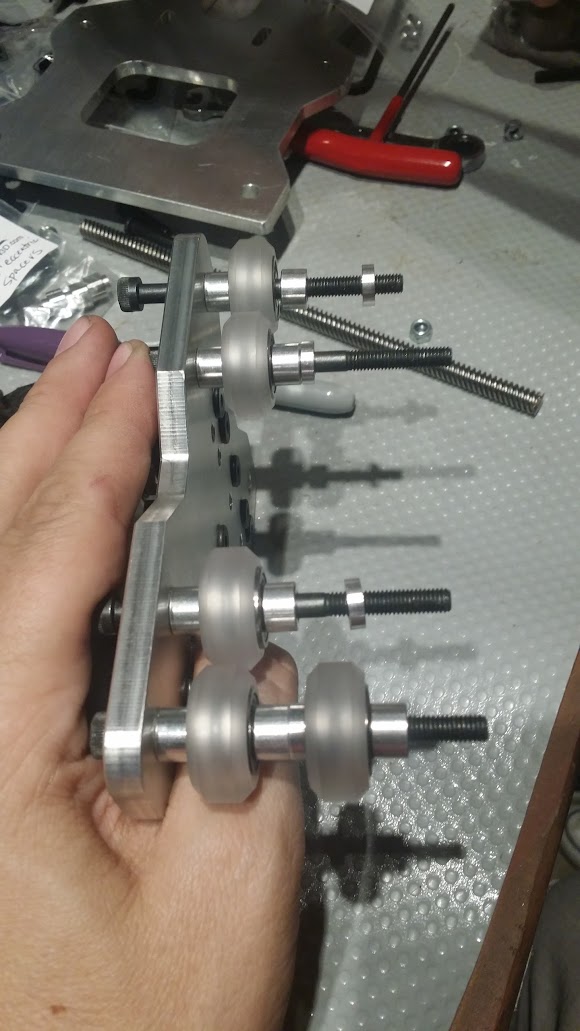
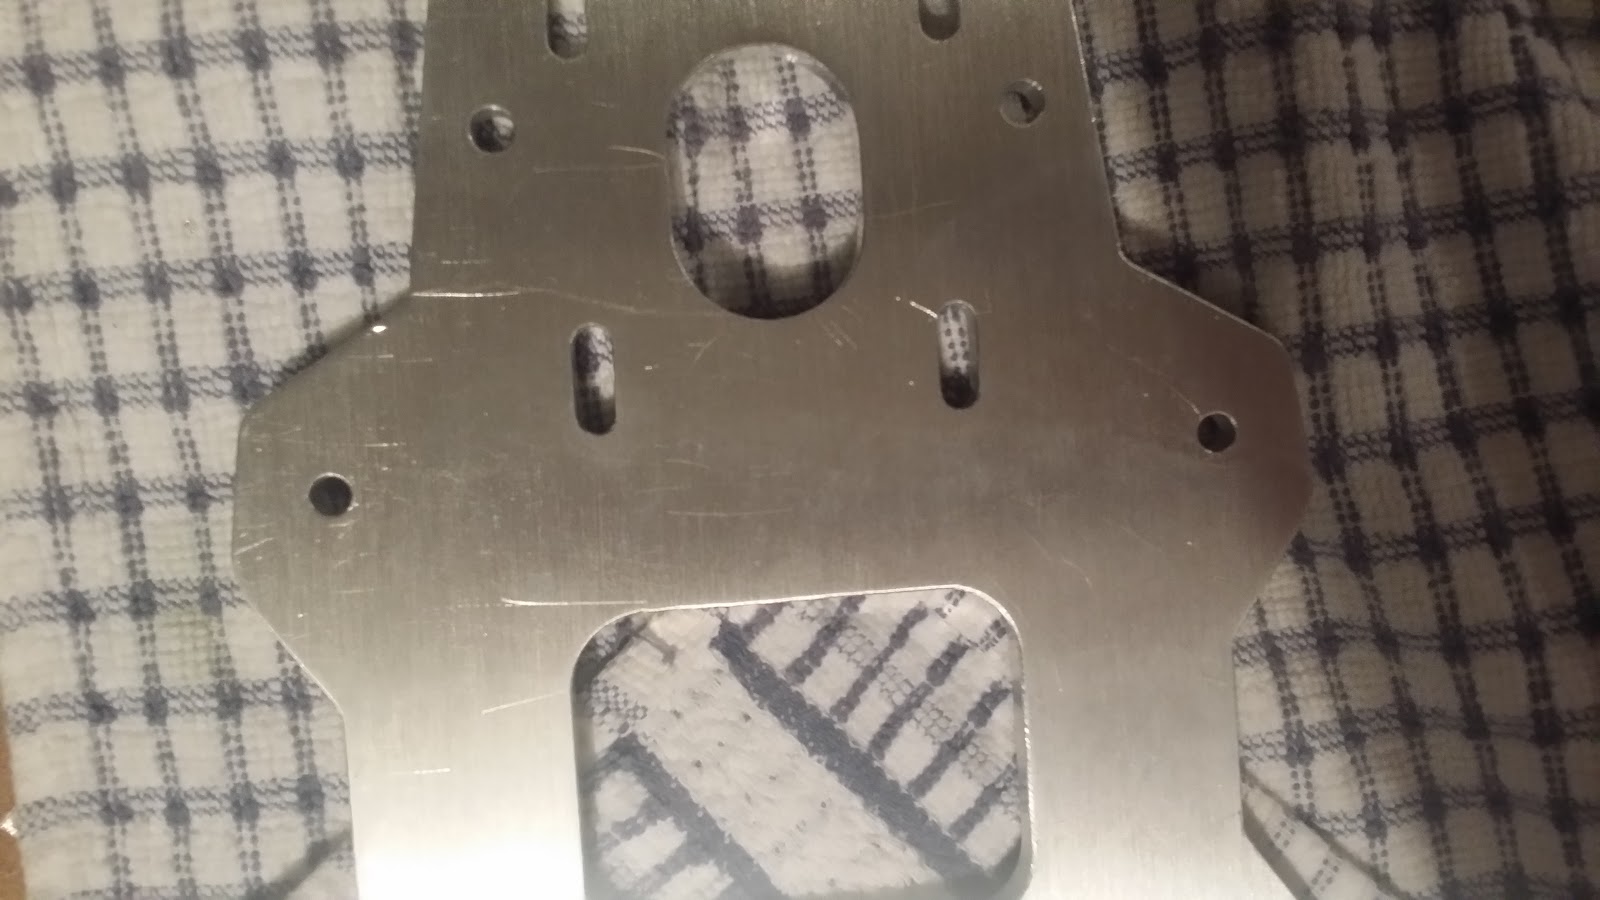
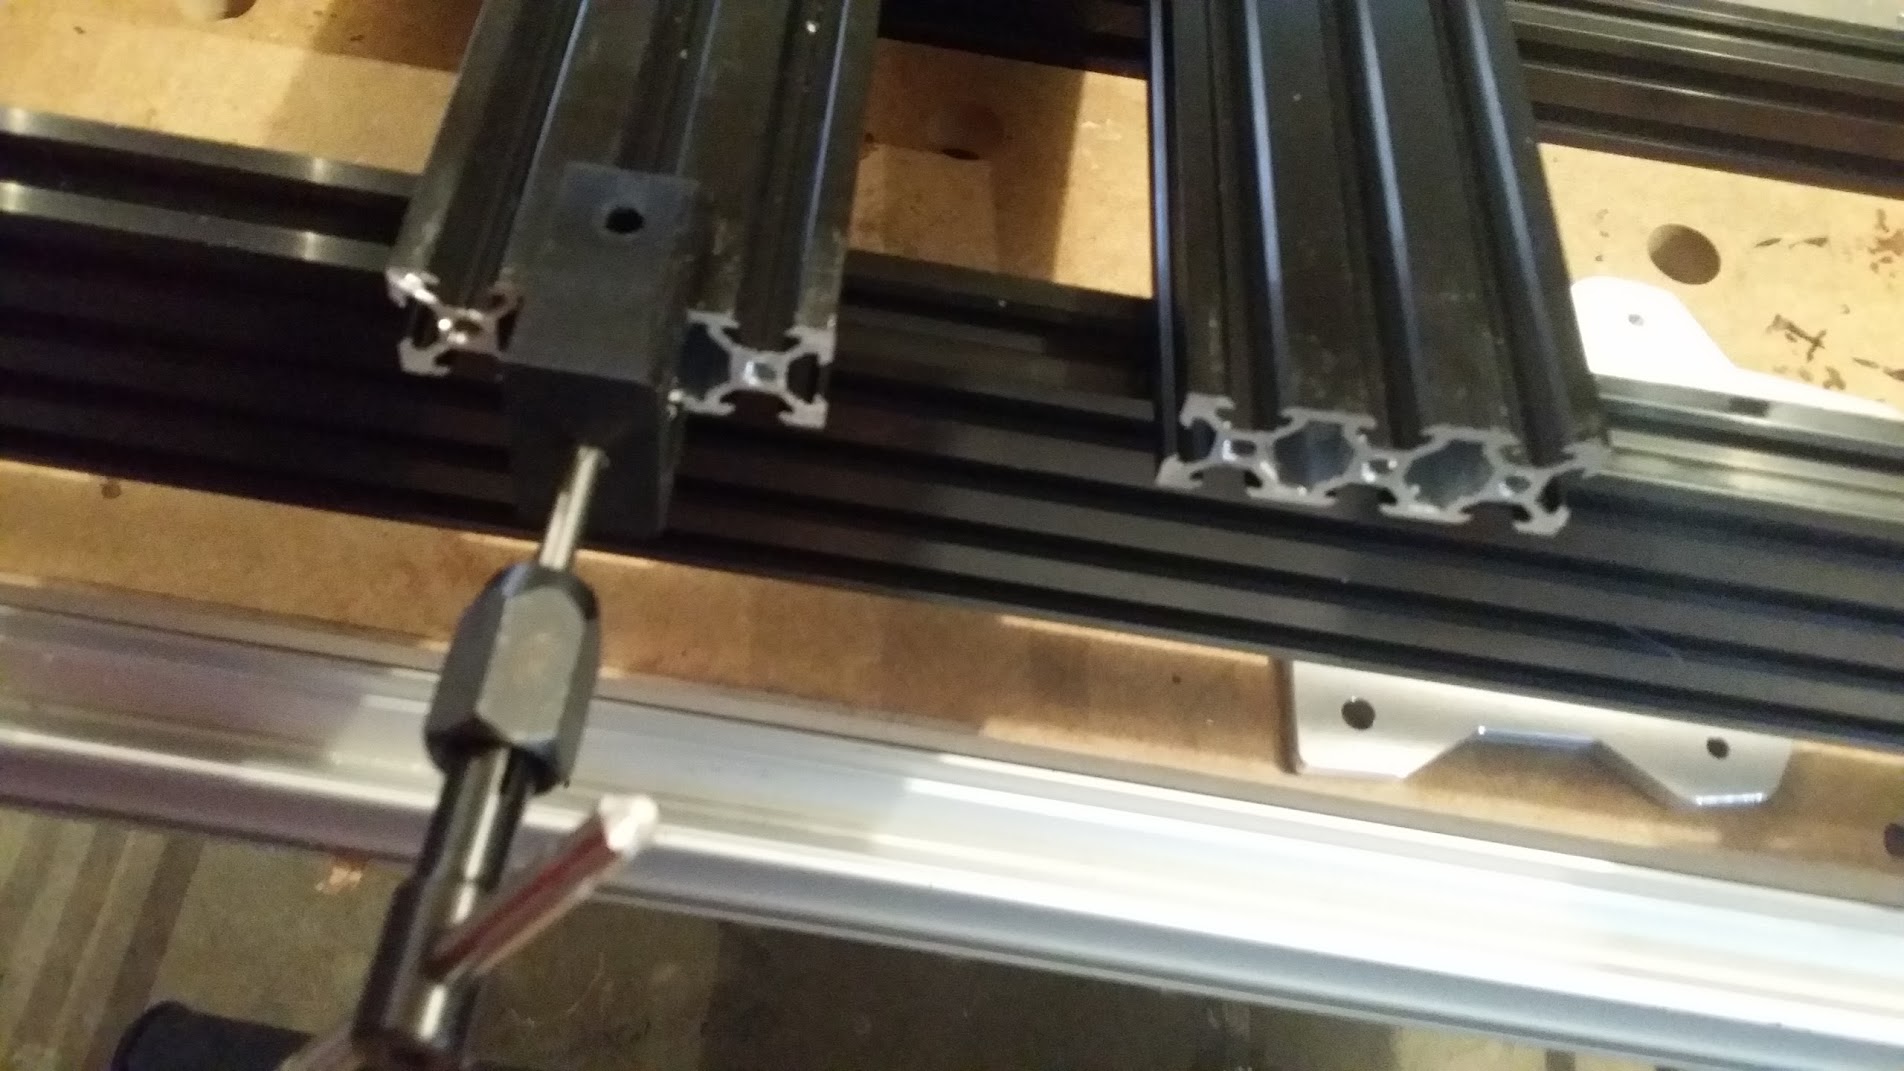
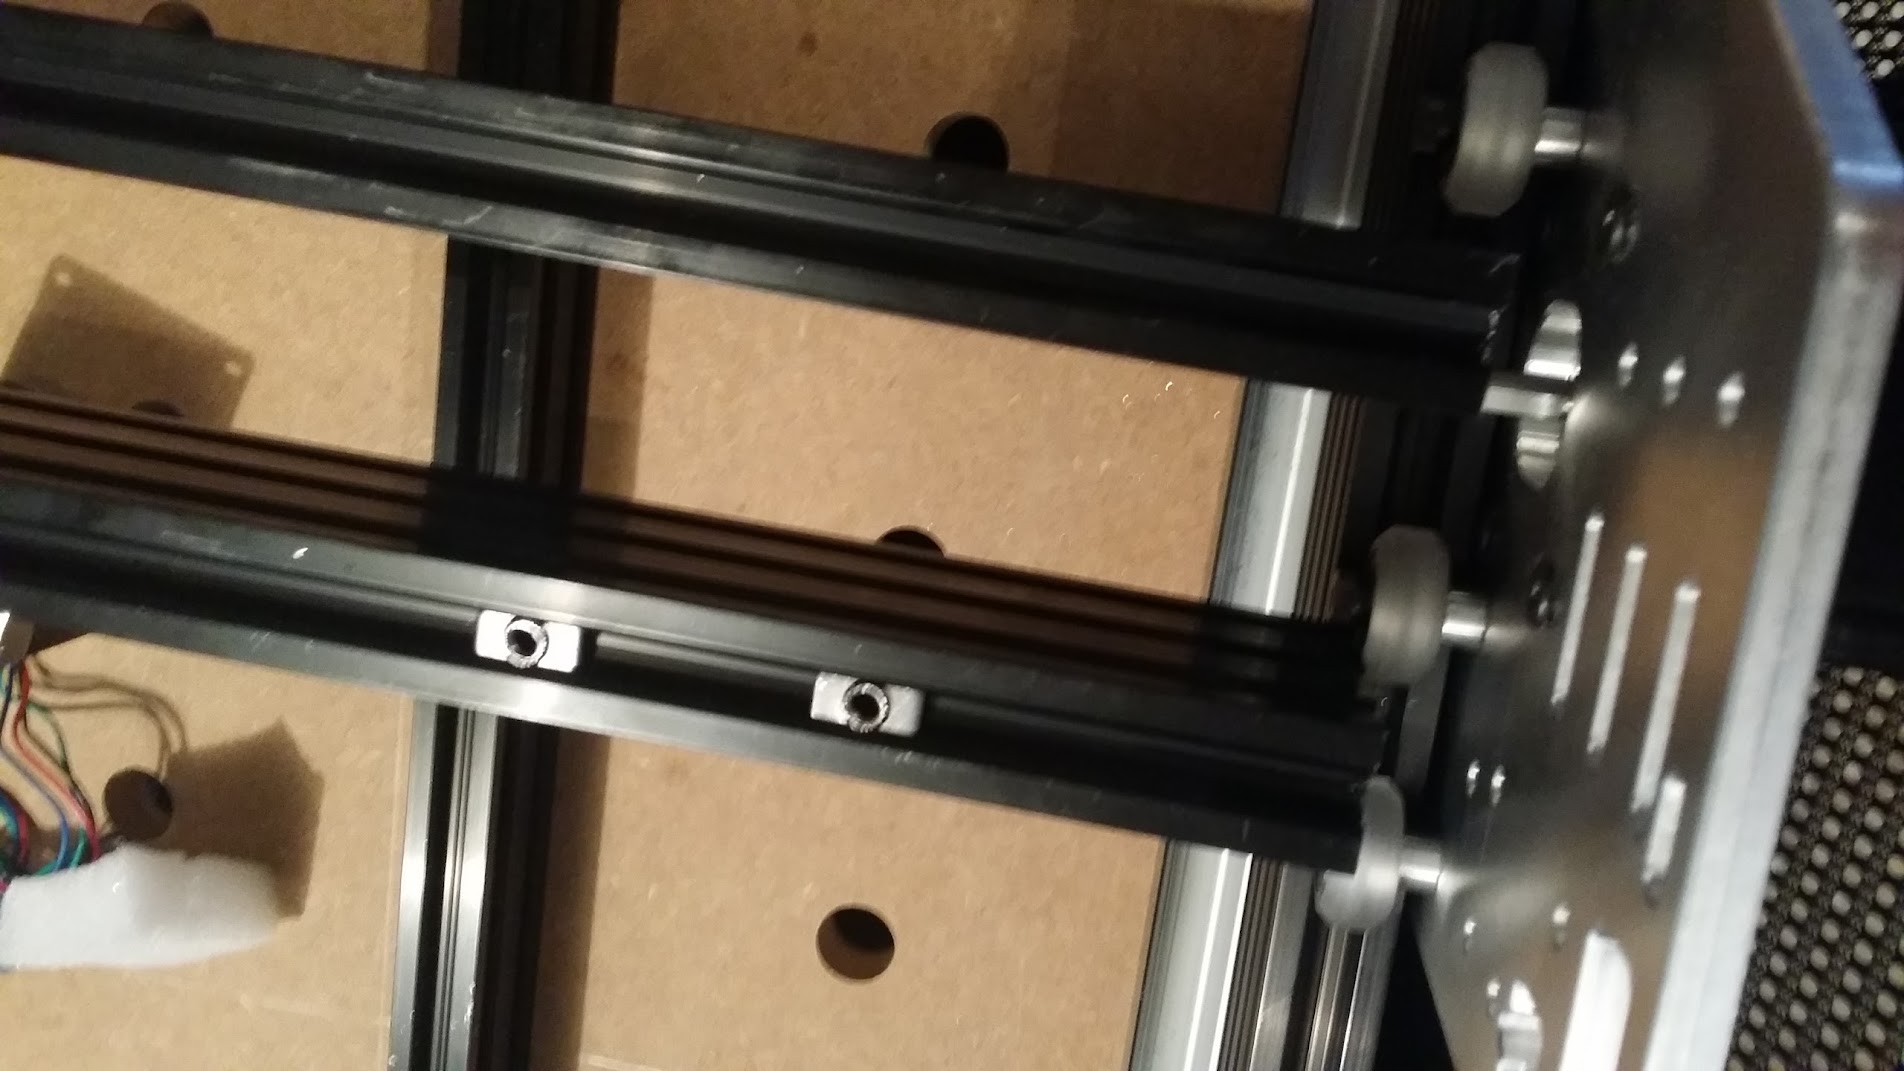
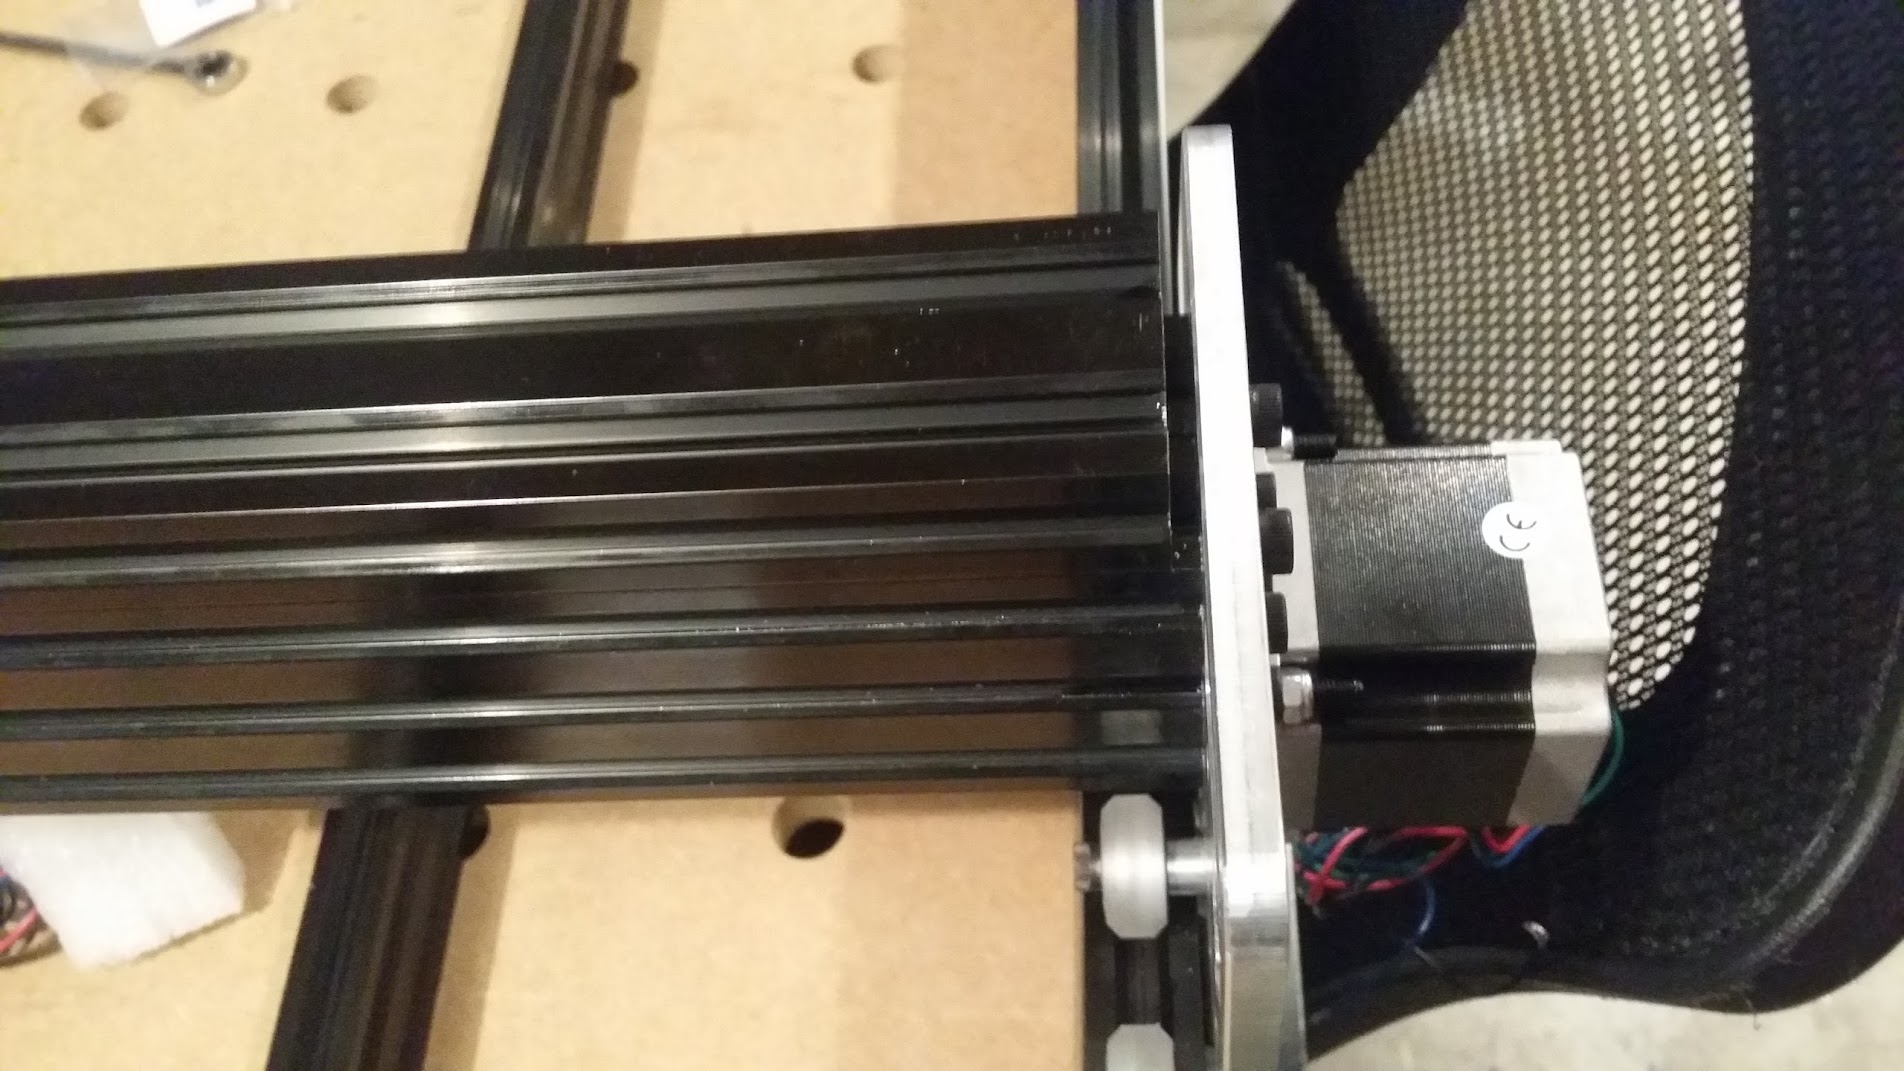
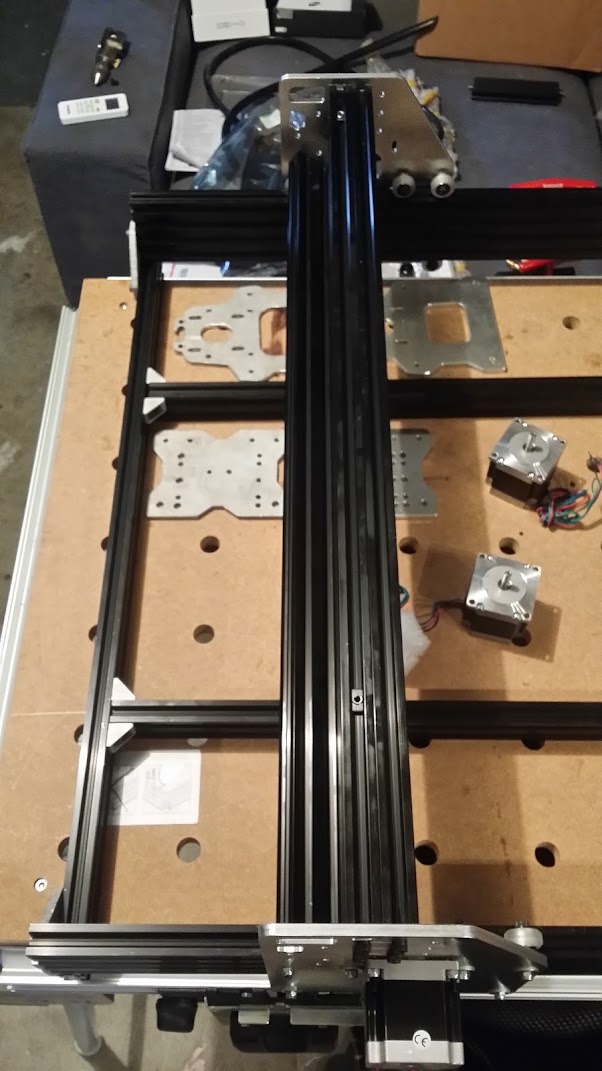
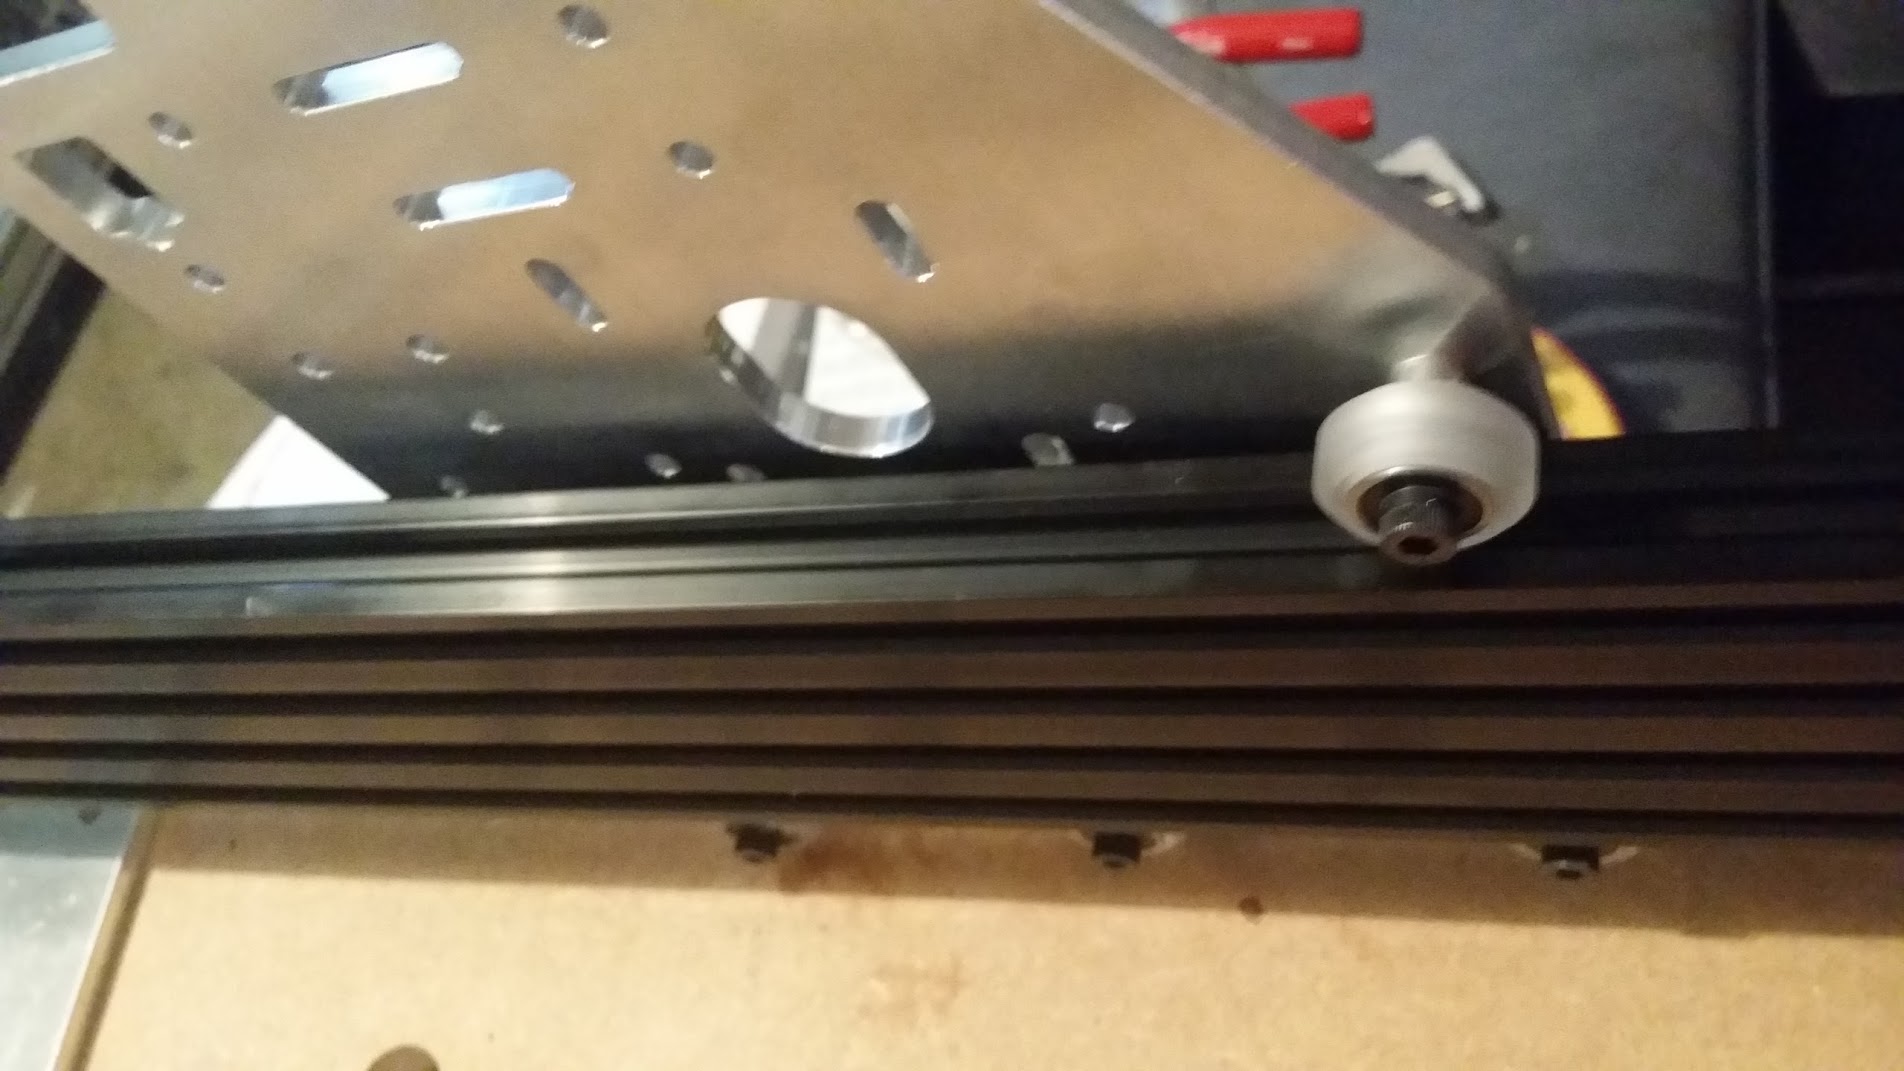
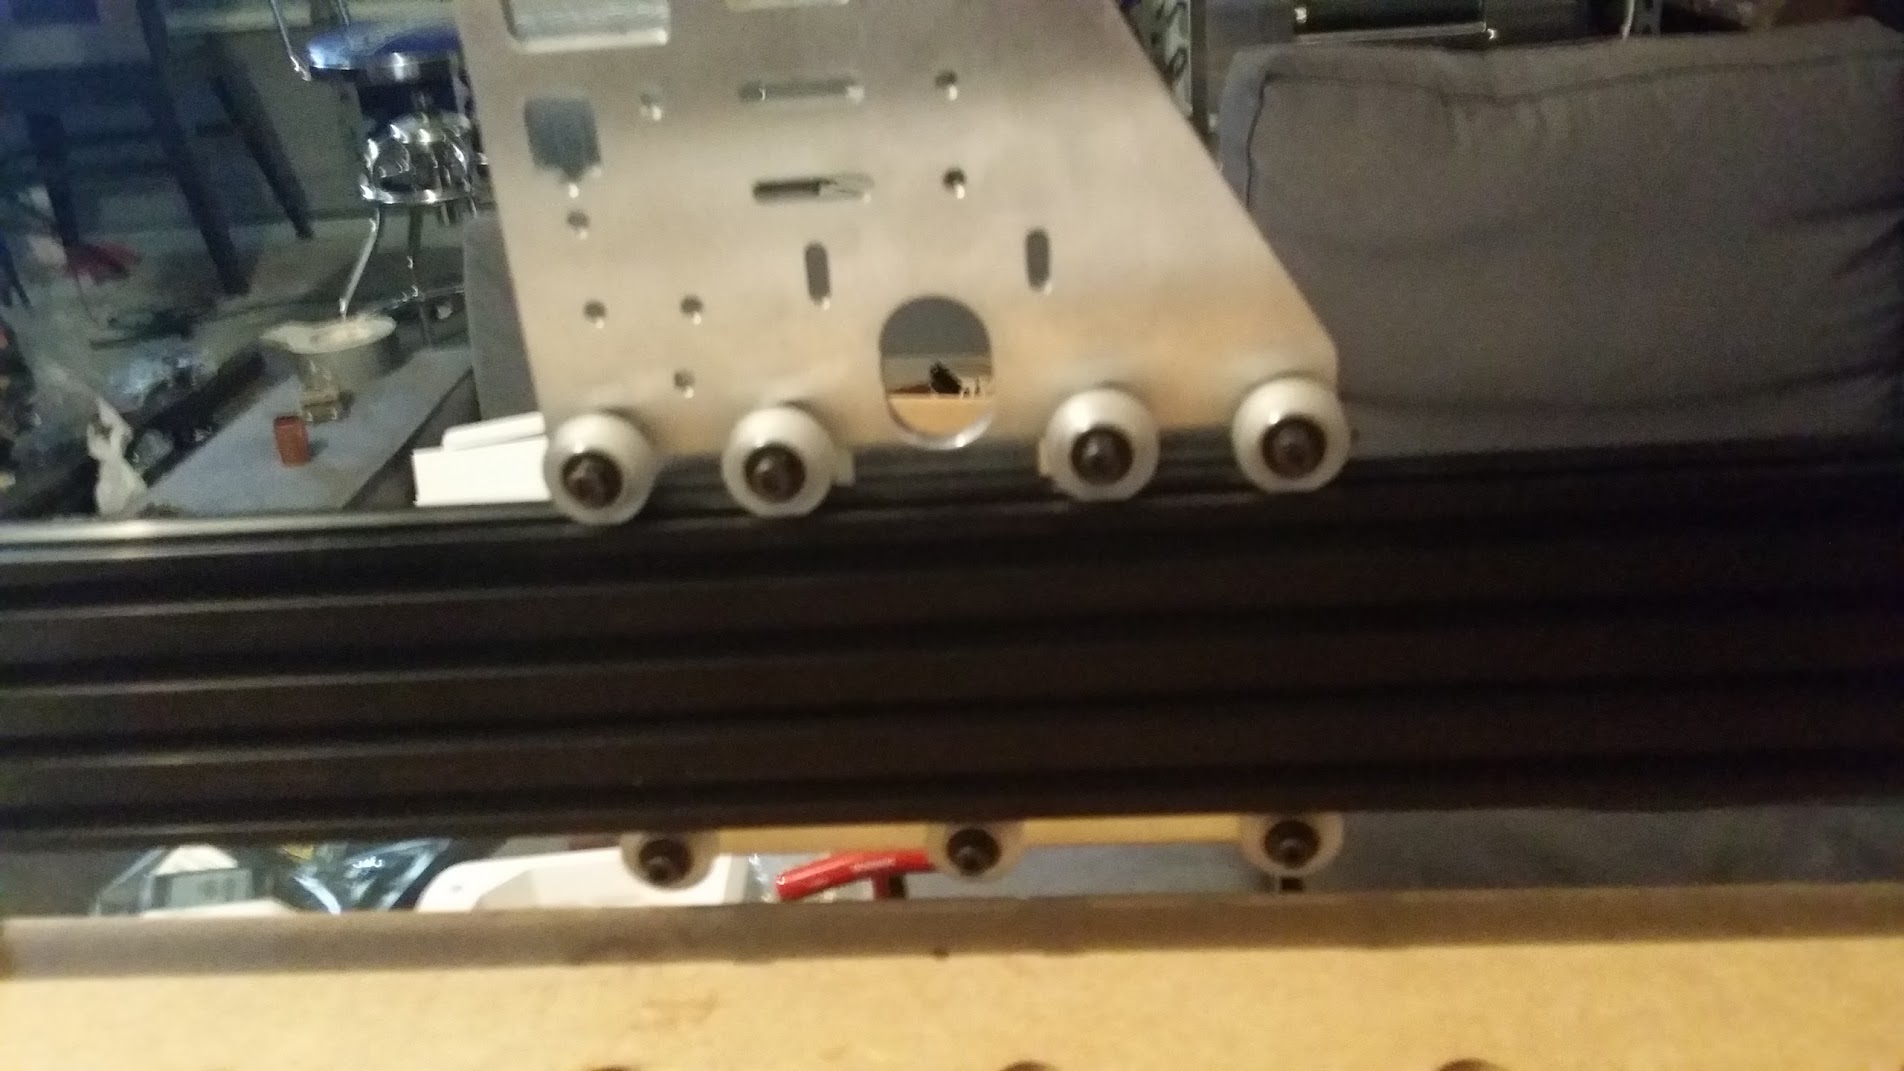
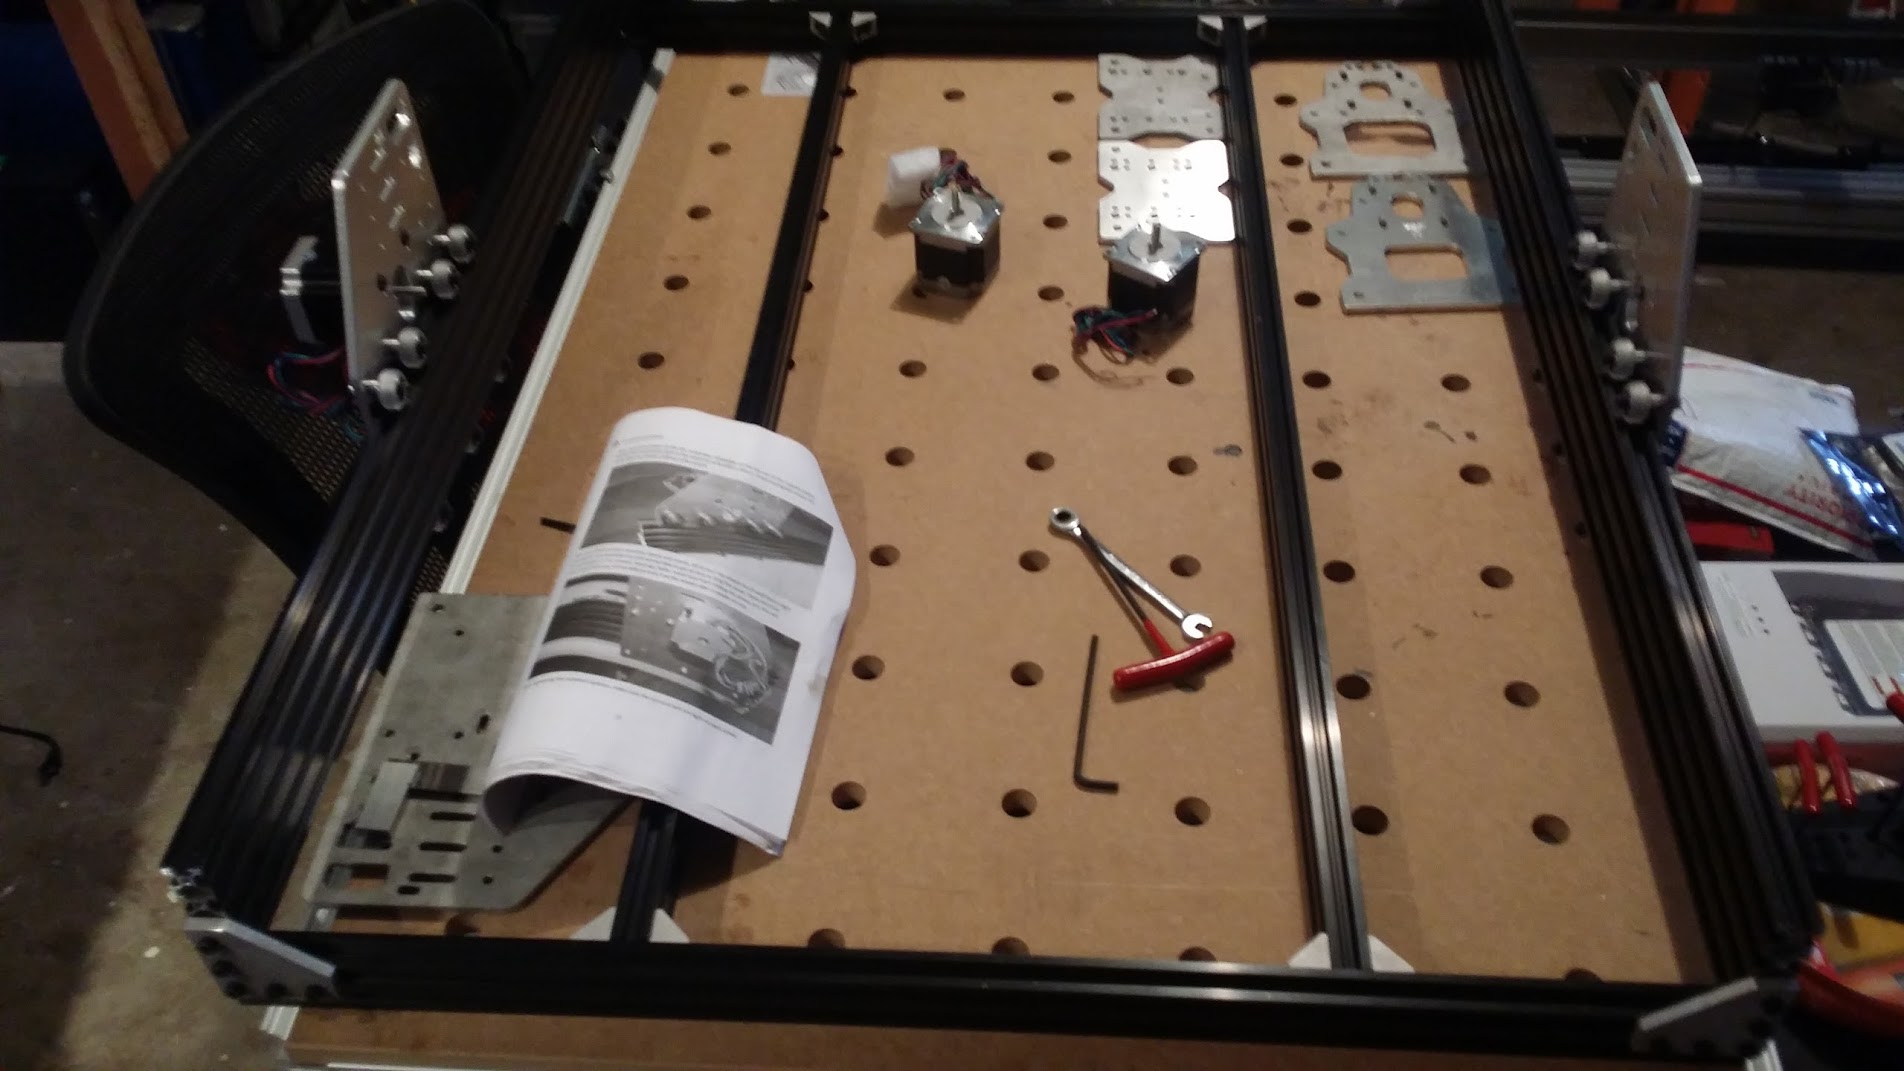
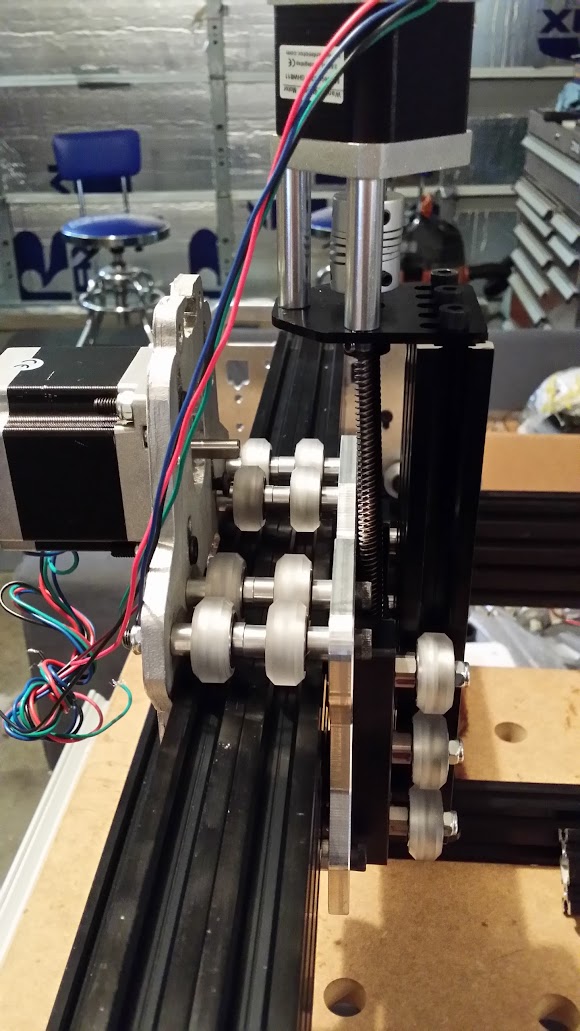
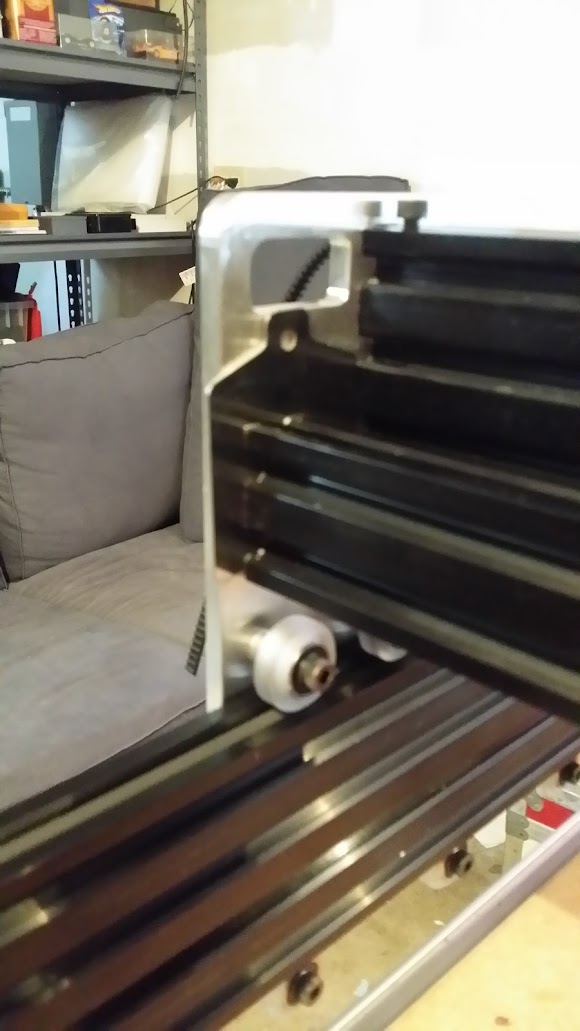
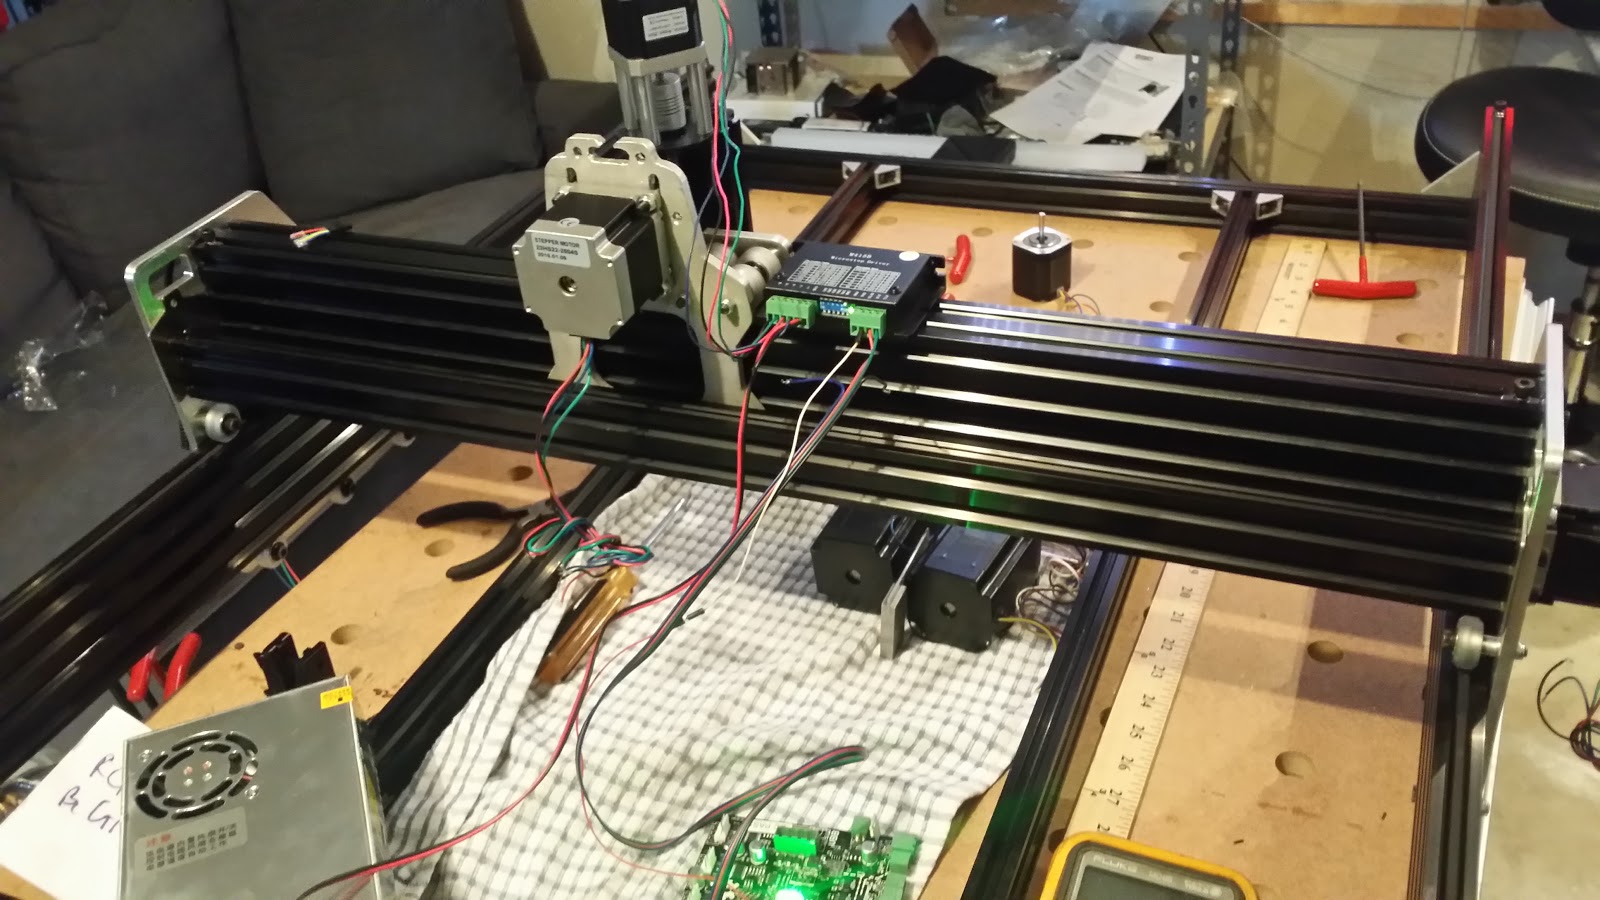
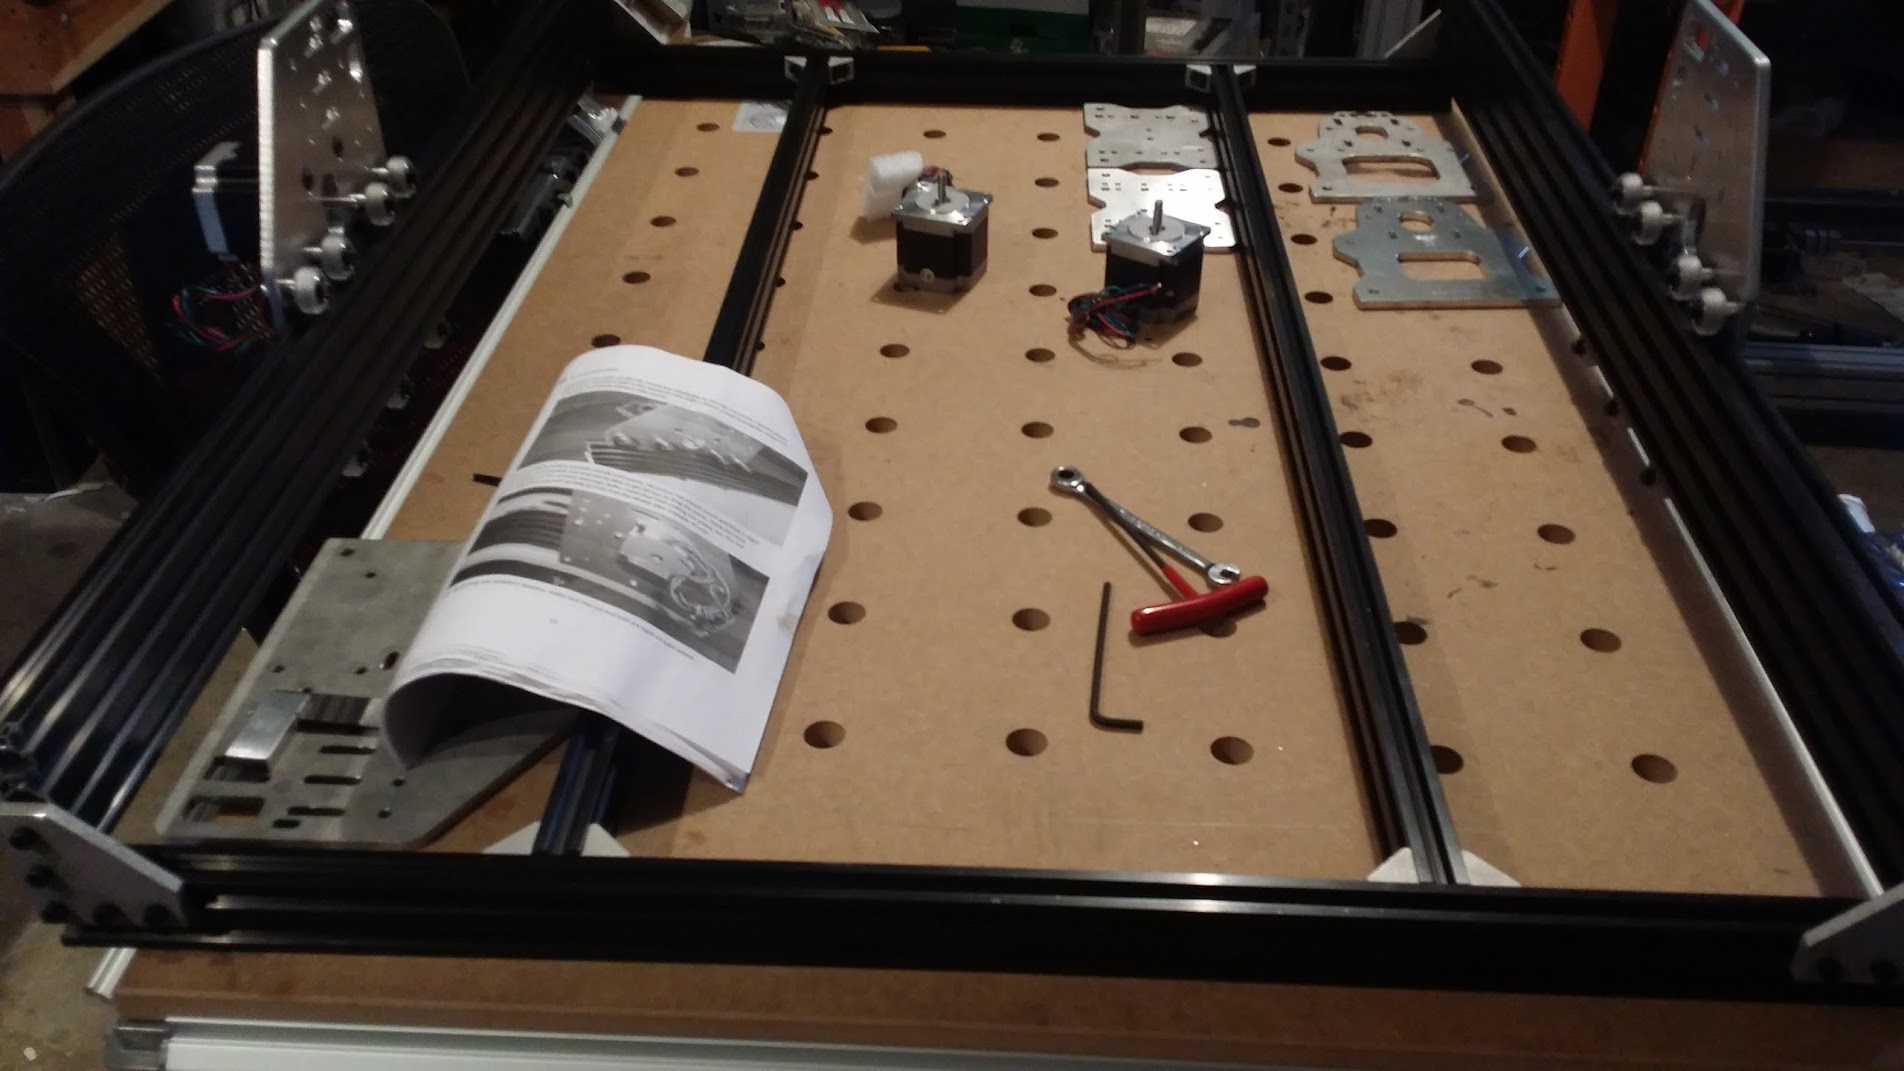
    OK, next cross beam and then the Z section after some more coffee.

View all 12 project logs

Enjoy this project?

Share

Discussions

Similar Projects

Does this project spark your interest?

Become a member to follow this project and never miss any updates