 GuyisIT
I'm starting with PL2 because it's late and I don't want to write about my code/ GPIO layout tonight!
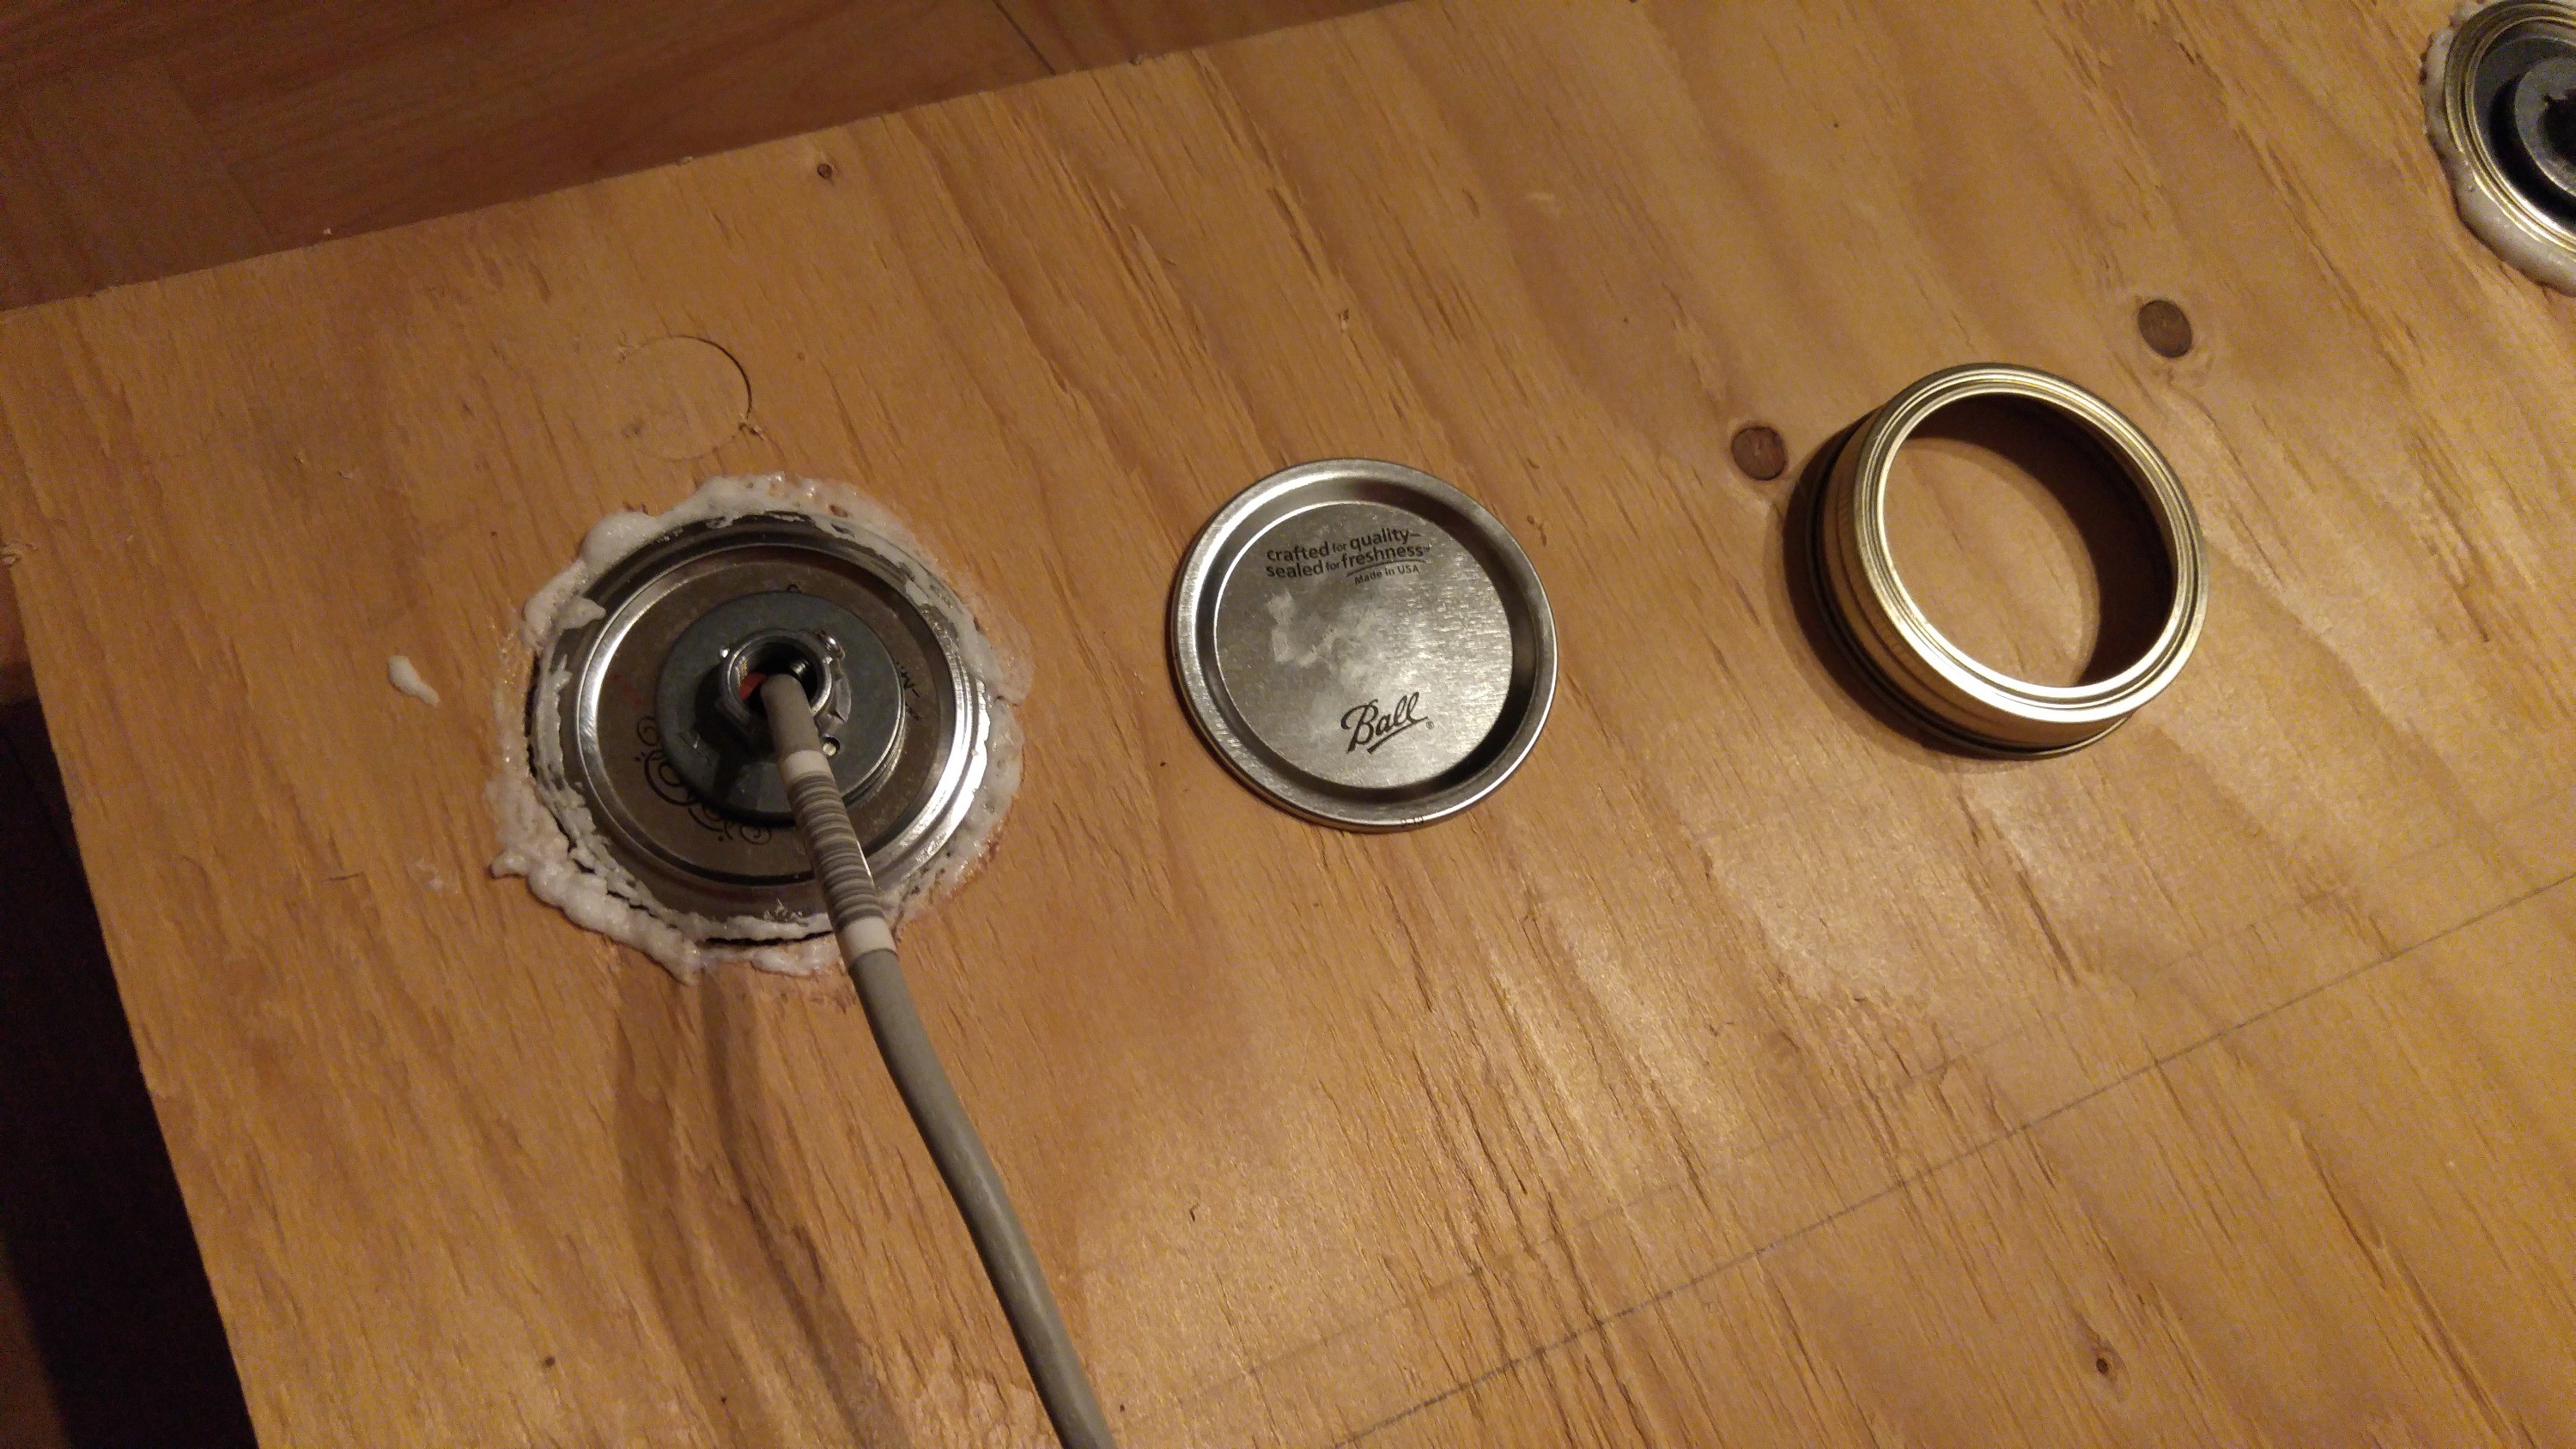
Today I spent some time getting started with the photobooth front. It's a piece of plywood with some mason jar lids glued into holes I cut. In the lid insert I've attached light sockets, which will have 'flash' bulbs installed for lighting the picture.
 Above is the jar lid ring being glued in place, and below is the finished product, with an unaltered lid ring and insert next to it for comparison.
Lastly, we have a picture (which I evidently couldn't crop) of the front of the board, with the two mason jars installed. I currently don't have any bulbs that will fit, so tomorrow I'll head to Home Depot to grab some 40-60w bulbs that are rated for enclosed spaces and some glass frosting spray for the jars, to diffuse the light.
Tomorrow I'm also taking the board into work, where I'll have access to better saws to cut a hole in the middle of the board for the screen.
I also need pick up some arcade-style push buttons to mound on the bottom, and cut holes for thoses plus the RasPi camera, and lastly a slot for the printer paper to come out of.
Discussions
Become a Hackaday.io Member
Create an account to leave a comment. Already have an account? Log In.