 Kenneth Zaborny
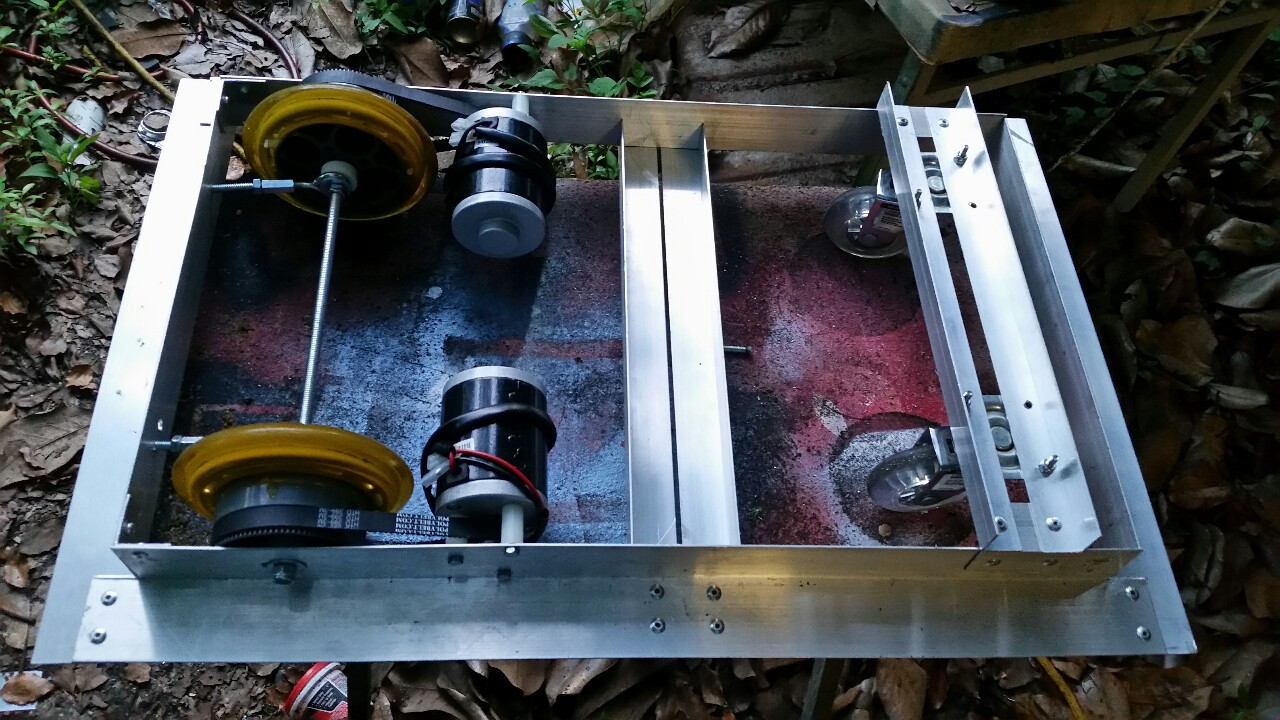
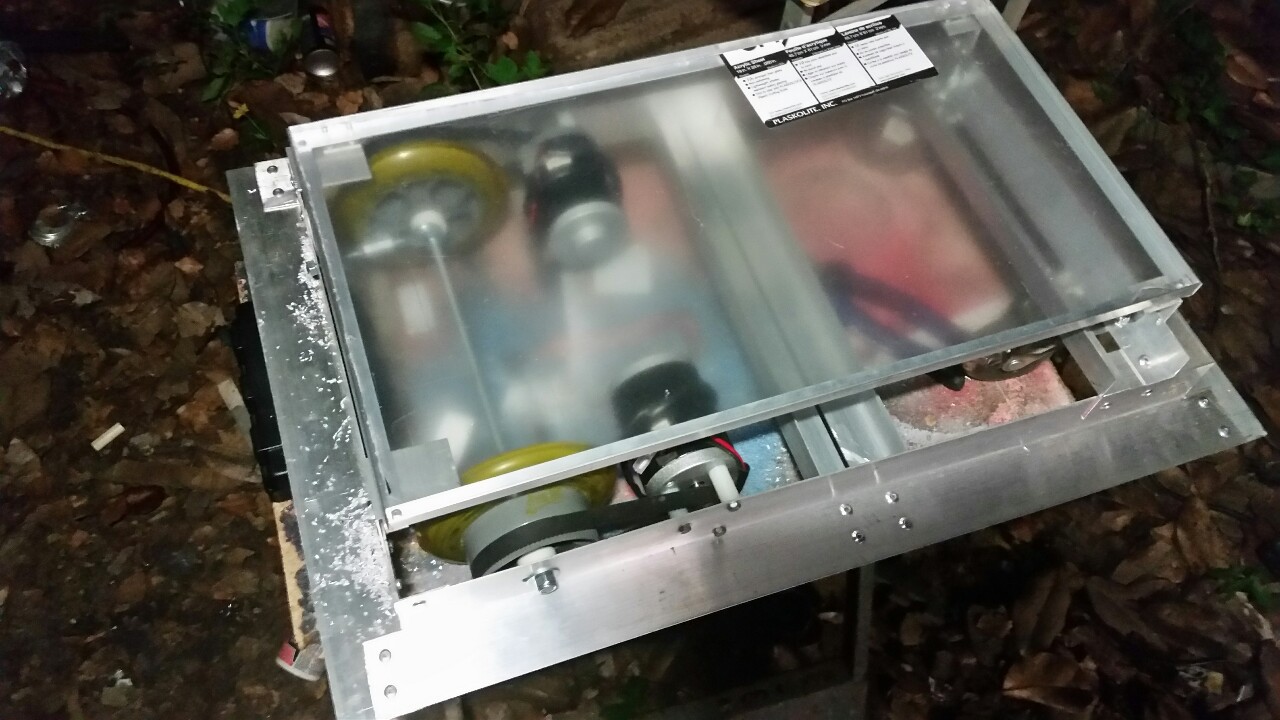
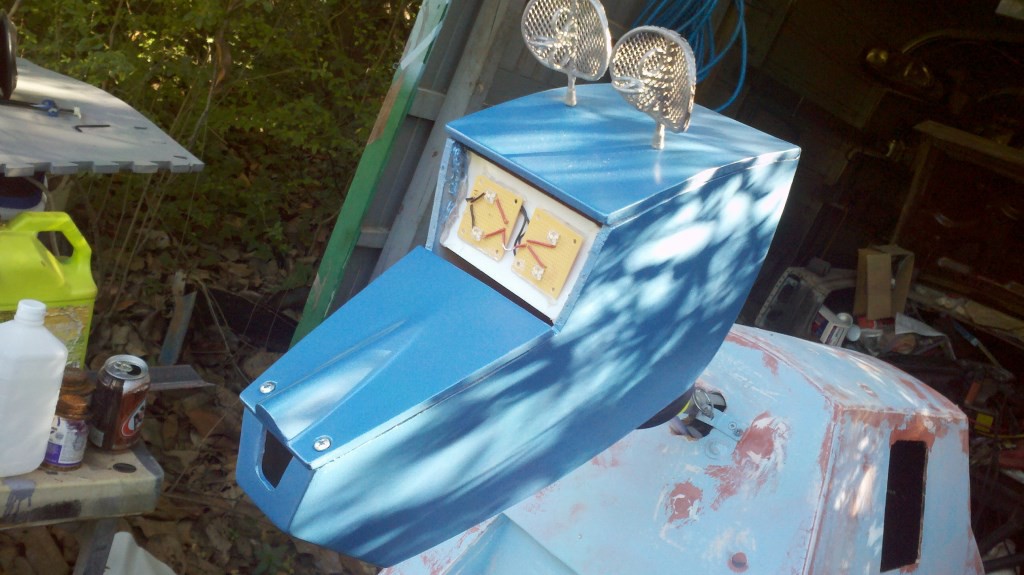
K9's brain is an Arduino Uno that receives commands from a PS2 controller. The drive motors are running in tank mode via a Sabertooth 2X12. A Syren 10 runs a salvaged wiper motor from an Astro van to raise and lower his head. Sounds are generated by an MP3trigger and amplified by a Sure 2X25.
0%
0%
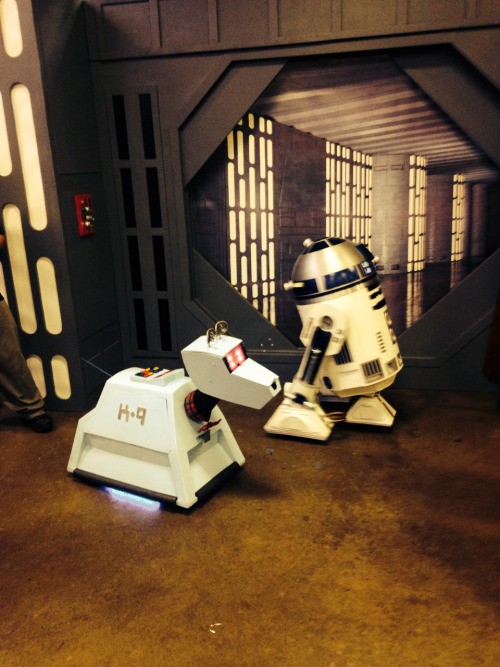
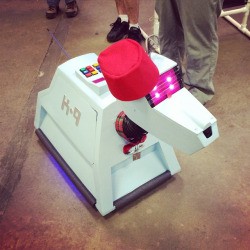
The Doctor's Companion, K-9
A semi-replica of K-9 from Doctor Who.
Become a Hackaday.io member
Already have an account? Log in.
Just one more thing
To make the experience fit your profile, pick a username and tell us what interests you.
Pick an awesome username
hackaday.io/
Your profile's URL: hackaday.io/username. Max 25 alphanumeric characters.
Pick a few interests
Projects that share your interests
People that share your interests


 Mike Rigsby
 davedarko

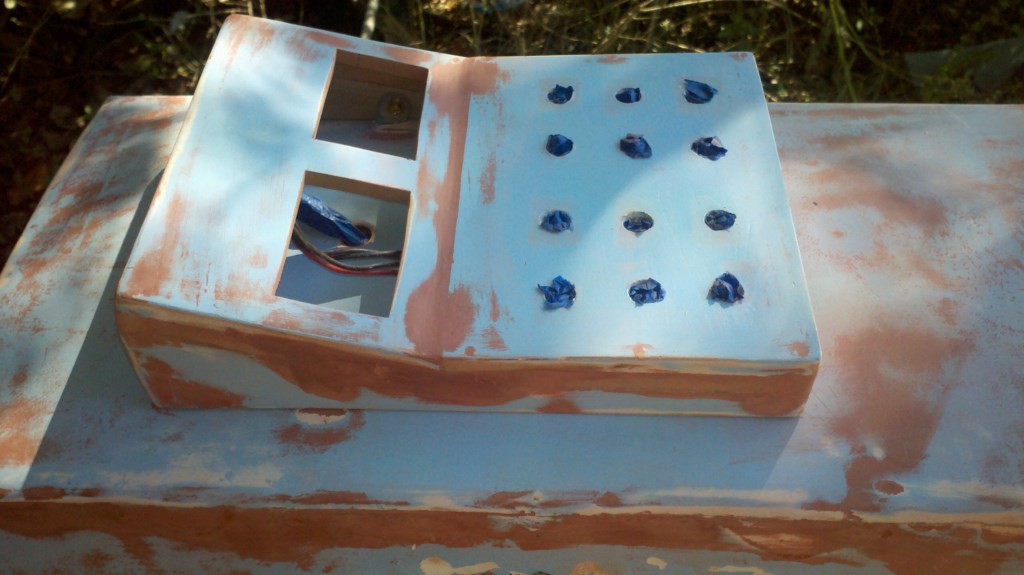
Nice K-9. I like your viewer screen set up.