 Will F.
Abstract:
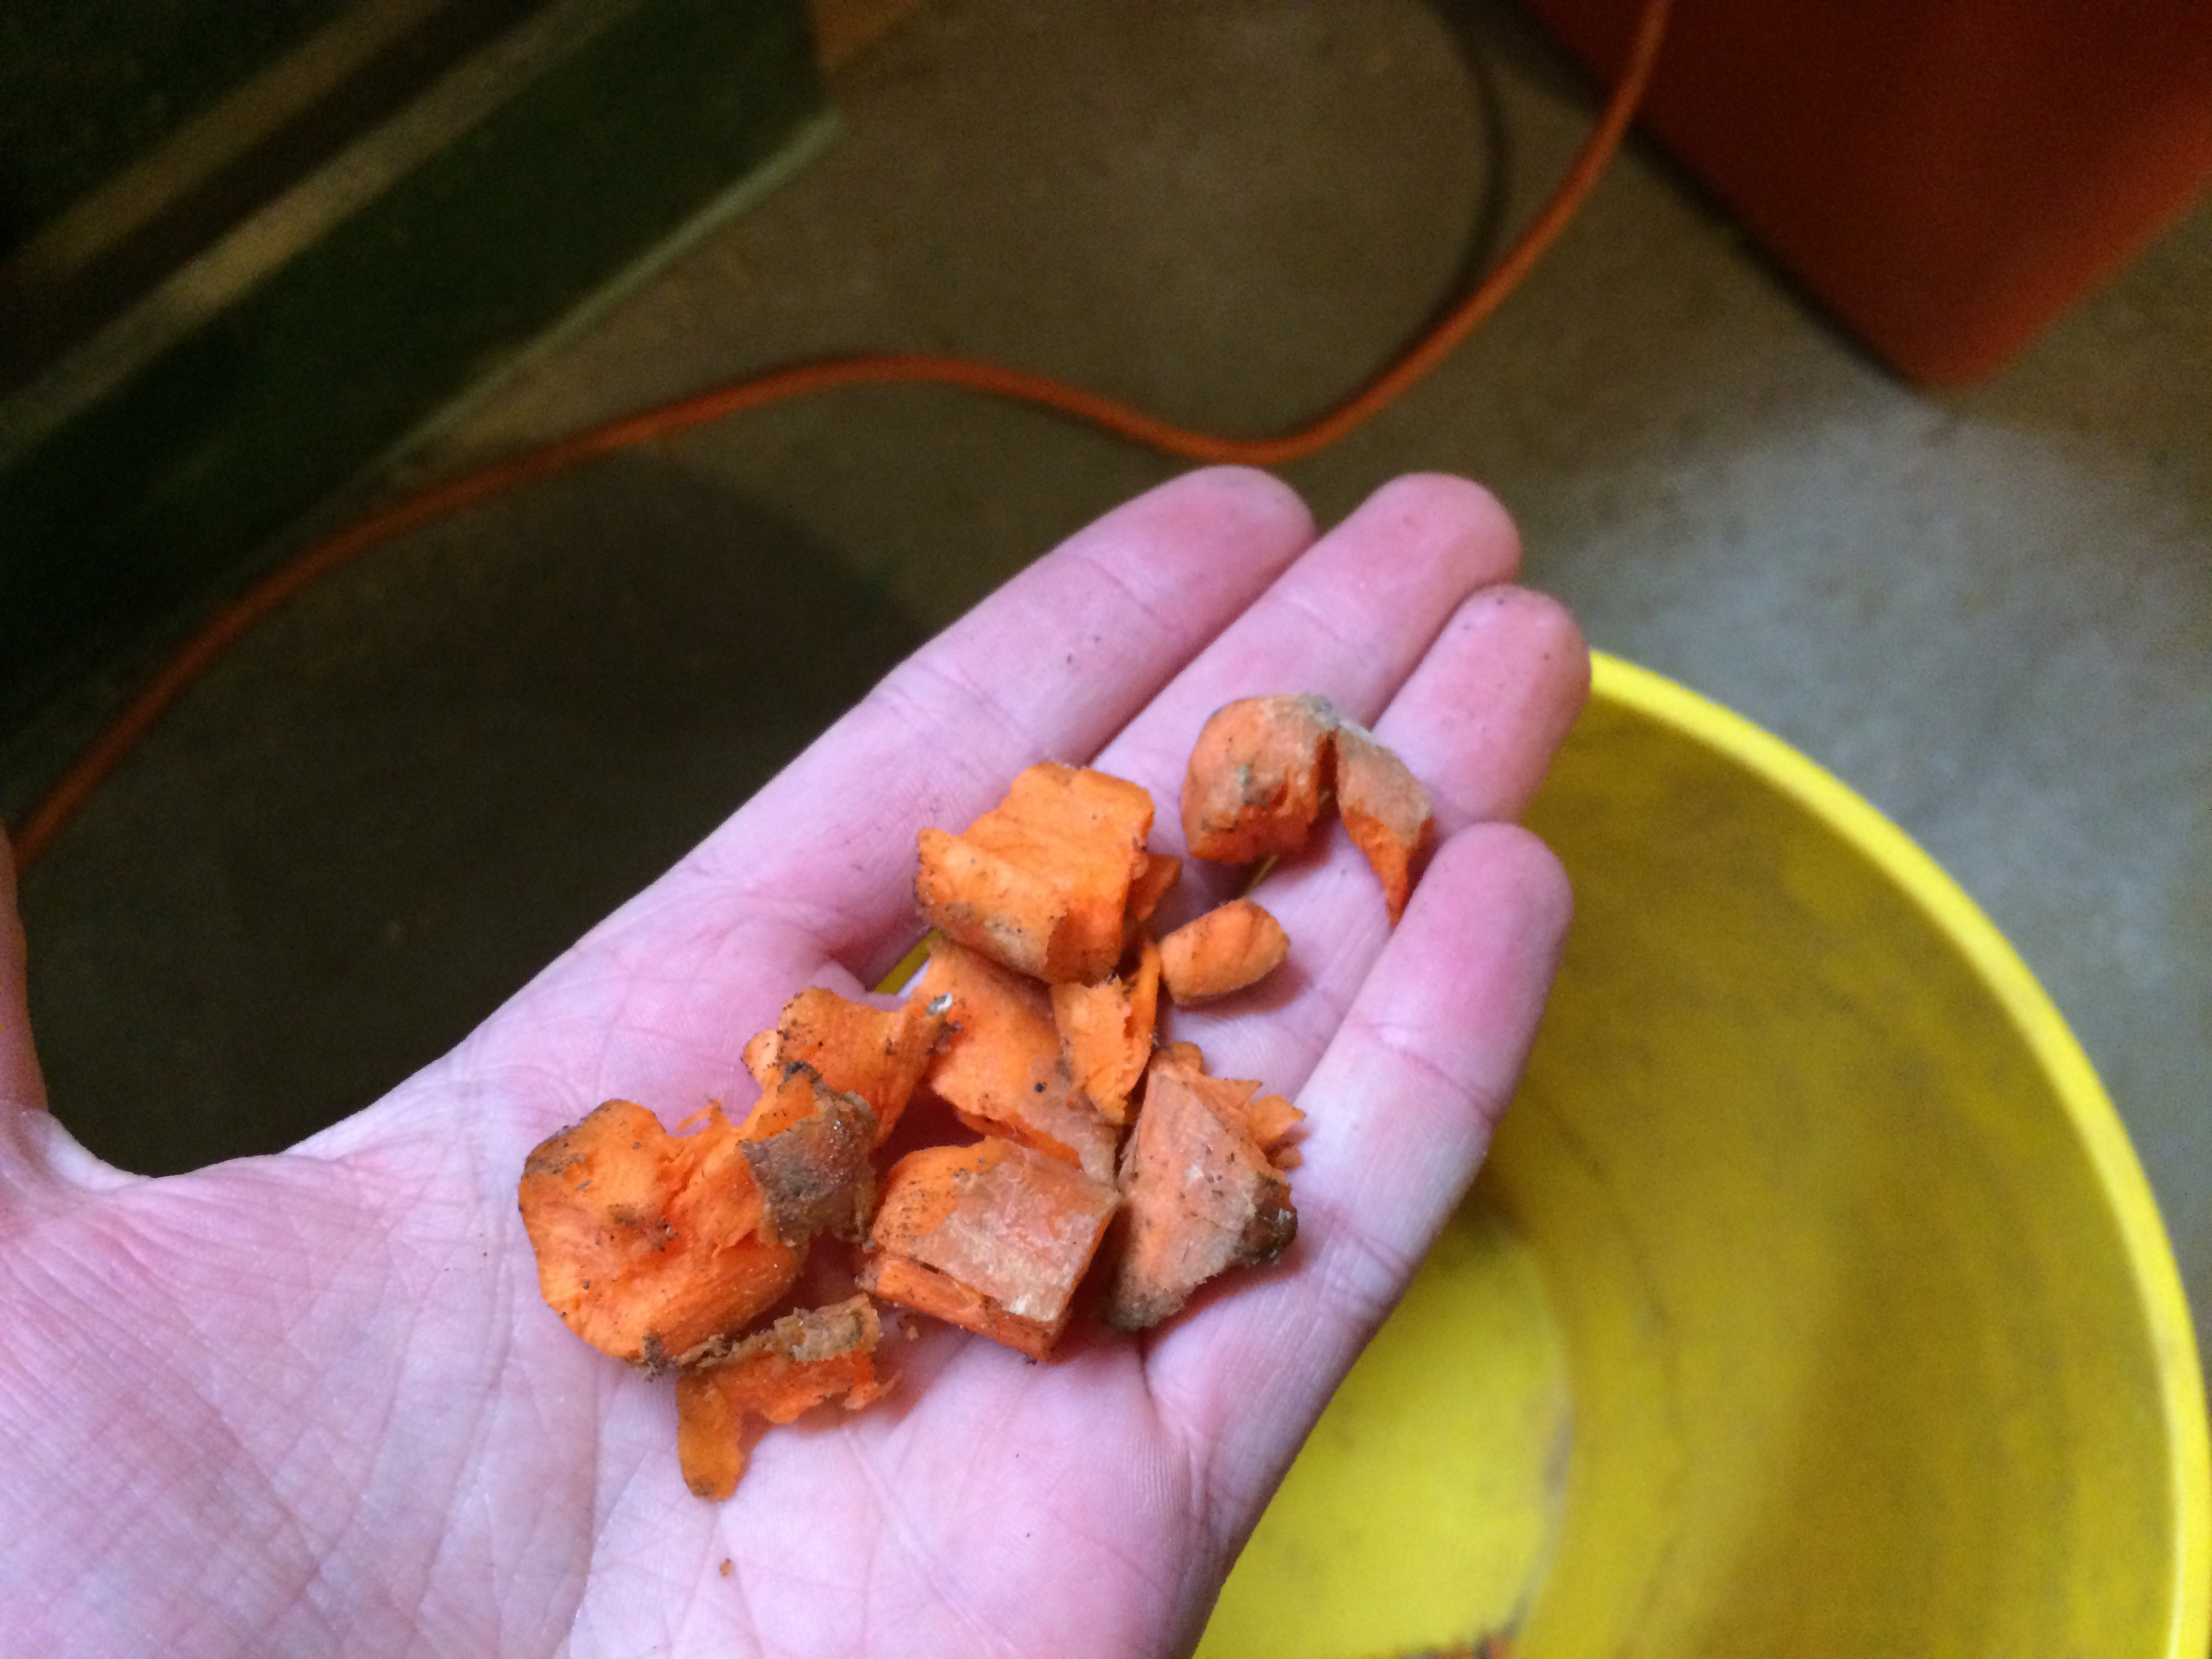
While traditional composting is undoubtedly a highly effective way to recycle nutrients into a garden, several factors limit its usefulness in some situations. Primarily, those are the high volume of food waste that goes into a pile, the space require to contain such a volume, and the relatively long breakdown time of large pieces of food. A compost shredder addresses these issues, since smaller food scraps allow you to compost higher quantities in a smaller area. The higher surface area of shredded waste also improves contact with soil microbes and accelerates the composting process.
Overview:
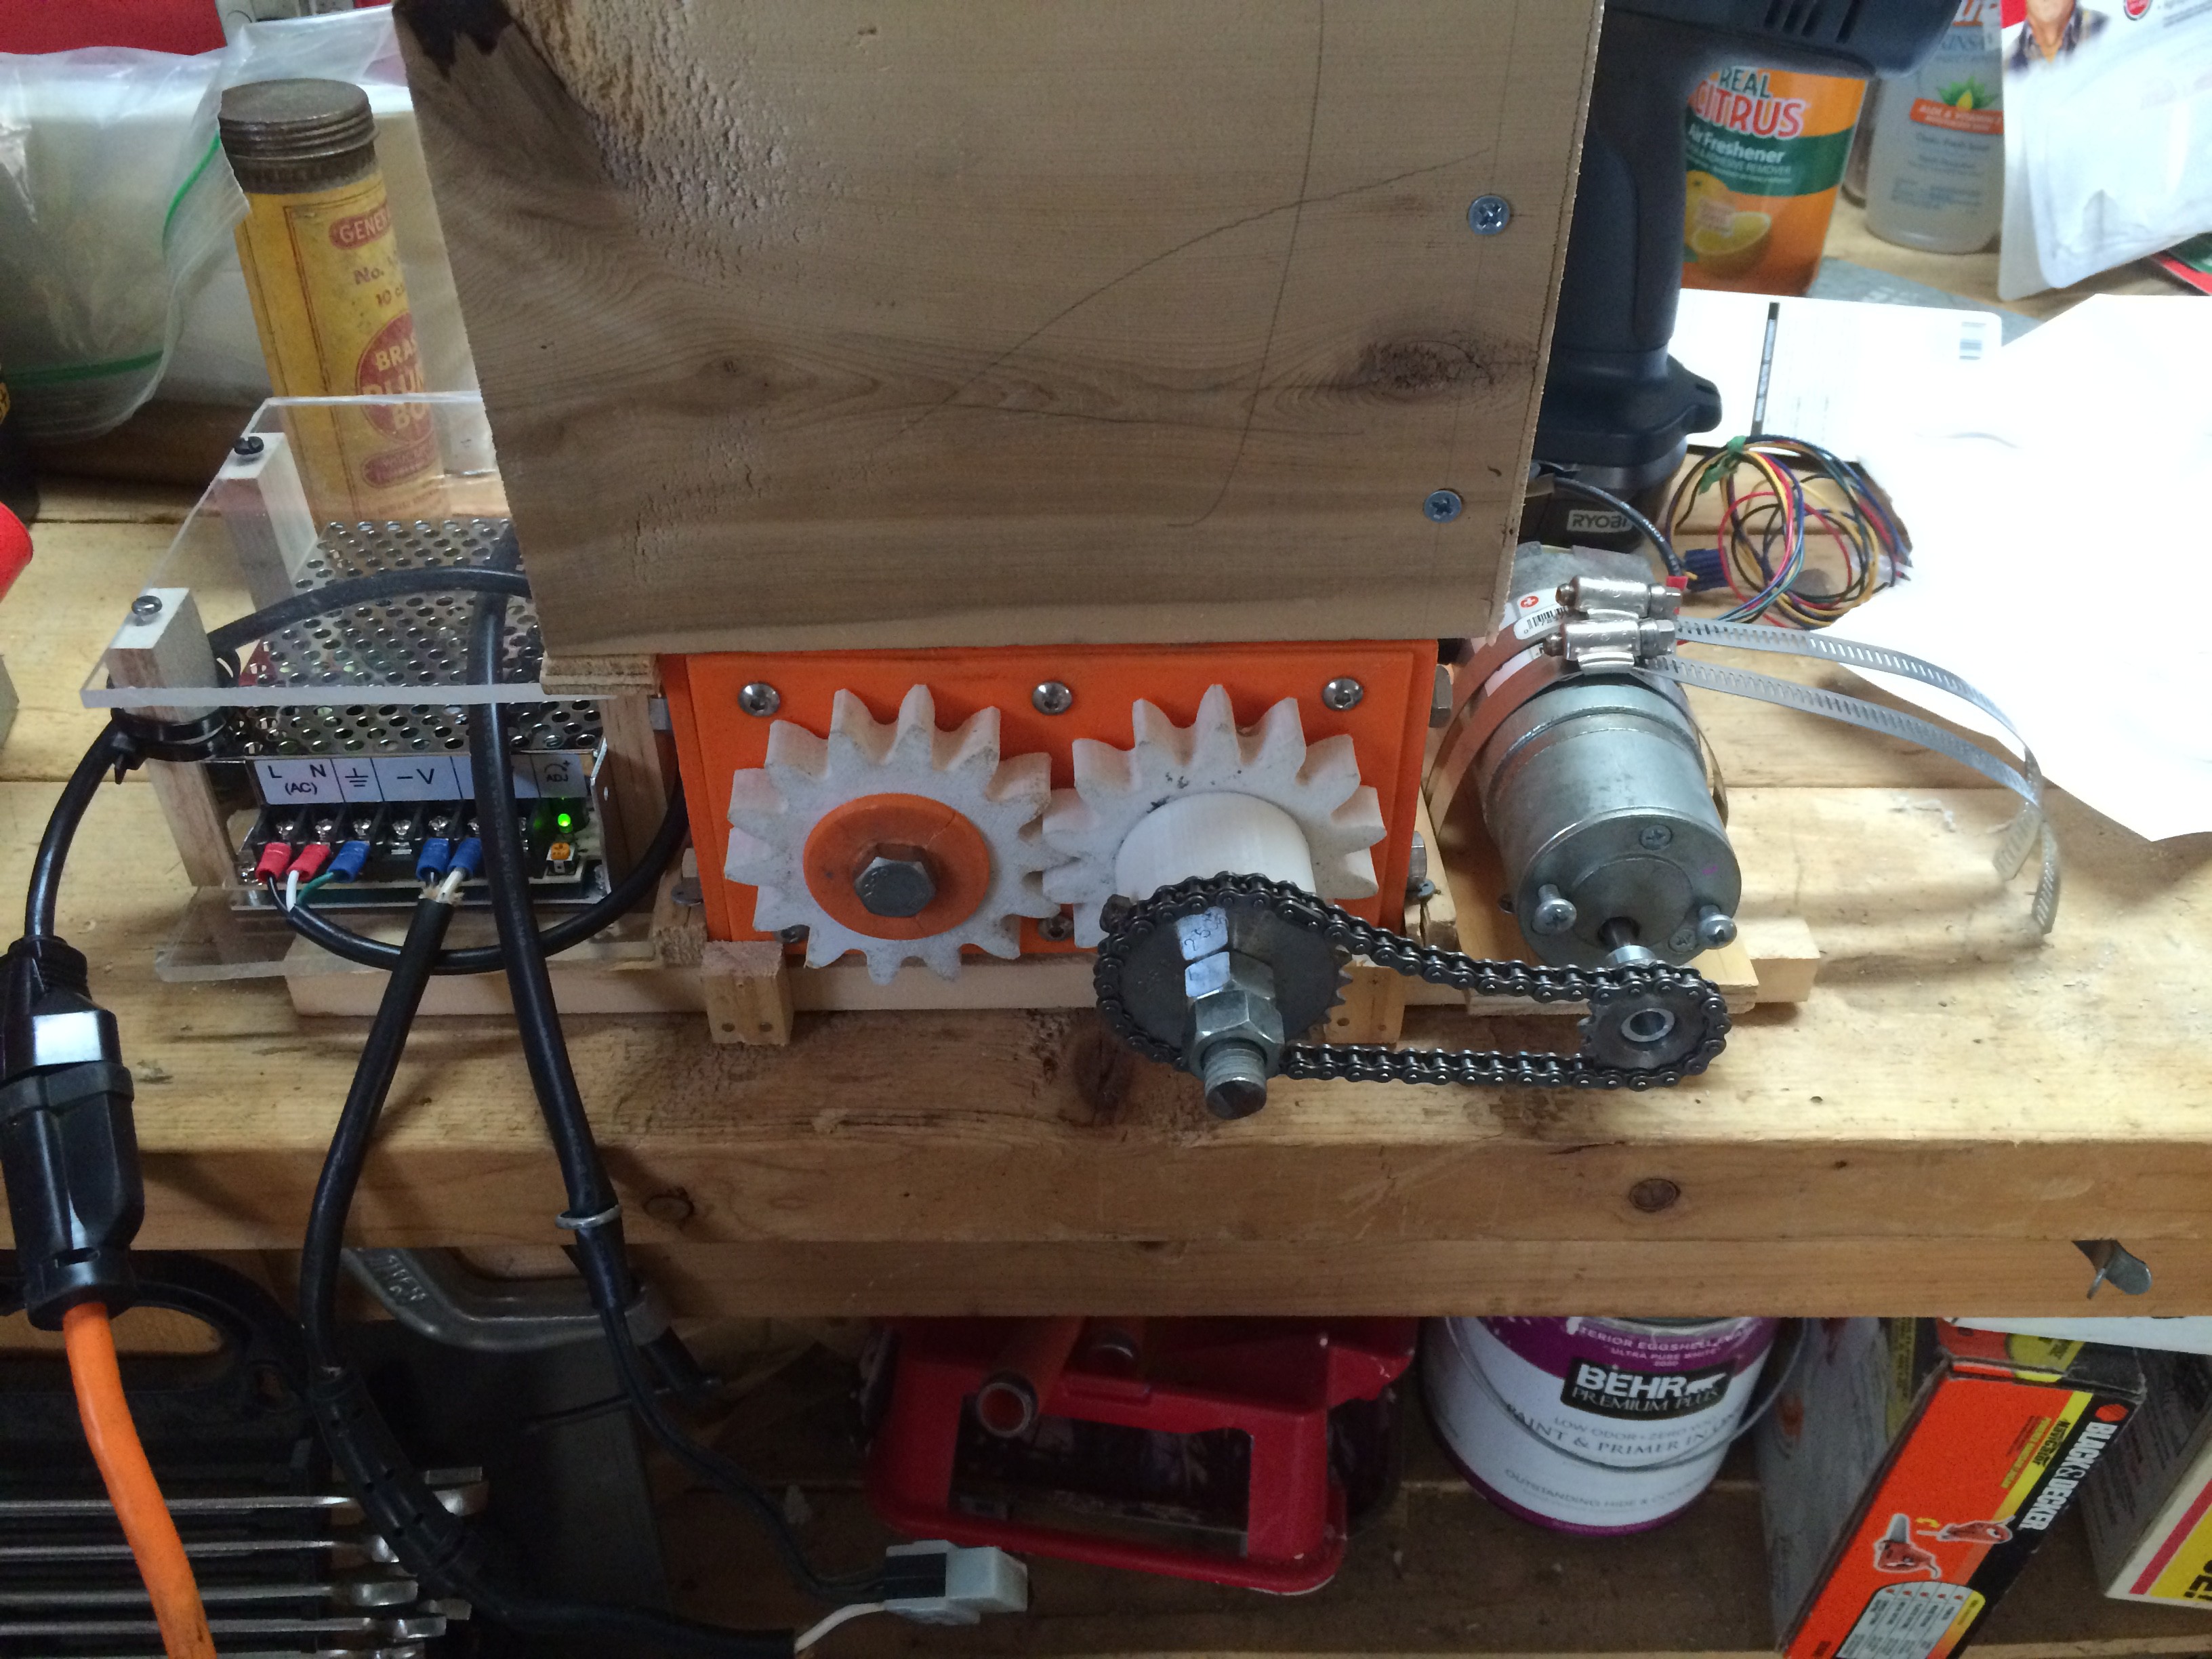
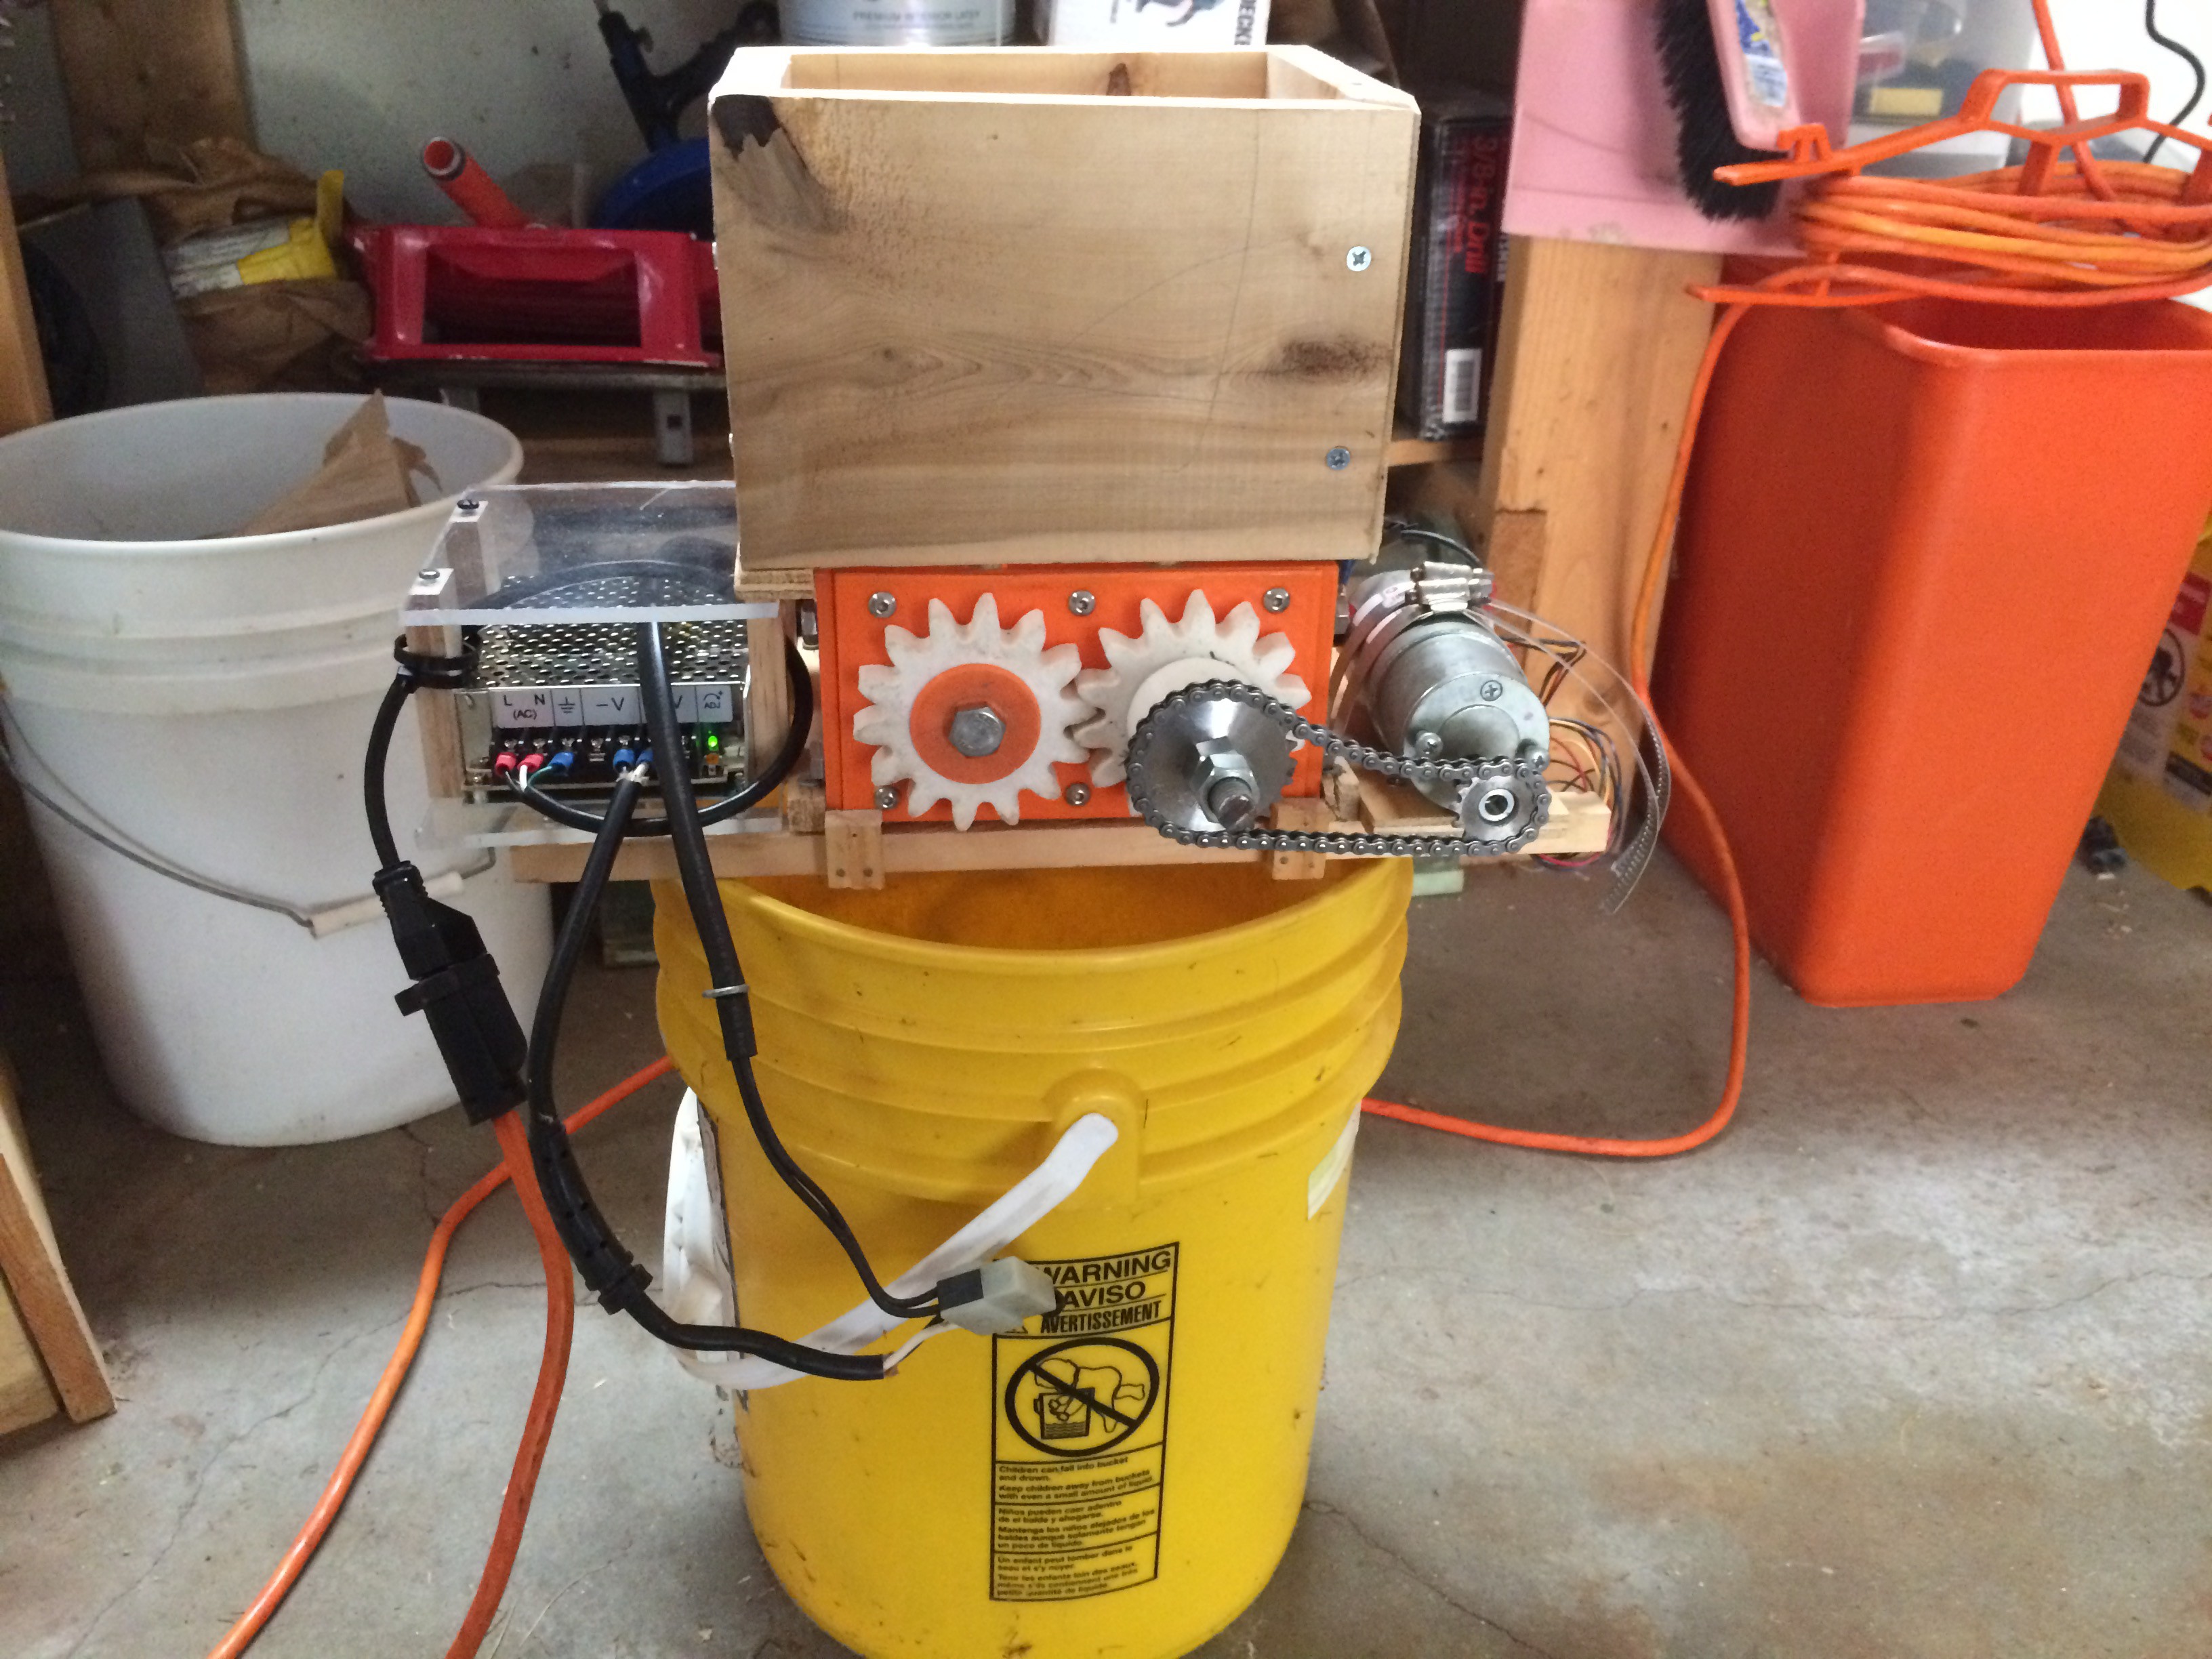
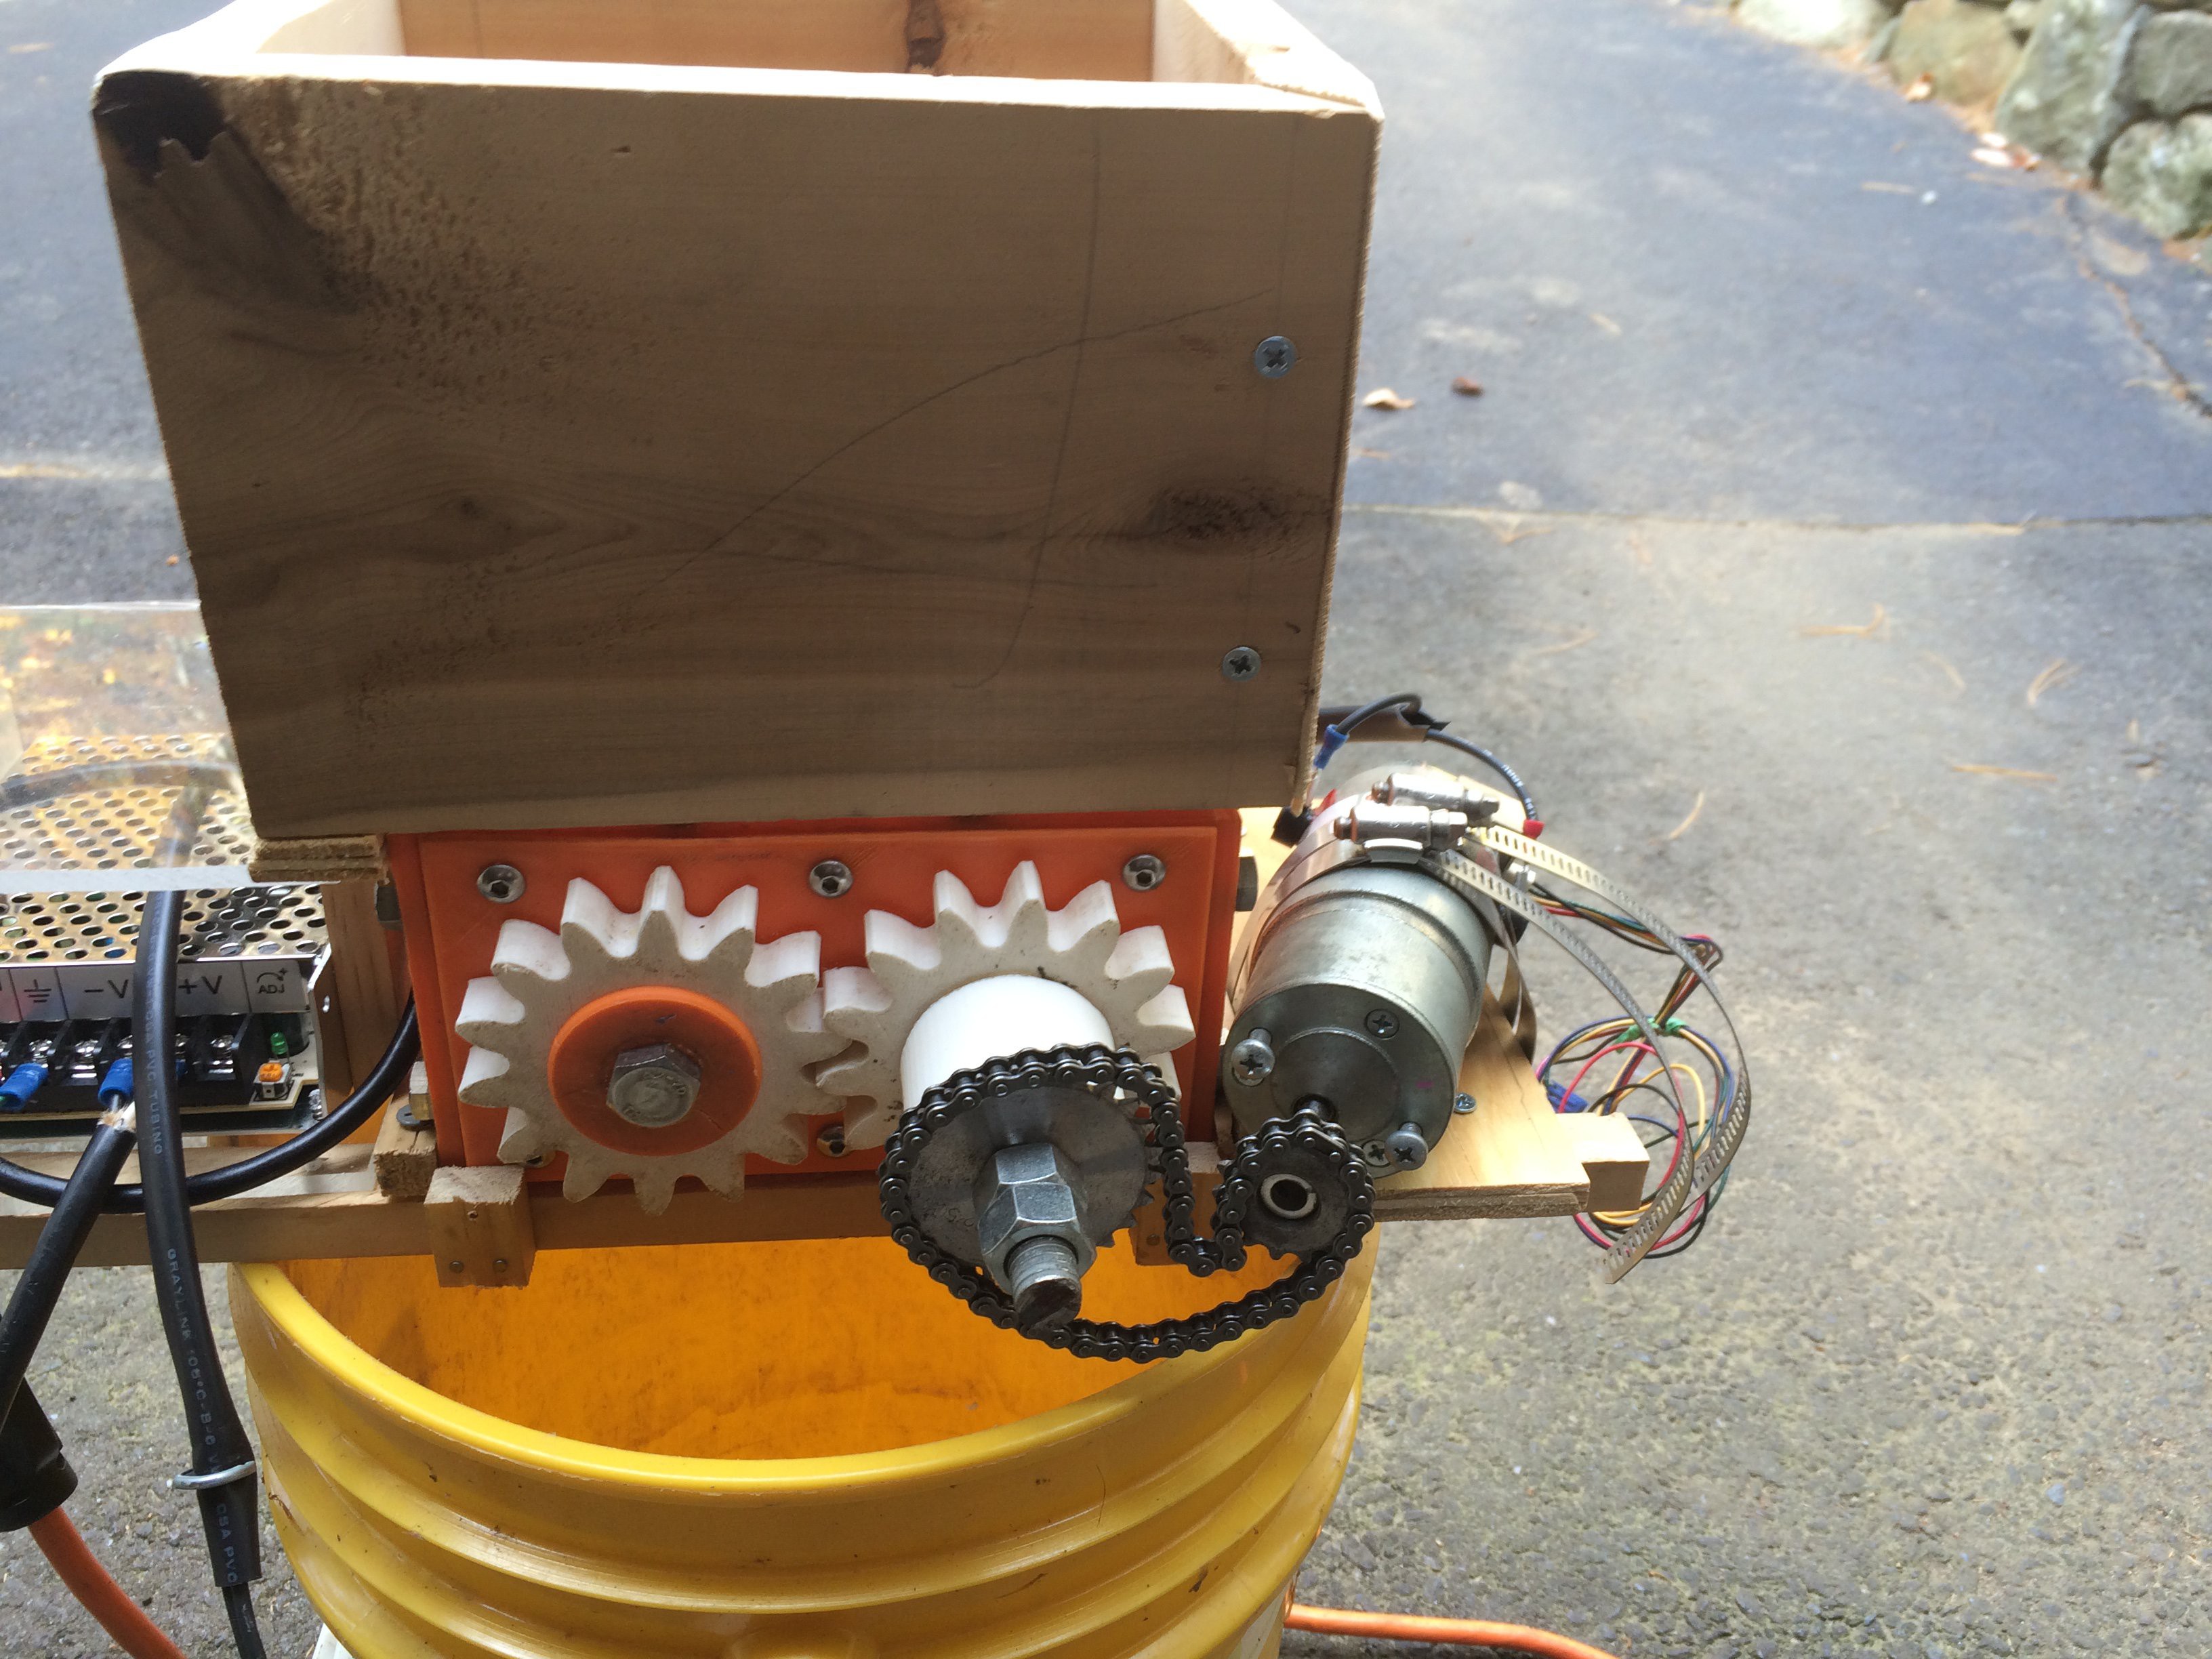
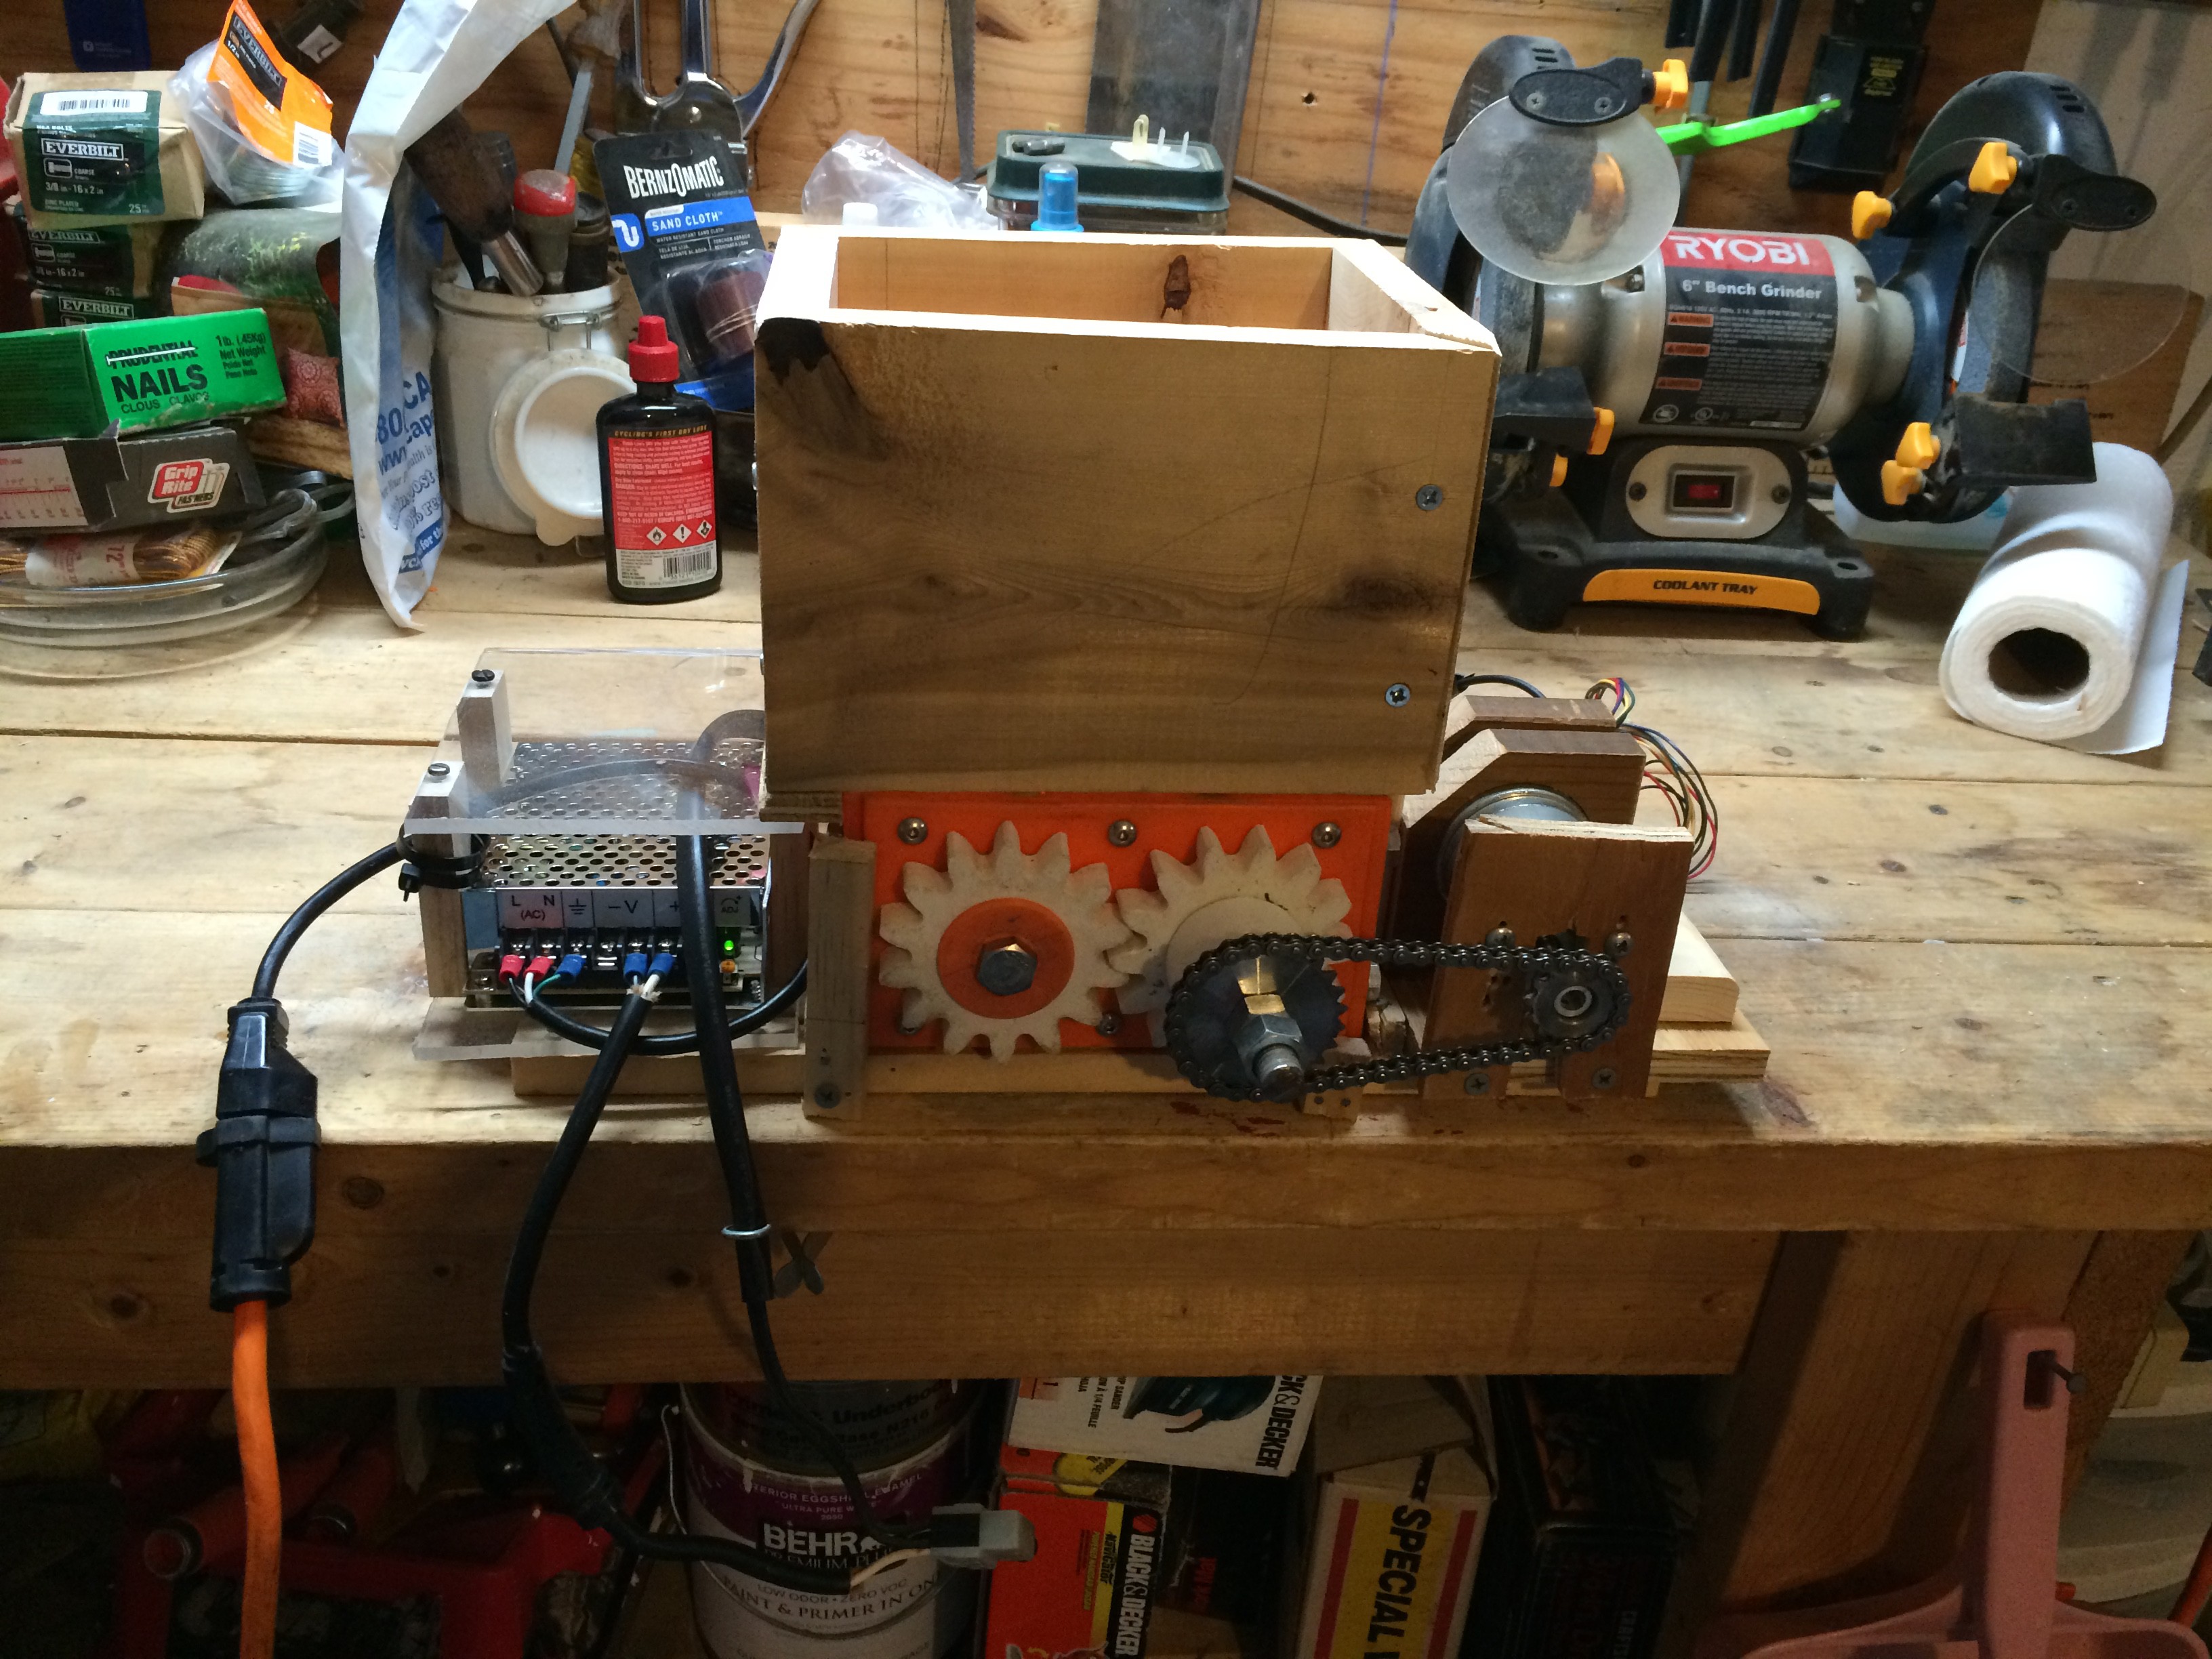
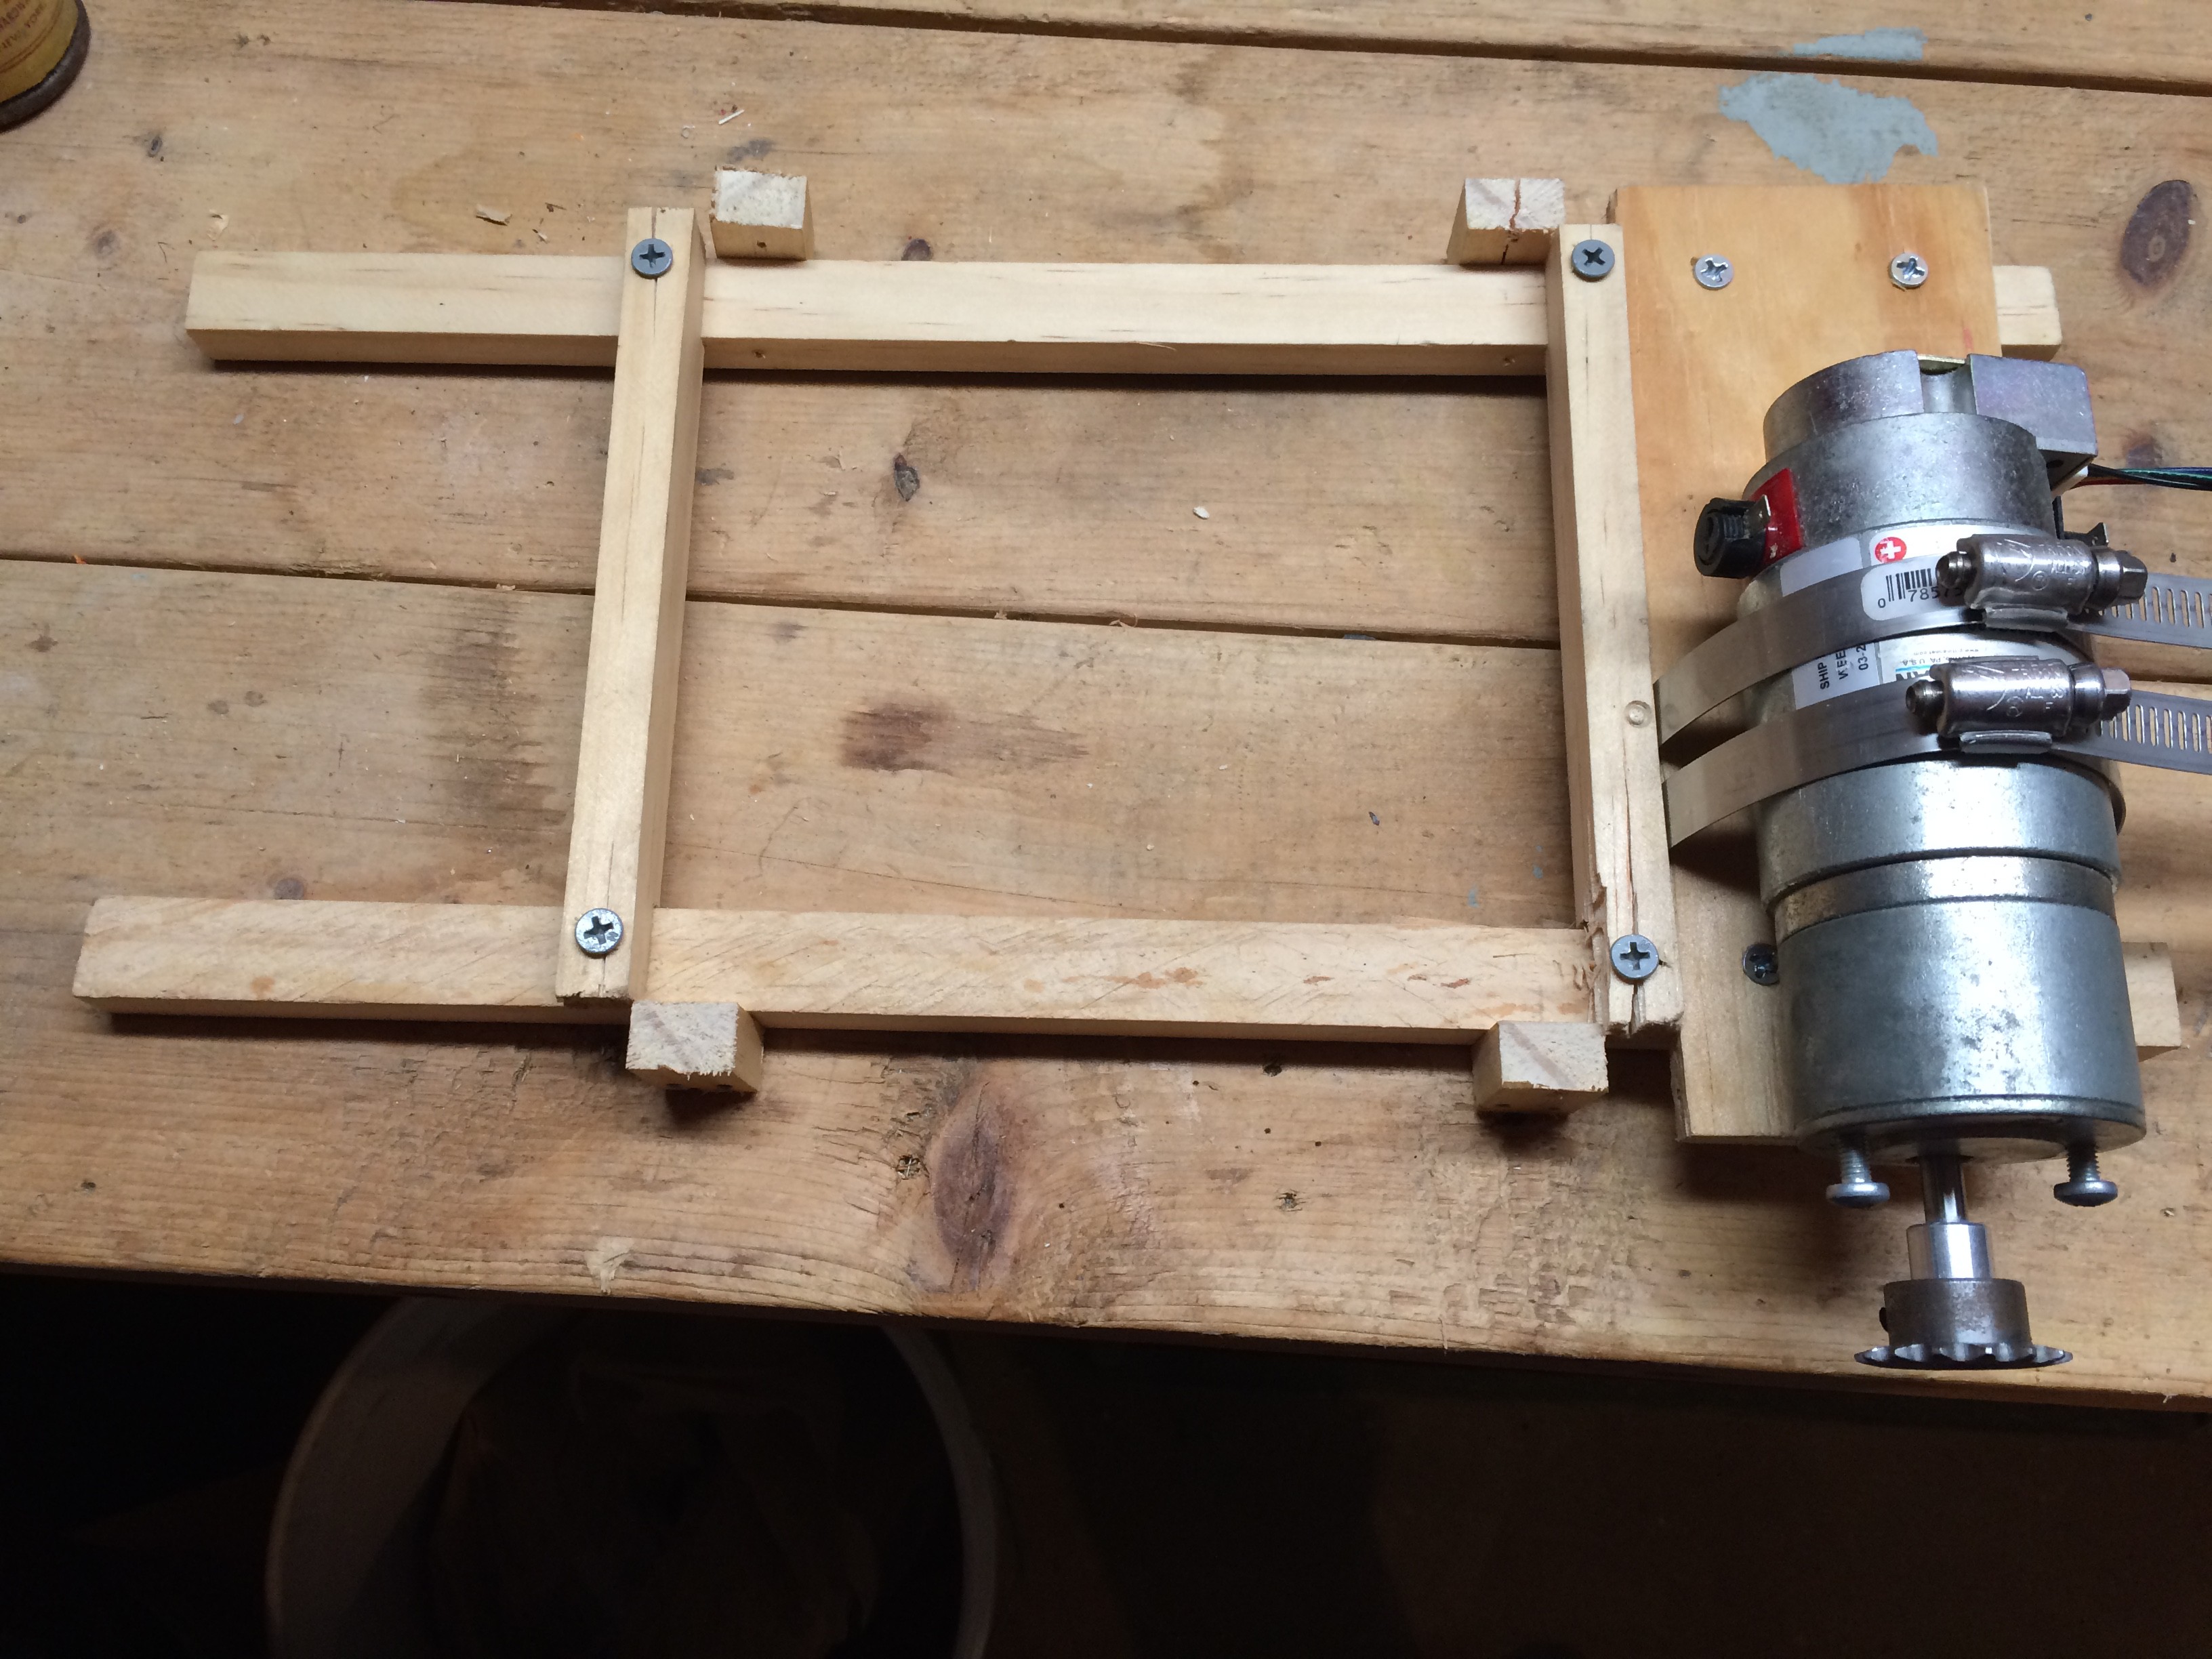
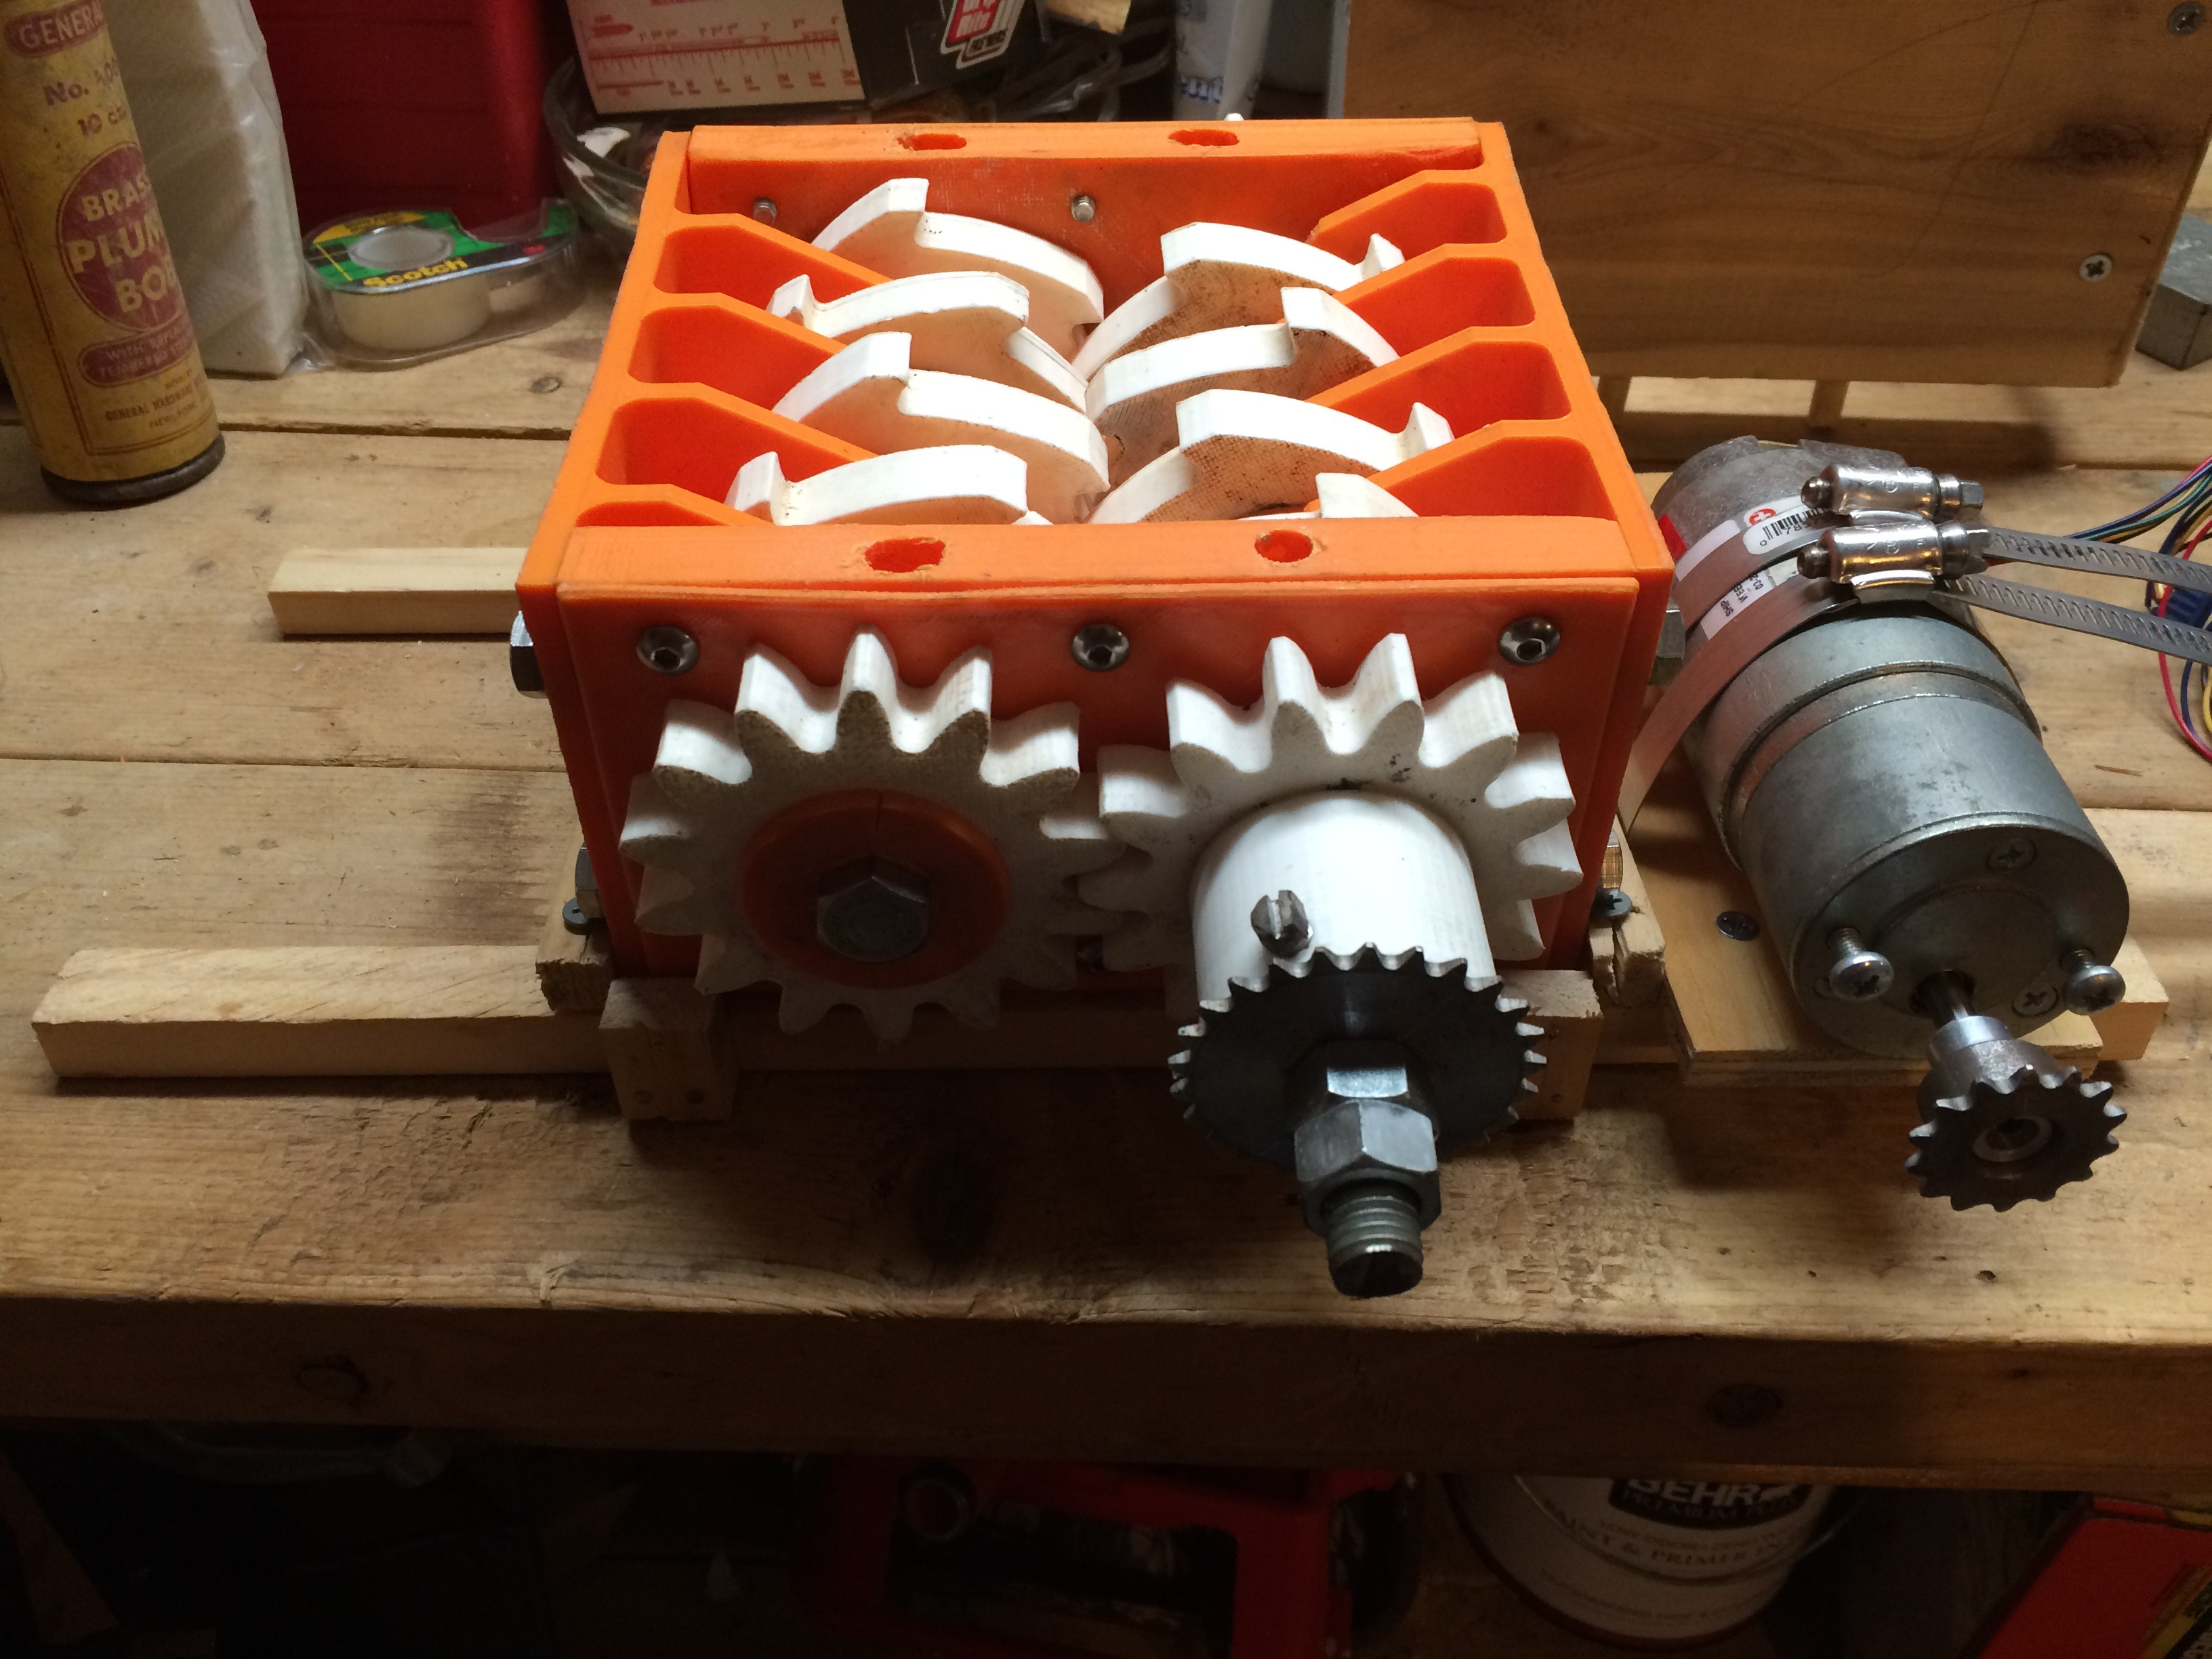
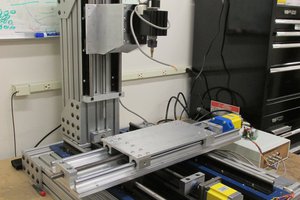
My shredder is more or less bare bones. It did not come with a handle at the time, and there was no lip around the top to prevent food from spilling over the sides. Additionally, a family of four produces a lot of compost, and using the shredder has become a frustrating time-sink. A stop at my local makerspace hooked me up with some components for automating the system.


 jupdyke
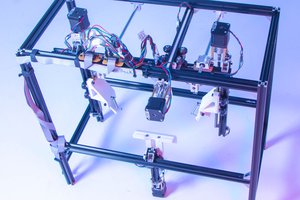

 Mike Maluk
 jellmeister
Wow I love this! For a long time I was always shopping my food waste into tiny pieces now when I turn it with a shovel I just break things up which are usually softened by the head of the compost. This would go well with my automated composting system though because it turns and waters automatically so the food is not being broken up. I love it. I am assuming it has limitations? Like avocado seeds are probably too hard?