 The Big One
Last night I finished putting the controller together, in the enclosure, with all the wires soldered up. Not much to say... pictures are the interesting bit here. See below for more Drum Mastery Goodness!
Display and encoder connected:
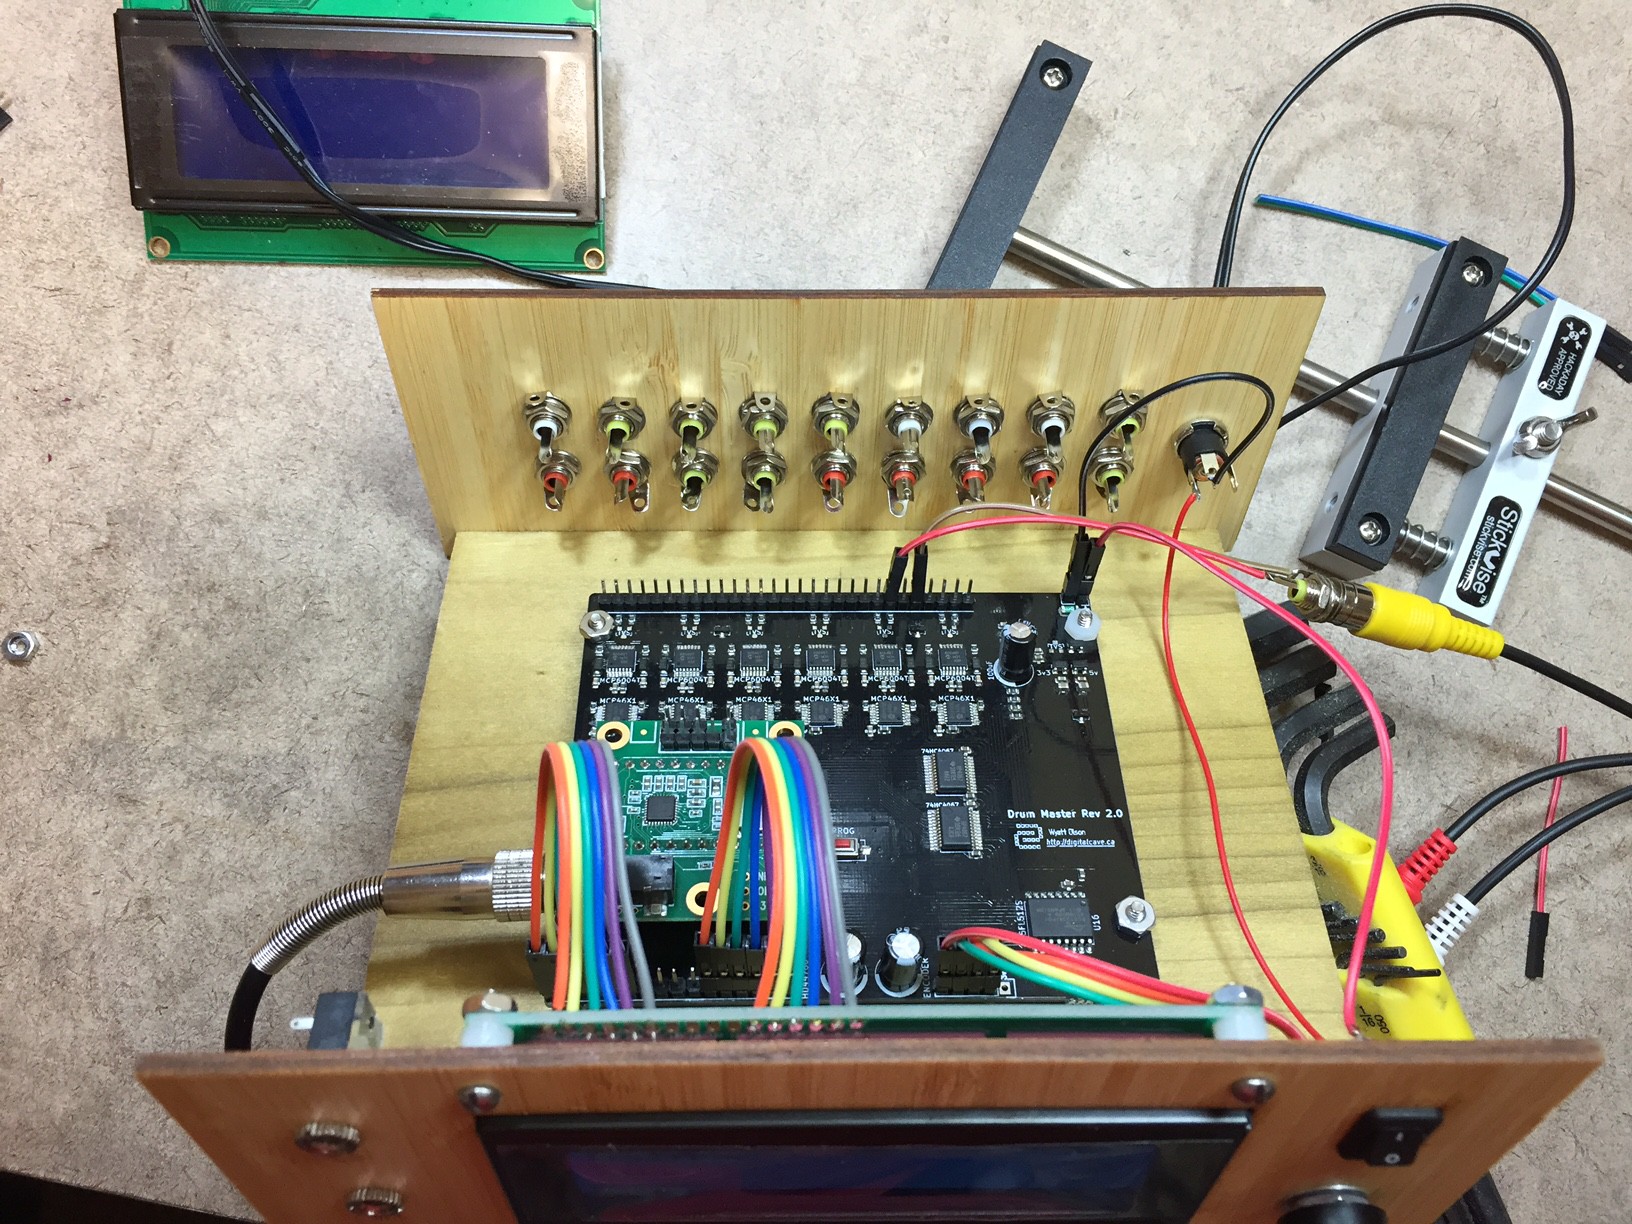
Pads' RCA jacks connected:
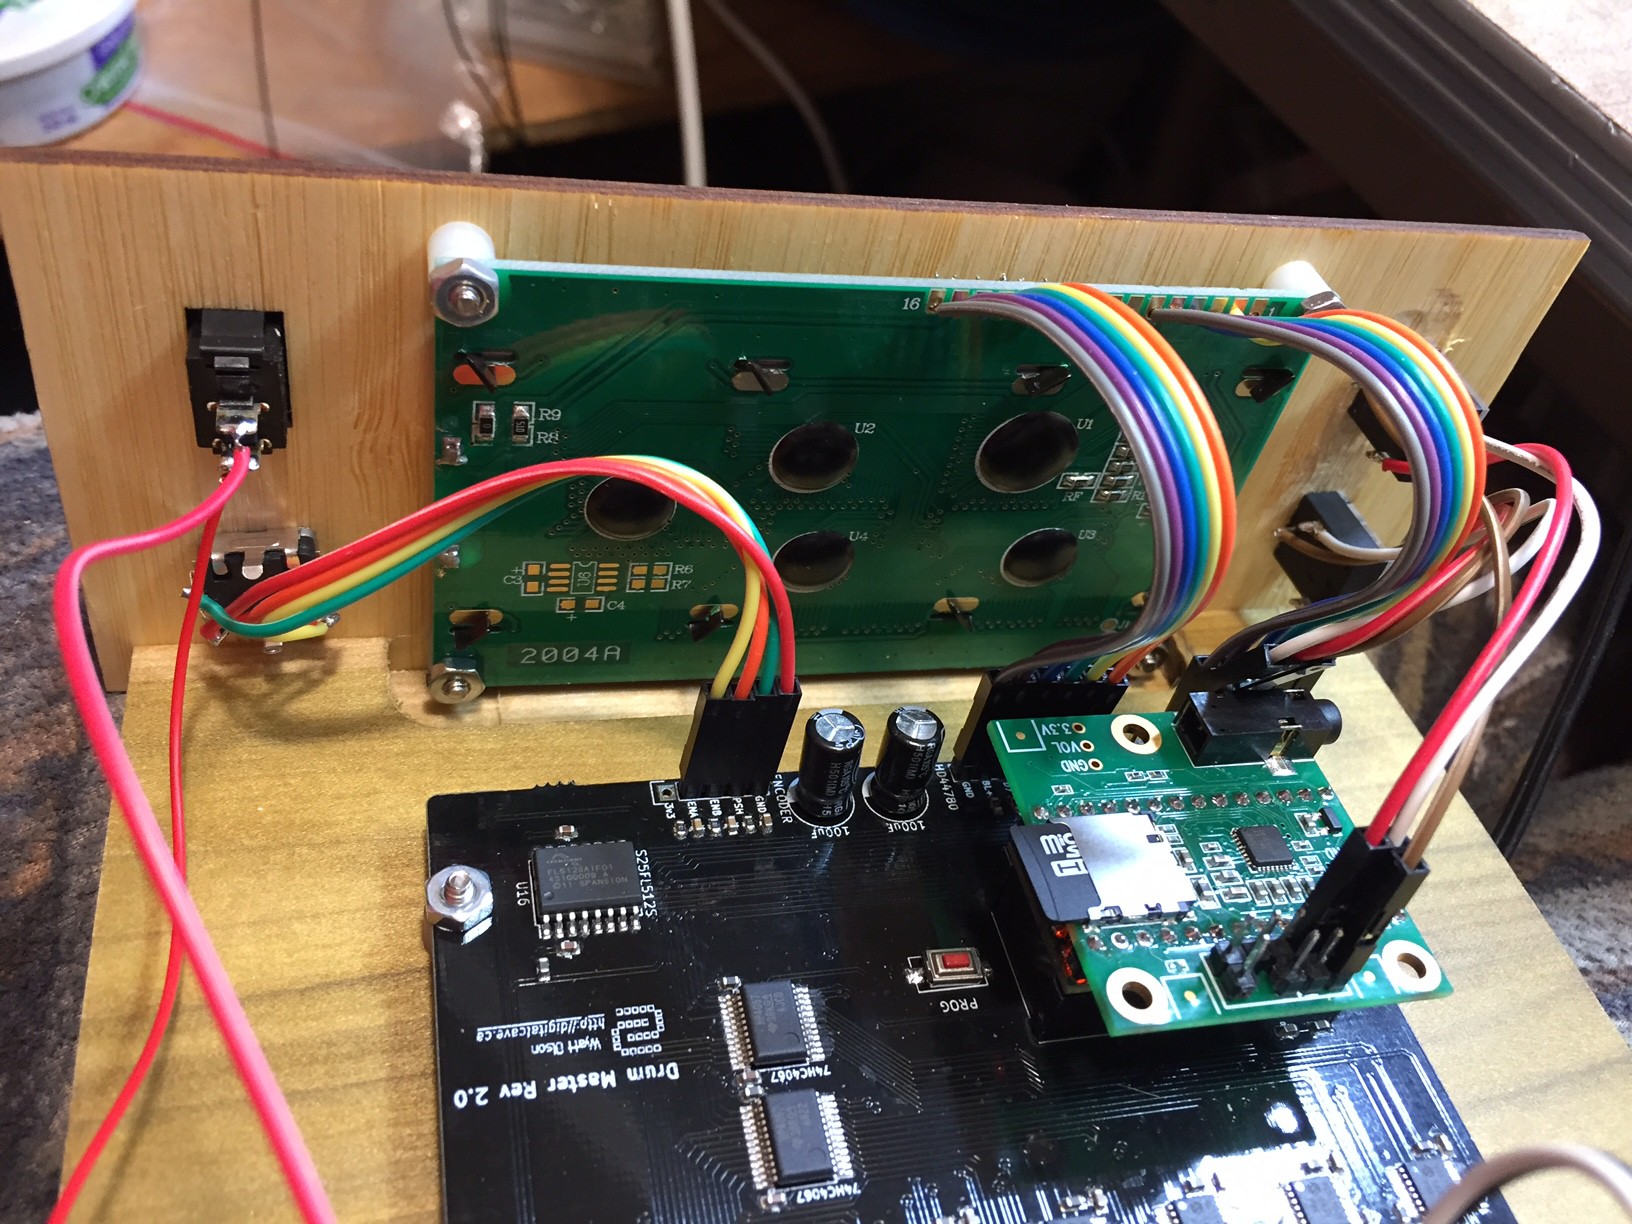
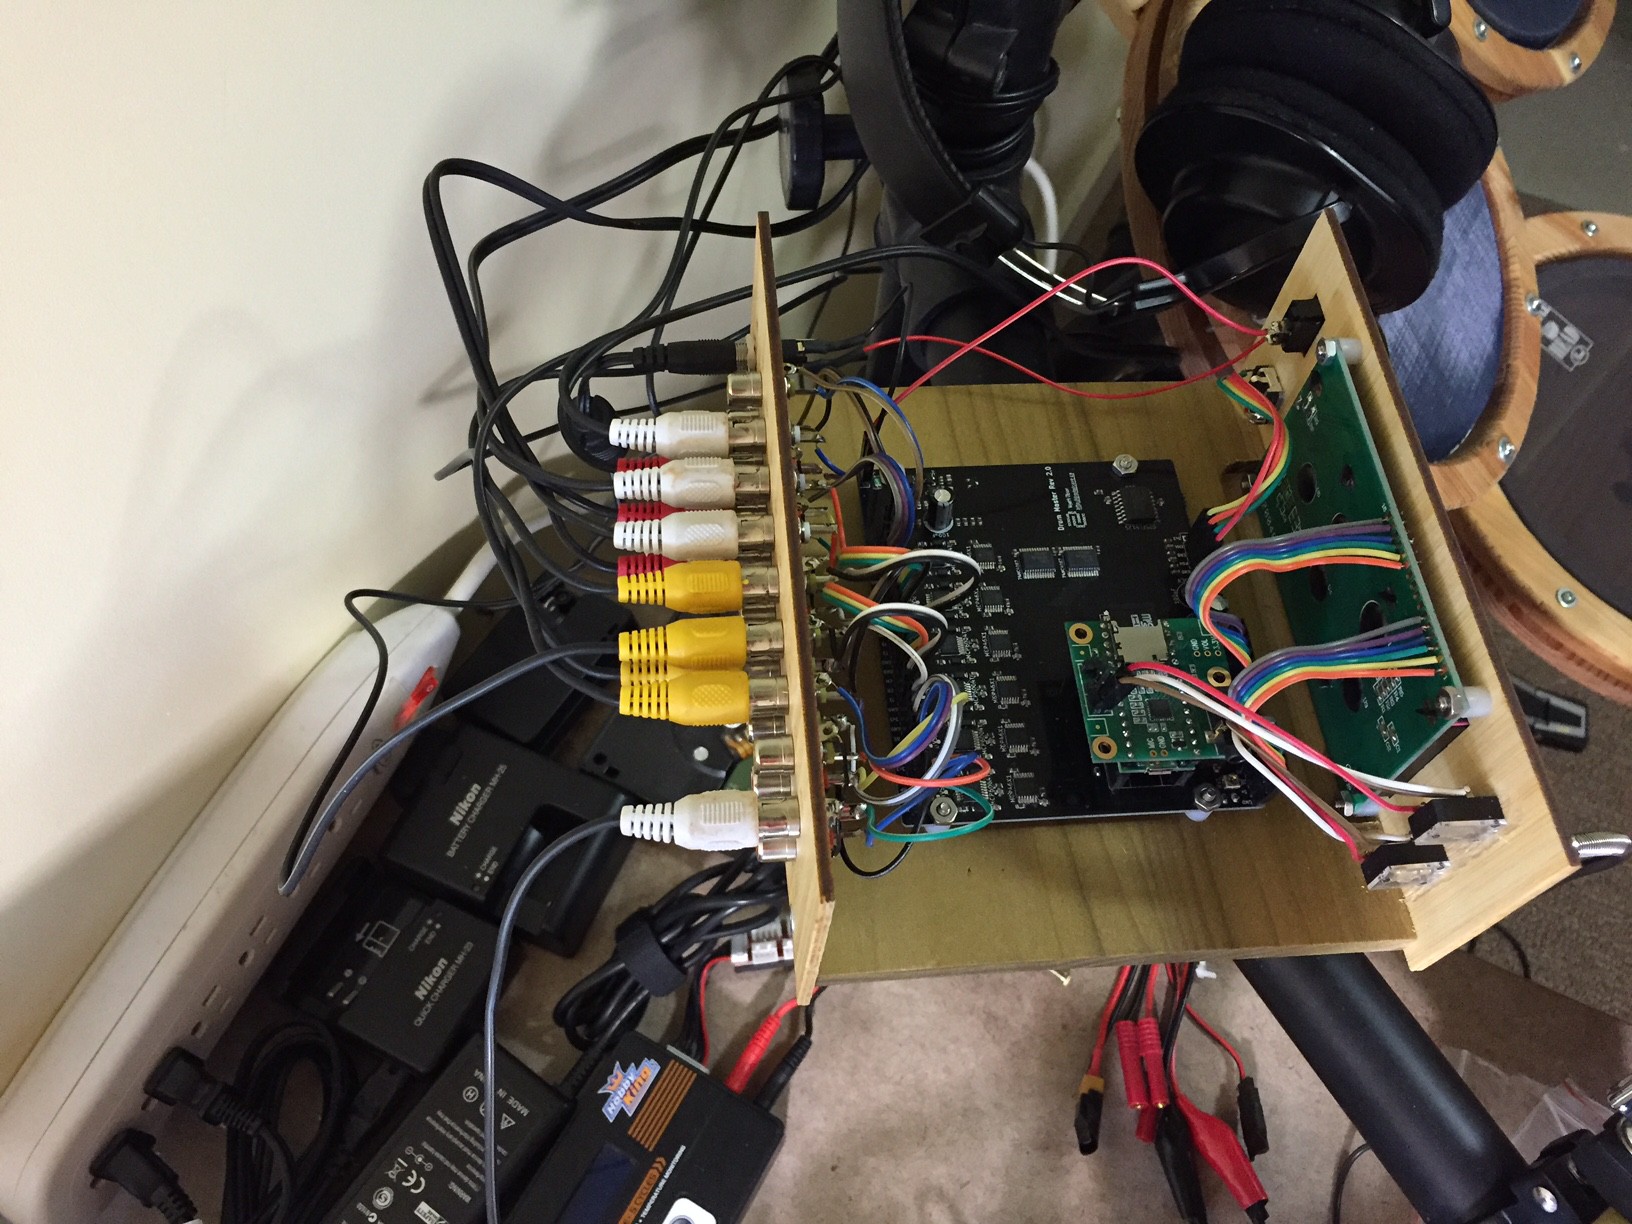
Looking forward towards the display:
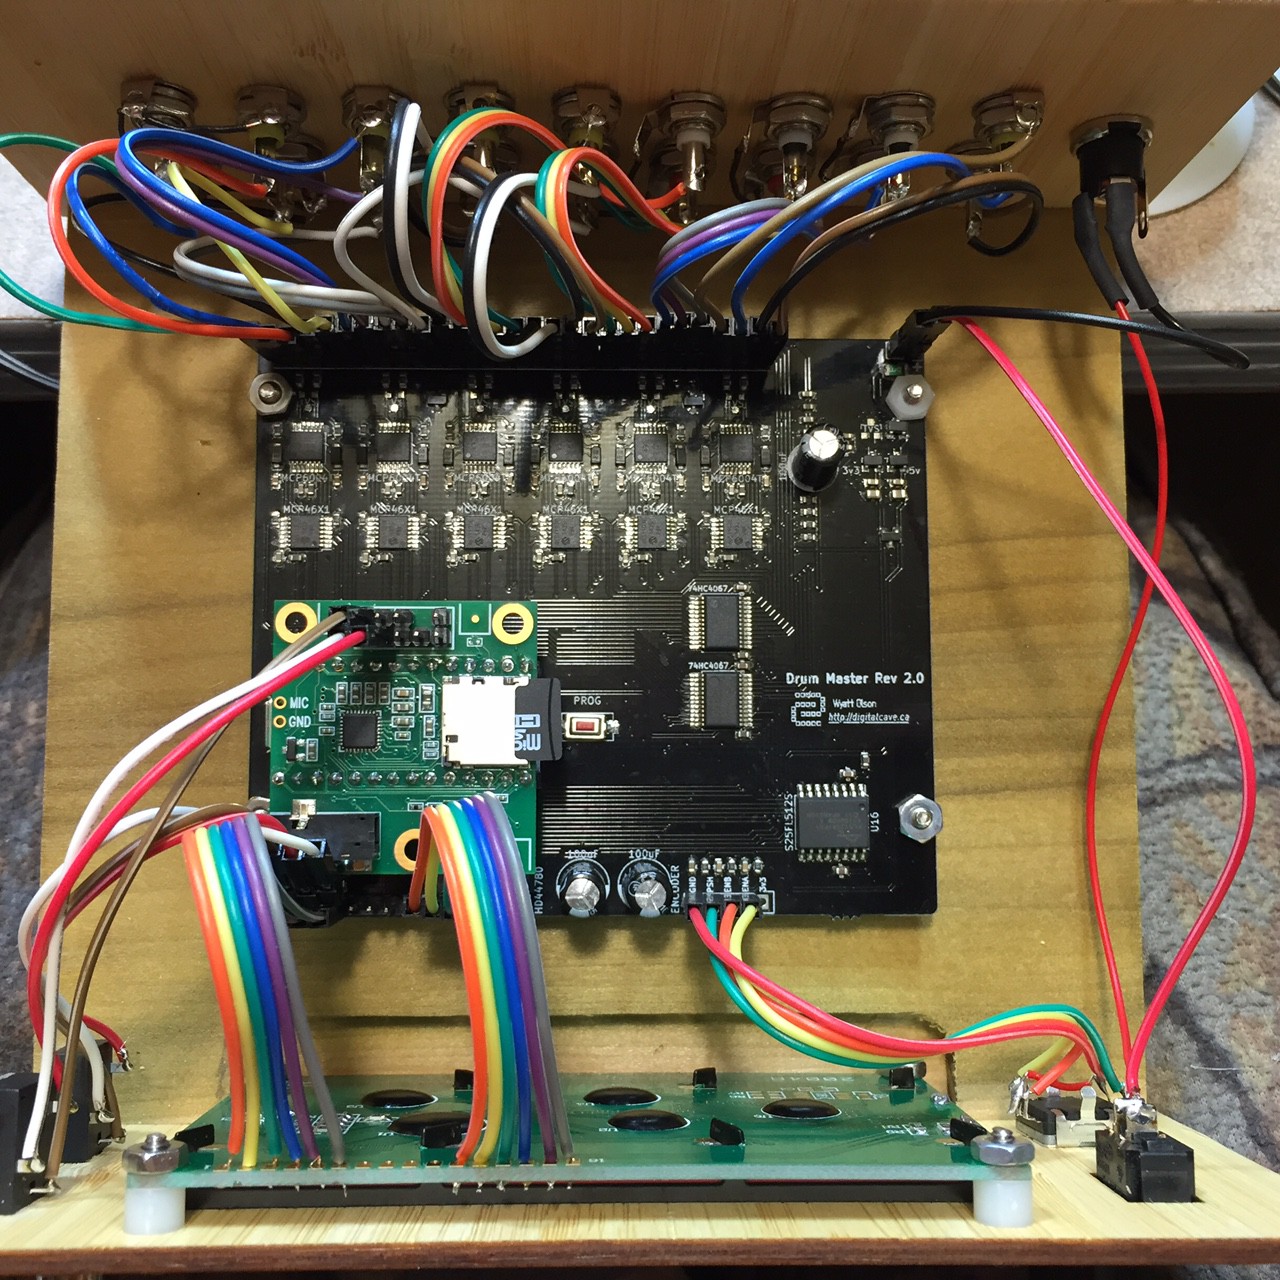
Looking backwards towards the RCA jacks:
 Enclosure mounted on drum frame:
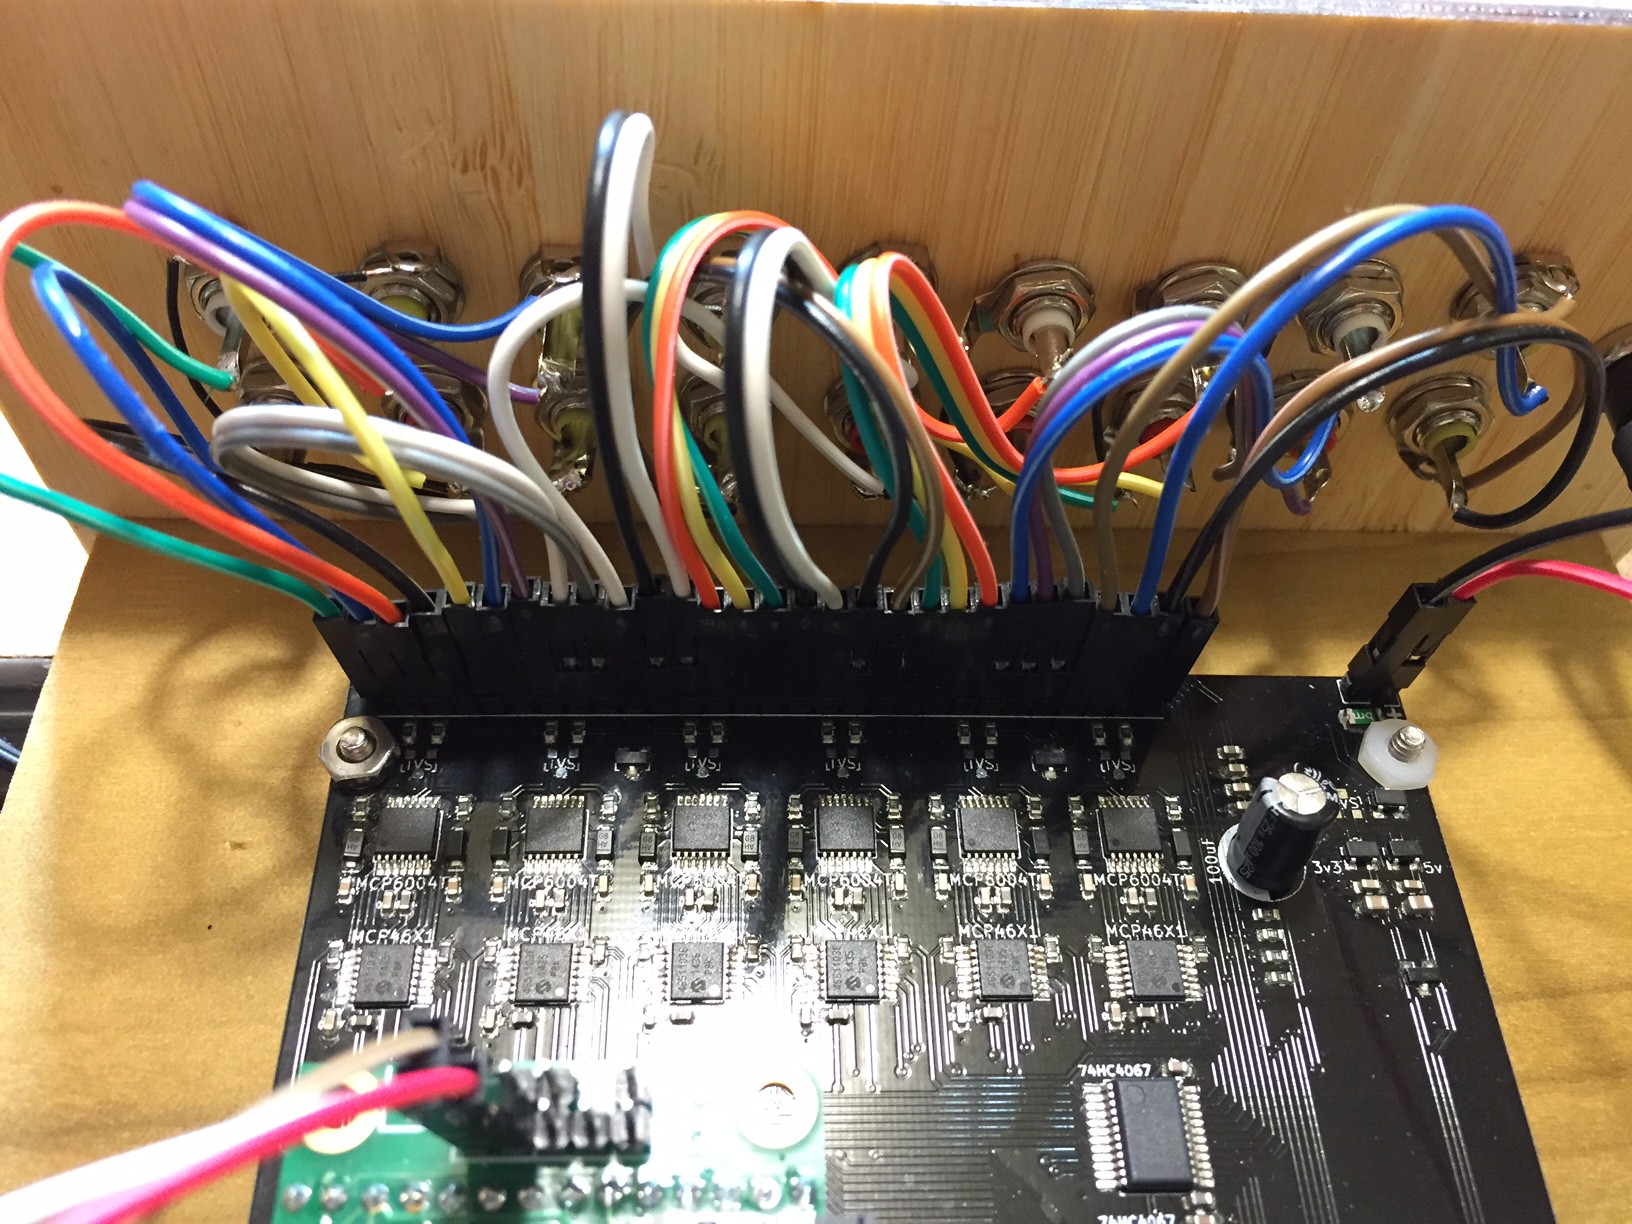
Closeup of RCA jacks with pads connected:

Discussions
Become a Hackaday.io Member
Create an account to leave a comment. Already have an account? Log In.
awesome, I hope to build a copy of this, its just so well executed.
Are you sure? yes | no
Thanks! It took a good long time to get where I am now, but things are definitely coming together...
Are you sure? yes | no
That is utter filth - I love it!
Cant wait to hear it in action :-)
Are you sure? yes | no
Hah, thanks! Working on the bass drum pedal mount right now... after that the only big mechanical part left is the hi hat pedal. I have a rough idea of how it will work (I had made an optical one on the original Drum Master that worked fine), but I want it to be a bit more compact and not nearly as ugly as the last one. ;-) After that it all comes down to code... but a whole lot of it!
Are you sure? yes | no
Ah, are you going for a normal bass drum pedal being attached to a bass drum pad or are you adding sometbing special to a bass pedal mate?
Also looking forward to seeing how you nail the hi hat; I wouldnt know where to start.
I am more excited about the code than a grown man should be ha ha! I'm really enjoying seeing how other people approach coding something such as this. Im bound to learn a shed load of new ideas and methods that I wouldnt have thought of using.
I very much doubt I will be of any use but I will be sure to comment If i think of anything that may help :)
Are you sure? yes | no
I am using a normal bass pedal, which is attached to a little extension which in turn is attached to the frame. (My previous one had the extension attached directly to the bass pad, but I found that was a bit awkward to adjust... hopefully this one works a bit better). I'll post pictures of how it looks shortly.
The software is written in C++ using the Arduino framework on the Teensy. I am using a custom makefile so that I don't have to use the Arduino editor (shudder). Feel free to peruse what is there currently - I actually have most of the structure completed, and things are in a semi-working state (i.e. if I hit a pad, I hear the right sample being played). Most of what I have yet to do is getting everything tuned properly - i.e. figuring out what the double trigger thresholds should be, how much time is required to drain the sampled voltage of the previous hit, how many concurrent samples can be playing at once, etc. The source is all on Github at https://github.com/thebiguno/microcontroller-projects/tree/master/projects/drummaster/rev2. If you are running either Mac of Linux, install Arduino + the Teensyduino addon, and you should be able to just run 'make' to get it to compile. (If you are on Windows, things will probably not work... sorry!) Even if you can't compile, you can at least browse the source... any comments would be very welcome.
Cheers
Are you sure? yes | no