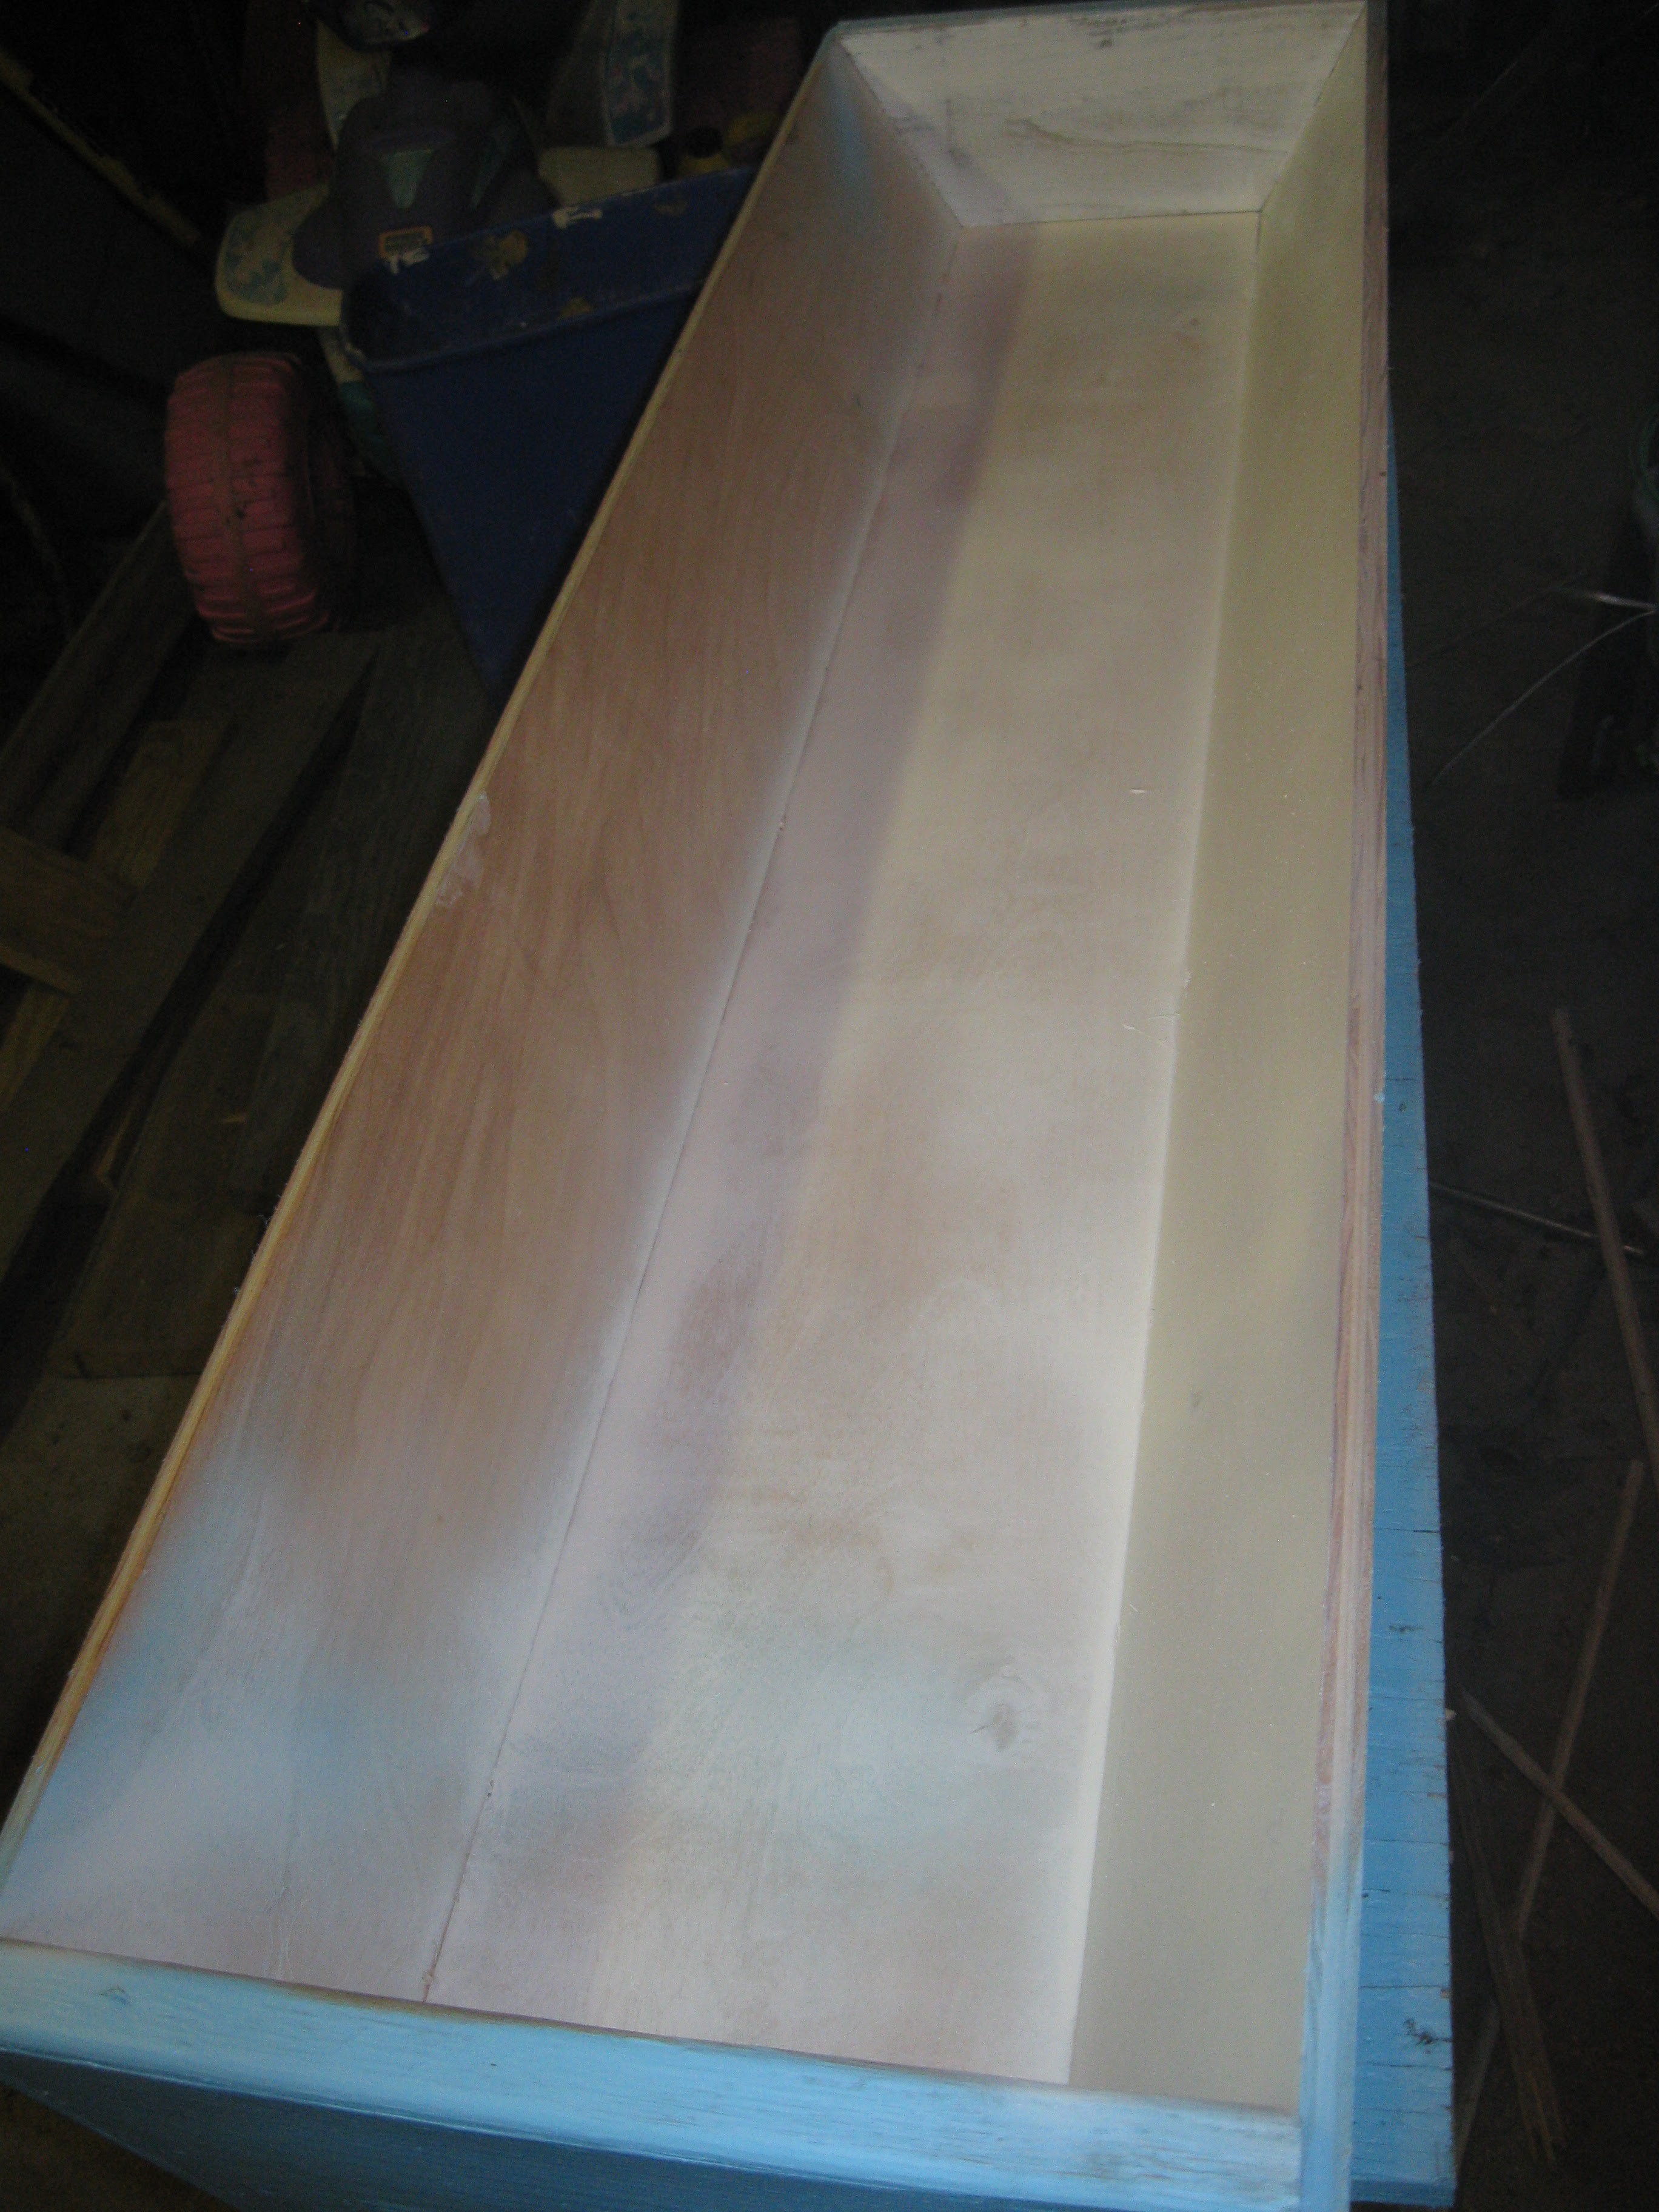
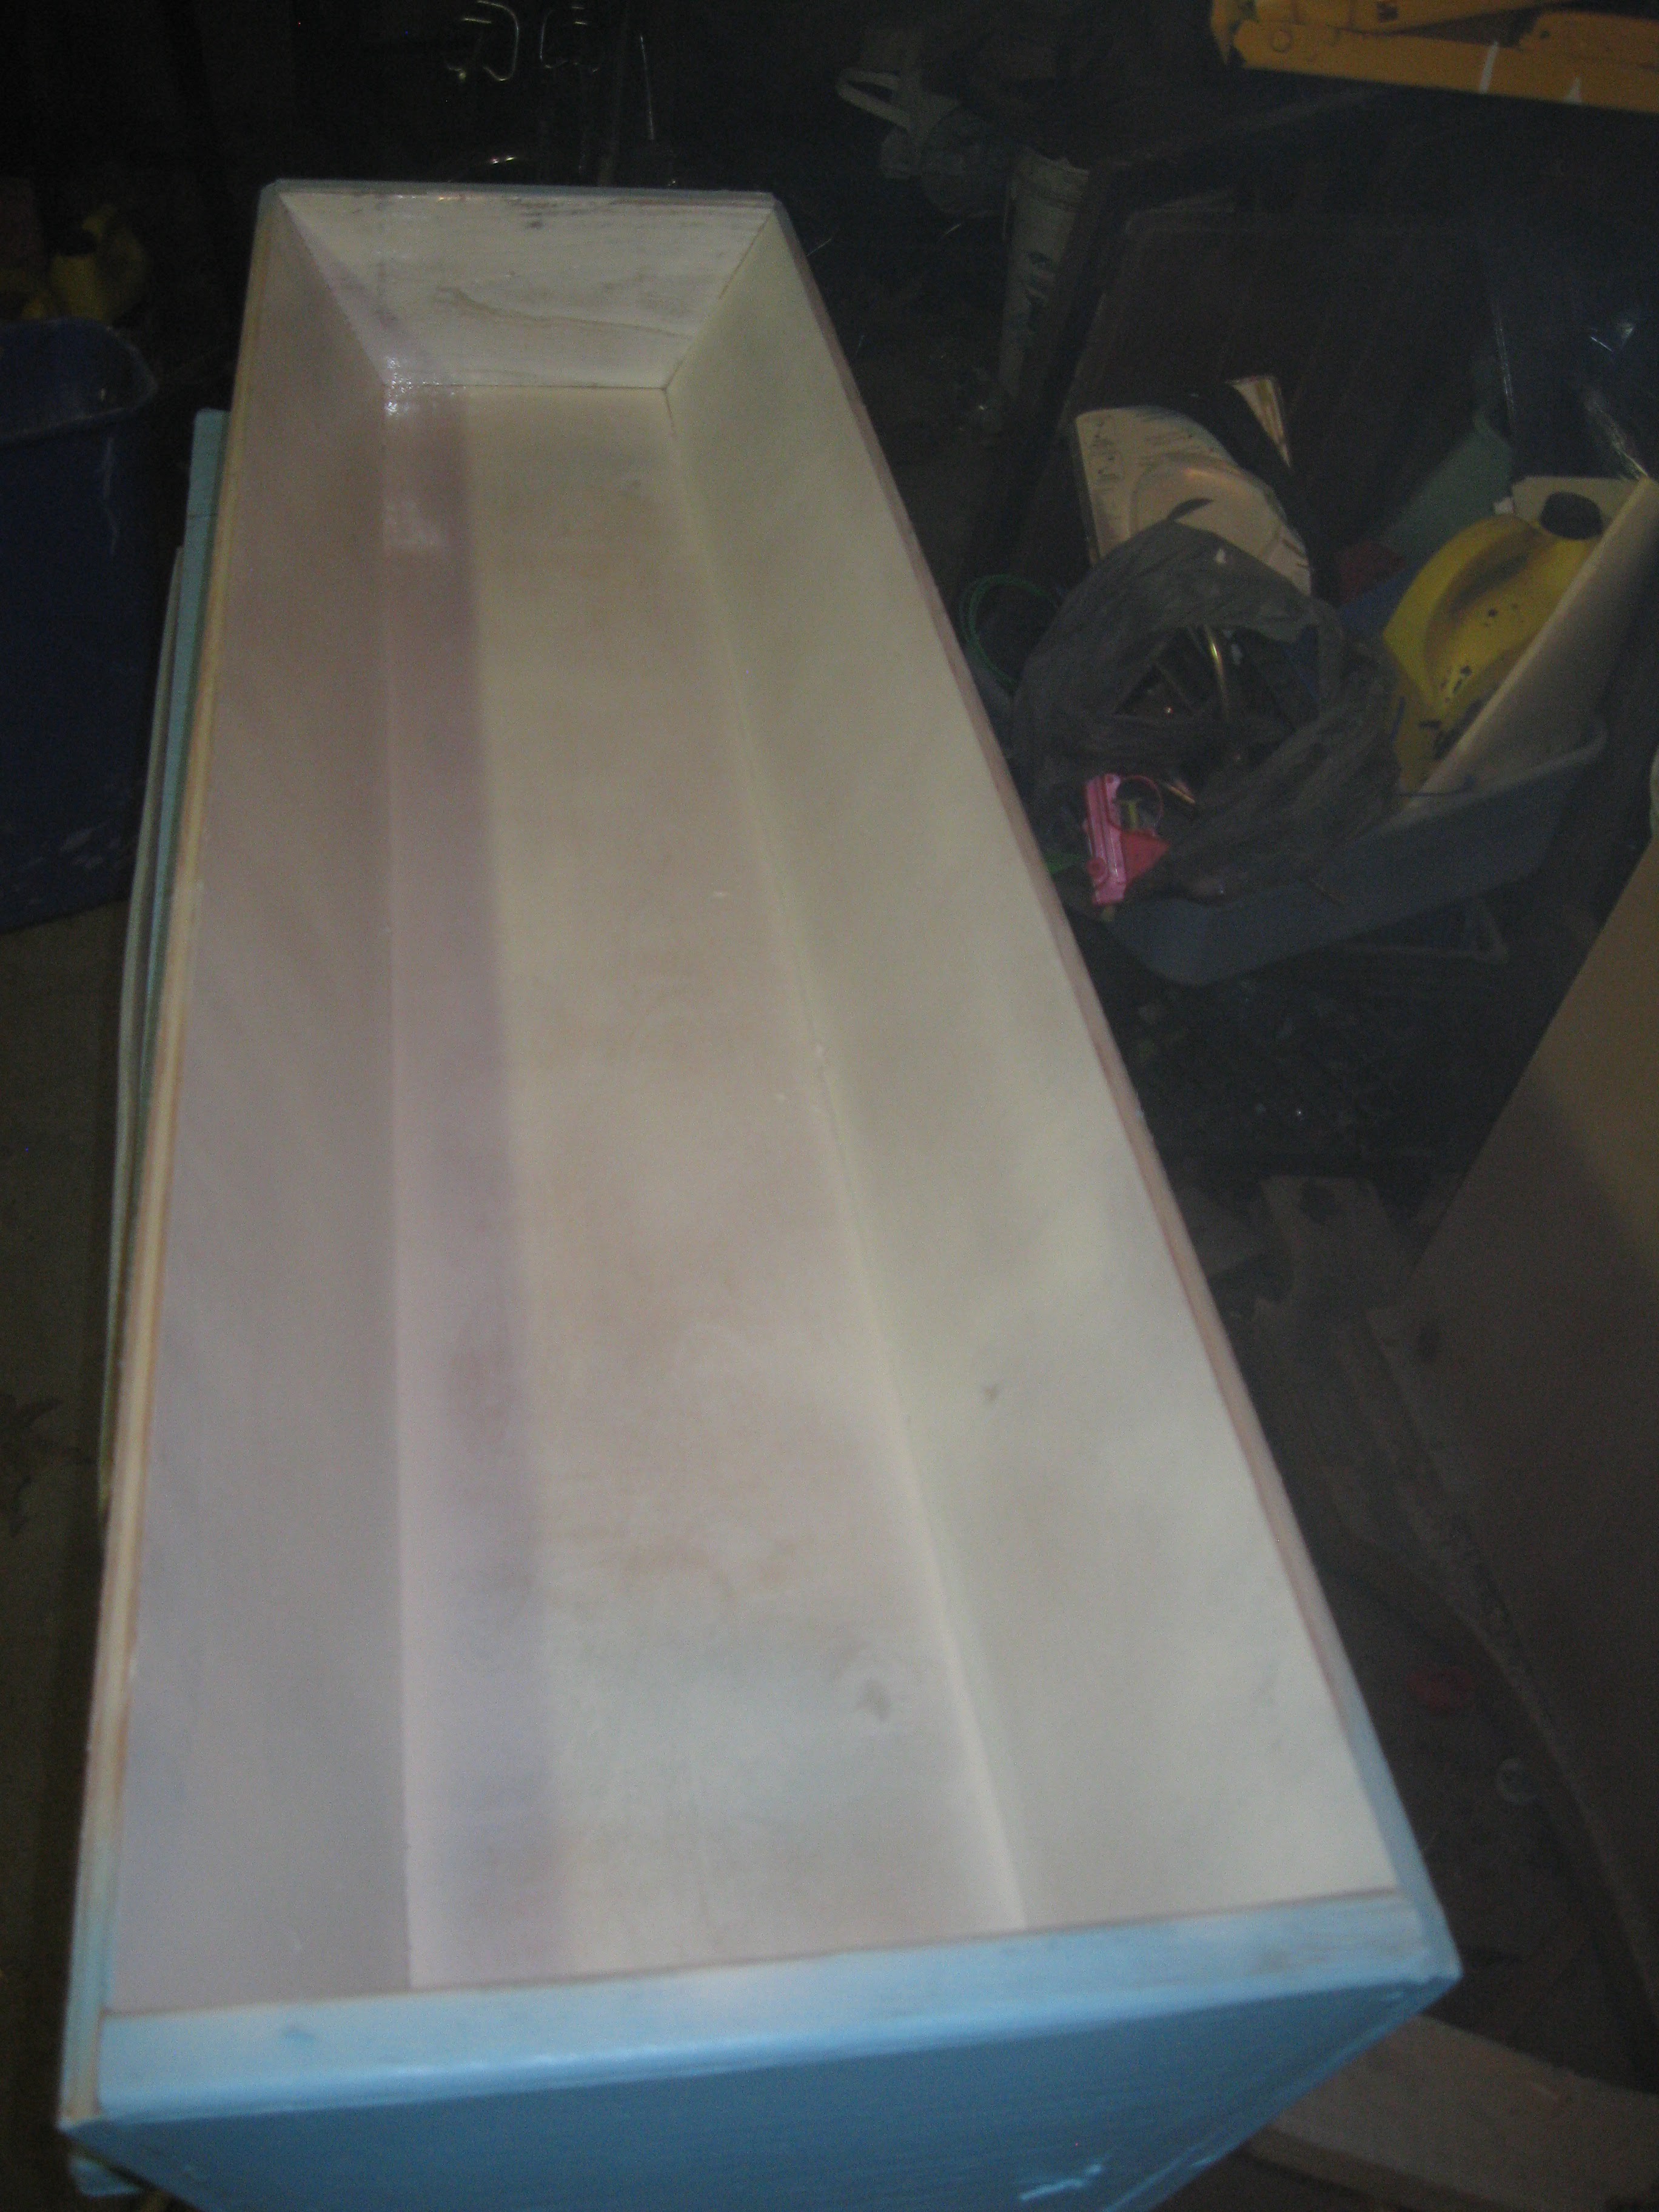
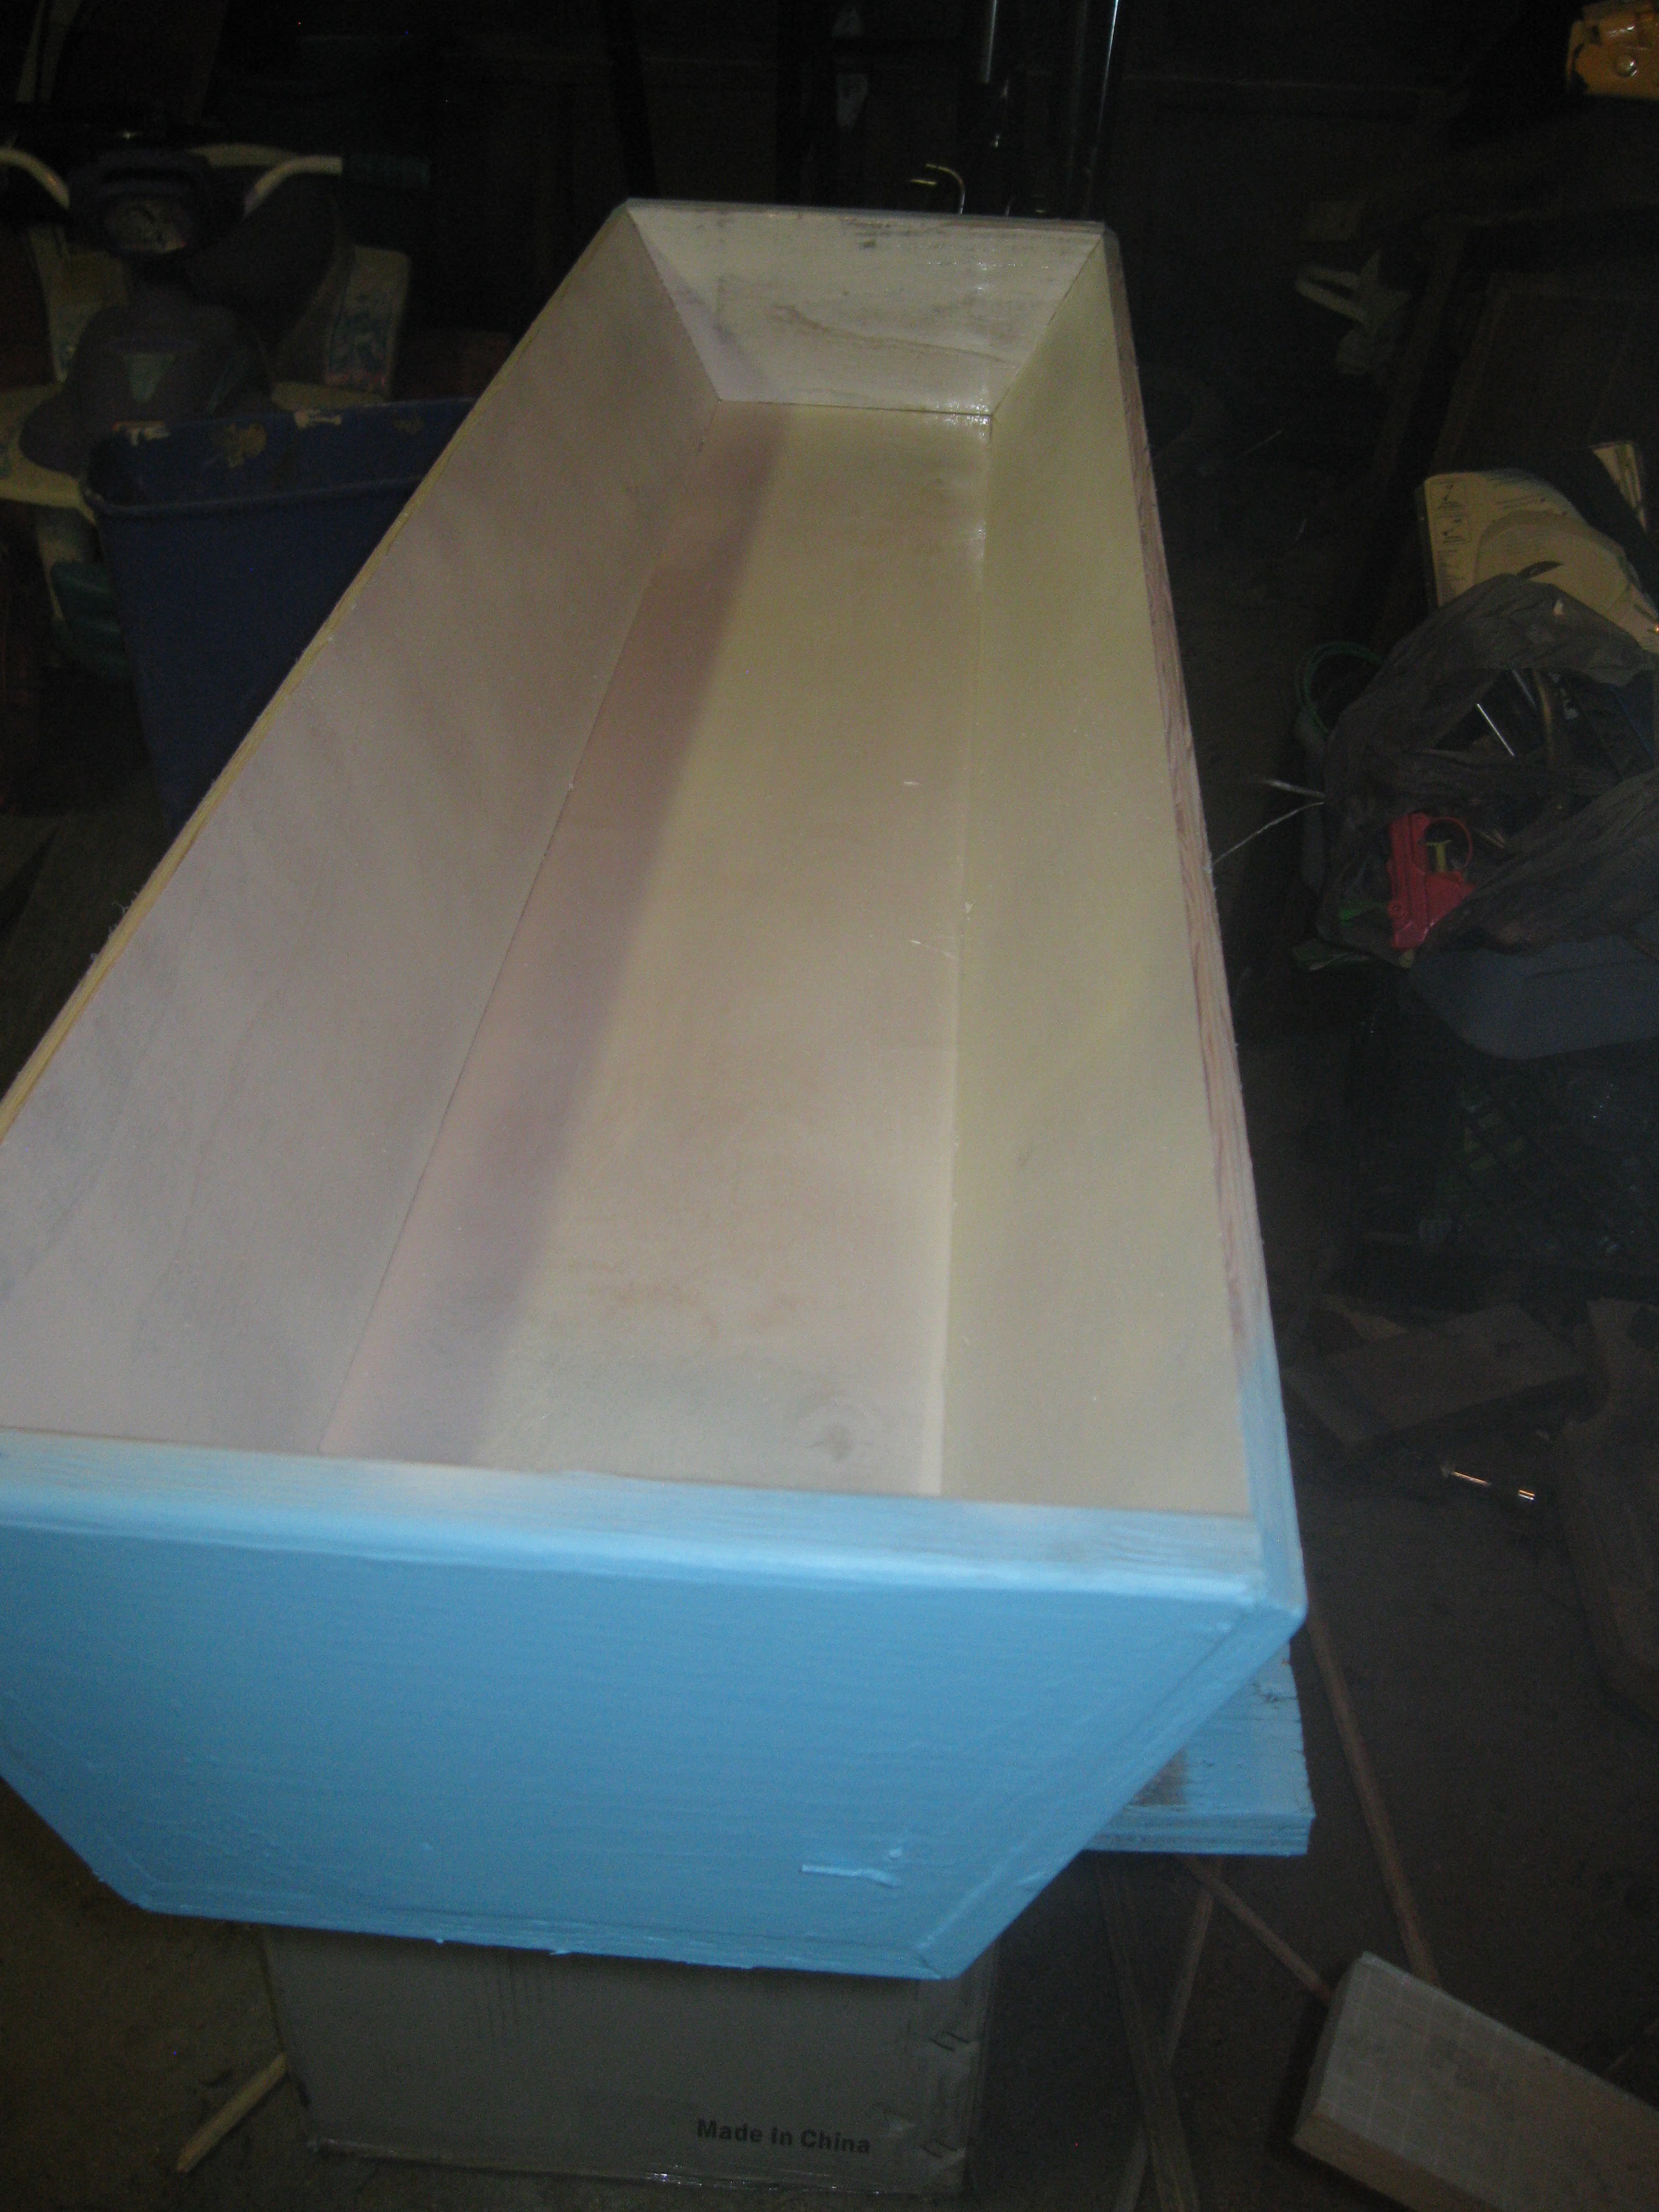
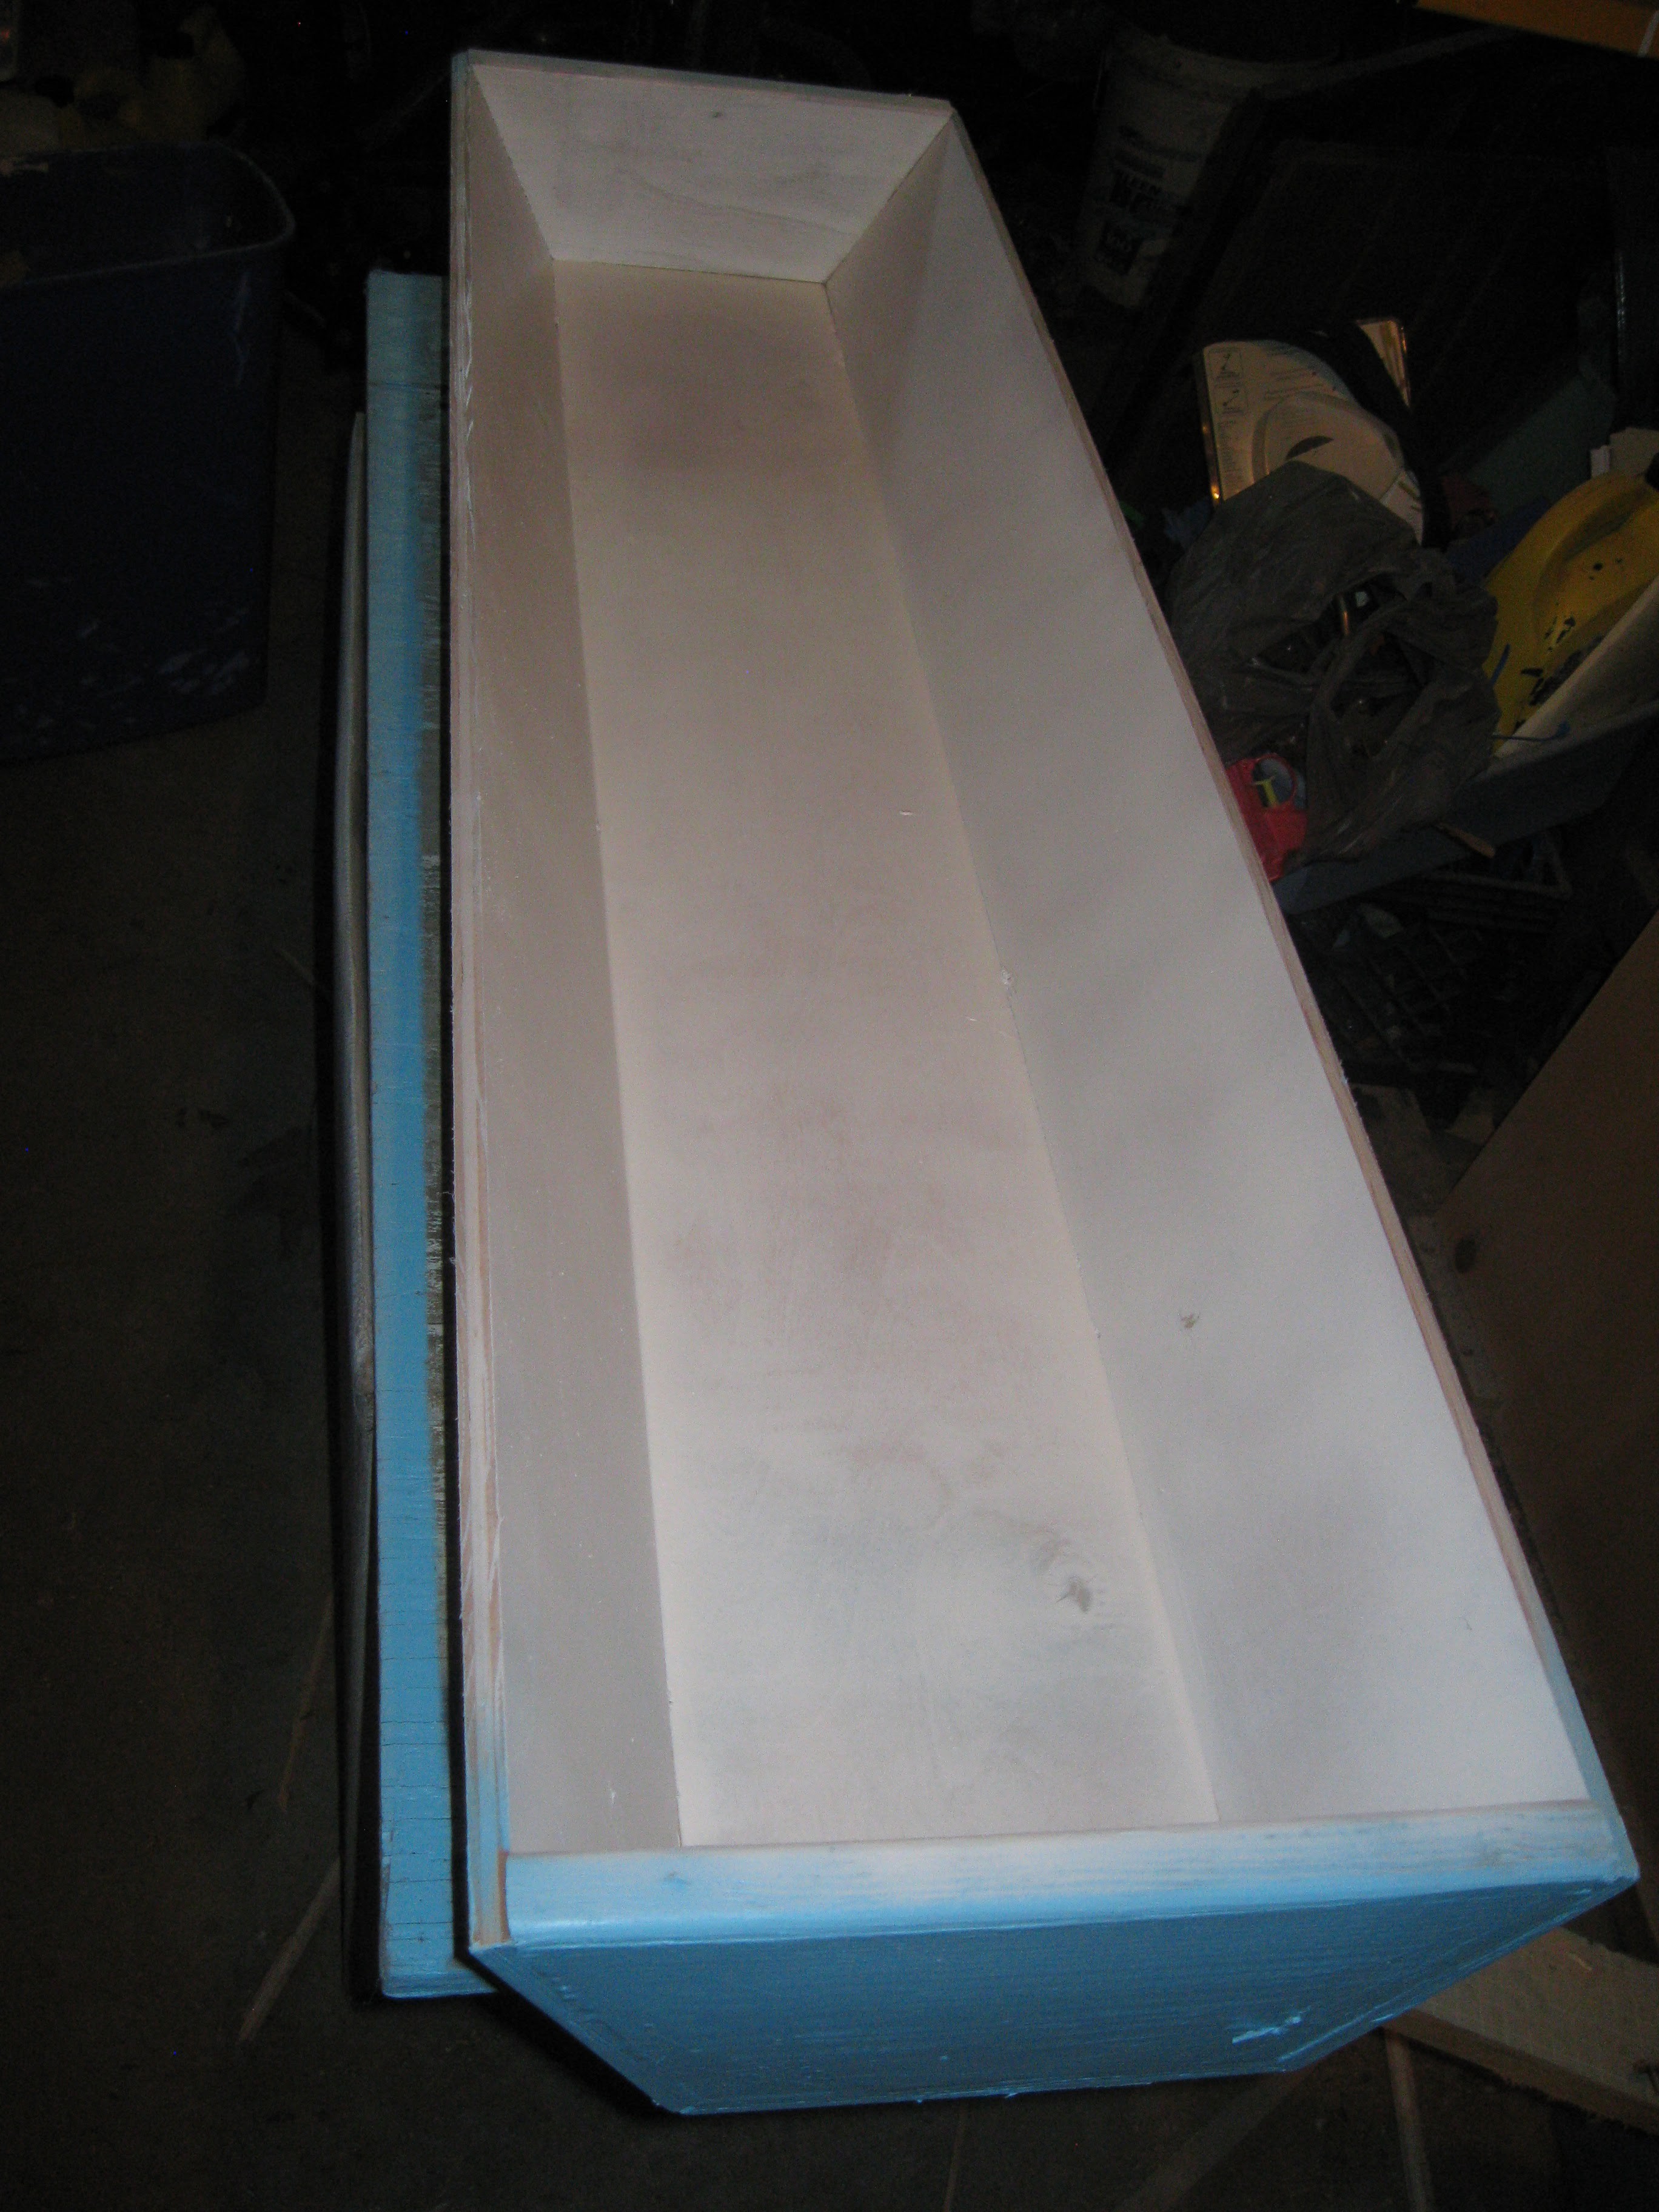
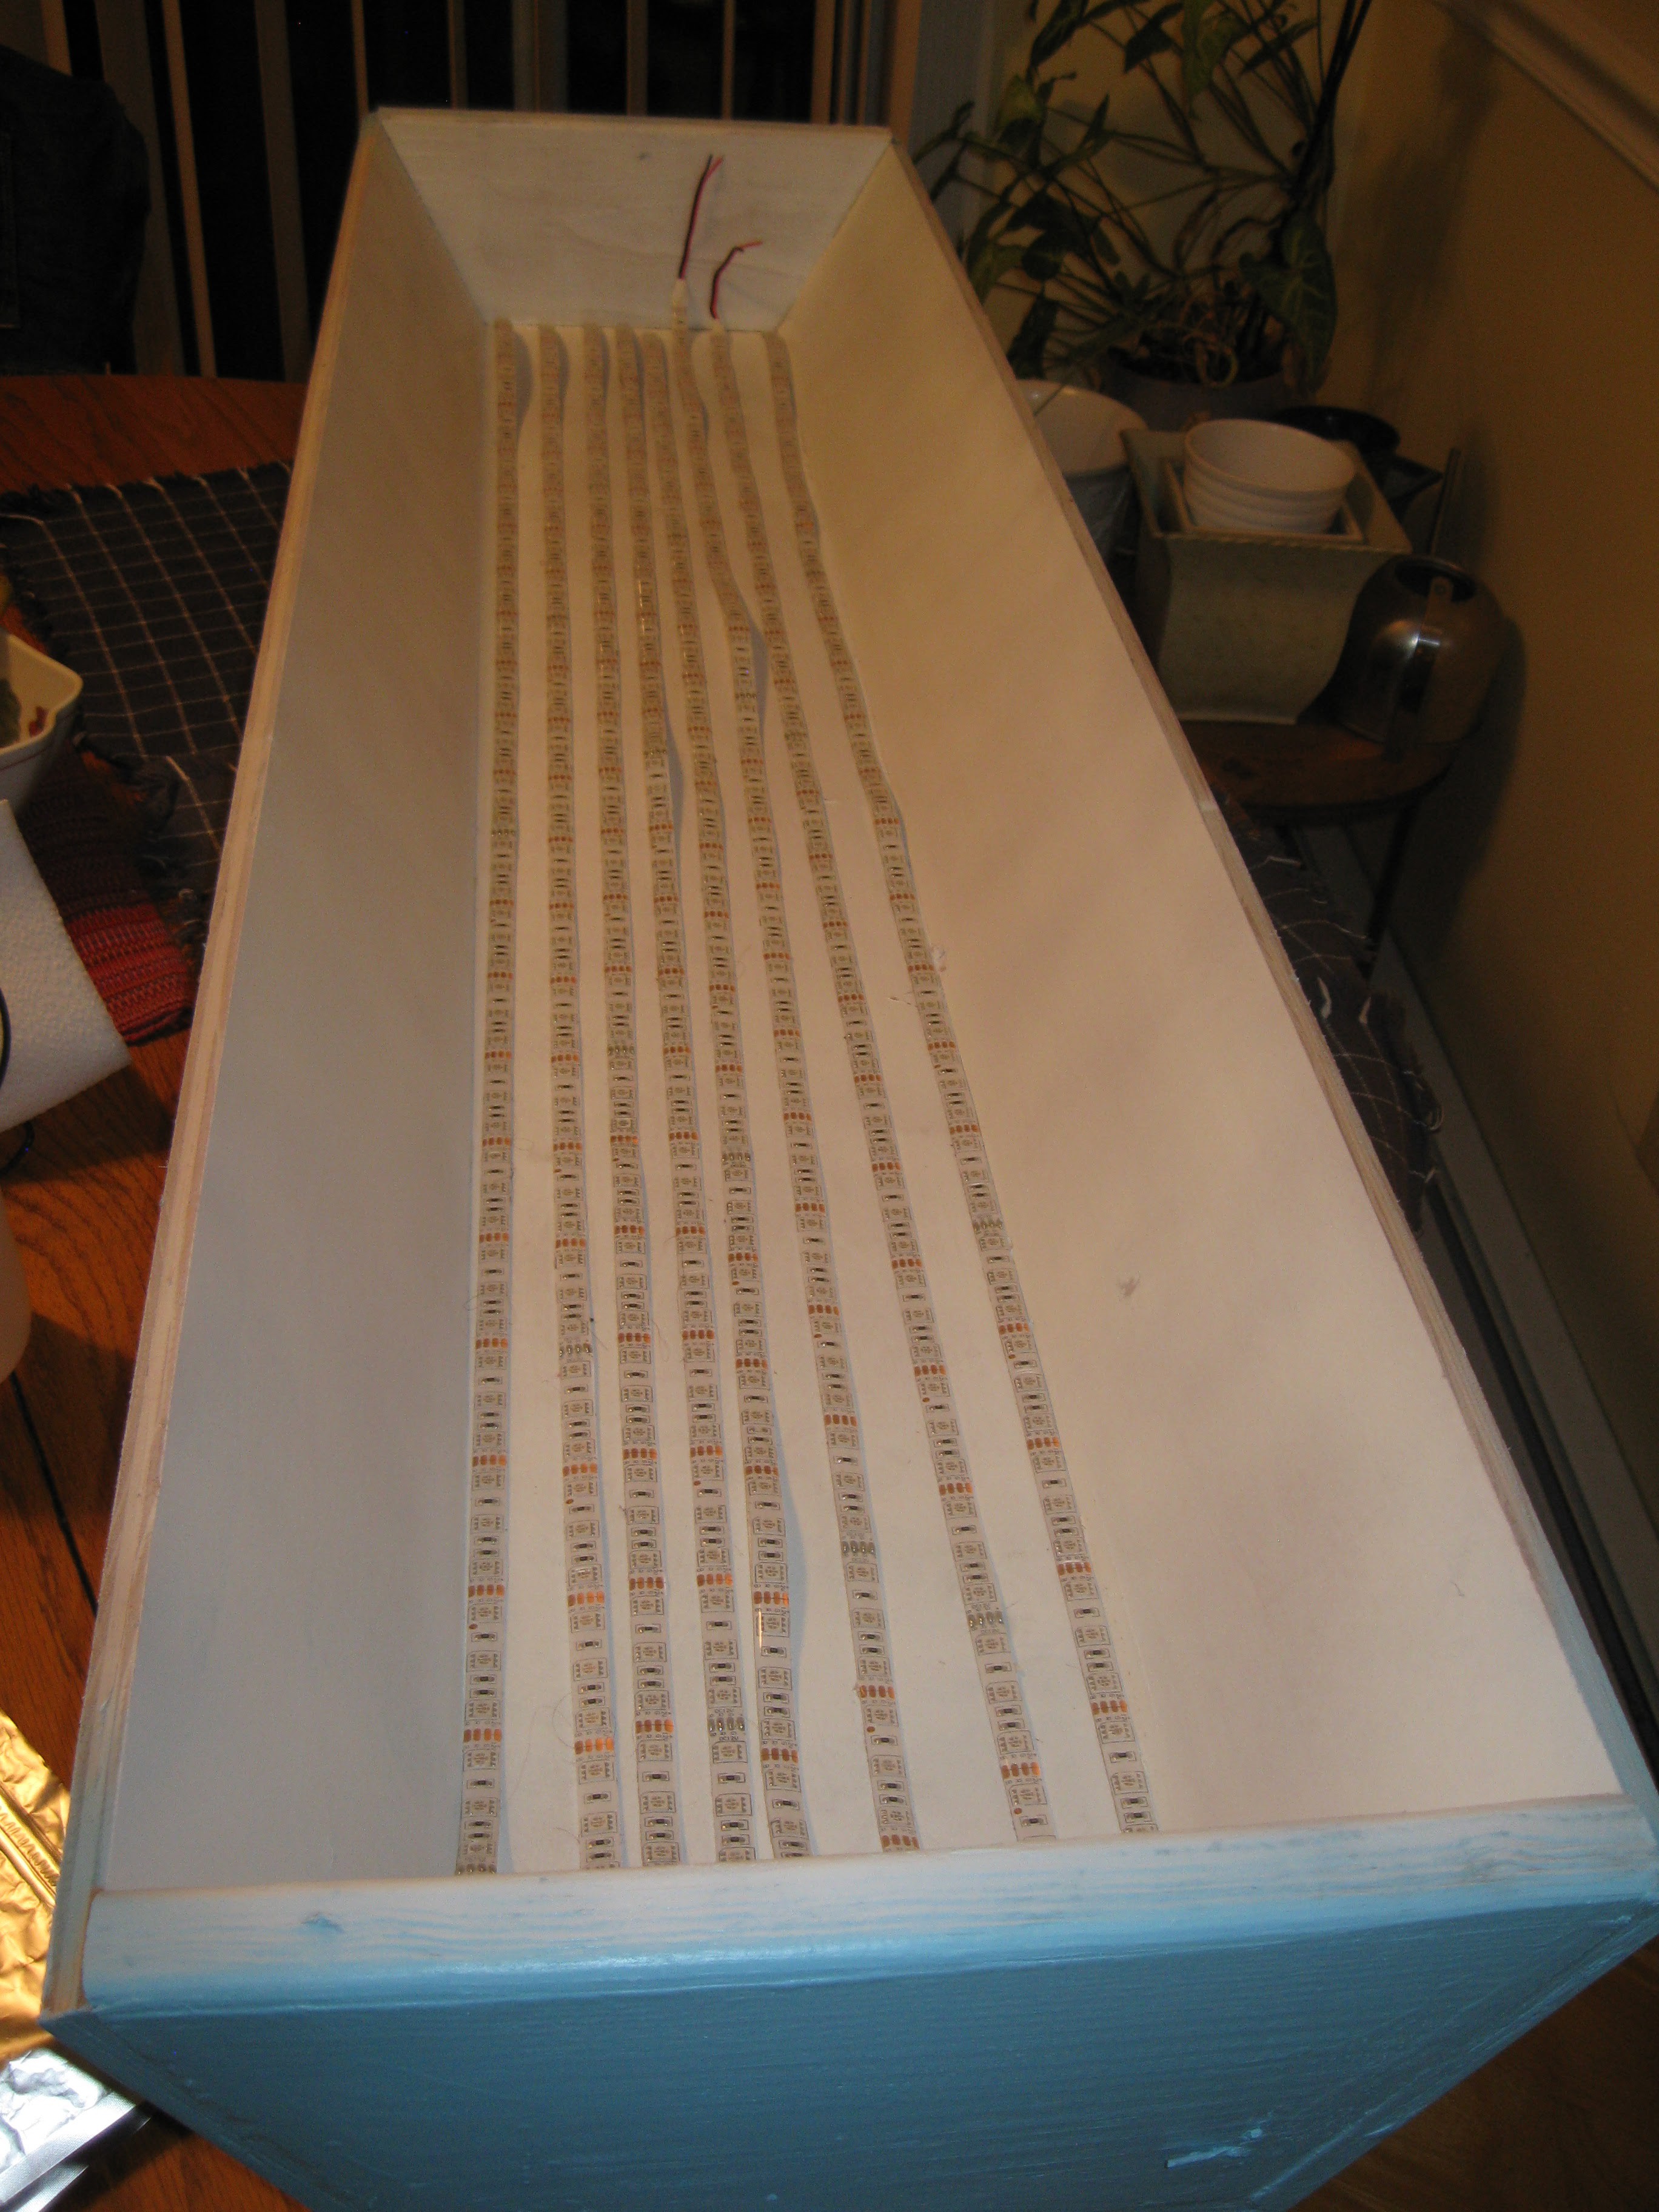
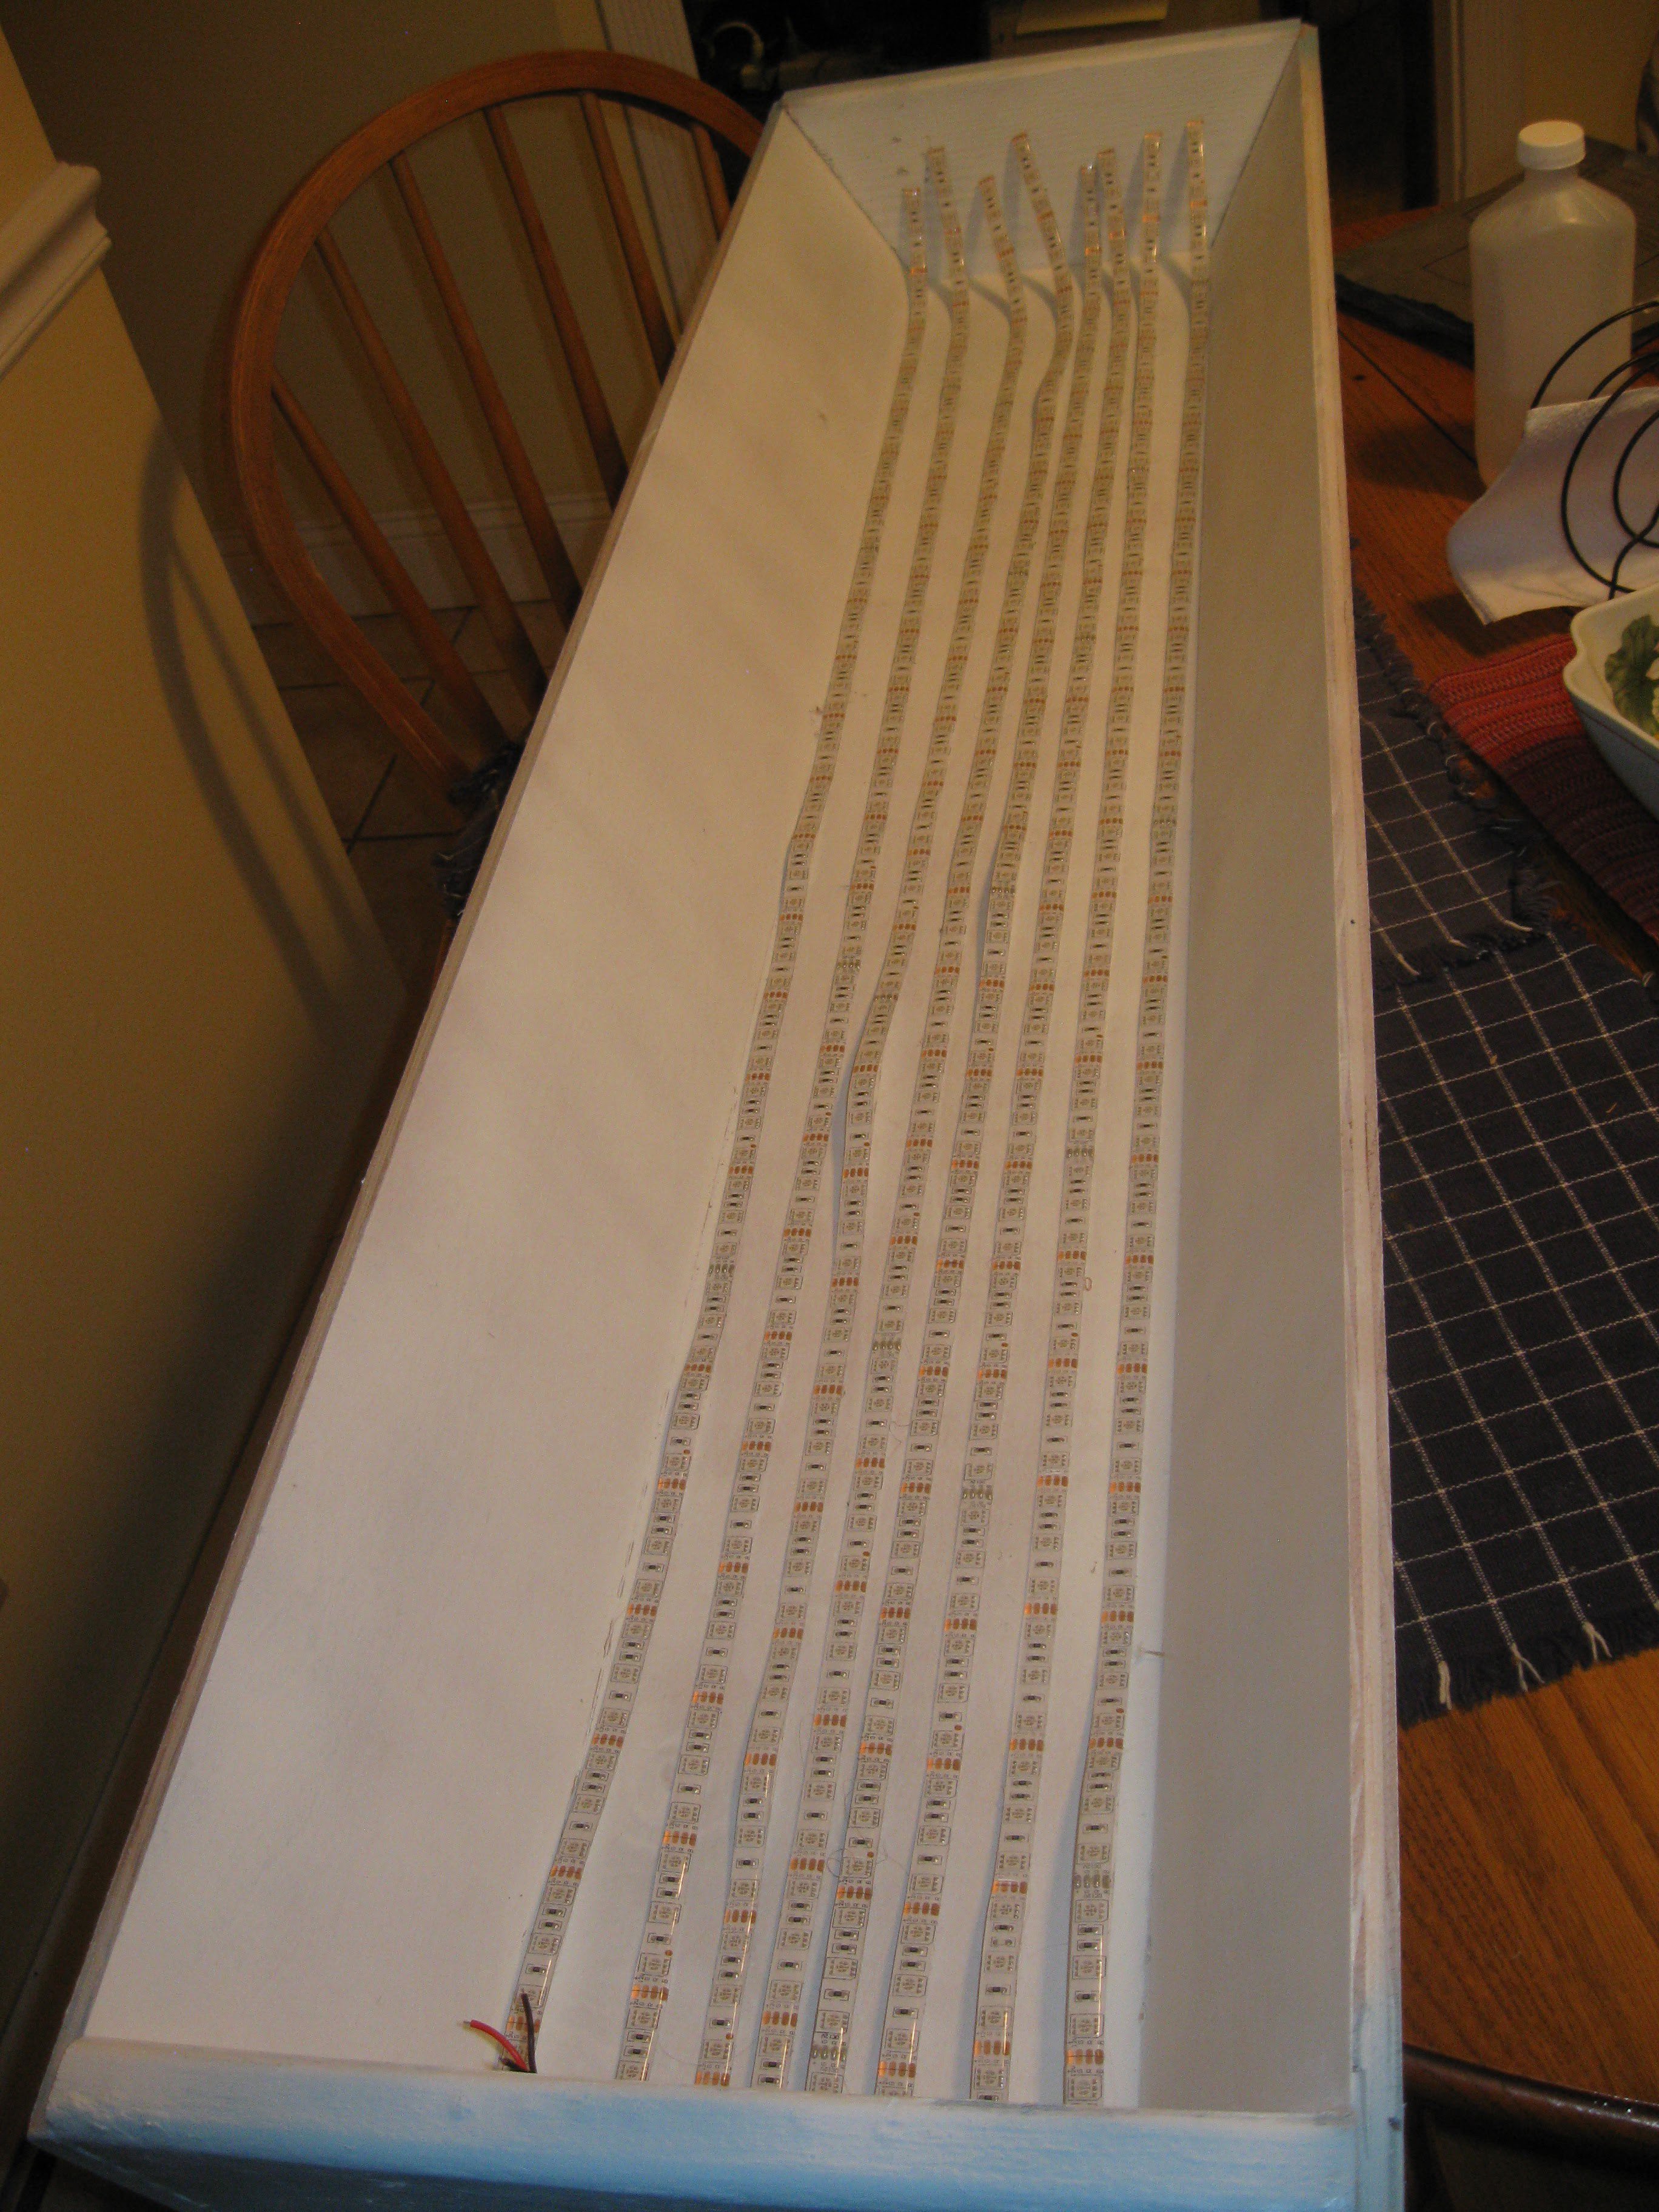
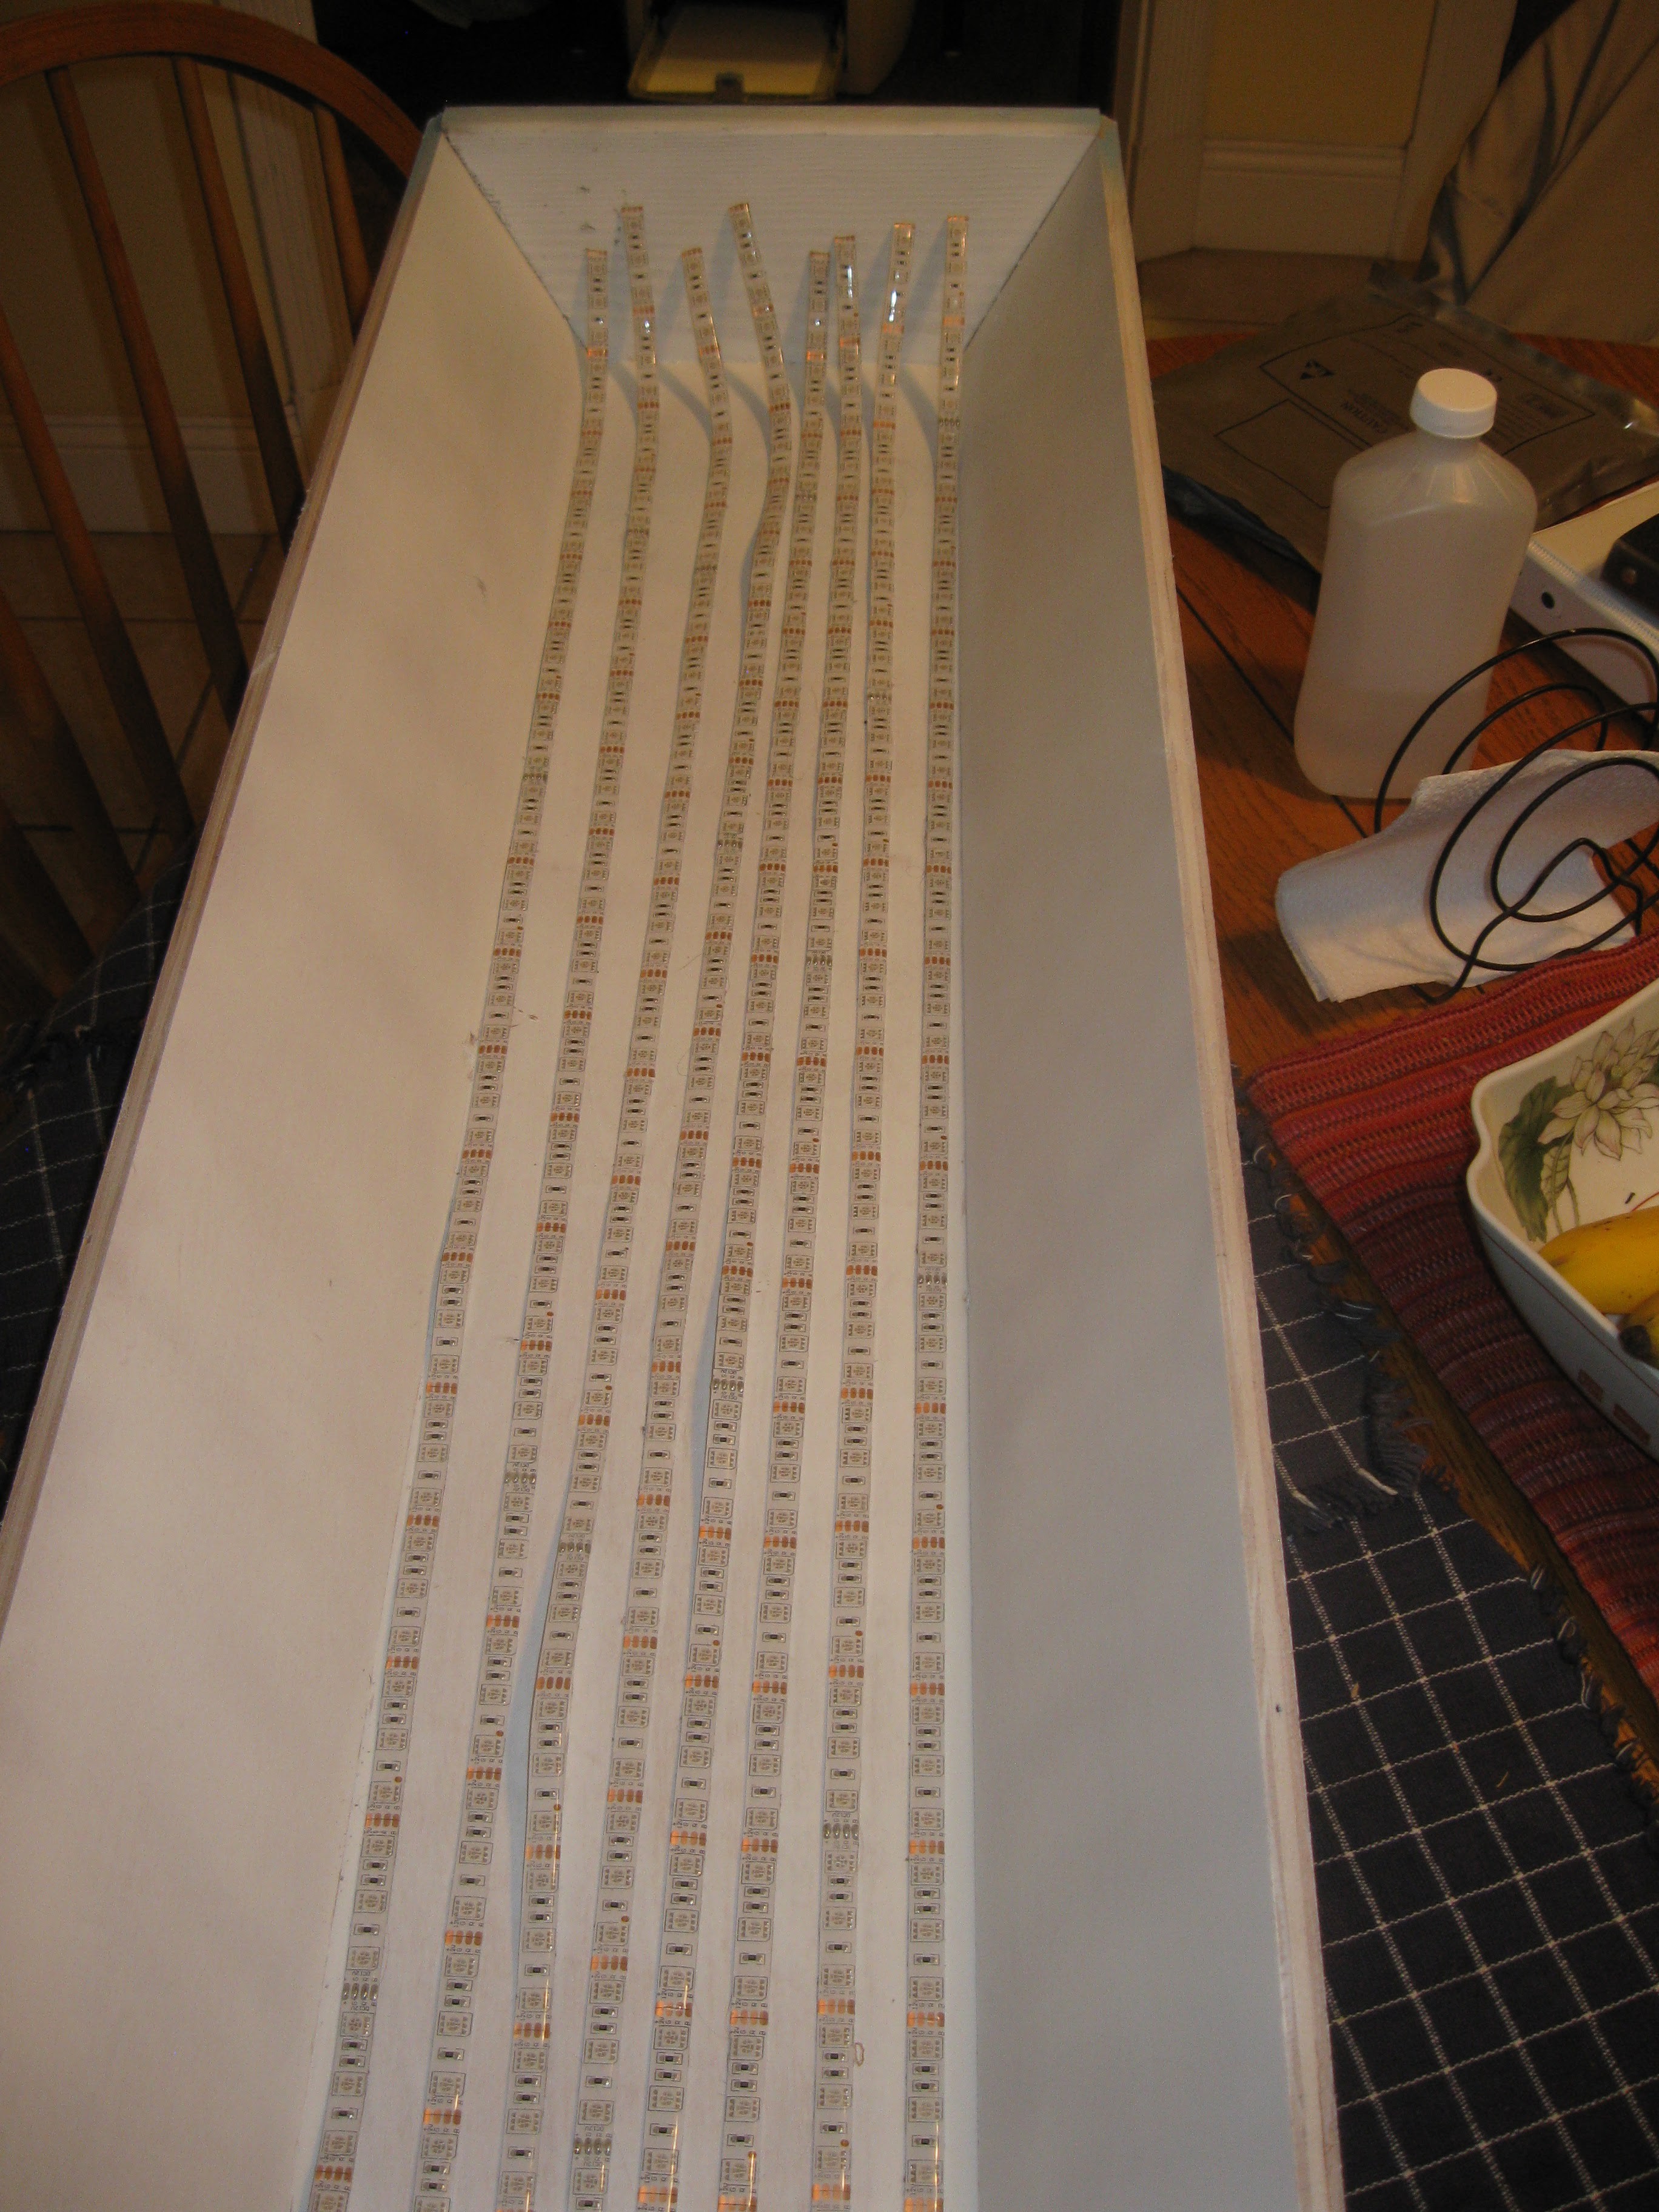
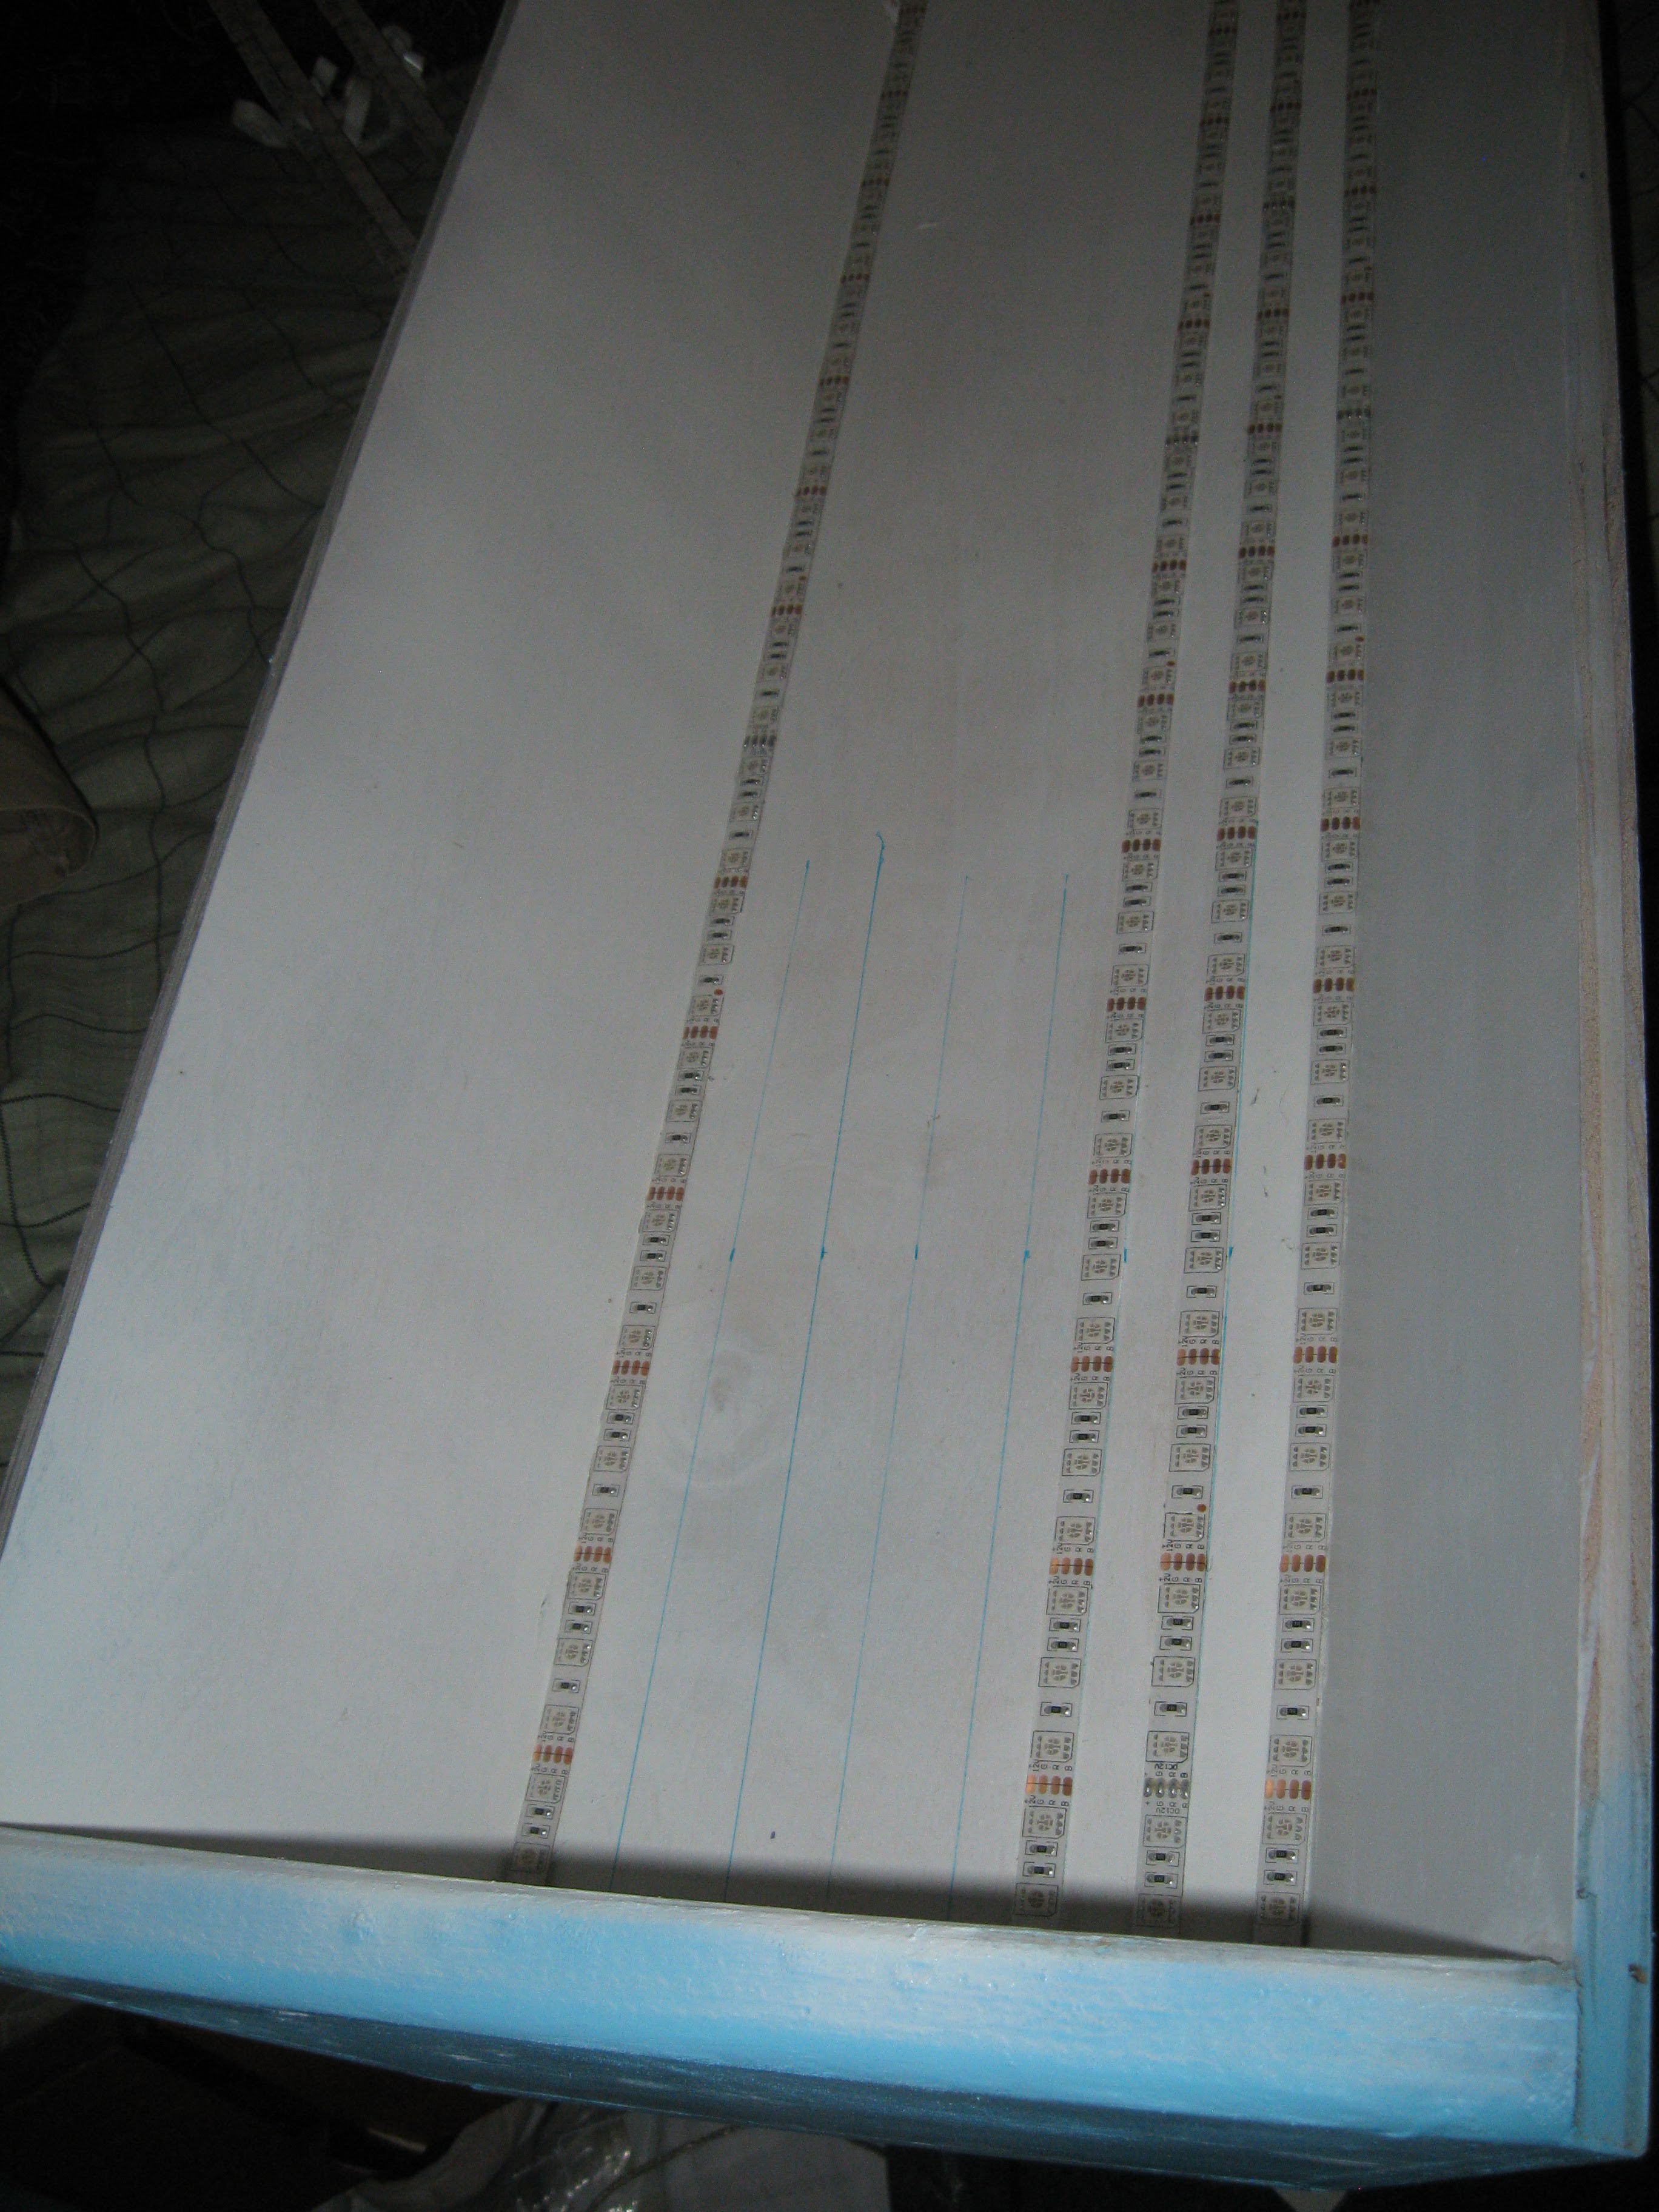
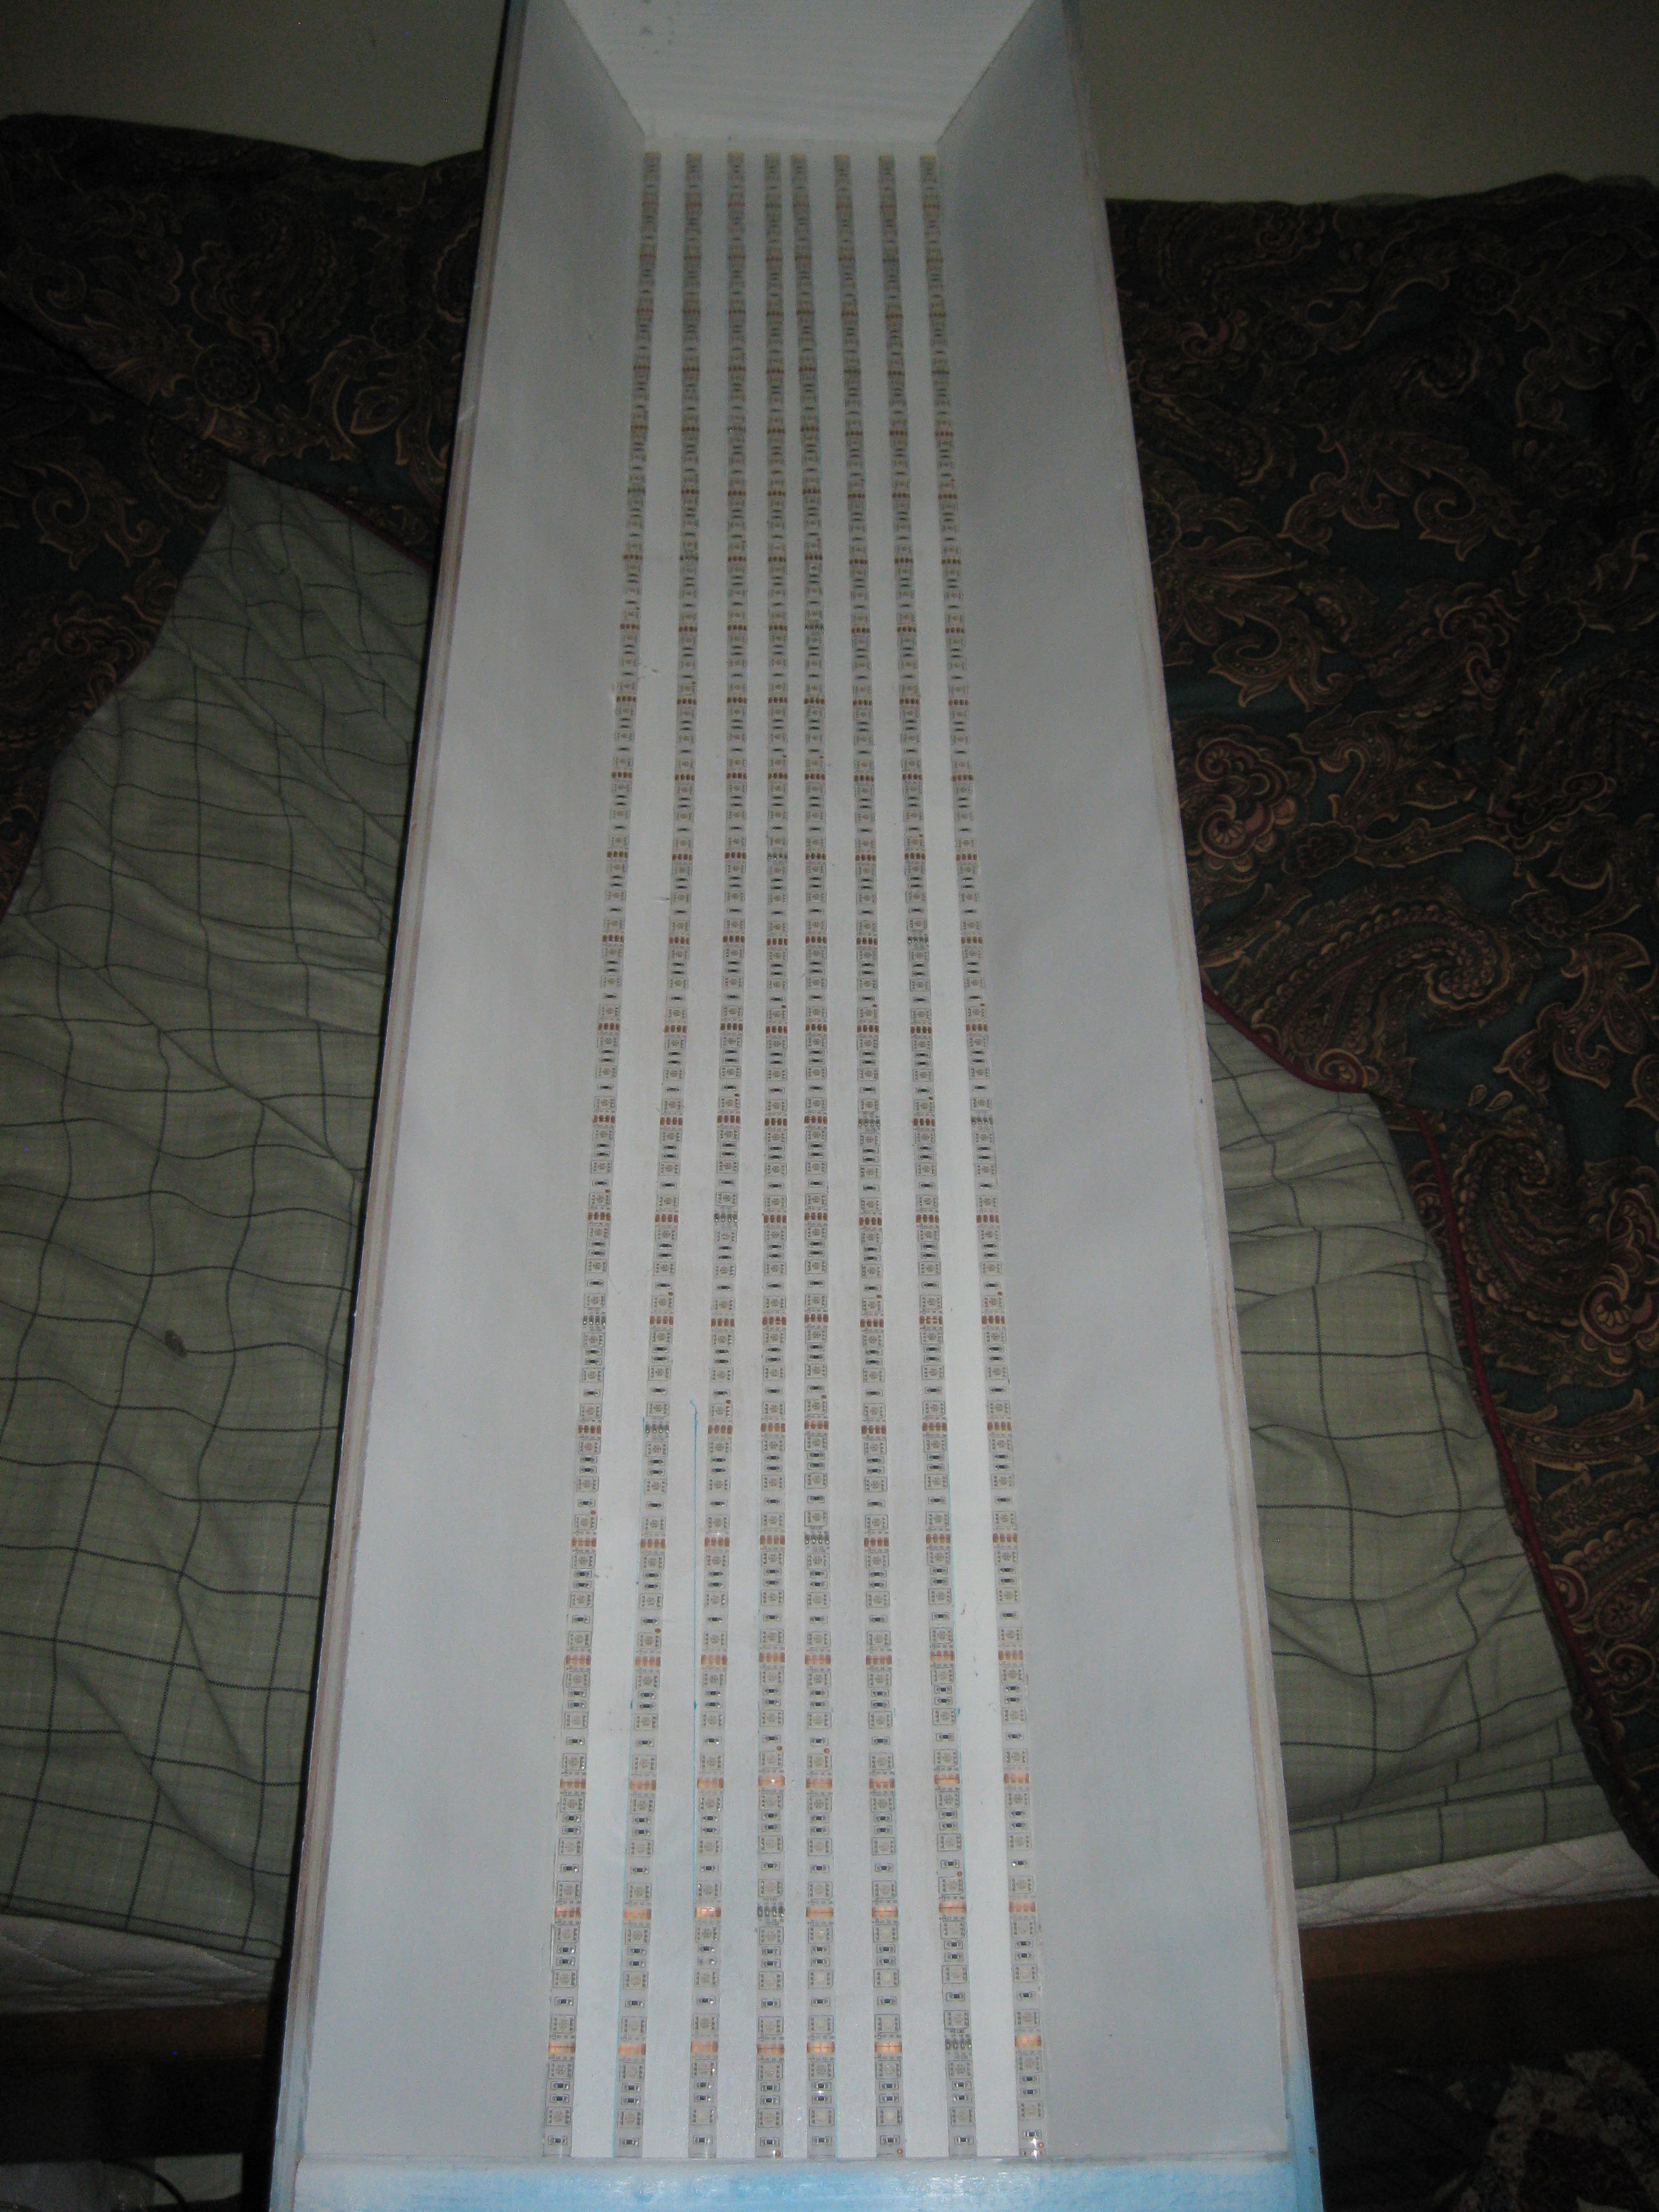
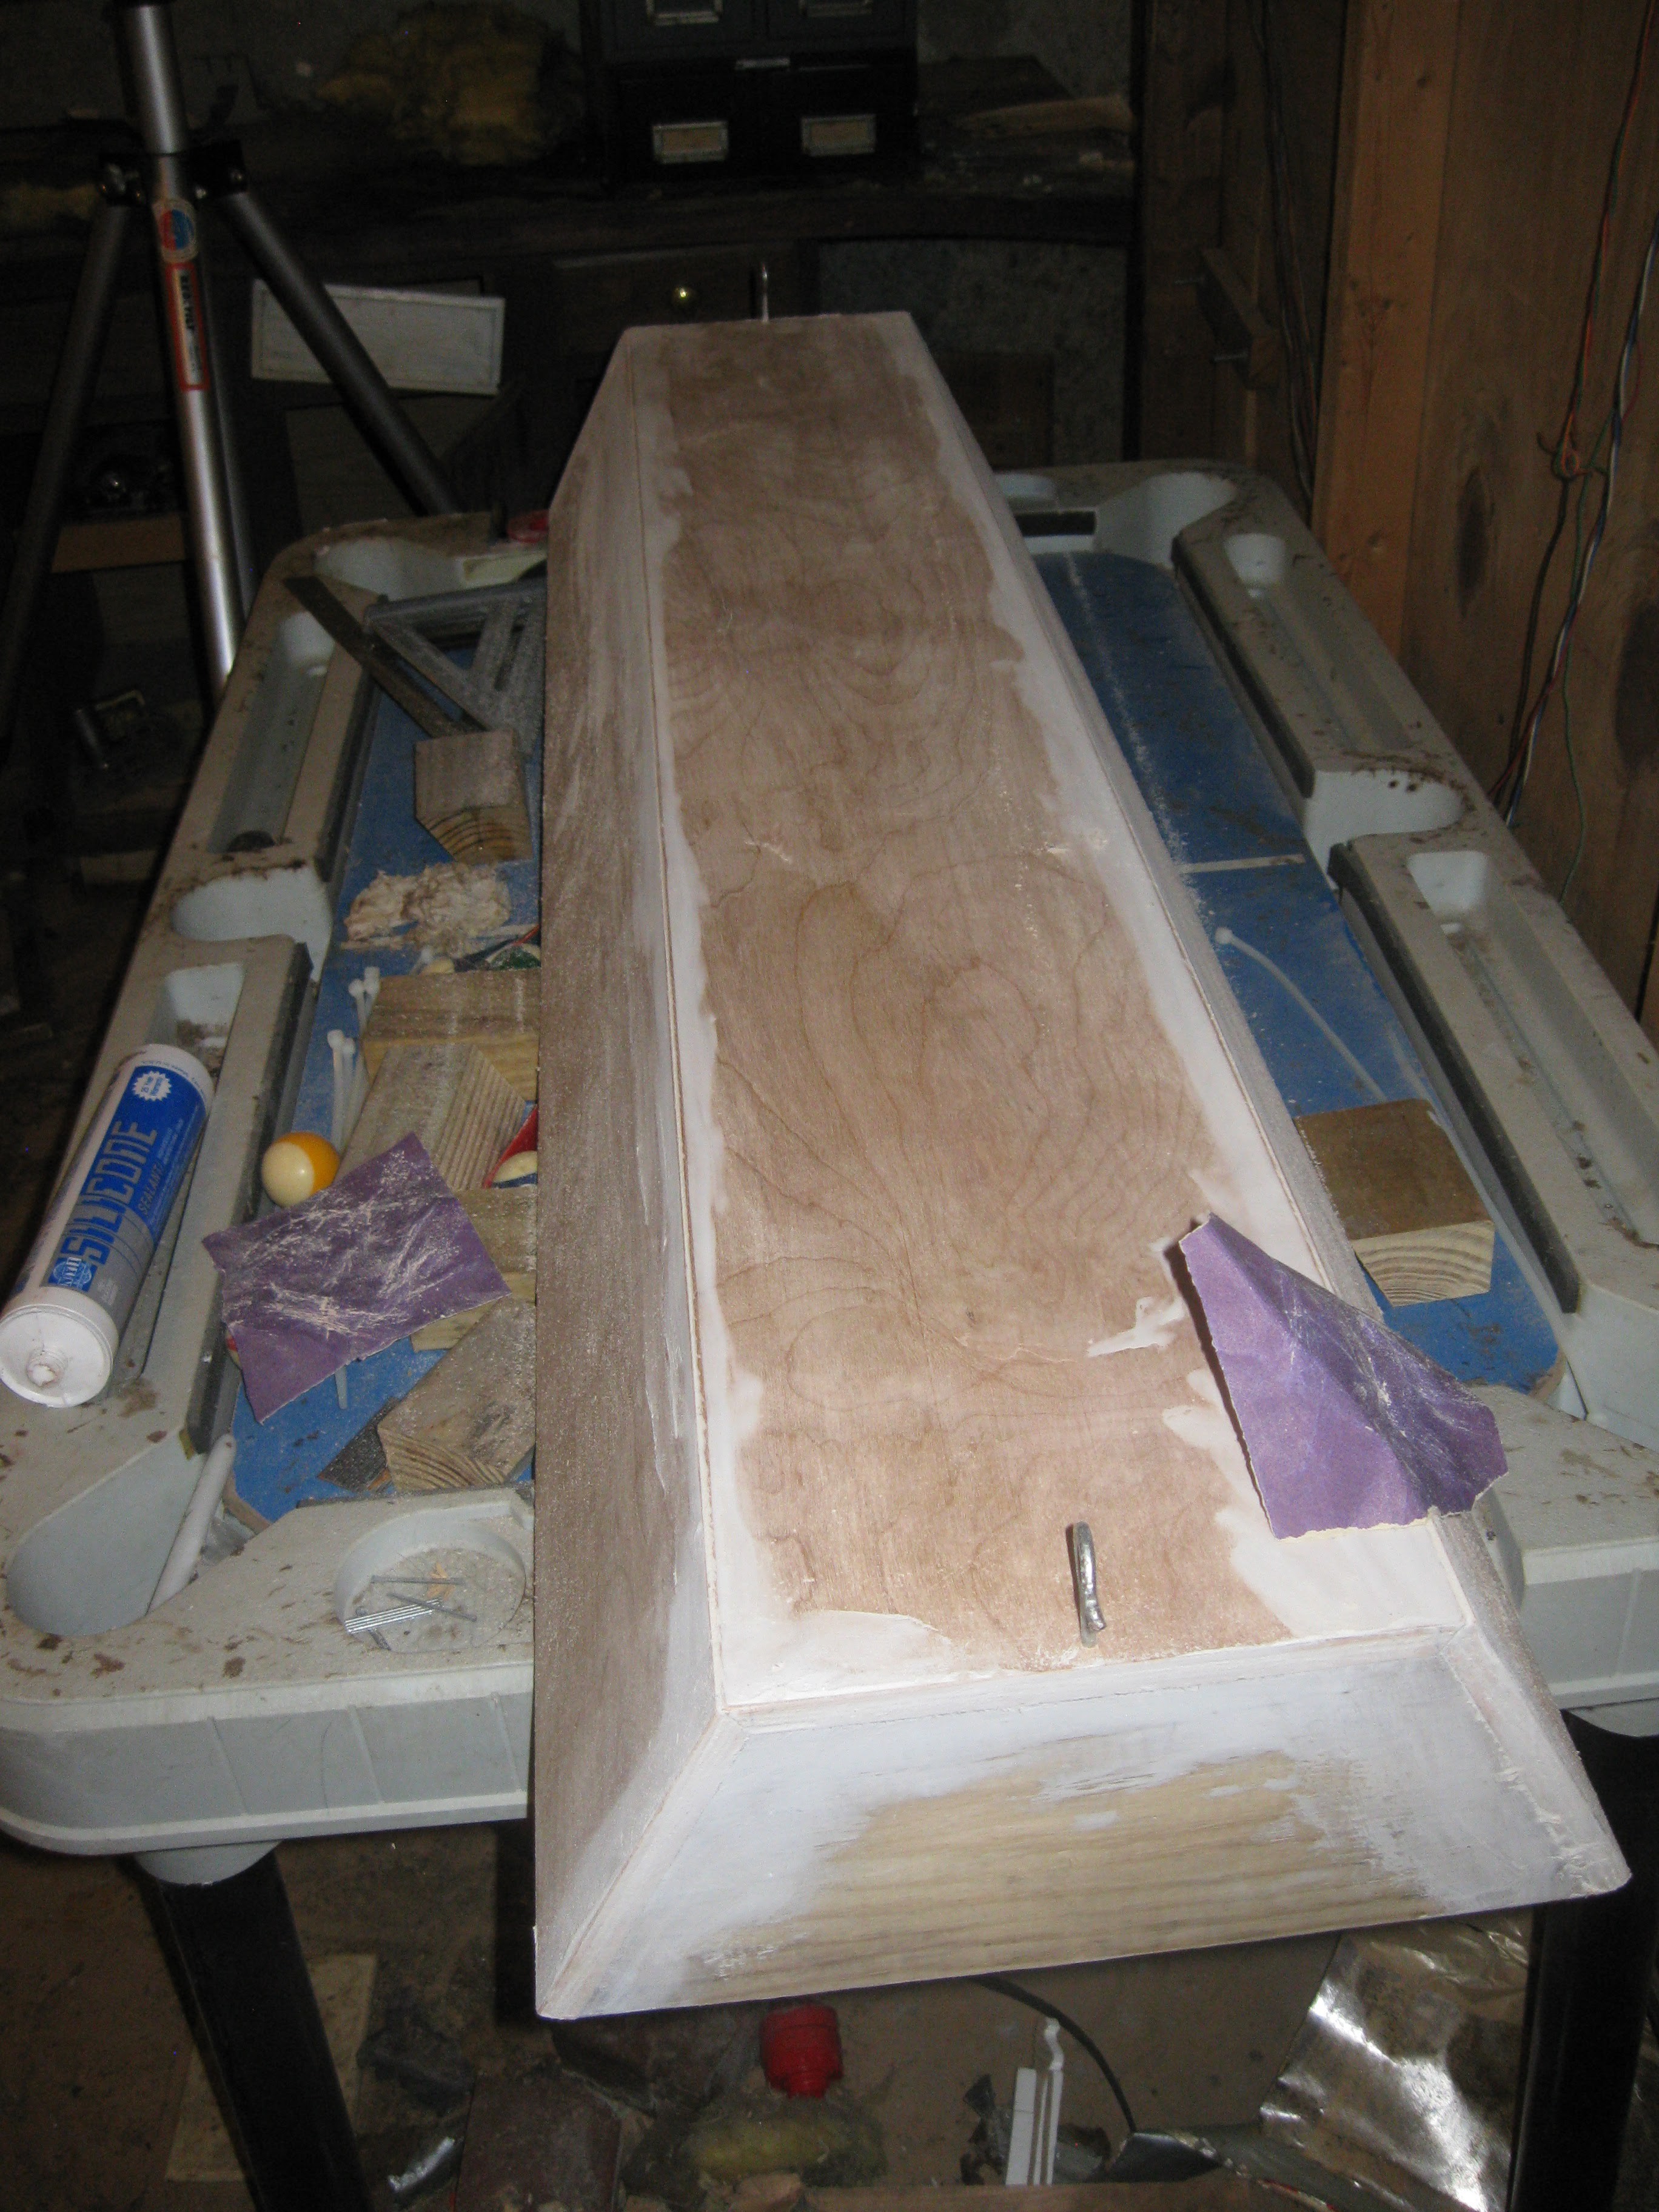
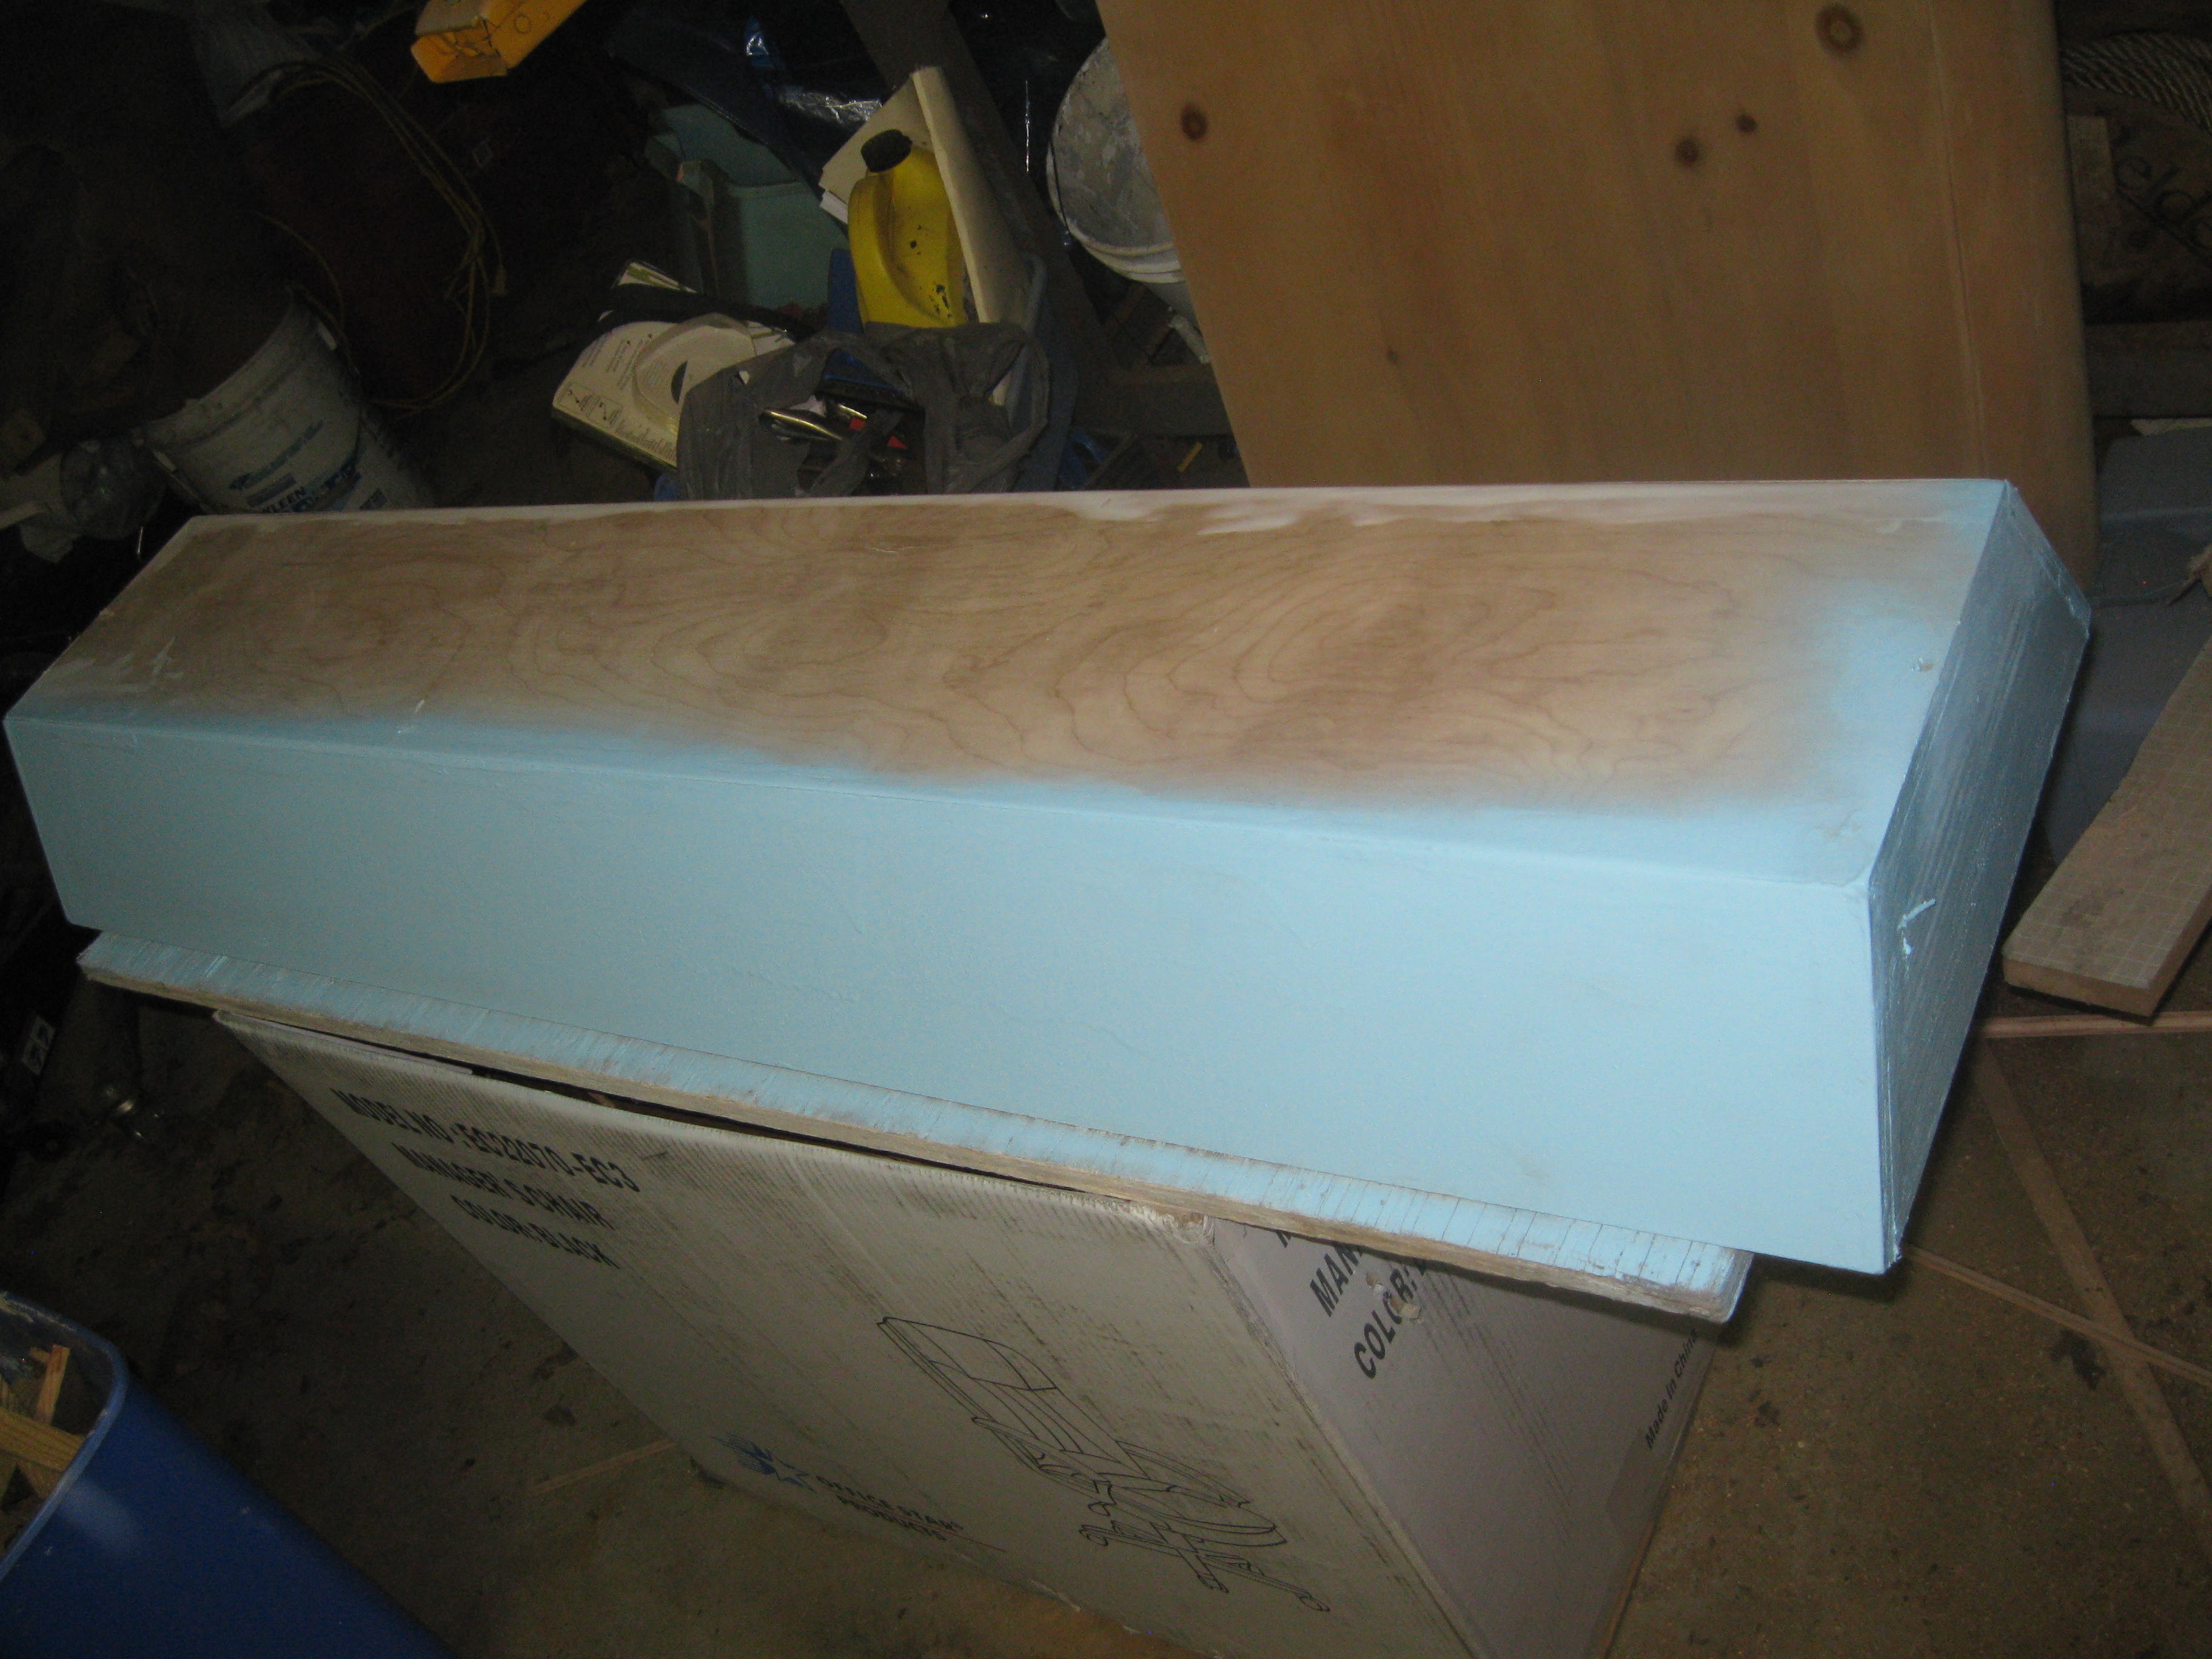
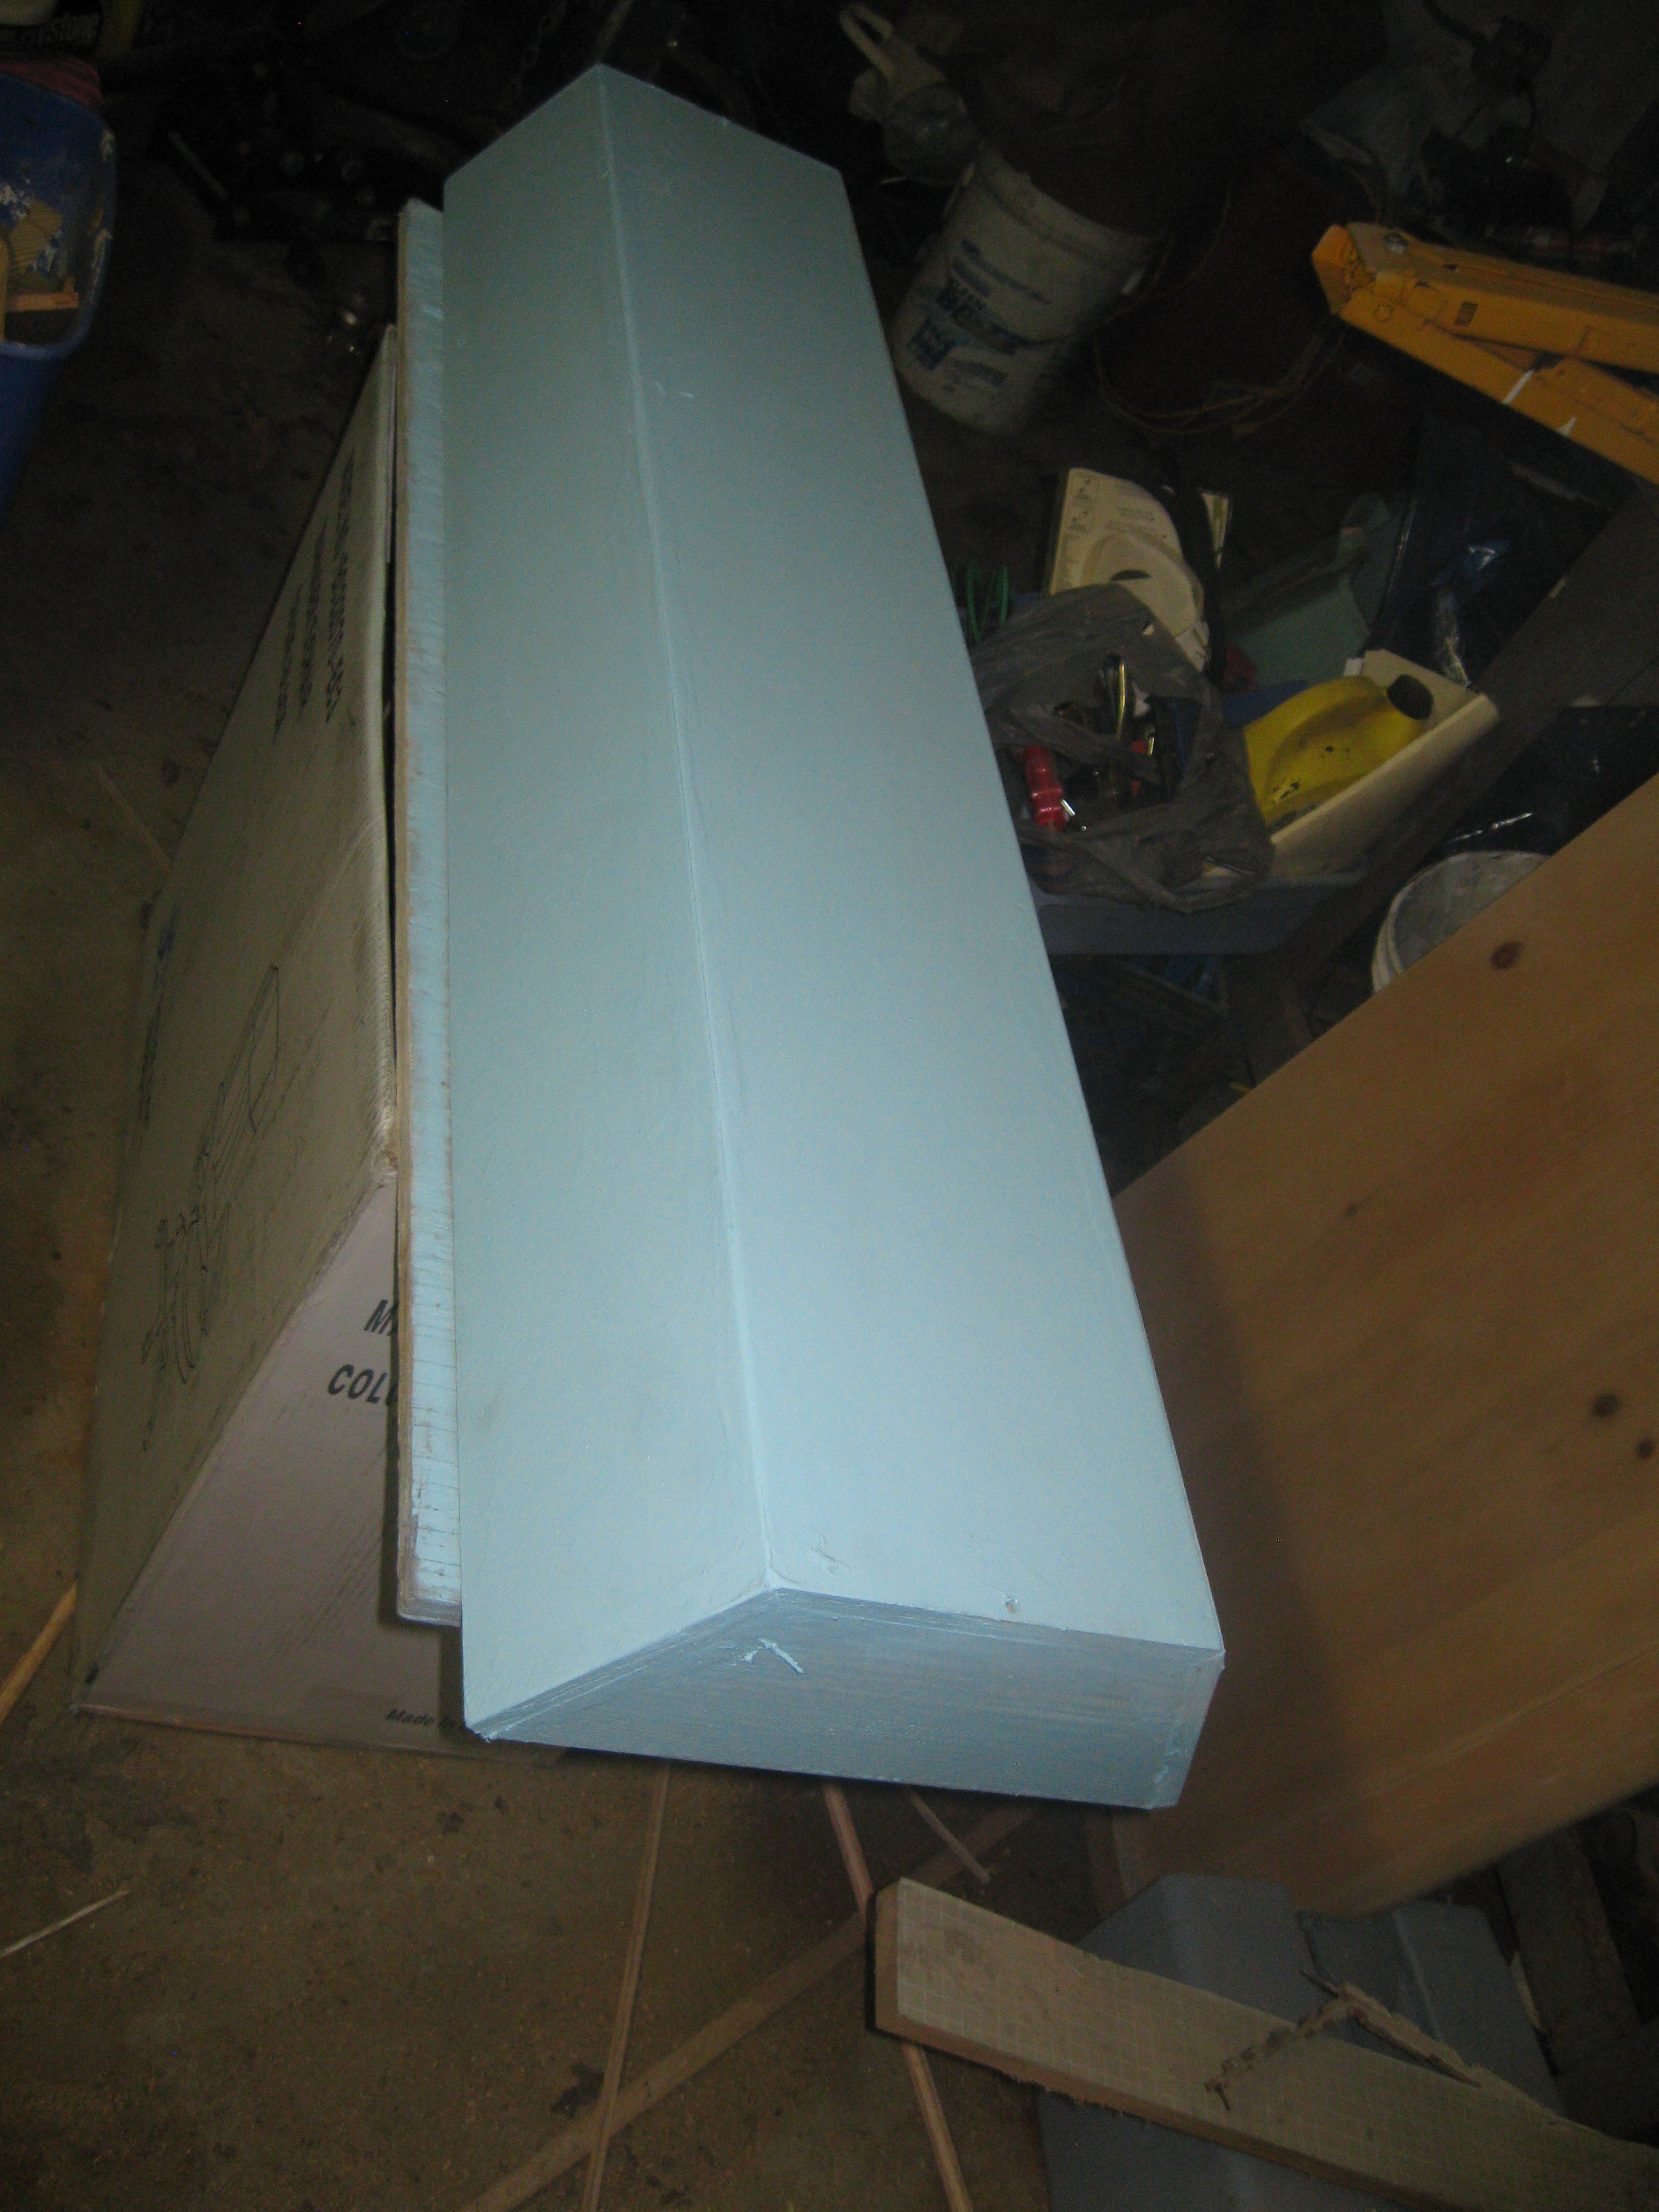
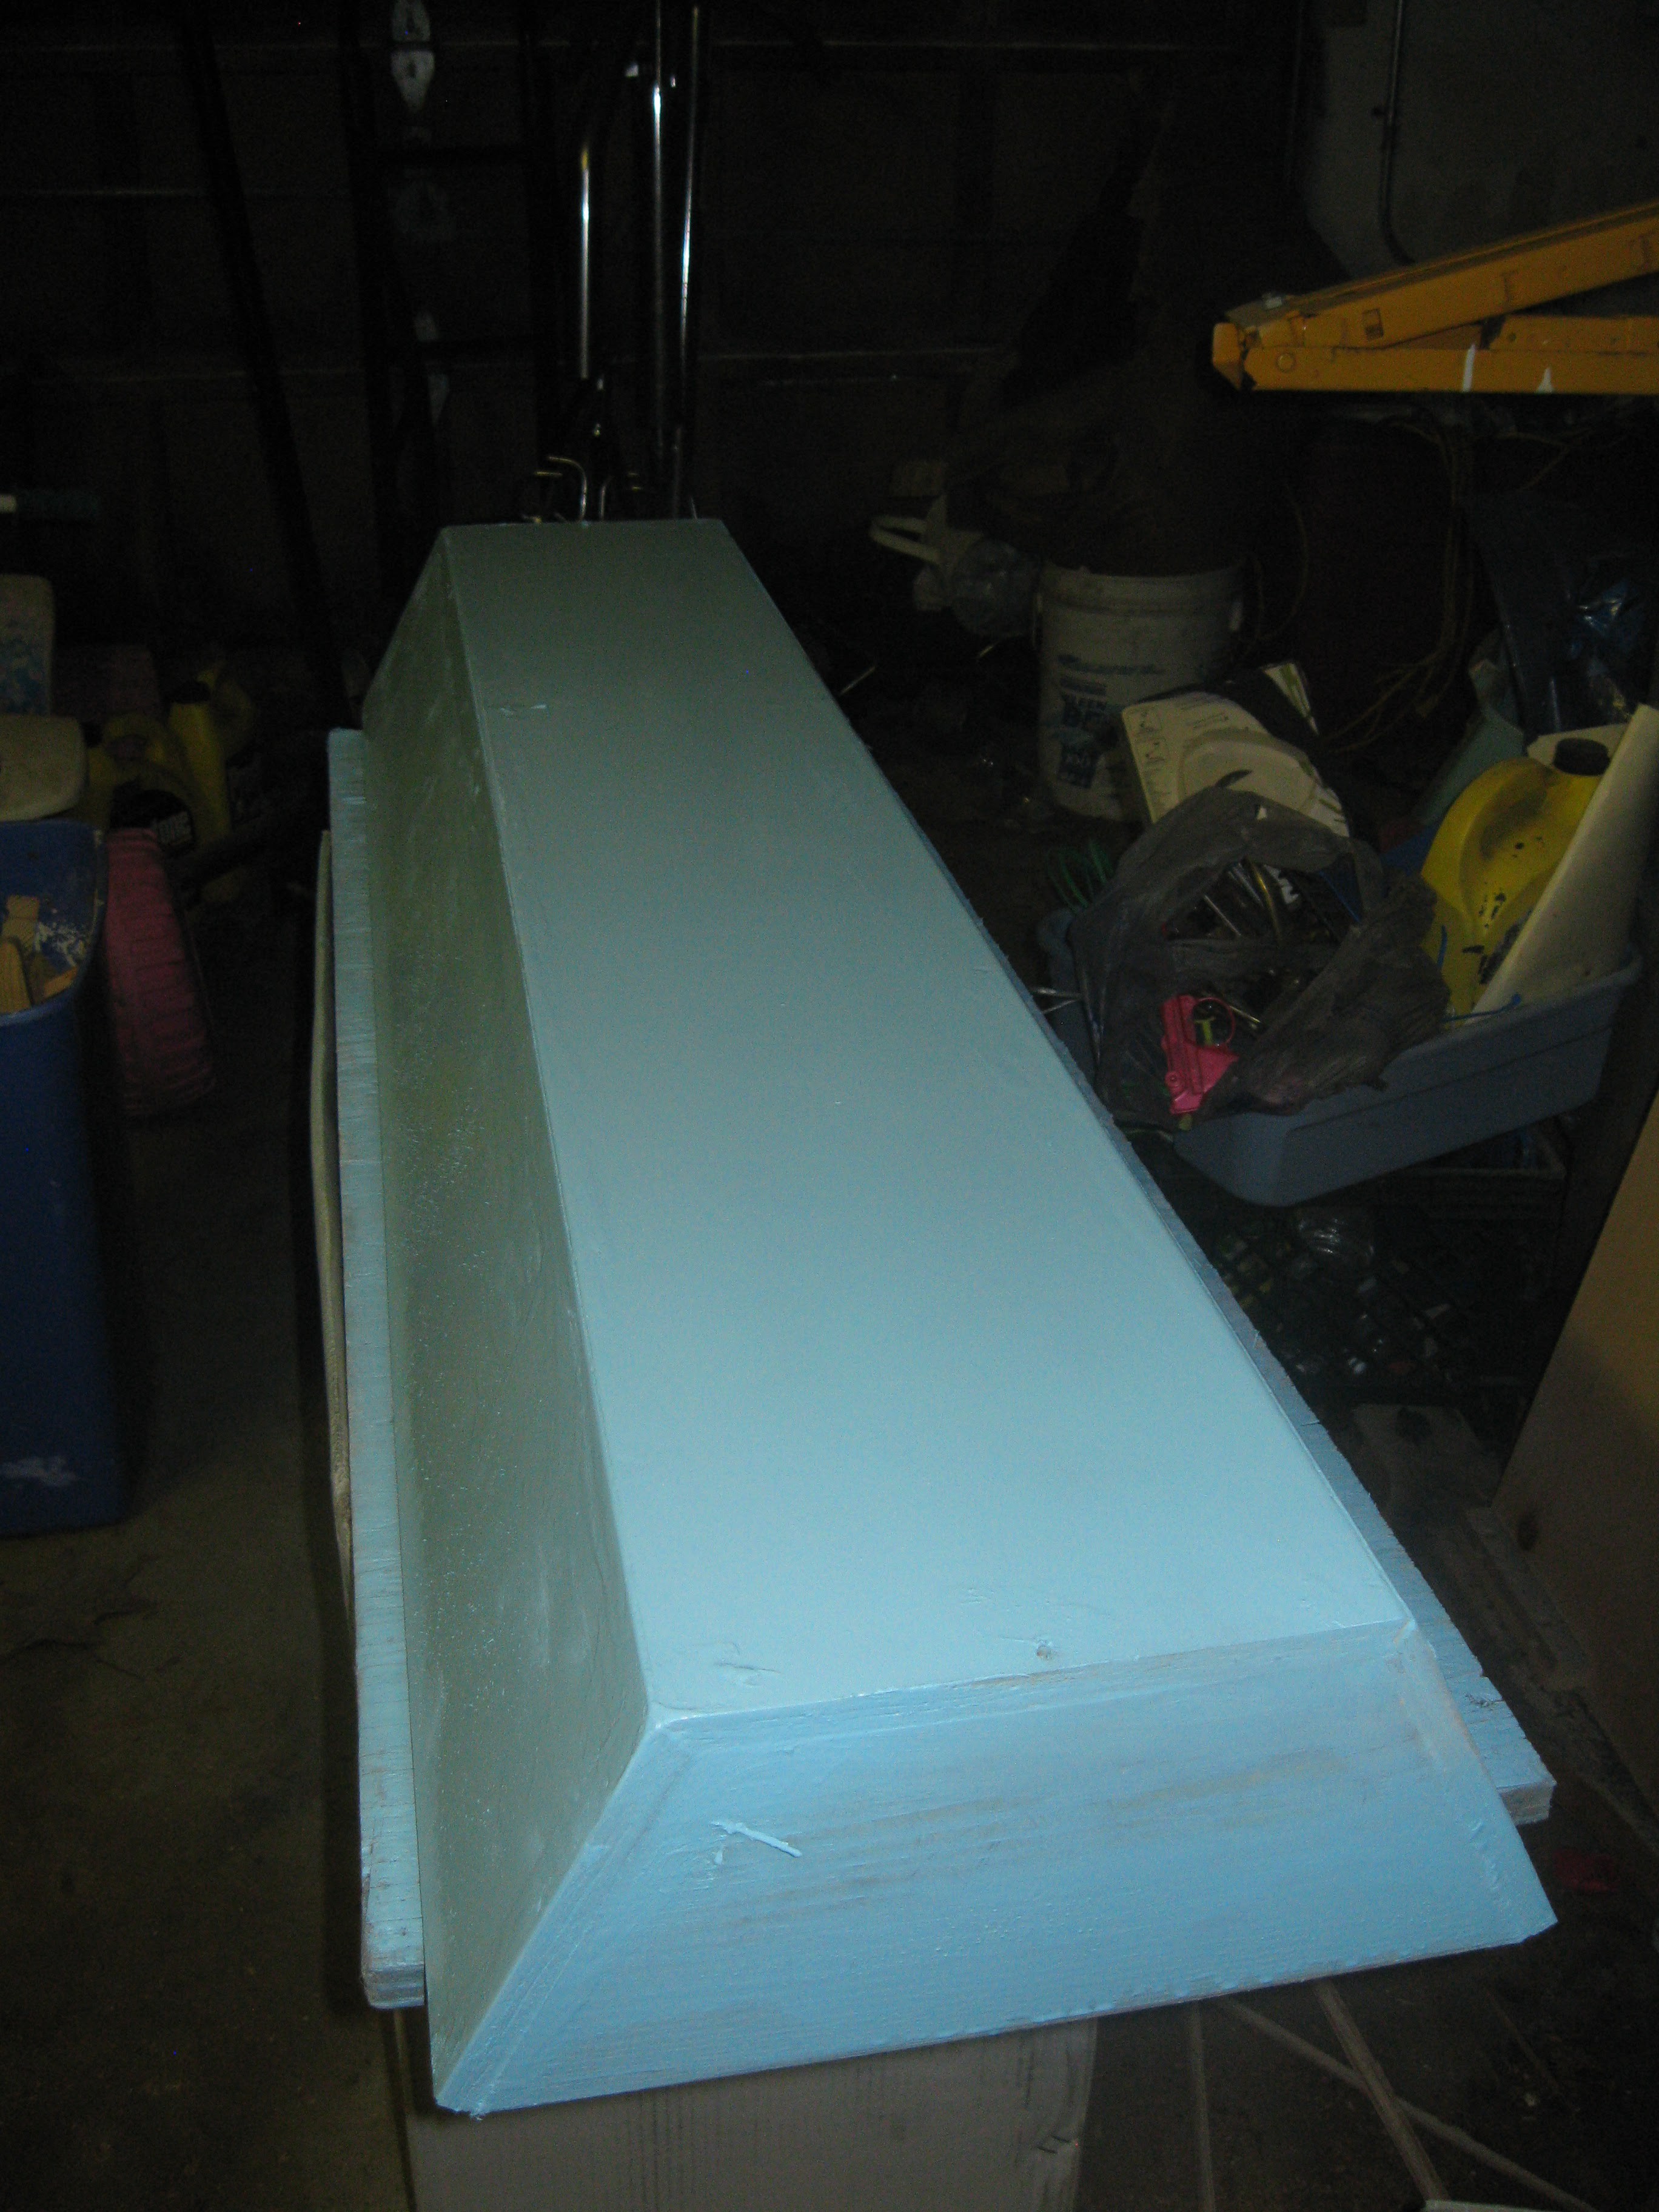
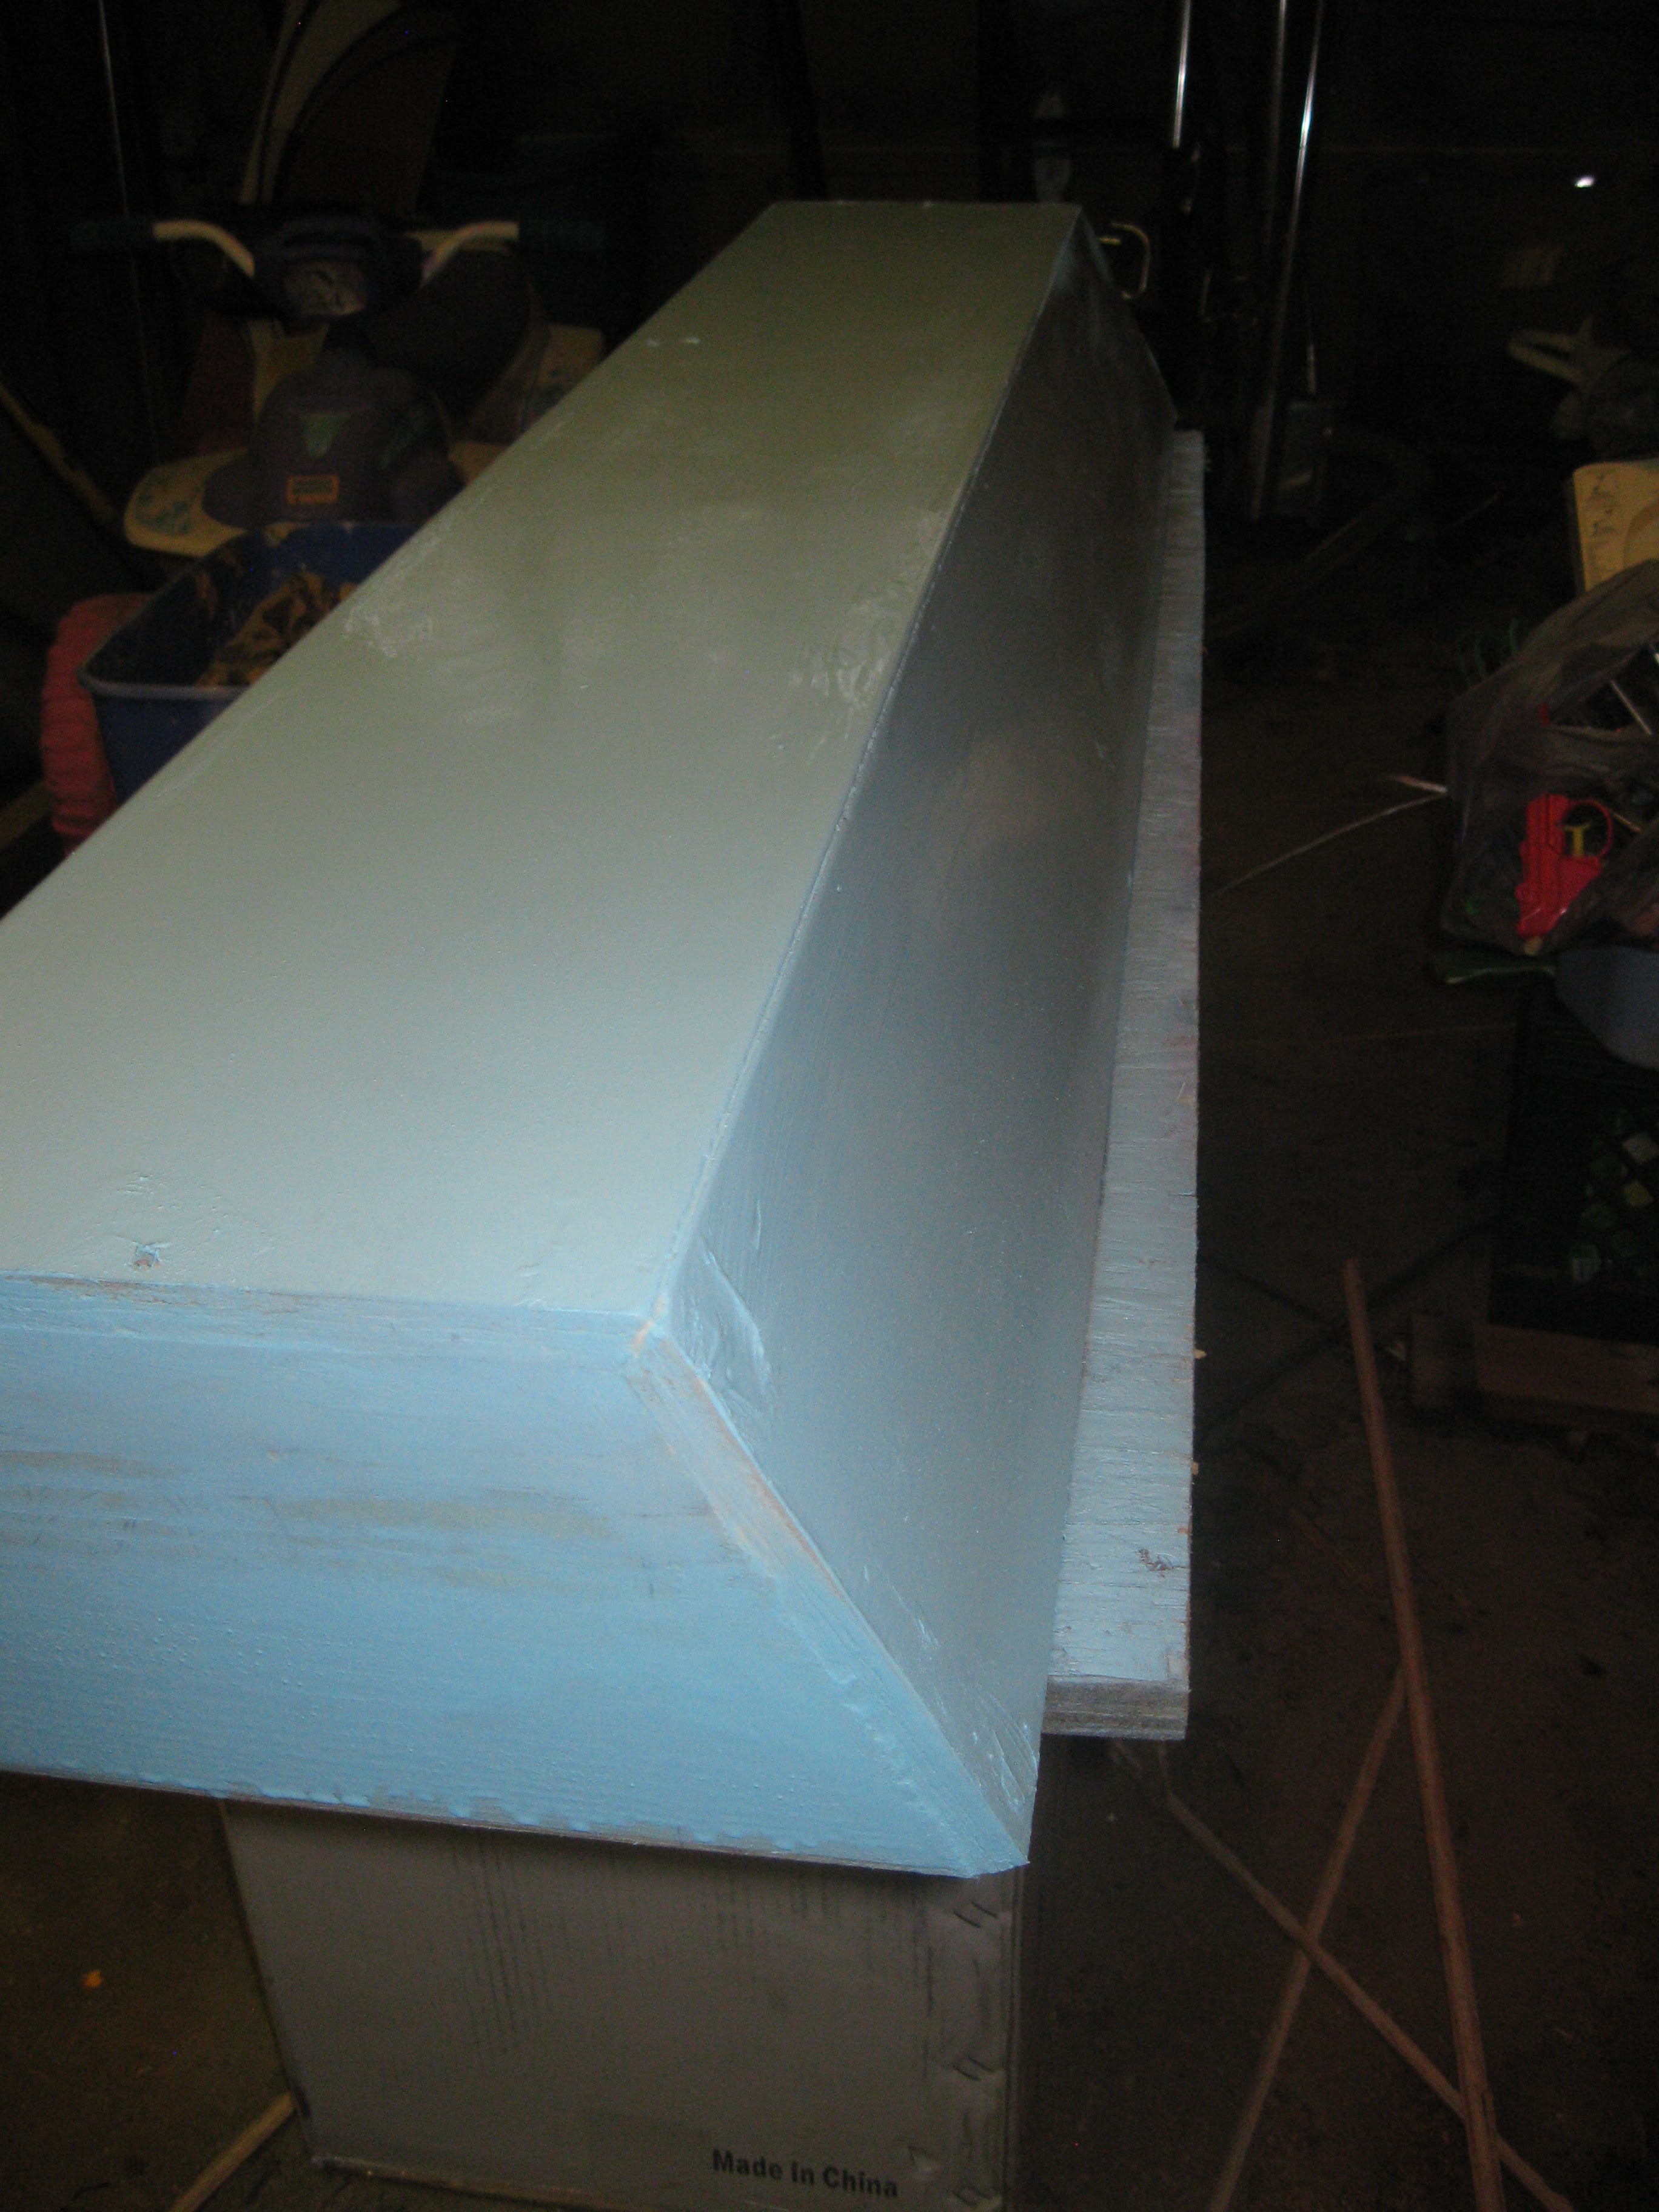
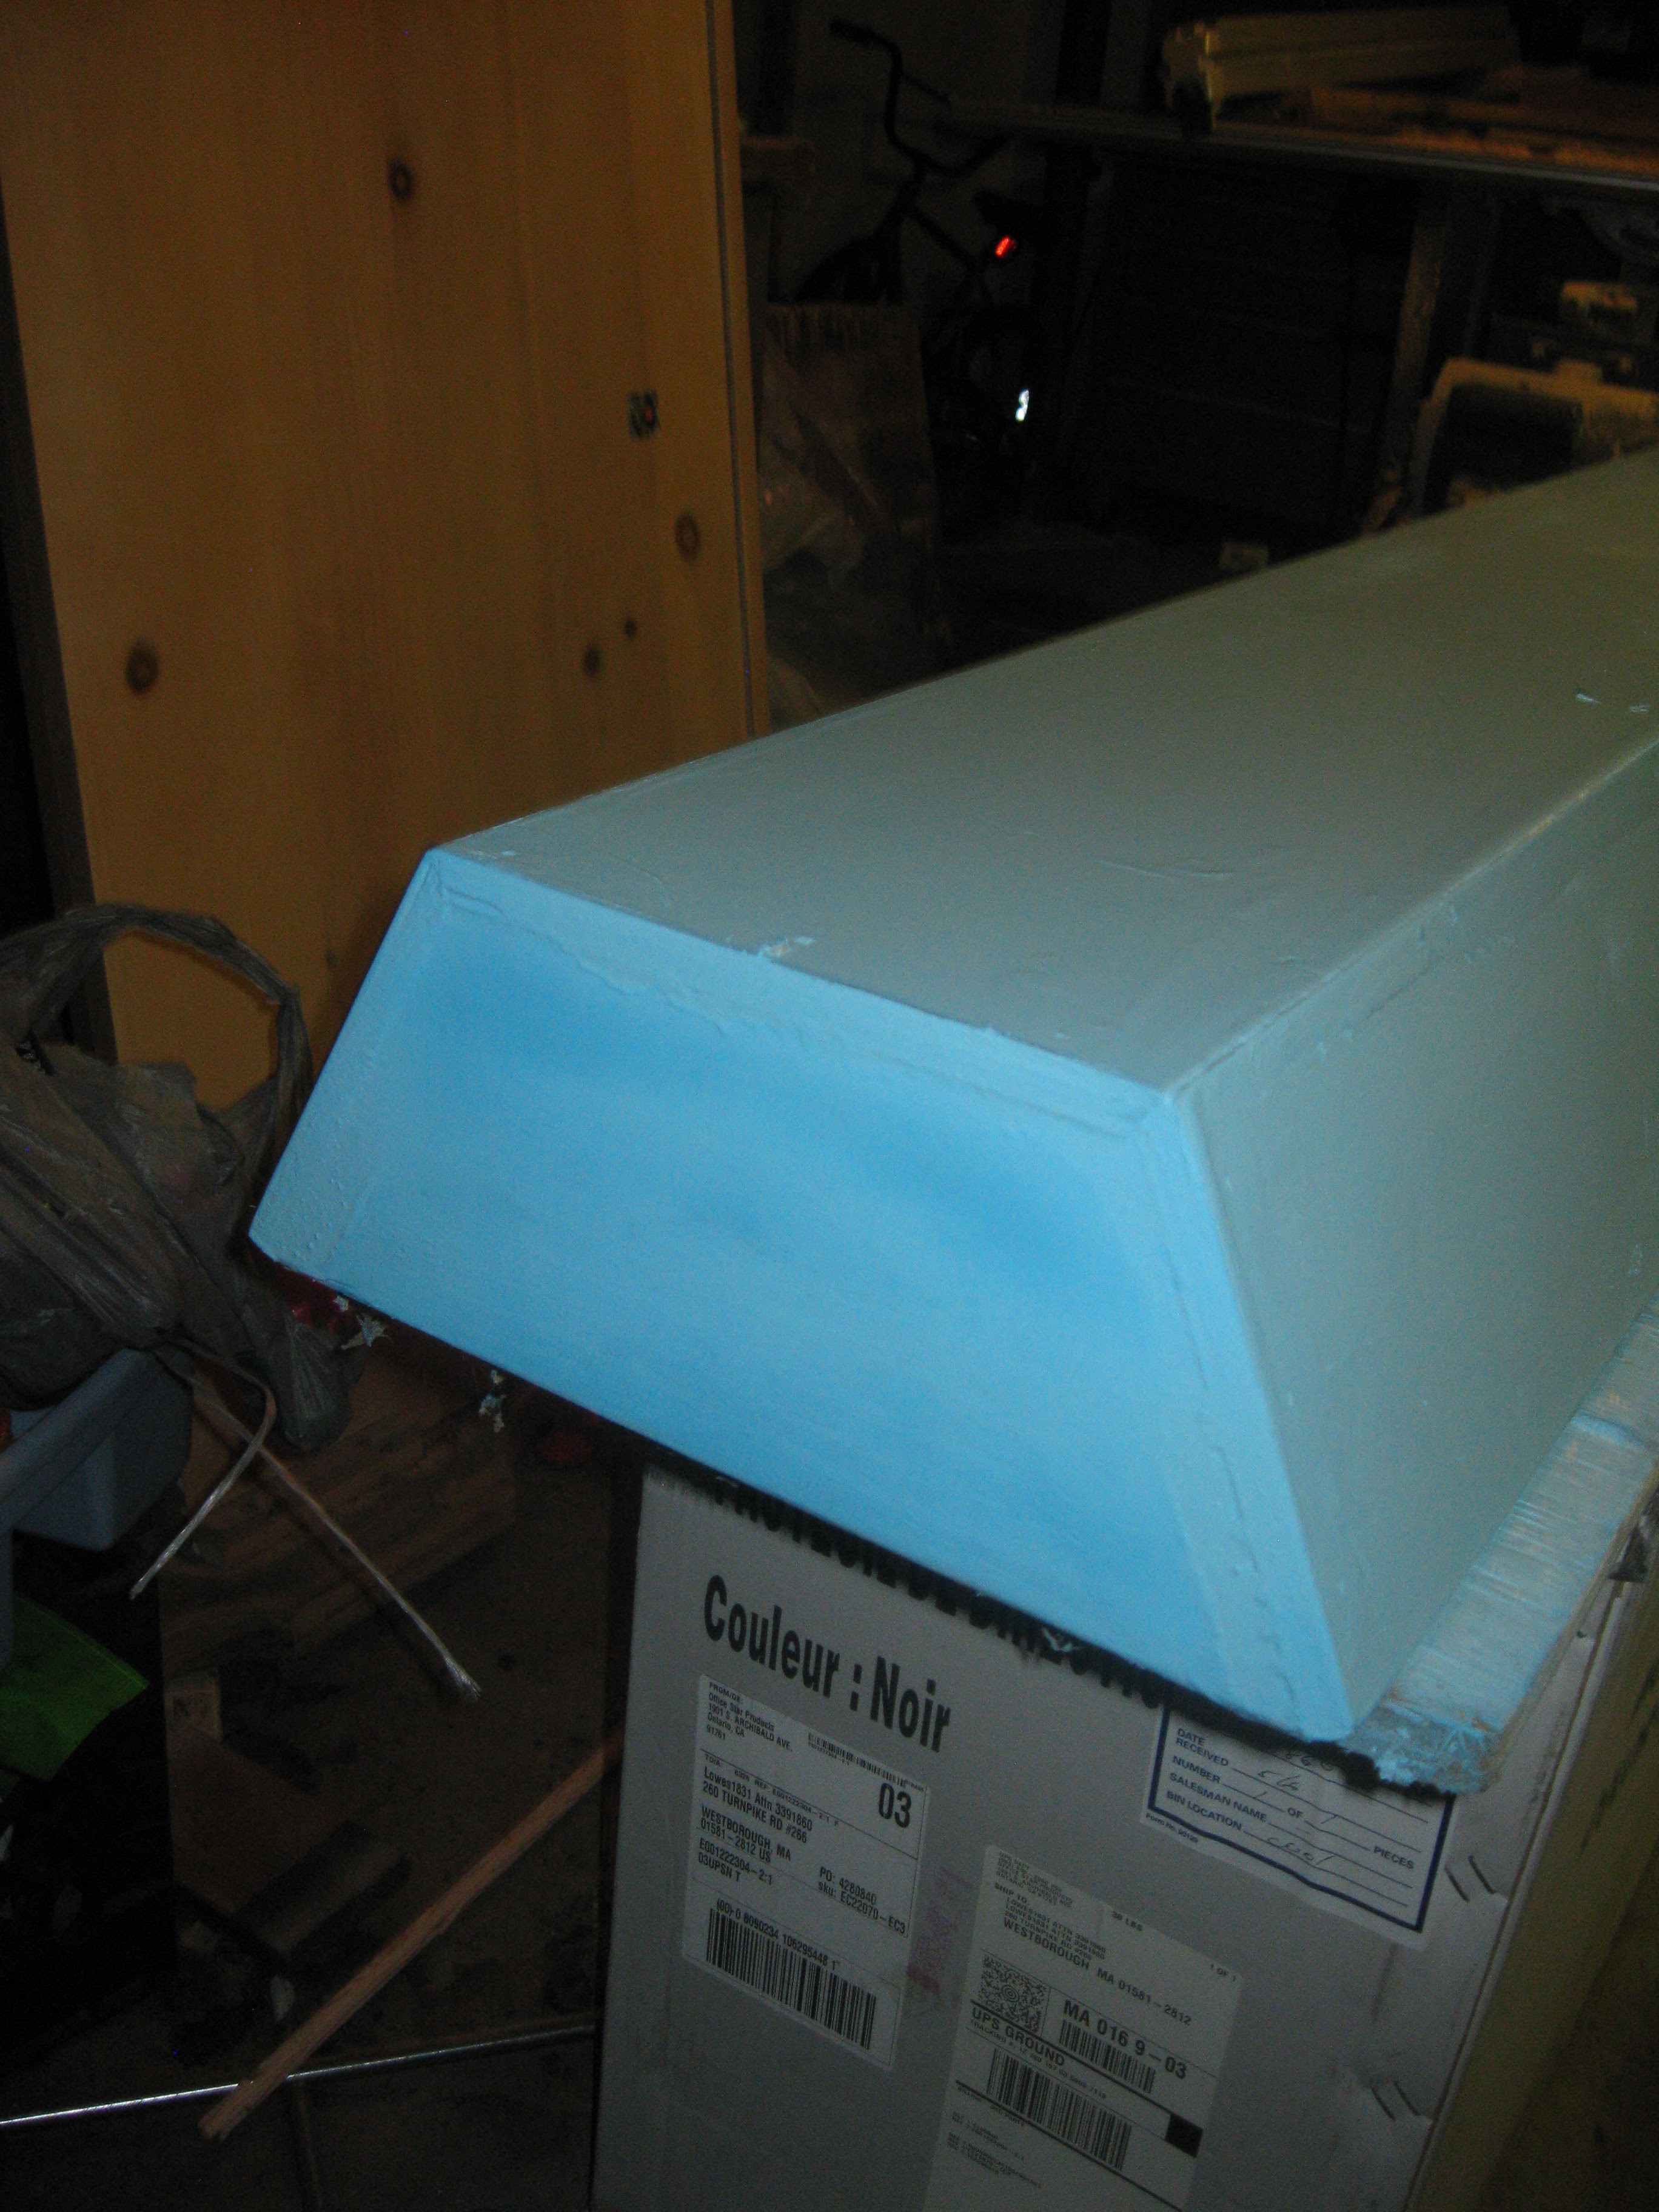
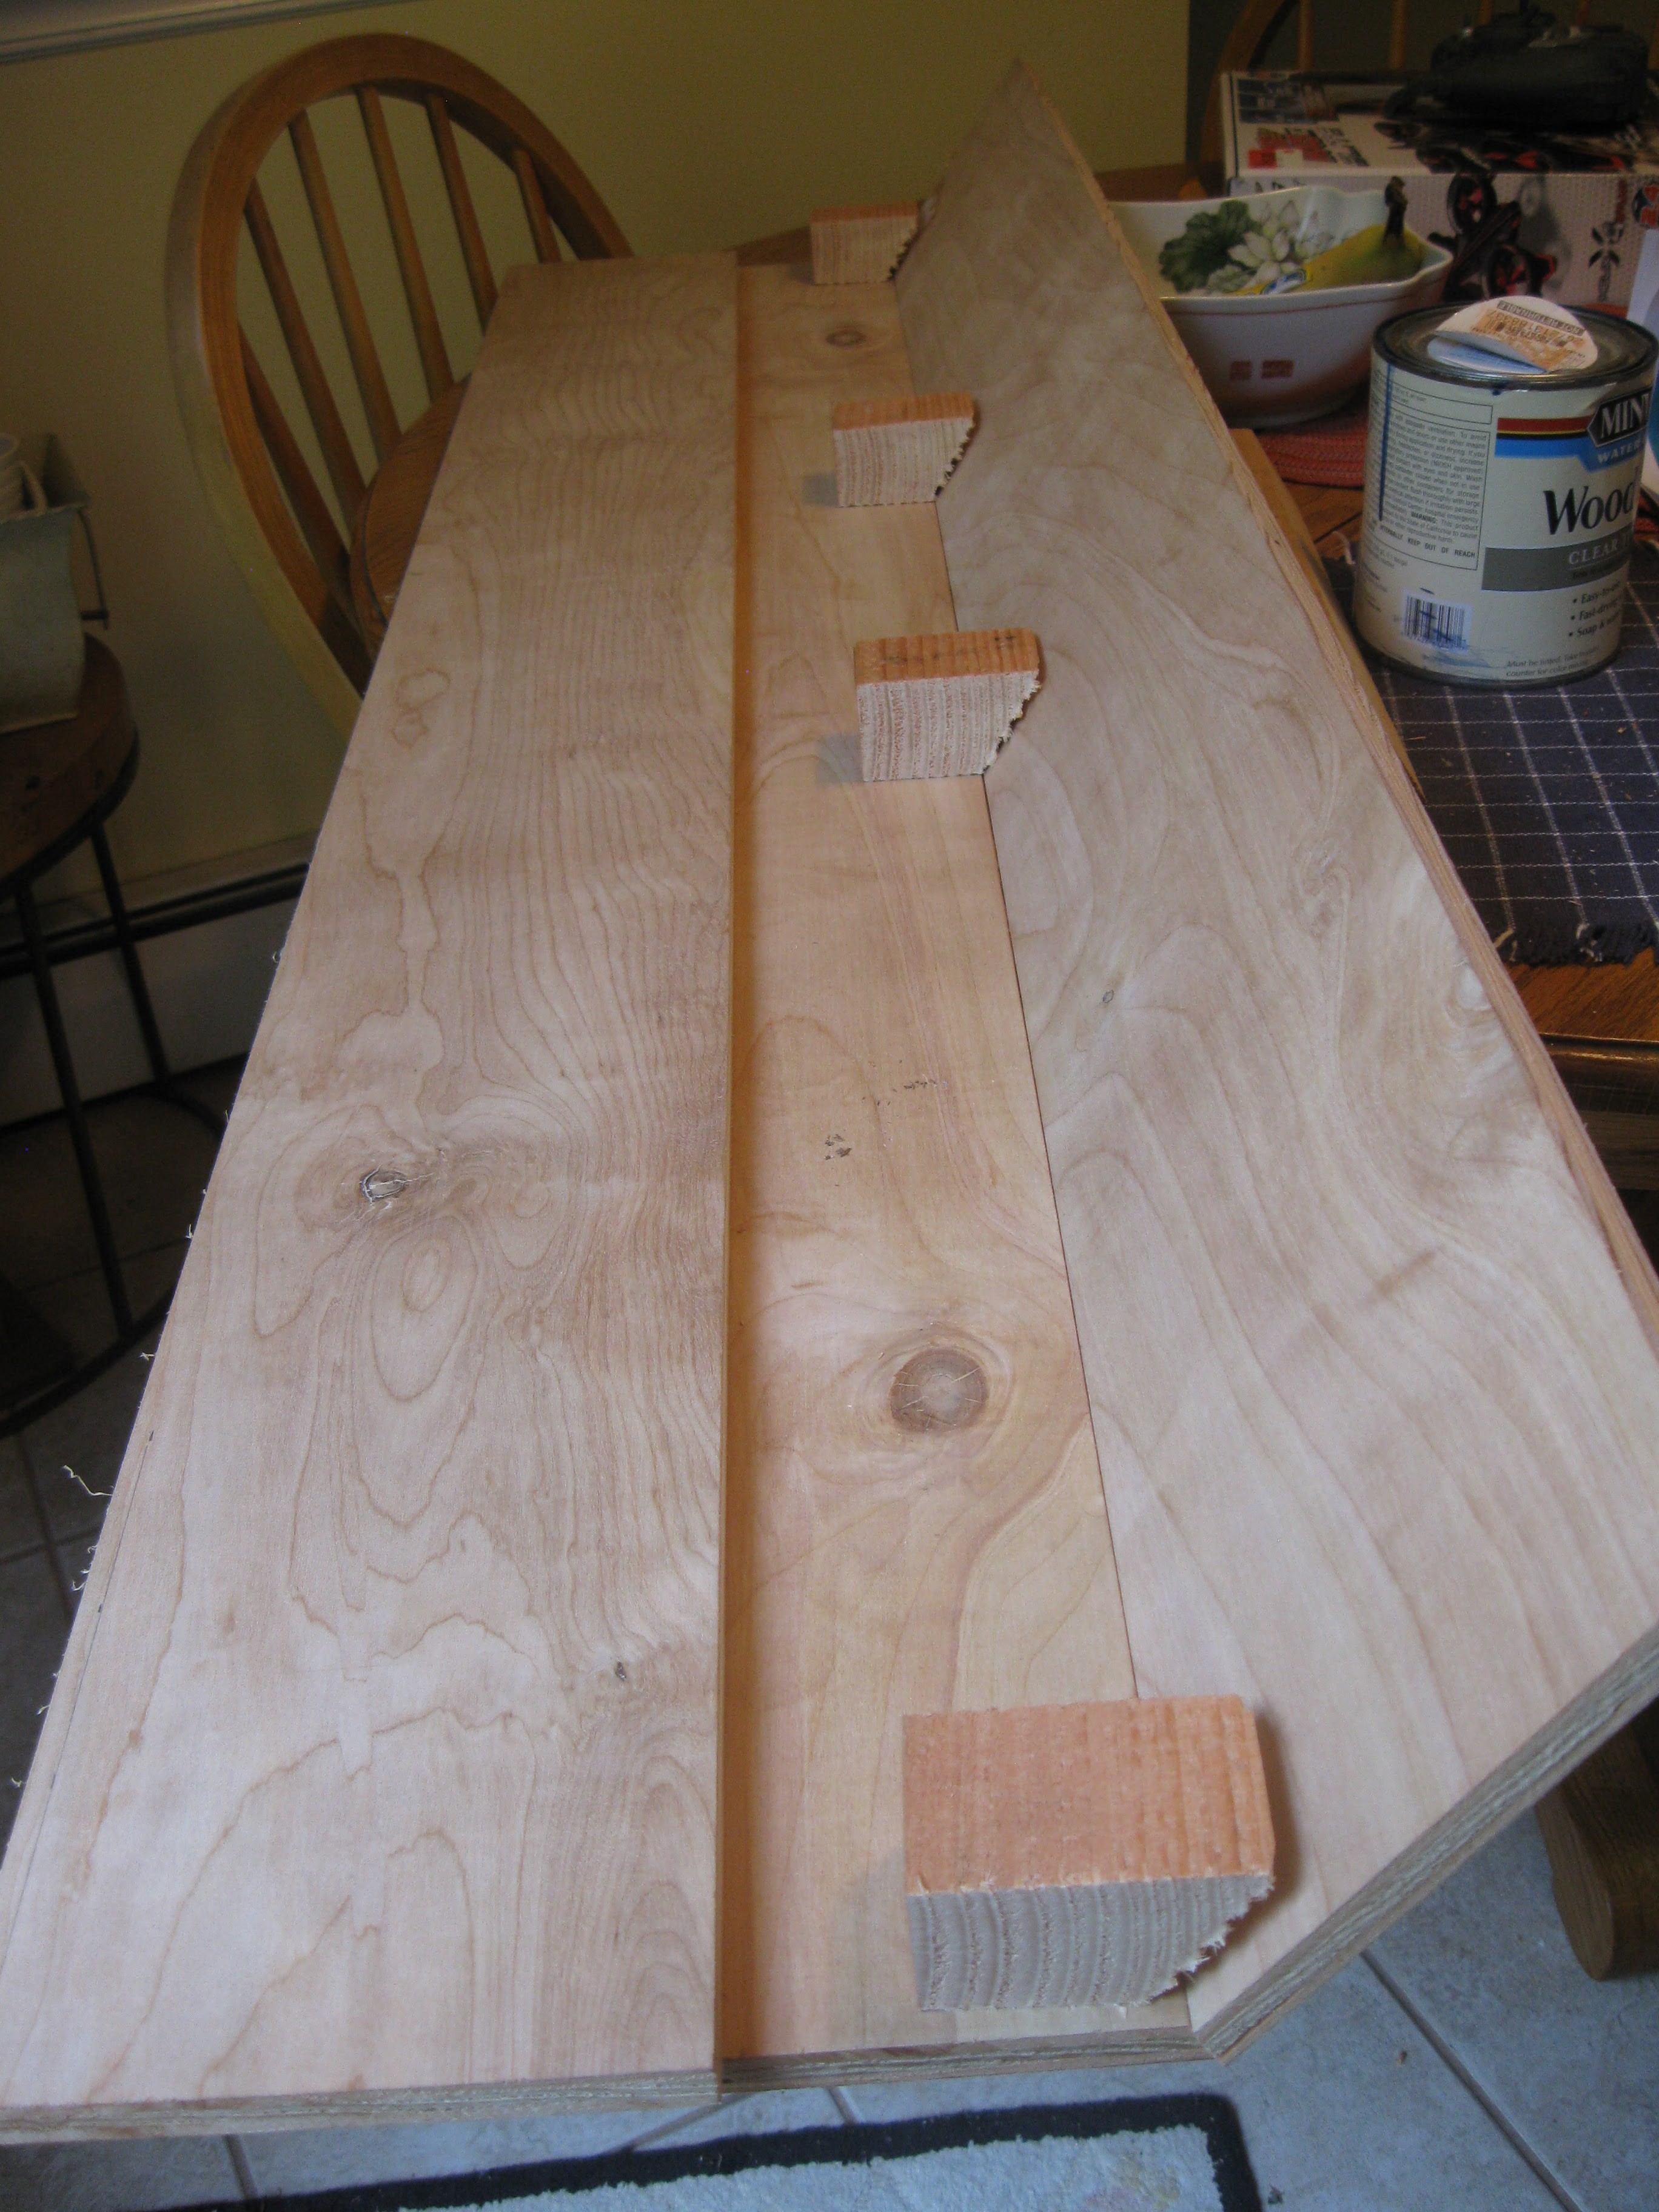
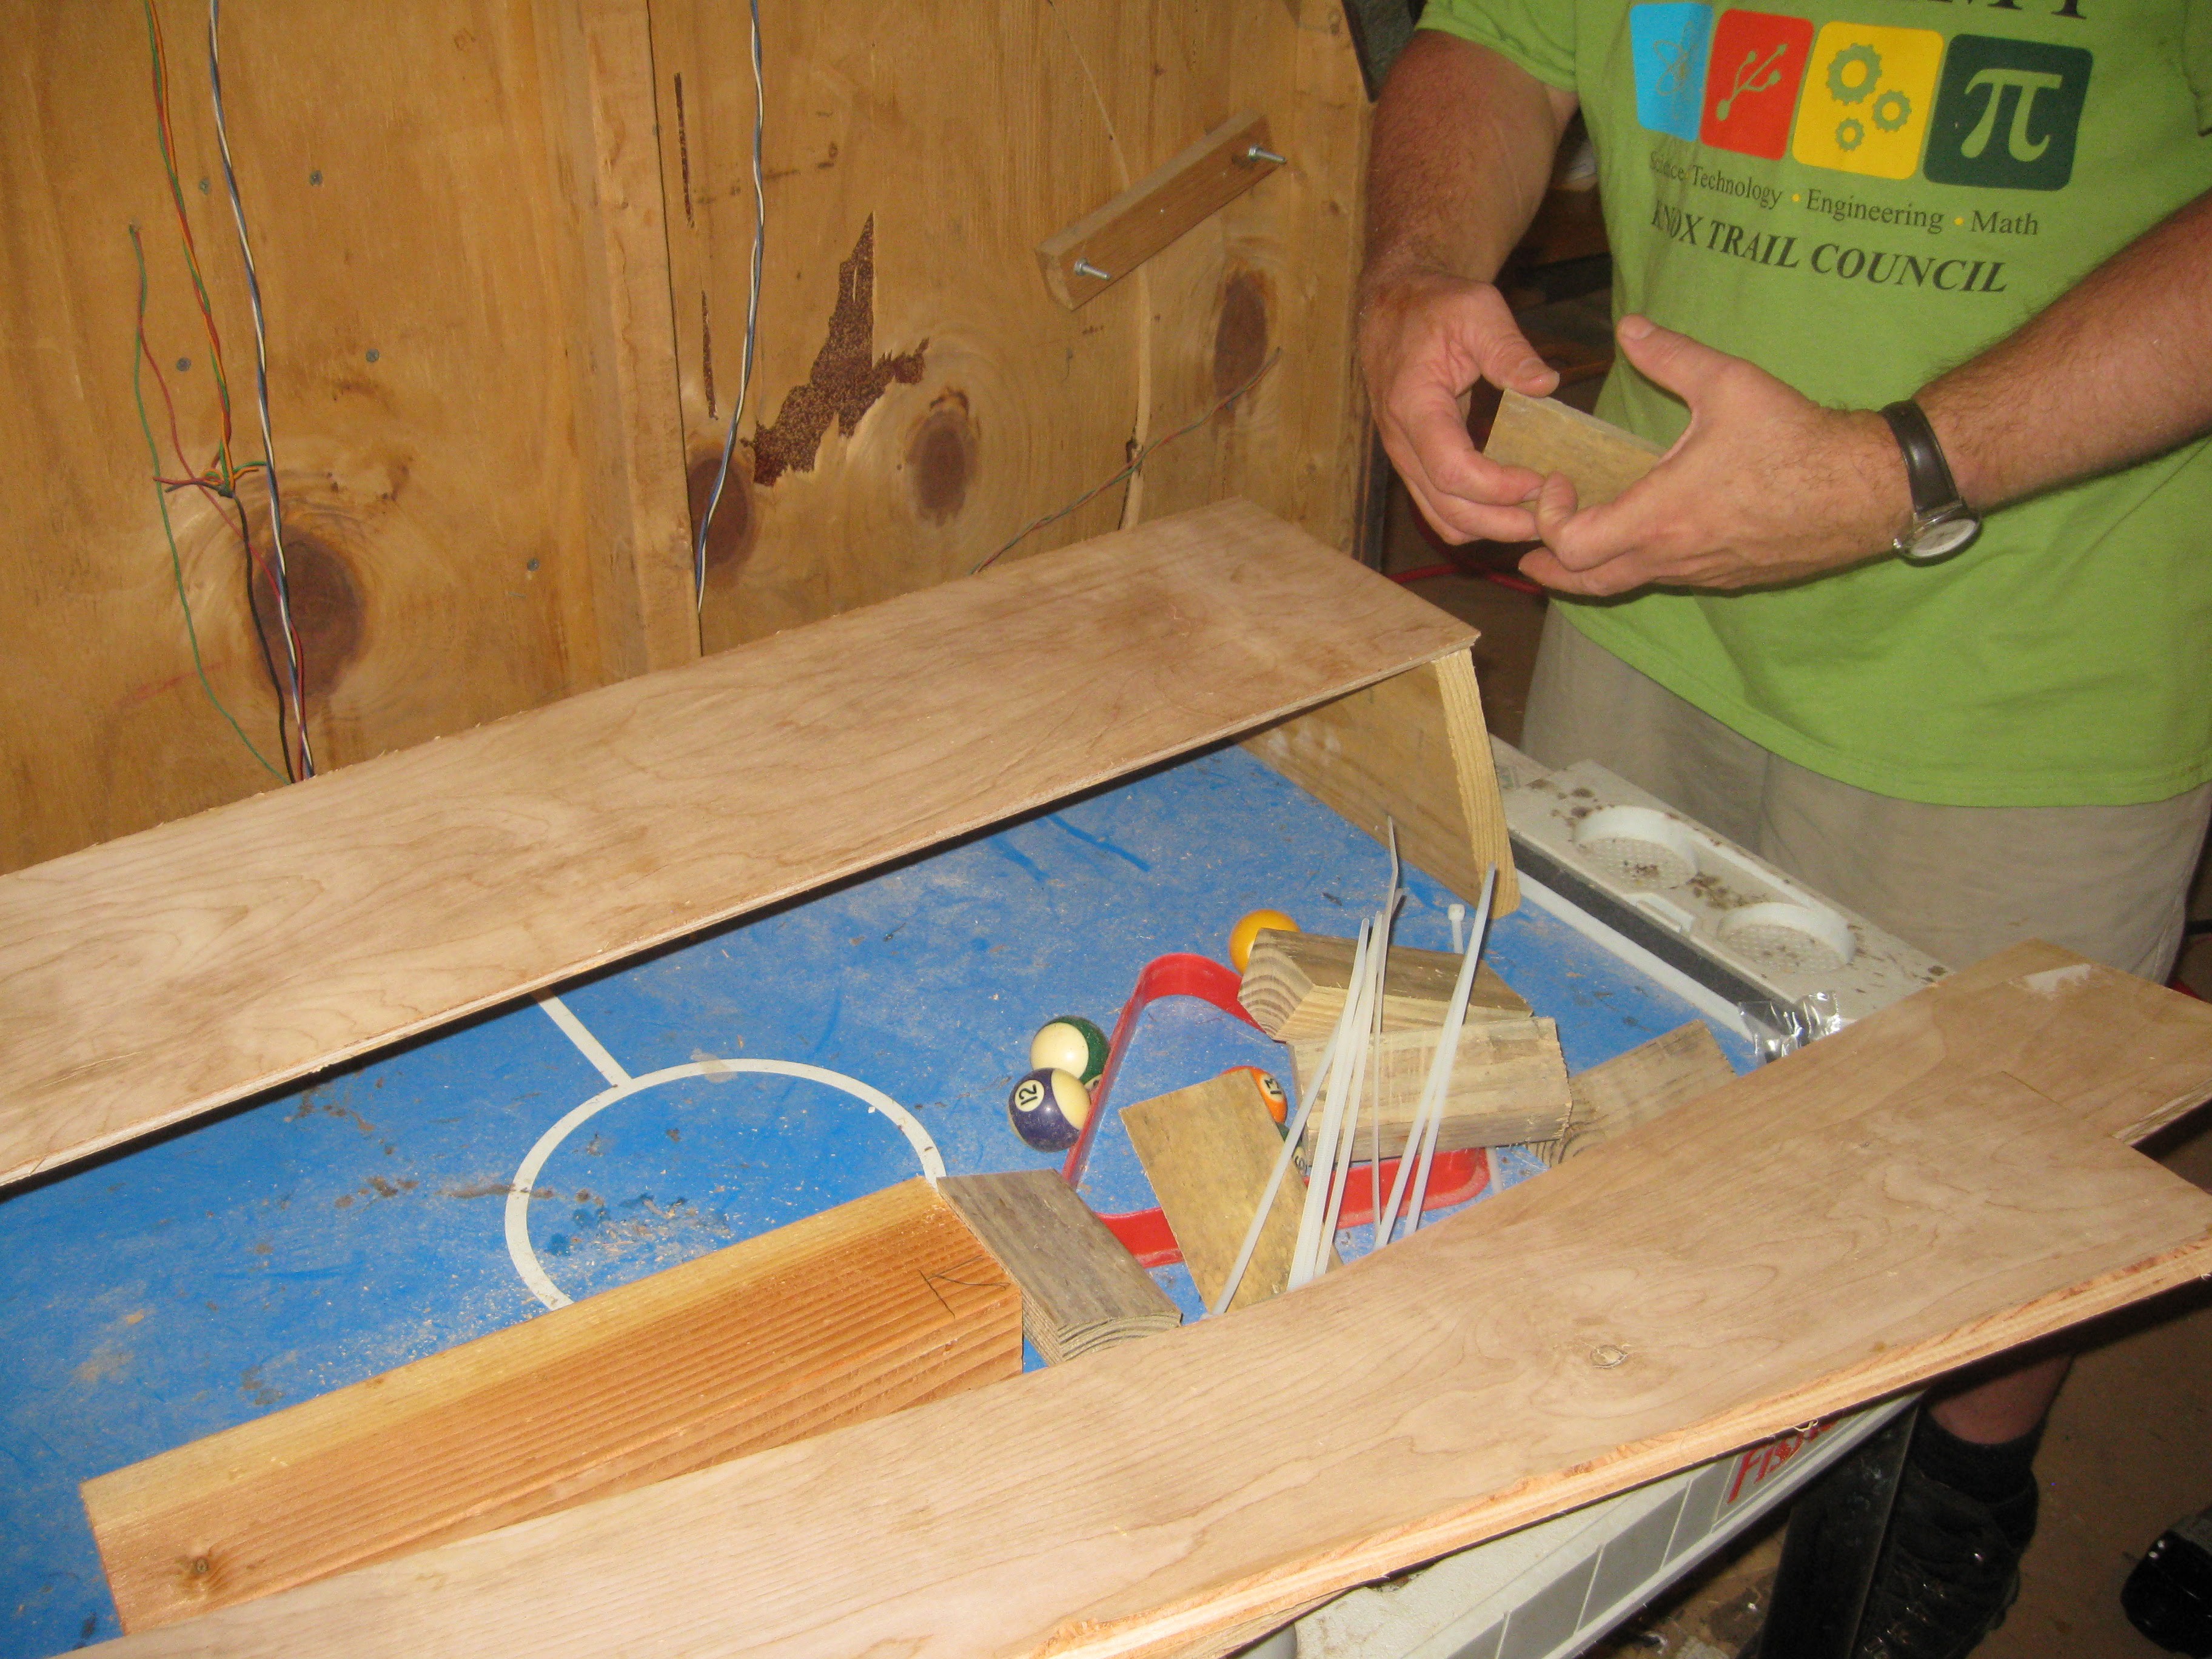
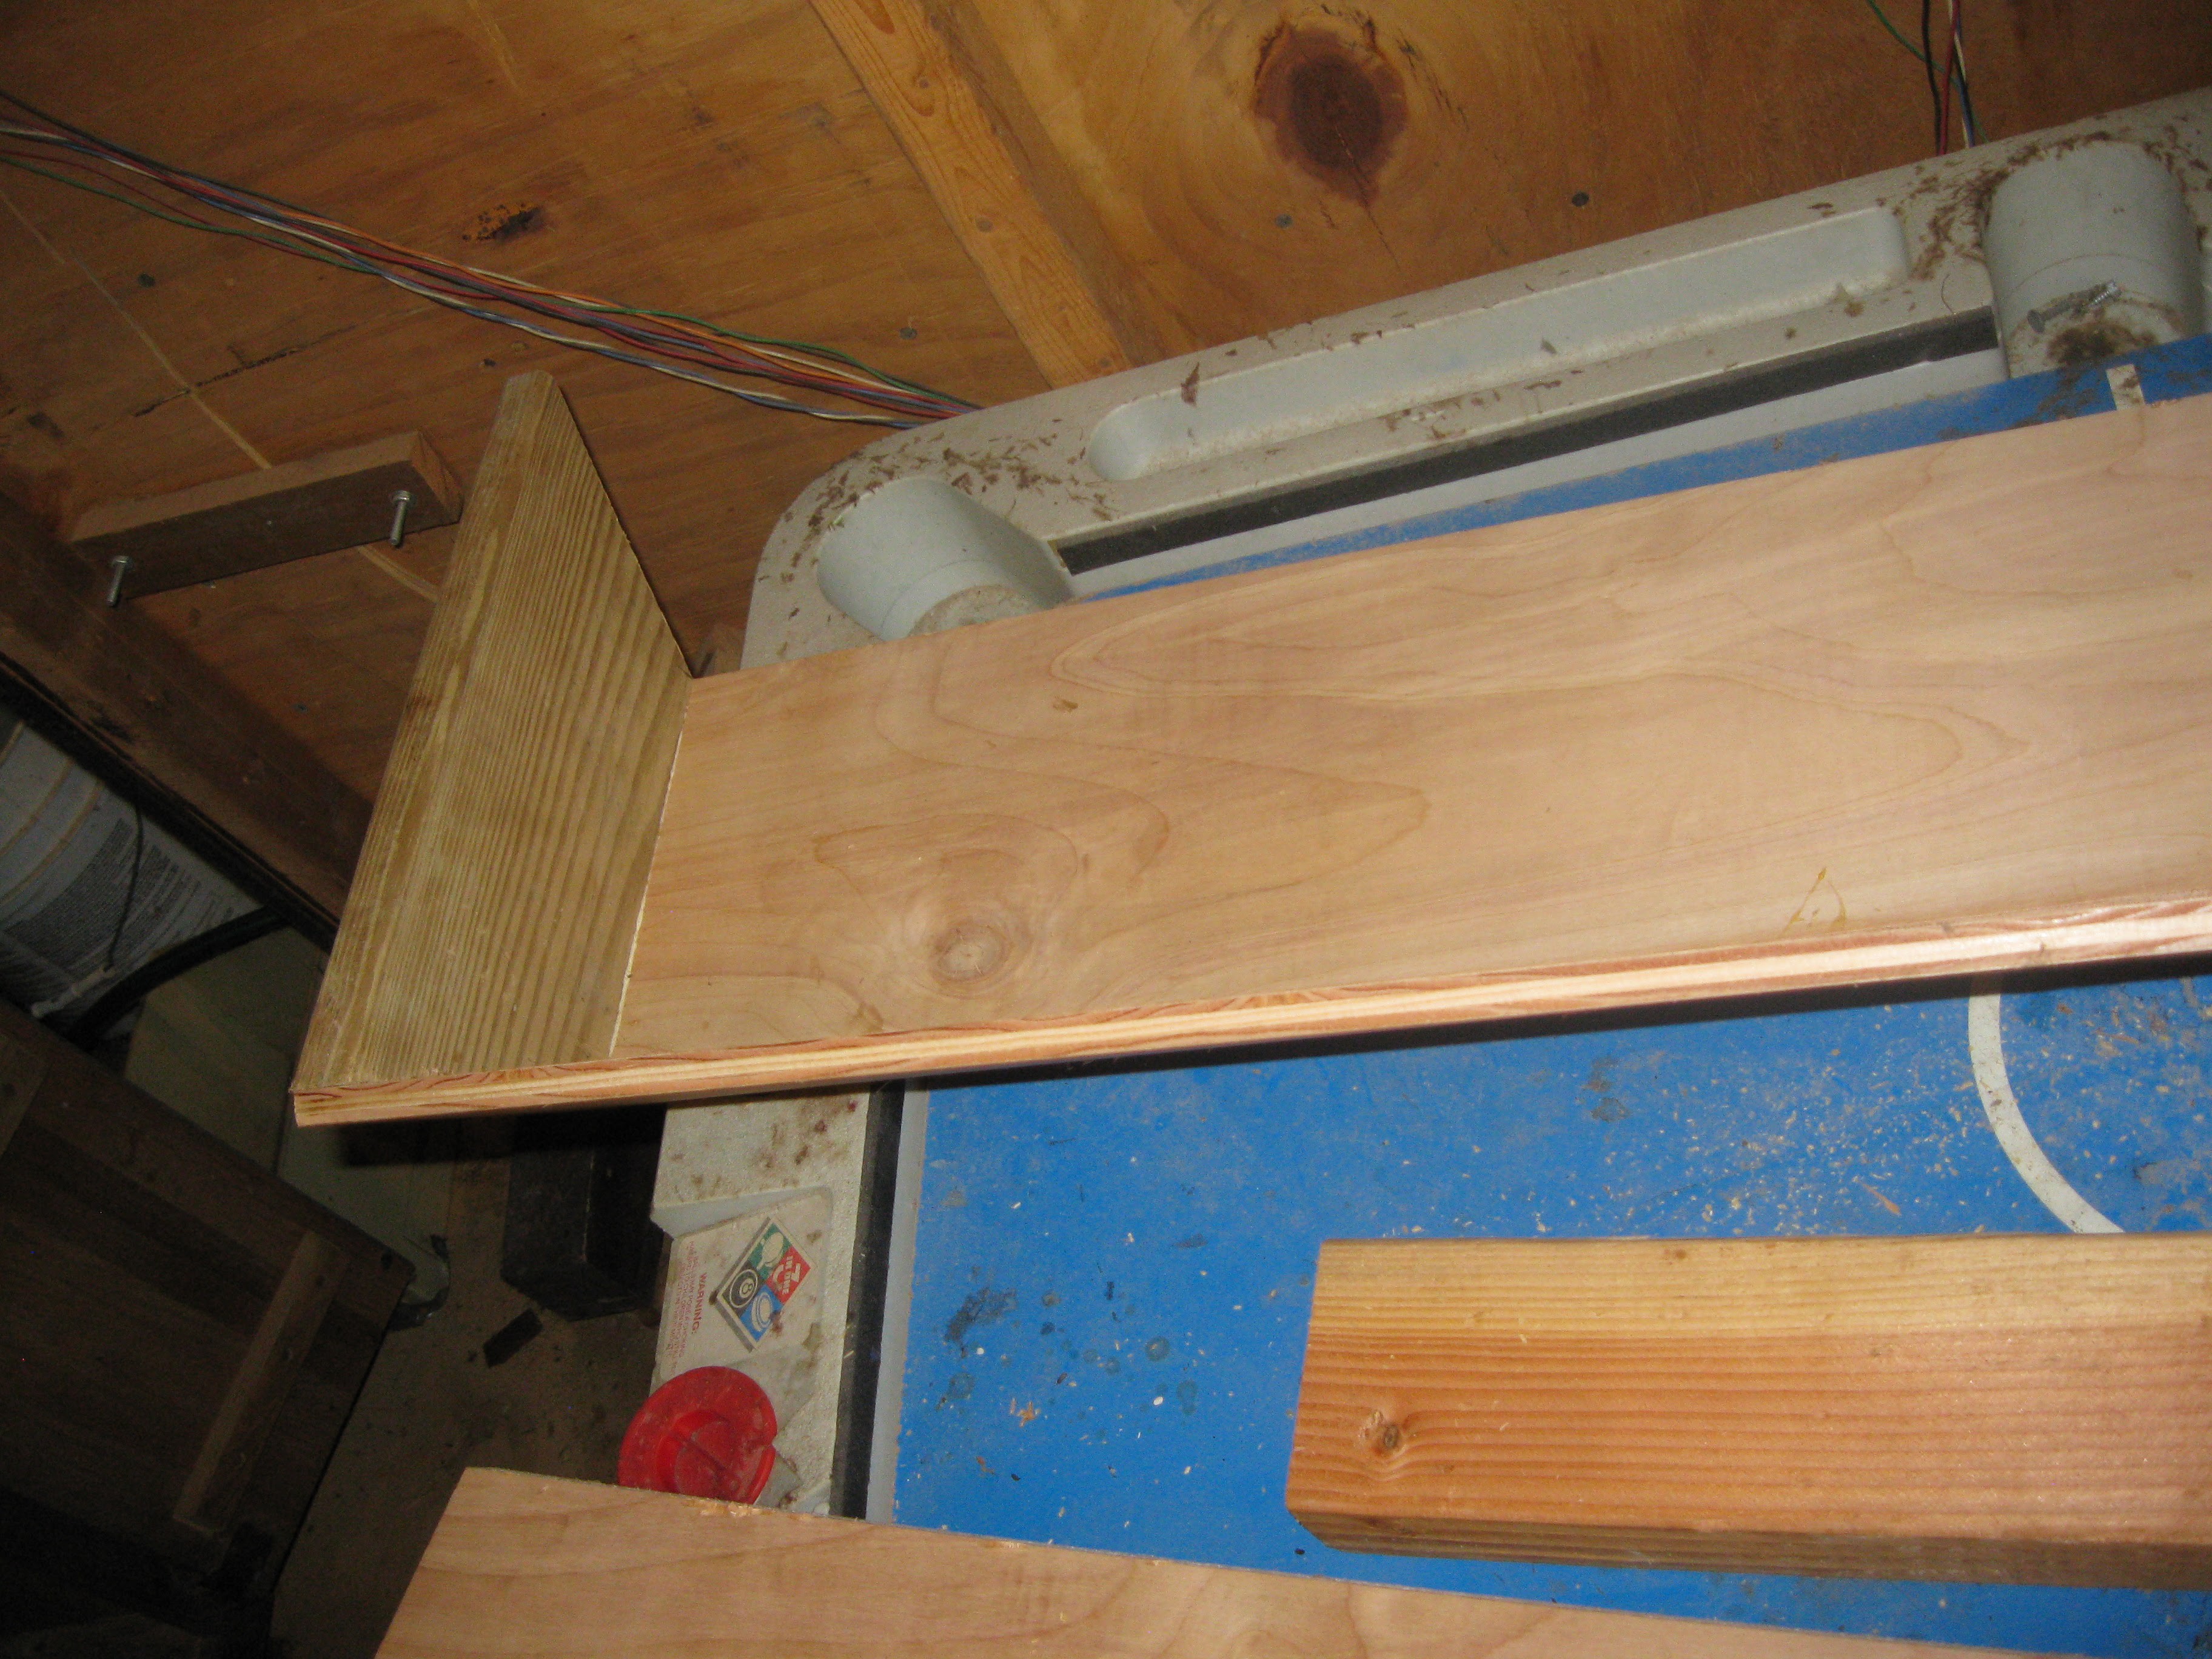
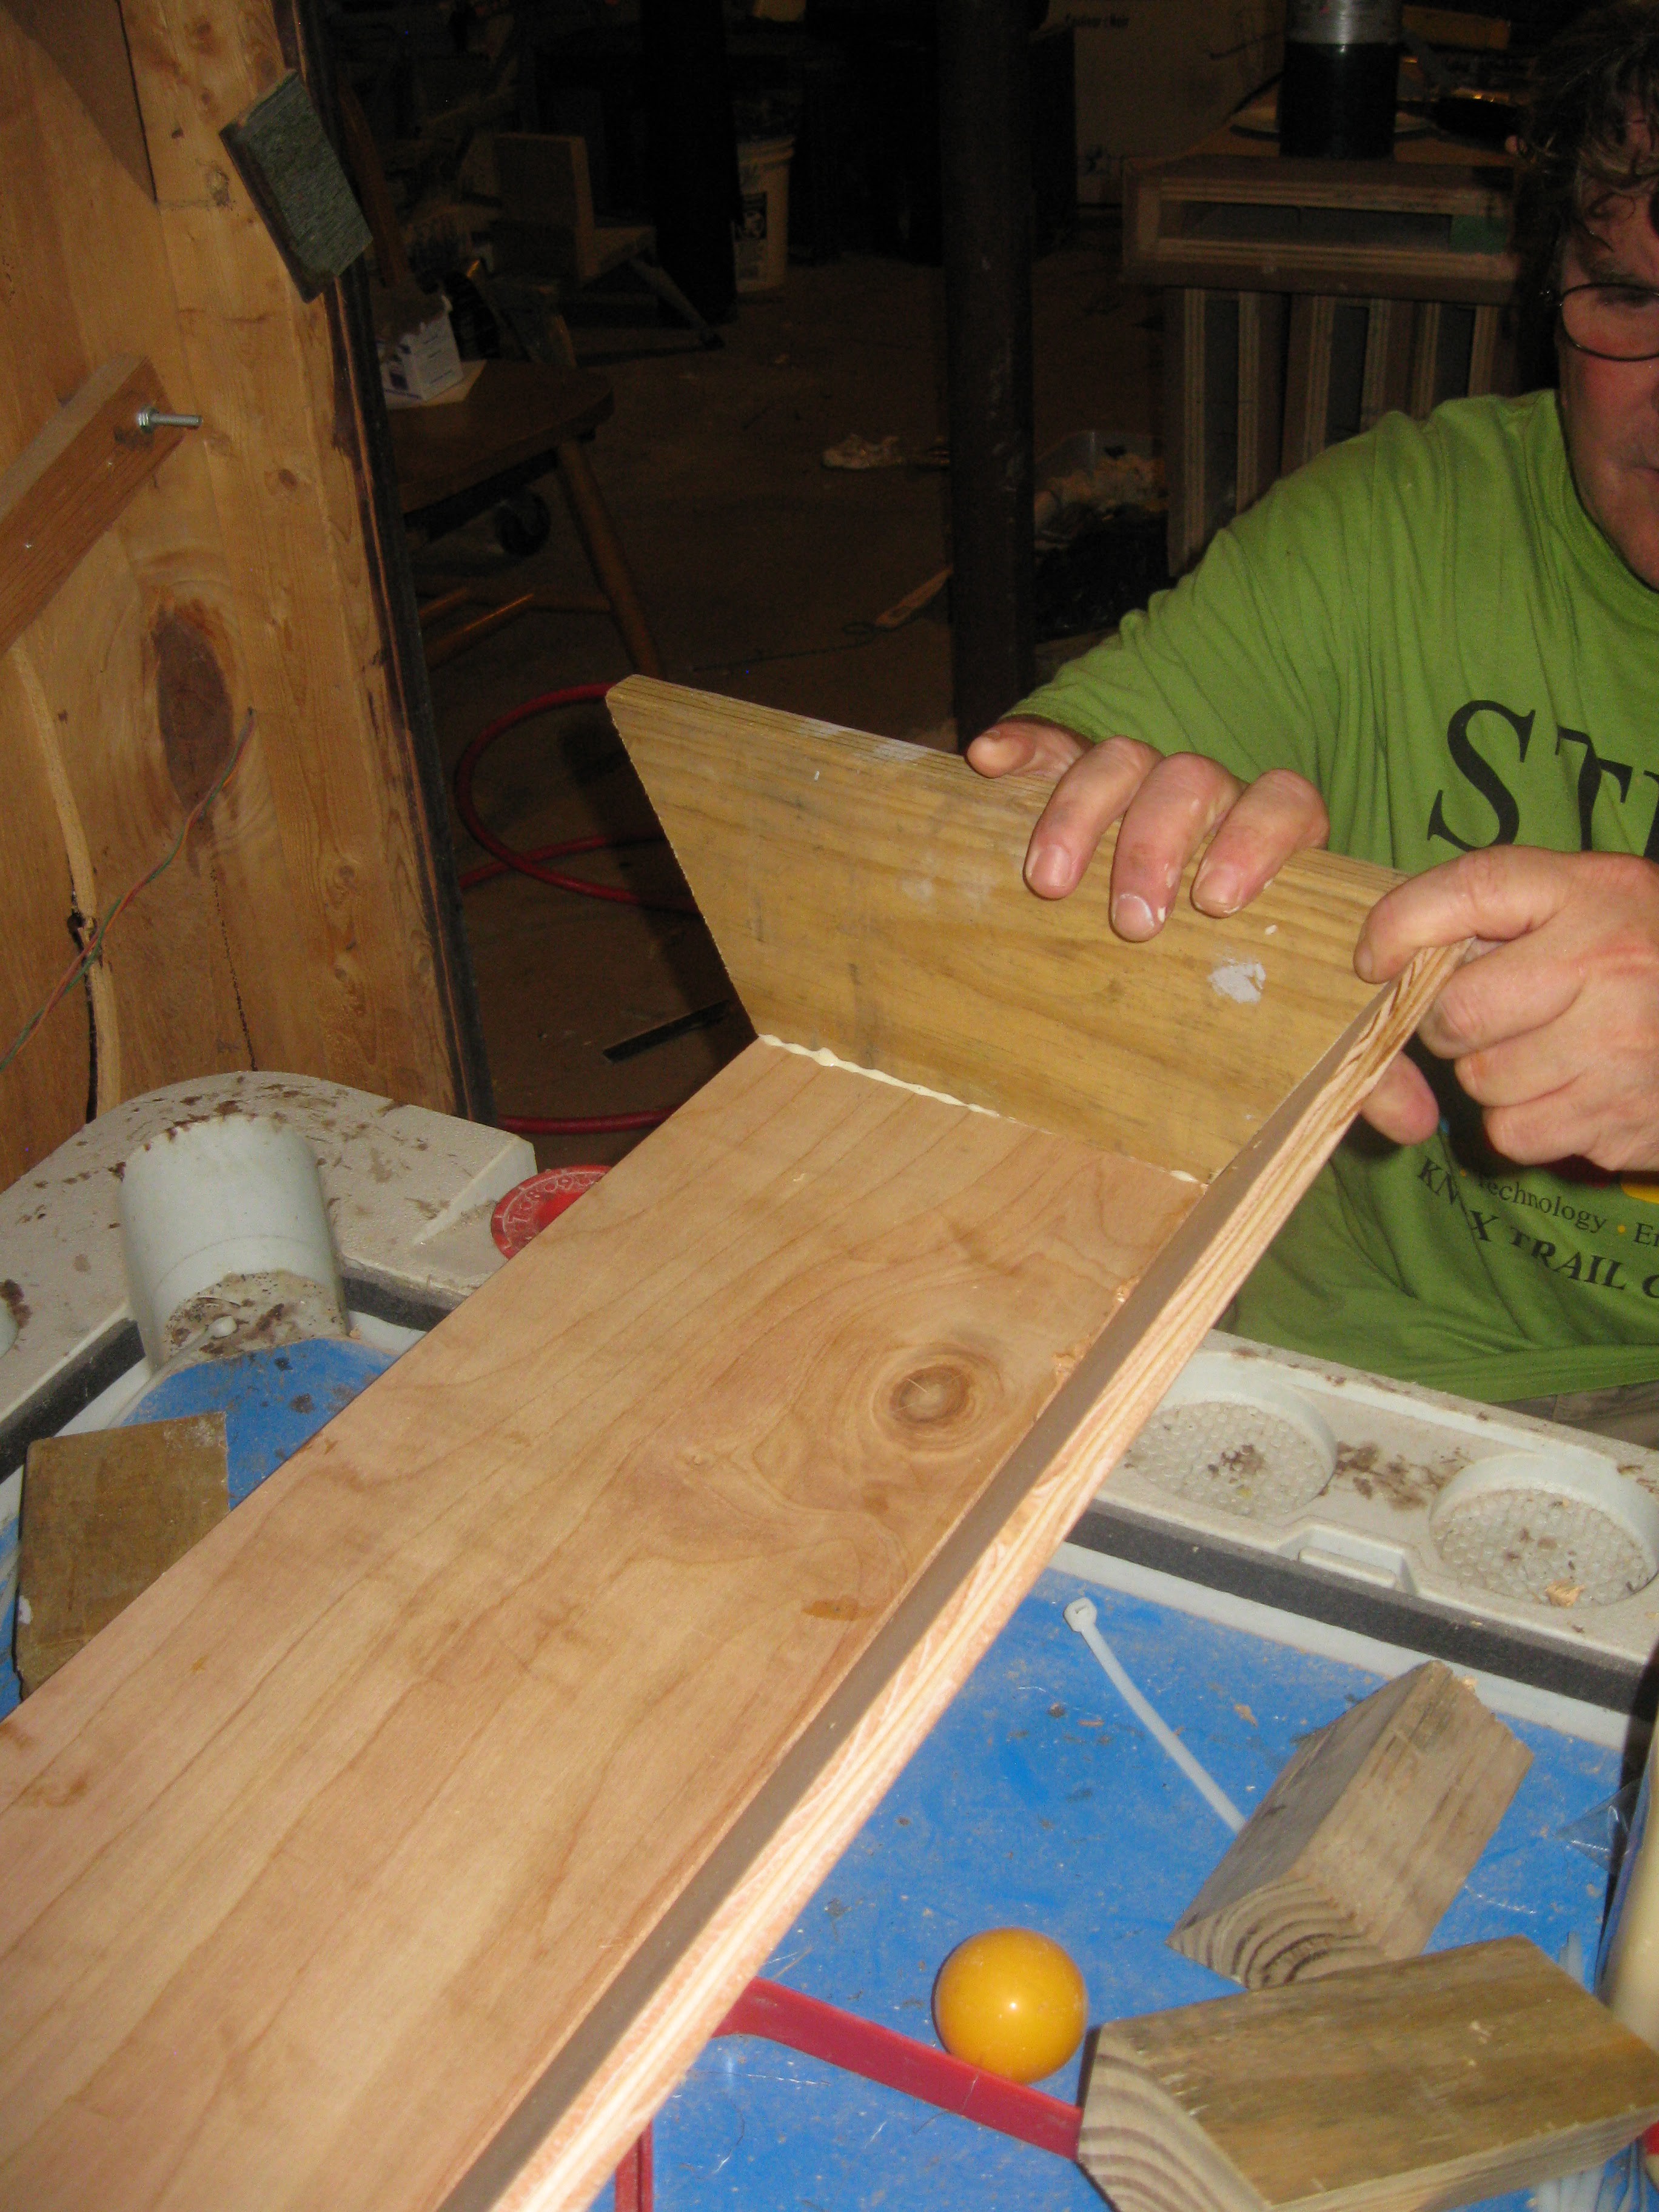
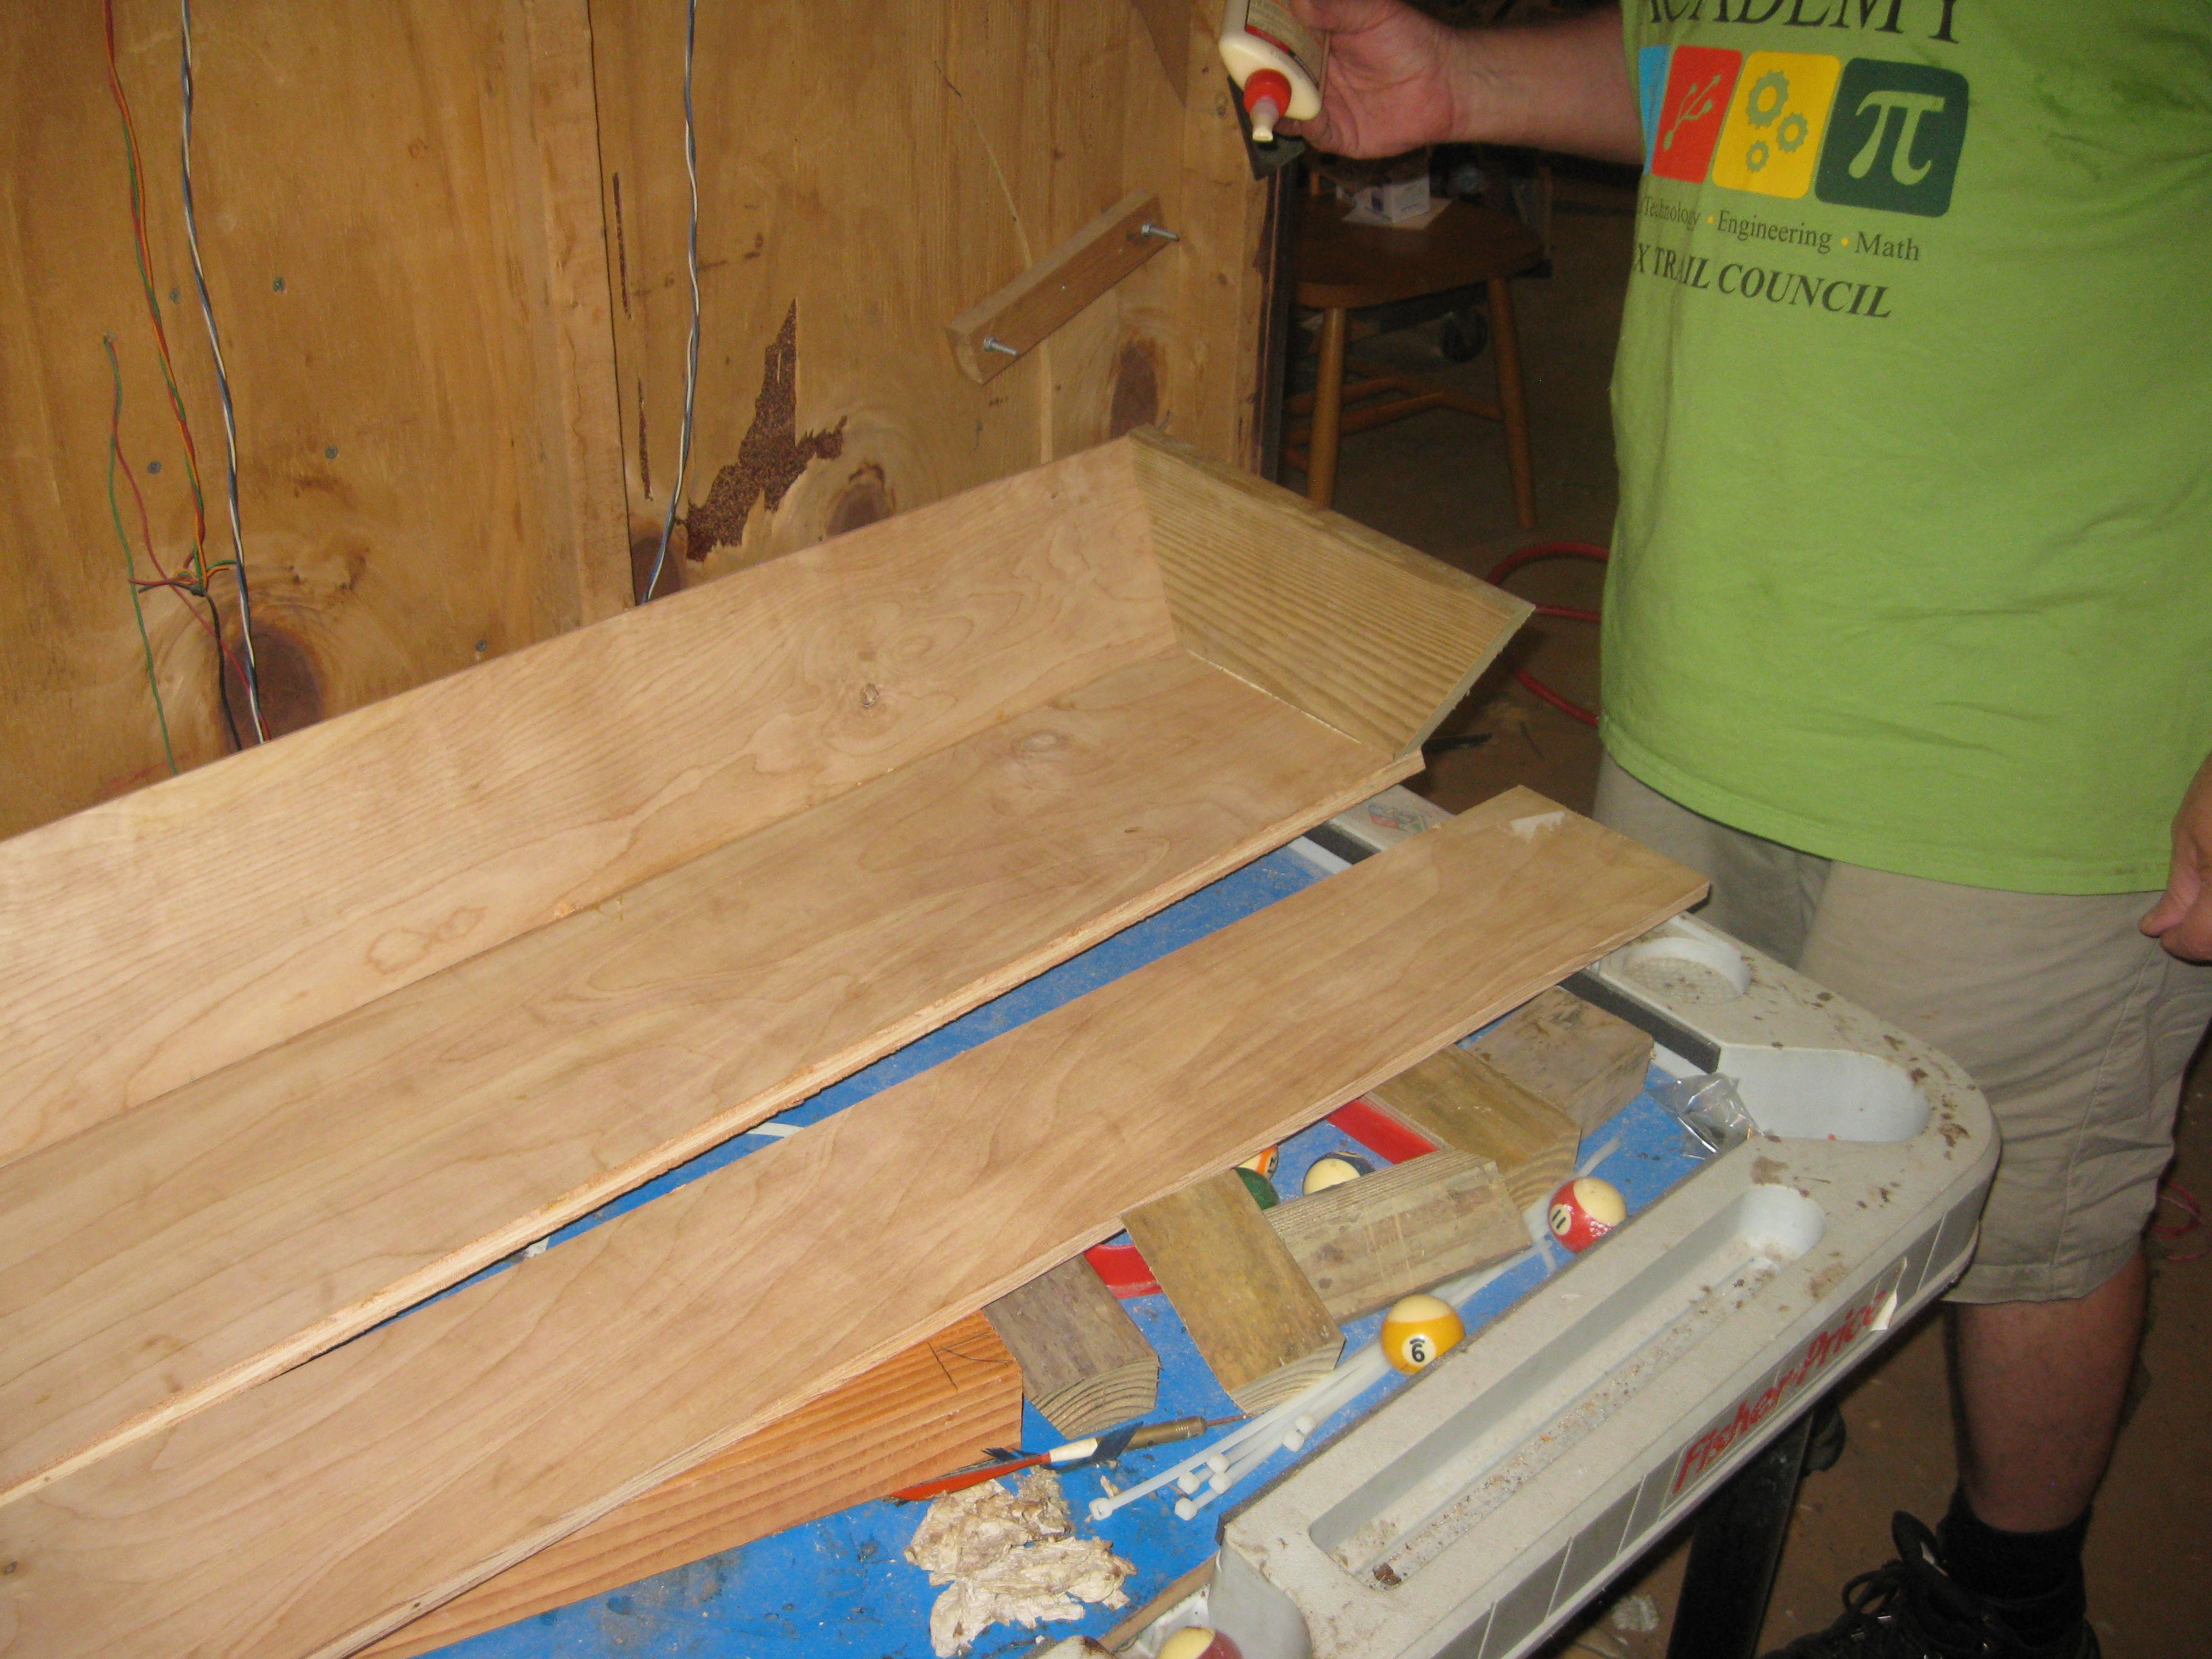
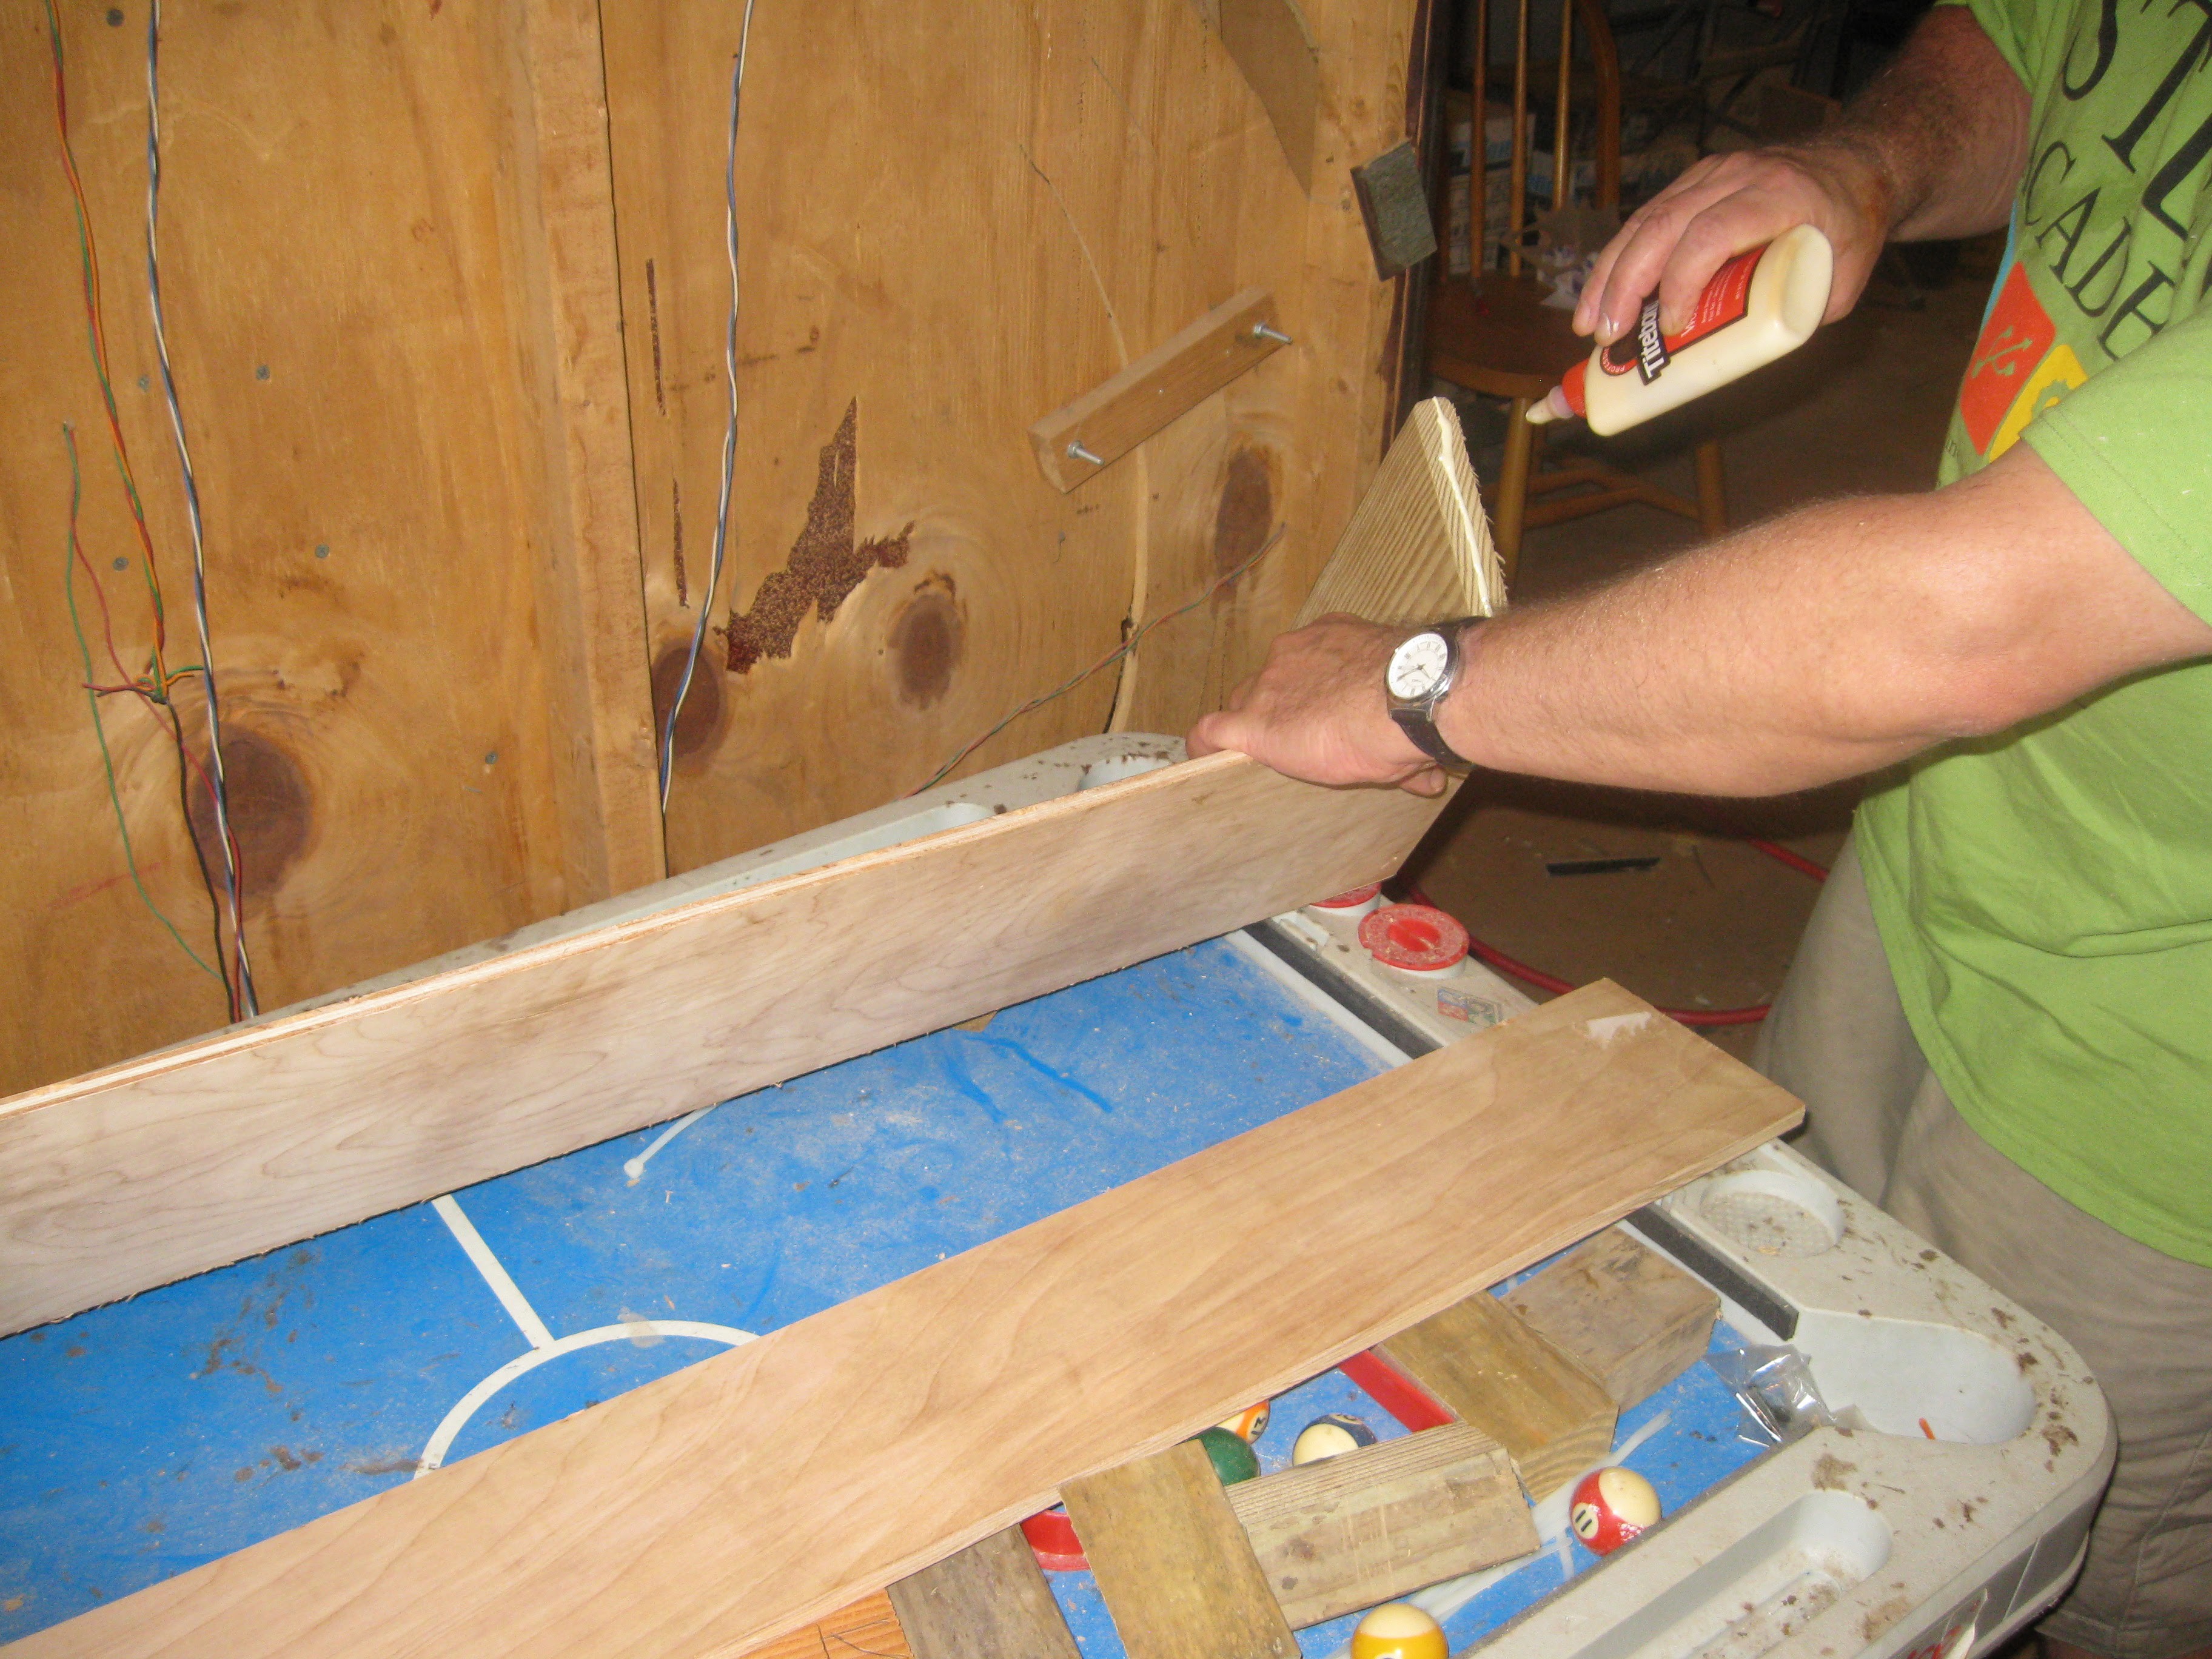
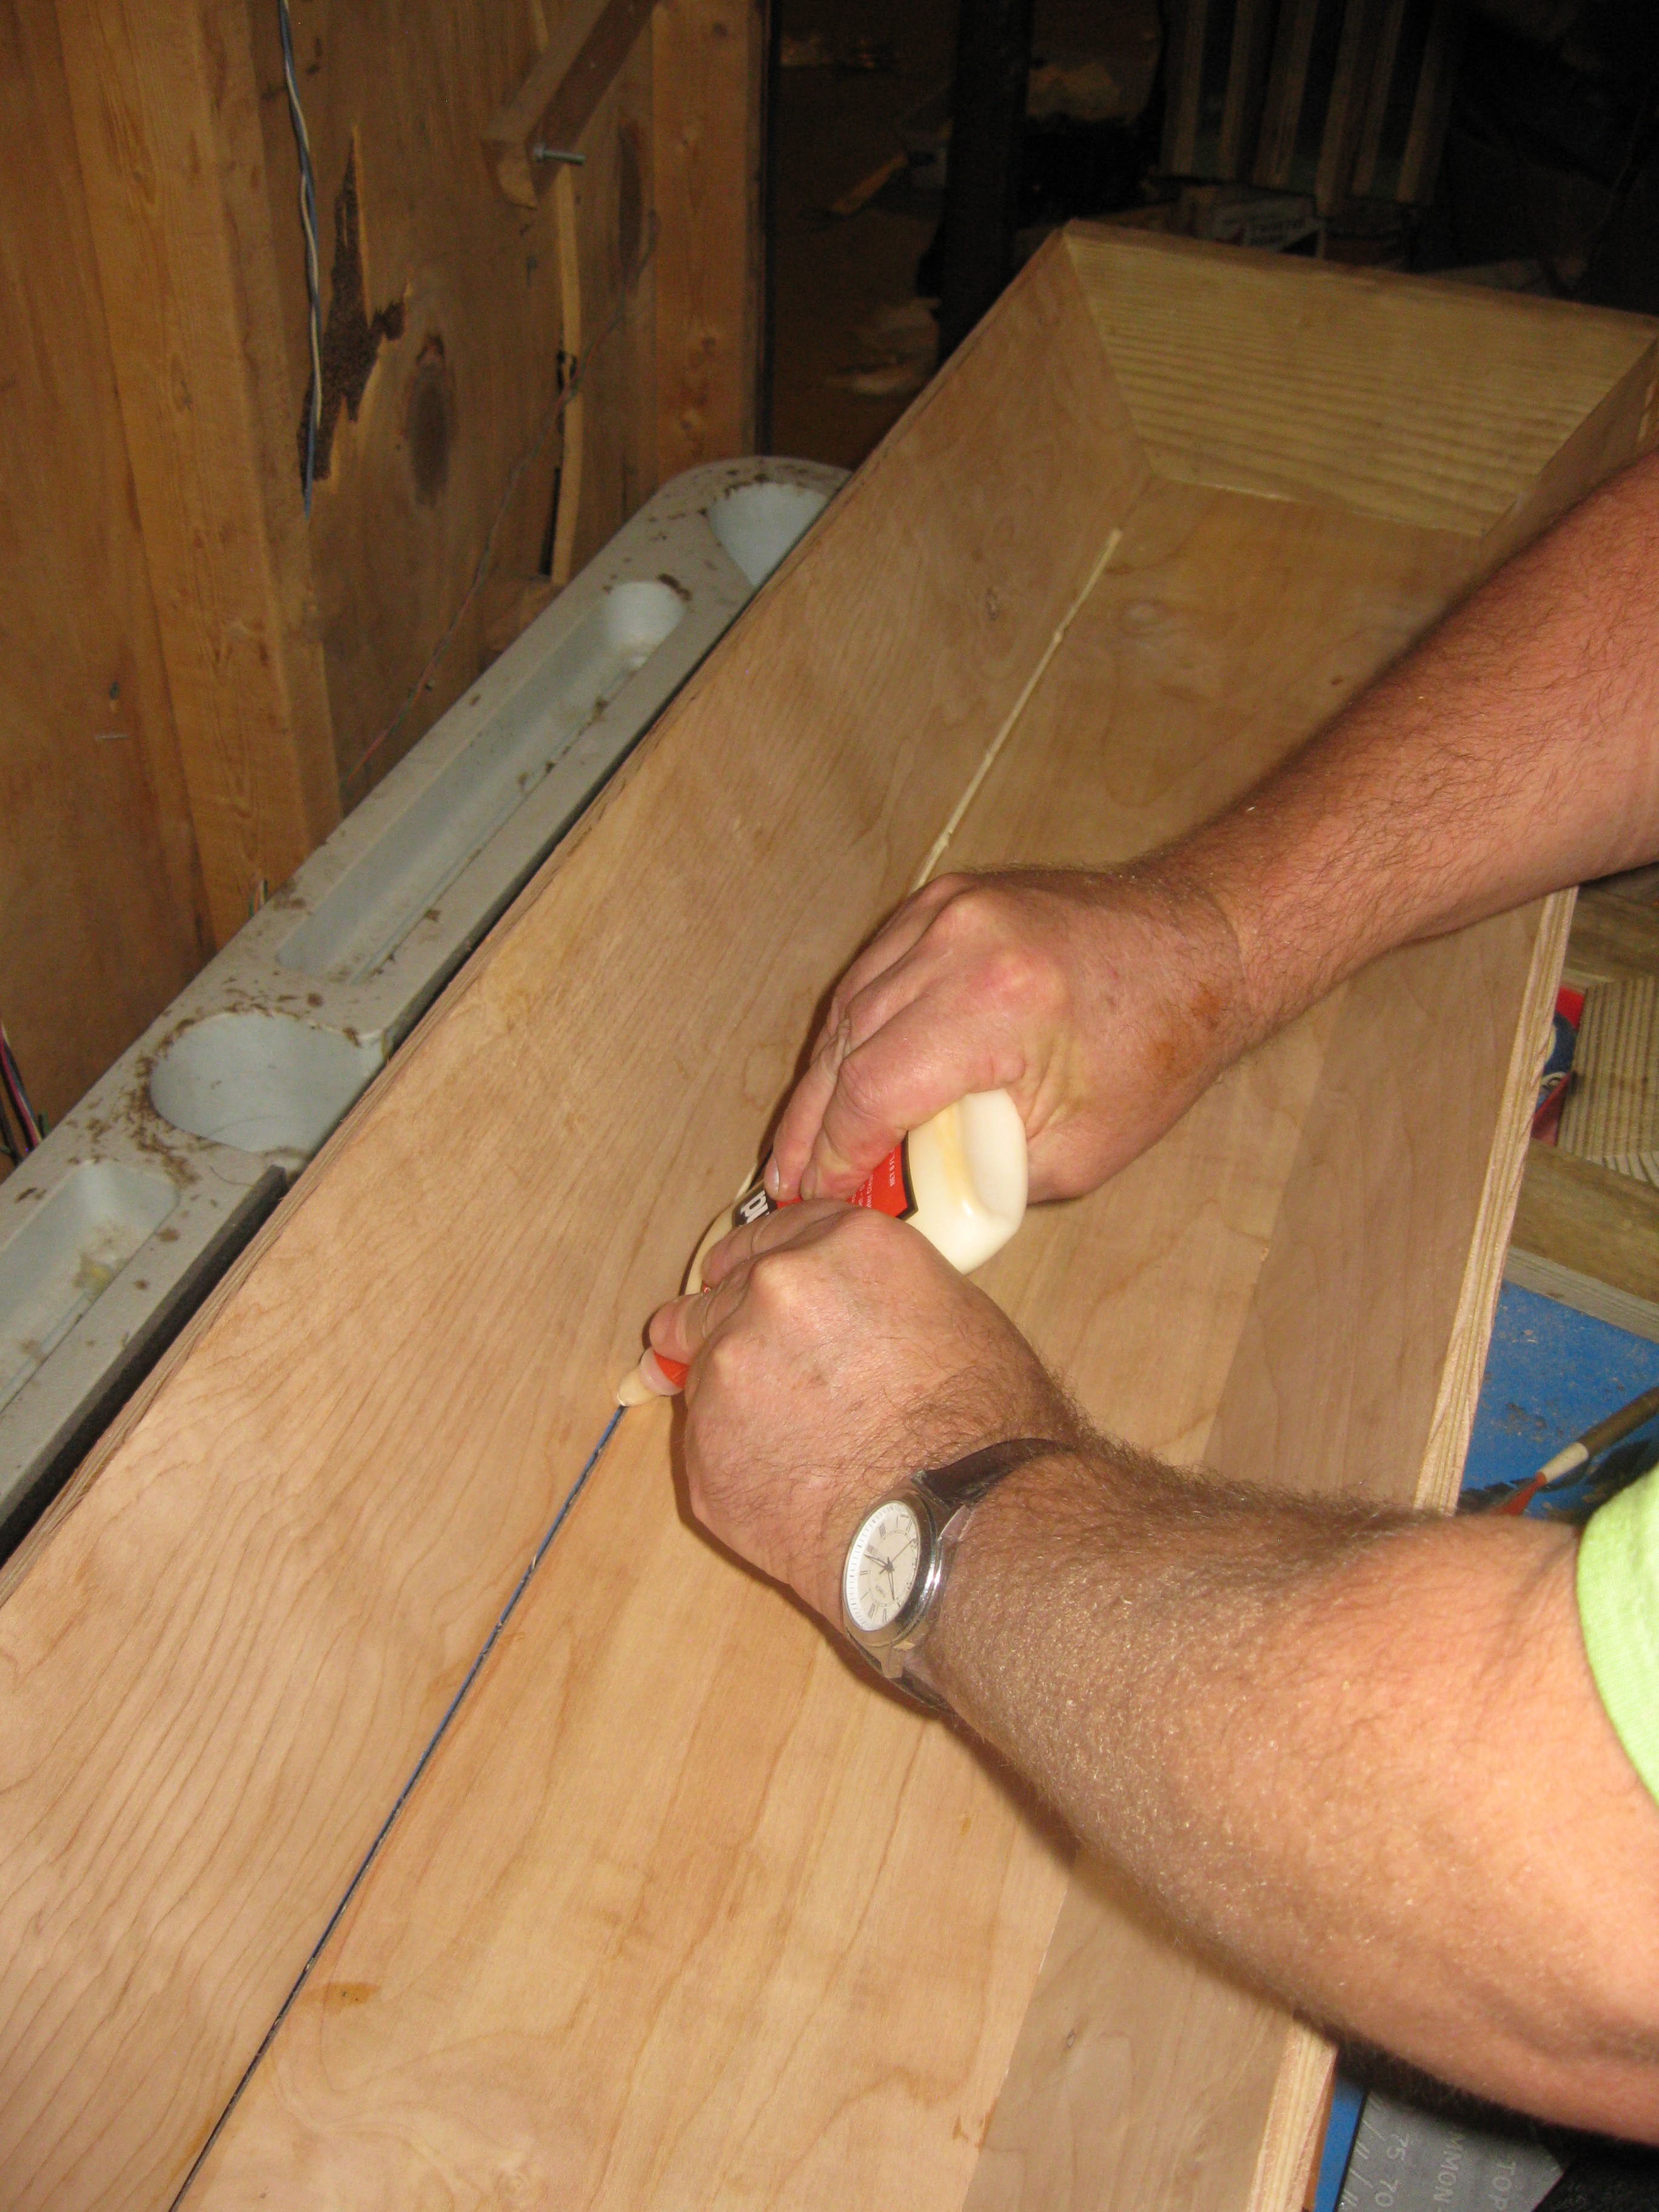
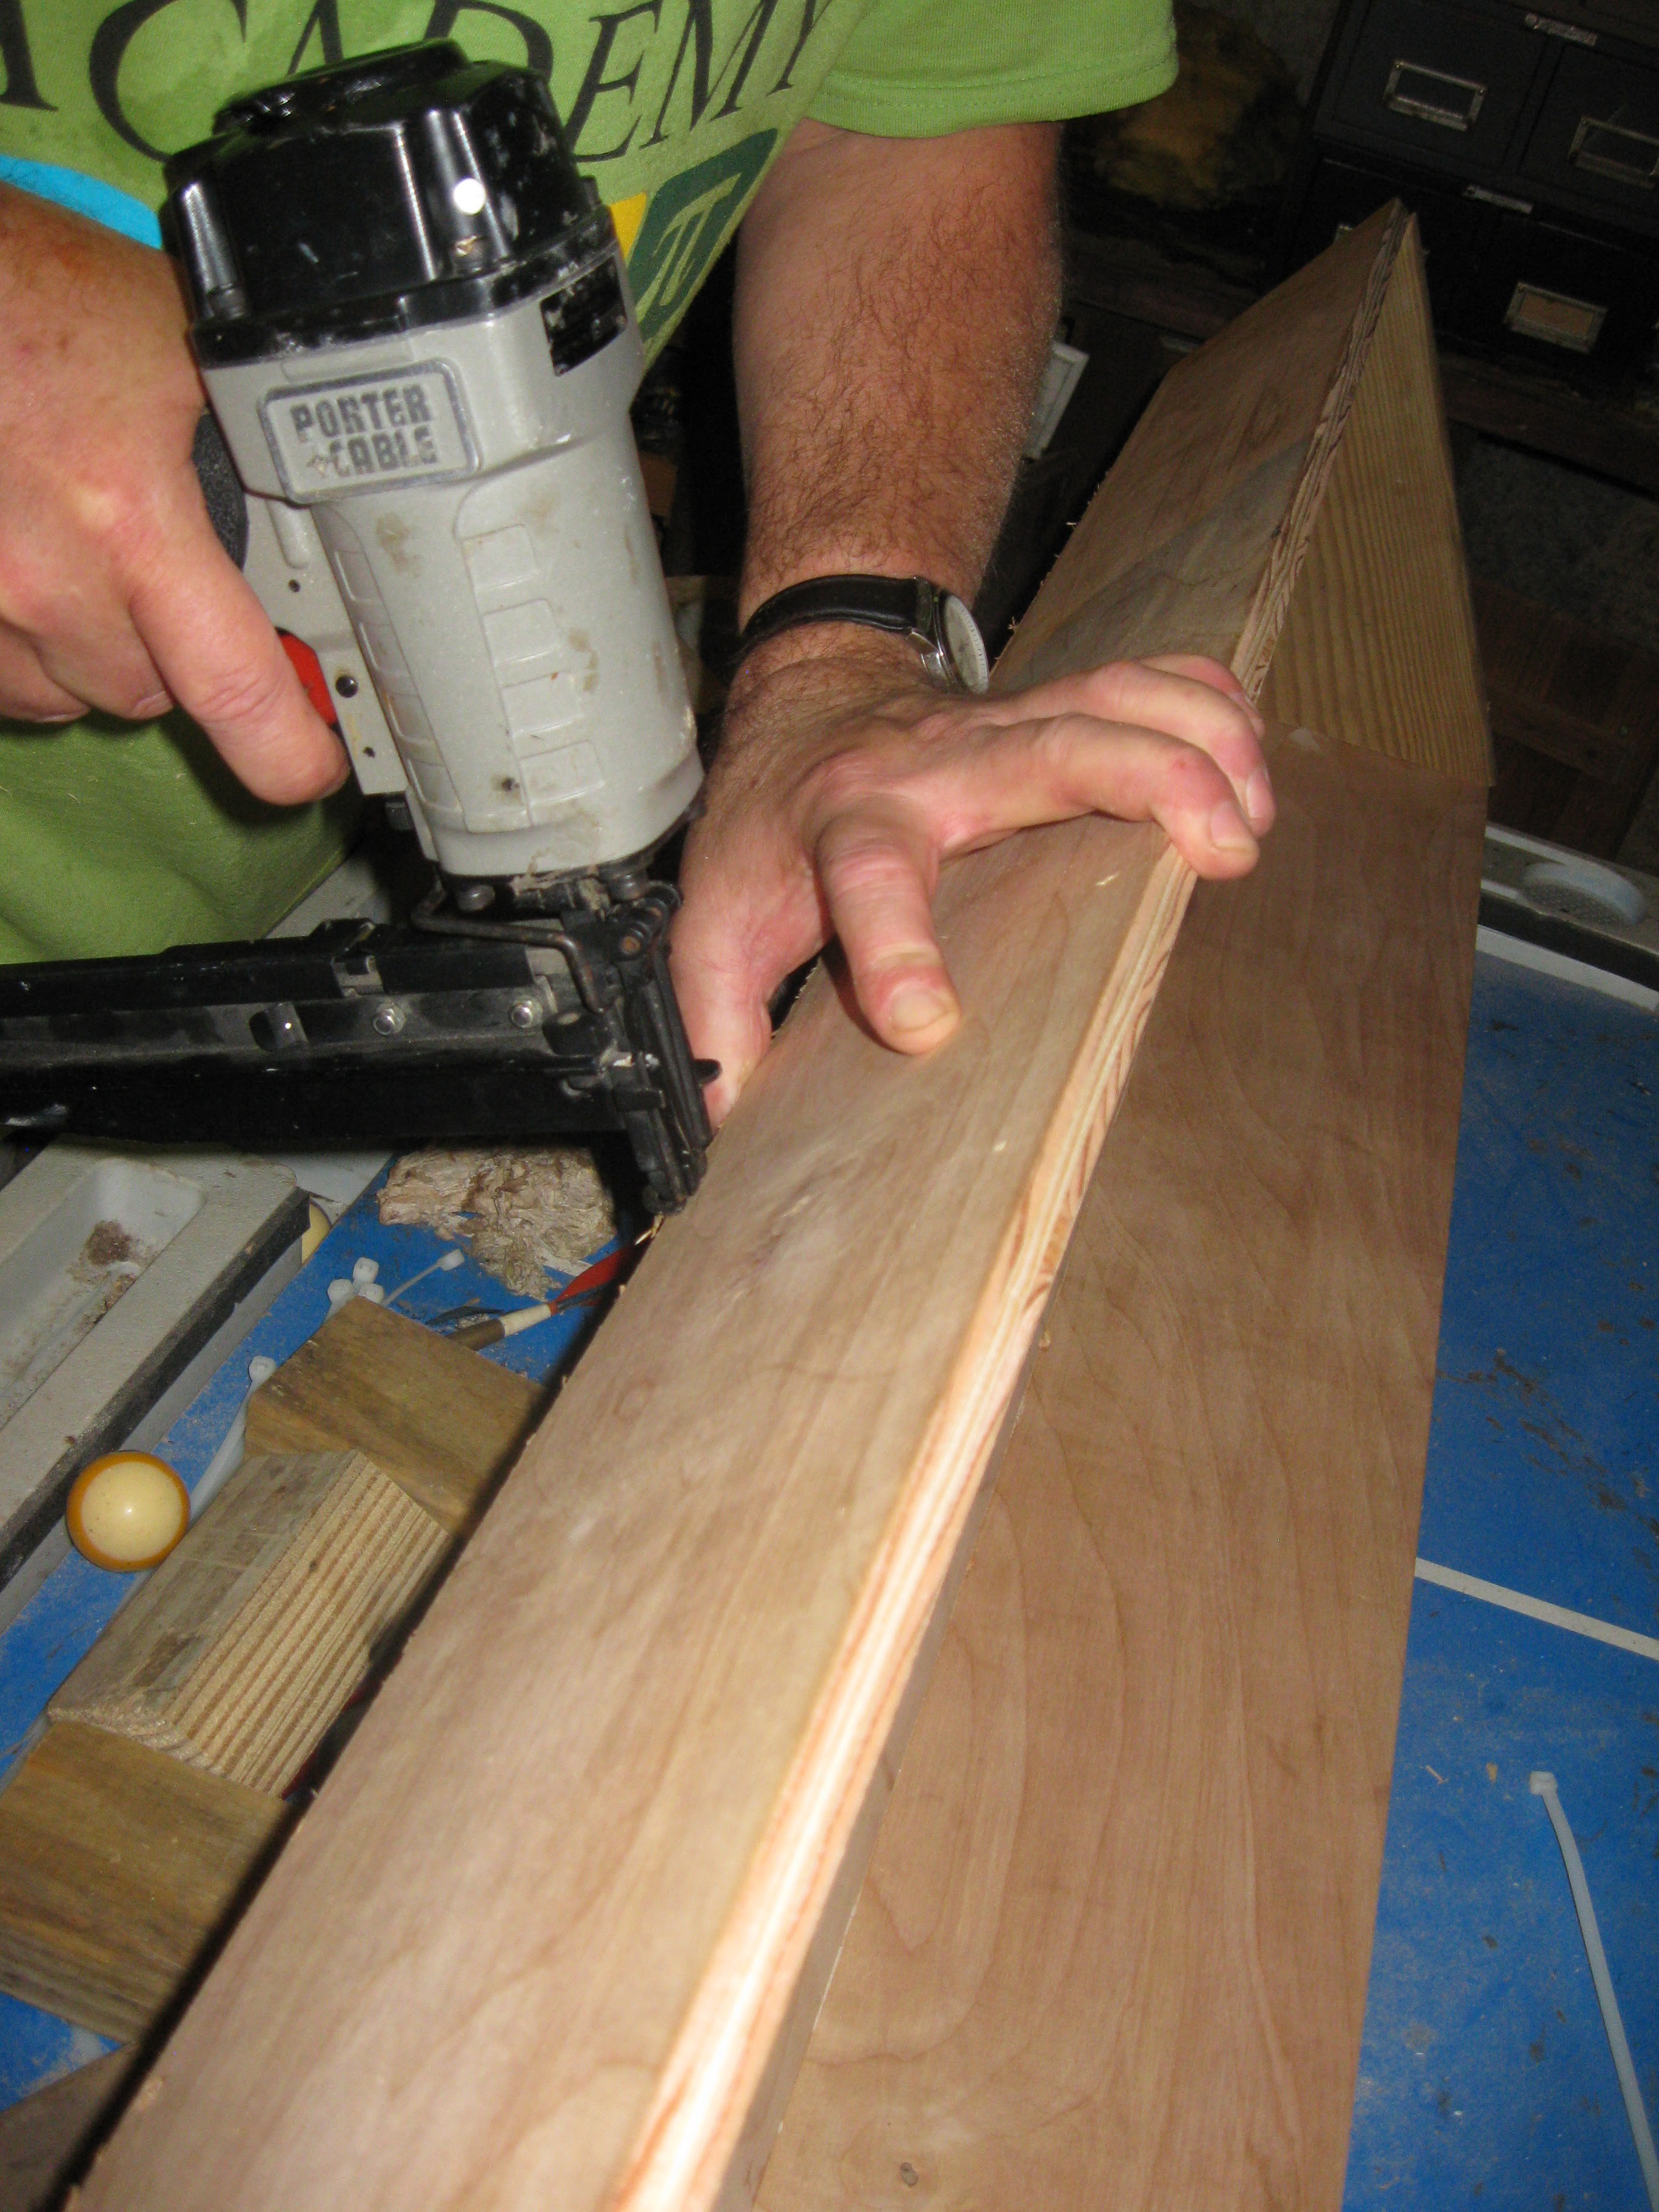
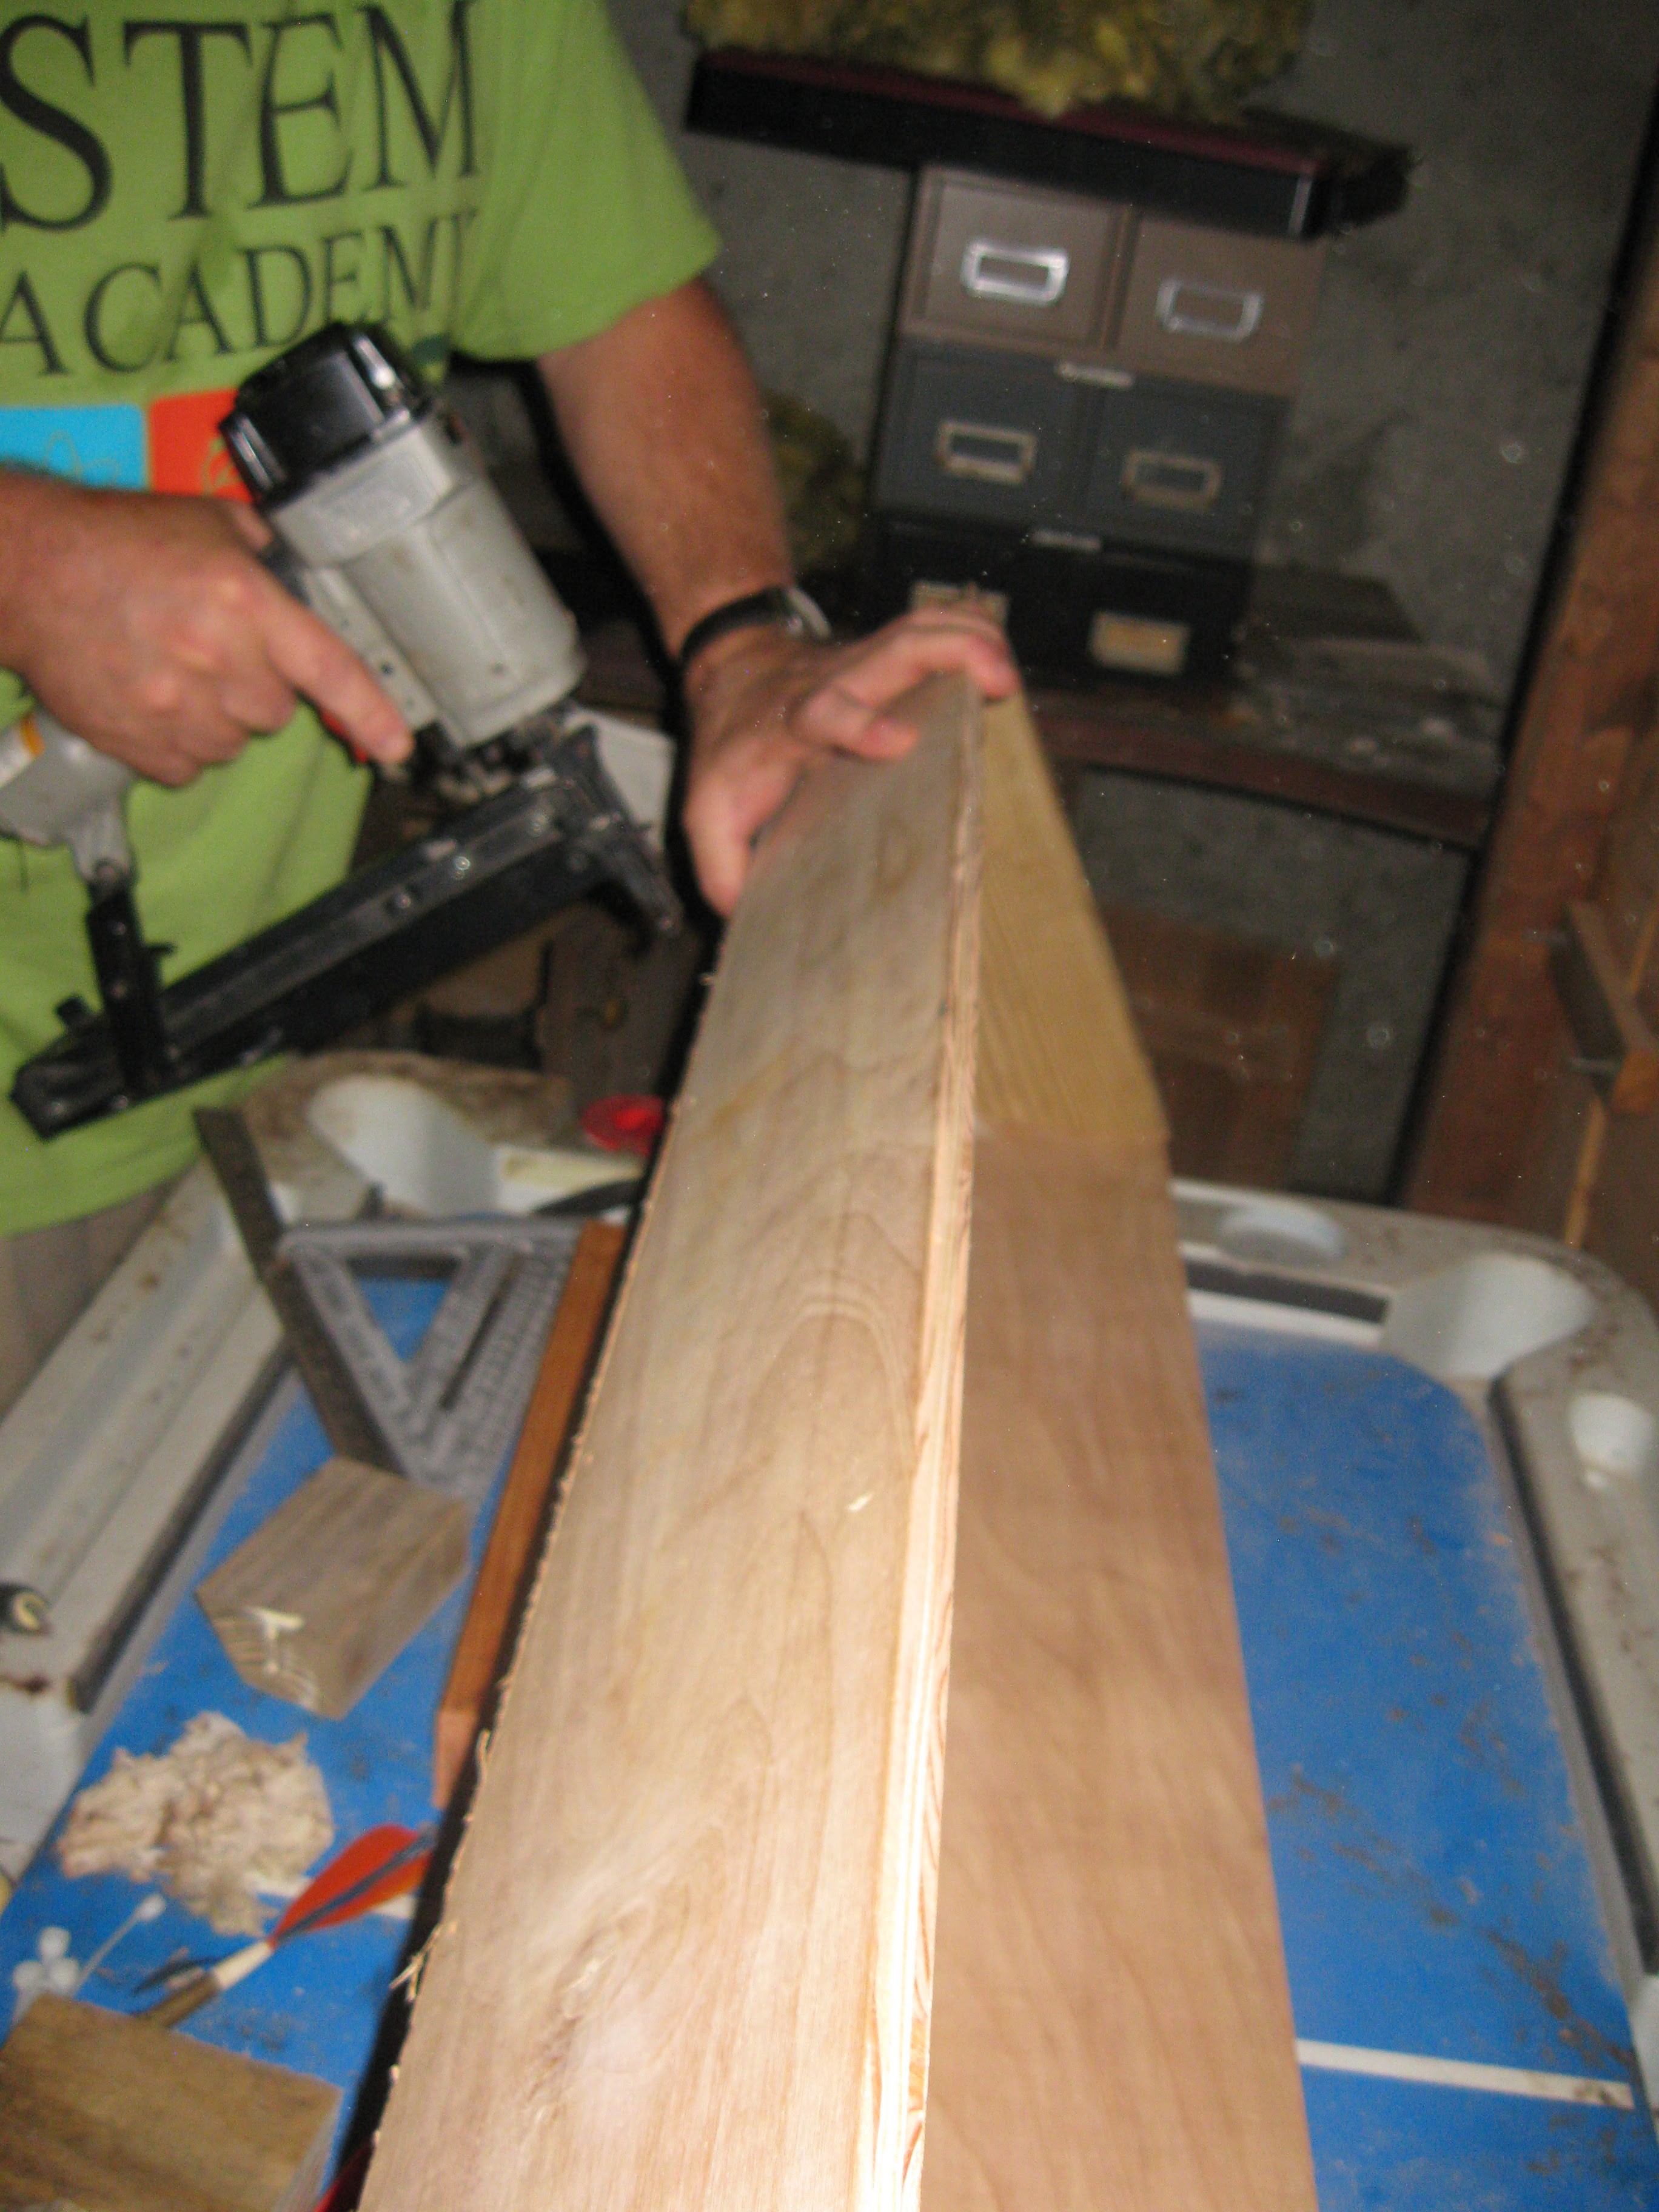
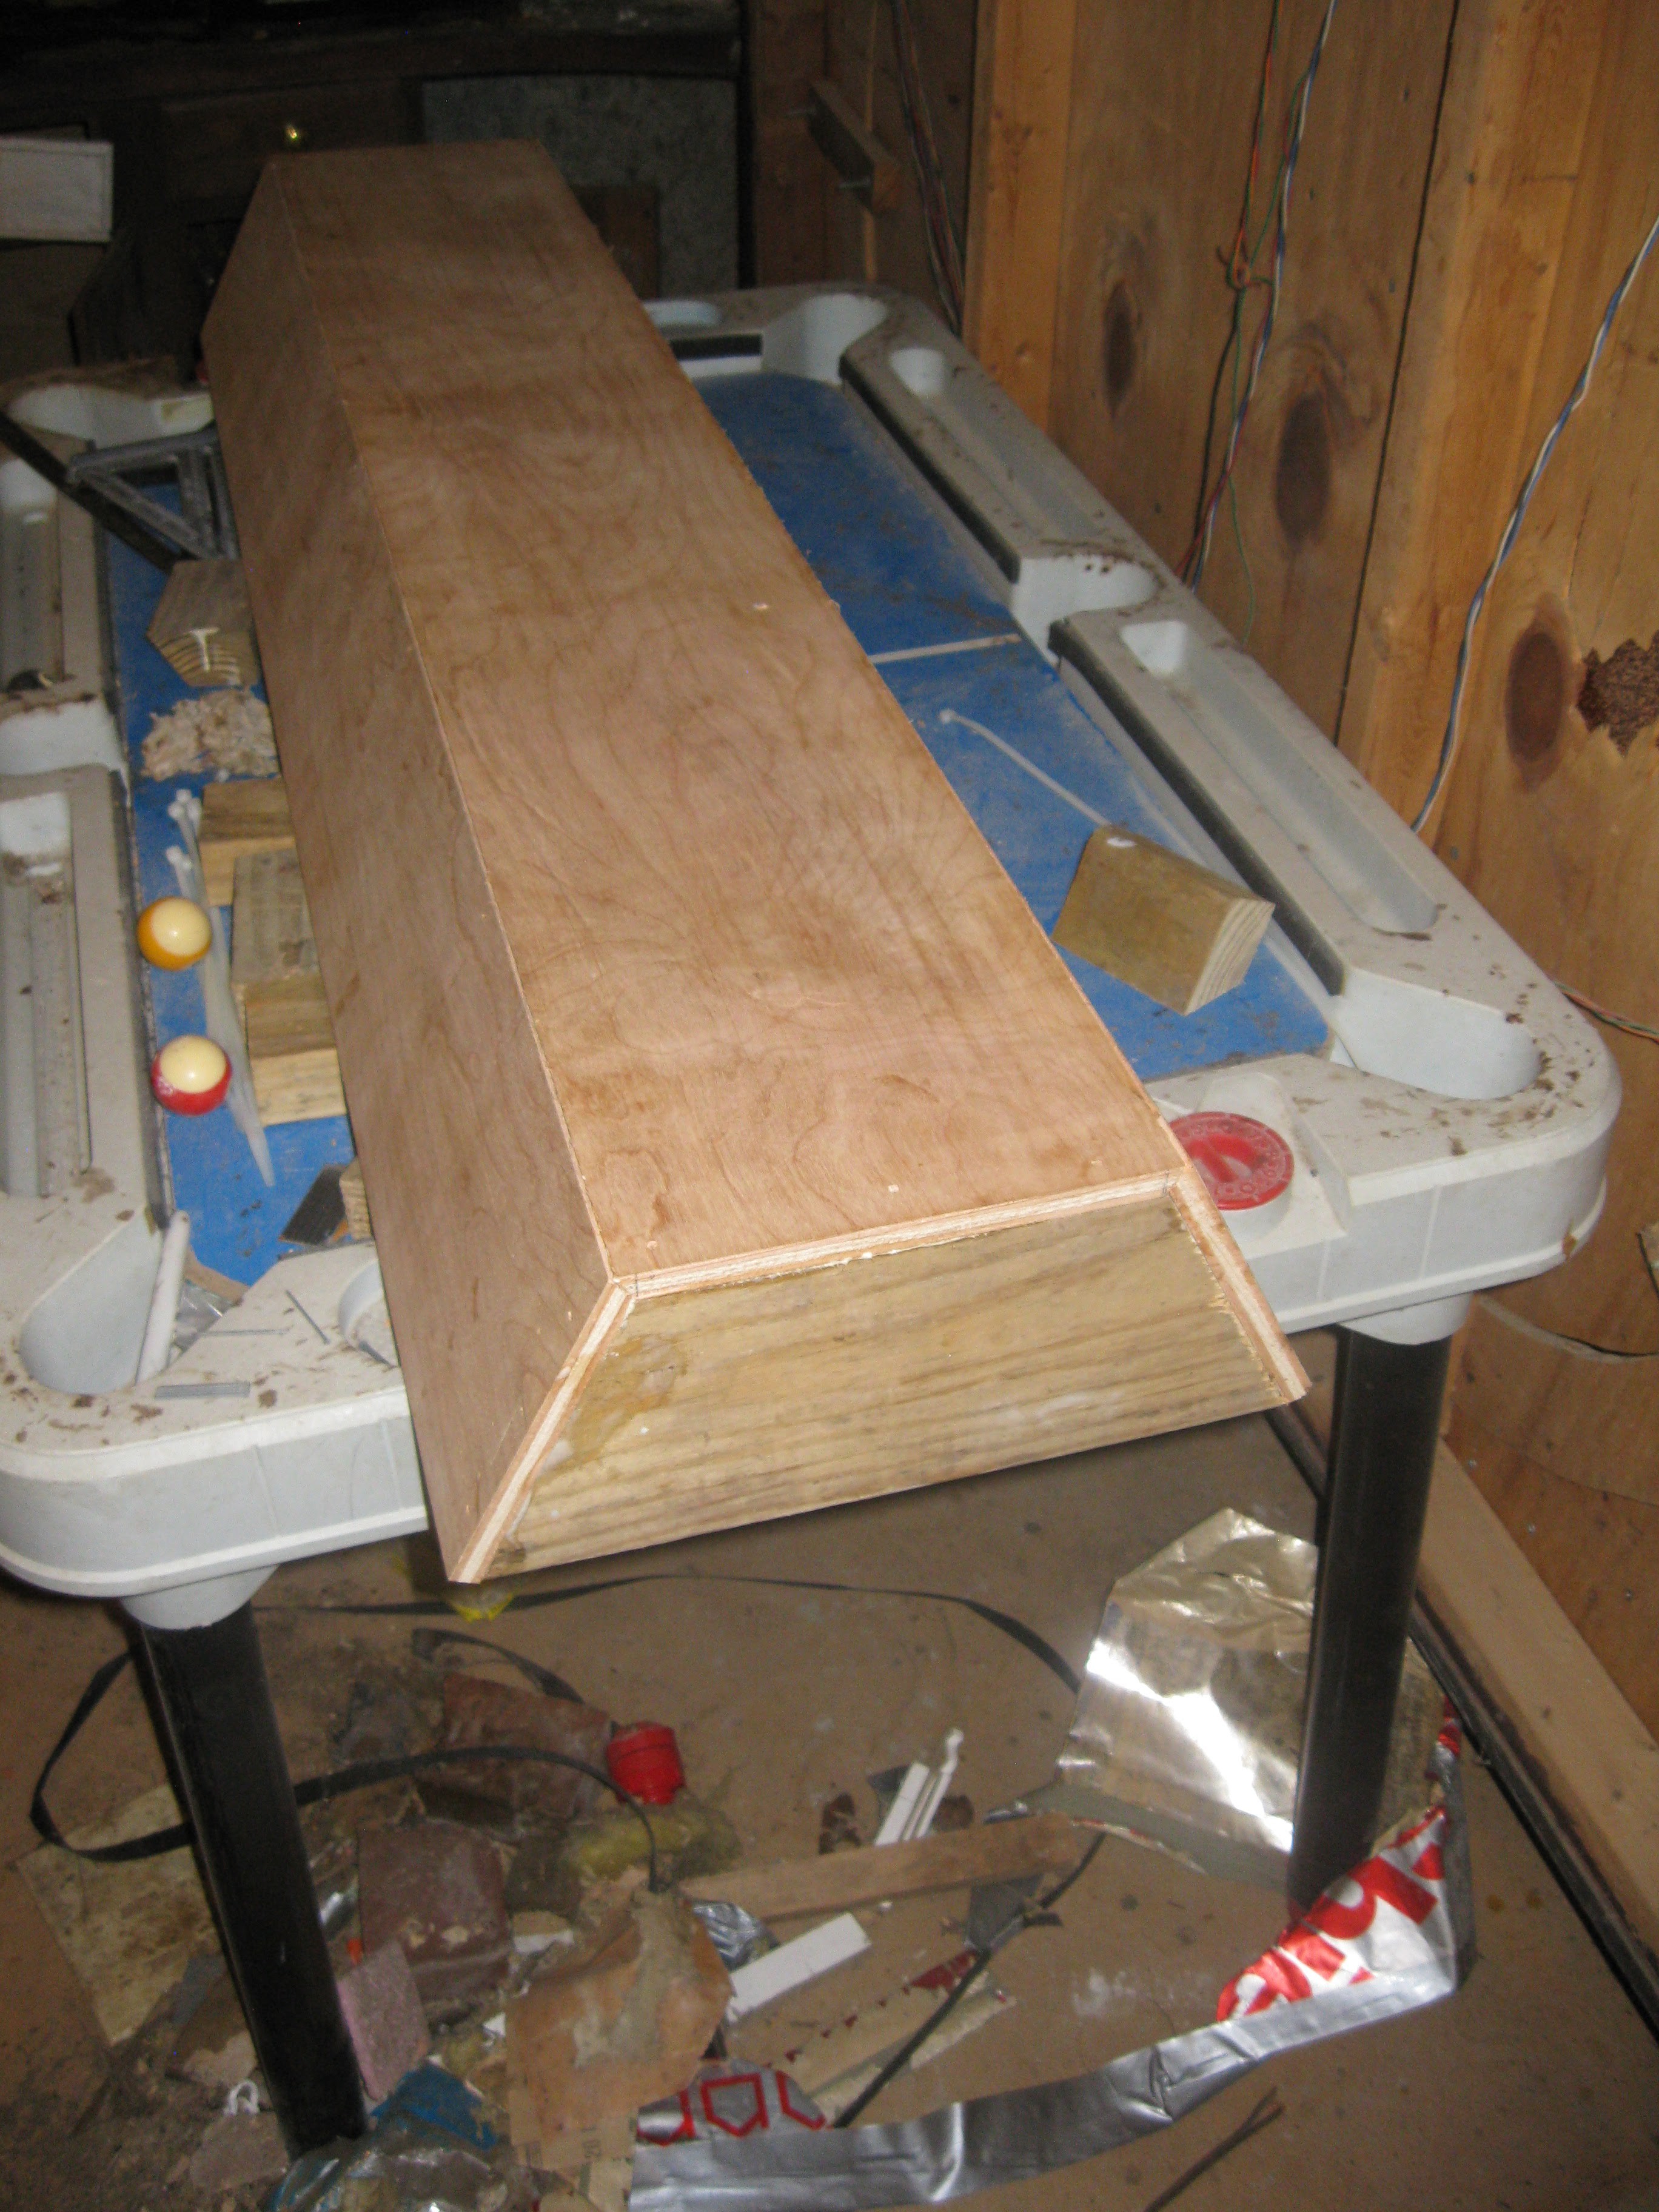
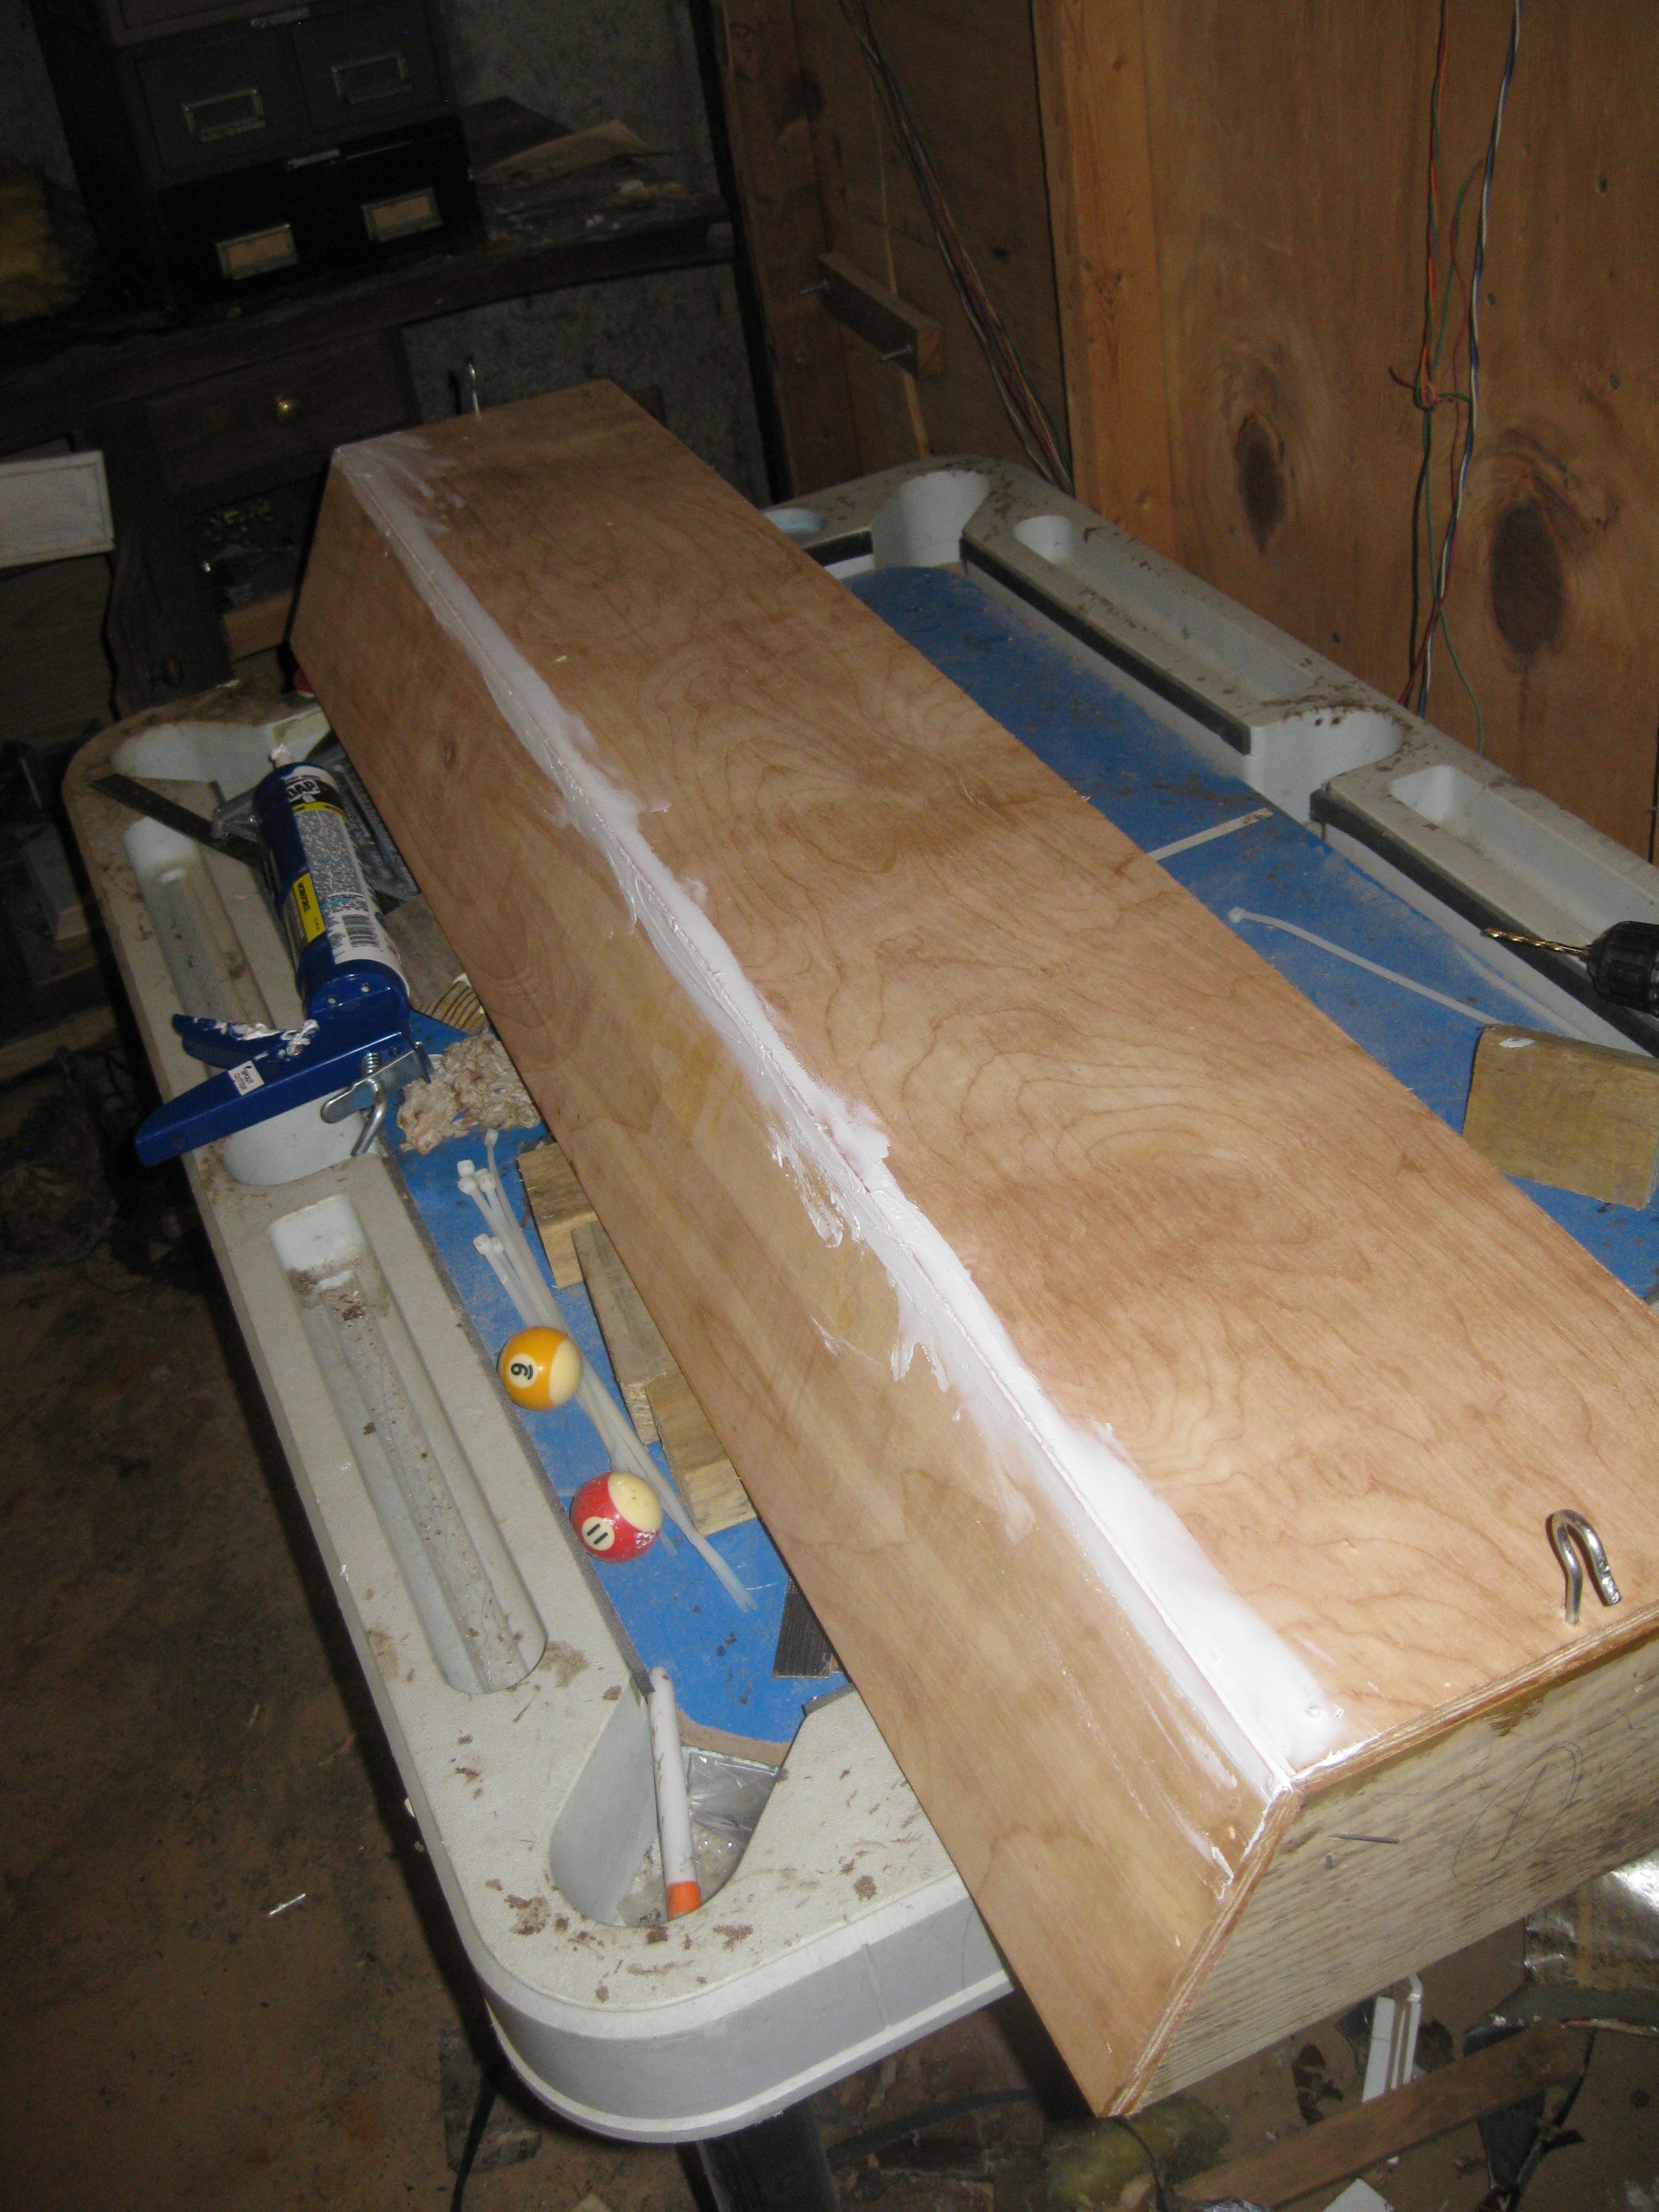
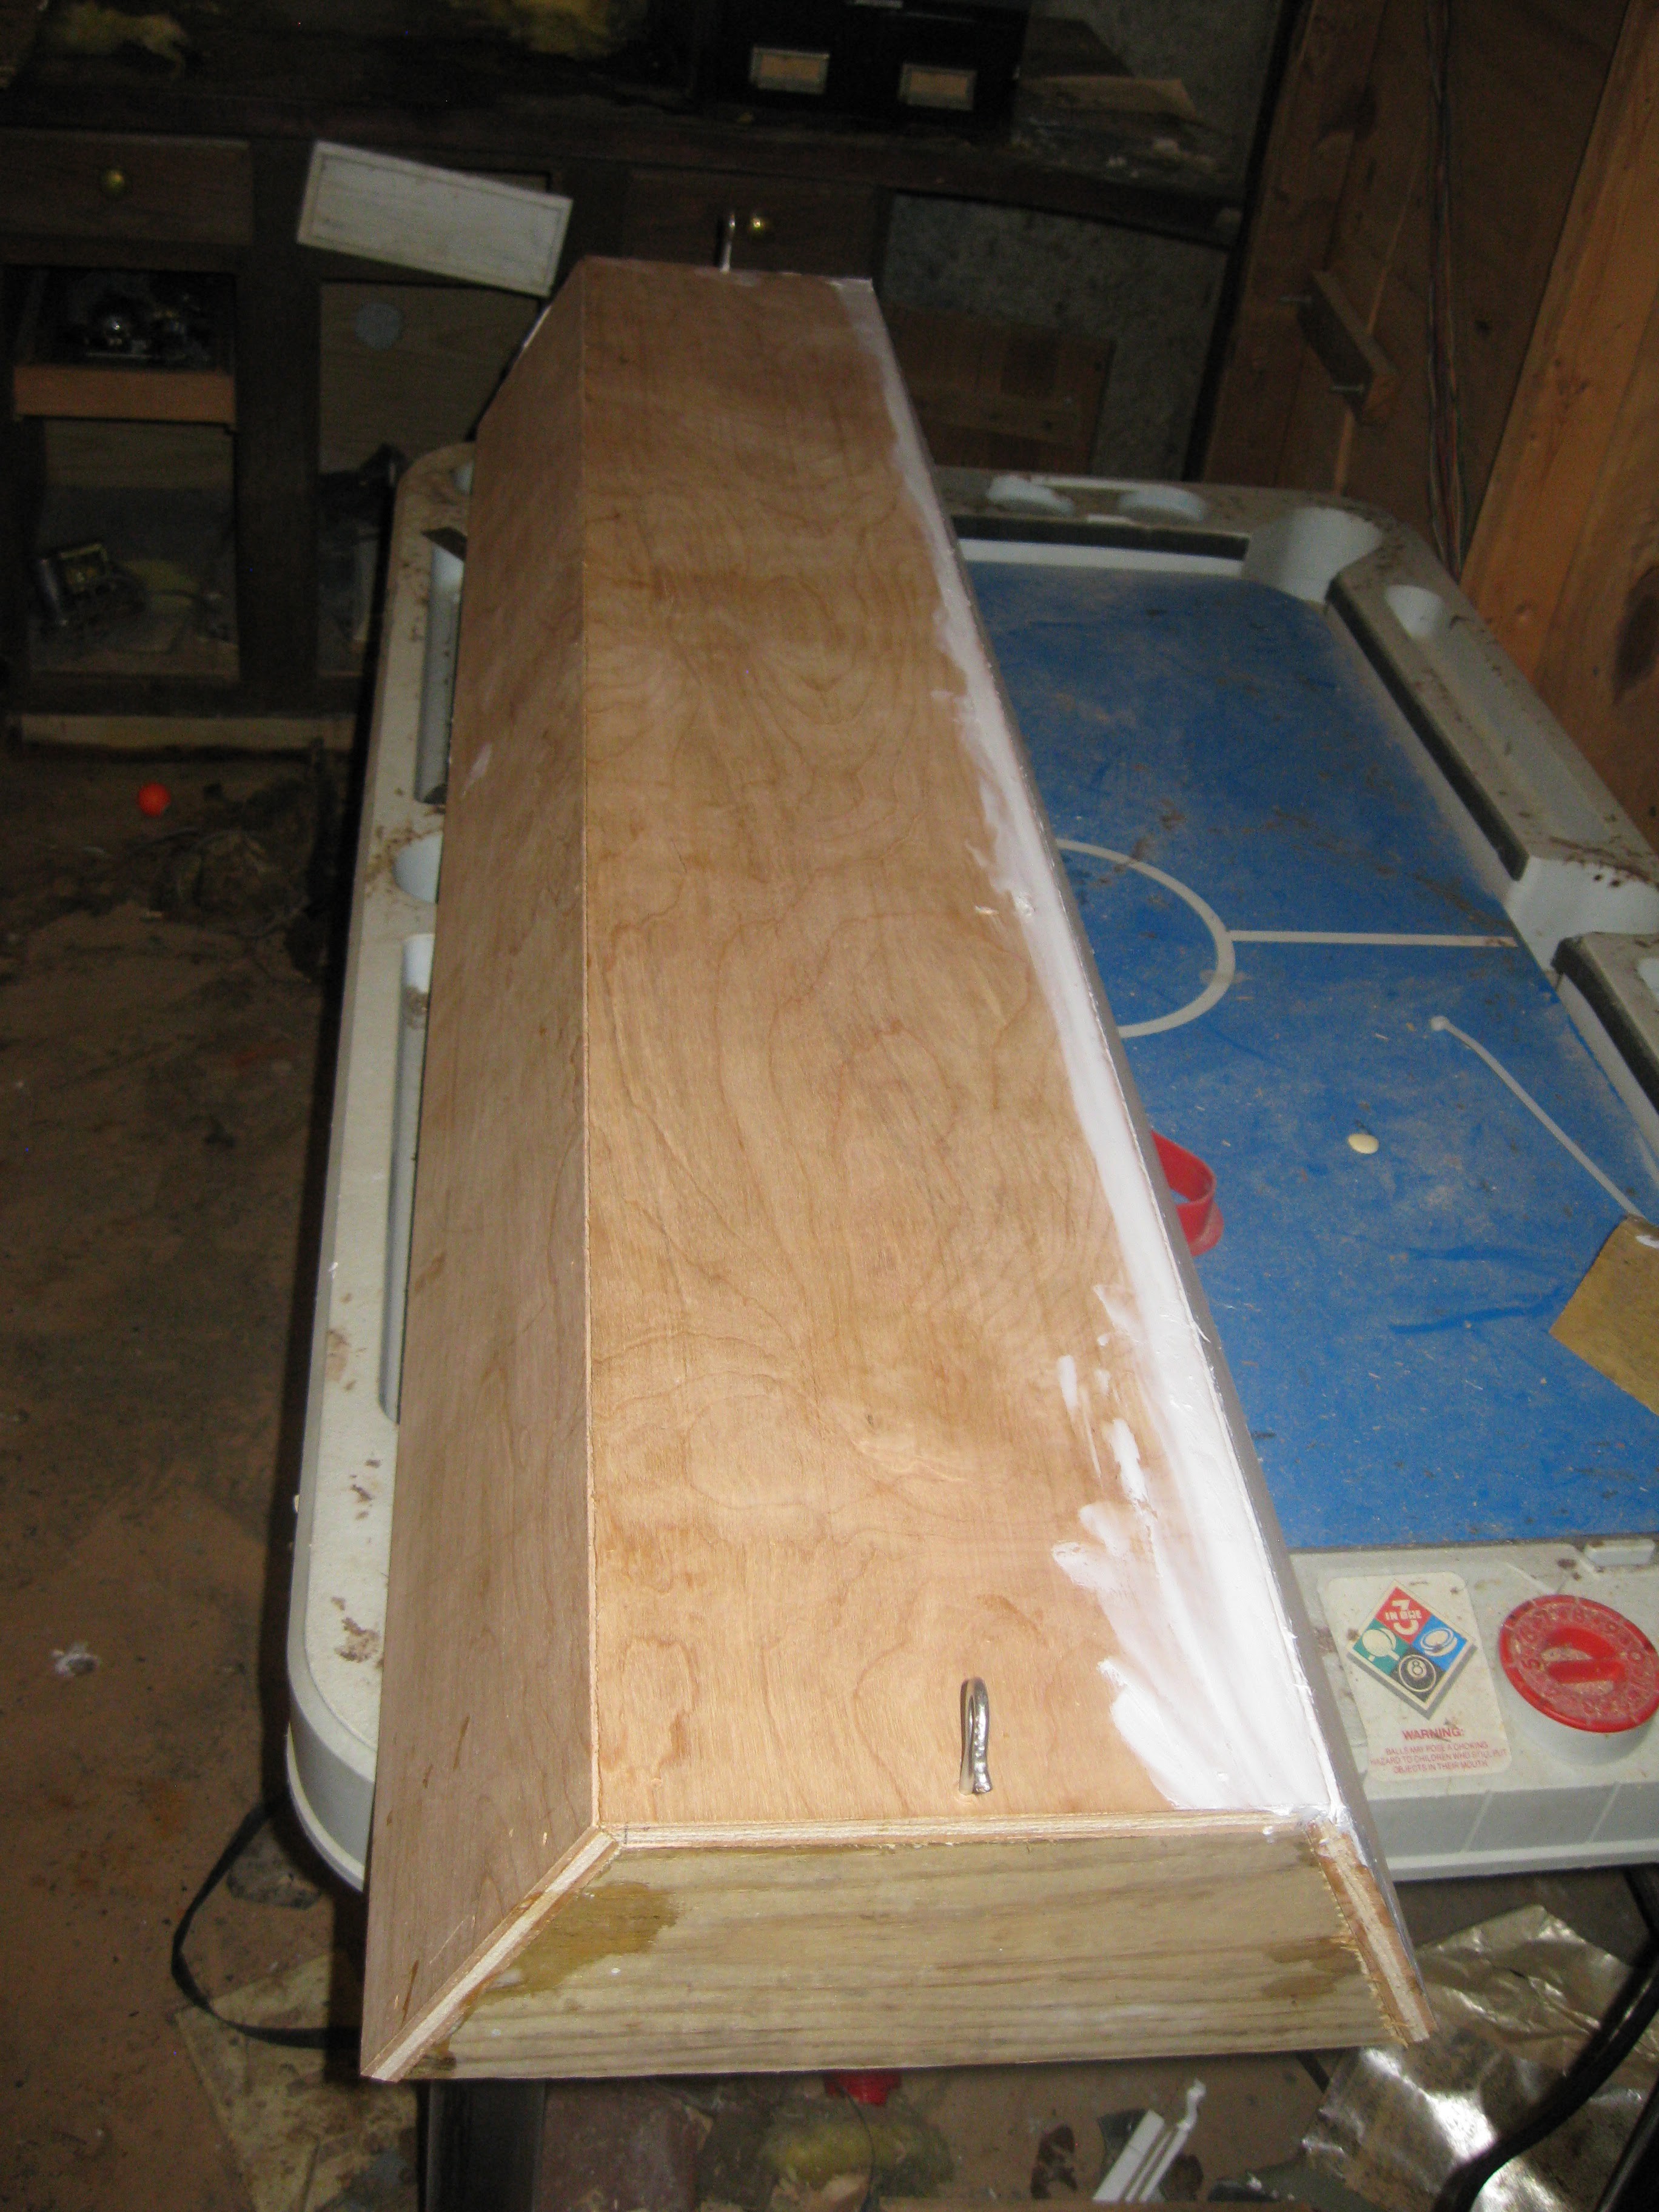
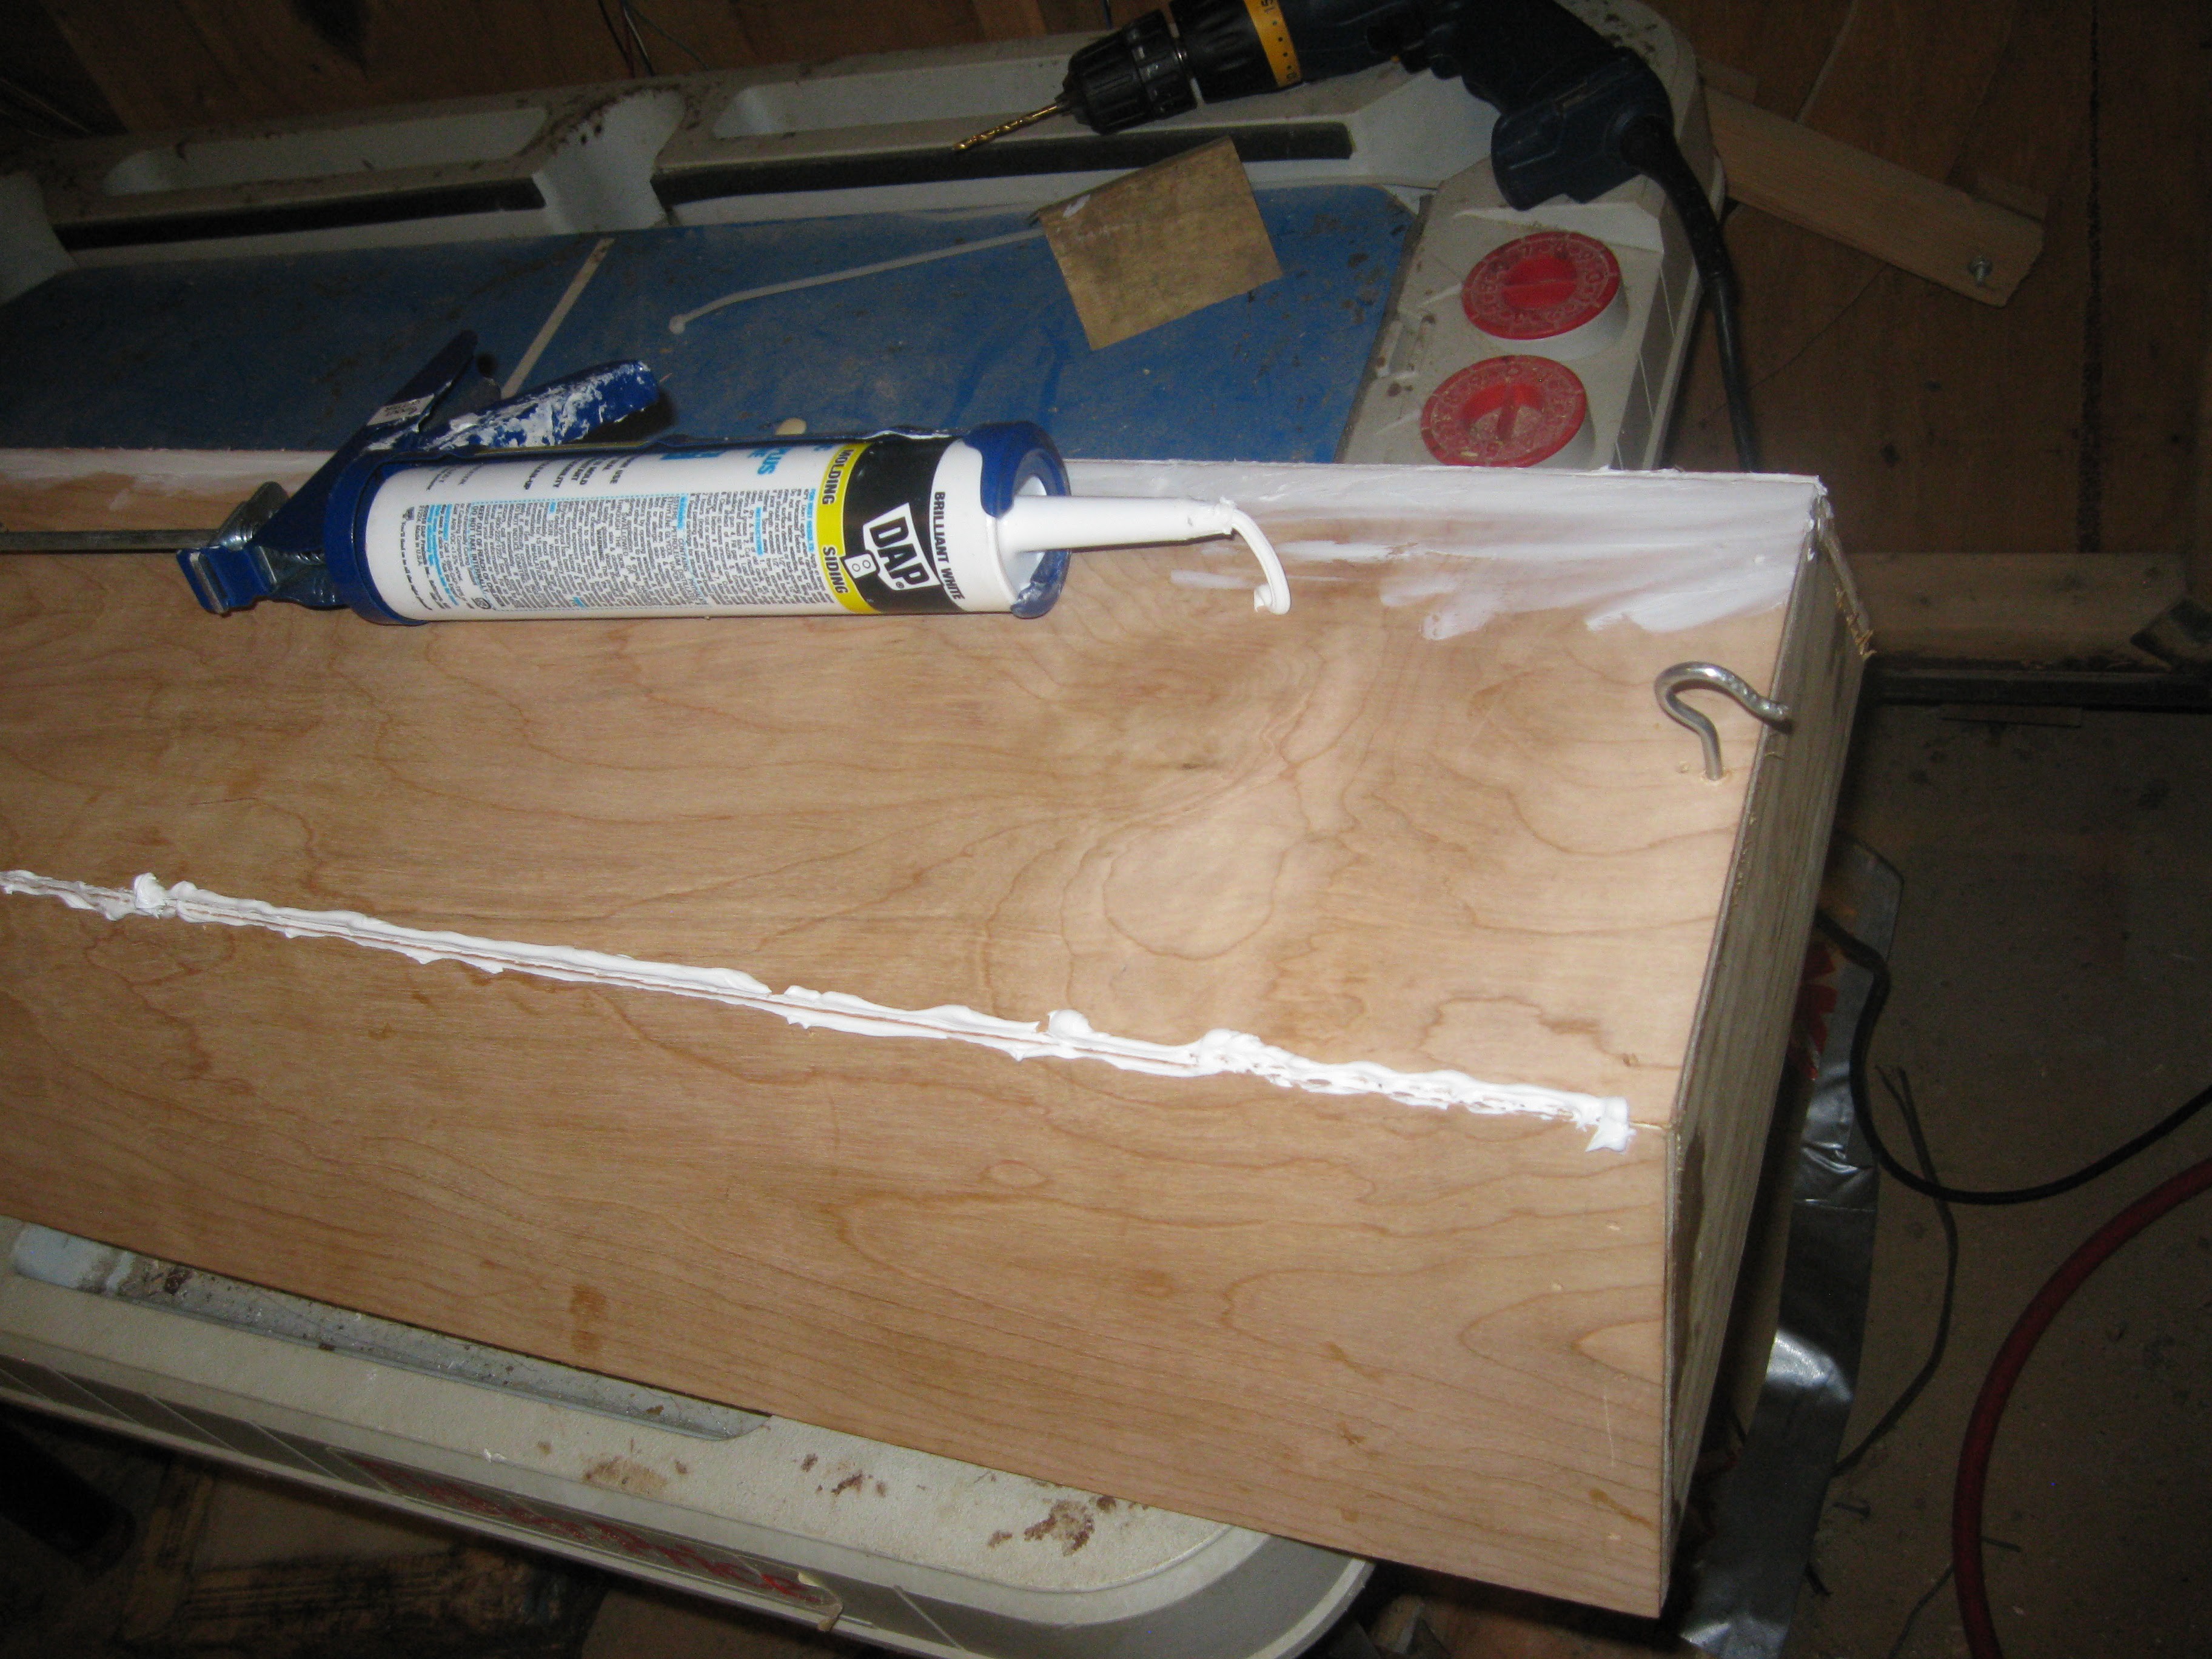
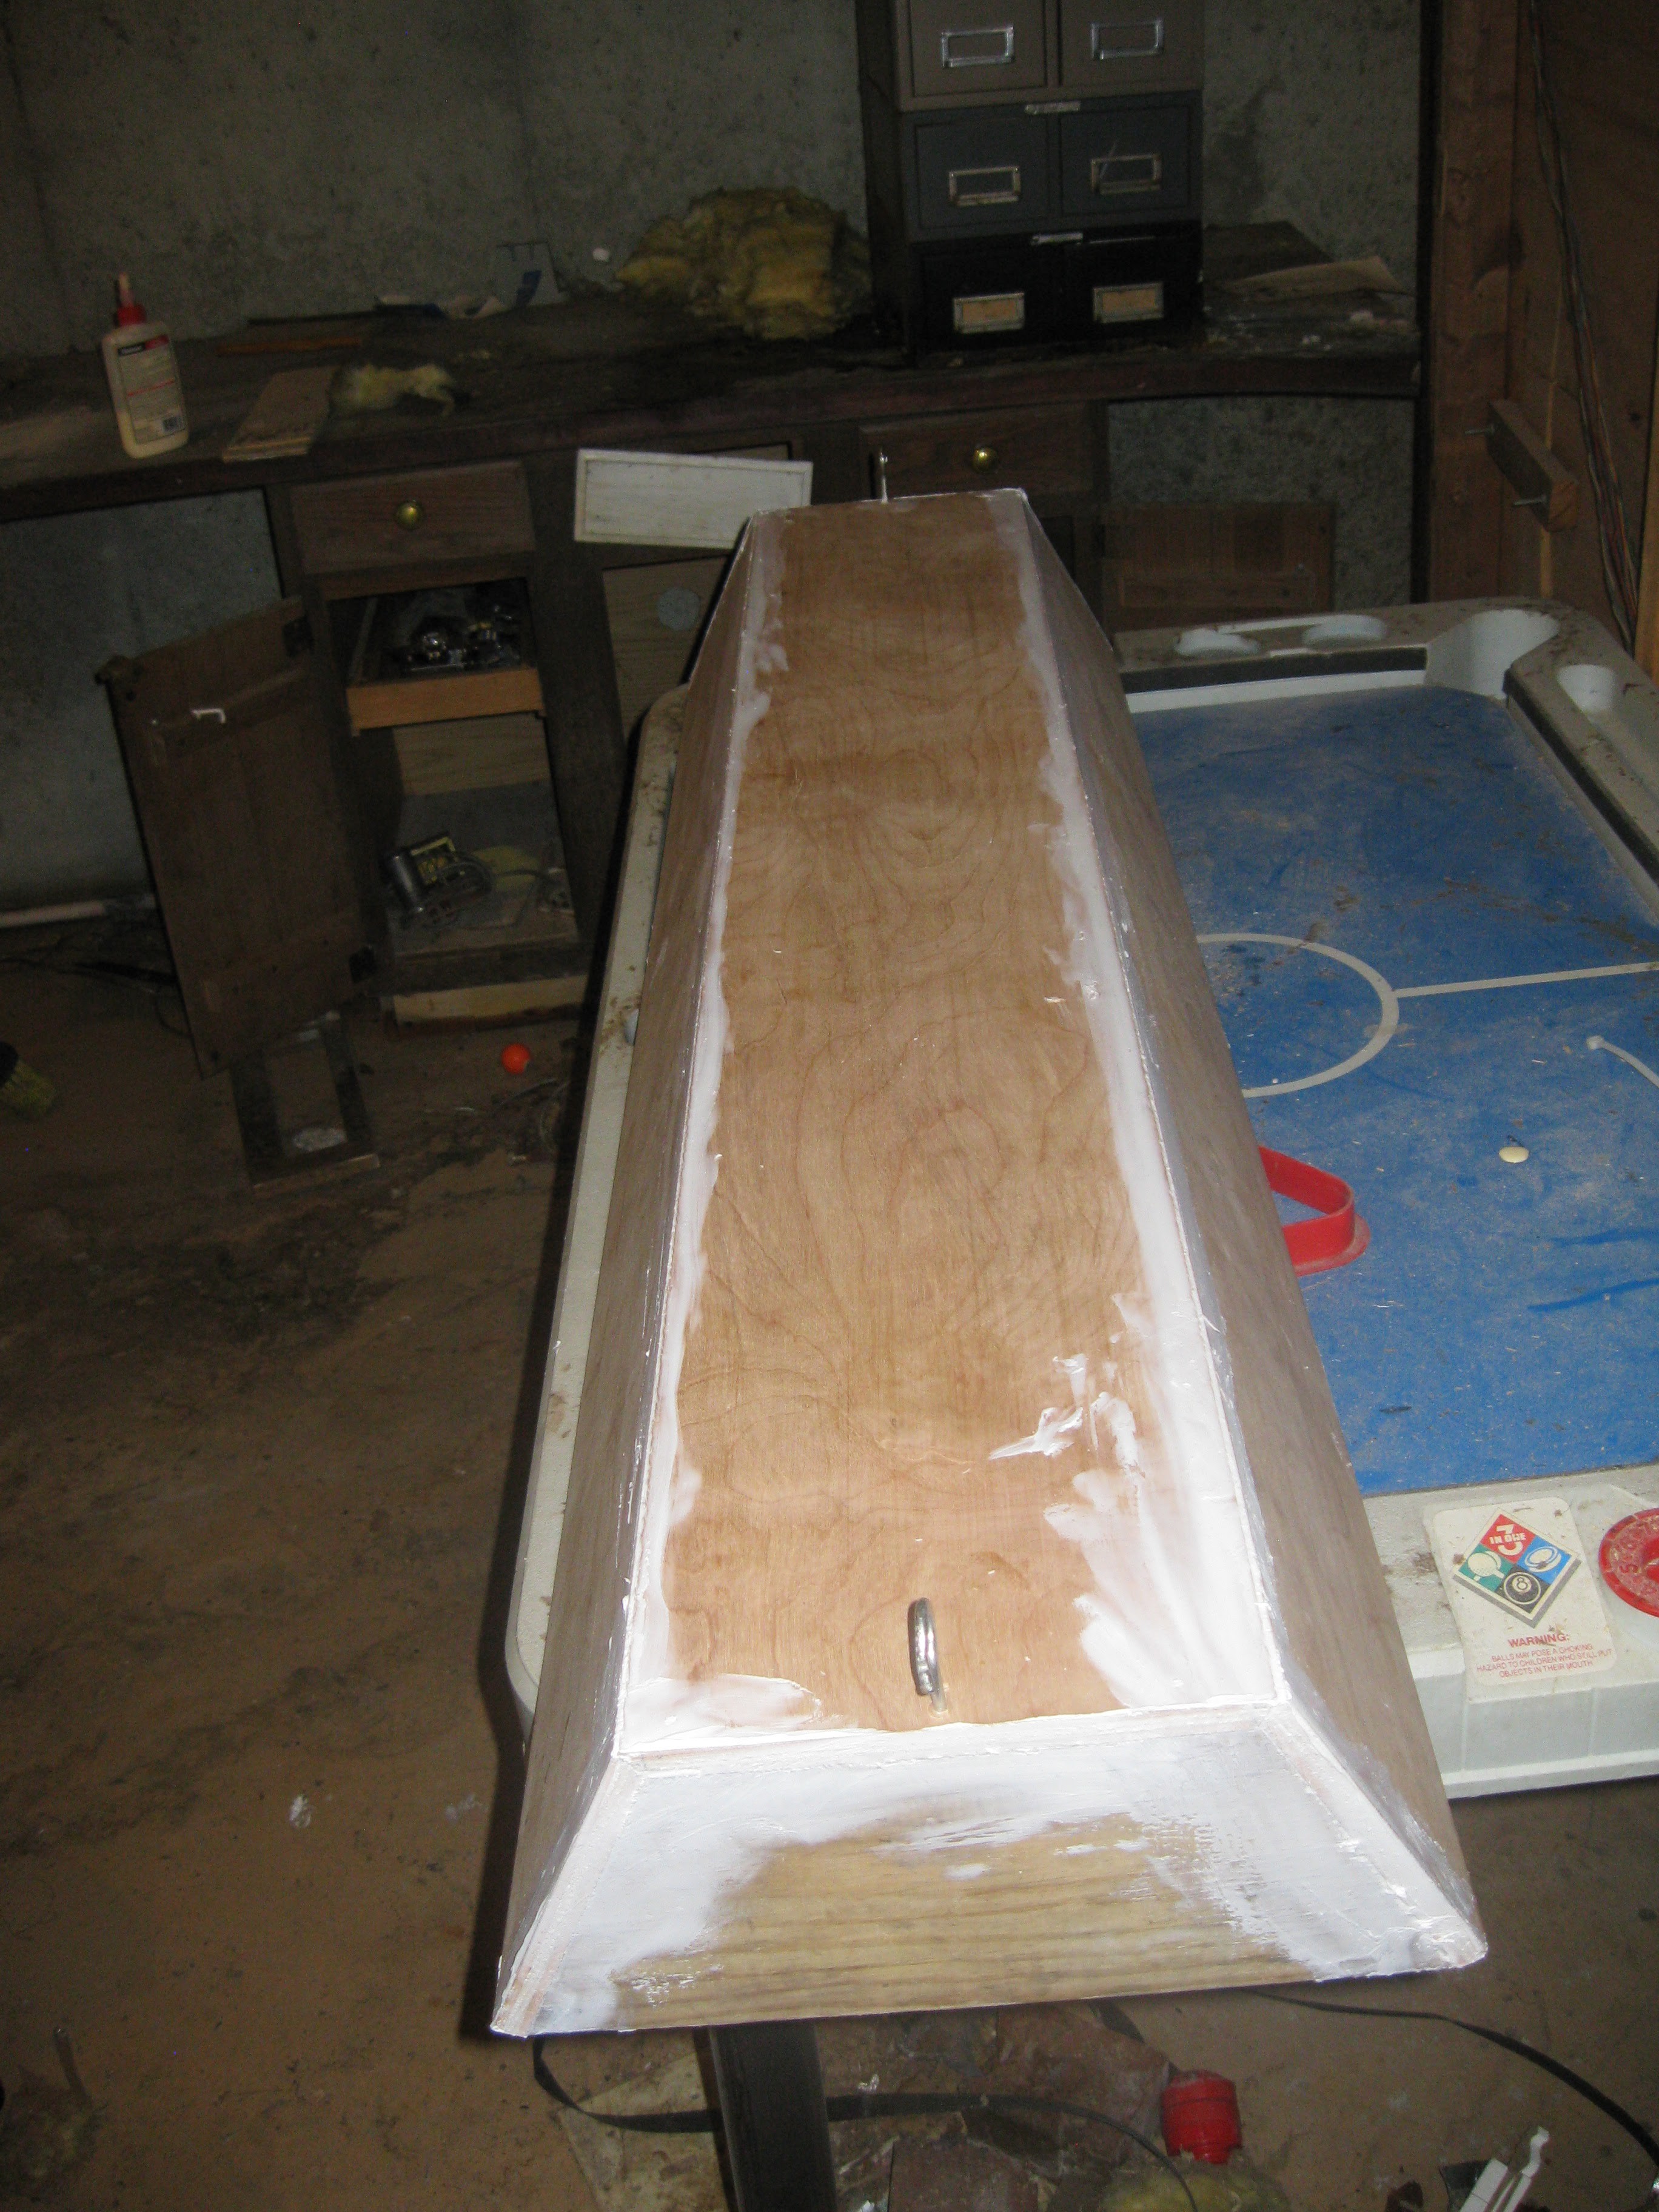
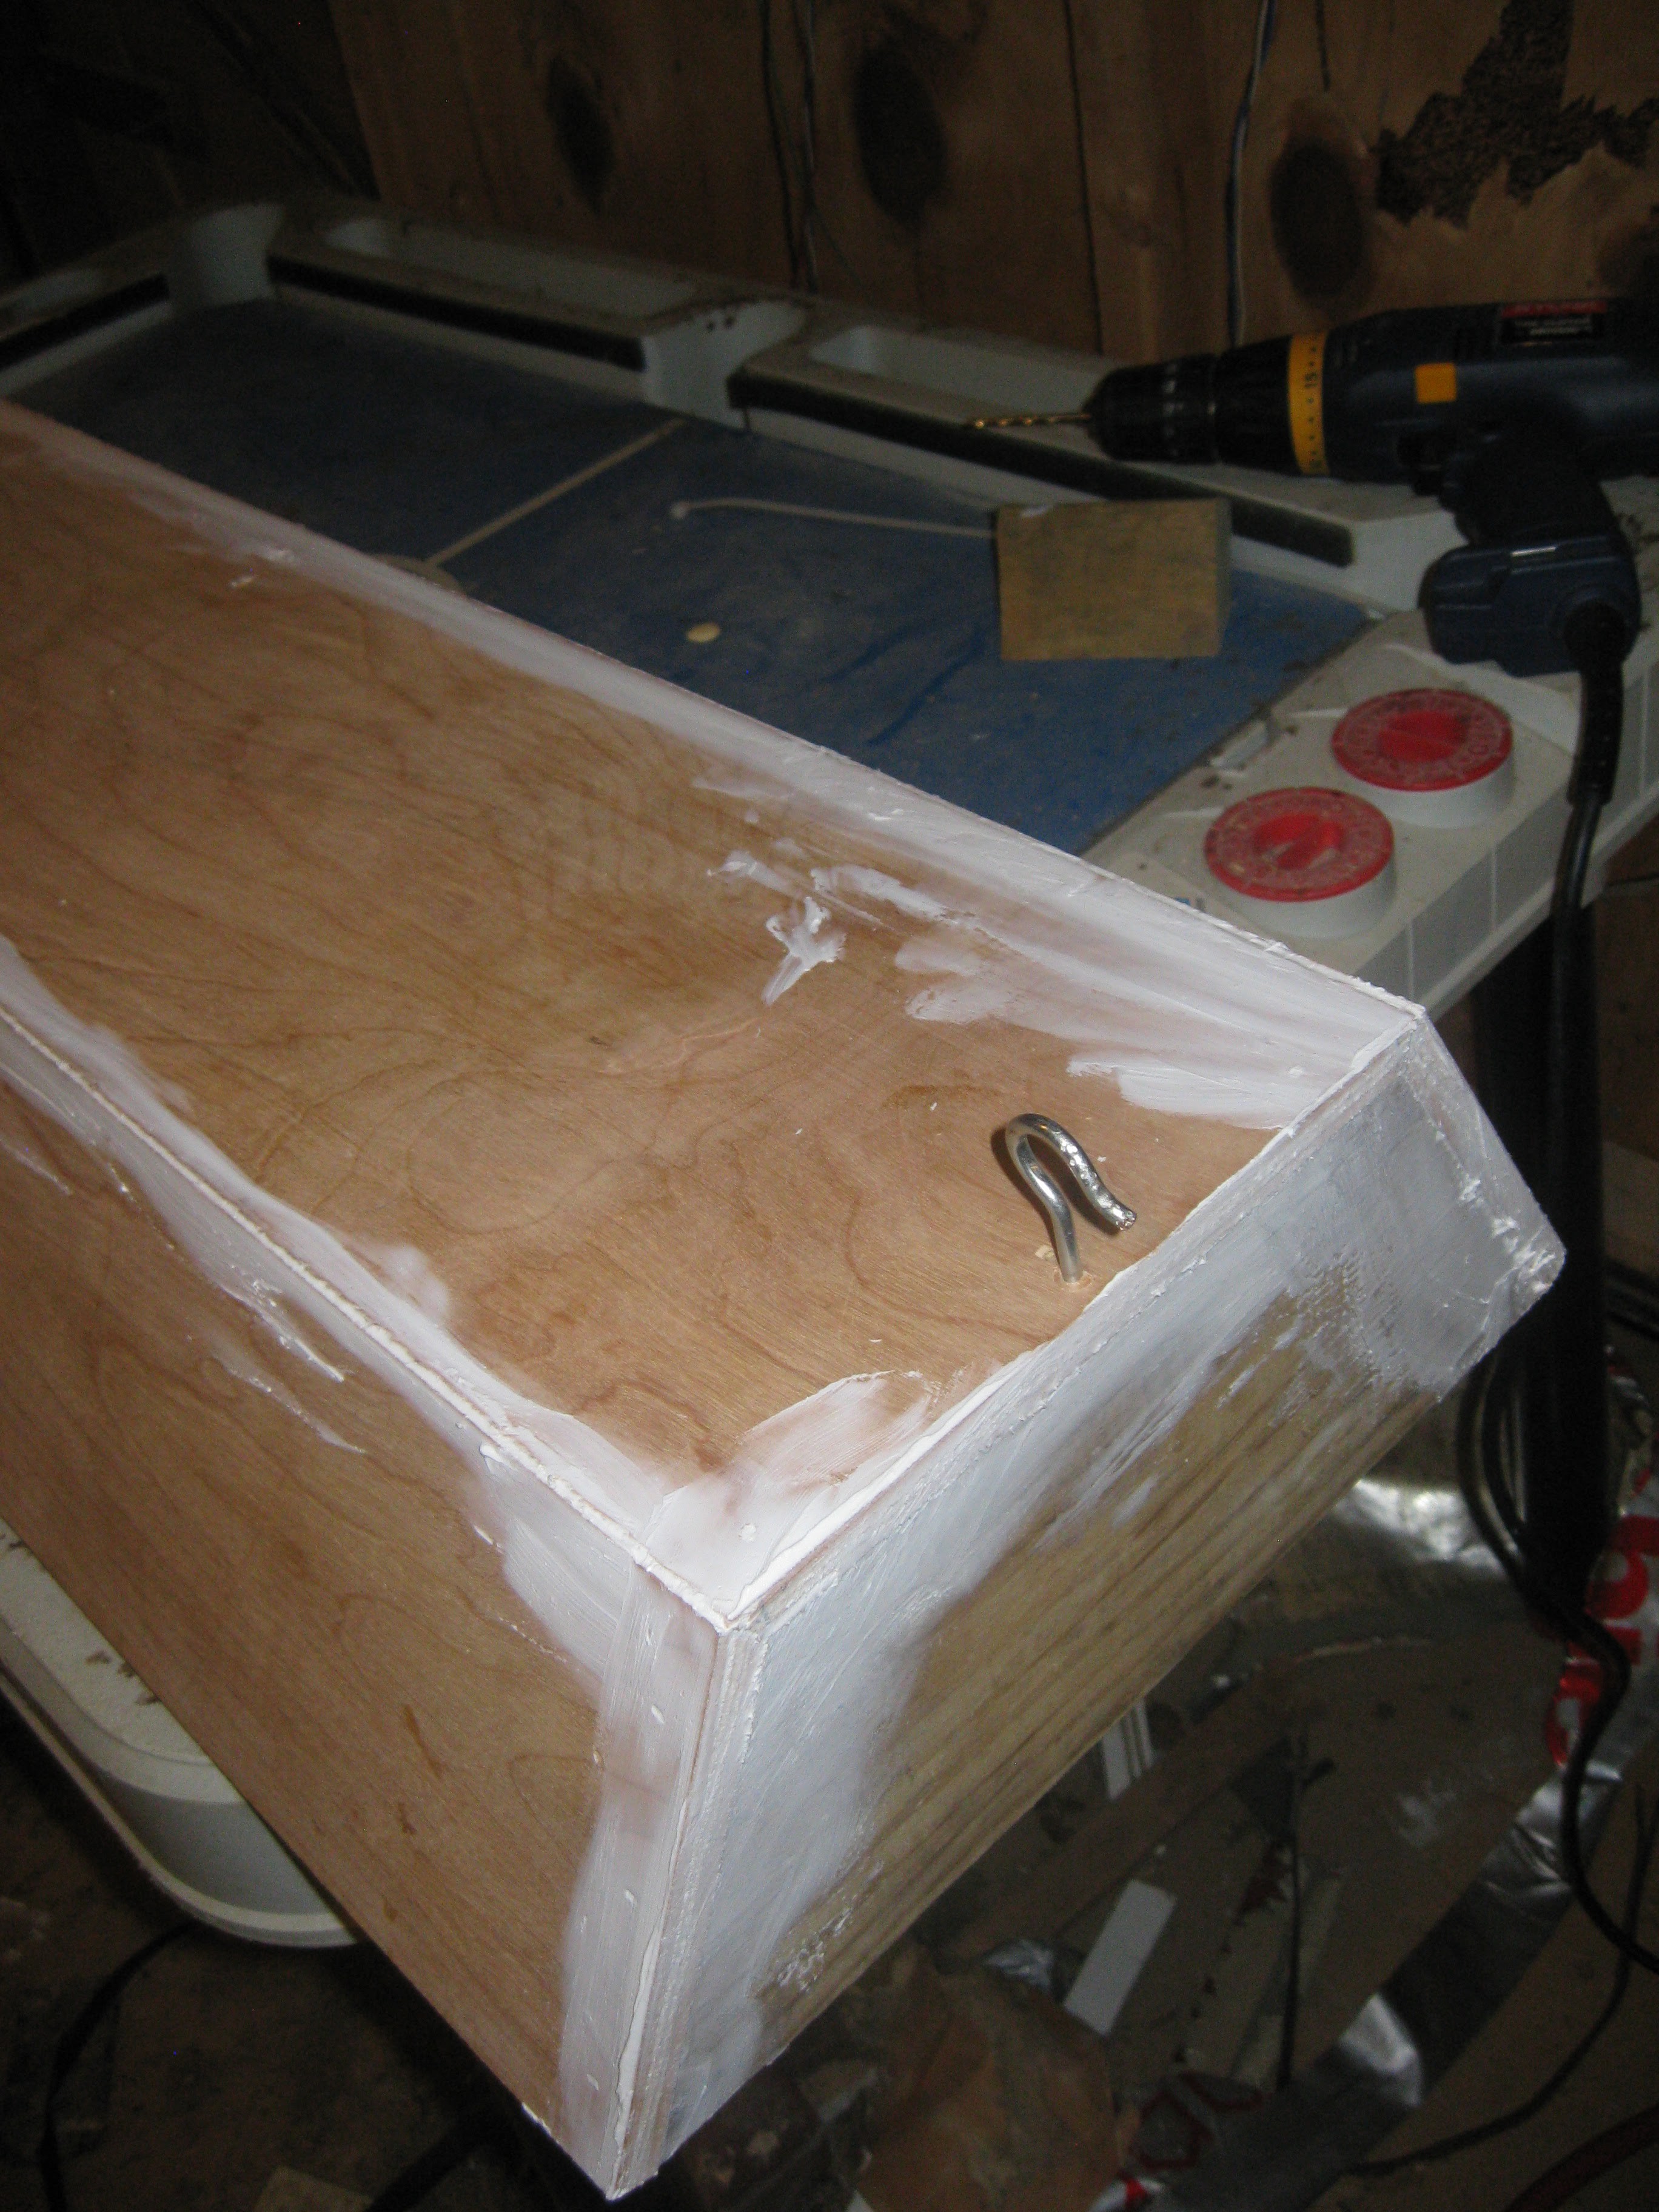
Close
0%
0%

Simple DC LED Grow Light

Cheap DC powered LED Grow Light design, using off the shelf components and hardware store building supplies

avrAVR
Similar projects worth following
This is a cheap plywood/LED strip construction LED Grow light. Designed to be simple, cheap, easy to source, easy to assemble, and run off DC power for solar applications. They can also be run off the standard "LED Strip PSU" you can find on ebay.

This grow light is designed to be simple and cheap with the ability of being run off AC mains power or off a DC based solar or battery system. The light accomplishes running off AC by using a dedicated power supply, for running in DC the power supply is removed and the LEDs are powered directly off 12V DC. To keep costs down the case is designed out of birch plywood and to keep assembly simple it glues and nails together edge to edge with 60 degree bevels on each piece of wood.

Specs:

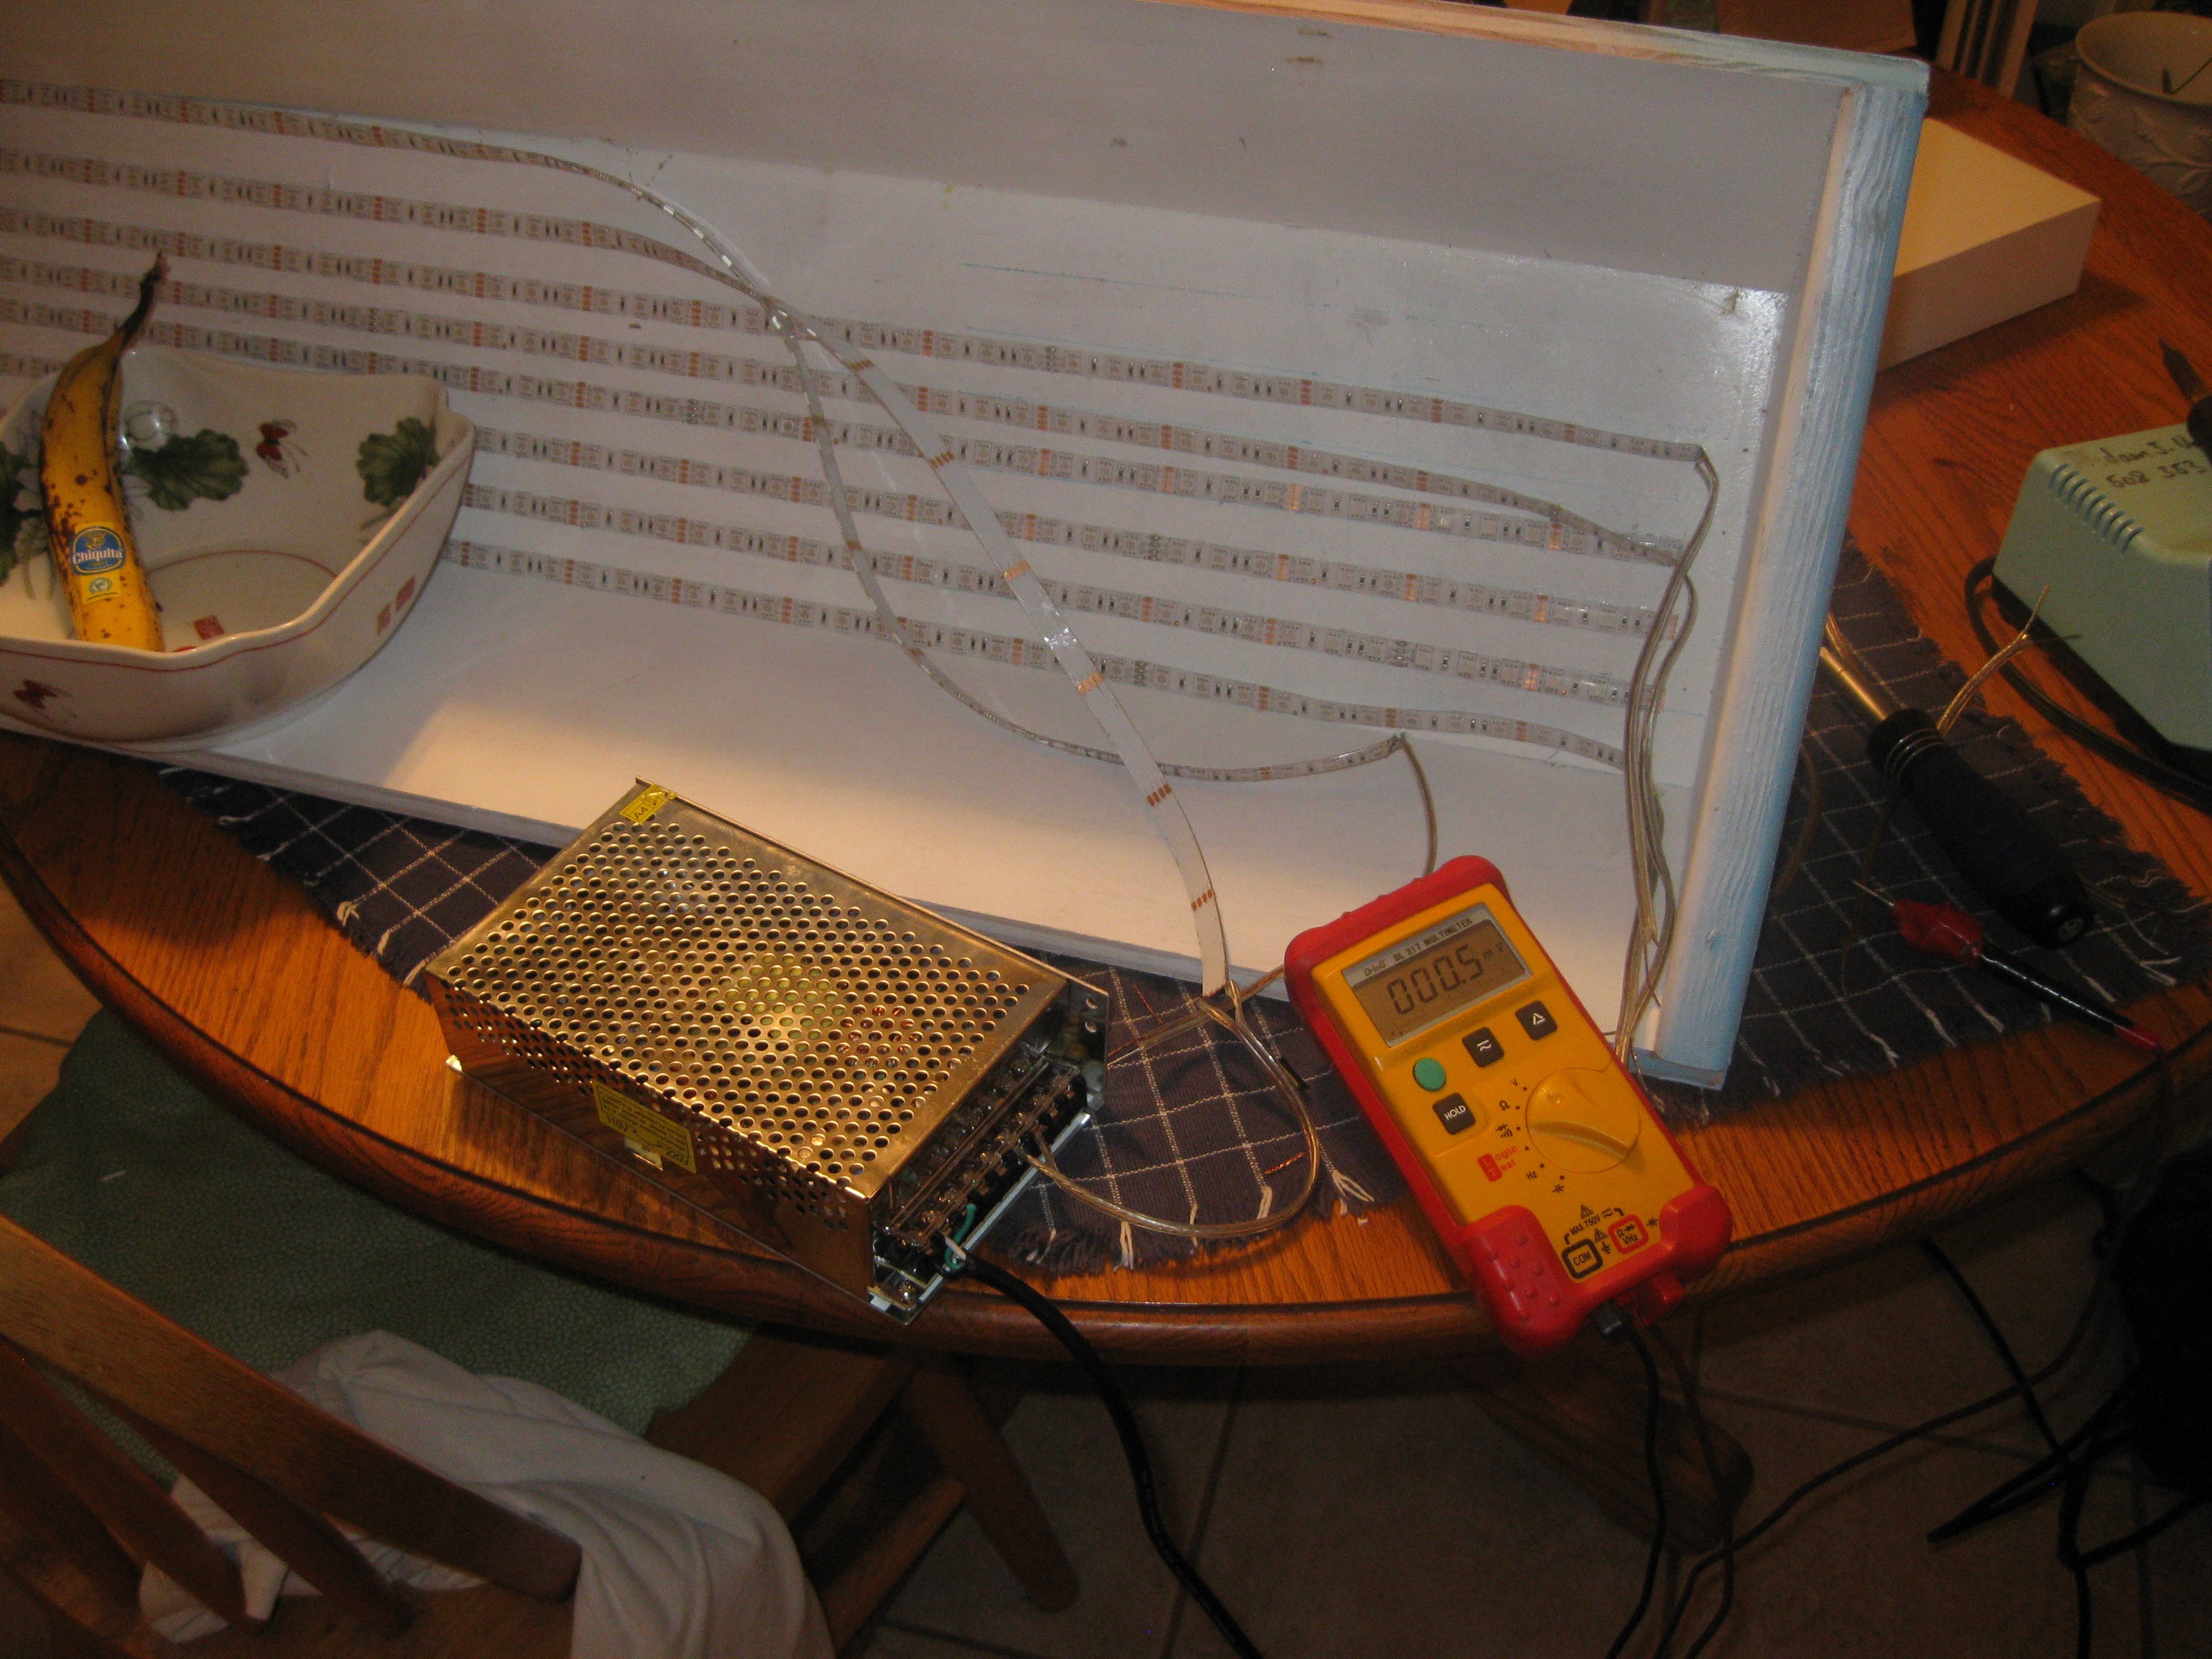
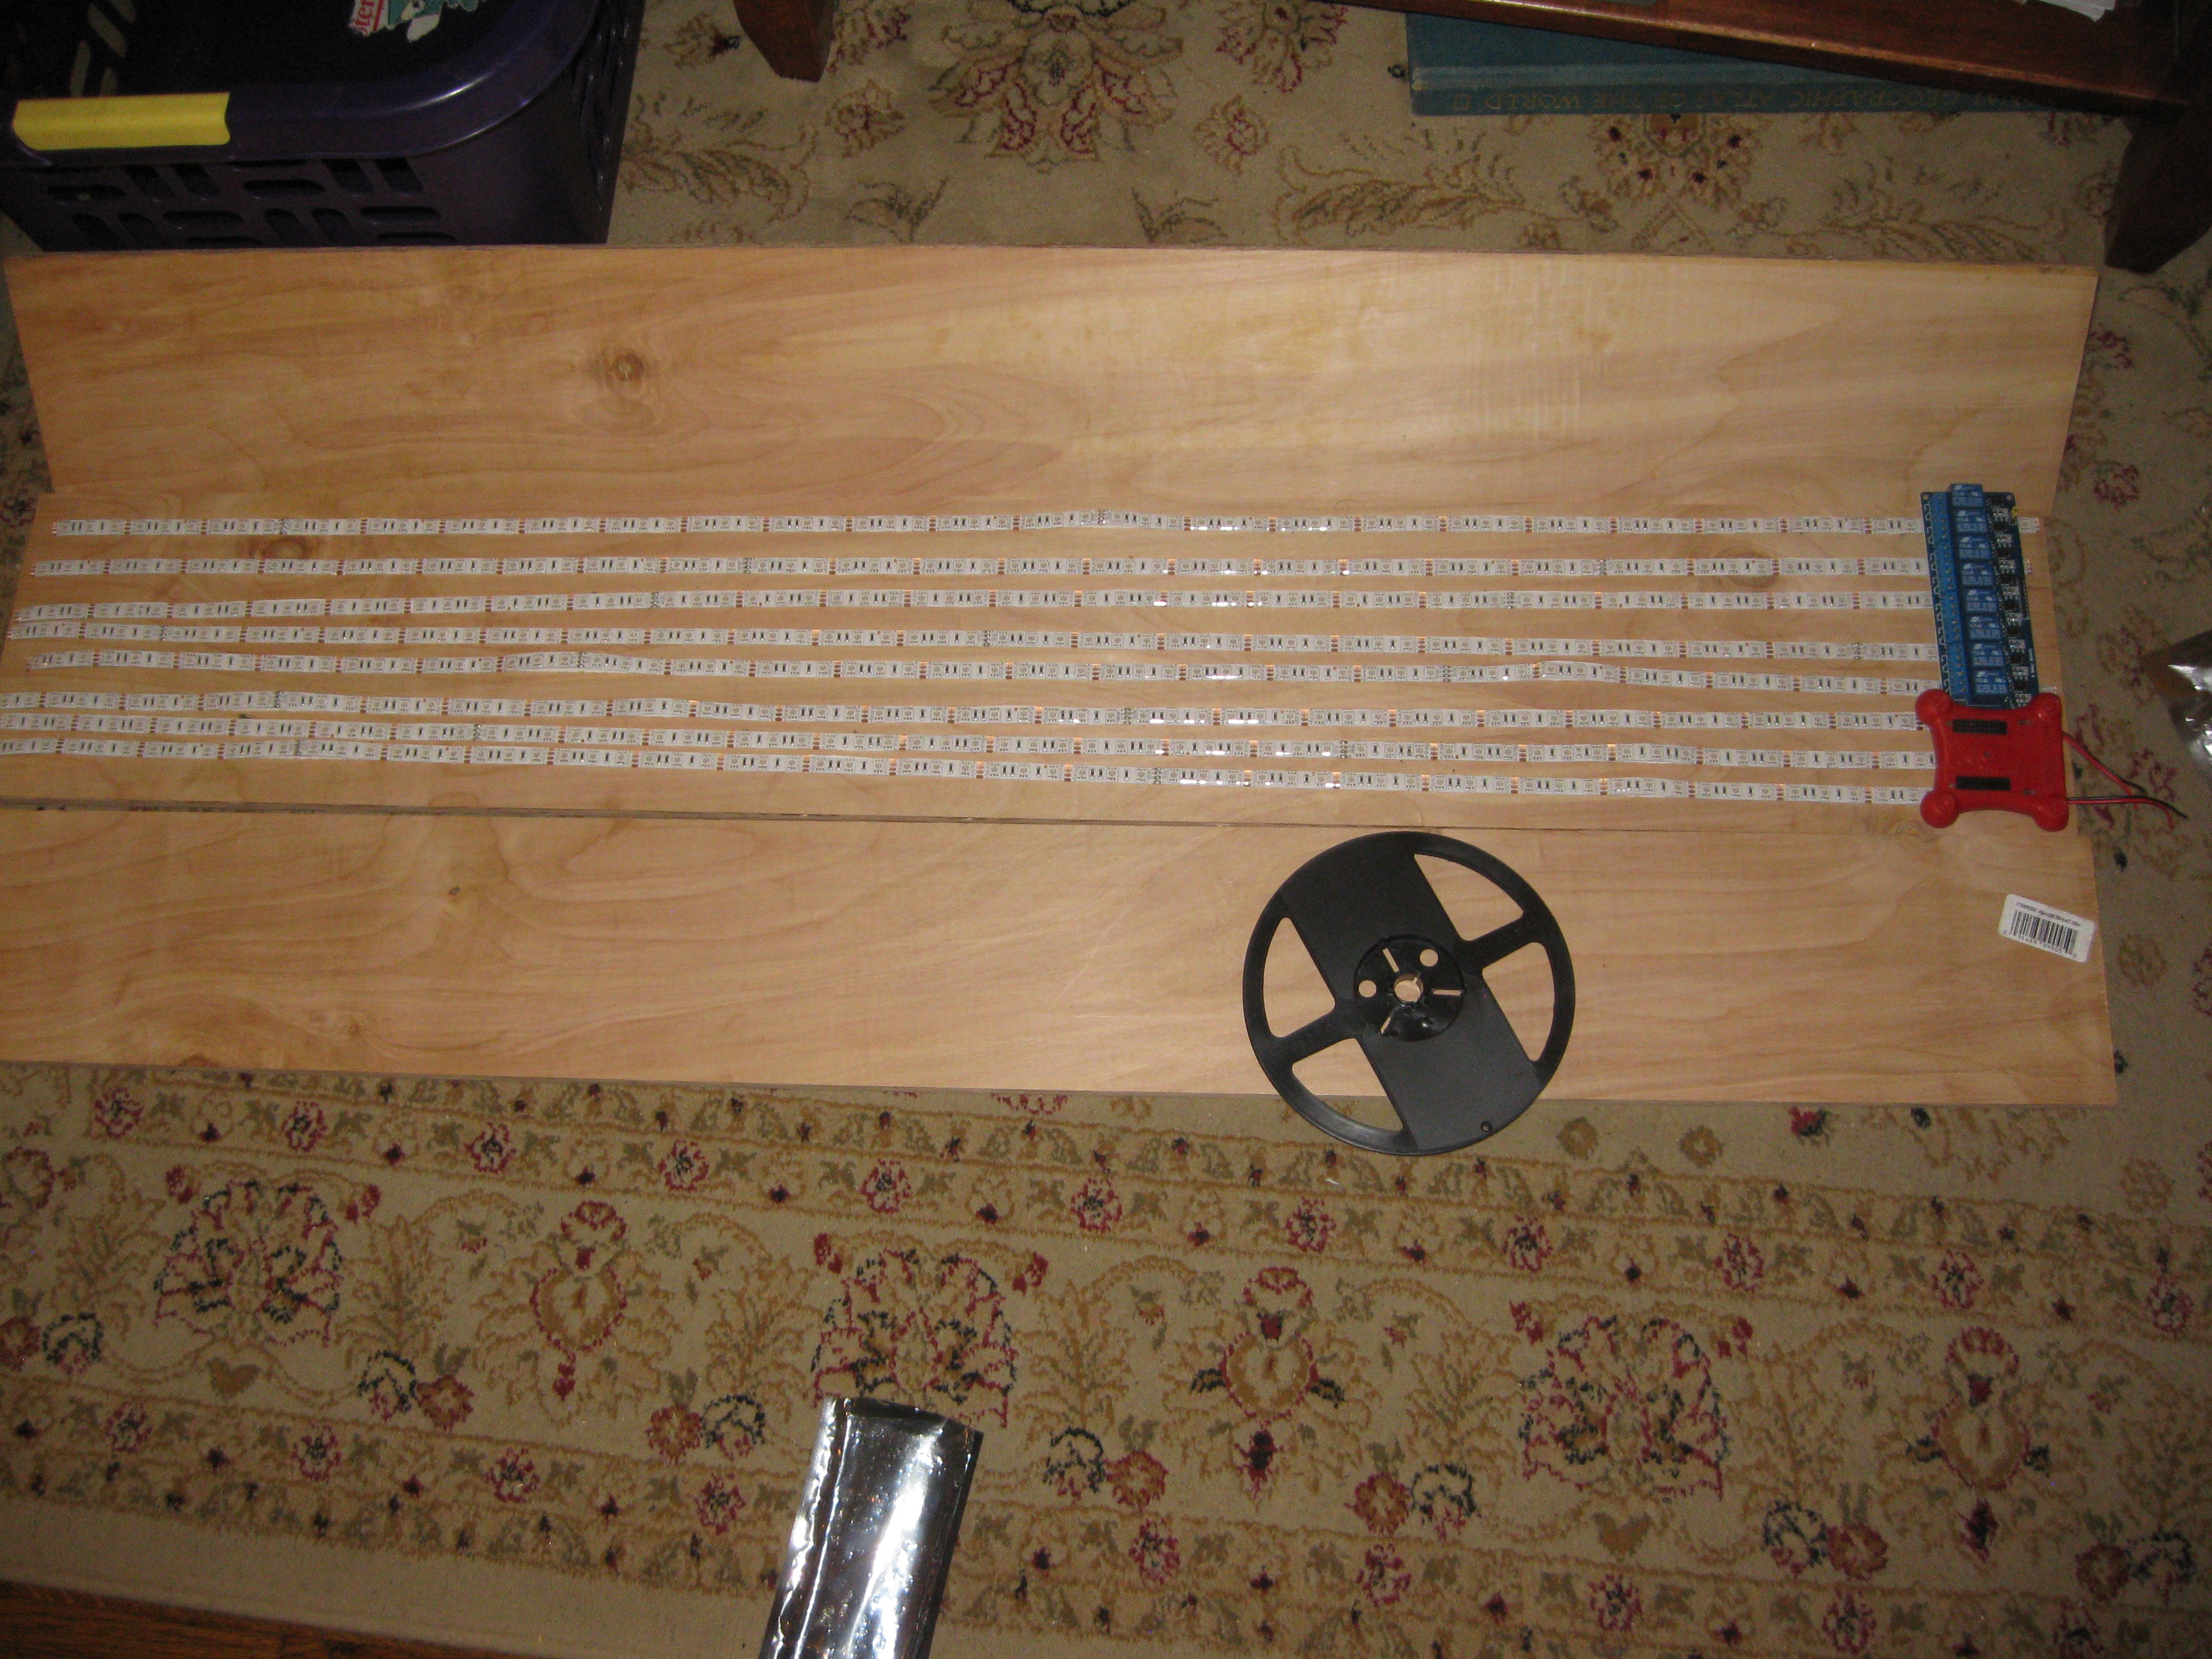
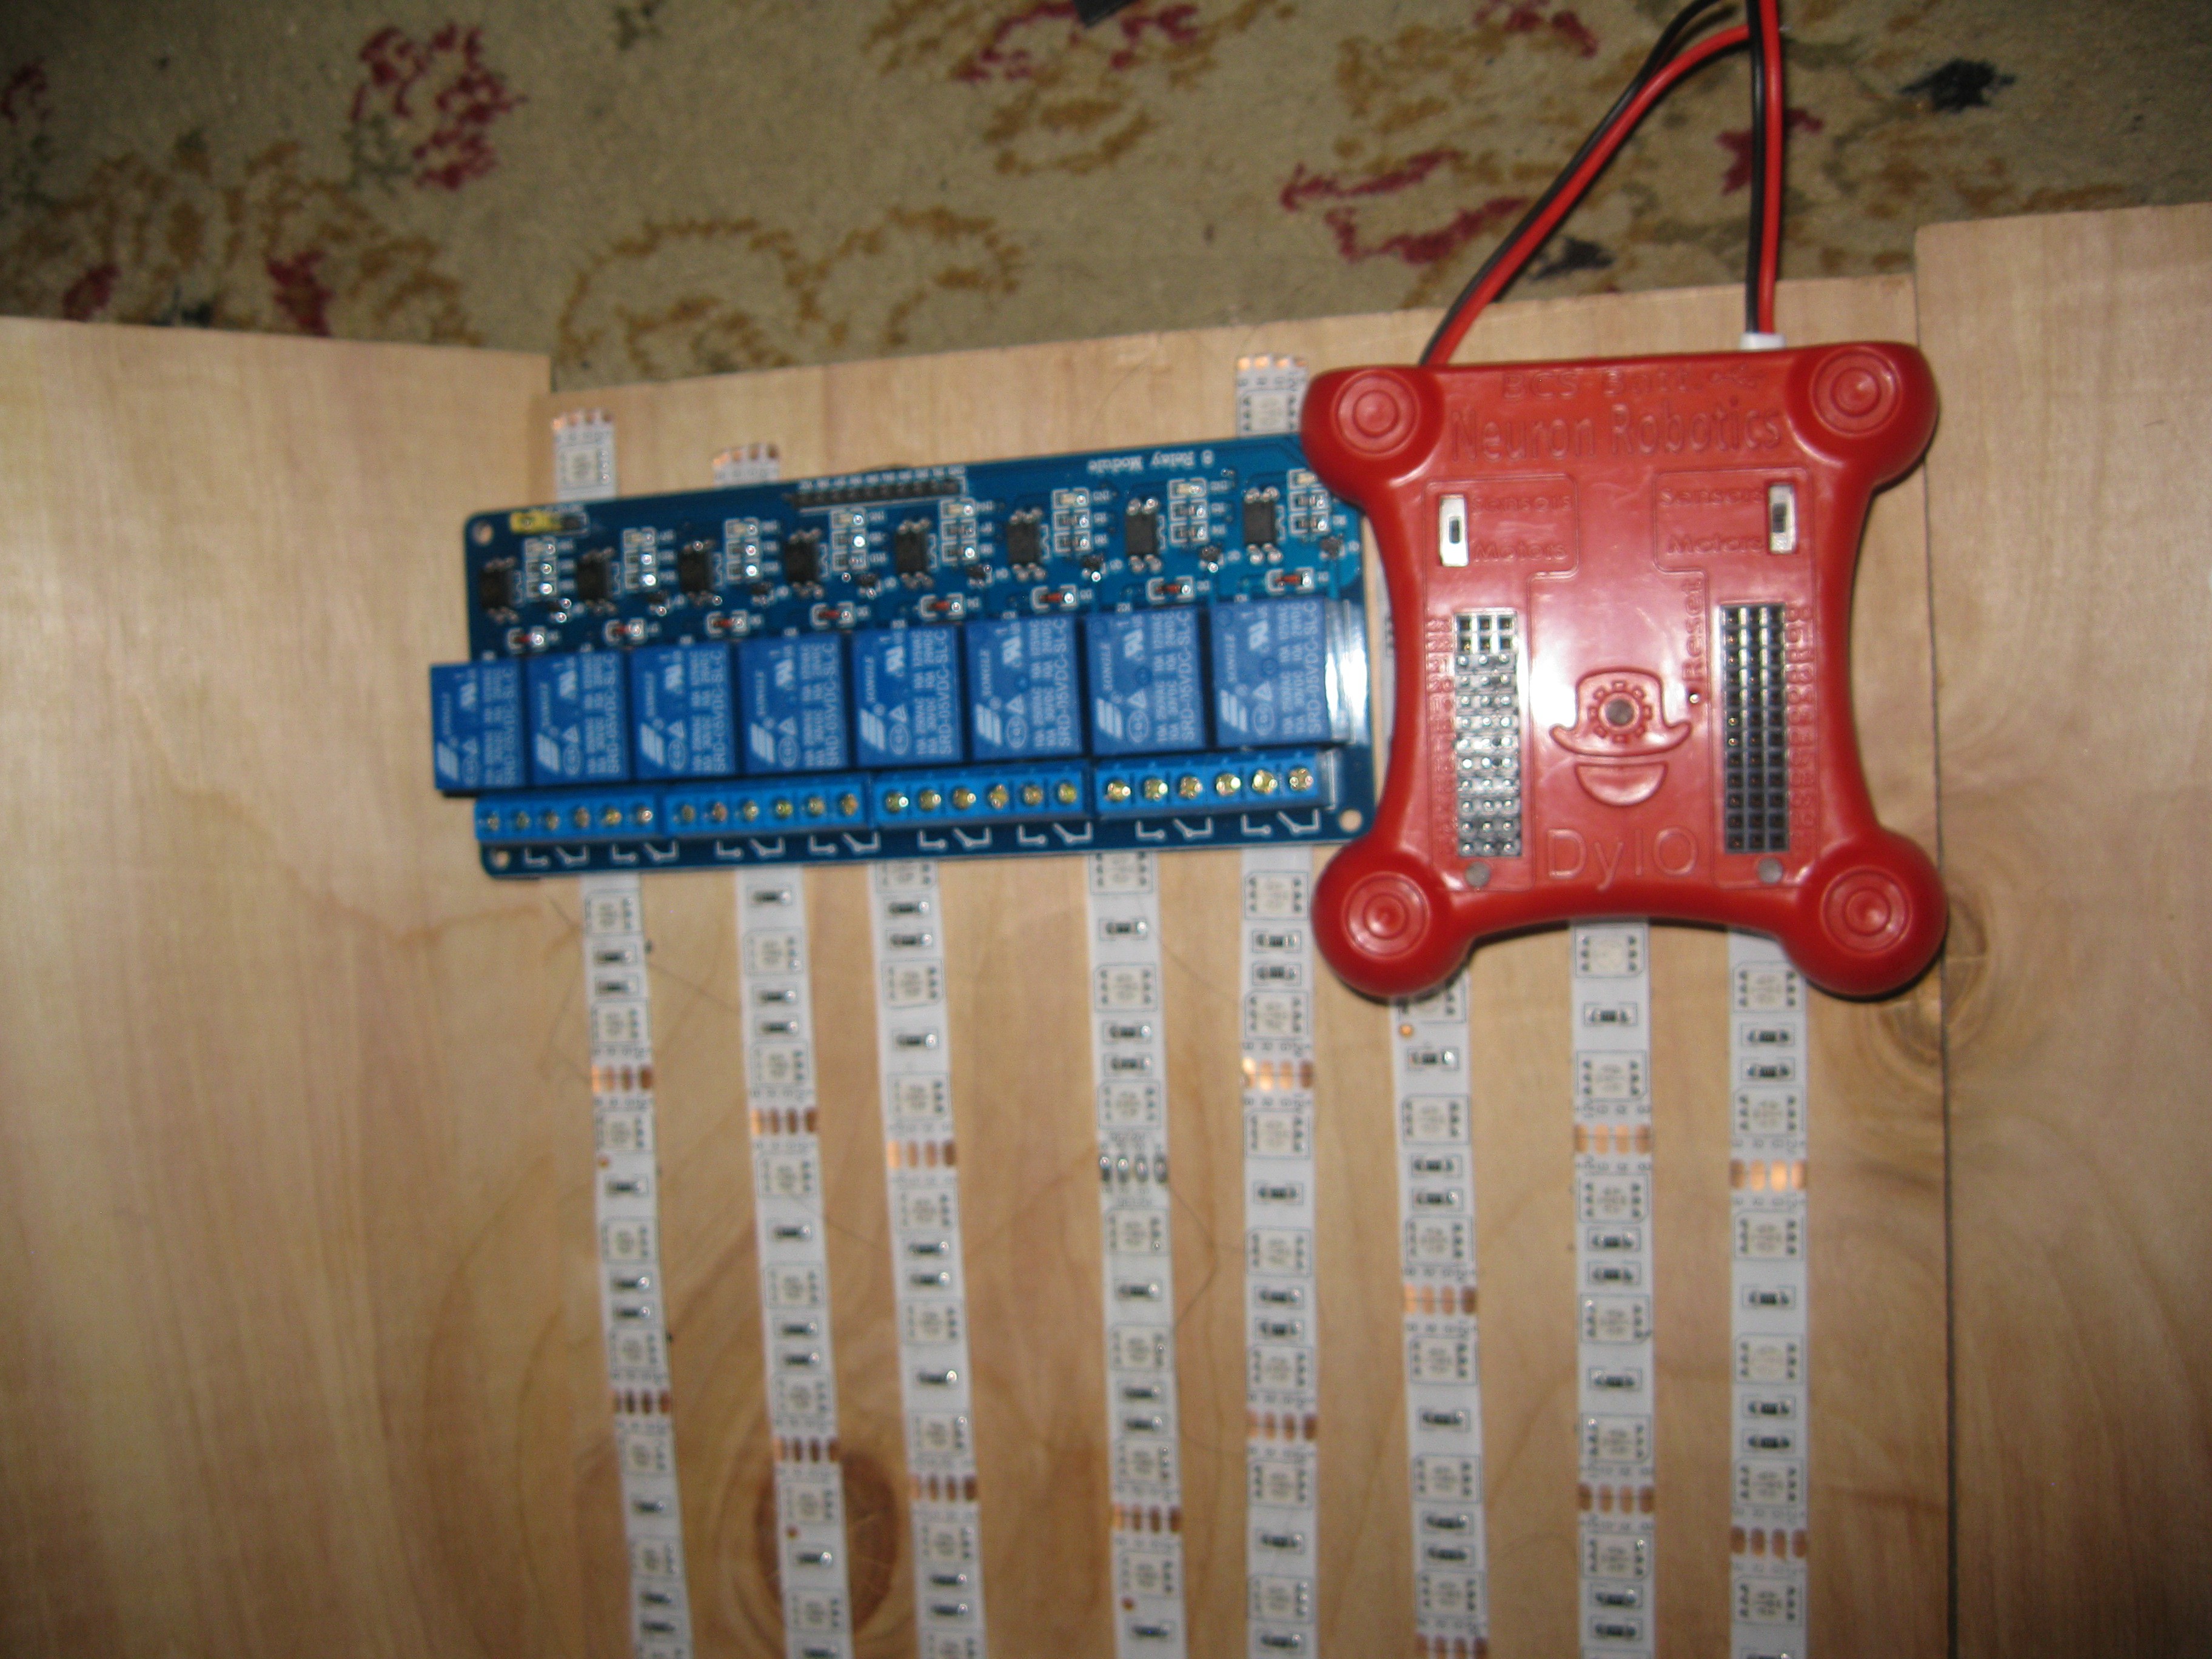
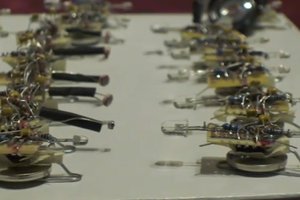
- 10 Meters of Red/Red/Blue LED Grow Strip, 5050 sized LEDs approximately 600 LEDs total

- 5 Meters of UV 390nm Wavelength LED Strip, 5050 sized LEDs approximately 300 LEDs total

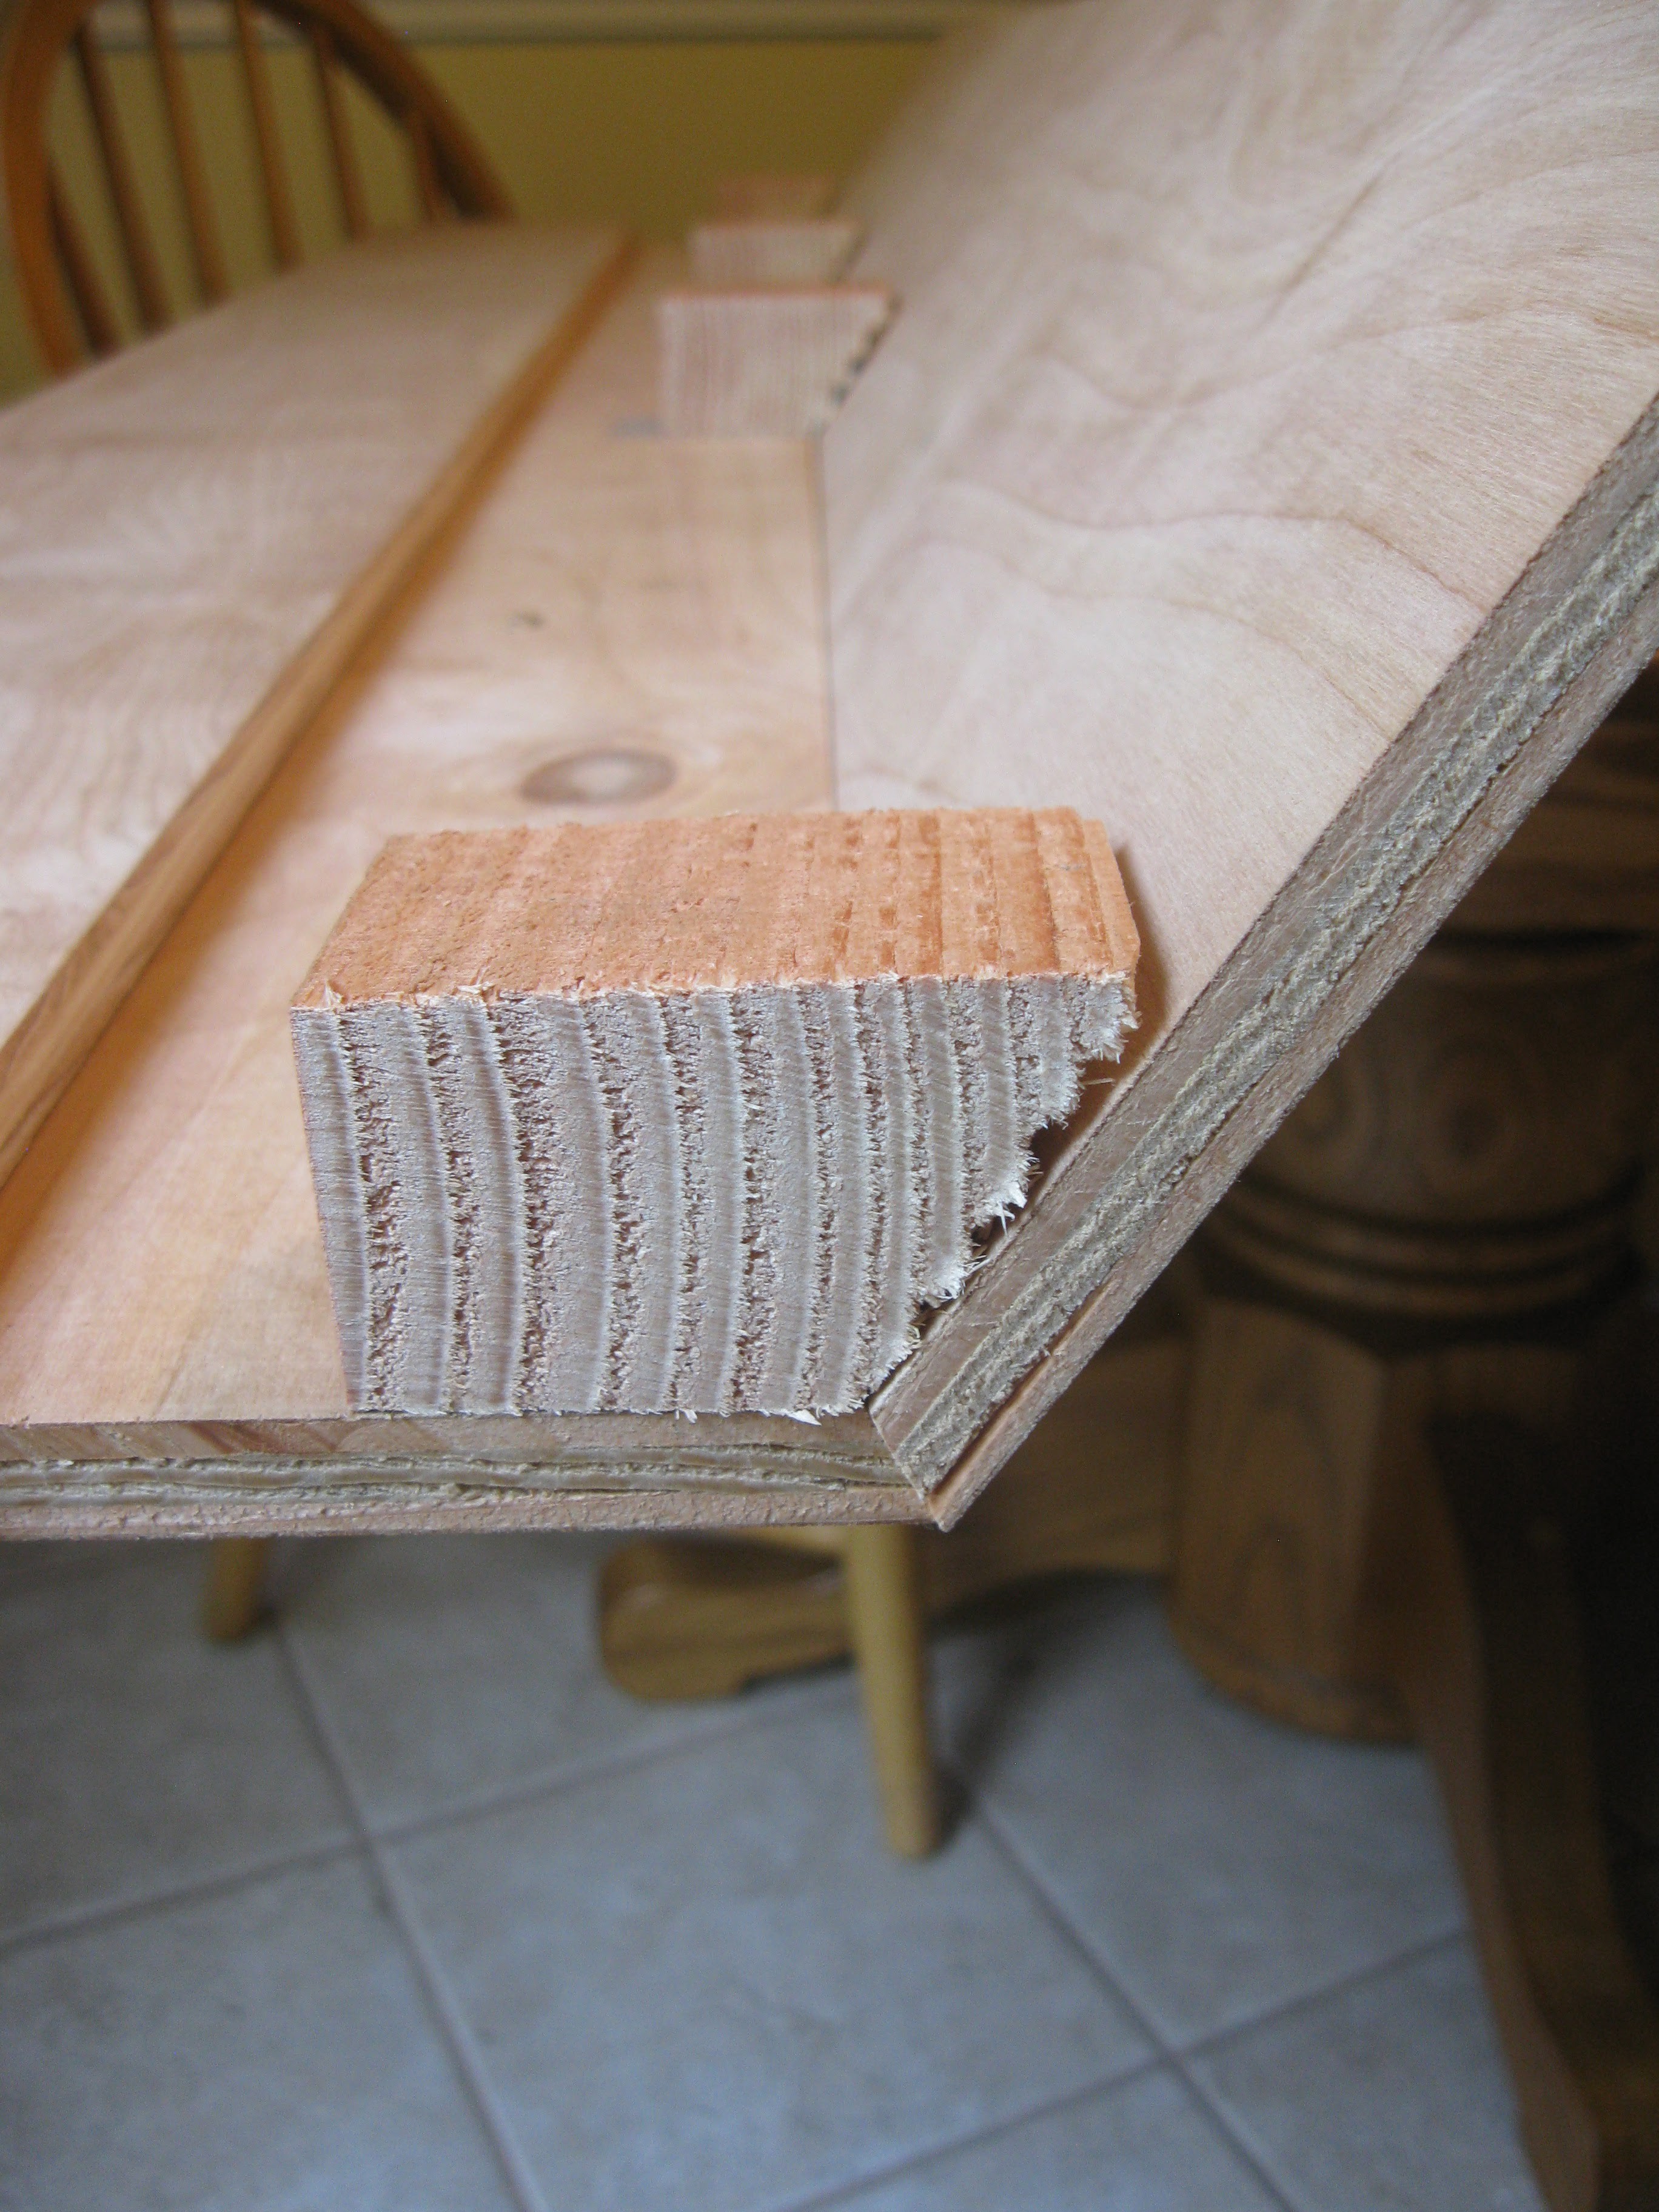
- Half hexagon plywood case, built using 60 degree bevels on each piece via tablesaw

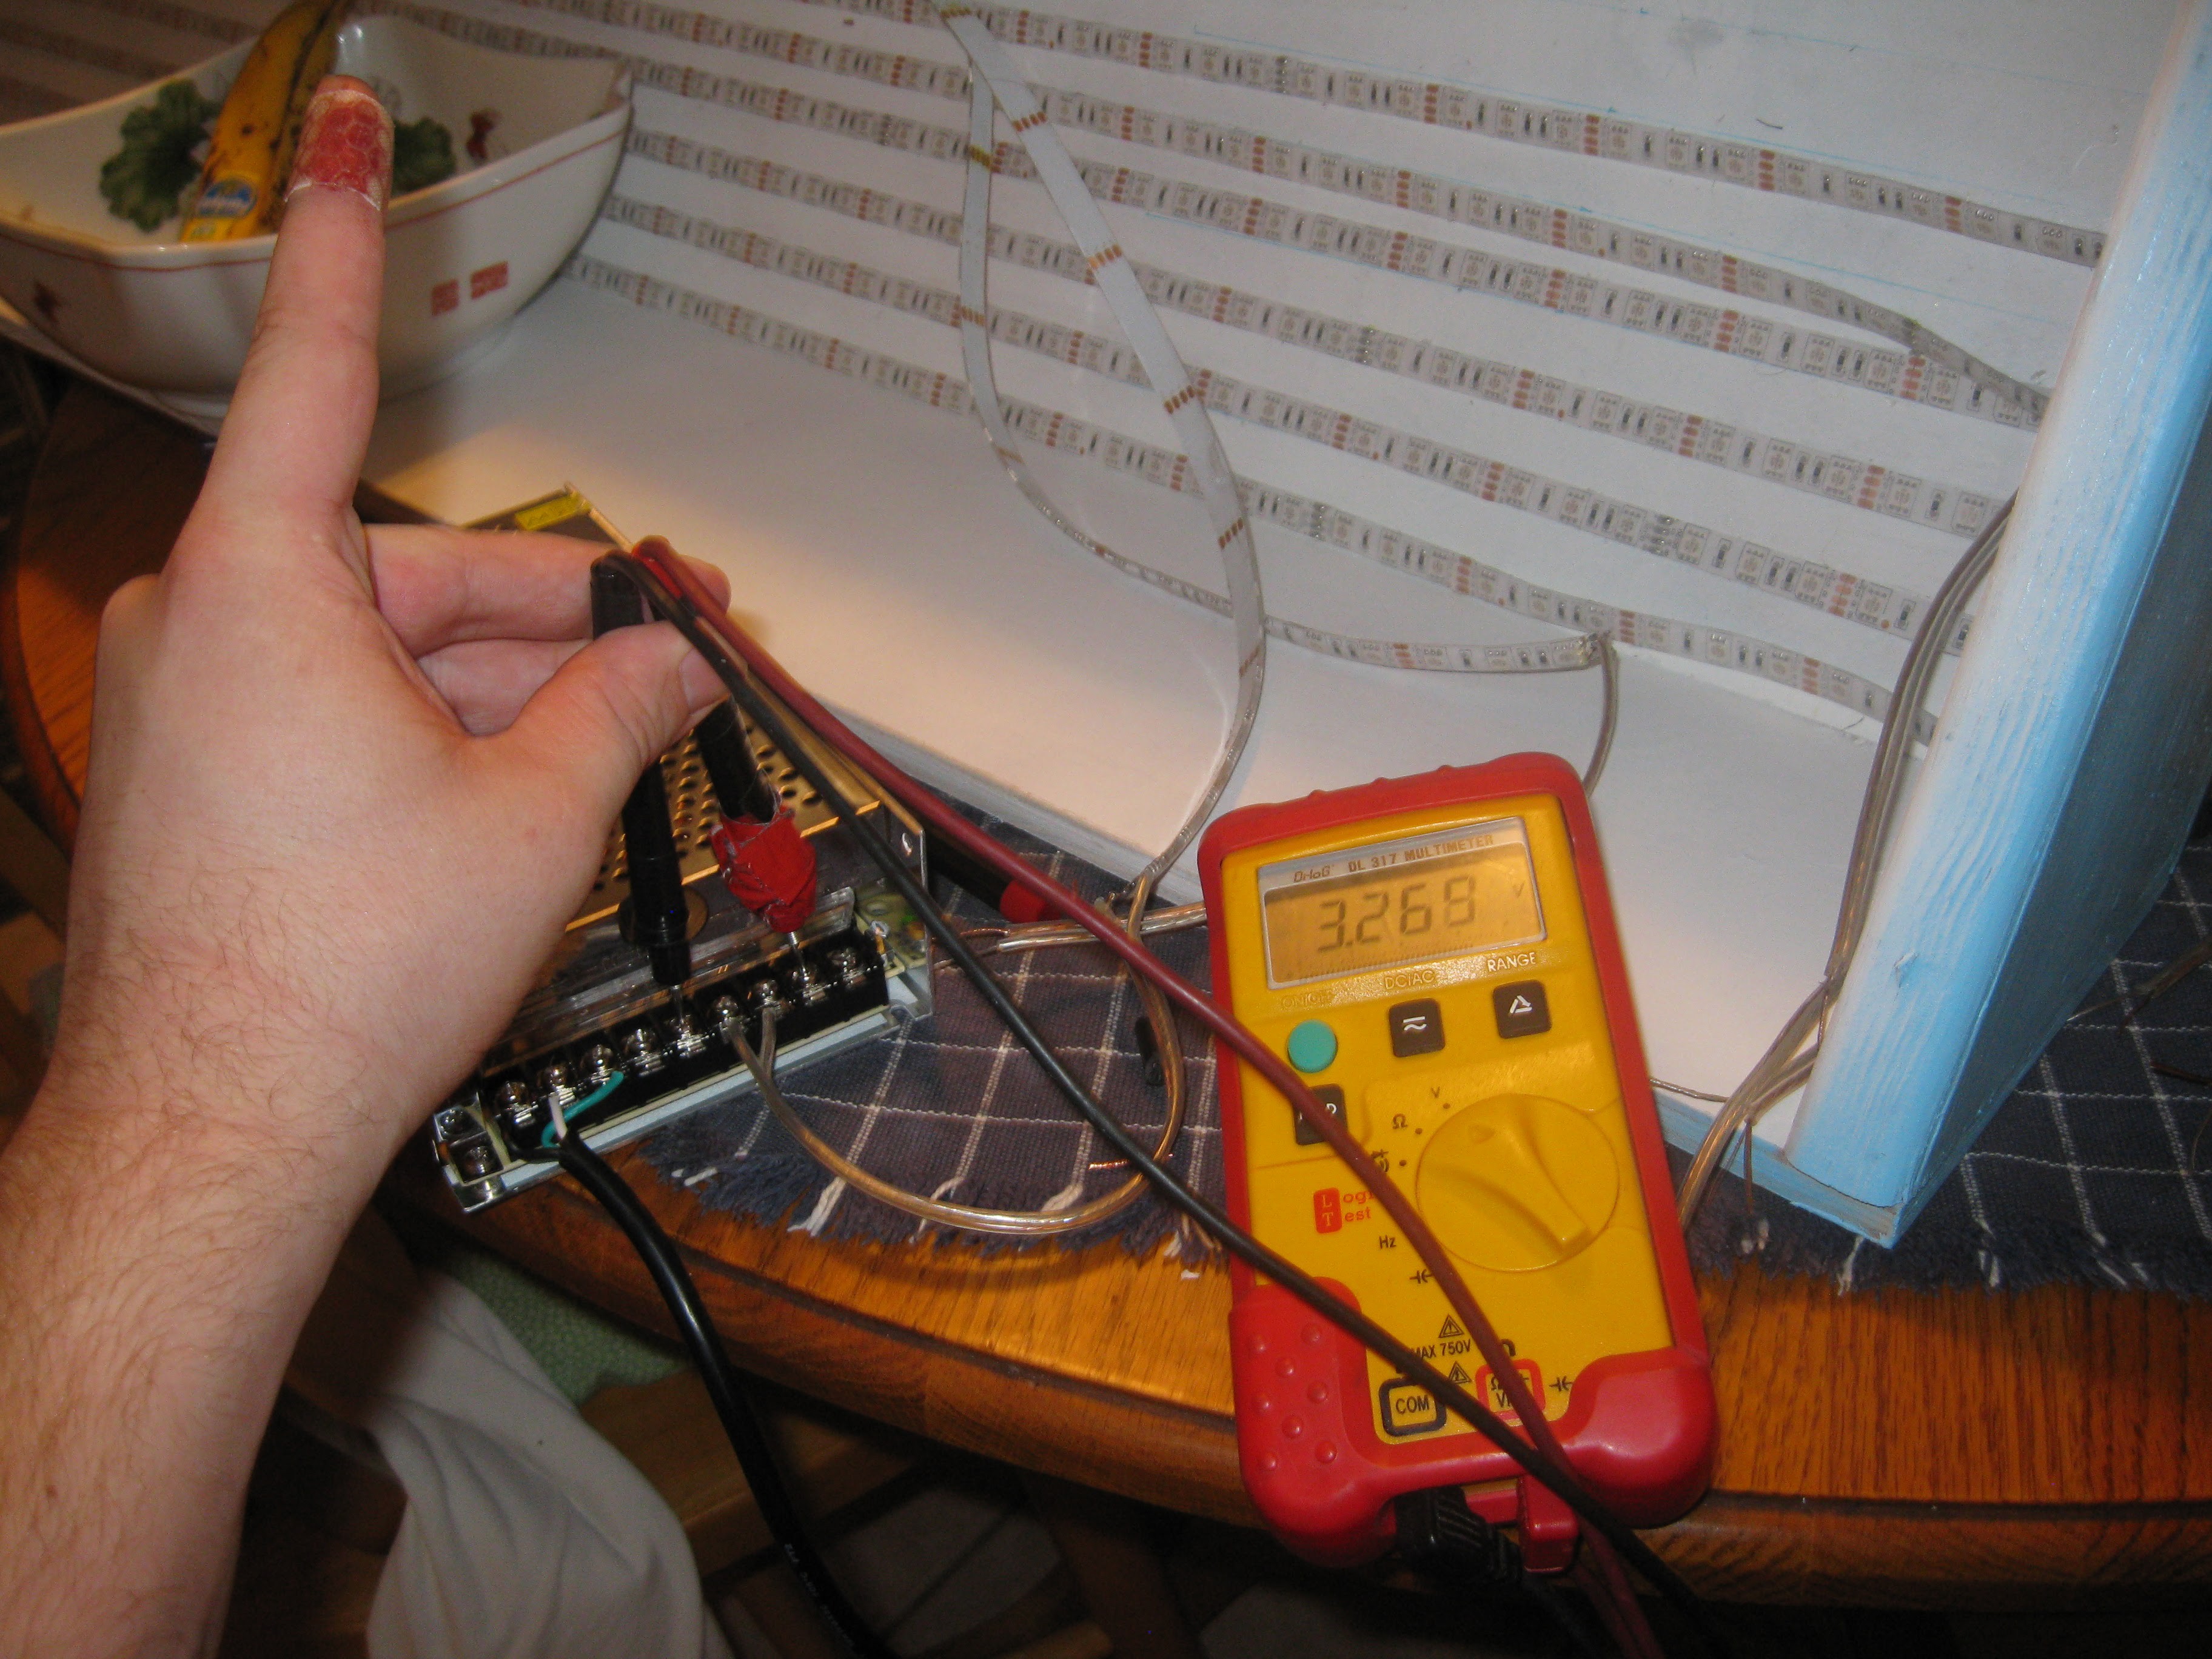
- 240W 12v LED Switching Power Supply

- Eventually, fancy switchbox with connectors for switching between AC/DC on the fly

- Eventually optional current sense and light sense board with cloud integration ;)

Parts To Make:

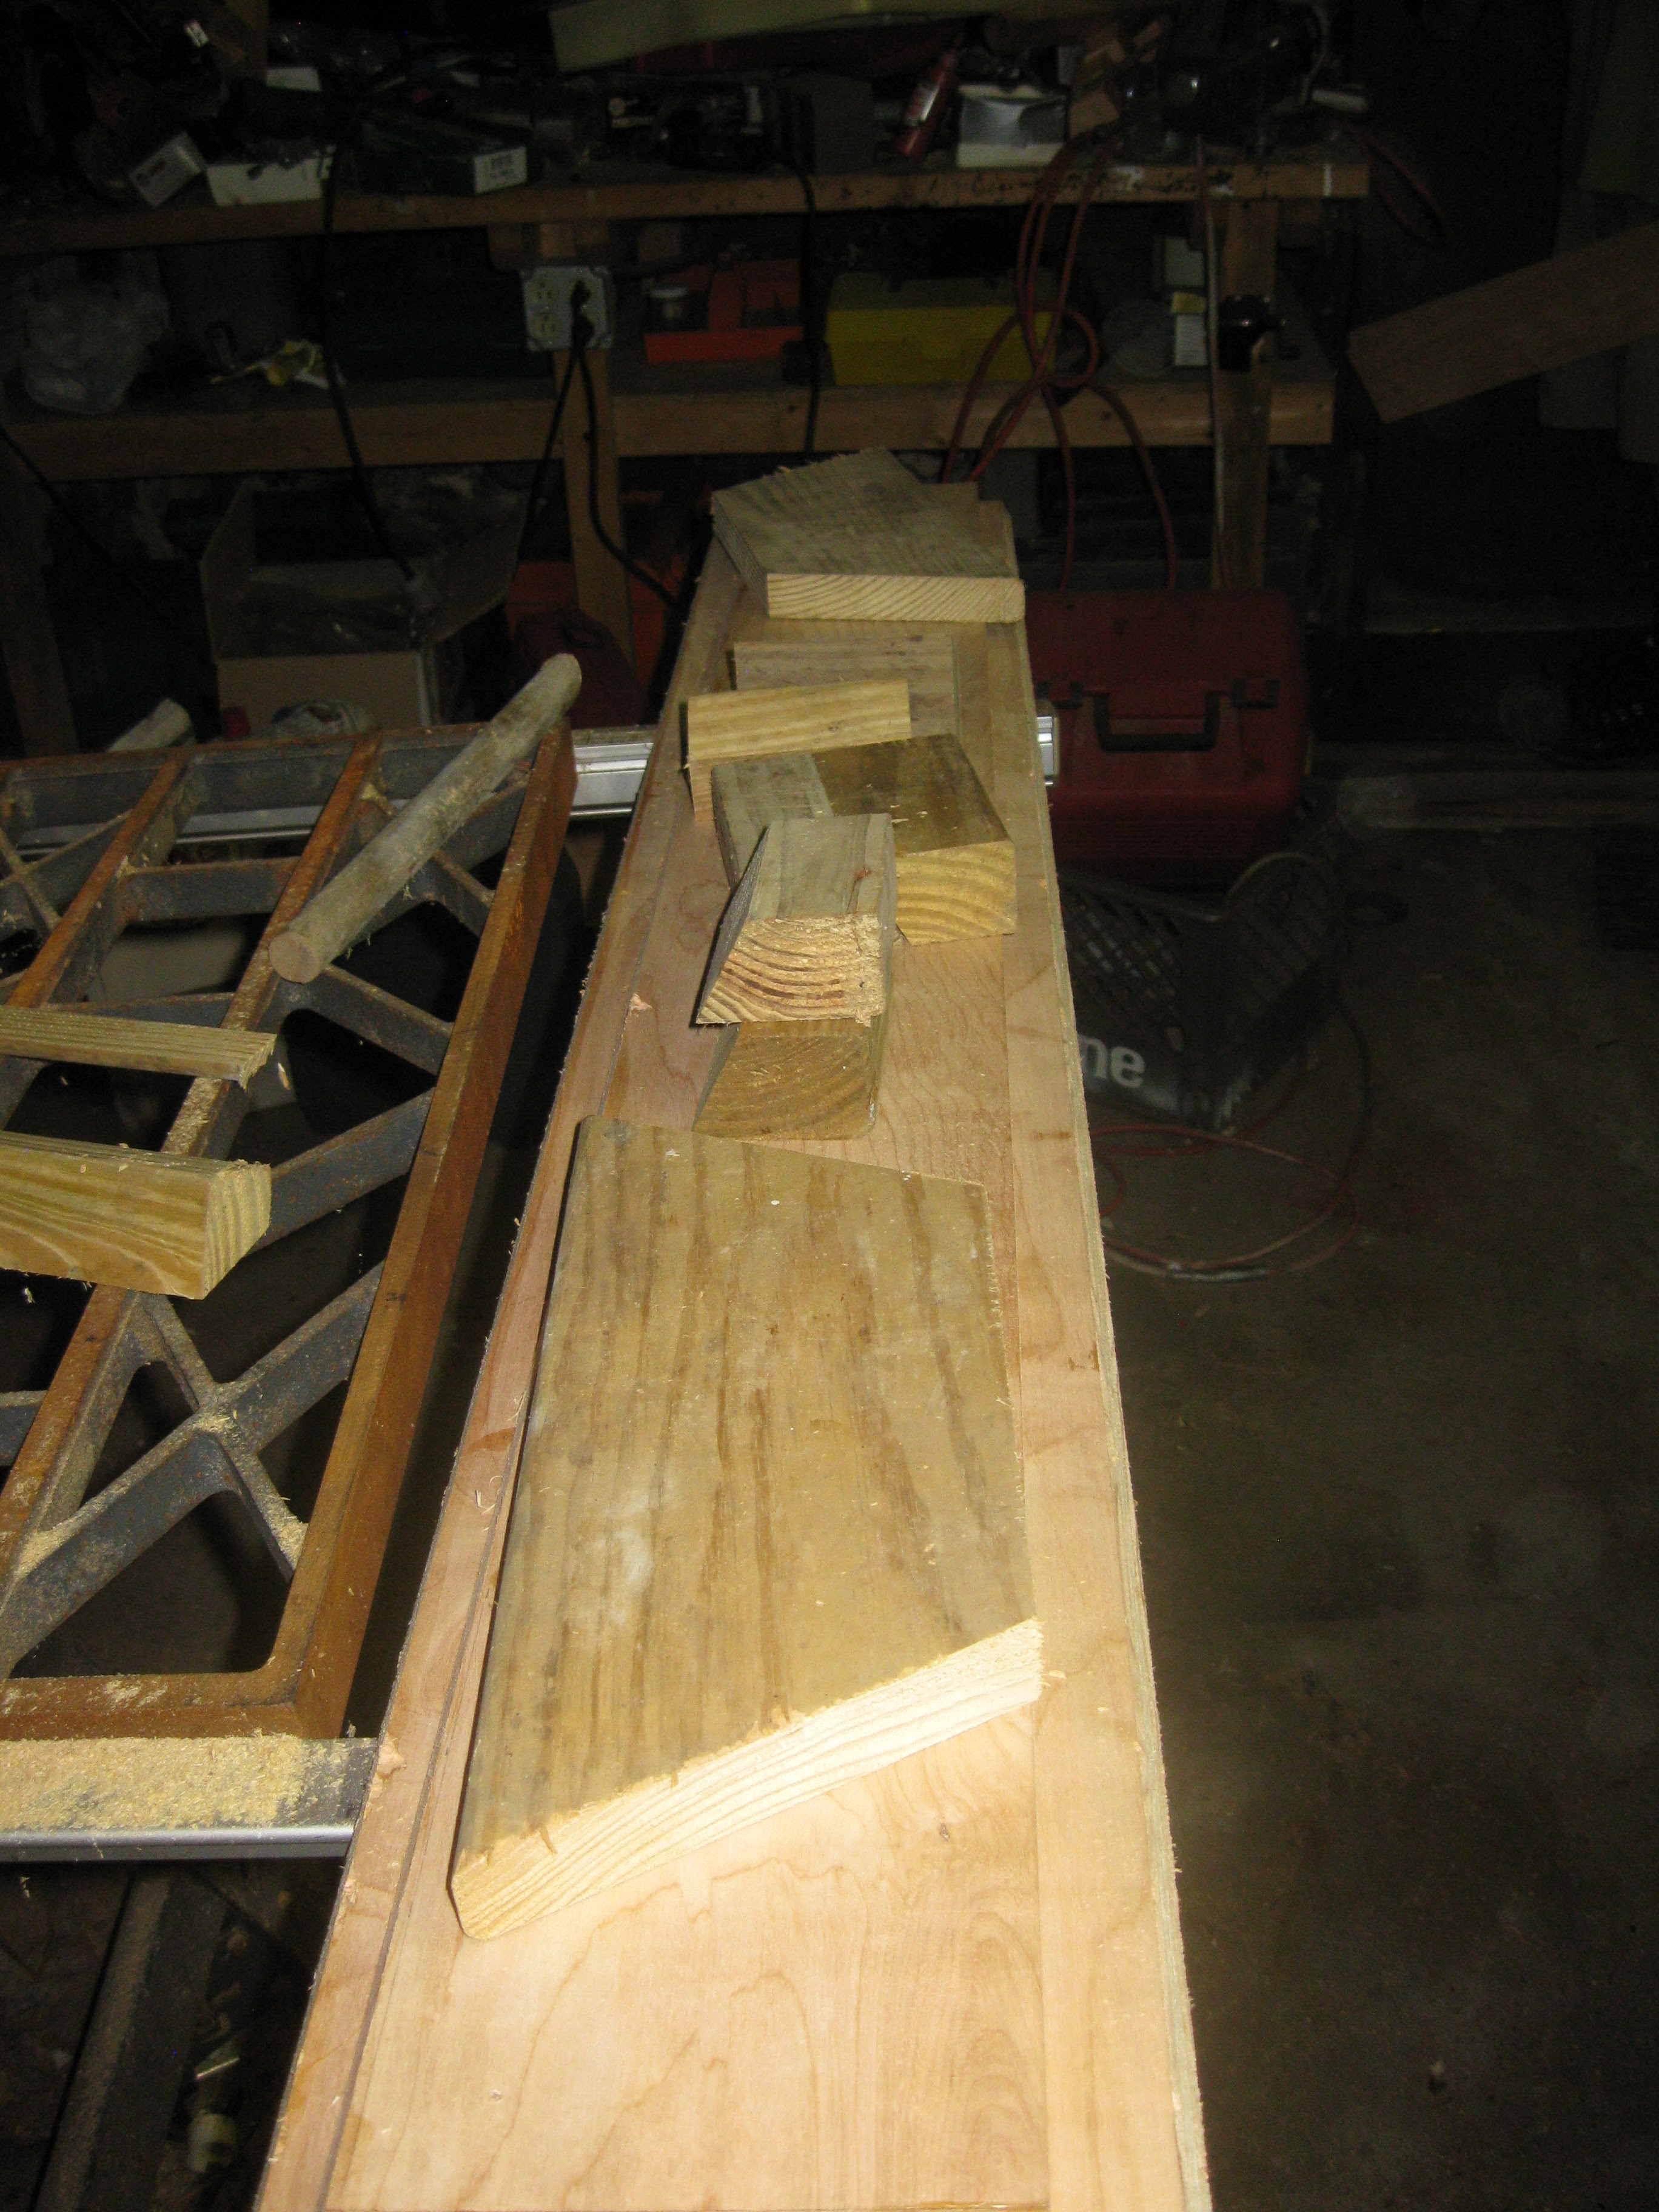
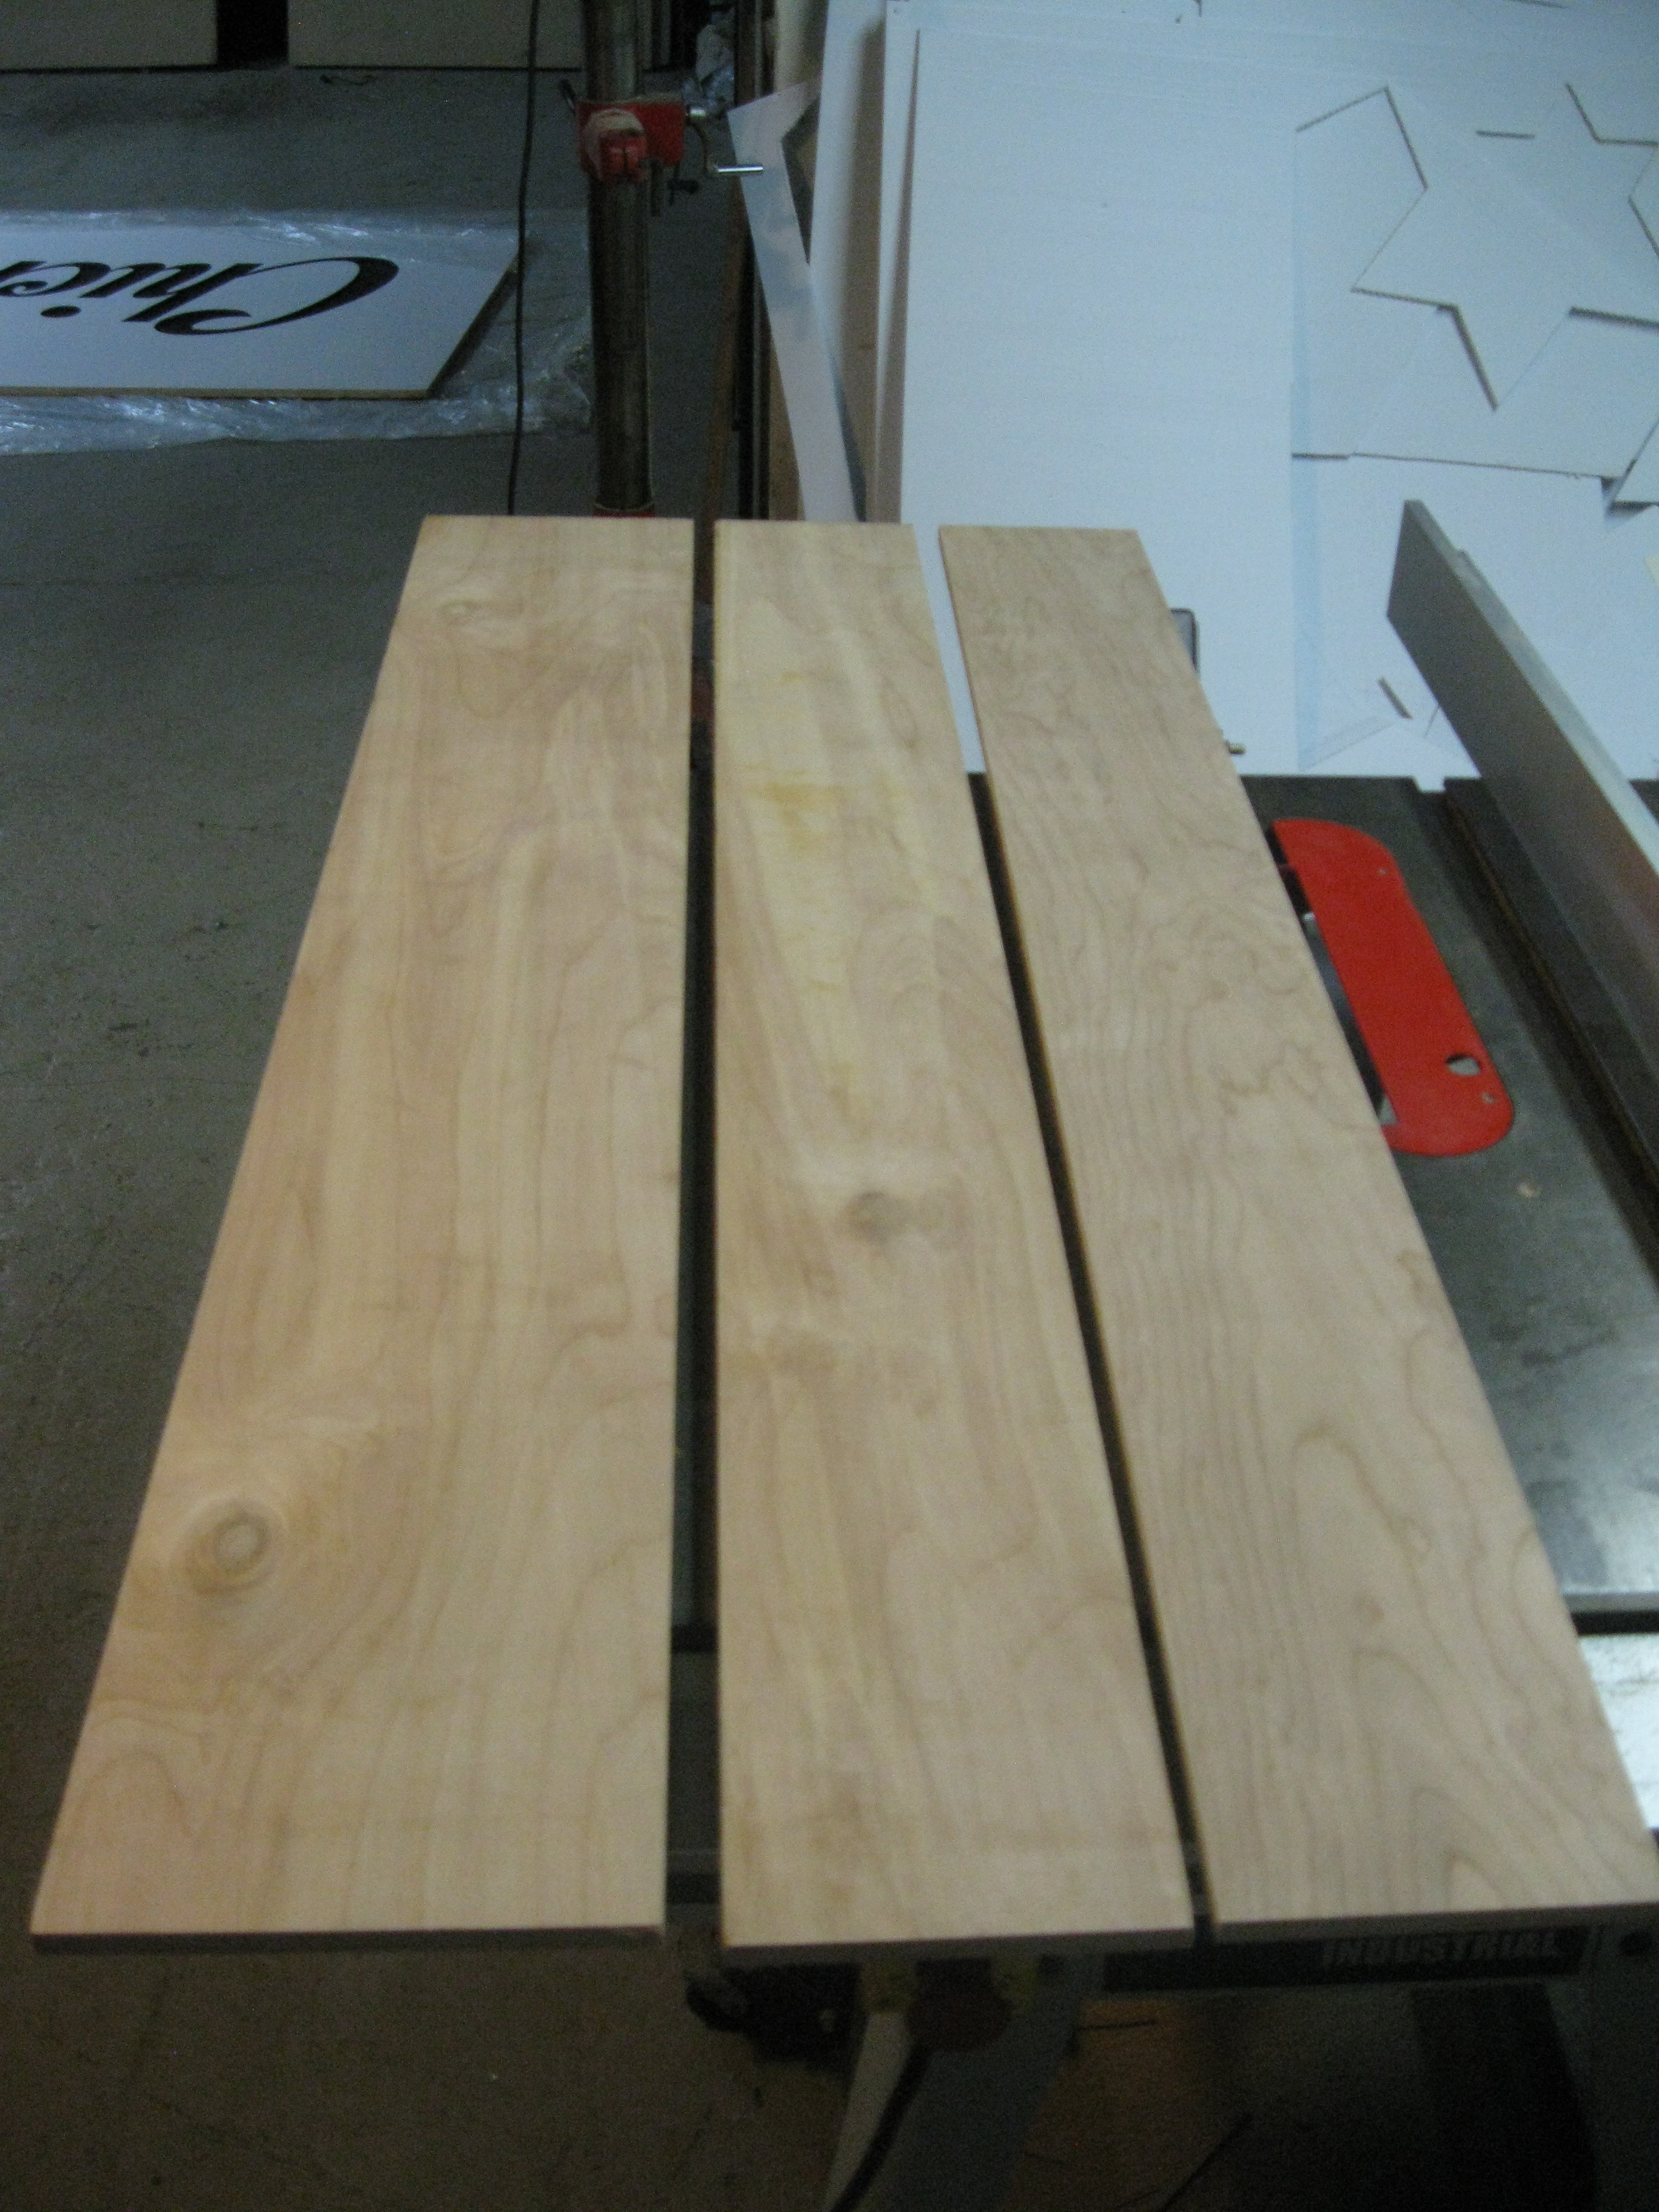
- 4' X 8" plank, with 60 degree bevel cuts on each side approximately 1/2" in

- 4' X 6" plank with a 60 degree bevel cut on one side approximately 1/2" in, make two of these

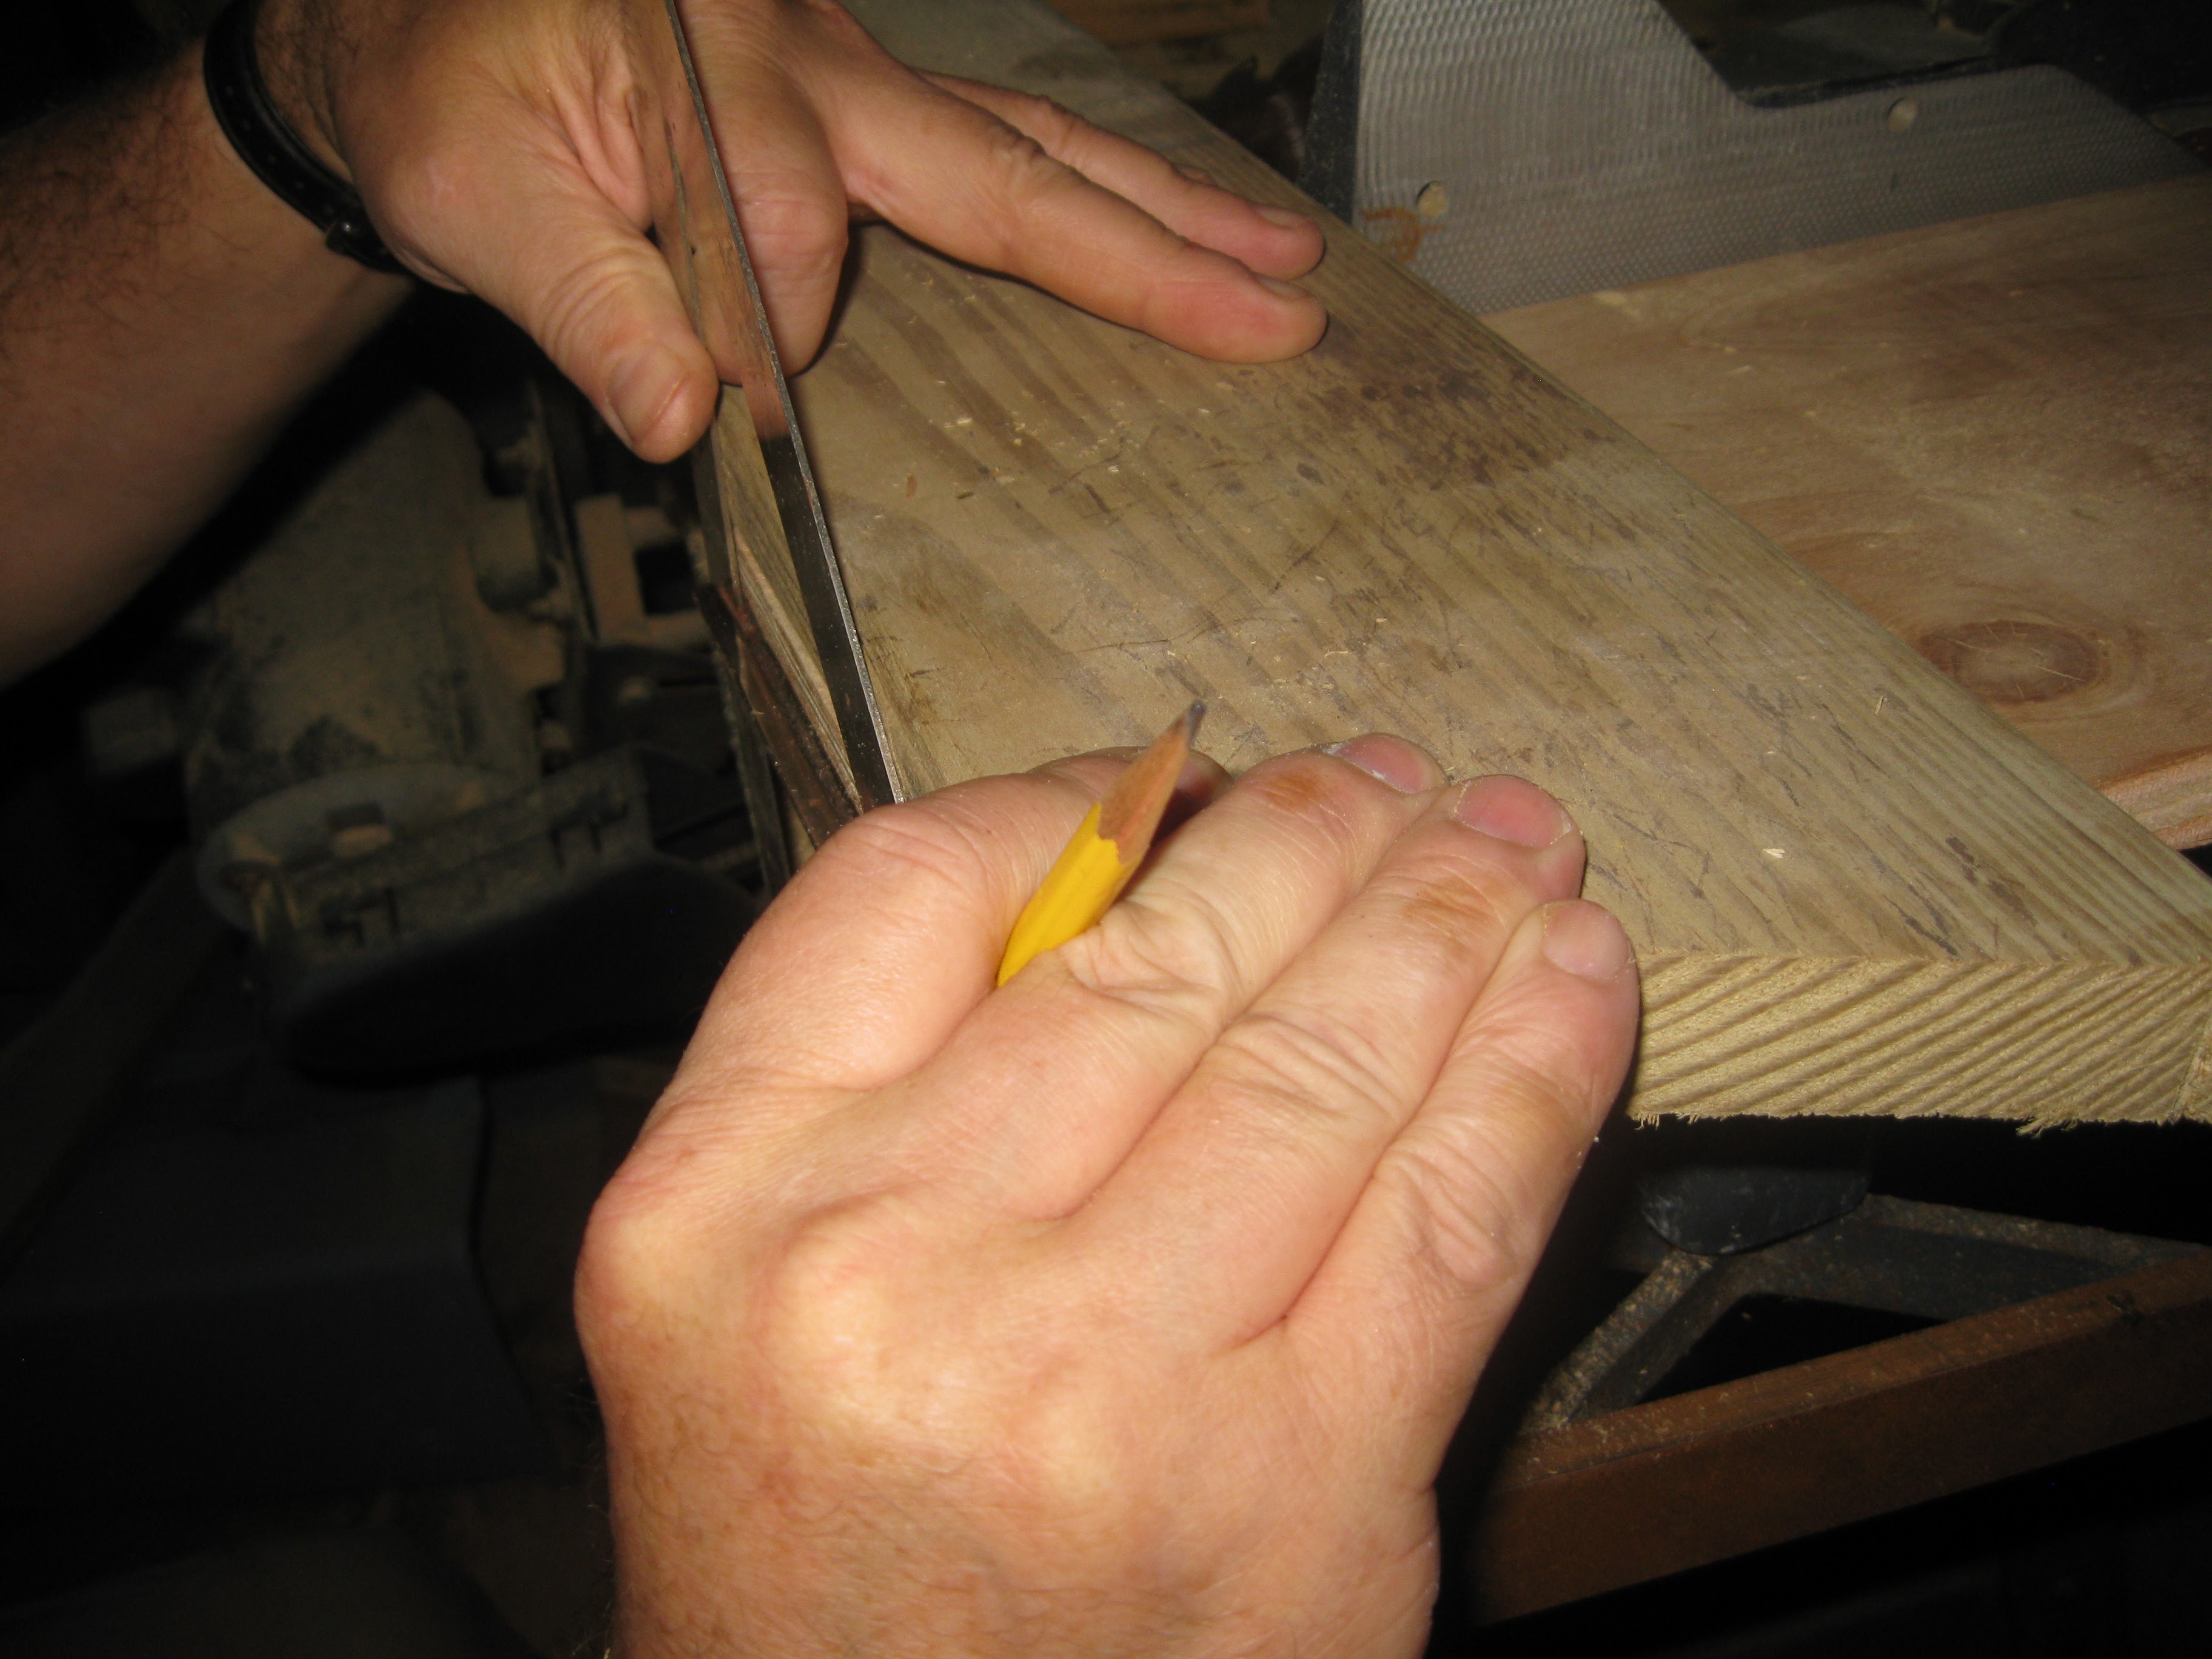
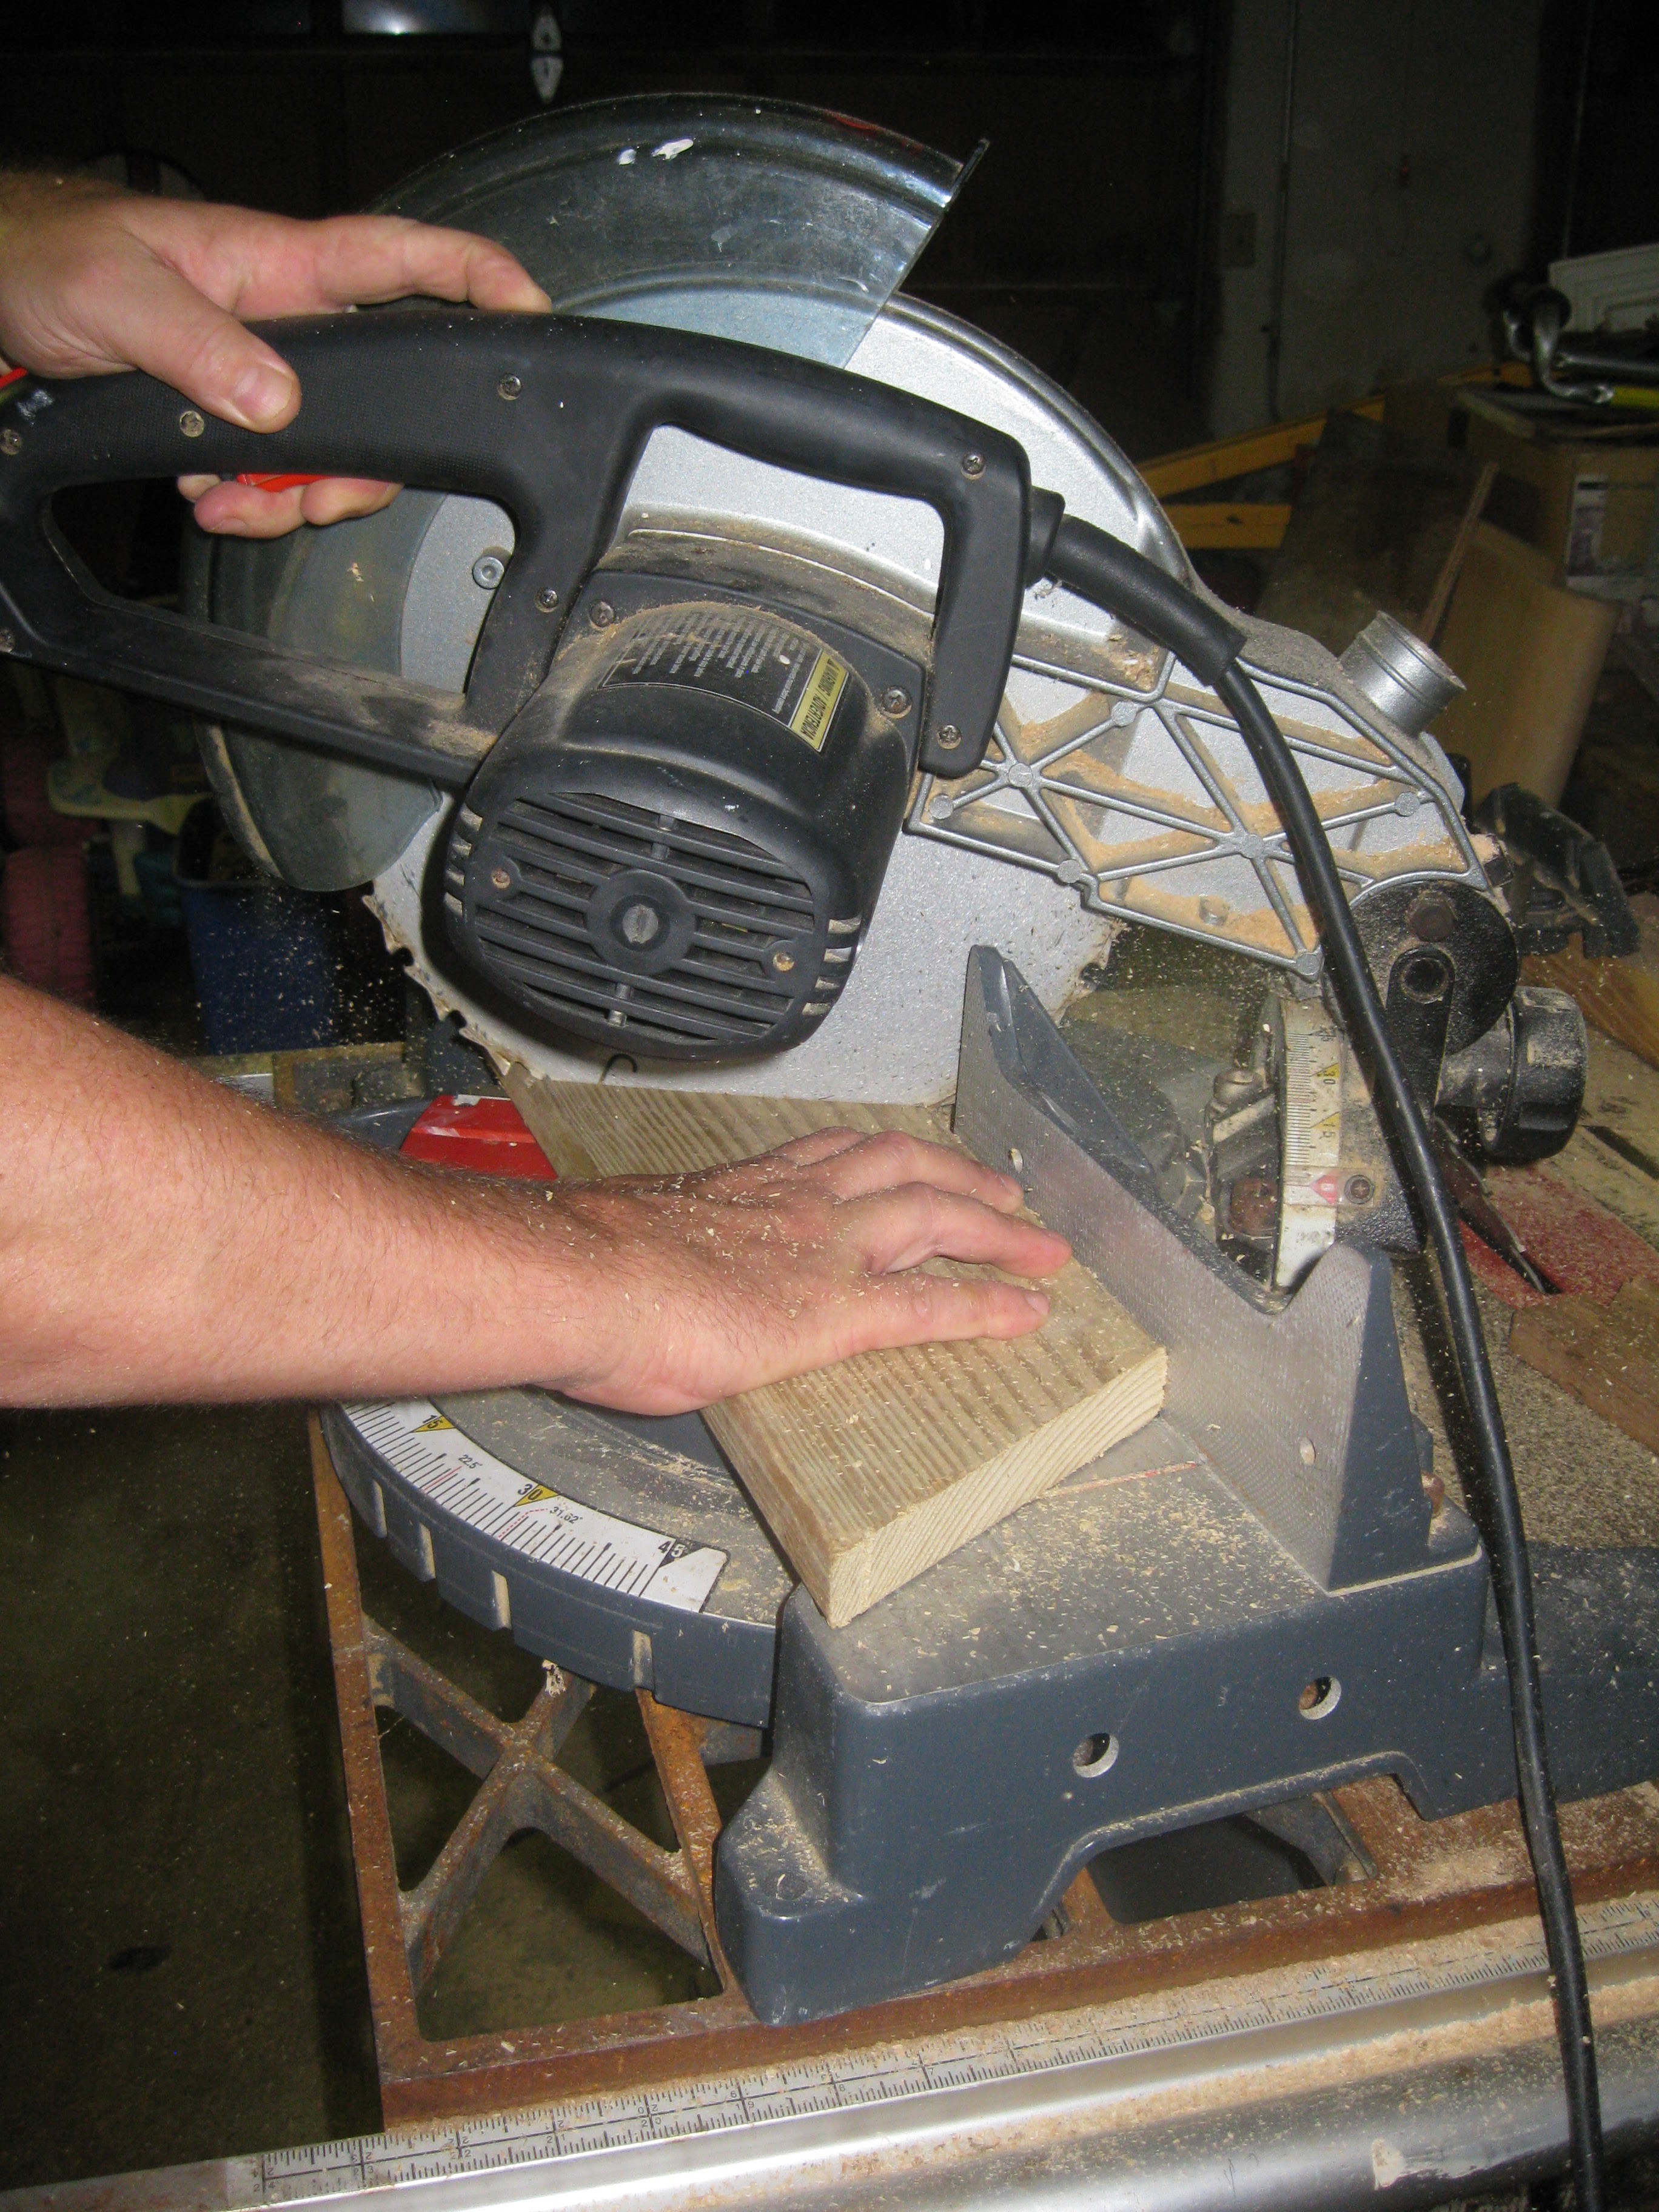
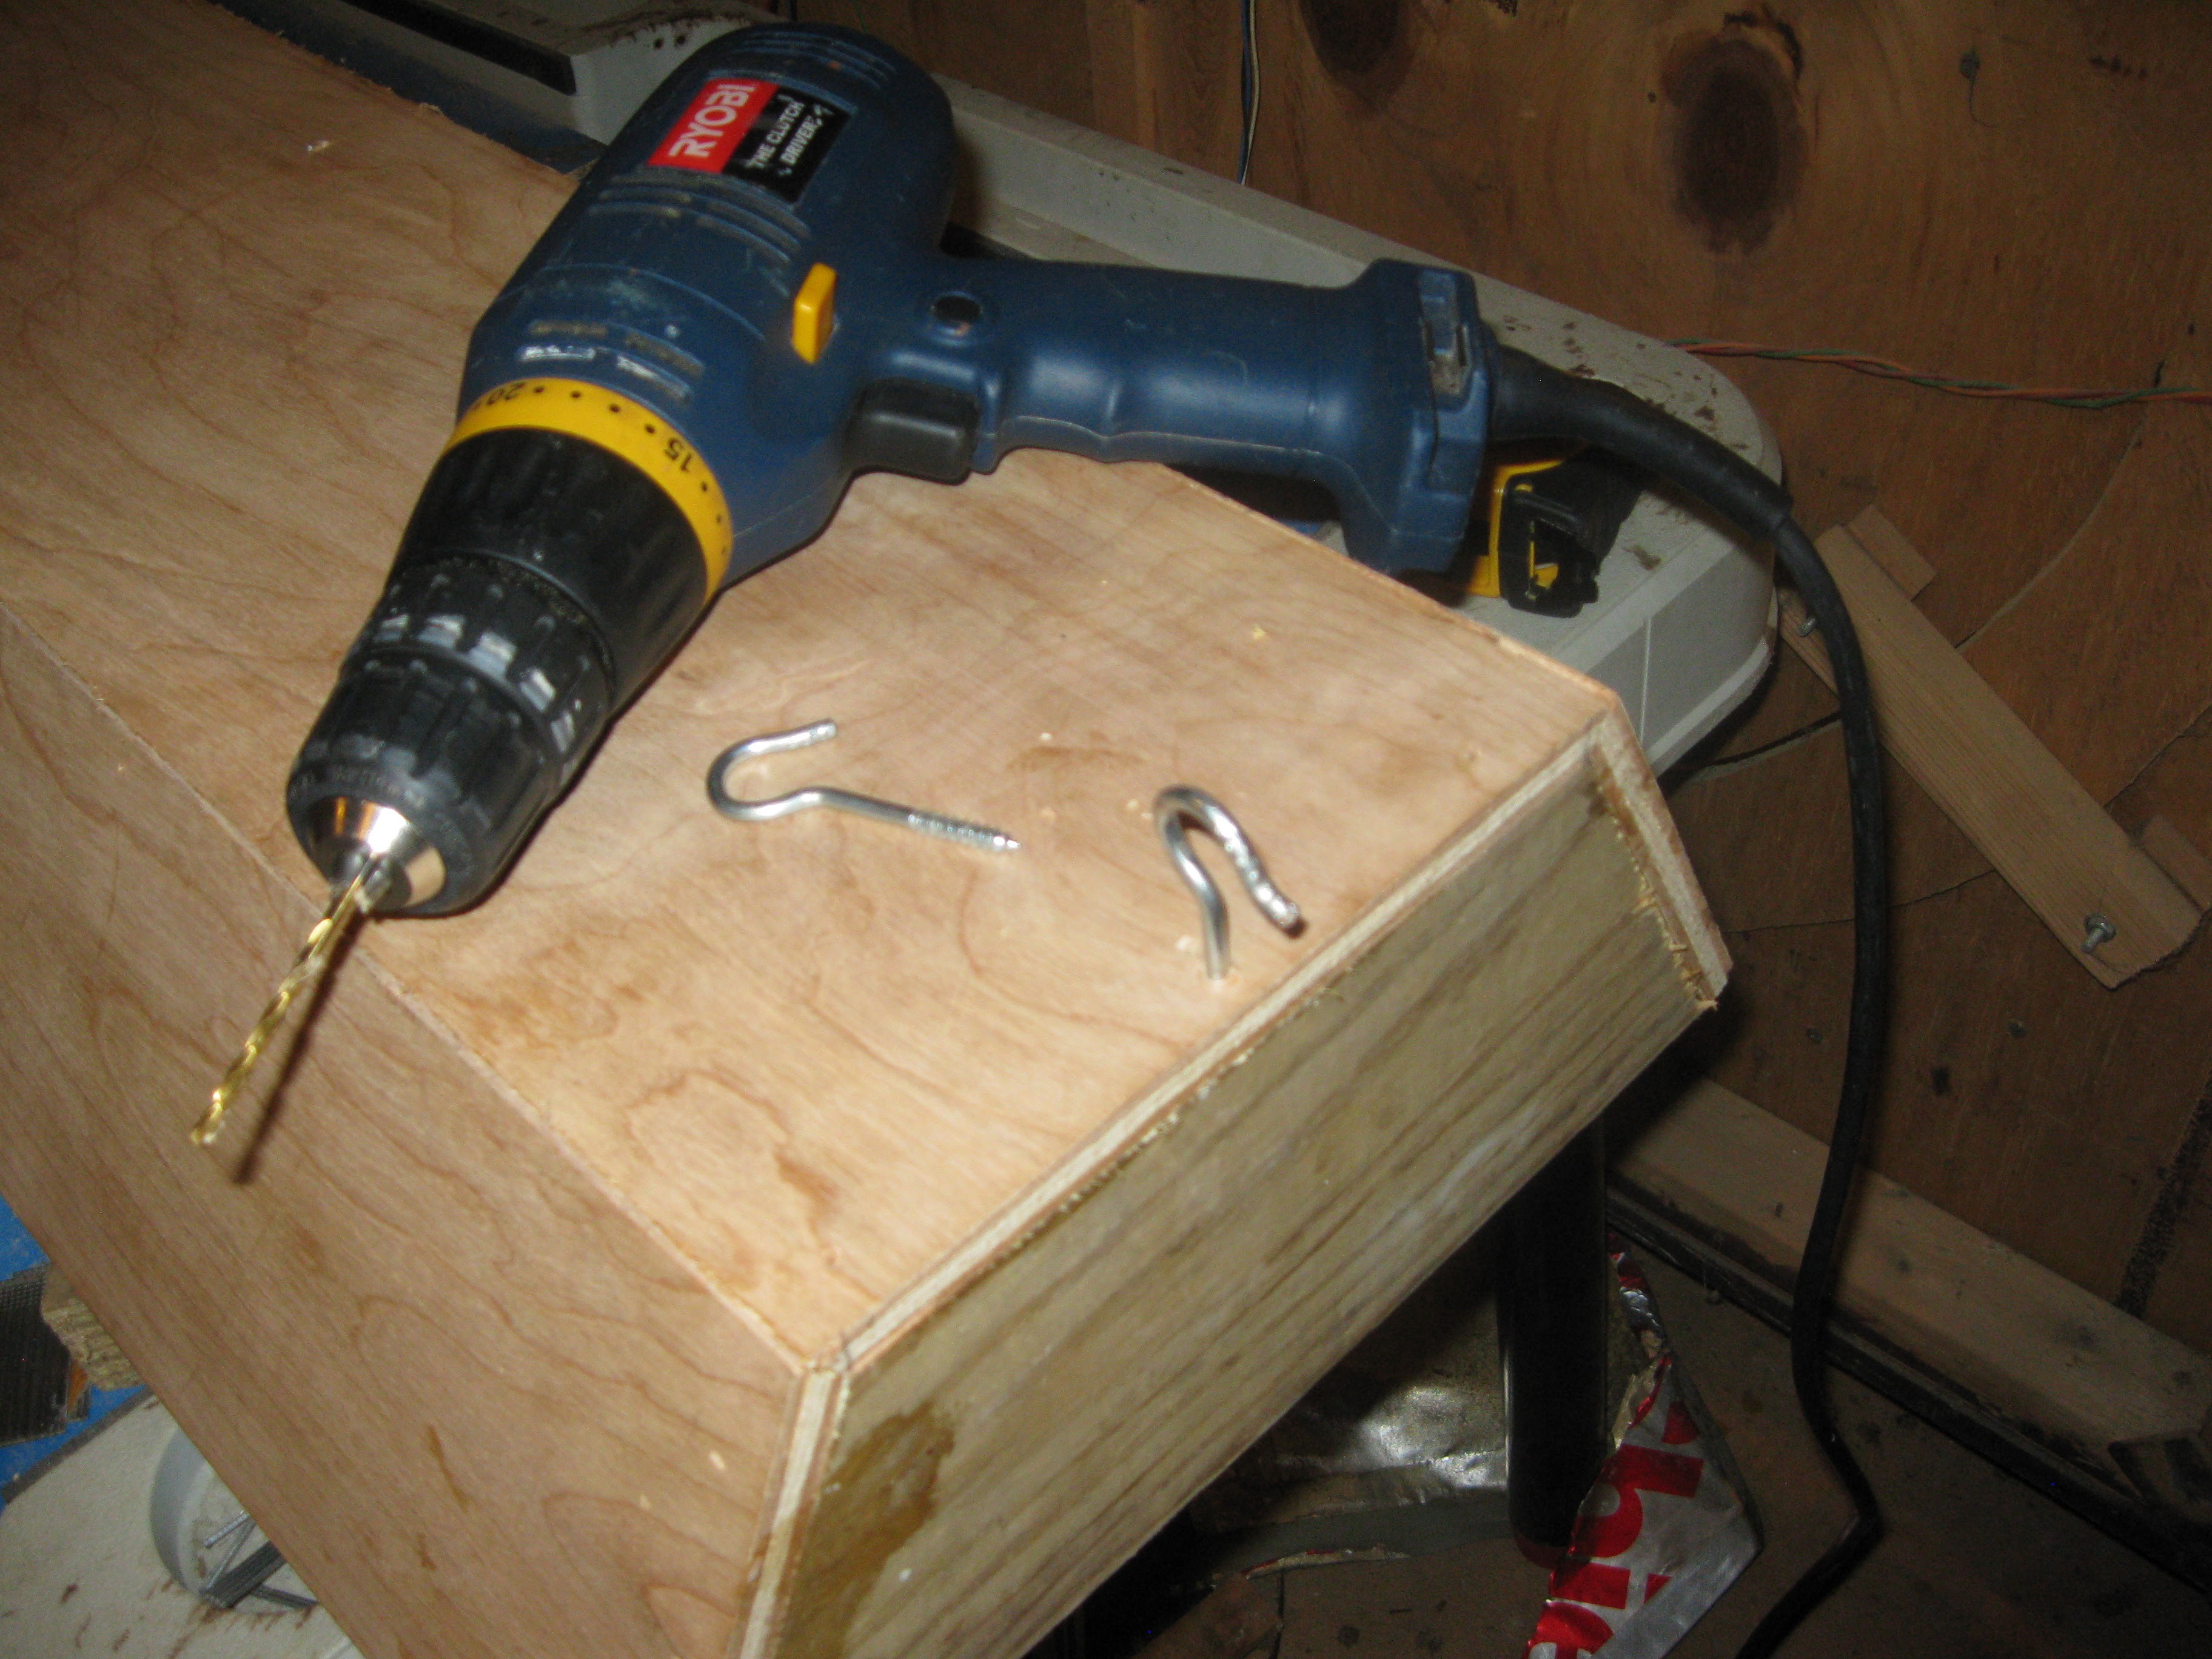
- End pieces, trapizoidal piece made from deck plank, more on the technique for cutting this piece later.......

- LED Strip 4' Lengths, cut all reels of LED strip into 4' lengths

View all 6 components

  • Painting, LED application, and Broken PSU Blues

    AVR09/19/2015 at 20:29 0 comments

    So on the grow light after the painting on the outside was finished I took to painting the inside of the light. Originally the plan was to use tin foil or a mylar space blanket for reflecting the LED light down towards the plants, I decided that eventually there will be so much LED strip applied to the inside of the light that all reflective material will be covered. I decided to paint the inside white and scuff the surface of the paint after drying to allow for better adhesion of the LED strips to the surface of the inside of the light.

    Starting the first coat

    Almost done with first coat

    More progress:

    First coat finished:

    Starting the second coat of paint:

    Finishing second coat:

    After letting the paint dry and cure all day I took to scuffing it up with sandpaper for better adhesion of the adhesive on the LED strips. I used 330 grit sandpaper, its my usual go to, its a nice compromise between fine and coarse. Of course if I were trying to get glass like finishes I'd be using all sort of paper but for this project, keeping it simple.

    Cleaning off the sanded paint with a rag and rubbing alcohol

    Next off I began to mockup the light casing with the strips in preparation for assembly. The mockup consisted of carefully placing the LED strips spaced apart in the light casing. Originally the strips were cut to approximate 4 foot lengths, but since the ends of the light casing are inside the case I lost some room and had to shorten the strips a bit.

    LED strips on their reels in the packaging they came in. Even though I cut them a while ago I still rolled them back on the reel for storage.

    As you can see in the pictures there was a bit of excess strip on each length, I cut them at the marker, making the strips fit with enough room for wiring. I have been collecting the small bits of strip and saving them because when I get more strip there will be more leftovers, the idea is that I can join them all together and maybe get a few more lengths from just the scrap. Next off I used a ruler and sharpie to mark the spacing of the strips on the light. I did it at each end and lined it all up by hand.

    Lines drawn and some strip applied, the lines that the edge of the strip lines up with are spaced and inch apart, this gives enough space to put down more strips later to upgrade the light.

    Close up of the strip application and markings:

    All strips in place along the marking. Eventually there will be strip on the outer sides and more in between. This light is the first prototype so I need to evaluate the LED strip I chose and figure out whether or not I need a different kind.

    Next off was the process of soldering the LED strips to wires so they could be fed with the 12 volt 240 watt DCDC power supply I selected. As can be seen in the picture the adhesive on the LED strip isn't too great so they will be hotglued in place to help keep them attached to the light. As for the power-supply it is to be mounted on the front end of the light, holes will be drilled to get the wires through to the power supply.

    Upon wiring up the power supply I bought I discovered a problem with it. For some reason no matter what position the trim pot was turned to the PSU would only output 3.1-3.2 volts, which is completely wrong, its supposed to be in e range of 12 volts and then some. I've used similar PSUs to this one so I have no idea whats wrong other than it was mislabled as a 3.3v PSU or its defective. You can see in the picture that the PSU is not outputing the correct voltage, also notice that nasty cut on my finger, I don't recommend ripping apart AC Power cables with a pocket knife!!!!!

    I contacted the seller and hopefully I'll be able to get a replacement soon. In the meantime a friend is gonna lend me a benchtop PSU to run the light until I get my new one. Stay tuned for more !

  • Sanding and Painting

    AVR09/13/2015 at 06:47 0 comments

    Thursday of this past week I got a bit more done. I sanded and painted the grow light casing (see previous log) smooth for painting, and painted it. I tried to sand it all down smooth but the caulking is tough stuff, I did the best i could before cleaning it with a dam rag for painting.


    Sanding the grow light casing:

    After I completed sanding and cleaning the dust off I brought the case into the garage for painting. I set up a simple table with a piece of plywood and an old card board box for painting. I painted in stages doing multiple coats over a few hours, this is so the paint doesn't drip and form drip marks all over the surface. I used rustoleom spray paint since its good on wood/plastic/metal and its cheap.

    One side and end painted, with the top and other side to go.

    Top and and one side painted with one coat.

    Other side painted, this color is very nice the pictures really don't do it justice!

    Opposite end painted with first coat.

    Painting tool about three coats and I didn't even use up all the paint in the can. The first two coats were heavier than the third, overall it came out pretty good. I need to do some more painting on the inside before I install the lights. Before I was thinking of plating the inside using tin foil or with a reflective mylar space blanket, to simplify things I will be painting the inside white. The color white should be reflective enough given that almost the entirety of the inside of the case will be lined with LED strip.

  • Beveling and Assembly

    AVR09/13/2015 at 06:44 0 comments

    I got the light frame finally assembled, after a few hangups. There were some issues with the accuracy of the angled bevels on the different piece of the frame. THe original idea was to create cleets and assemble the frame by gluing and nailing it along the seams while the cleets screwed in place held it together while the glue set. Due the differences in the angles on all the pieces assembling the light frame/casing this way was problematic and very difficult. At the suggest of my dad we recut all the bevels this time being more consistent with the angle and using a fresh sharp table saw blade. Instead of using cleets we fashioned ends for the frame out of decking board and using the table saw and mitre saw. In the end the piece were glued and nailed together with a nail gun, instead attaching the ends first and using them as the support instead of cleets.

    original cut and beveled pieces with the cleets

    Another view

    Beginnings of an end for the light made of deck board.

    One end being finished with the last cut.

    Finished newly cut pieces with more consistent bevel angles.

    Gluing and nailing the light frame/casing together, here starting with one of the ends glued in place, new cleets were made but not for securing the parts together but rather for lining up the beveled joints.

    With both ends glued and nailed into place with 2" nails the first side was added. 2" nails going into the deck board ends and 1 inch nails allong the beveled seam with glue inside.

    Adjusting the other end before final nailing

    Doing the other side

    Adding glue to the other side's seam before nailing it all together along the way.

    Nailing of the seams:

    Finished assembly

    For hanging the light will hang from the ceiling via chains, the chain will be attached using hooks bolted into either end of the light.

    After the assembly and addition of the hooks I decided to work on smoothing the surface before painting. Despite our best efforts at trying to cut everything with consistent angles there were still some gaps. I decided to fill the gaps with caulking and to sand it down before painting. I used caulking to fill in the gaps in the seams and I filled in the countsink holes the nailgun left over every nail.

    Getting ready to add caulking to the other side's seam after the first one is finished

    Caulking added to second seam before smoothing, its messy but i prefer to smooth it all into the cracks by hand with my fingers, helps to fill the gaps tightly.

    I did the smaller seams on the ends too, the idea being that the whole thing will look like one piece after painting. Painting isn't necessary but I have this idea of making everything pastel colors to make it more fun to look at.

  • Custom LED Grow Lights for HydroPWNics

    AVR09/13/2015 at 06:43 0 comments

    I am building custom LED grow lights that will be powered of cheap switching PSUs, the standard LED power supply you find on ebay. This endeavor is motivated by the need for cost effective AC/DC powered grow lights for the HydroPWNics project (https://hackaday.io/project/2964-hydropwnics).The LEDs are 5050 variety mounted on strip, they are two red wavelengths and one blue wavelength (forgot at the time of posting), between this combination the plants should get all they need. I also got some 5050 purple LEDs too to mix in for more wavelength variety. The lights are a simple plywood design, three cental boards cut with 60 degree bevels glued together to form a half hexagon shape. Ends will be made from ply wood ans well and the whole assembly will be glued and screwed together. The inside will be plated in tin foil mounted using spray mount glue. The electronics for driving/switching the strips wil be mounted on the outside one end of the light. So far I started building one light, I havent decided 100% on how they are gonna work/be controlled, the tentative idea is using a DyIO and the 8 channel relay board you can get off ebay to individually switch strips on an off , allowing for changing light coor temp configurations or cutting power down to save on energy costs. I might just wire them all in parallel and just power them straight, not sure yet. Anyways I took some pictures of what I'm working with:

    Boards Cut for custom grow light, half inch think birch plywood.

    laying out the LEDs on the board with the relay board and DyIO module

    Up close shot of controller electronics

    Stay tuned for more!!!

View all 4 project logs

Enjoy this project?

Share

Discussions

sako0938 wrote 08/15/2017 at 15:09 point

Two years later, any word on how well it works?

  Are you sure? yes | no

Robert wrote 11/11/2015 at 13:38 point

I too am very curious for the 5050 LED output. Is it enough to sufficiently feed plants rays of sunshine?

  Are you sure? yes | no

AVR wrote 11/11/2015 at 21:43 point

Havent really tested it much yet,  I'm using my T5 bulb at the moment. I heard a lot of good things from folks doing solar powered hydro so I thought I'd give them a try. 

  Are you sure? yes | no

Similar Projects

Does this project spark your interest?

Become a member to follow this project and never miss any updates