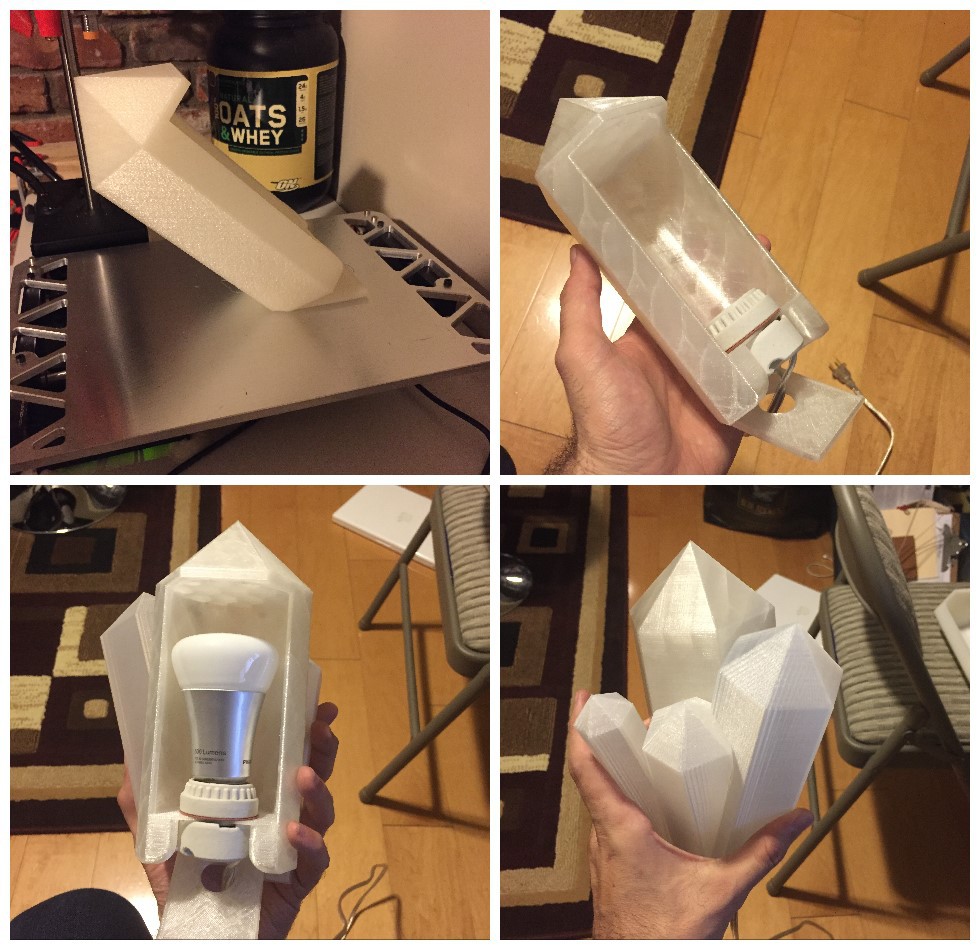
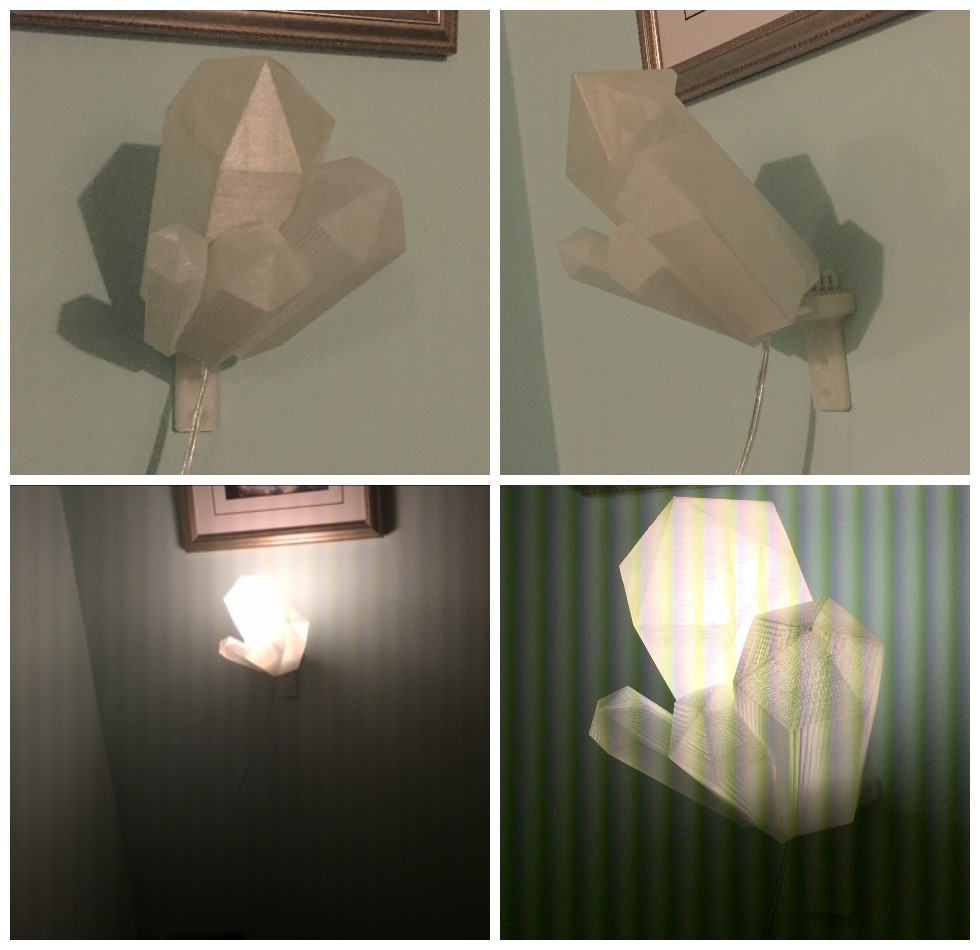
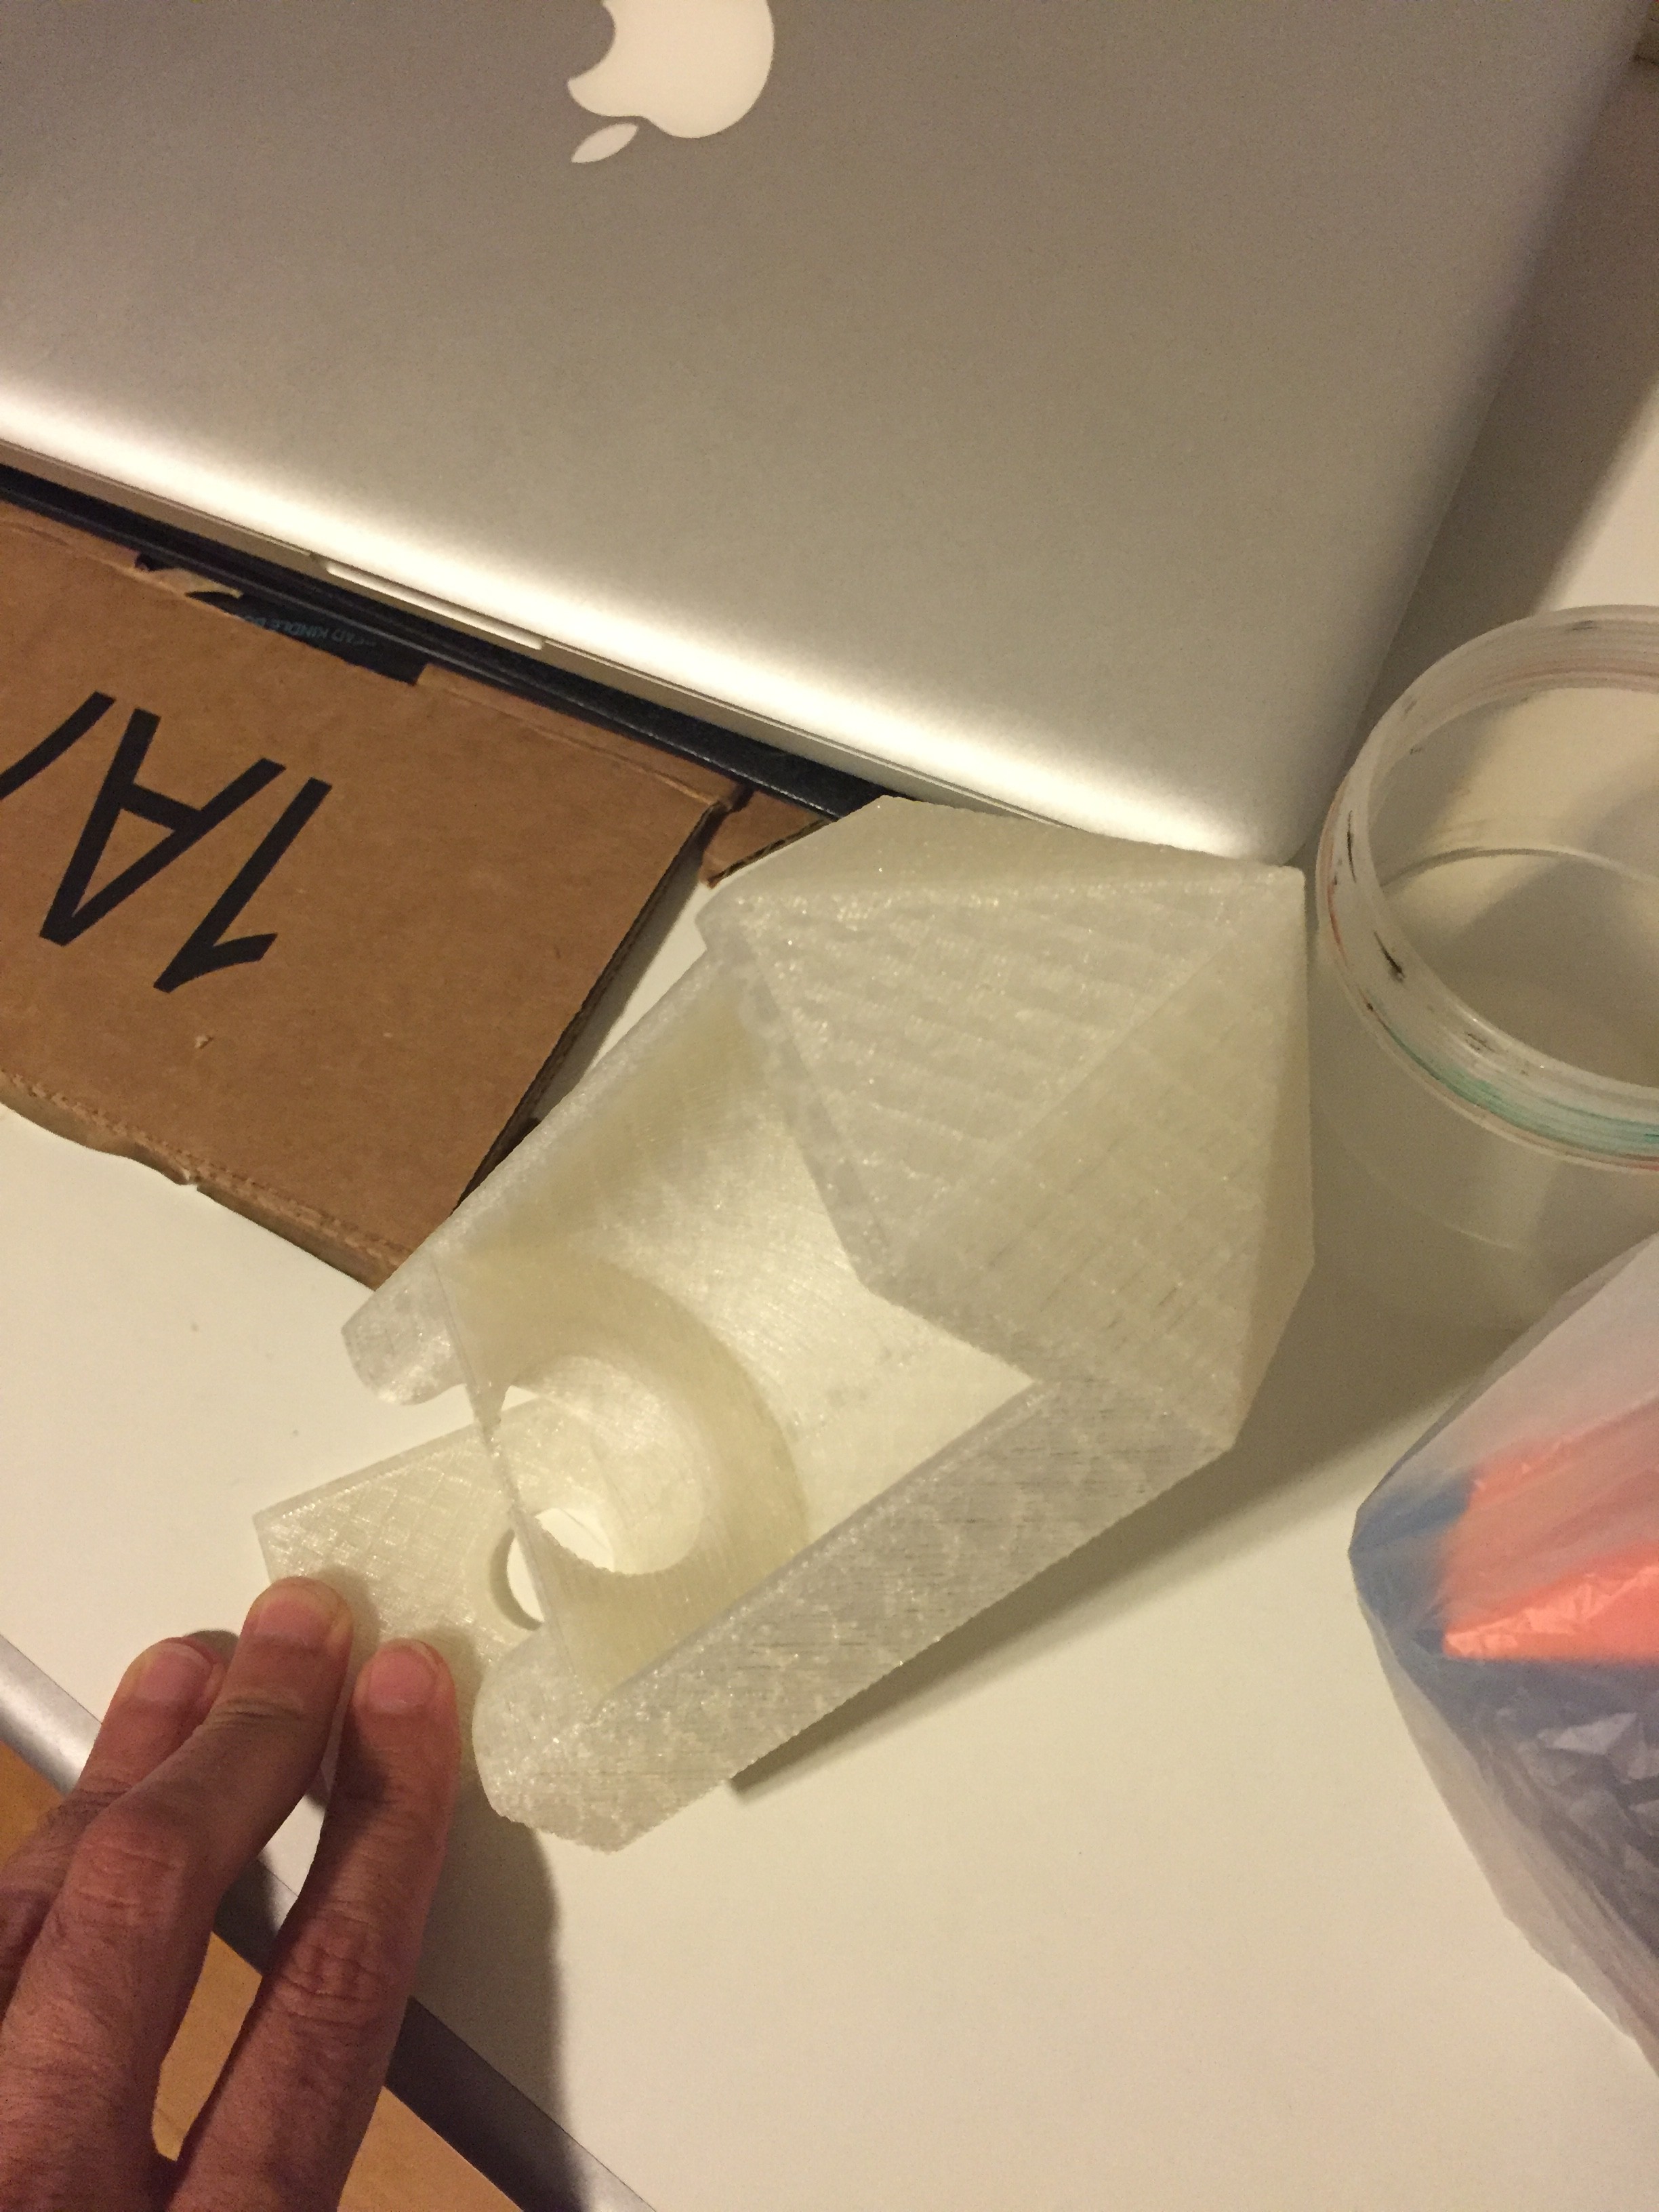
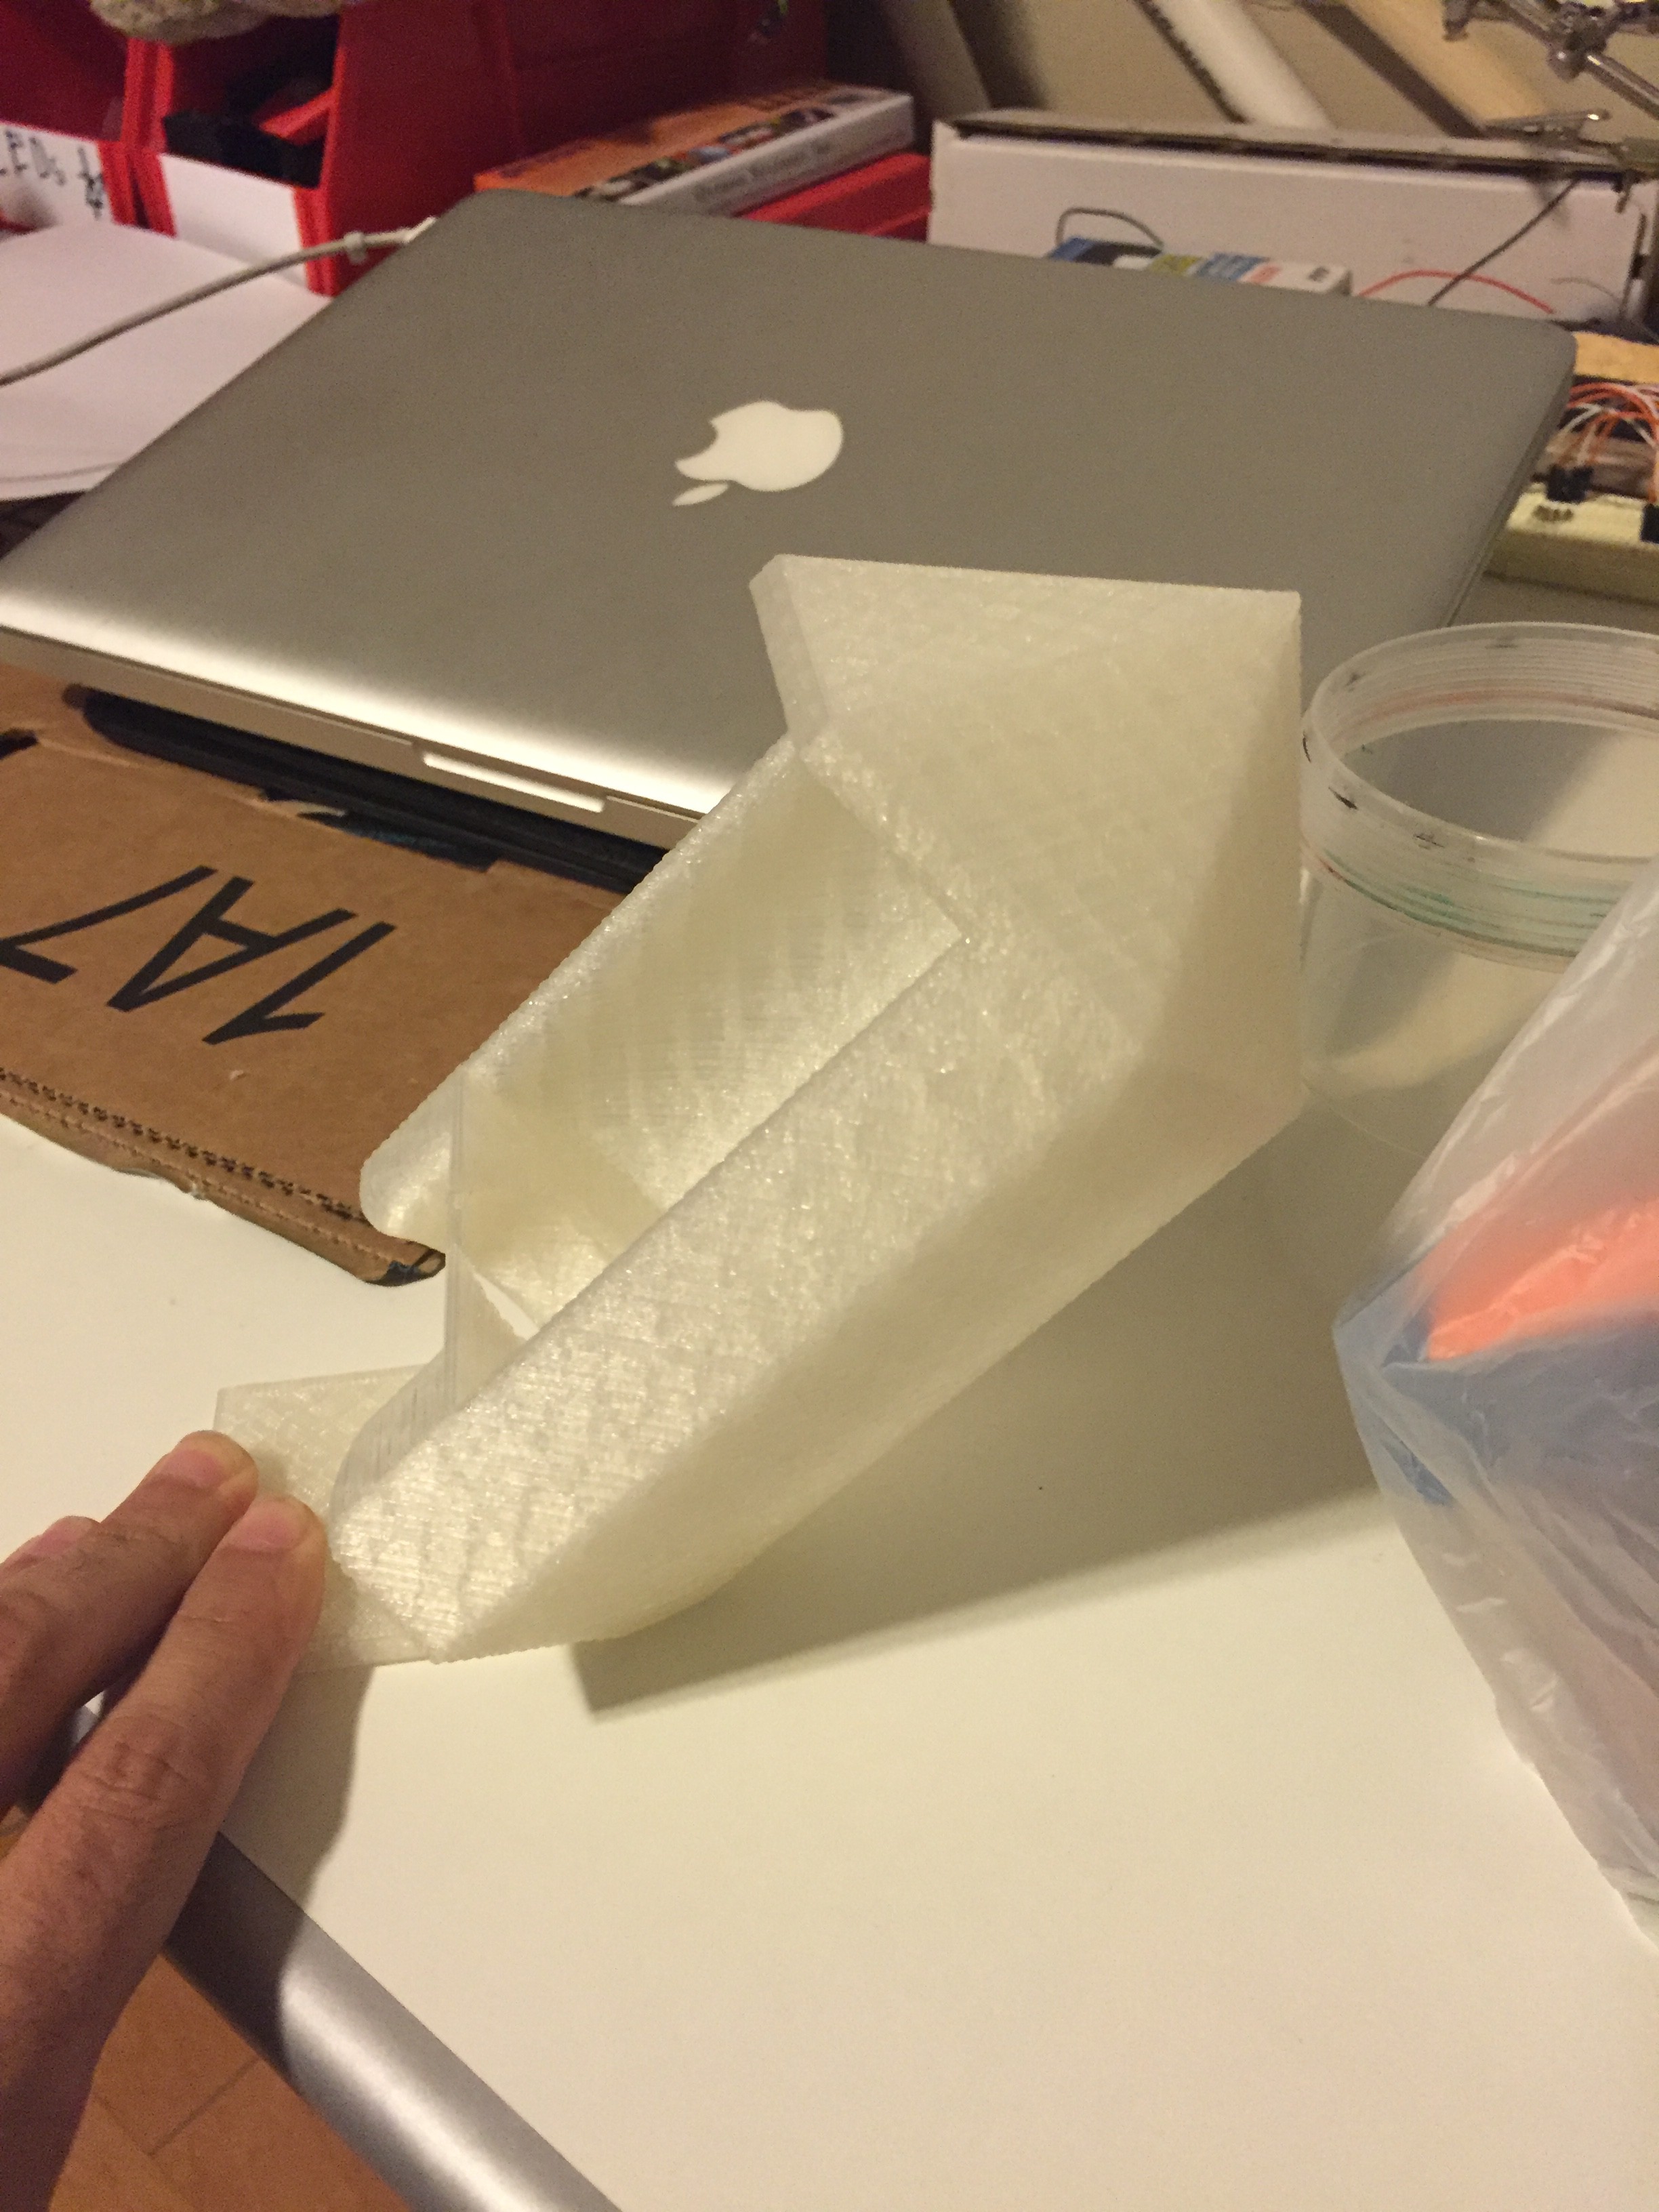
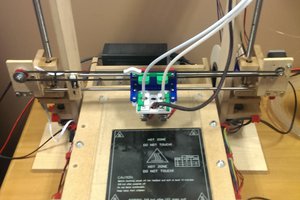
Having decided I needed a pair of wall mounted lamps for the bedside I came up with the idea for a 3D printed cluster of crystals with an internal LED light of some sort that would be bright enough to read by and look good in our bedroom. The crystal design is loosely based on quartz crystal shapes. I have been designing in Fusion 360 (which is the first real solid design program I have used and I am still very much learning as I go). The lamp will be printed on my Printrbot Simple Metal (upgraded with Matrix Precision kit to a build area of 8"x8"x10") with a translucent filament. The current plan is to use a ceramic bulb holder with lamp cord and an inline roller switch. I have decided to go with Philips Hue lights as I wanted a light that I could change the color temp or the color and using the Hue was much easier and less expensive than trying to use any of the current RGB LEDs and a controller at the same lumen level (NeoPixles would be great, but would cost 2-3x as much and require a lot more time). I am not opposed to the extra work, but the Hue is a dead simple drop in at less money for, what I hope, is a great result.
0%
0%
Crystal Lamp
A wall mounted bedside lamp that looks like a large cluster of crystals.
Become a Hackaday.io member
Already have an account? Log in.
Just one more thing
To make the experience fit your profile, pick a username and tell us what interests you.
Pick an awesome username
hackaday.io/
Your profile's URL: hackaday.io/username. Max 25 alphanumeric characters.
Pick a few interests
Projects that share your interests
People that share your interests


 Terry Bates
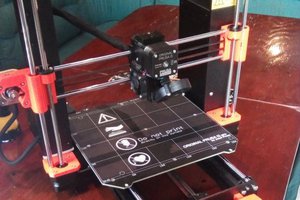
 Patrick
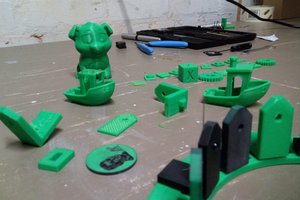
 johnowhitaker