 Sarah Petkus
First of all, if you haven't seen The Fifth Element, all you need to know is that we're making replicas of these fancy things below which will operate with mechanical and electrical parts instead of spooky earth magic like in the movie =]

Our glowing mechanical stones will rock you.
Already have an account? Log in.
To make the experience fit your profile, pick a username and tell us what interests you.
First of all, if you haven't seen The Fifth Element, all you need to know is that we're making replicas of these fancy things below which will operate with mechanical and electrical parts instead of spooky earth magic like in the movie =]
Elemental Mood Lighting : Troubleshooting - YouTube
I played around with the moving parts of the stones today to see if I could get the desired effect I was aiming for. After some assessment (above) I've concluded that our problems seem to be a mixture of having too weak of motors, too much friction between the moving parts, and just enough slop with the internal mechanism that the combination leaves for some inconsistency. The wedge bits don't move a whole lot to begin with, so any amount of inaccuracy/slippage is super noticeable. LAME!
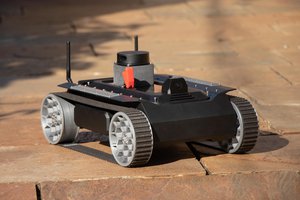
Maker Faire is next weekend, so after that hurdle I might reevaluate my pulley system on the inside and pick up some motors with a bit more umph. They'll still look nice in my booth, so if you plan on being up in San Mateo next week, be sure to come see the stones (and my robot army).
-Sarah & Mark

Since my last update, I took the four complete 3D printed stones and gave their surface a rather sharp makeover. All those years in art school came in handy again. It surprises me just how many techies have never heard of gesso … so I'm tapping this apparent art secret for the sake of painting on an otherwise stubborn surface. ABS will take acrylic paint, however instead of priming it with anything you might get from Home Depot in the paint section… you can go to Blick and grab a pint of clear gesso (canvas primer). It may be a little more expensive, but it's less volatile, doesn't have any fumes, and has the best tooth when it dries for painting on… you'll be thankful you spent the extra money.
So, I gessoed my rocks… and painted them over with a nice solid undercoat of dark muddy brown. The lighter color was dry brushed on top with a healthy amount of baby powder added to the paint to give it a matte, chunky appearance when it dried. The final texture is pretty sharp :

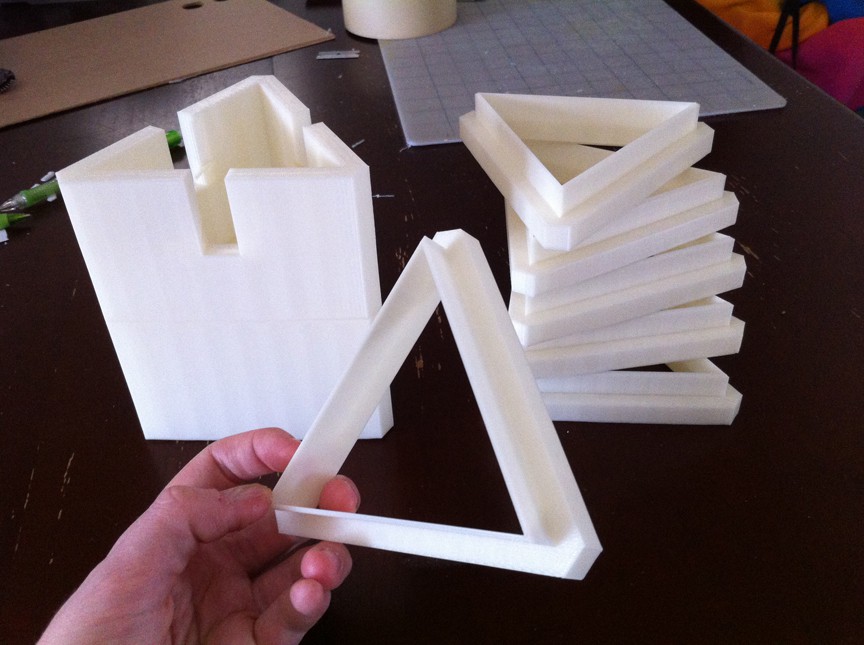
First I have to show off how nicely the prints turned out! Some of these larger pieces were printed over night for nine-hour periods and were completed without fail (which is surprising). In the morning there would be a loaf of stone sitting on the printer bed :

Mark is responsible for creating these seamless linear designs on the face of the stones :


First of all, if you haven't seen The Fifth Element, all you need to know is that we're making replicas of these fancy things below which will operate with mechanical and electrical parts instead of spooky earth magic like in the movie =]

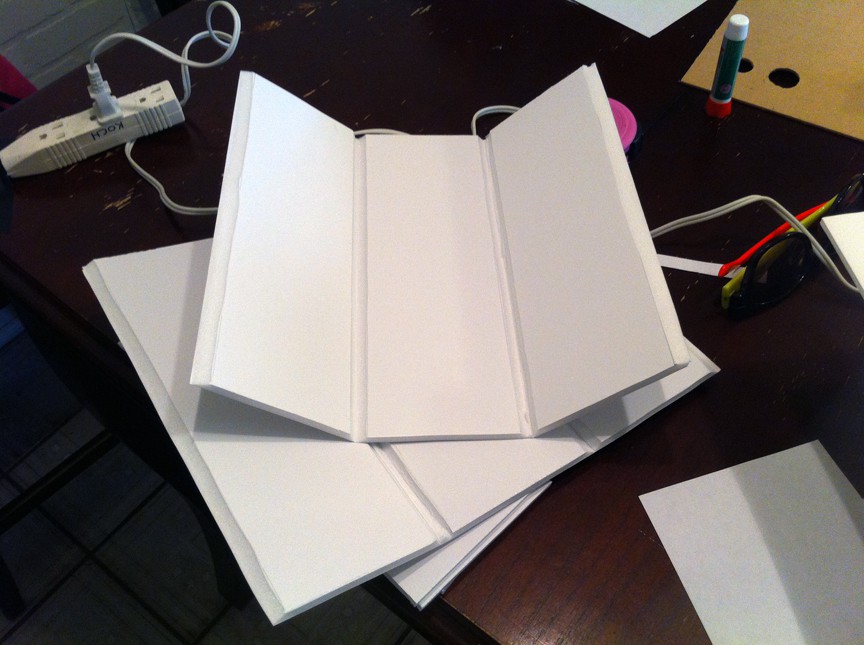
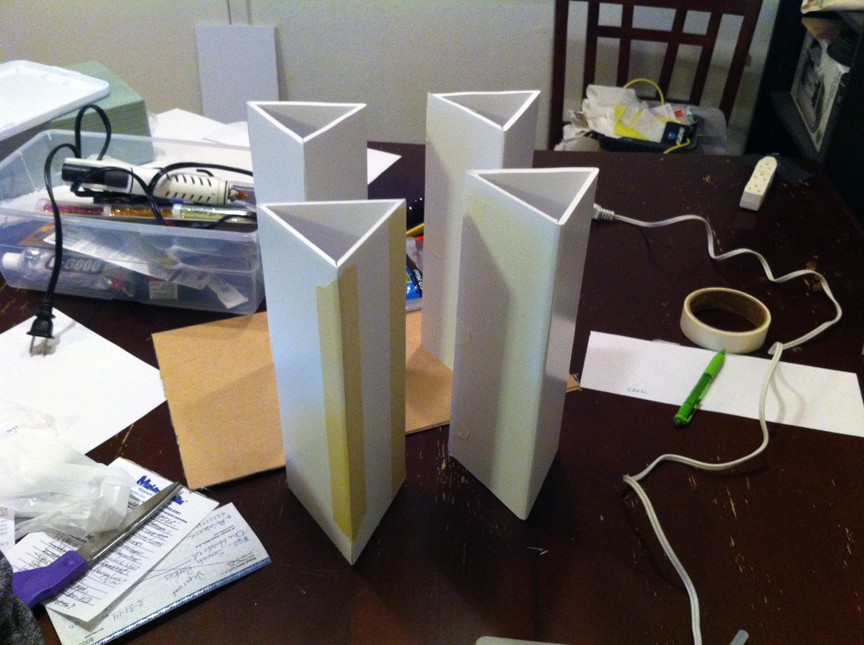
Mark and I decided that regardless of what the outer facade was made of, the inside of our stones needed to have a solid but light core which would give them structure and keep a consistent size throughout the four. Foam core will do the trick for this. As such, we modeled the shapes in their final dimensions in CAD and then worked our way inward to determine the measurements for the core.
The foam core bases were kept as one whole piece, scored in the areas where it needed to fold in on itself. Easy enough :
I must note that initially we were going to glue floral foam to the outside of these, carve the markings into them, plaster the surface, and then paint them to look like stone, but lets face it...... we have a 3D printer.
Mark modeled the facade of the stones in CAD. We decided for the sake of printing in safe bursts (incase of fail), it would be smart to break the model into many ring shaped pieces which would stack onto one another. The lower green section is actually six separate smaller pieces :
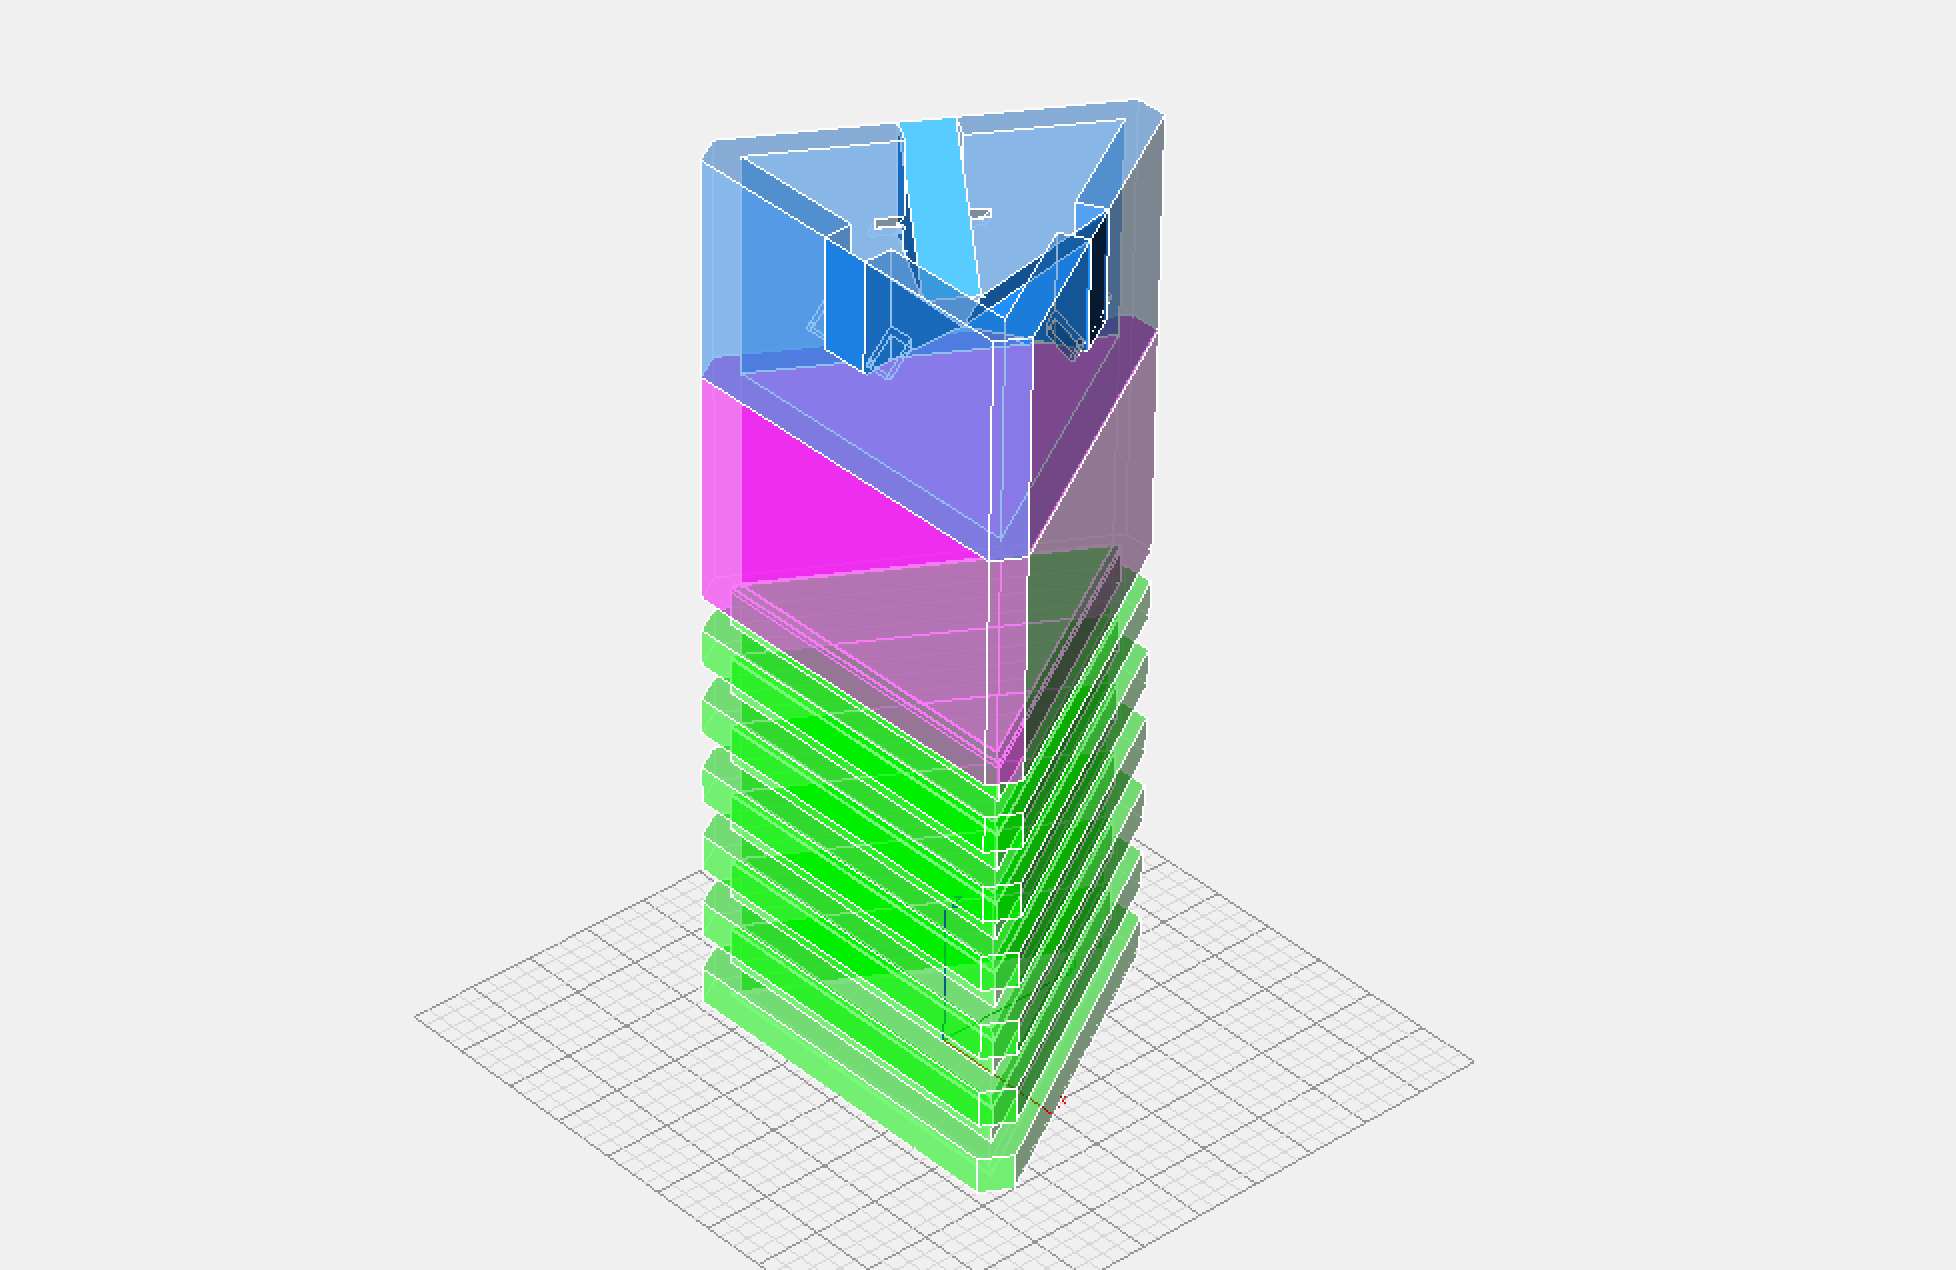
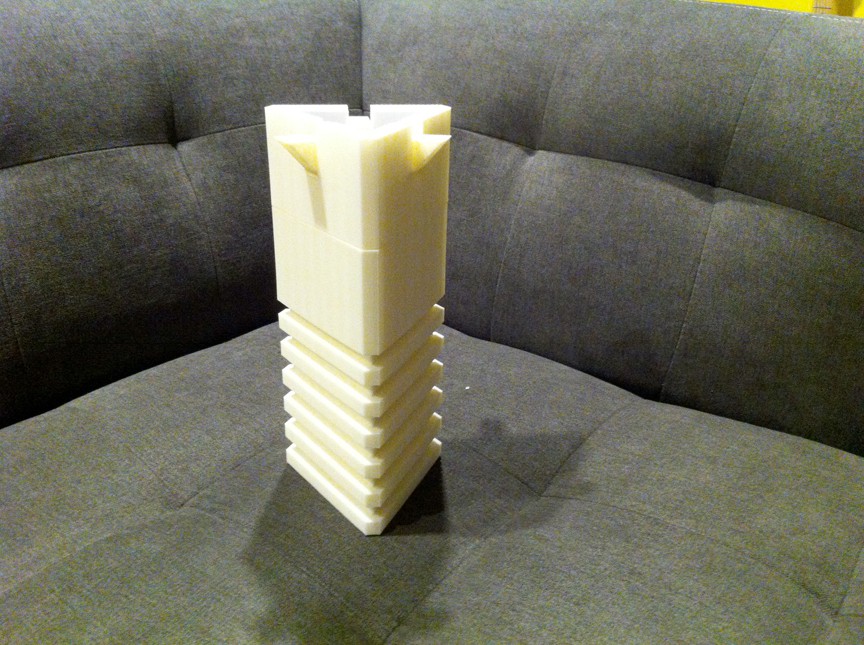
So far today we were able to complete the ‘Earth’ stone... because it has straight lines carved into it instead of wavy ones and is thus the easiest one to recreate. Mark and I printed six rings for the carved bottom half, and two slightly thicker rings for the solid upper half :
It took the whole day to print all these pieces... but once they were done, I jammed them rather violently onto the foam core centerpiece (tight fit) :
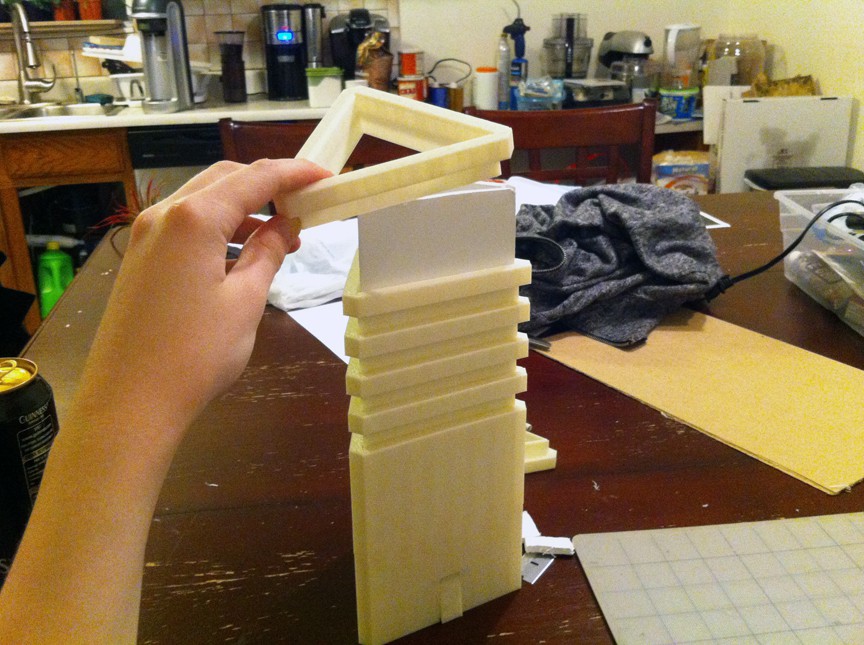
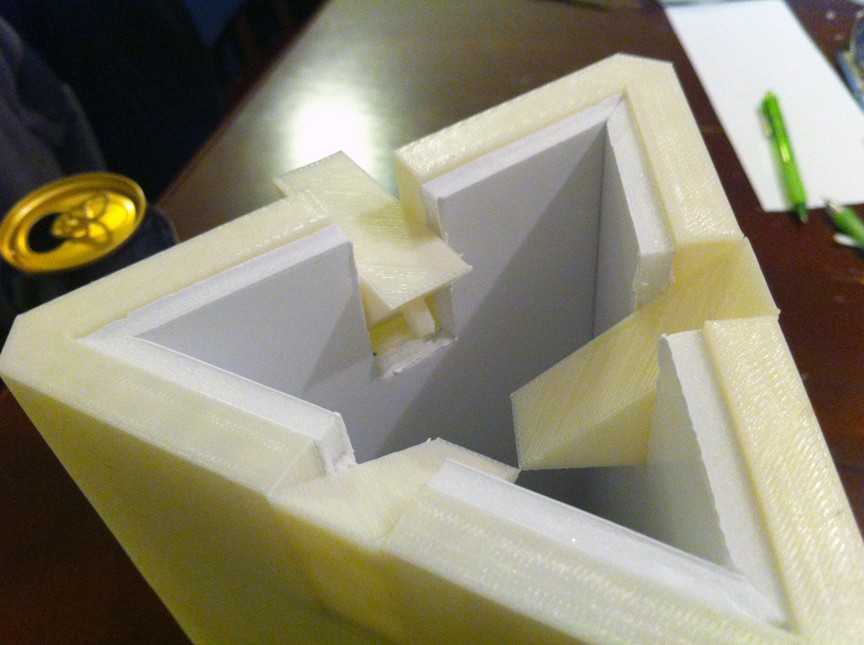
Each ring sits on a small groove/lip of the piece below it, so they lock together like puzzle pieces. The added pressure of the foam core forcing outward keeps them all firmly in place. The final structure is solid and extremely light weight :

Aside from the design on the outside of the stones, we needed to plan for the moving parts at the top. The upper portion has 15mm wide slots in the center of each face. These are the parts that “open” at the end of the movie when the stones activate. We modeled three triangular slices that swing out on some wire as hinges :
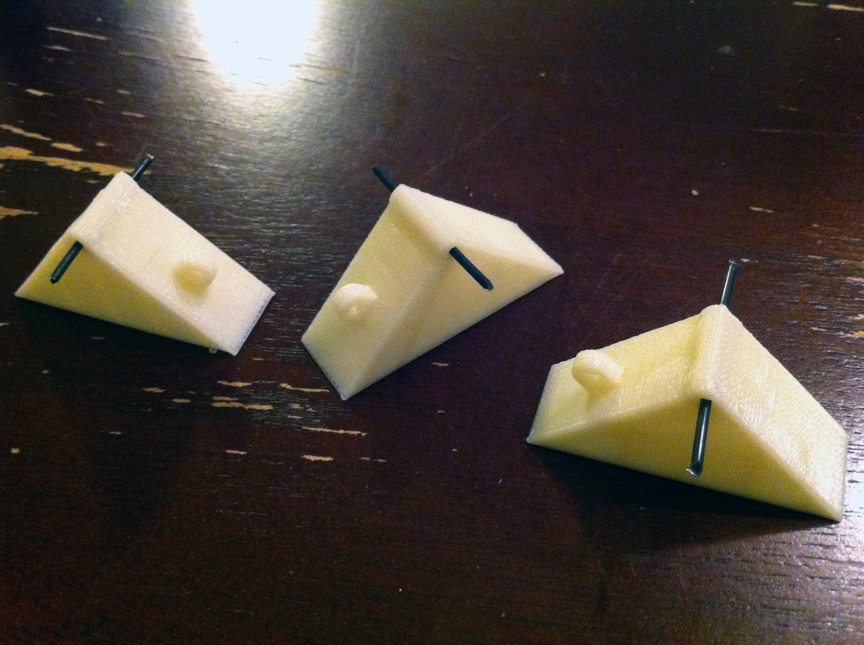
These metal wire bits slide into slots Mark made in the wall of the main piece :
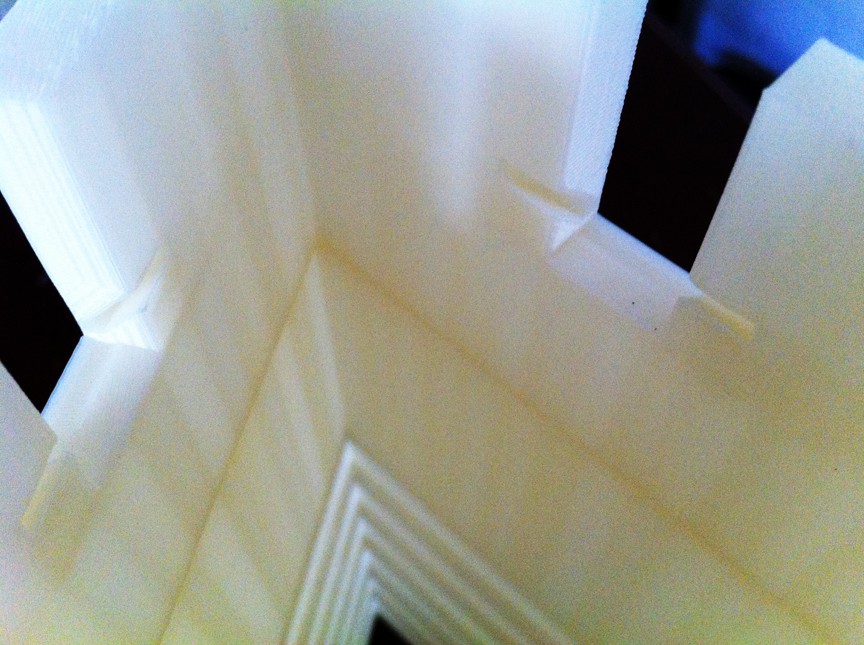
The wedges fit in place like so :
These pieces will actuate via servo and wire pushrod. I plan to start on the servo and LED mount tomorrow while the pieces for the next stone are printing :
So yeah... this is our Earth stone so far. Like I said, technical part comes next... and I'll post an update as soon as I get this one activating and glowing all pretty-like. =]
I think we're doing 'water' next btw. Stay tuned.

So, how can you keep mosquitoes from taking over your bedroom? Start by checking out where they like to hide and take steps to eliminate those places. If you have a lot of natural vegetation around your home, trim it back and get rid of any standing water. Make sure your screens fit well and use mosquito netting when necessary. https://homeprofy.com

would love to see any updates and changes you’ve made since this was completed (and as lordKiCAD said, files would be lovely if they’re still an option). These are great!

Any chance of making a set for sale? And, if so, how much would they be? Thx
Great Project.
How much $ for a Set?
You can actually take theseveral to Hollywood and work something out so you sell these.


 Maximiliano Palay
 Angela Sheehan
 Josh Cole
This is my favorite project ever. Thank you for making something this cool!