 Nathan Peterson
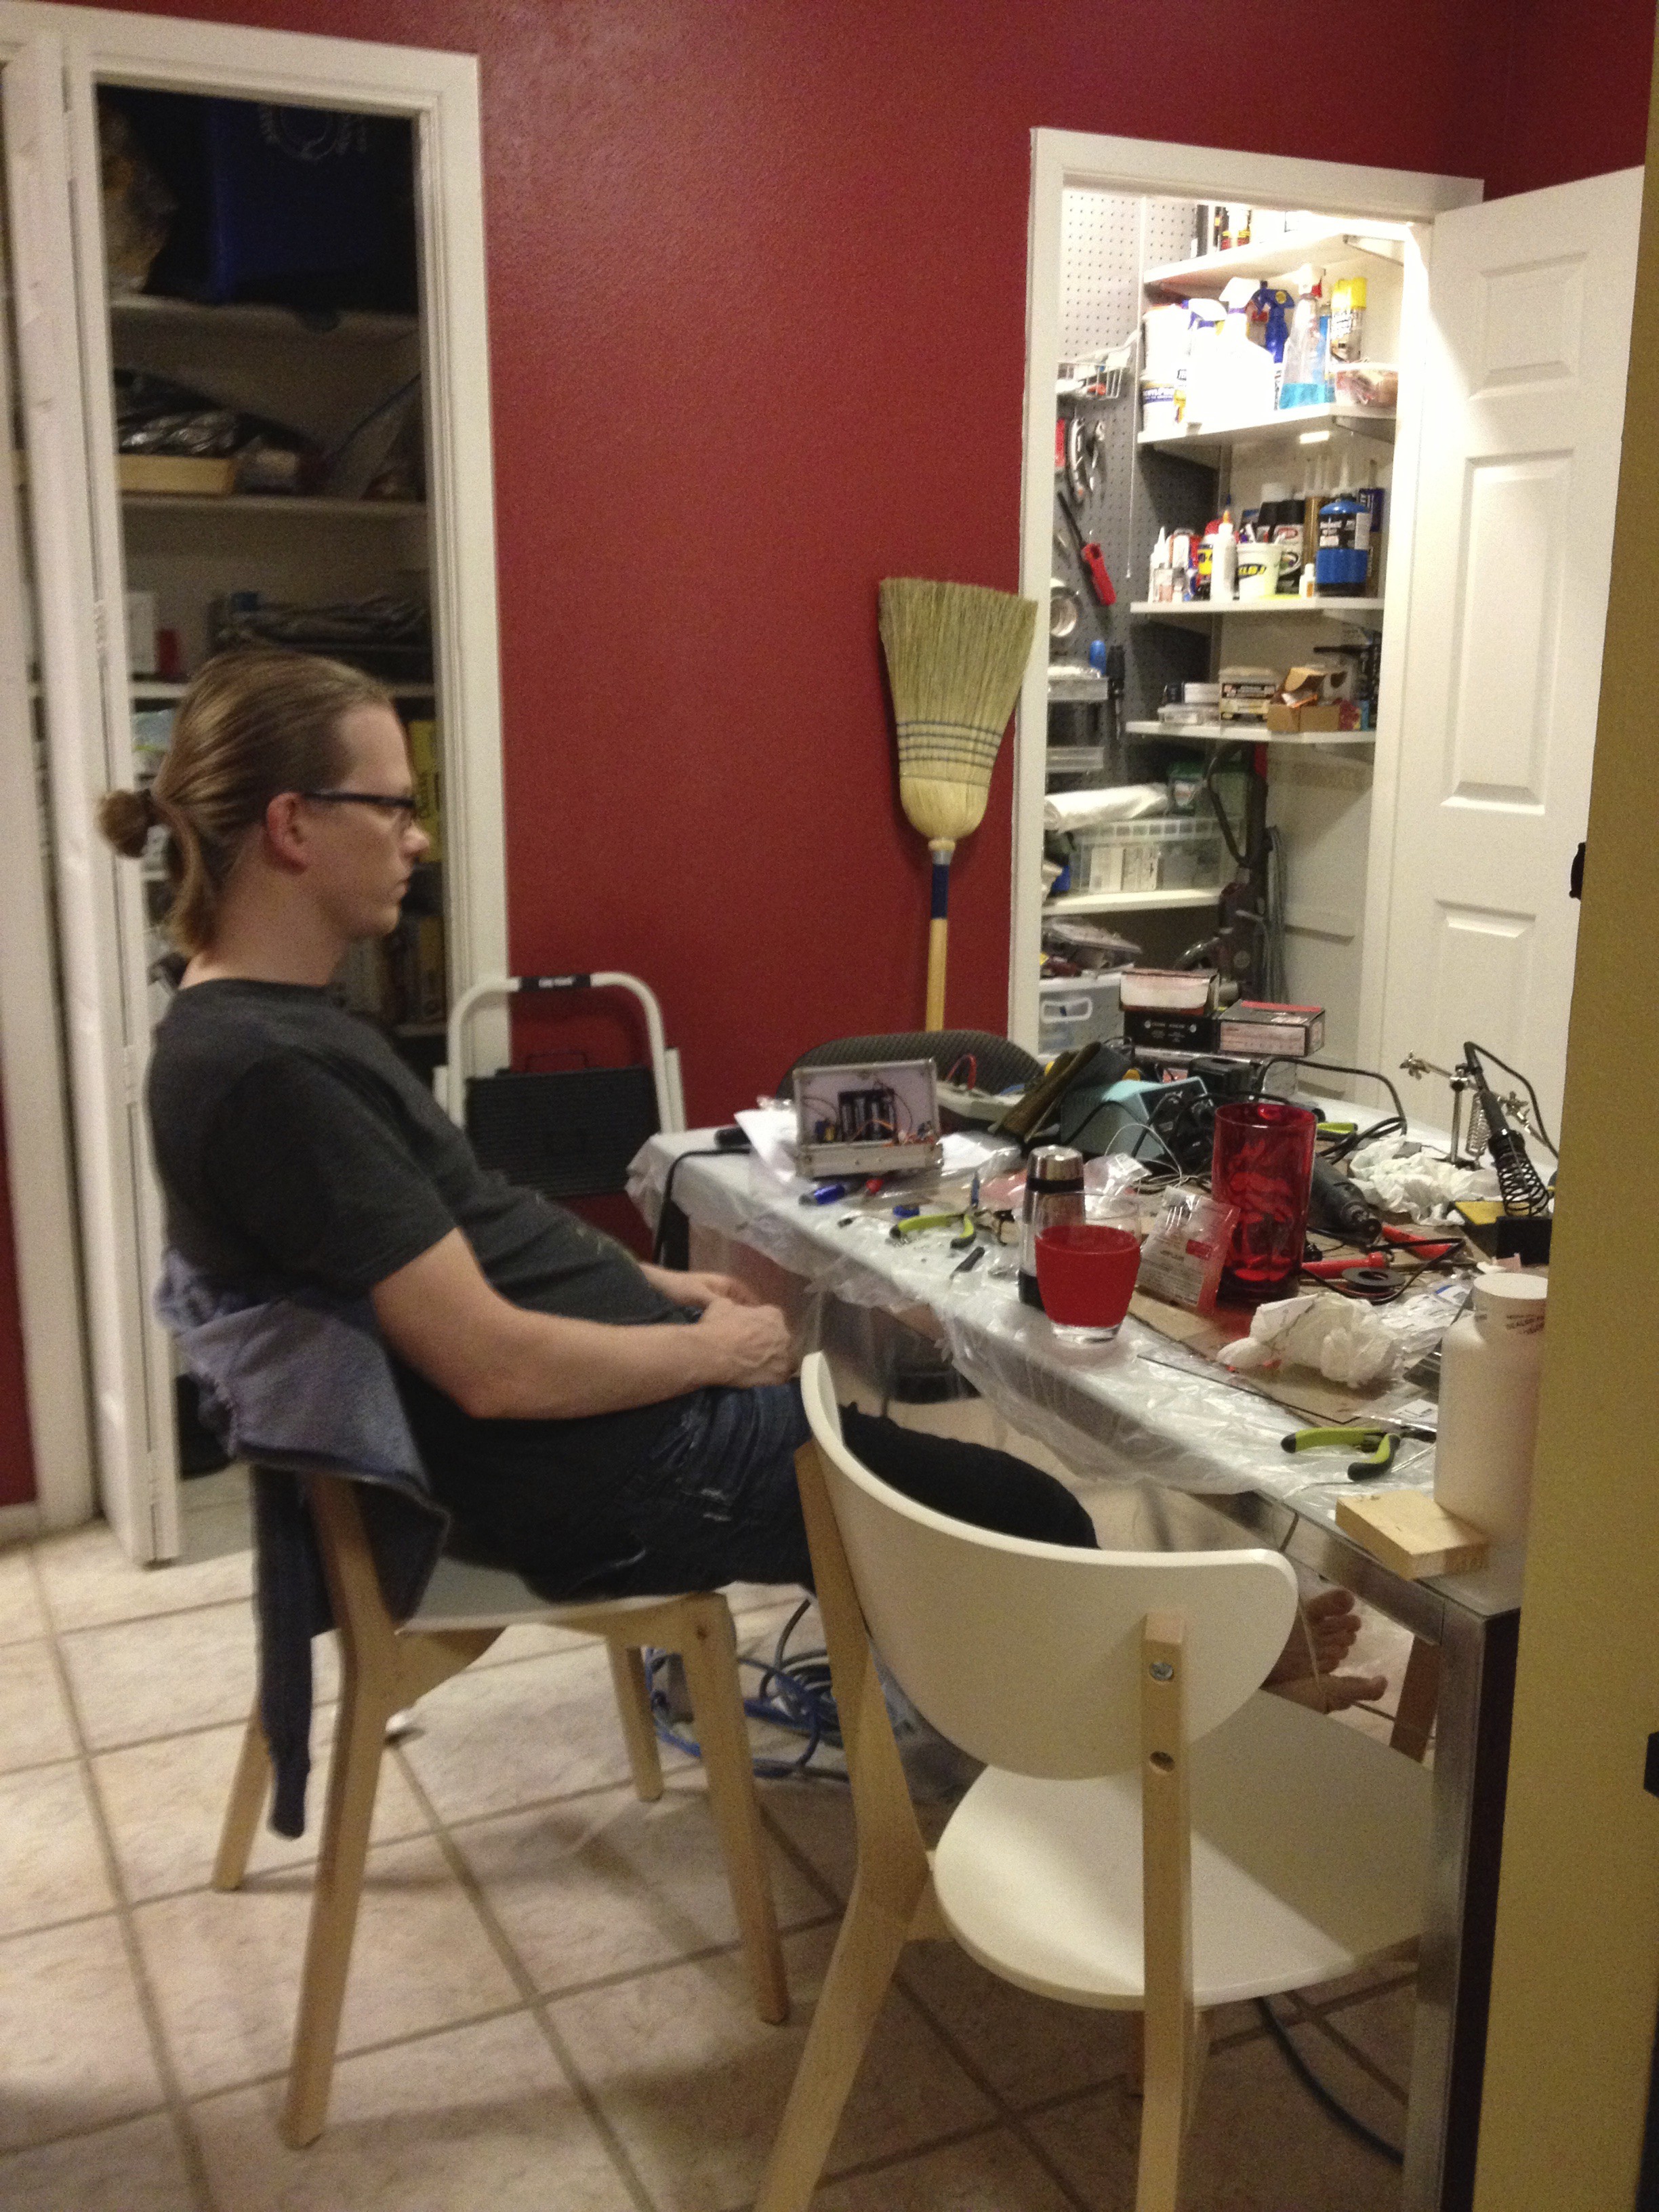
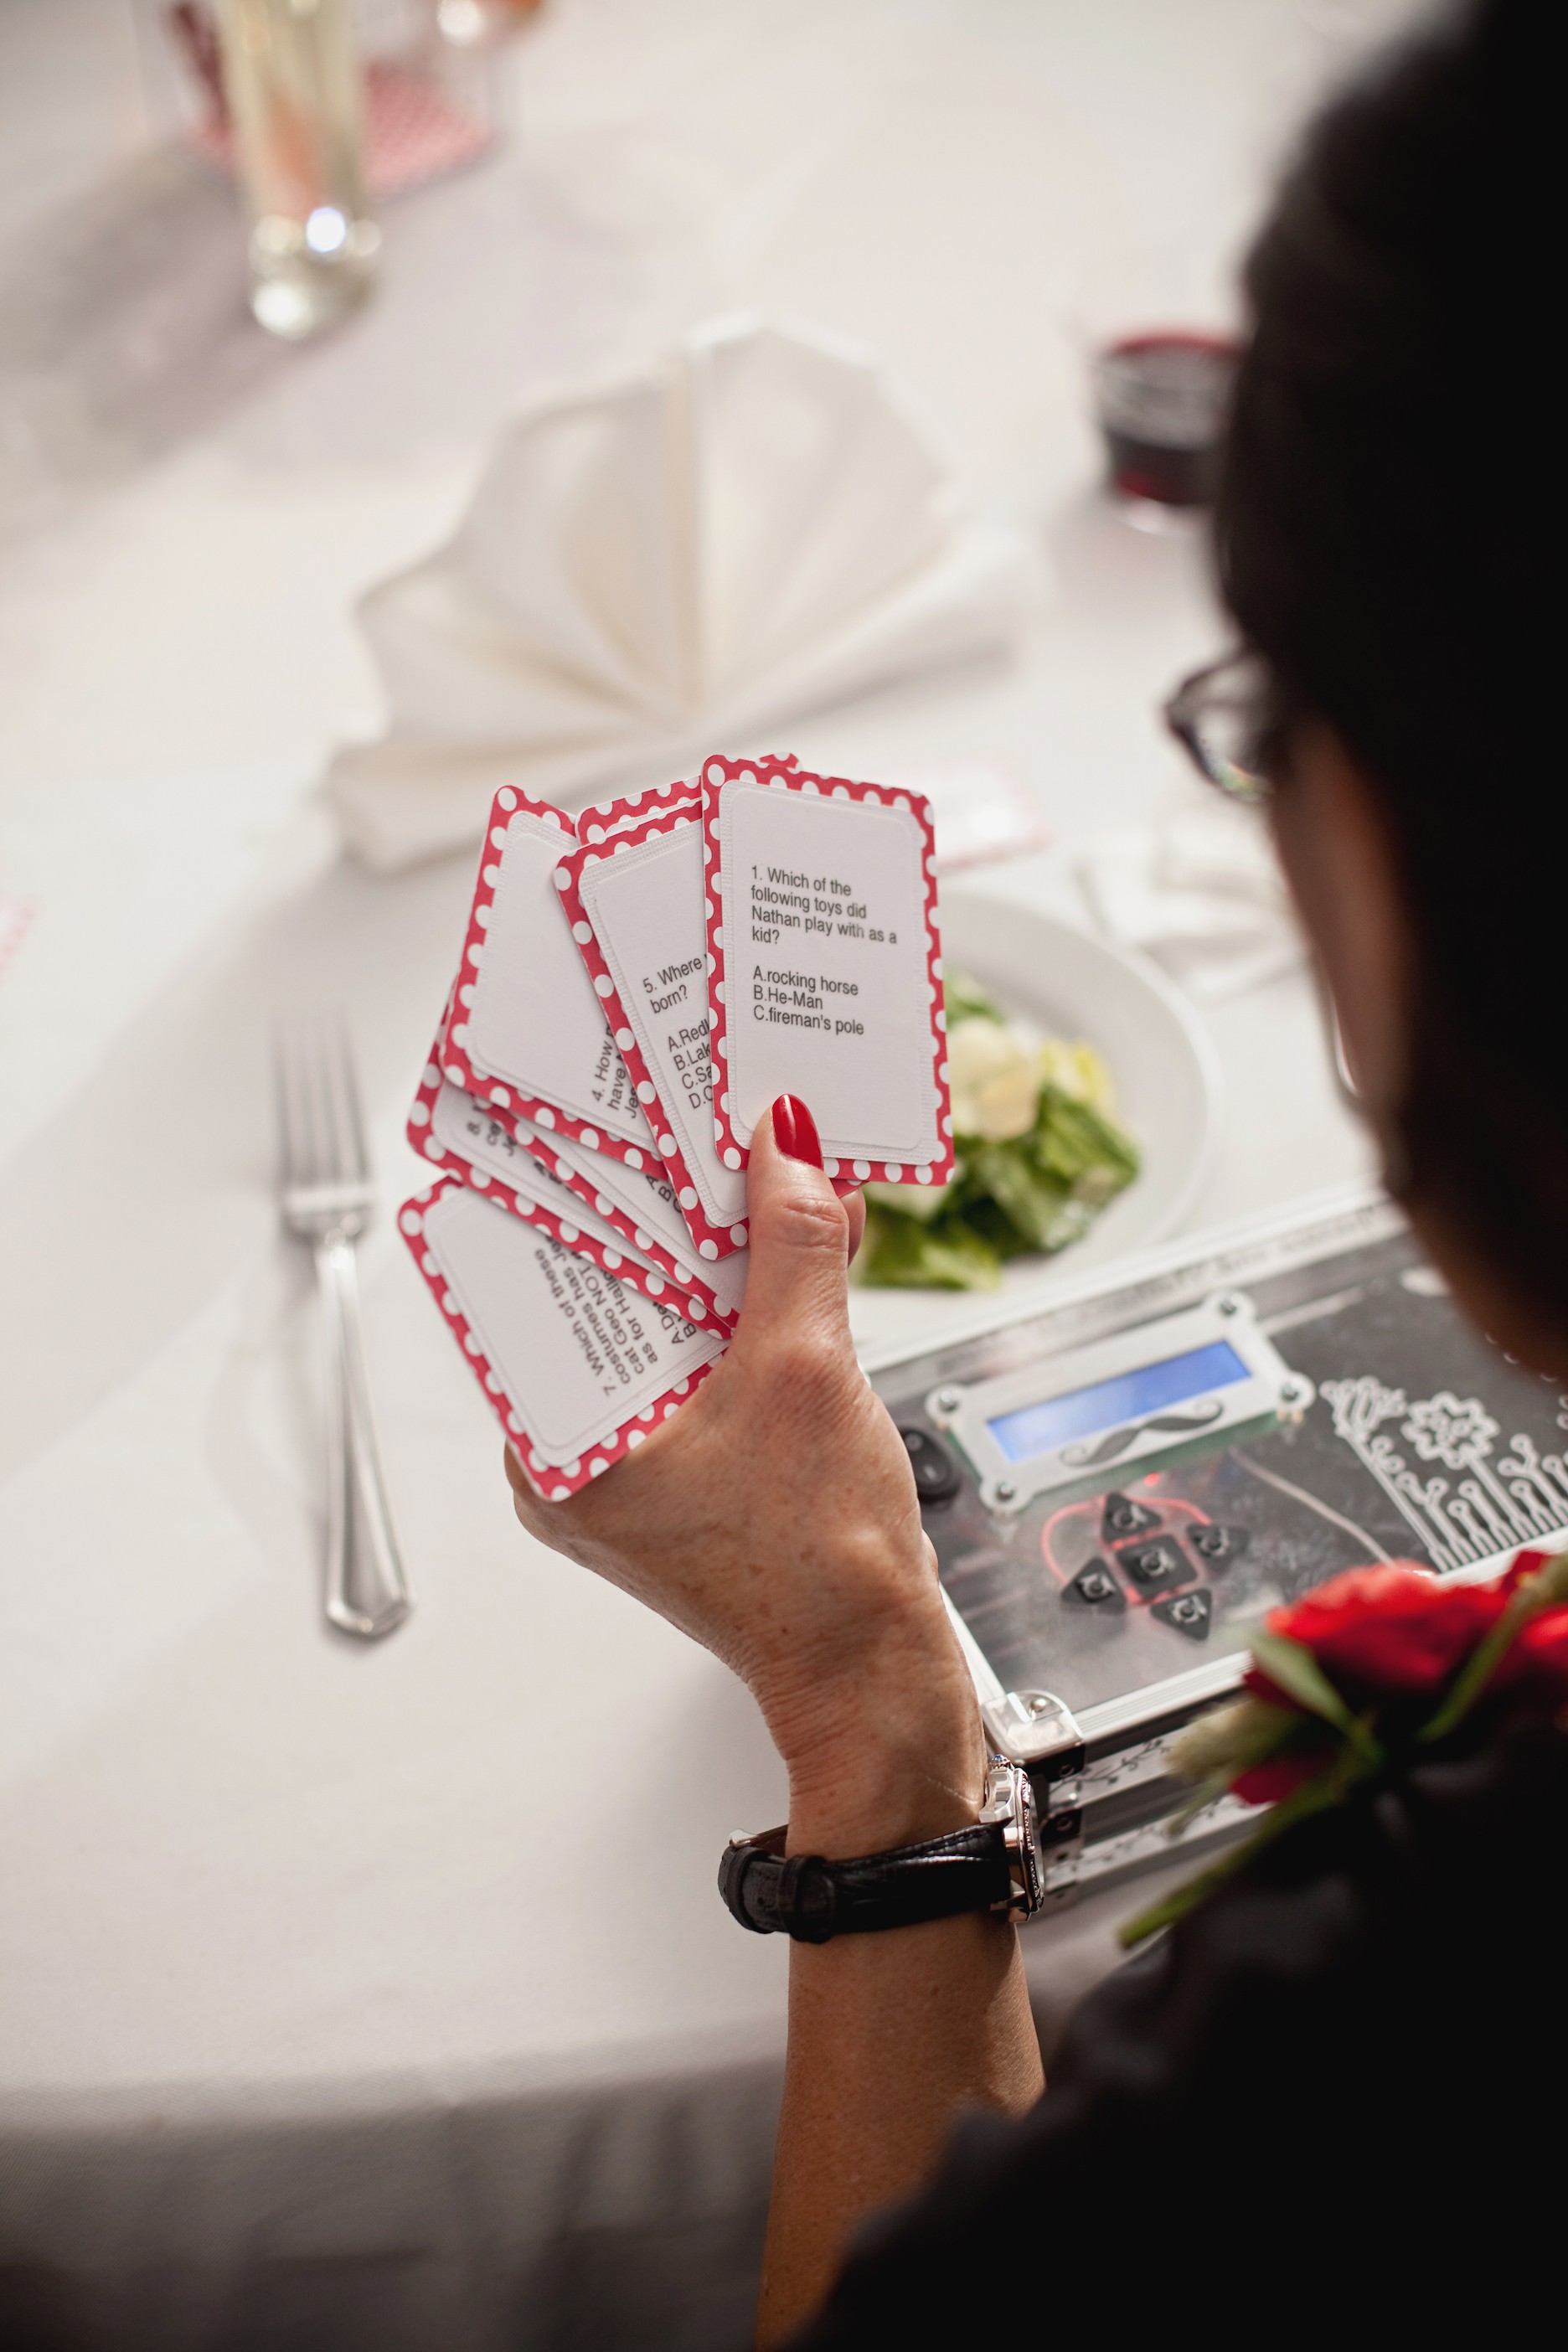
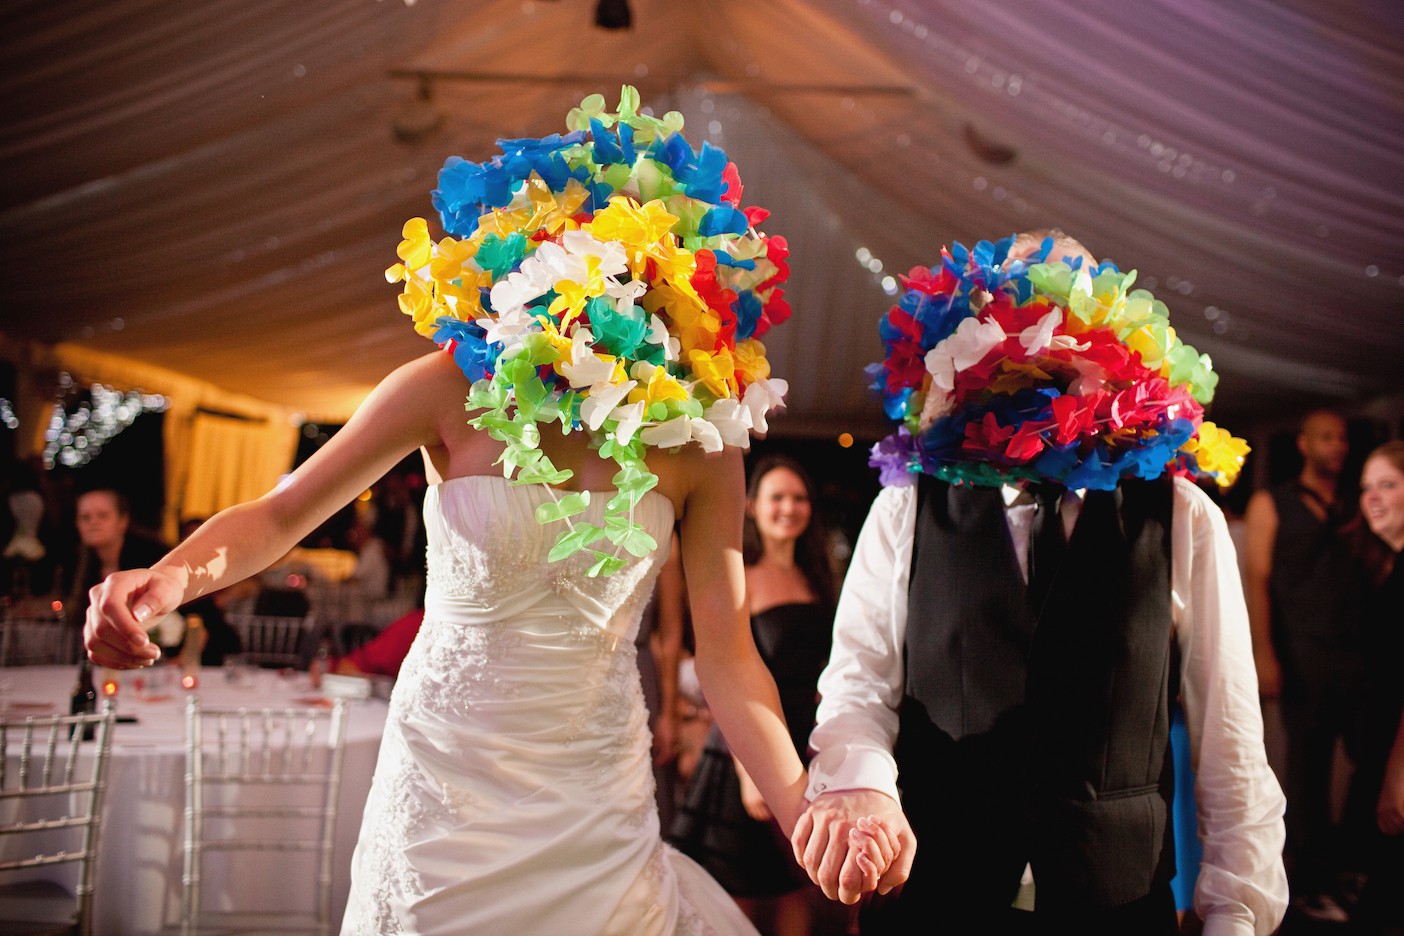
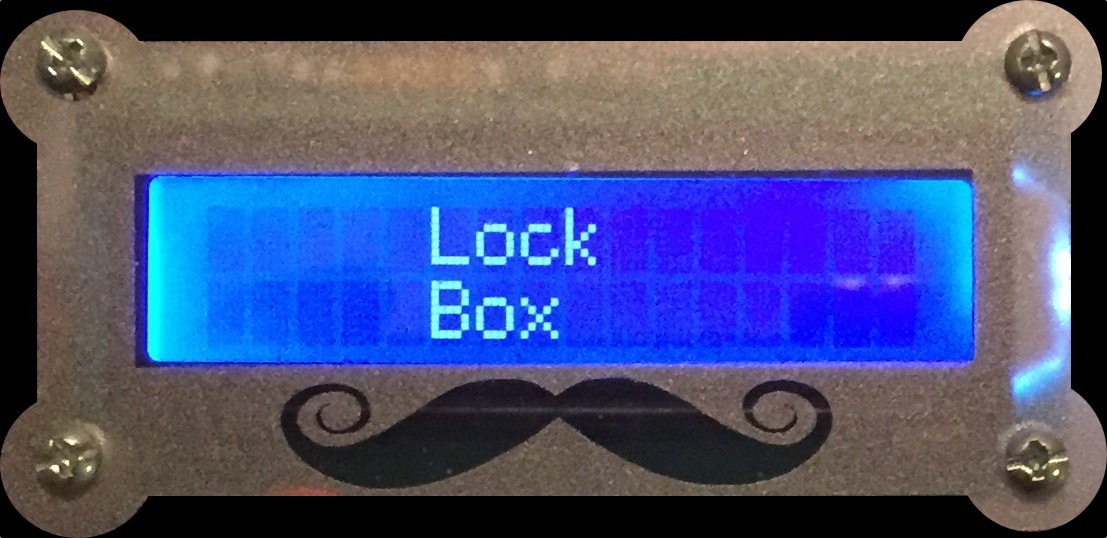
My wife and I wanted to create a fun activity for guests to do at our wedding that involved some sort of interaction with other people at their tables. I came up with the idea of having a lockbox that required answering trivia questions in order to open it. I think the result turned out pretty well :)
Here is the wedding footage:
Here is a demo of me using the Lock Box:


 Kate Reed
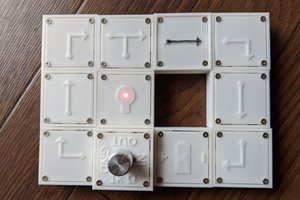
 Boris van Galvin
 Timescale
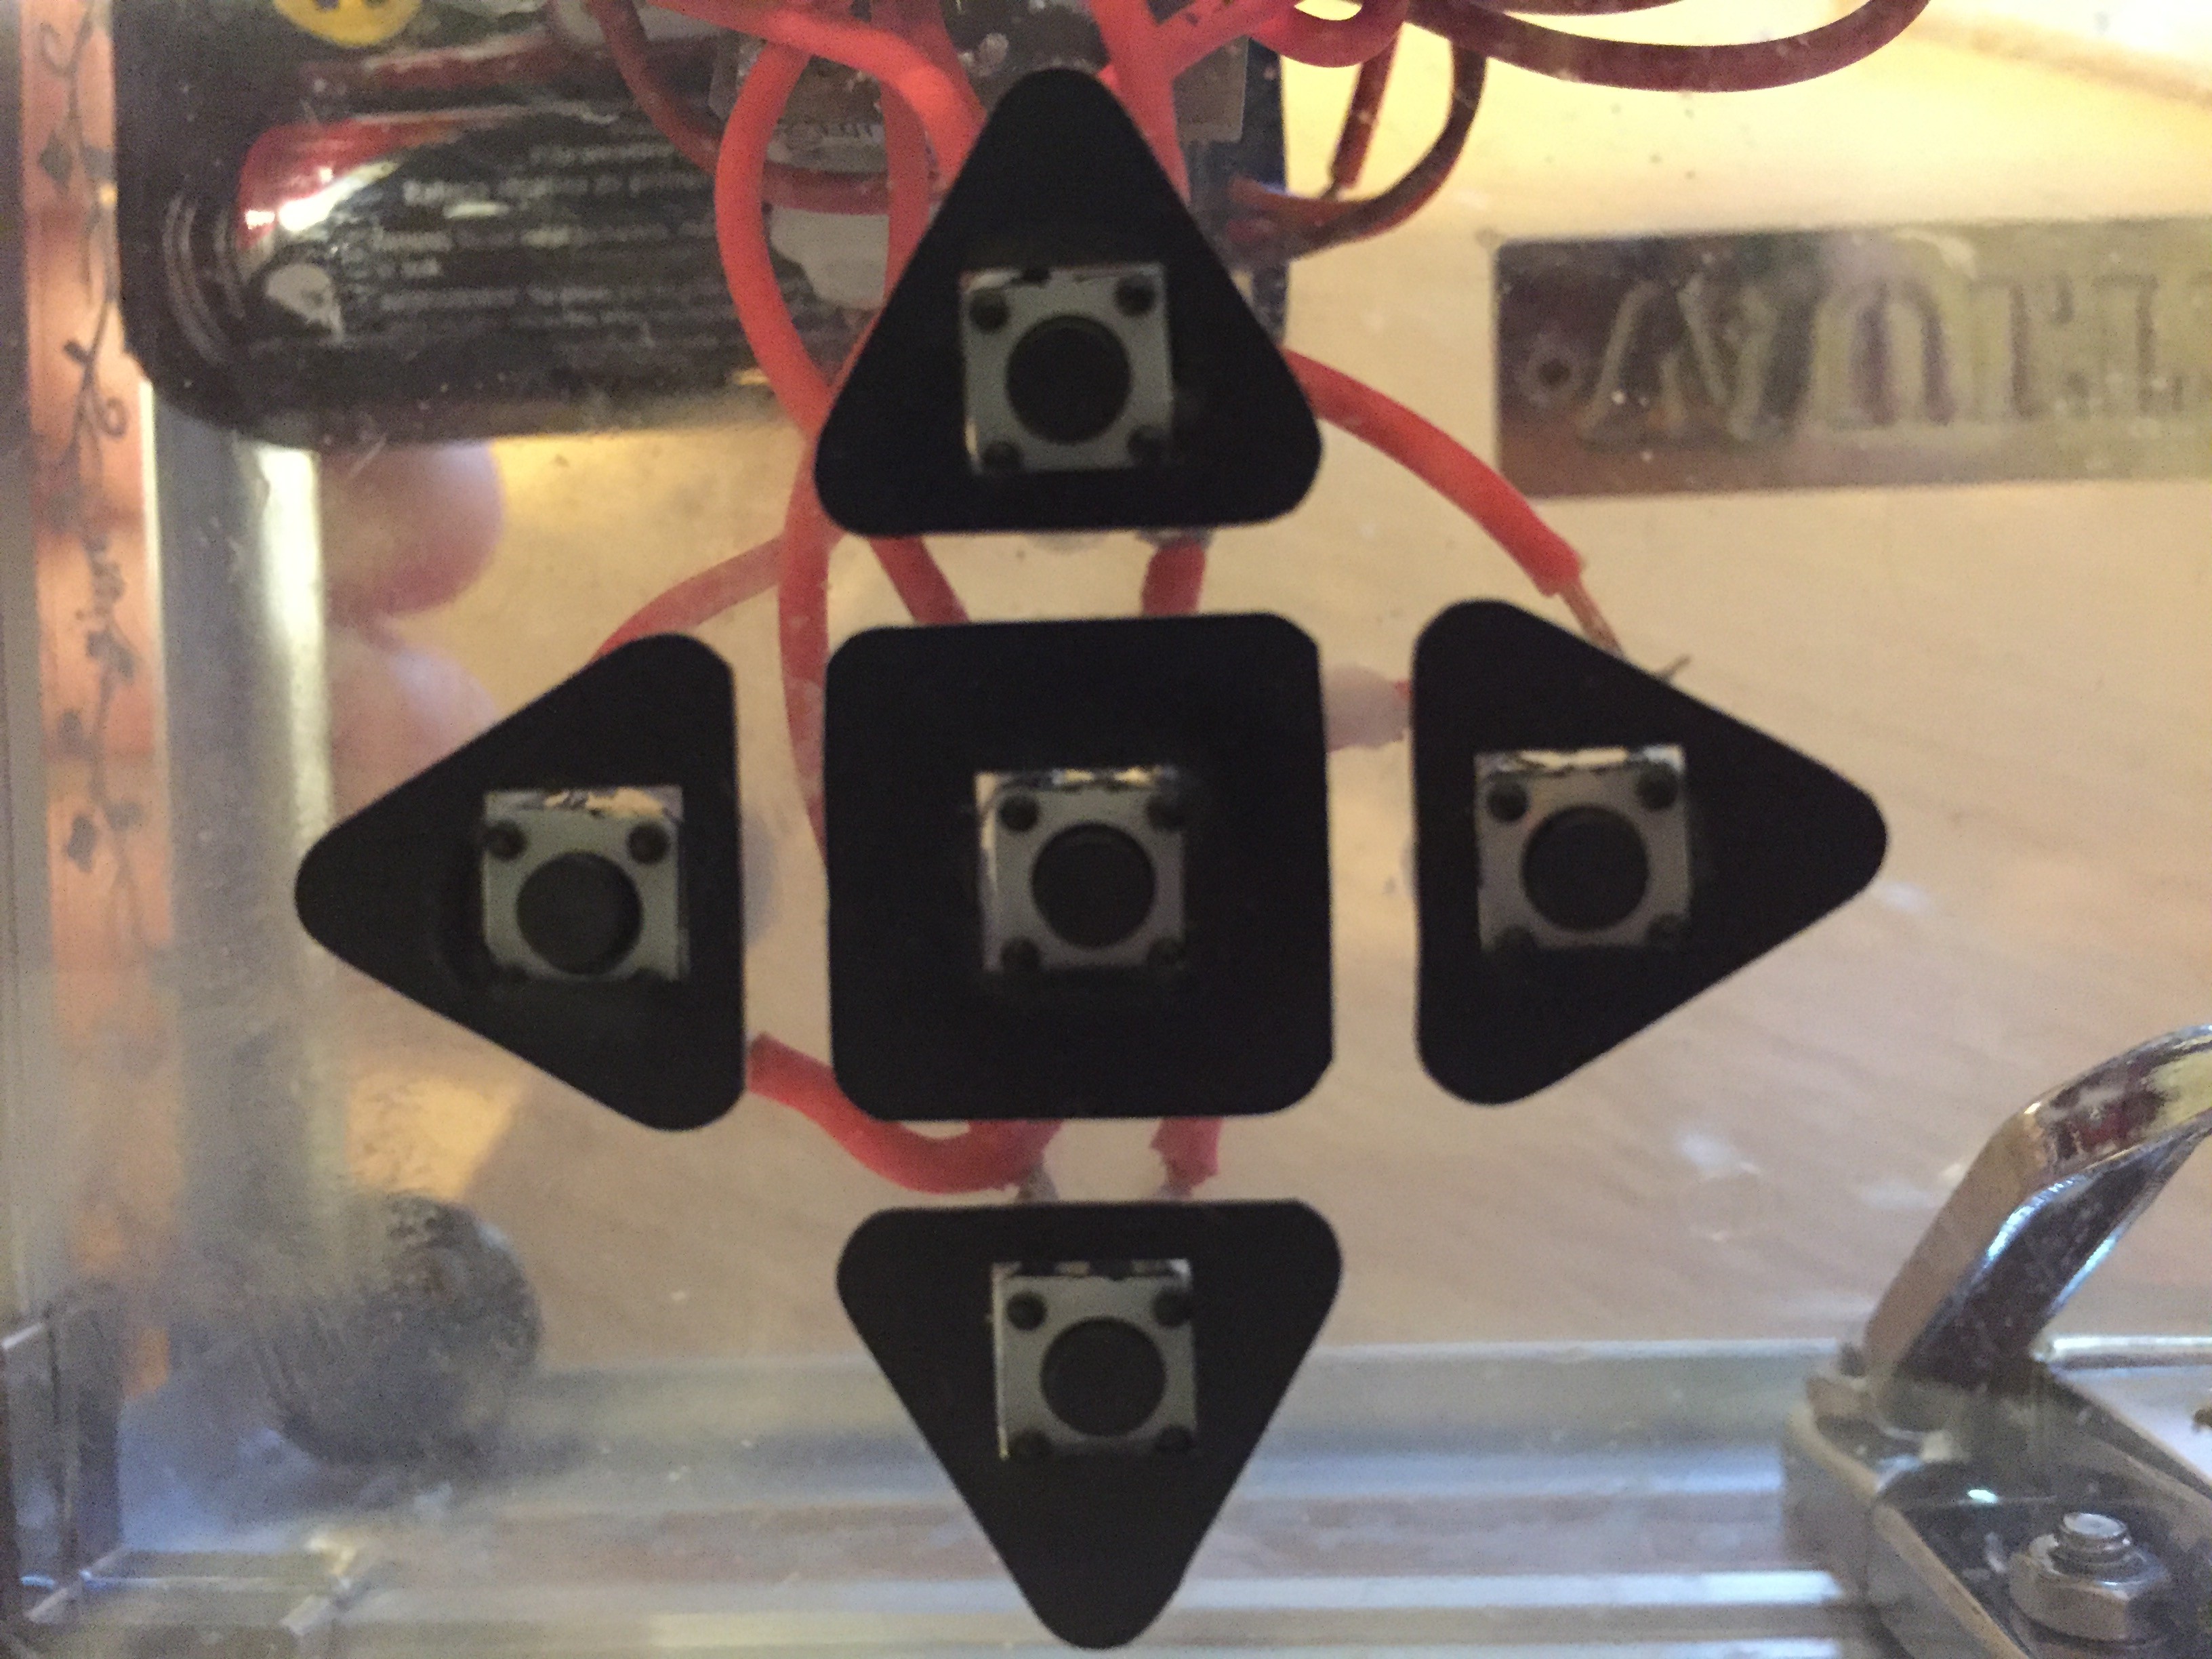
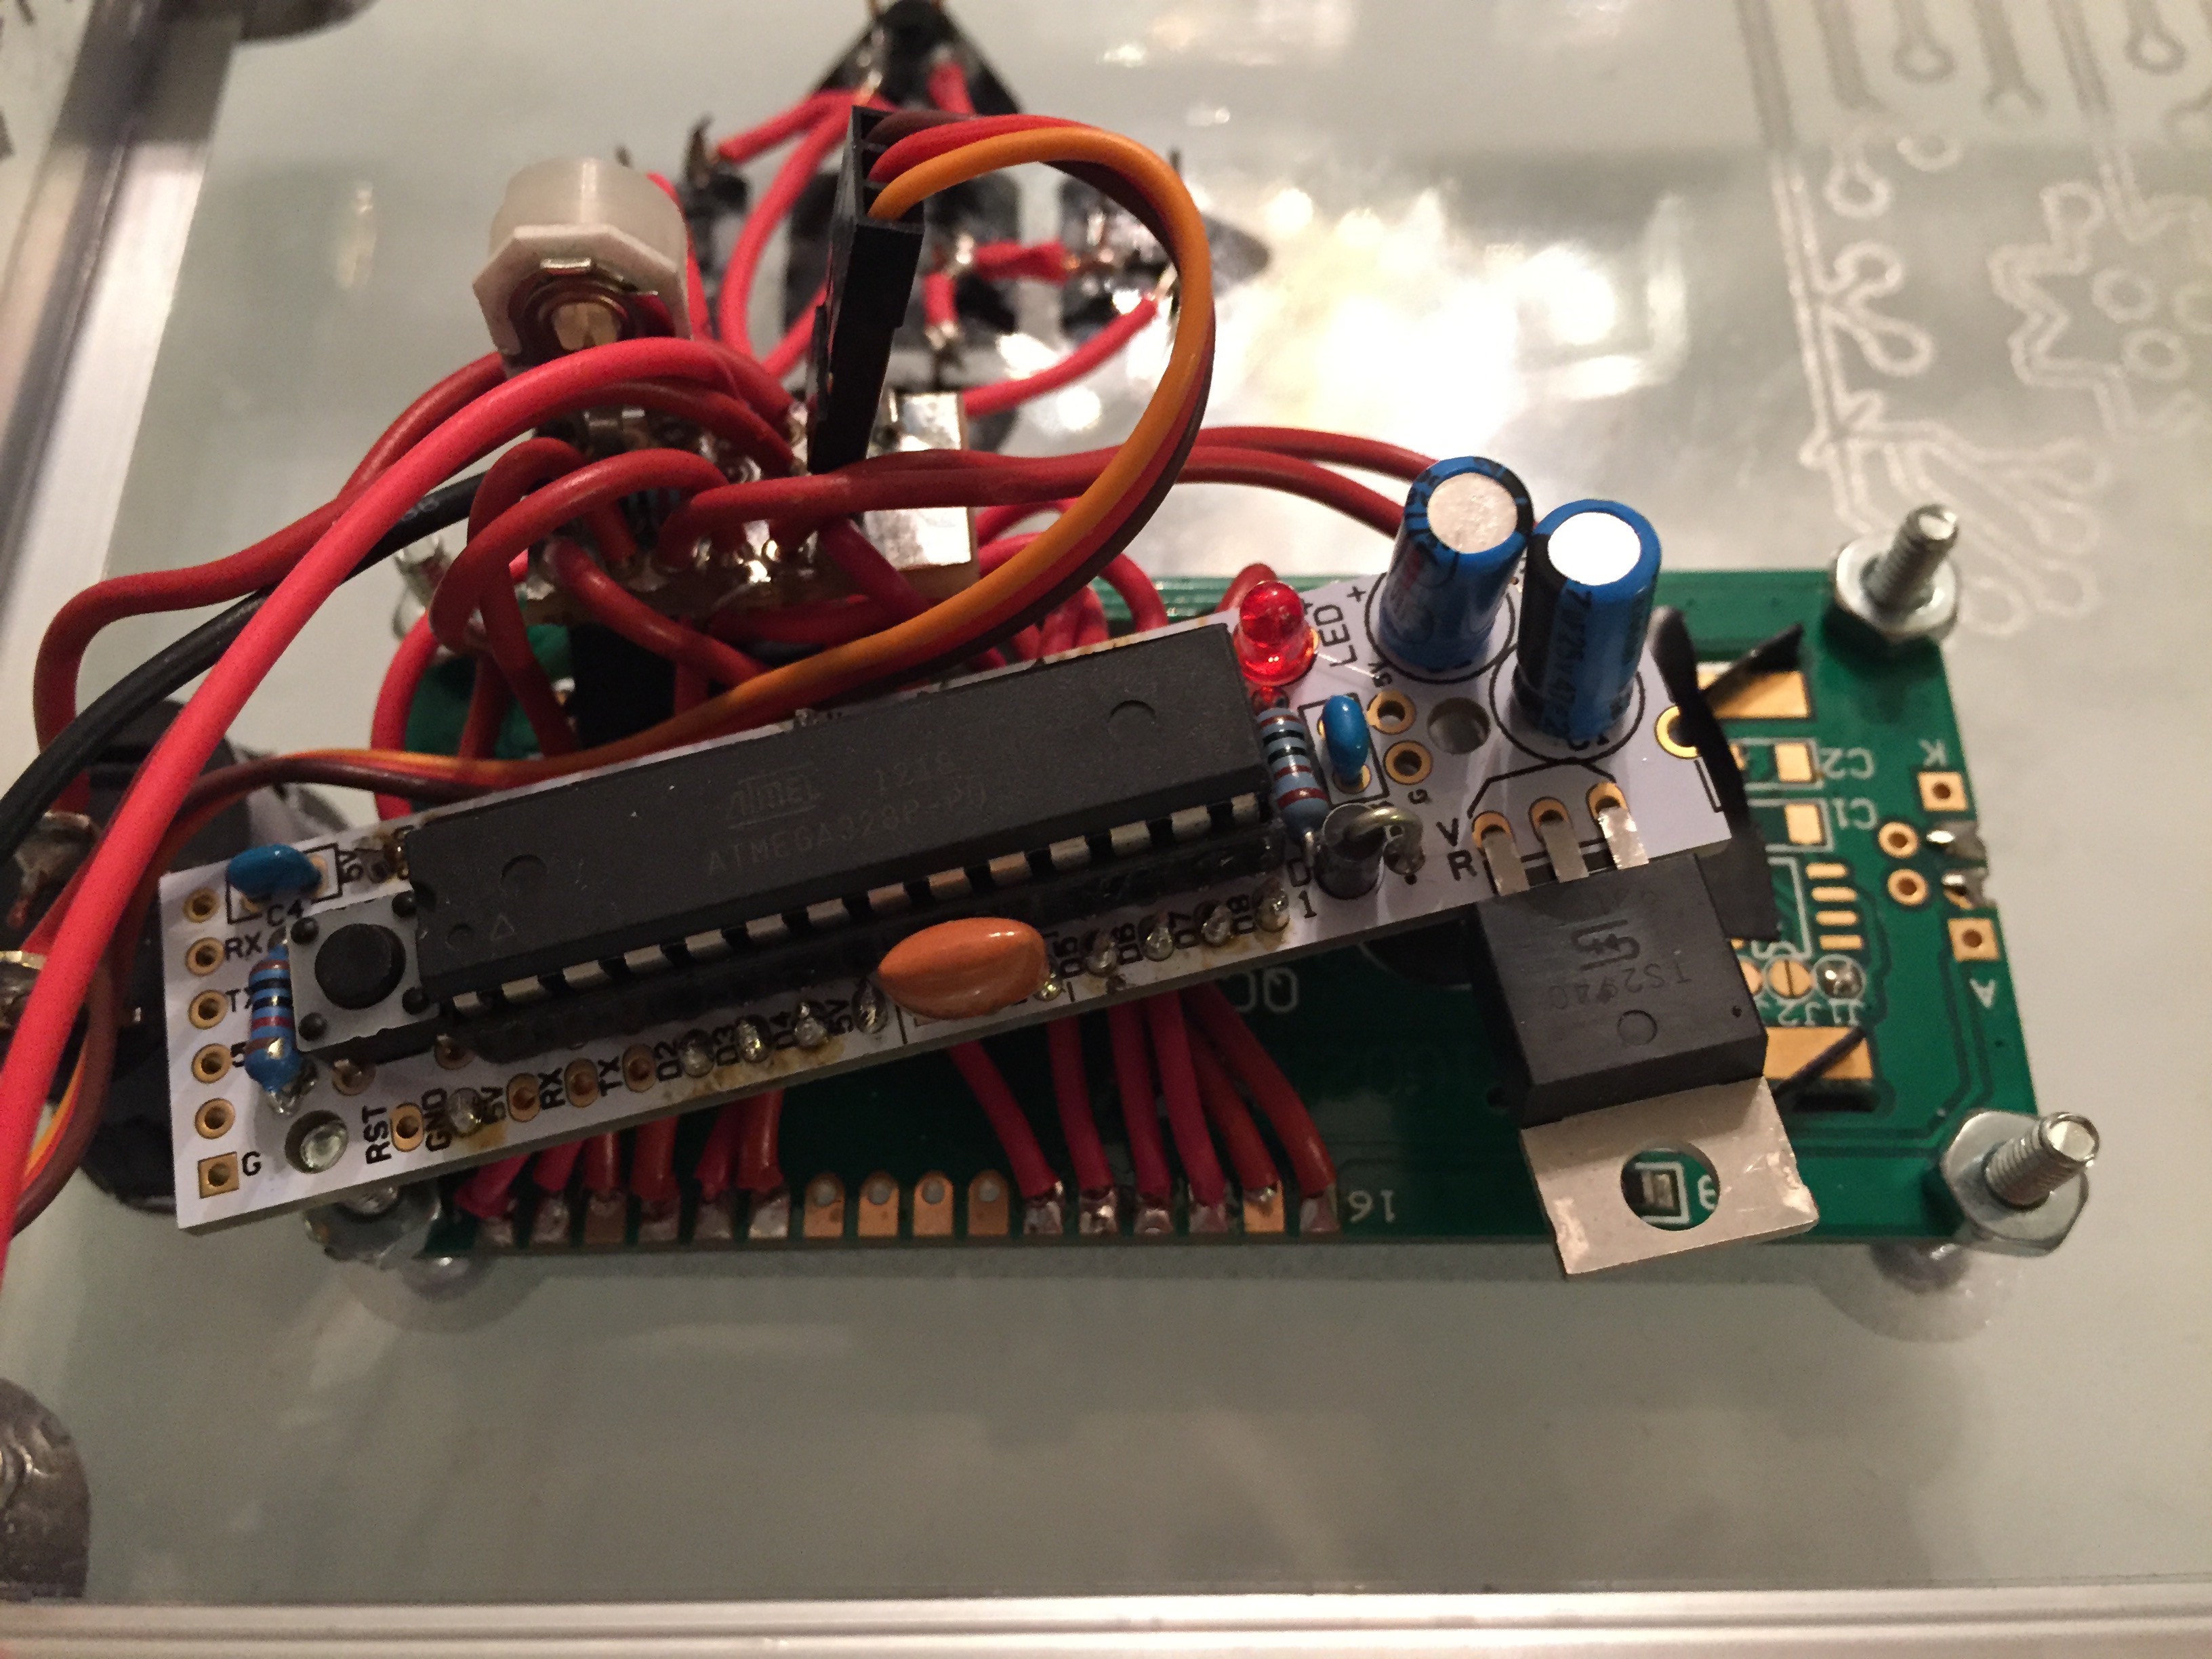
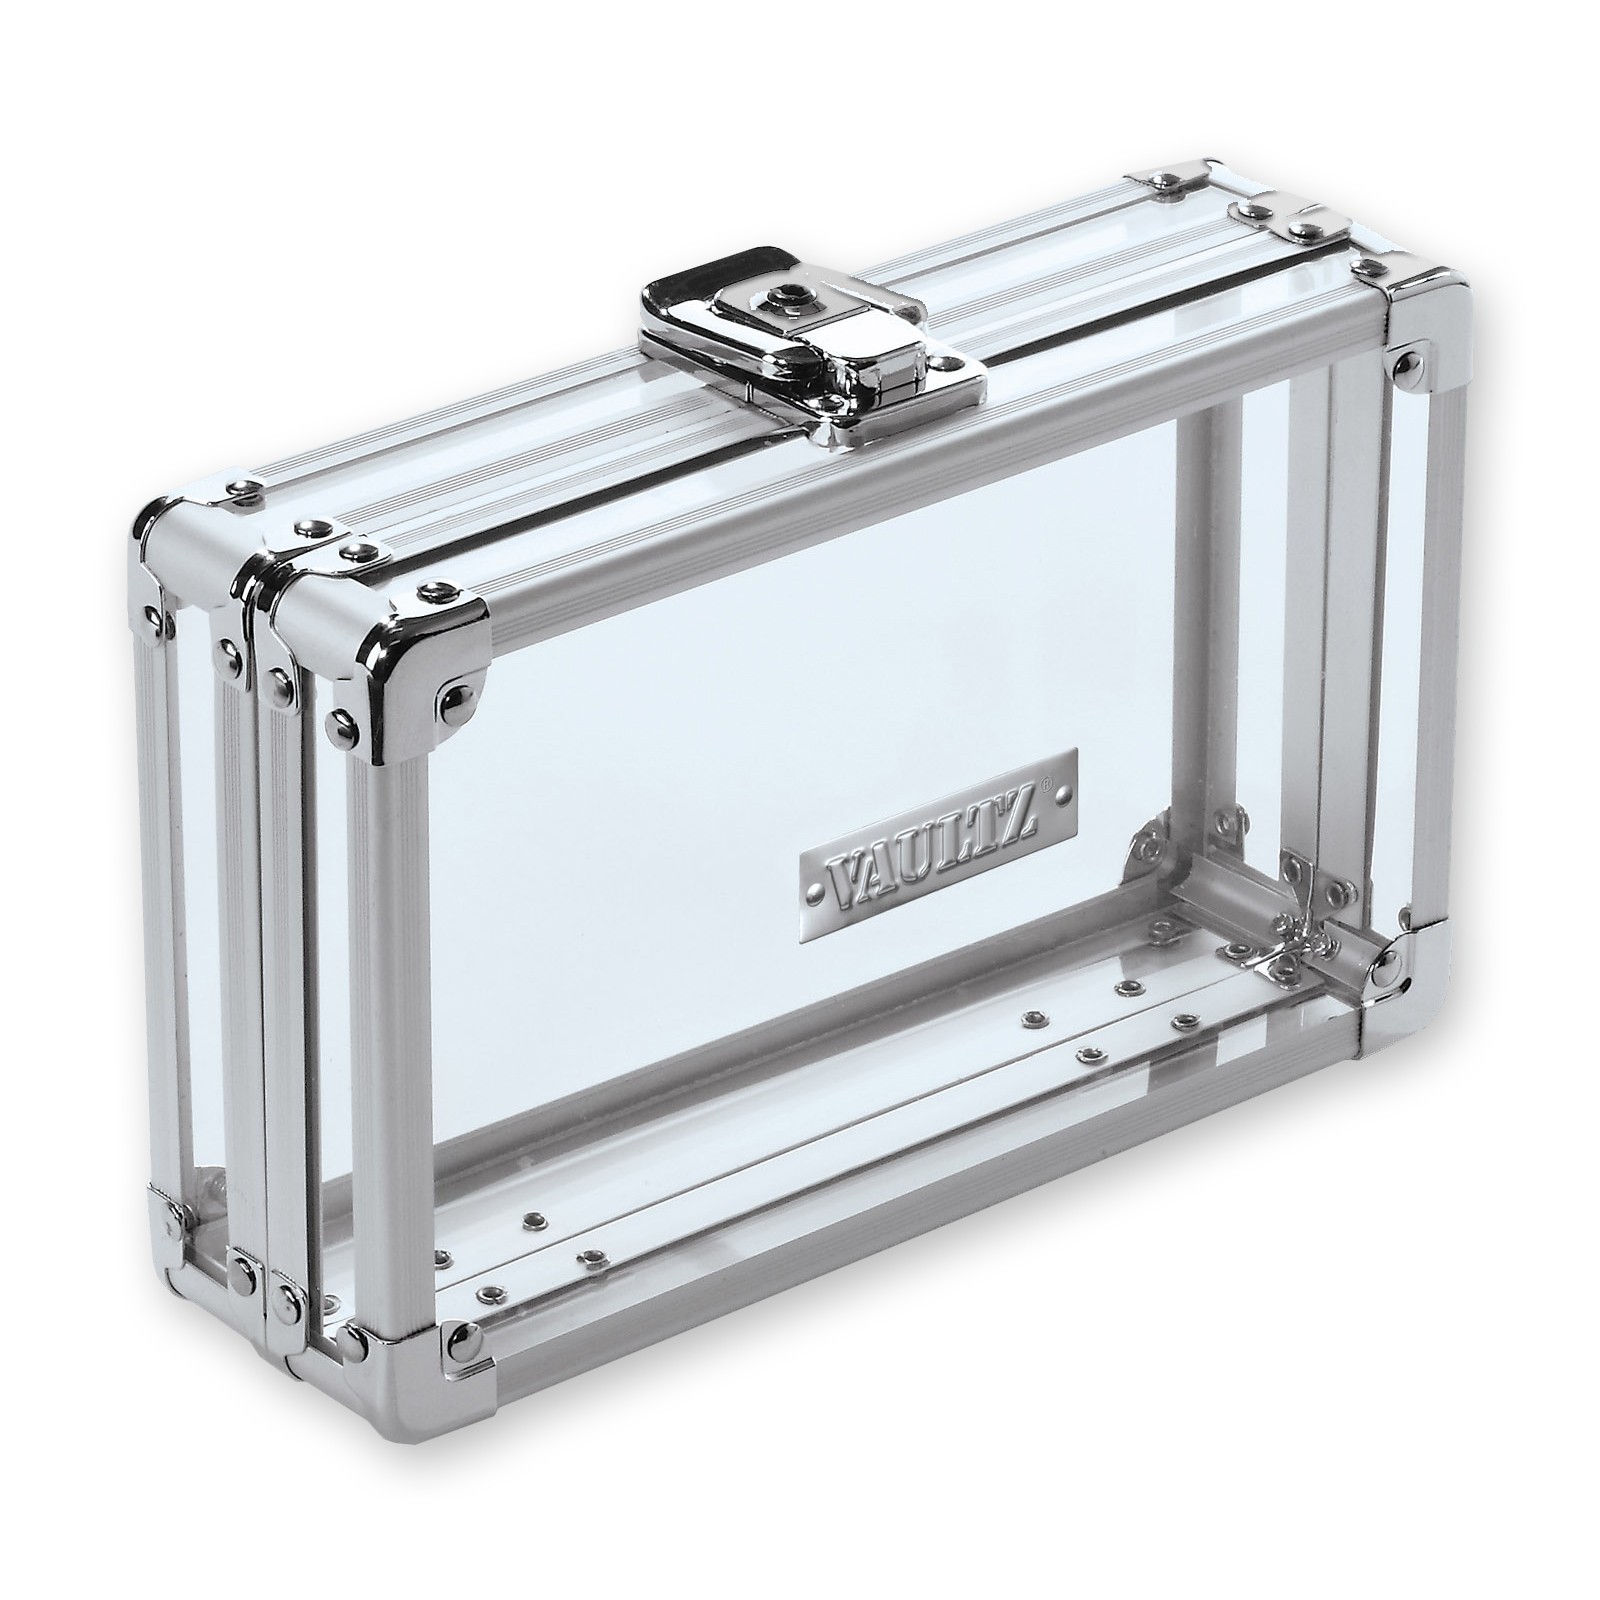
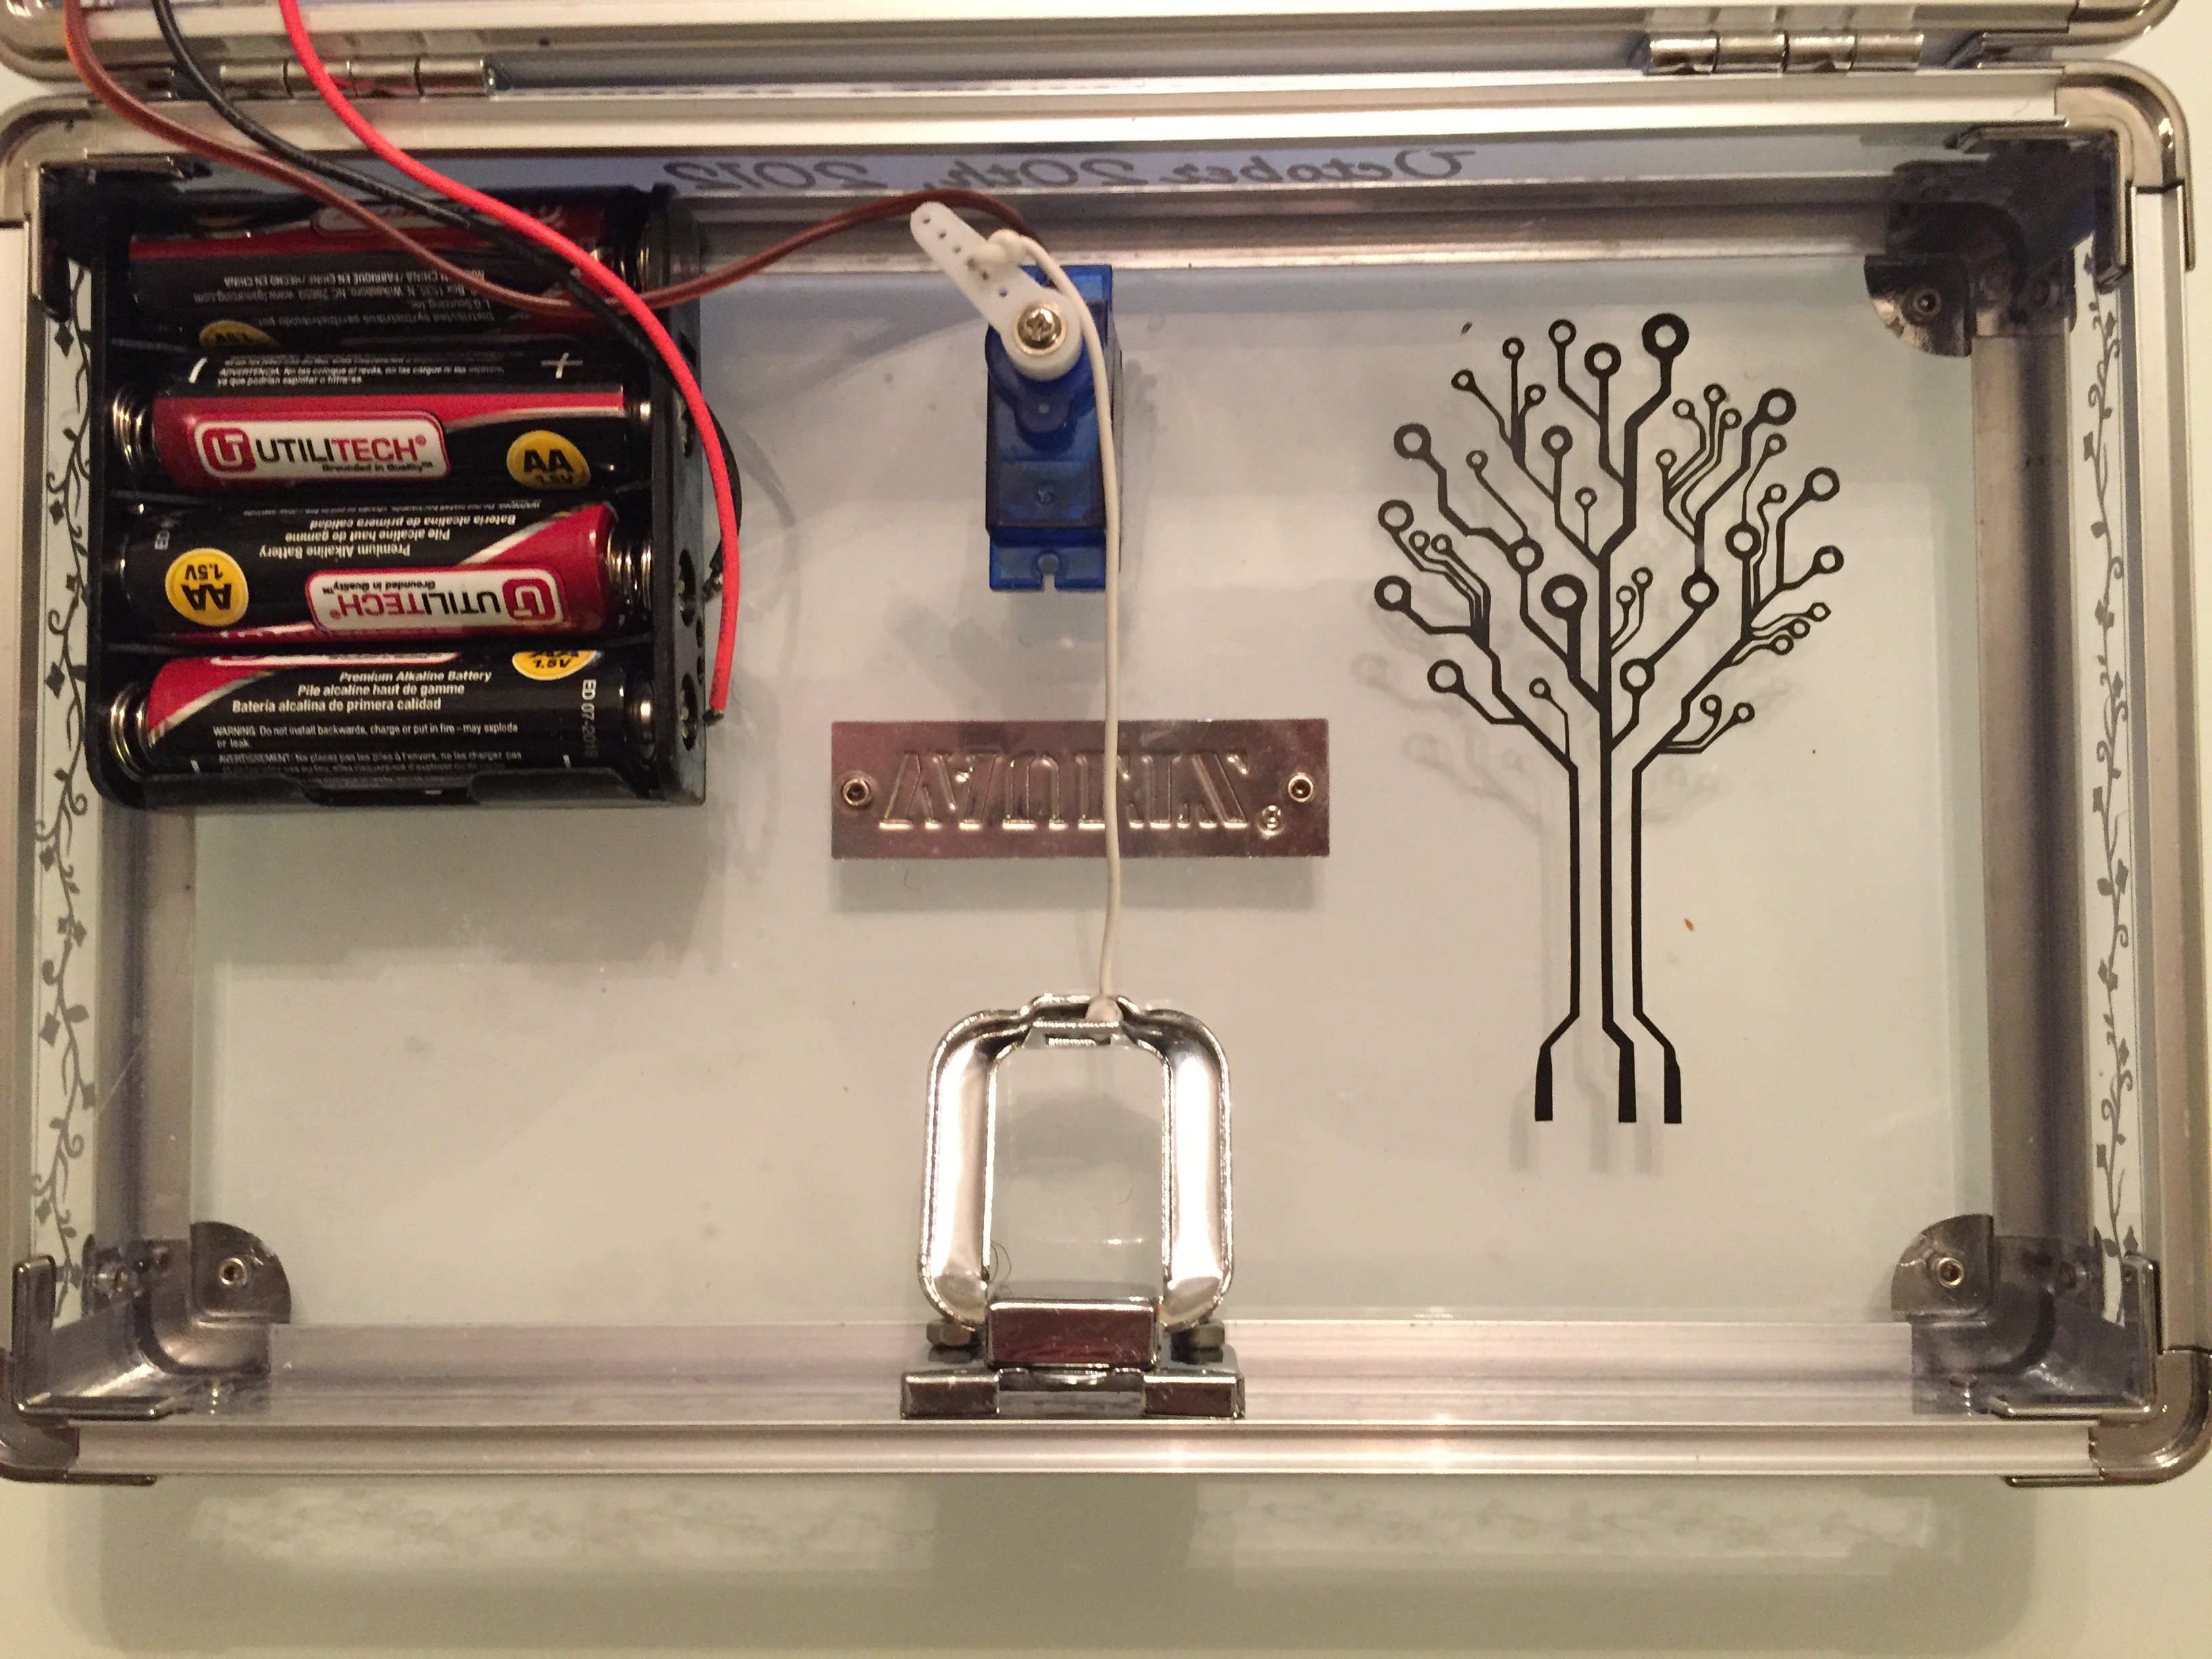
Hey! I made this for my wedding which is in October :) I have 15 tables so I ran into some memory problems but found ways to get it down. Also, Vaultz doesn't make the clear boxes anymore so I bought black ones and designed 3D printed frames for buttons and screen.
Thanks for the great idea and the code!