 zakqwy
I wanted to build a clock, or something like a clock, but then I only had one 7-segment display lying around (purchased surplus, probably 15 years ago). Luckily, I also had a pretty beefy high-speed servo, some mechanical parts, a length of square pulltruded CFRP rod, and a handful of electronic bits as well. No RTC functionality, so right now it emulates a group of 7th graders that just figured out how to spell "naughty words" on their calculator screens:
The rapid servo acceleration causes the whole thing to jump about on the workbench, which could probably be solved by additional weight and/or foam padding but is pretty hilarious to watch. The firmware, running on one of many Pro Minis I had lying around, is so half-assed that I don't think I actually saved the file after uploading it. As you can imagine, it makes liberal use of really basic Arduino functions like digitalWrite and the servo library.
More pictures.
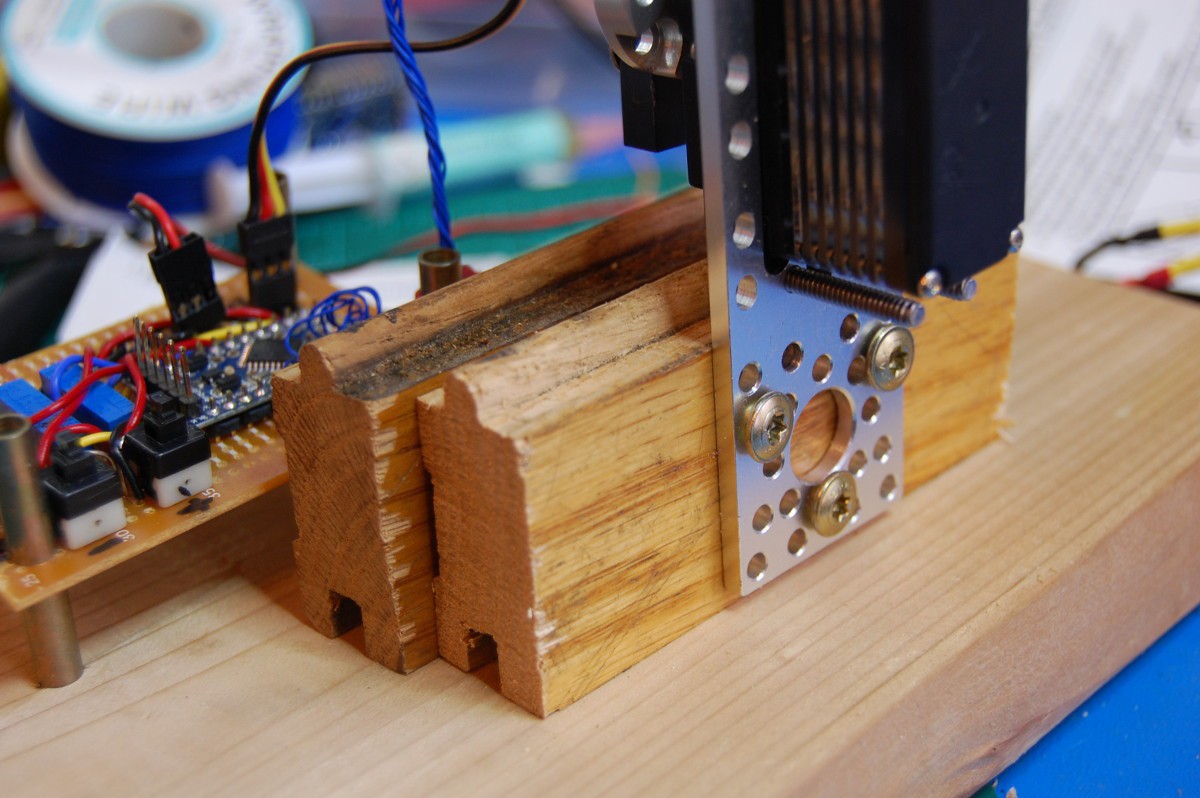
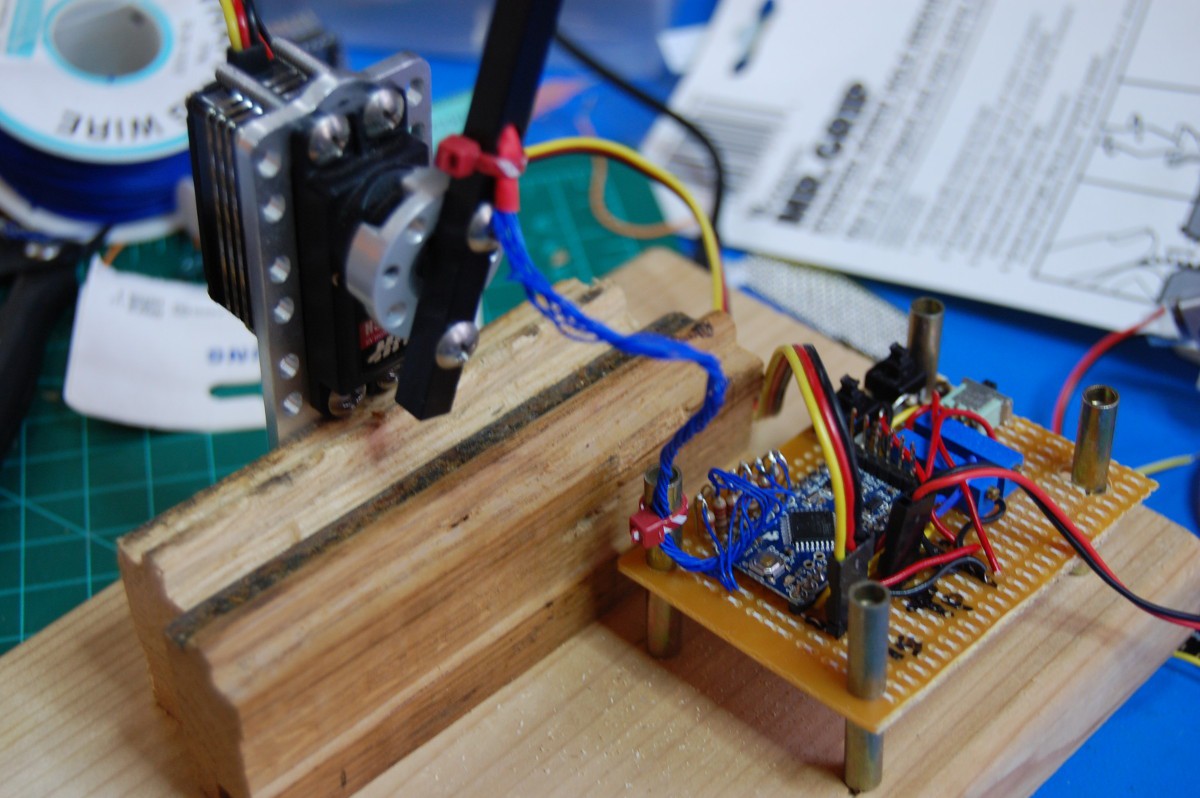
Servo mount--some Actobotics bits (along with the servo itself) from #GimbalBot, taken out on long term loan from that project. Also shown: a few chunks of oak flooring I ripped up from my second floor. Don't worry, most of it is still installed and awaiting refinishing (ETA: 2040):
 Board detail, featuring seven identical current limiting resistors and a few switches and pots I had lying around. Right now the power switch is the only functional "user interface"; I intended to use the trimmers to adjust things like letter spacing and speed on the fly, while the buttons would change the message. We'll see if that ever actually happens:
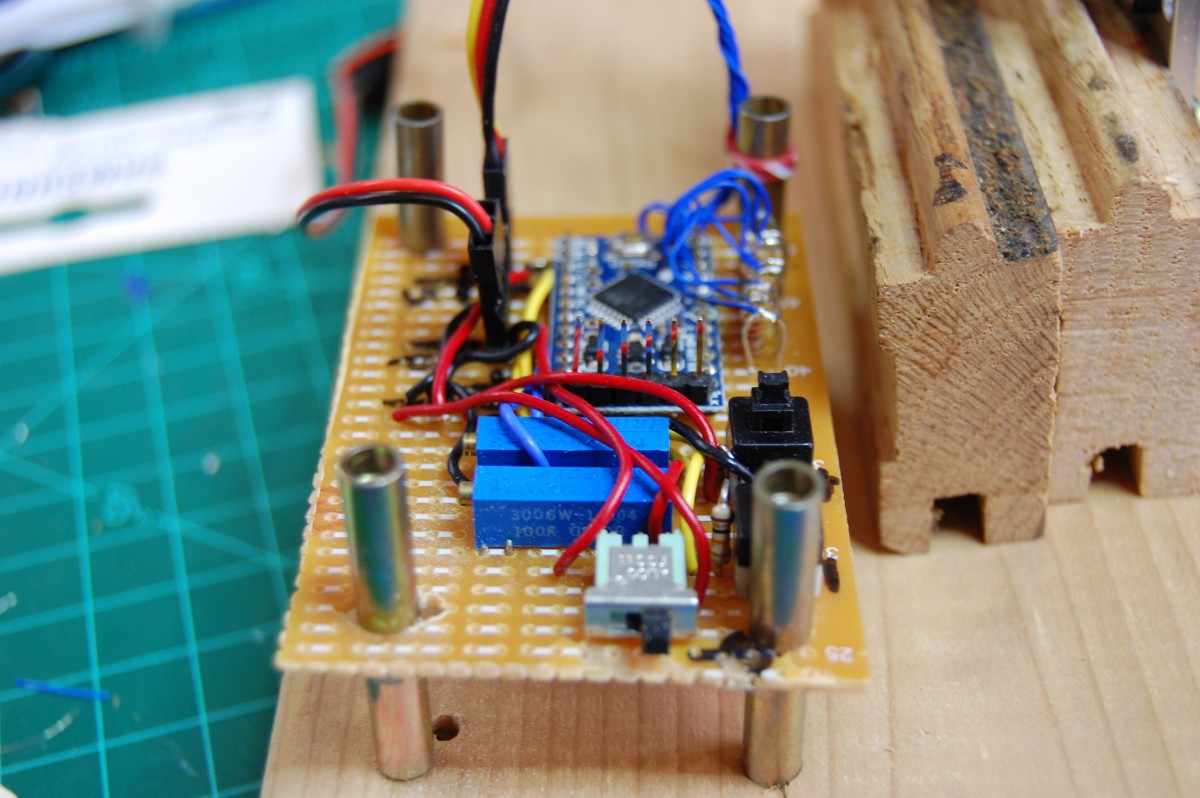 Front view of the single 7-segment display. I didn't wire up the decimal points:
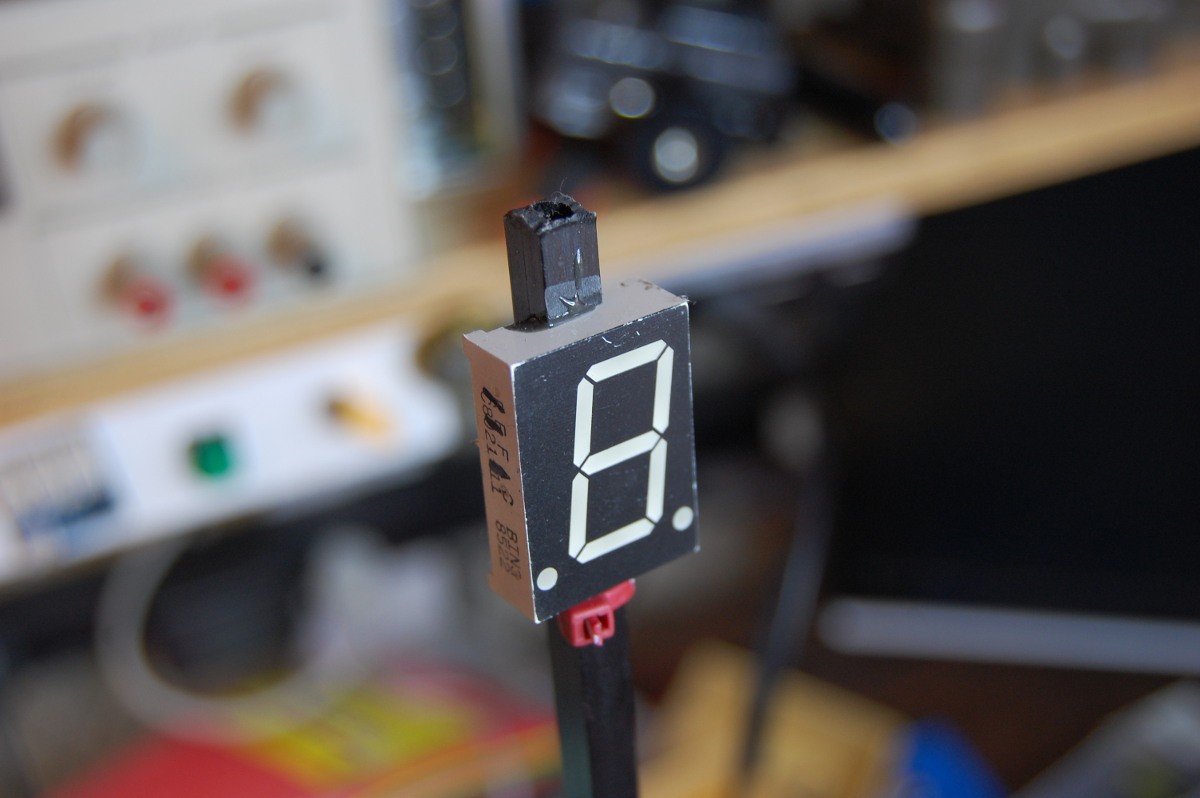 Top view of the display, mostly out of focus, showing the CFRP tube profile. The tube itself was notched with a diamond-tipped Dremel bit, then JB-welded in place. So yeah, it was a Saturday-Sunday type of project, since the epoxy had to set up:
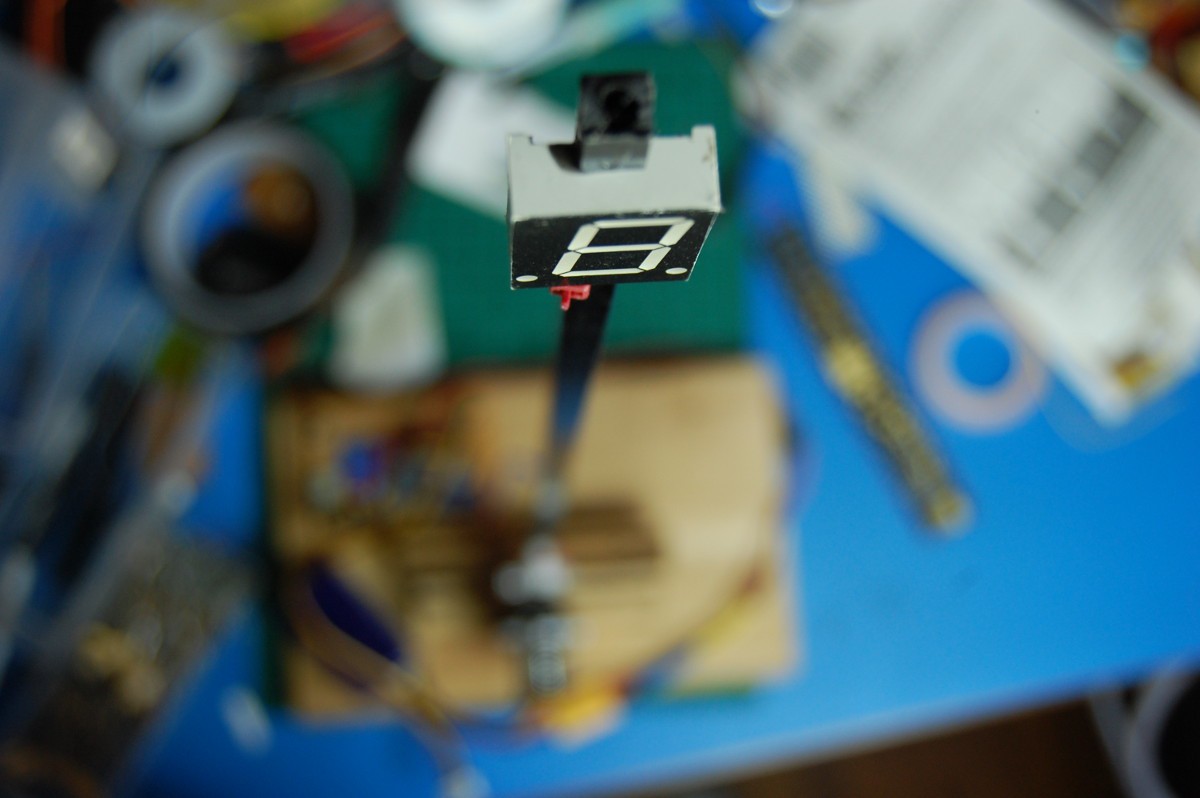 Rear view of the display, showing the connections (along with marks from initially determining which leads powered which segments). You can see that I pretty thoroughly notched the CFRP tube and was pretty liberal with the JB weld application. The wires are heat-shrunk together where they enter (and exit) the tube in an attempt to mitigate potential abrasion damage to the insulation:
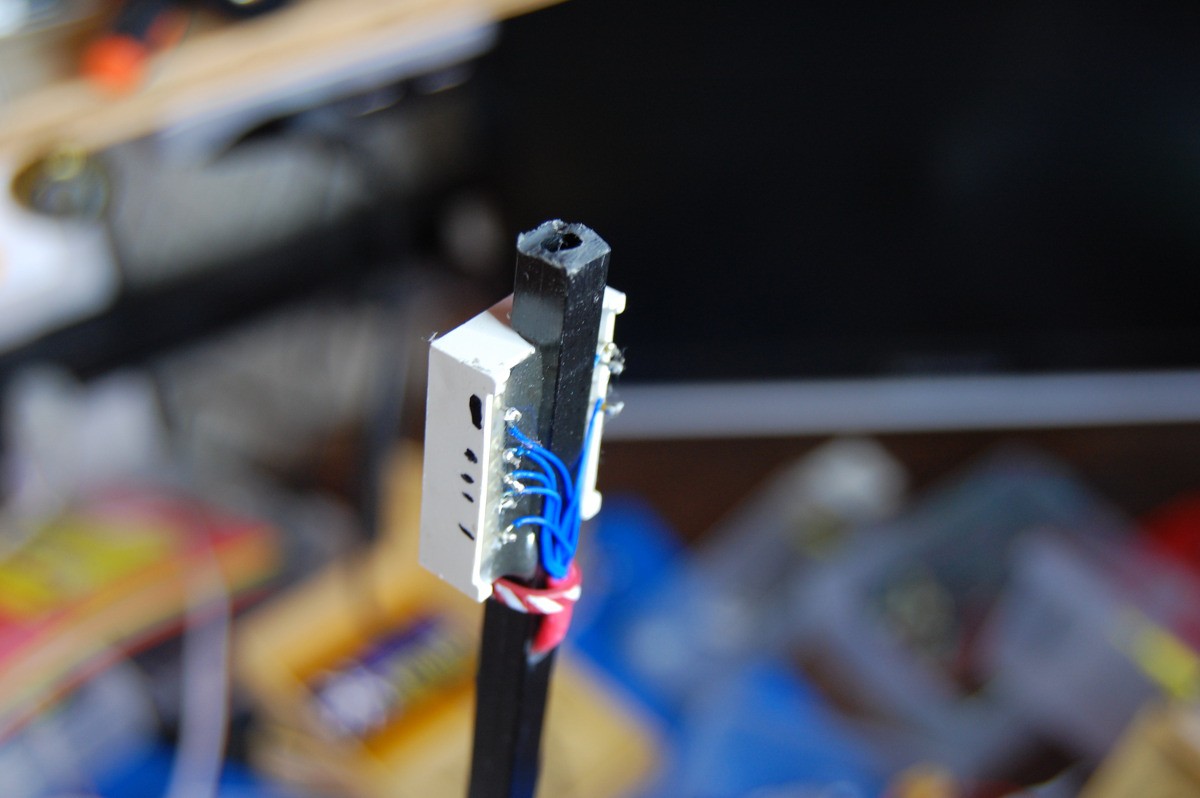
Discussions
Become a Hackaday.io Member
Create an account to leave a comment. Already have an account? Log In.